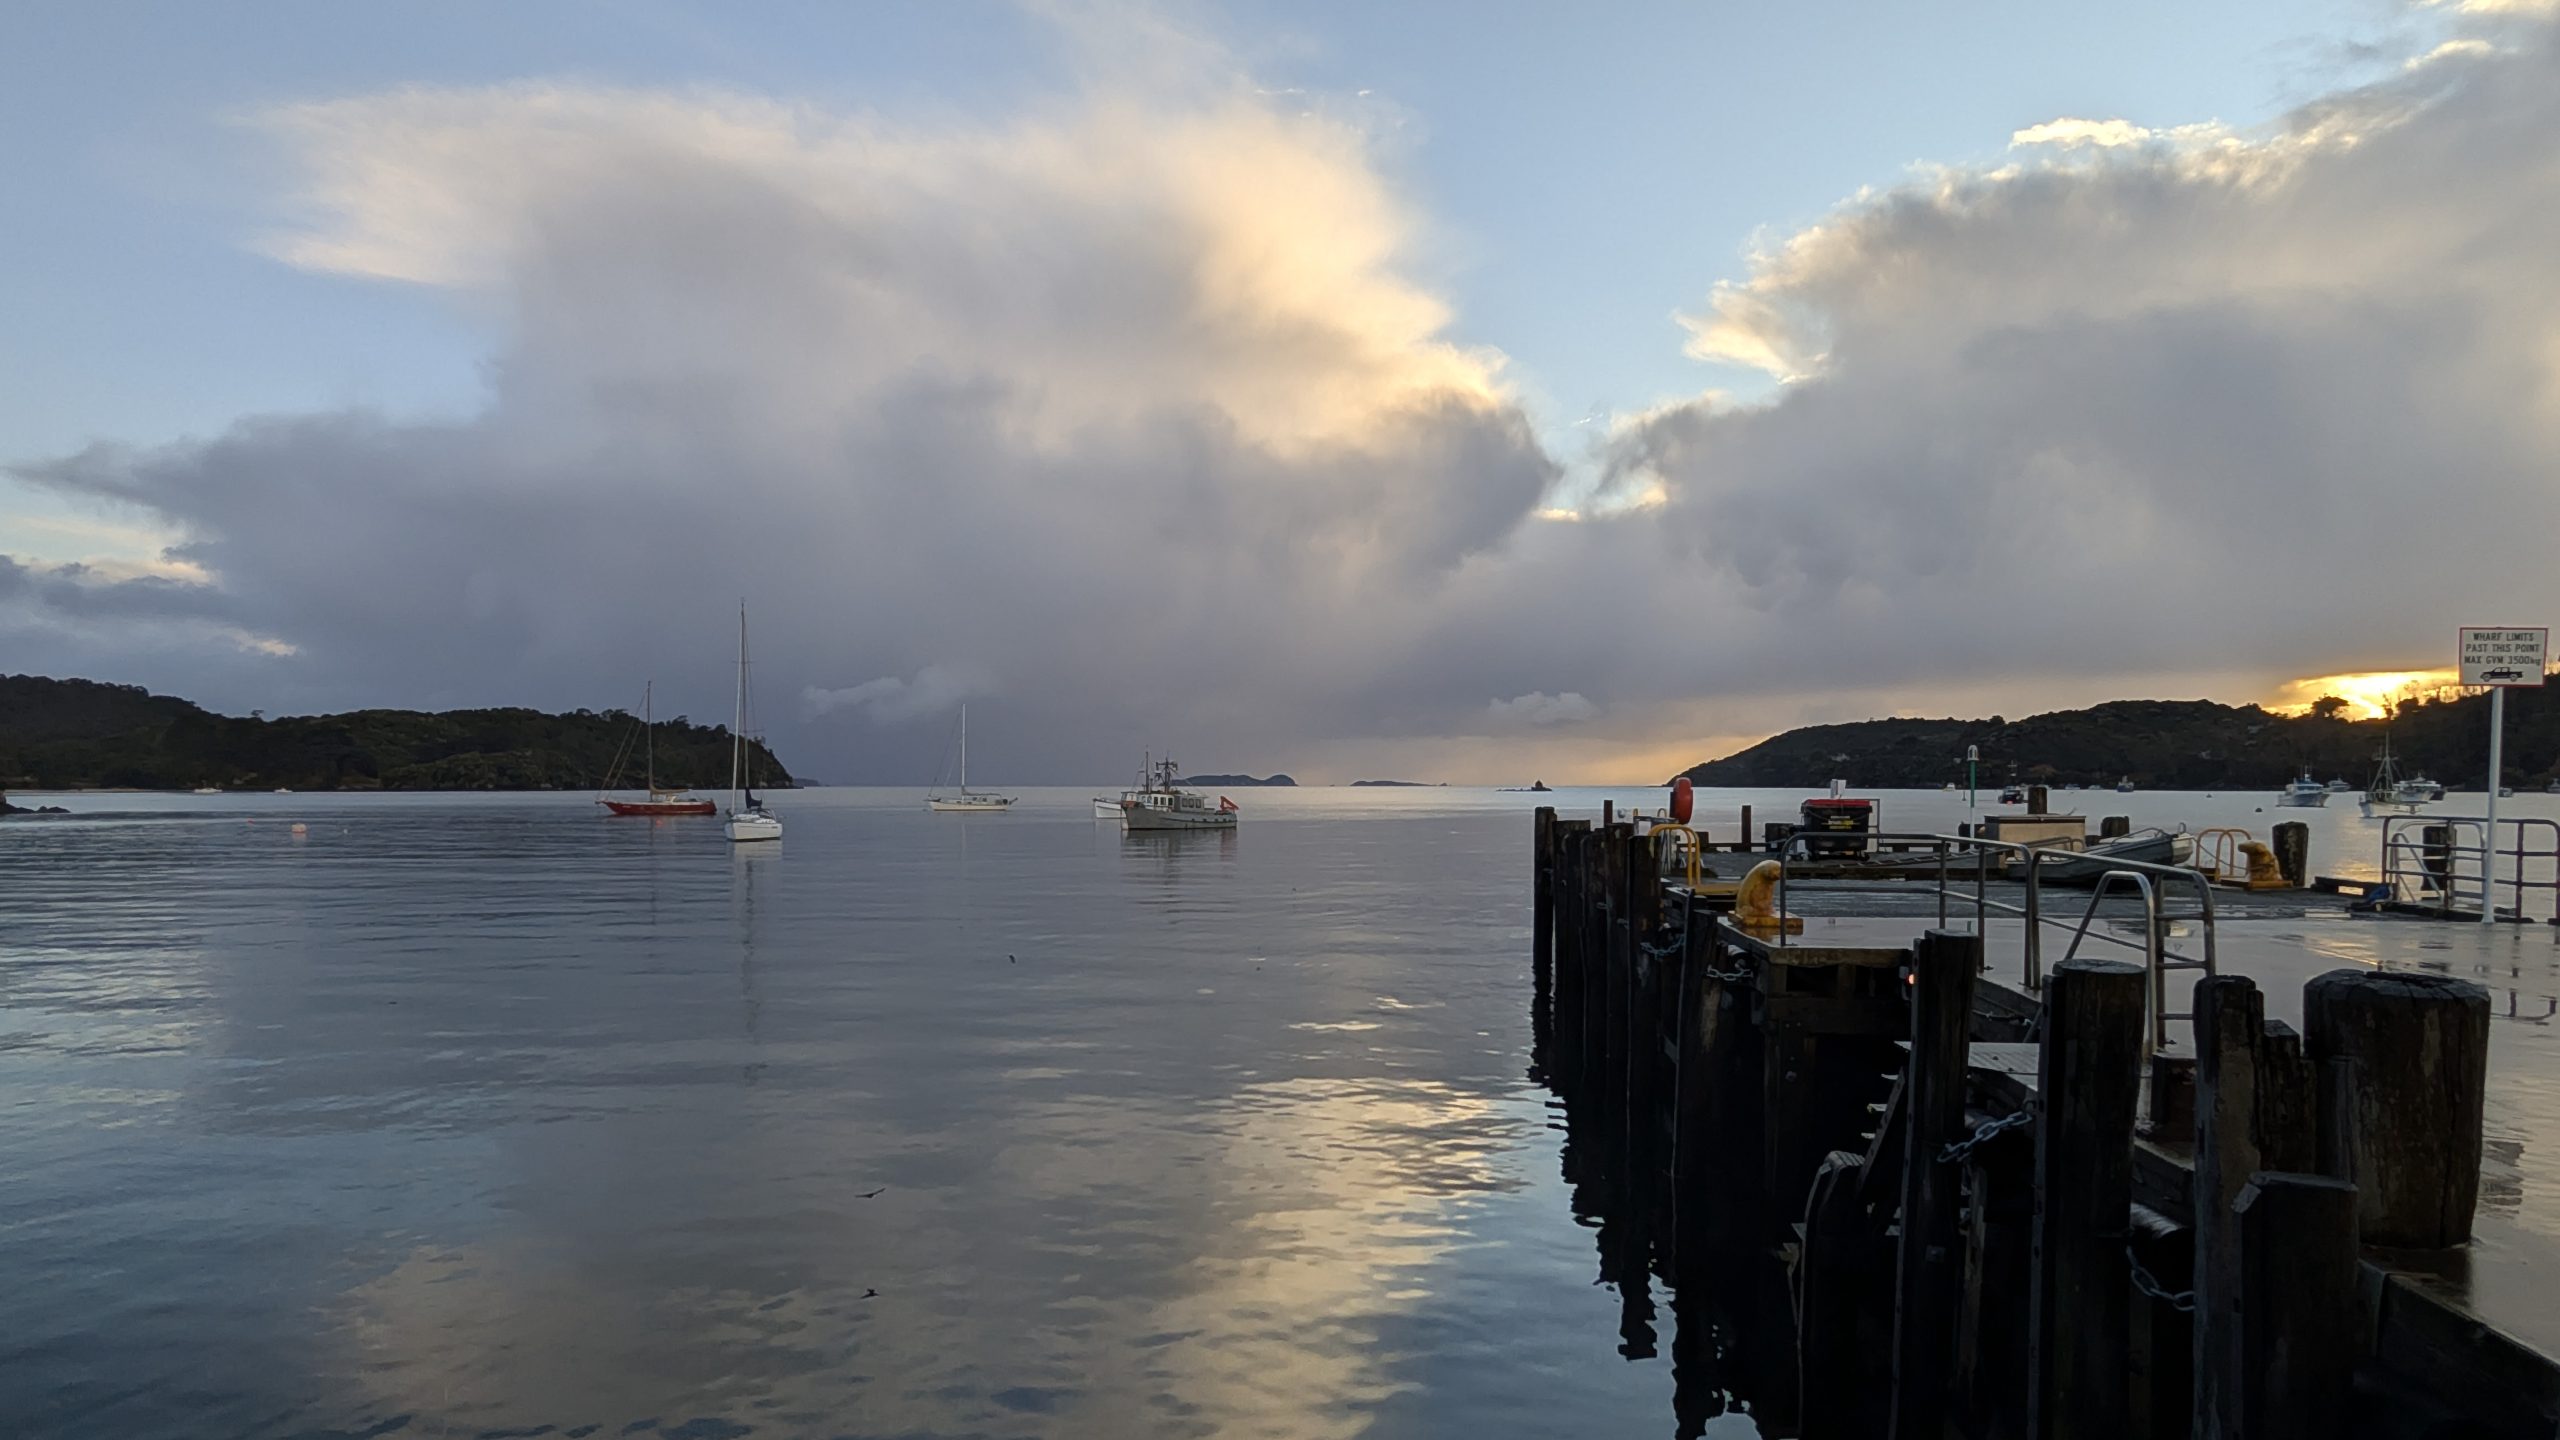
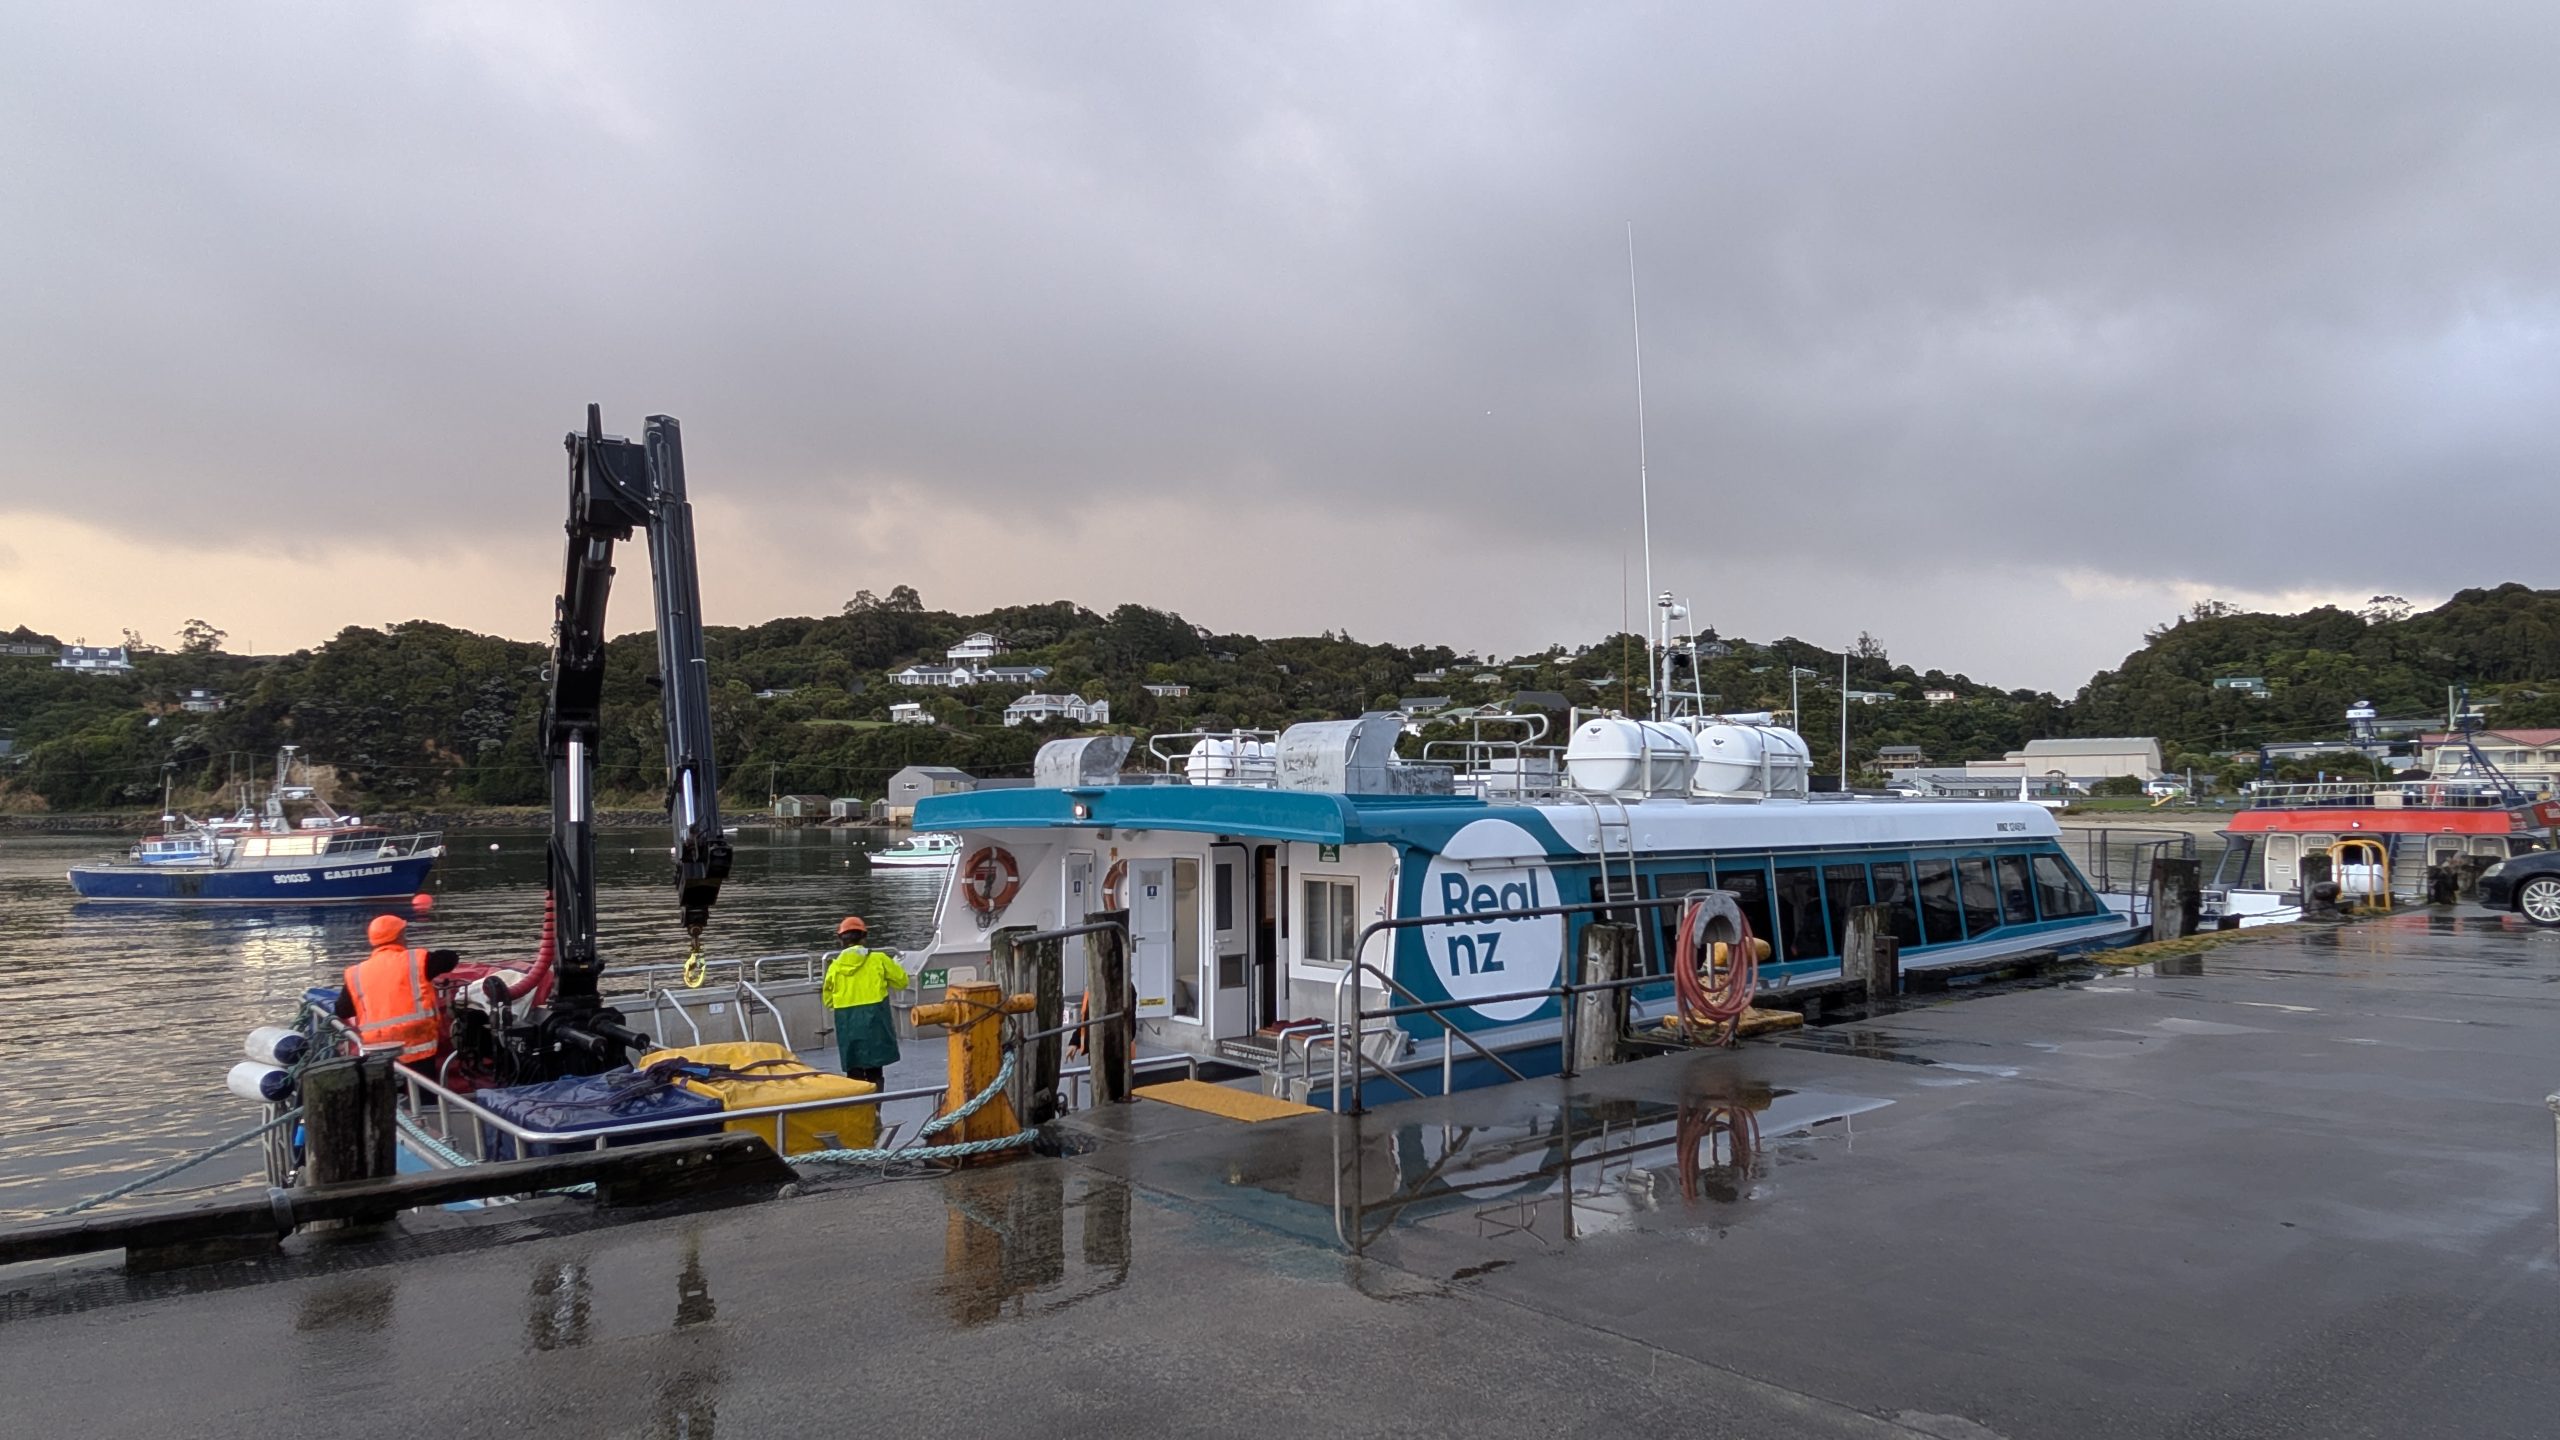
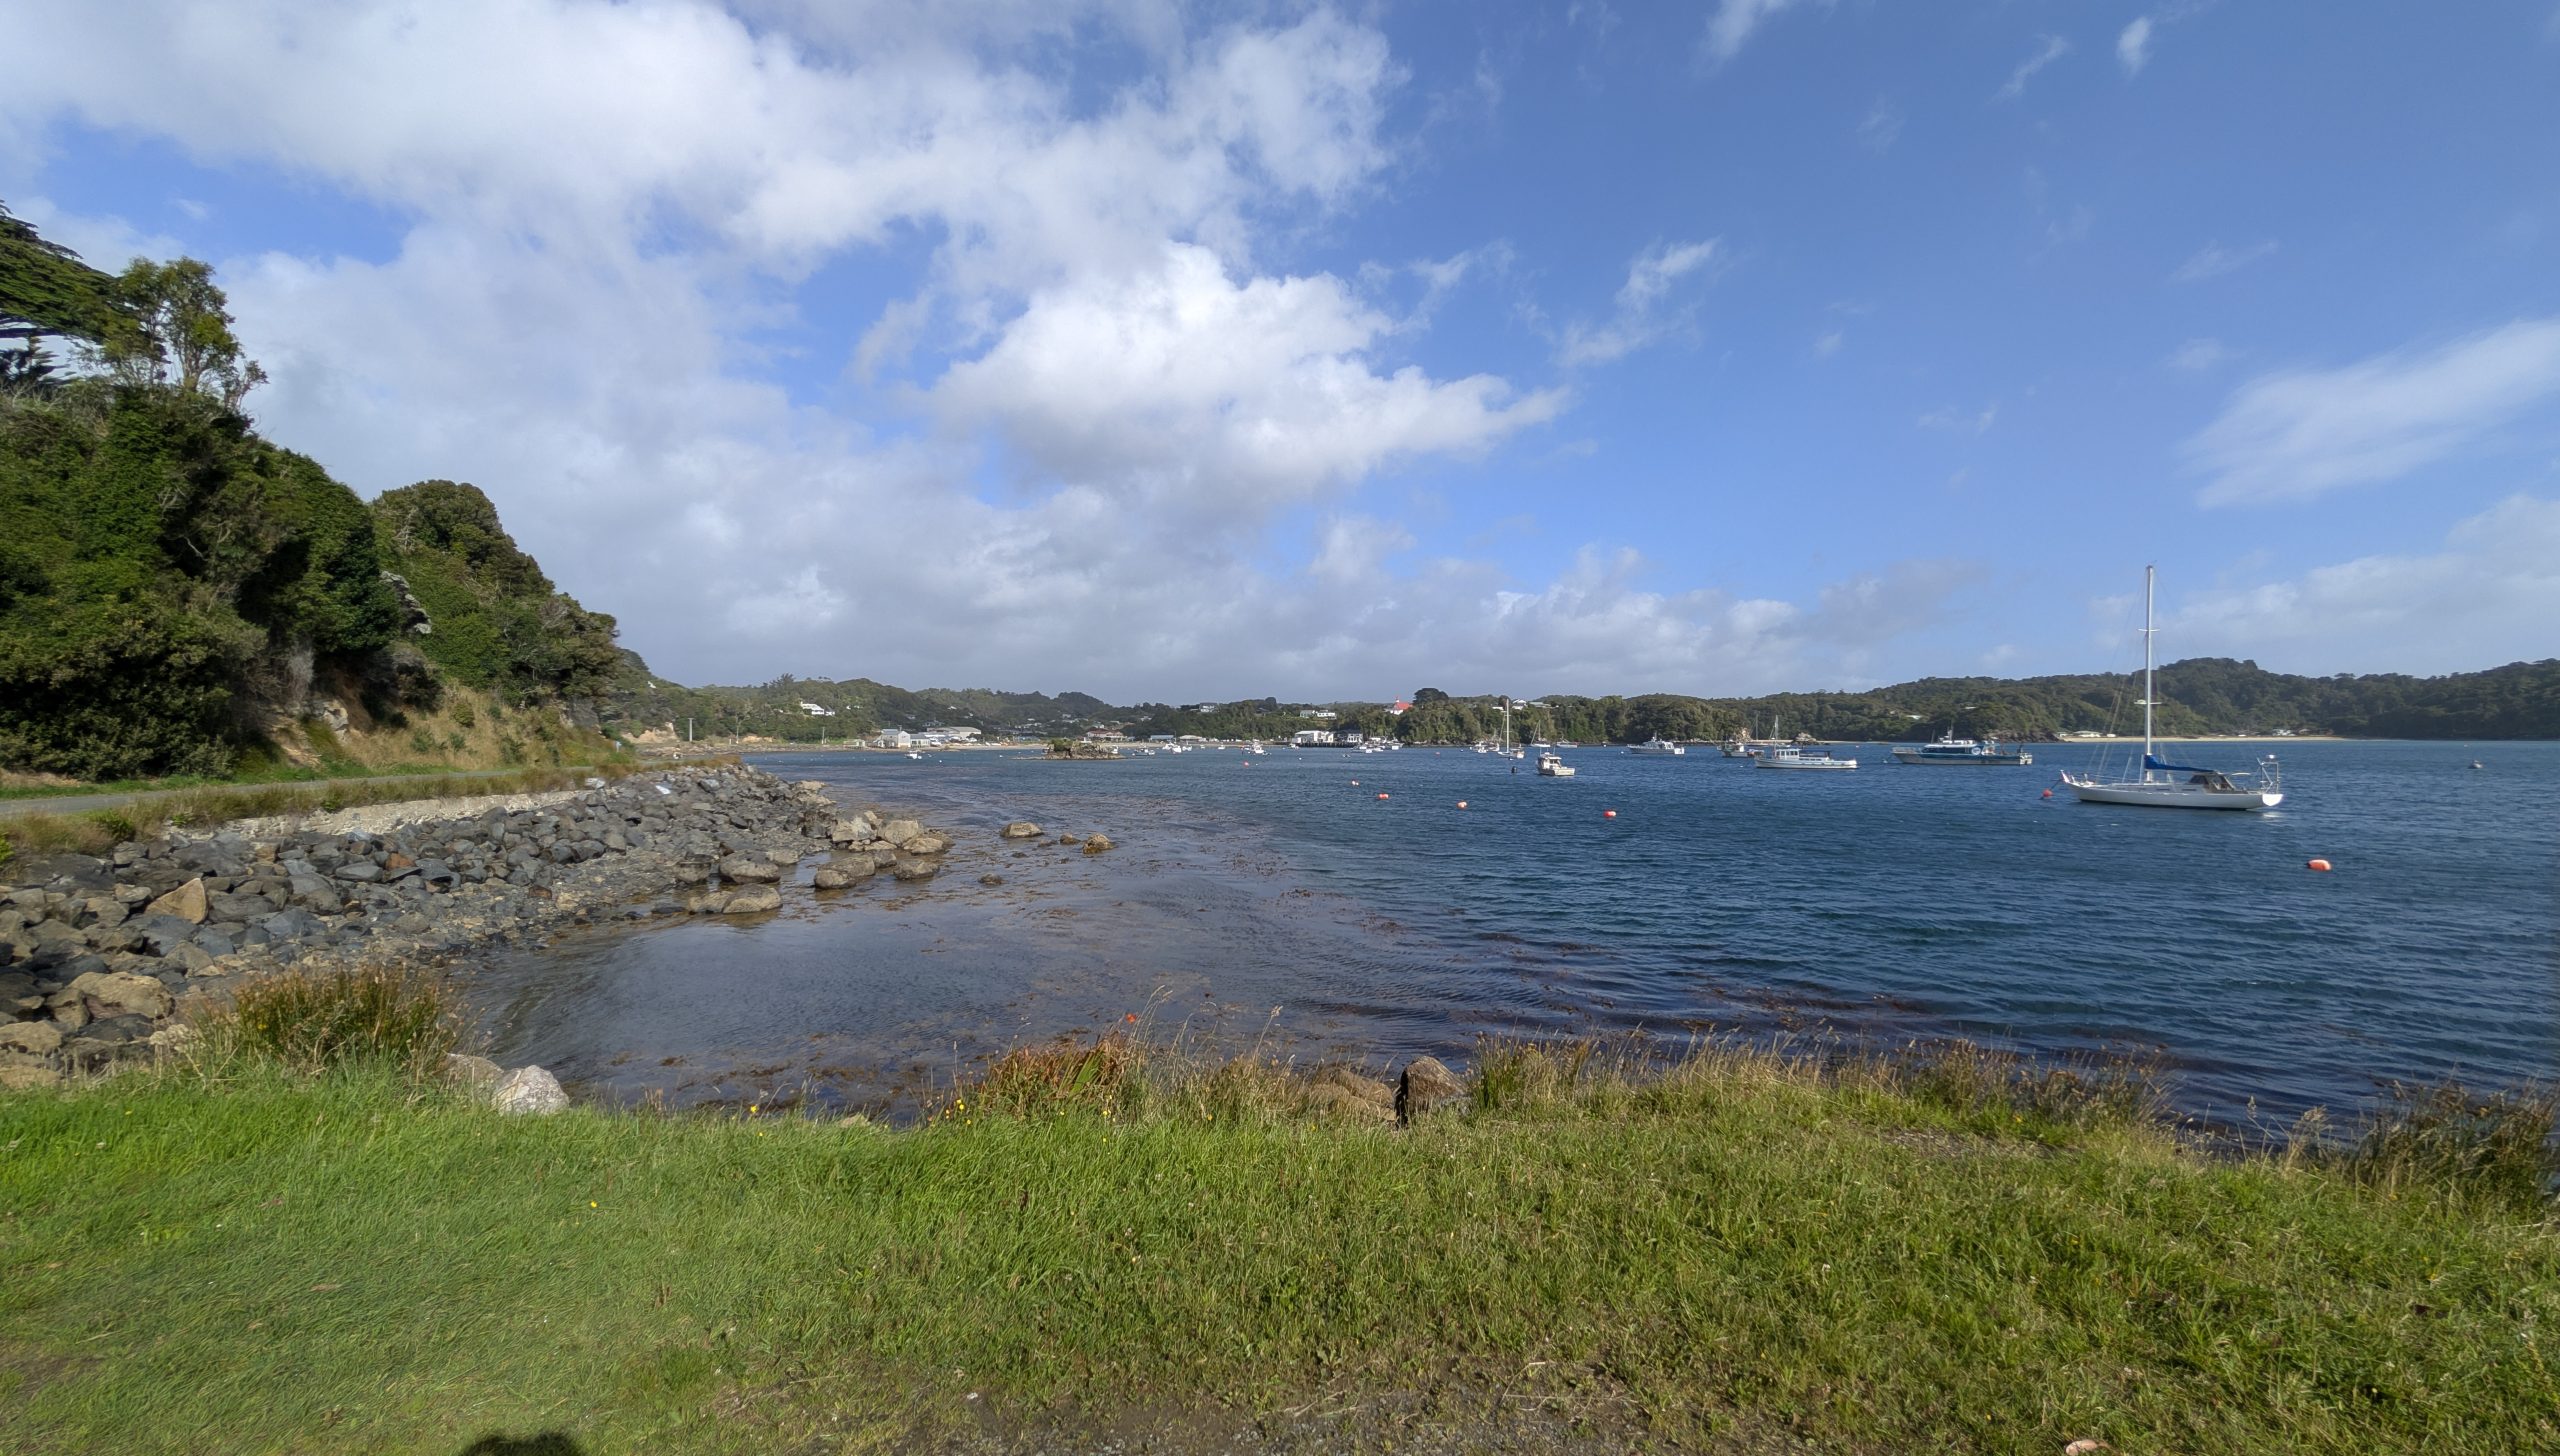
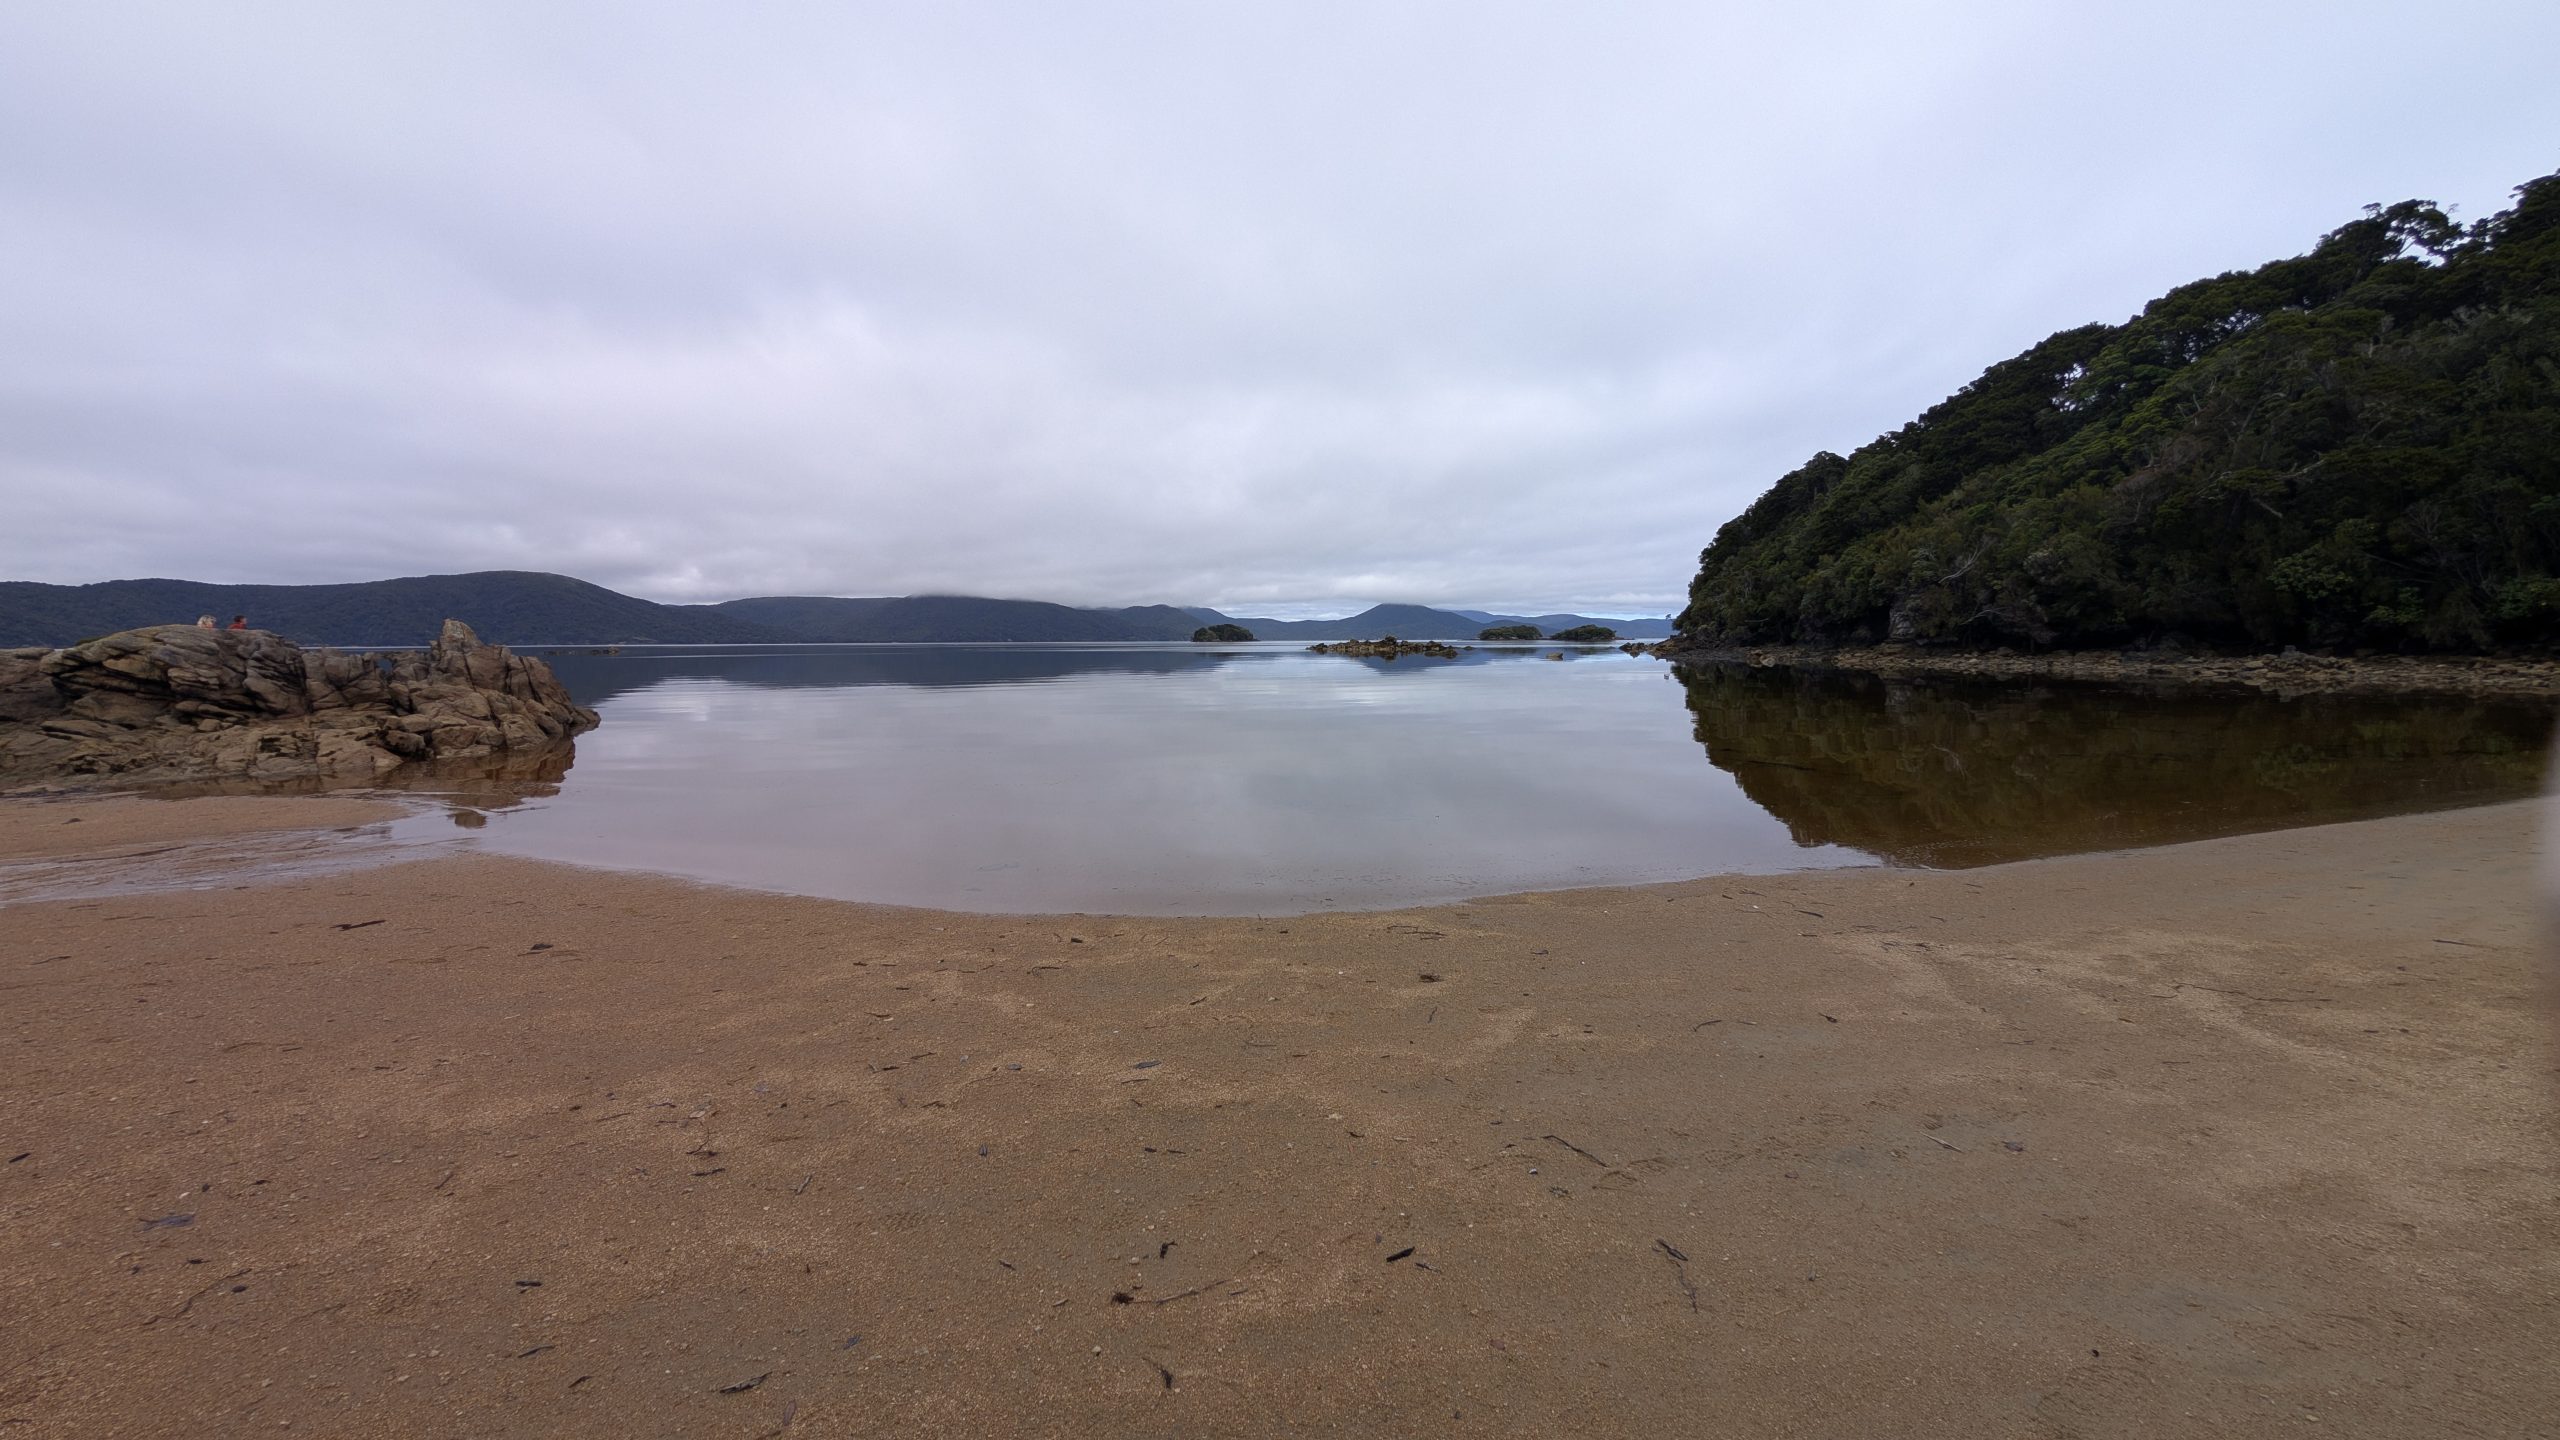
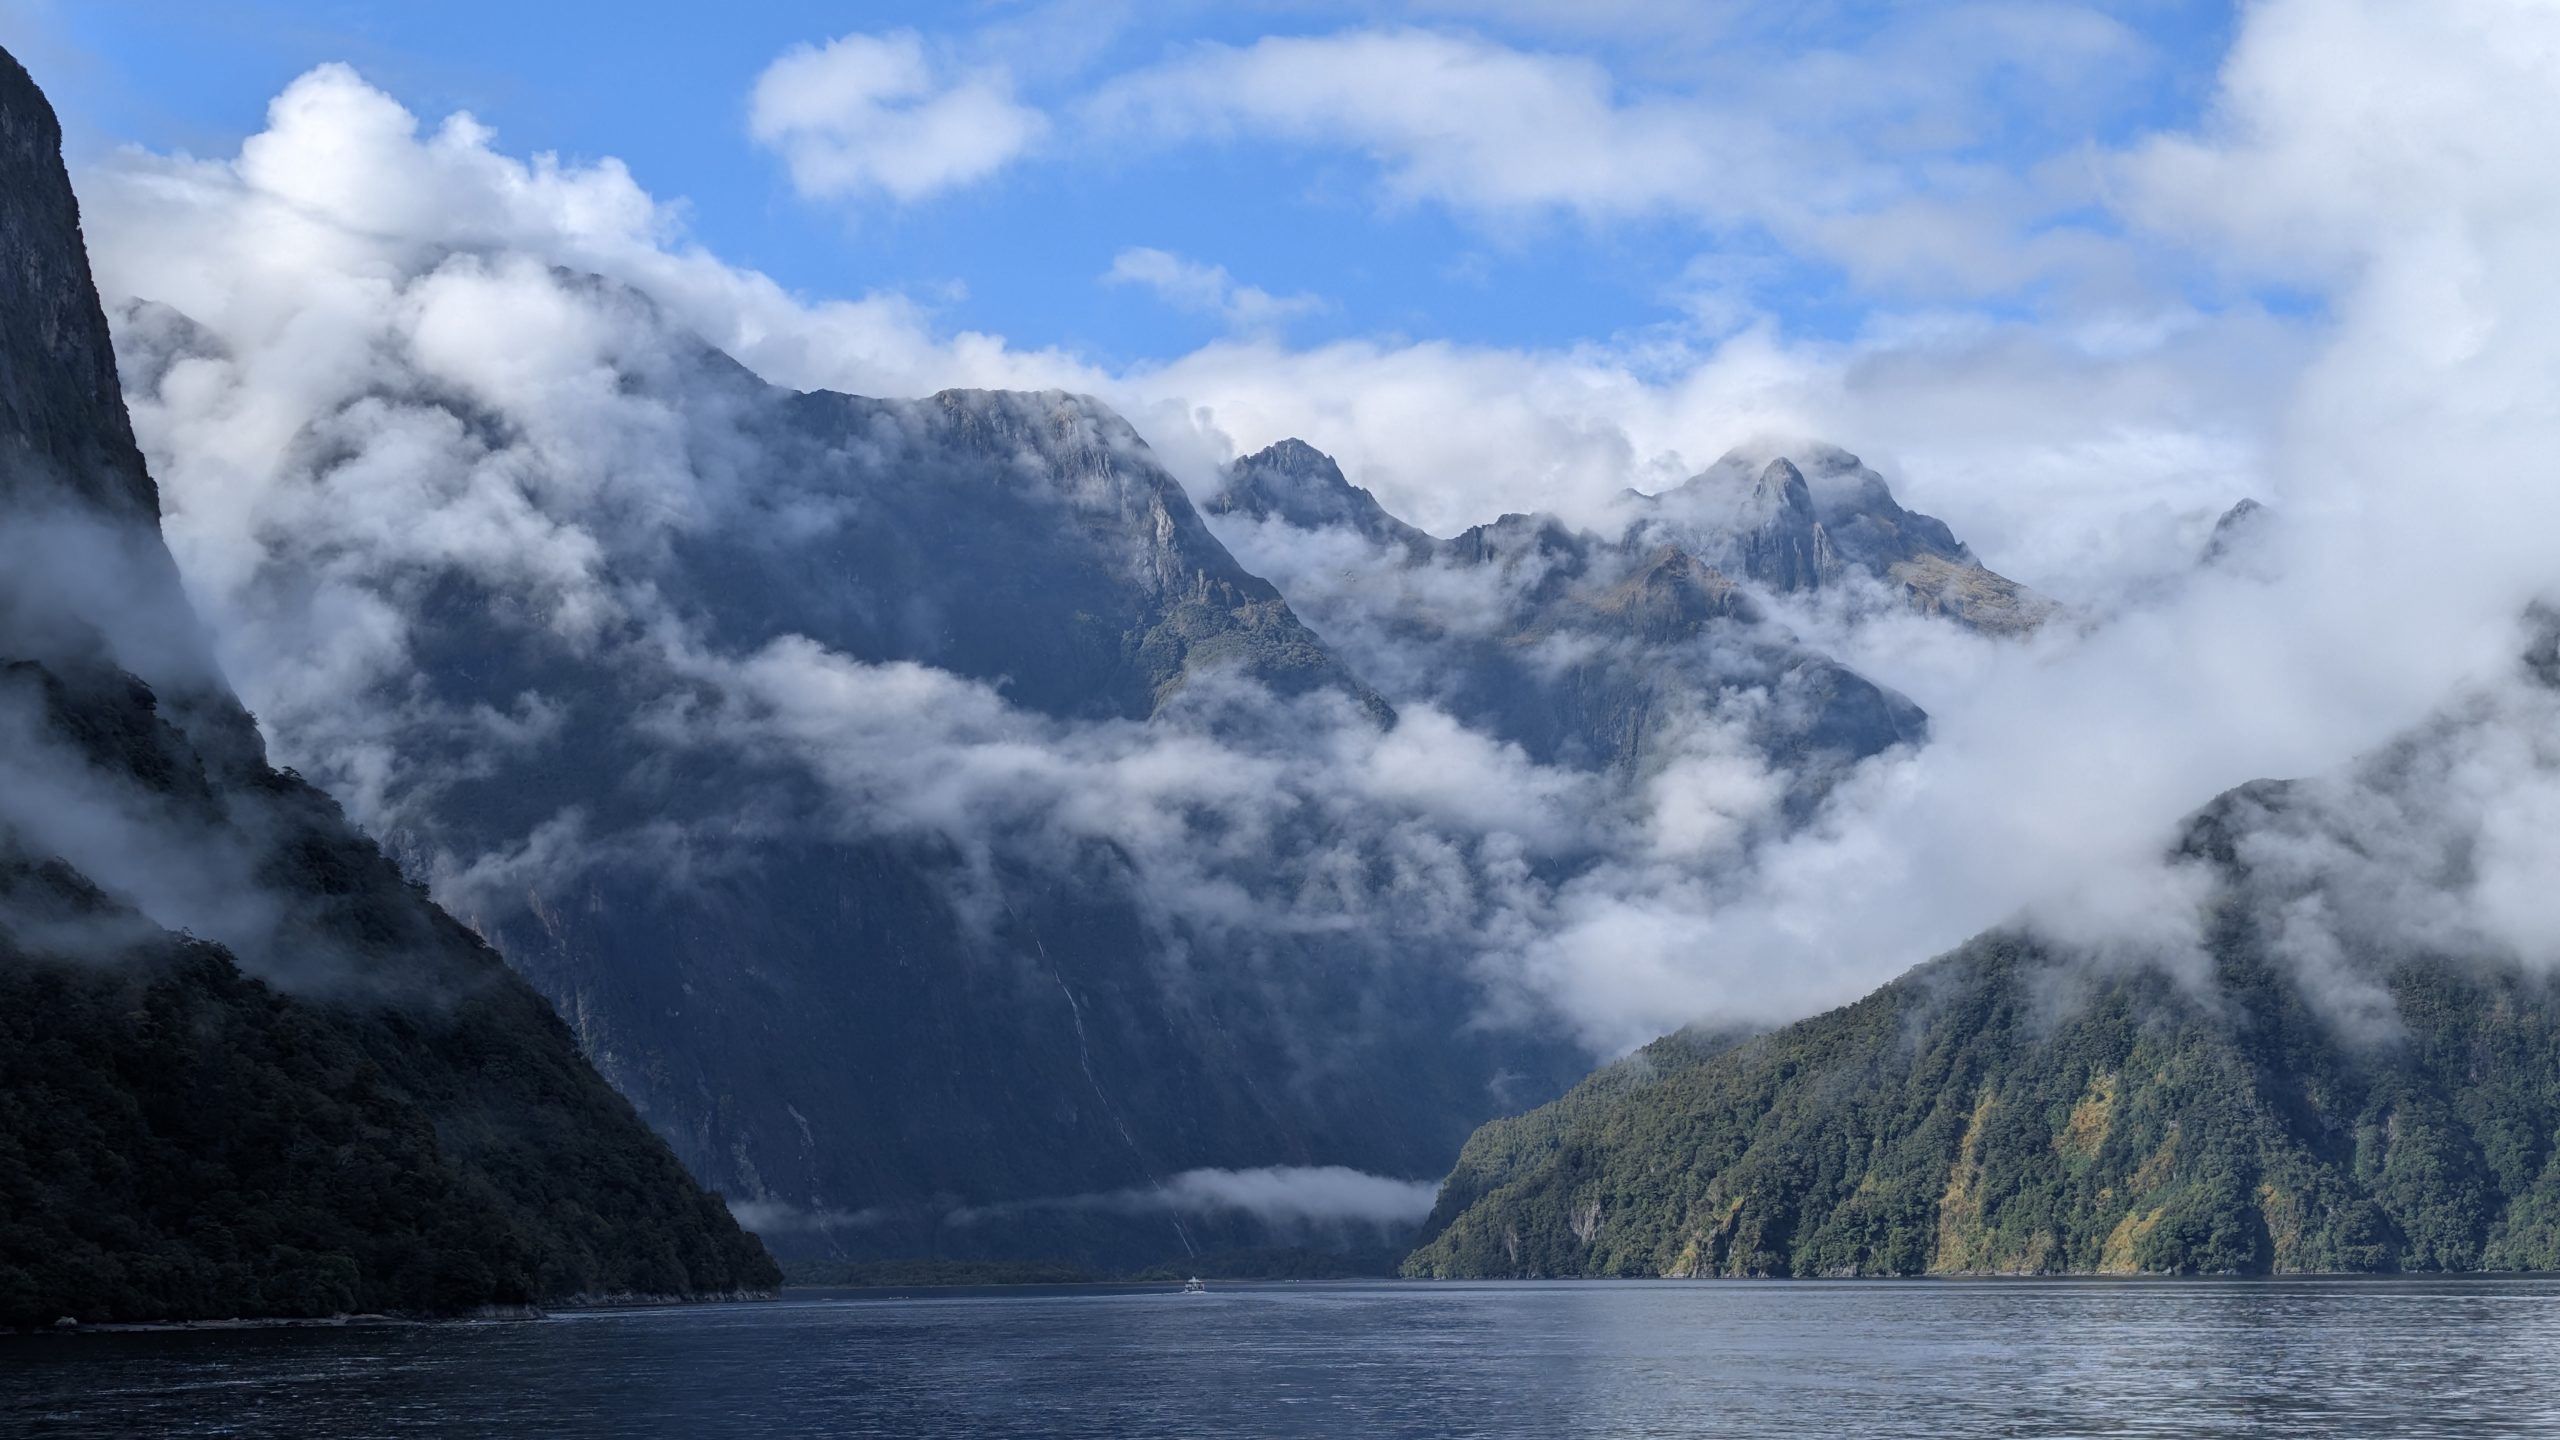
We got up very early since we had reservations for the 8 AM ferry sailing back to Bluff. On the walk to the ferry terminal I took some final pictures of Stewart Island. The weather was nice with partly cloudy skies.
South Sea Hotel annex building Halfmoon Bay view from the South Sea HotelFront of South Sea HotelFerry dockOur ferry boat with luggage getting loaded
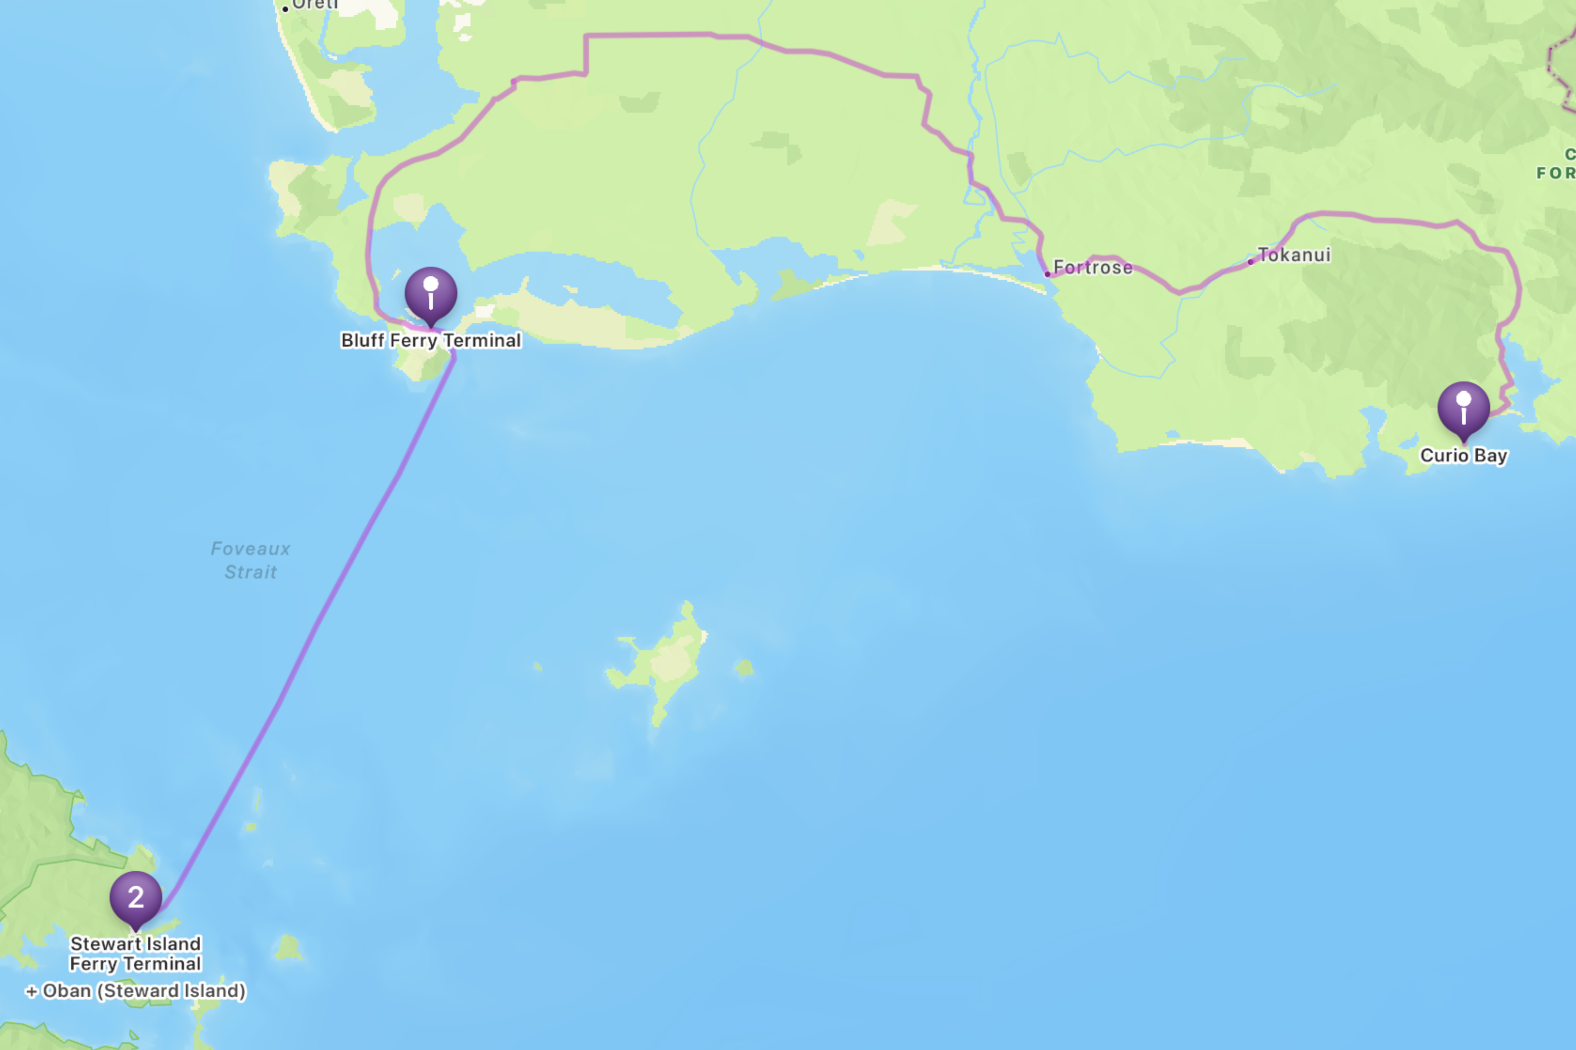
The ferry ride across Foveaux Strait was not quite as bouncy as on the way out, but there was still a fair amount of wind. The weather deteriorated and it was raining and windy at Bluff when we arrived. So we left the area quickly.
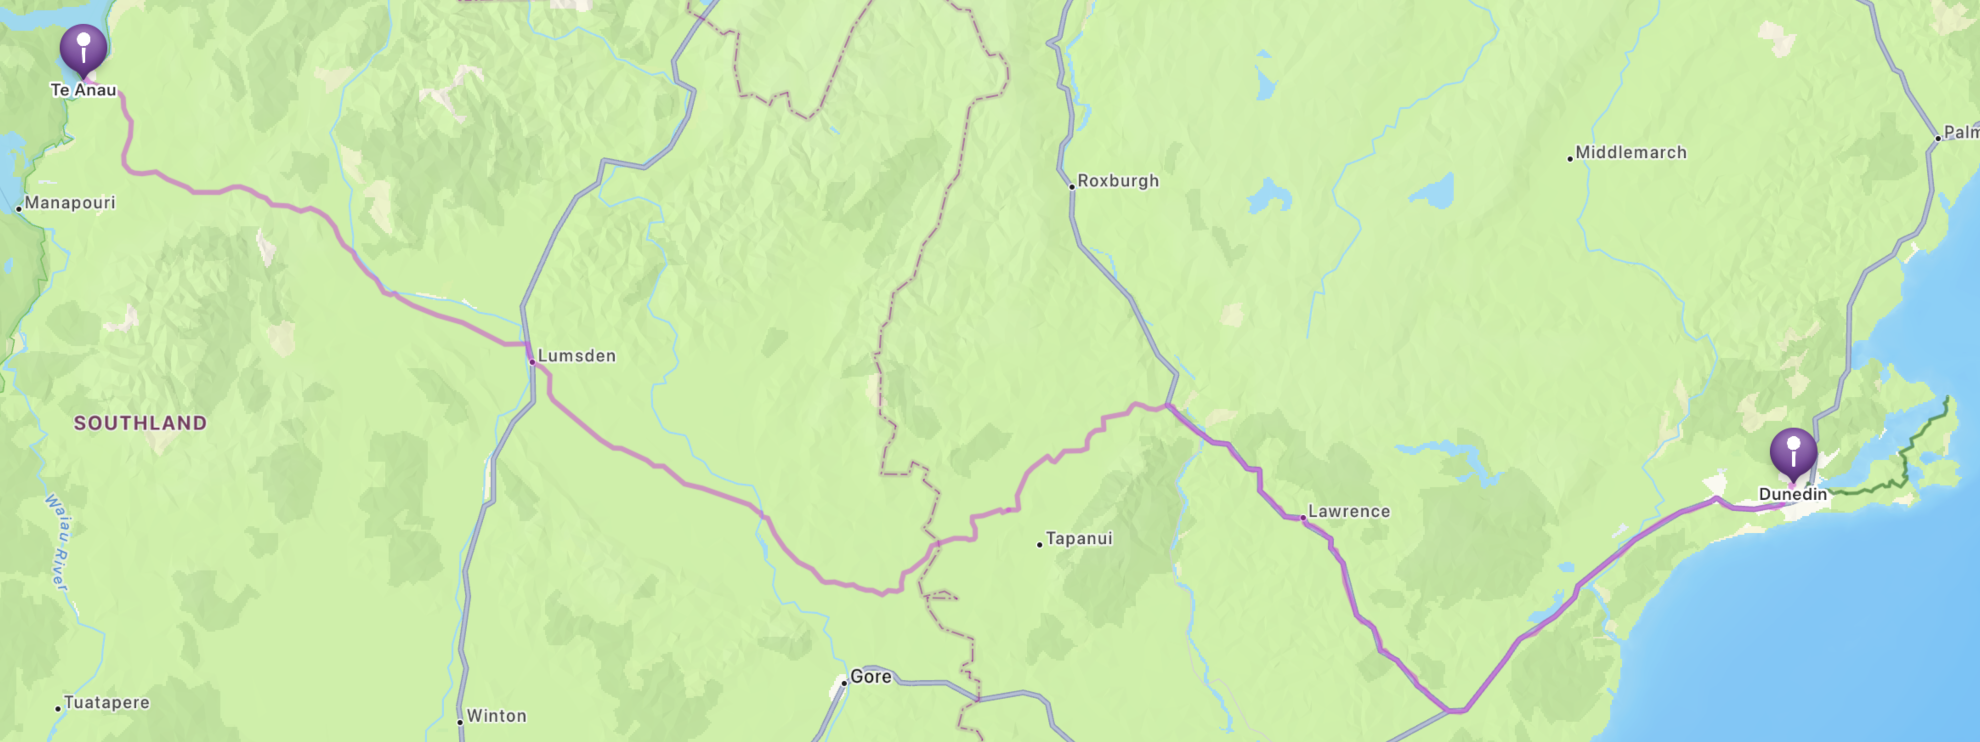
We drove back to Dunedin where I had reservations for two nights at an AirBnb house located on the Otago Peninsula. I had booked it several months previously with the plan to go on the Blue Penguins Pukekura tour while we were there since it was only a few miles away at the end of the road. But when I went to reserve the tour, it was completely full for those nights. That was why we stayed in Dunedin earlier on February 13: it was the only date I was able to find that was still open for seeing the penguins. This time we were returning so that we could explore the other areas on the Otago Peninsula close to where we would be staying.
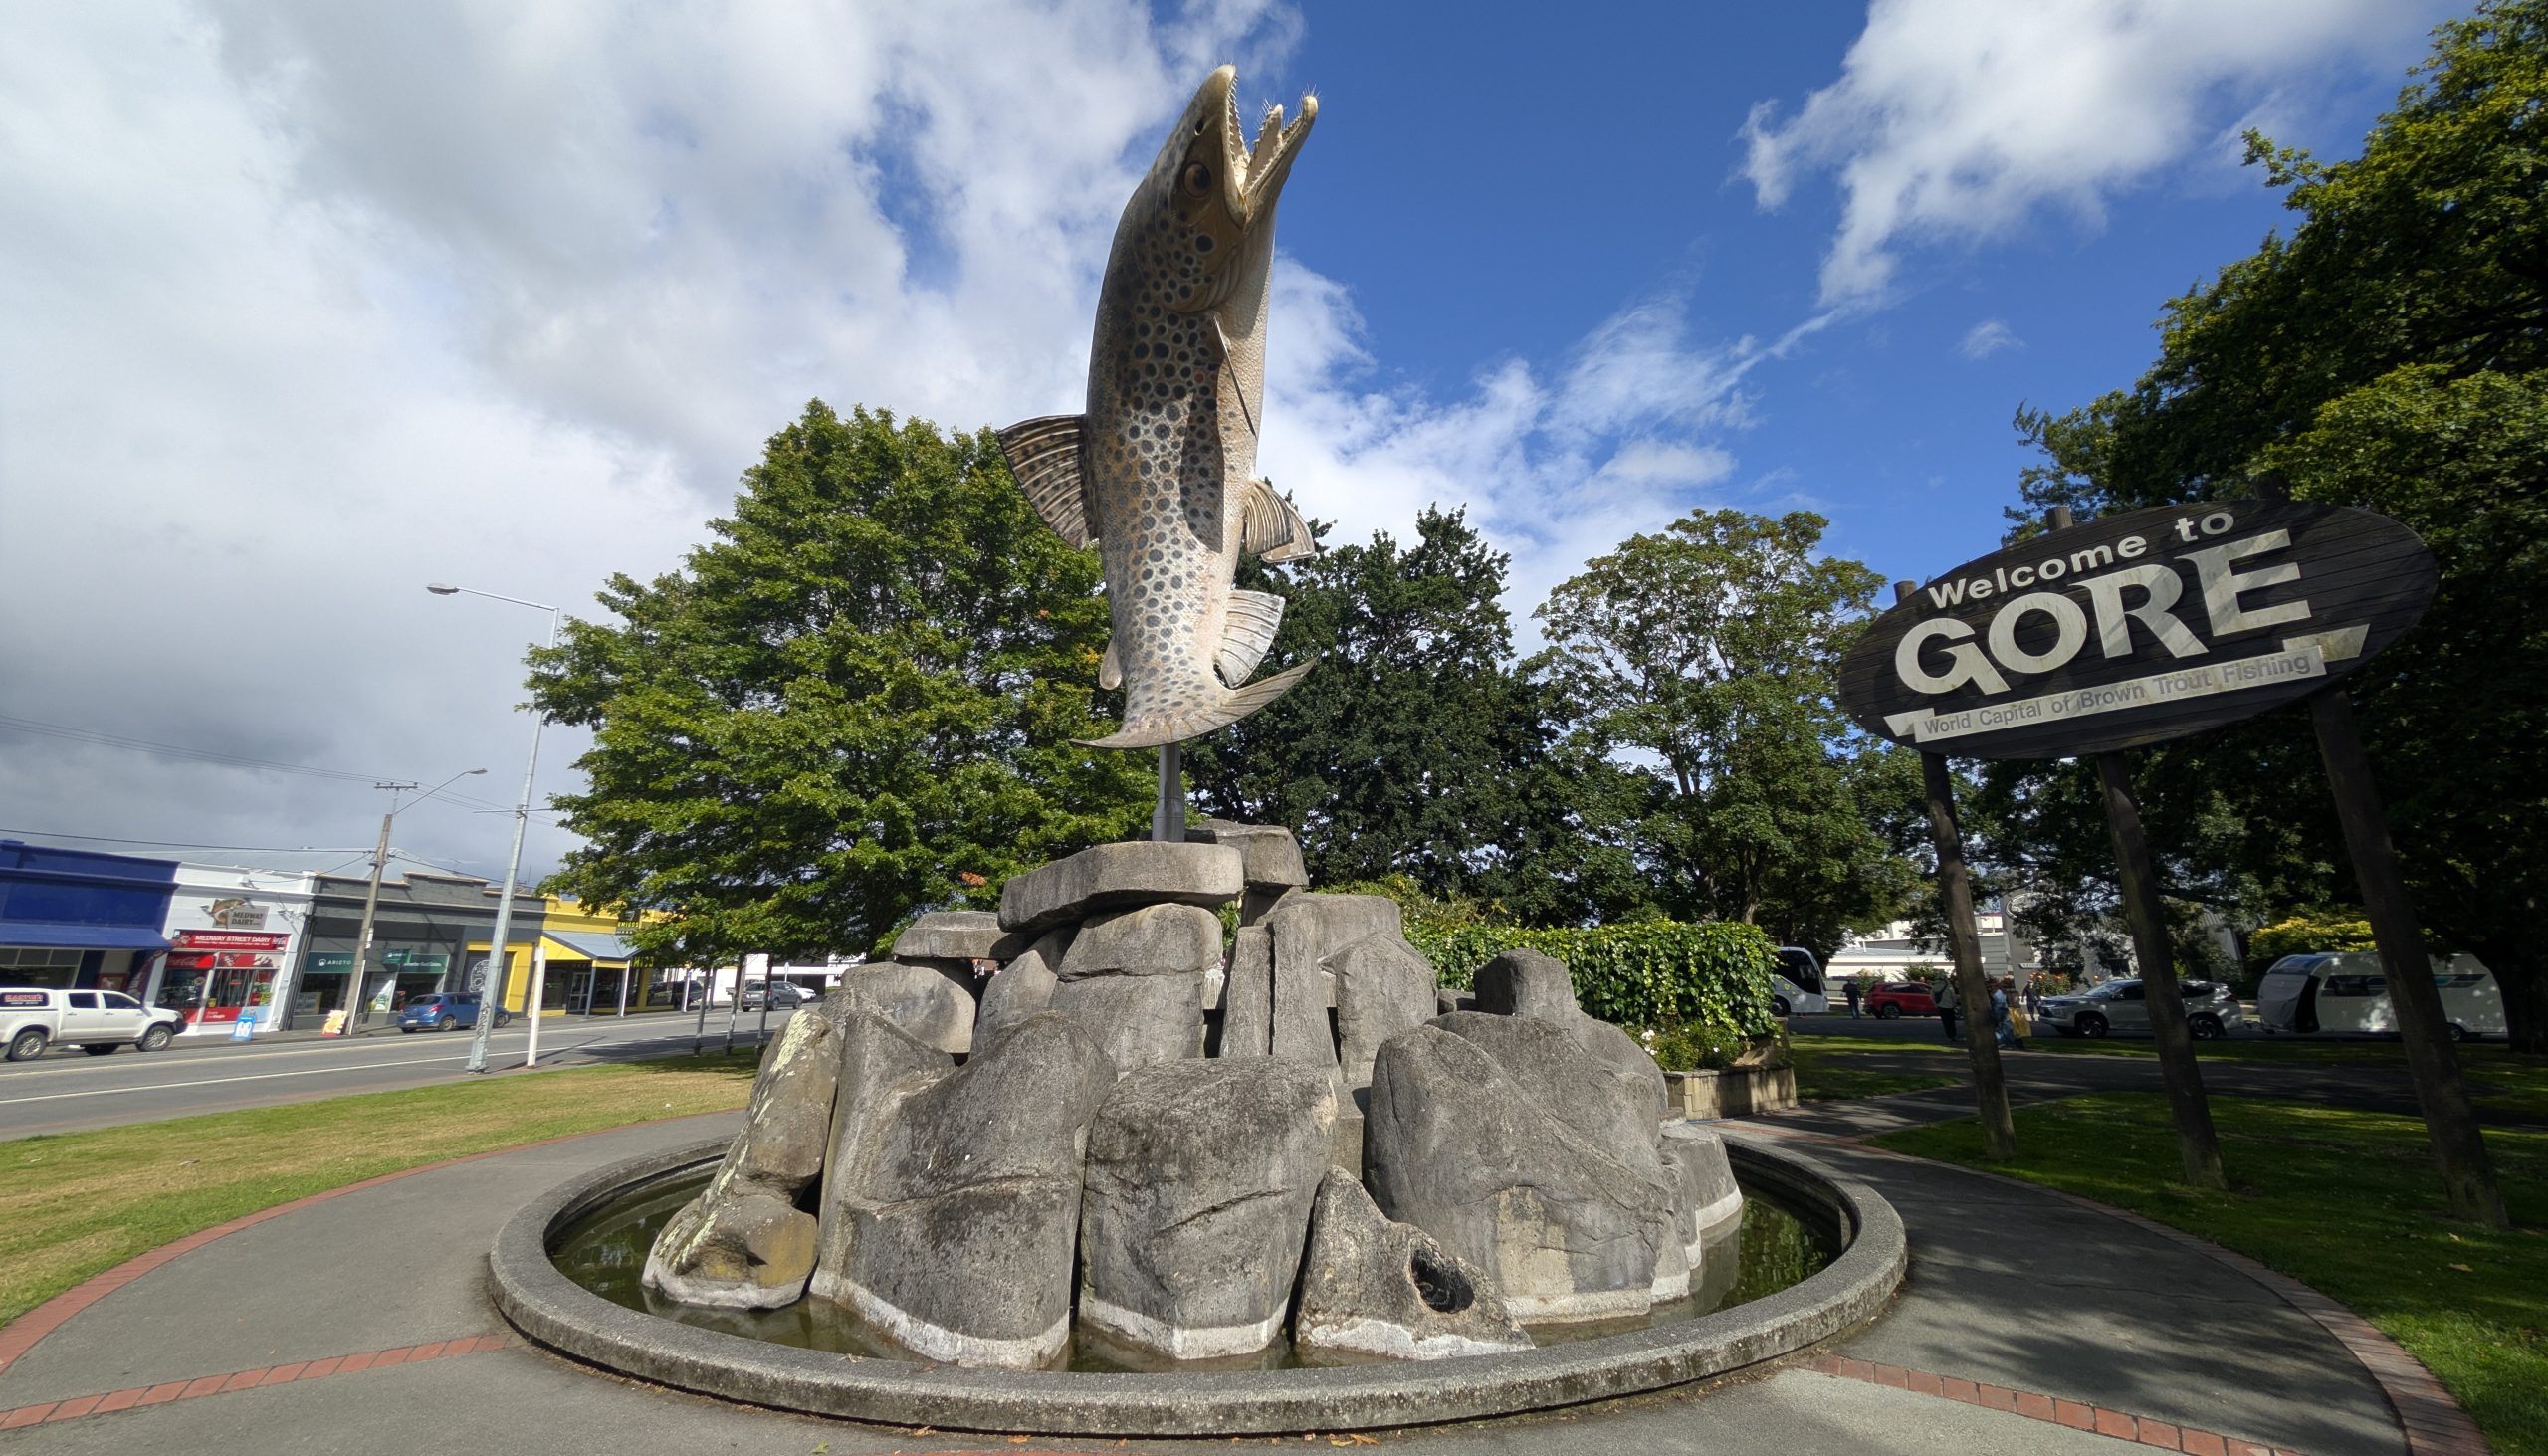
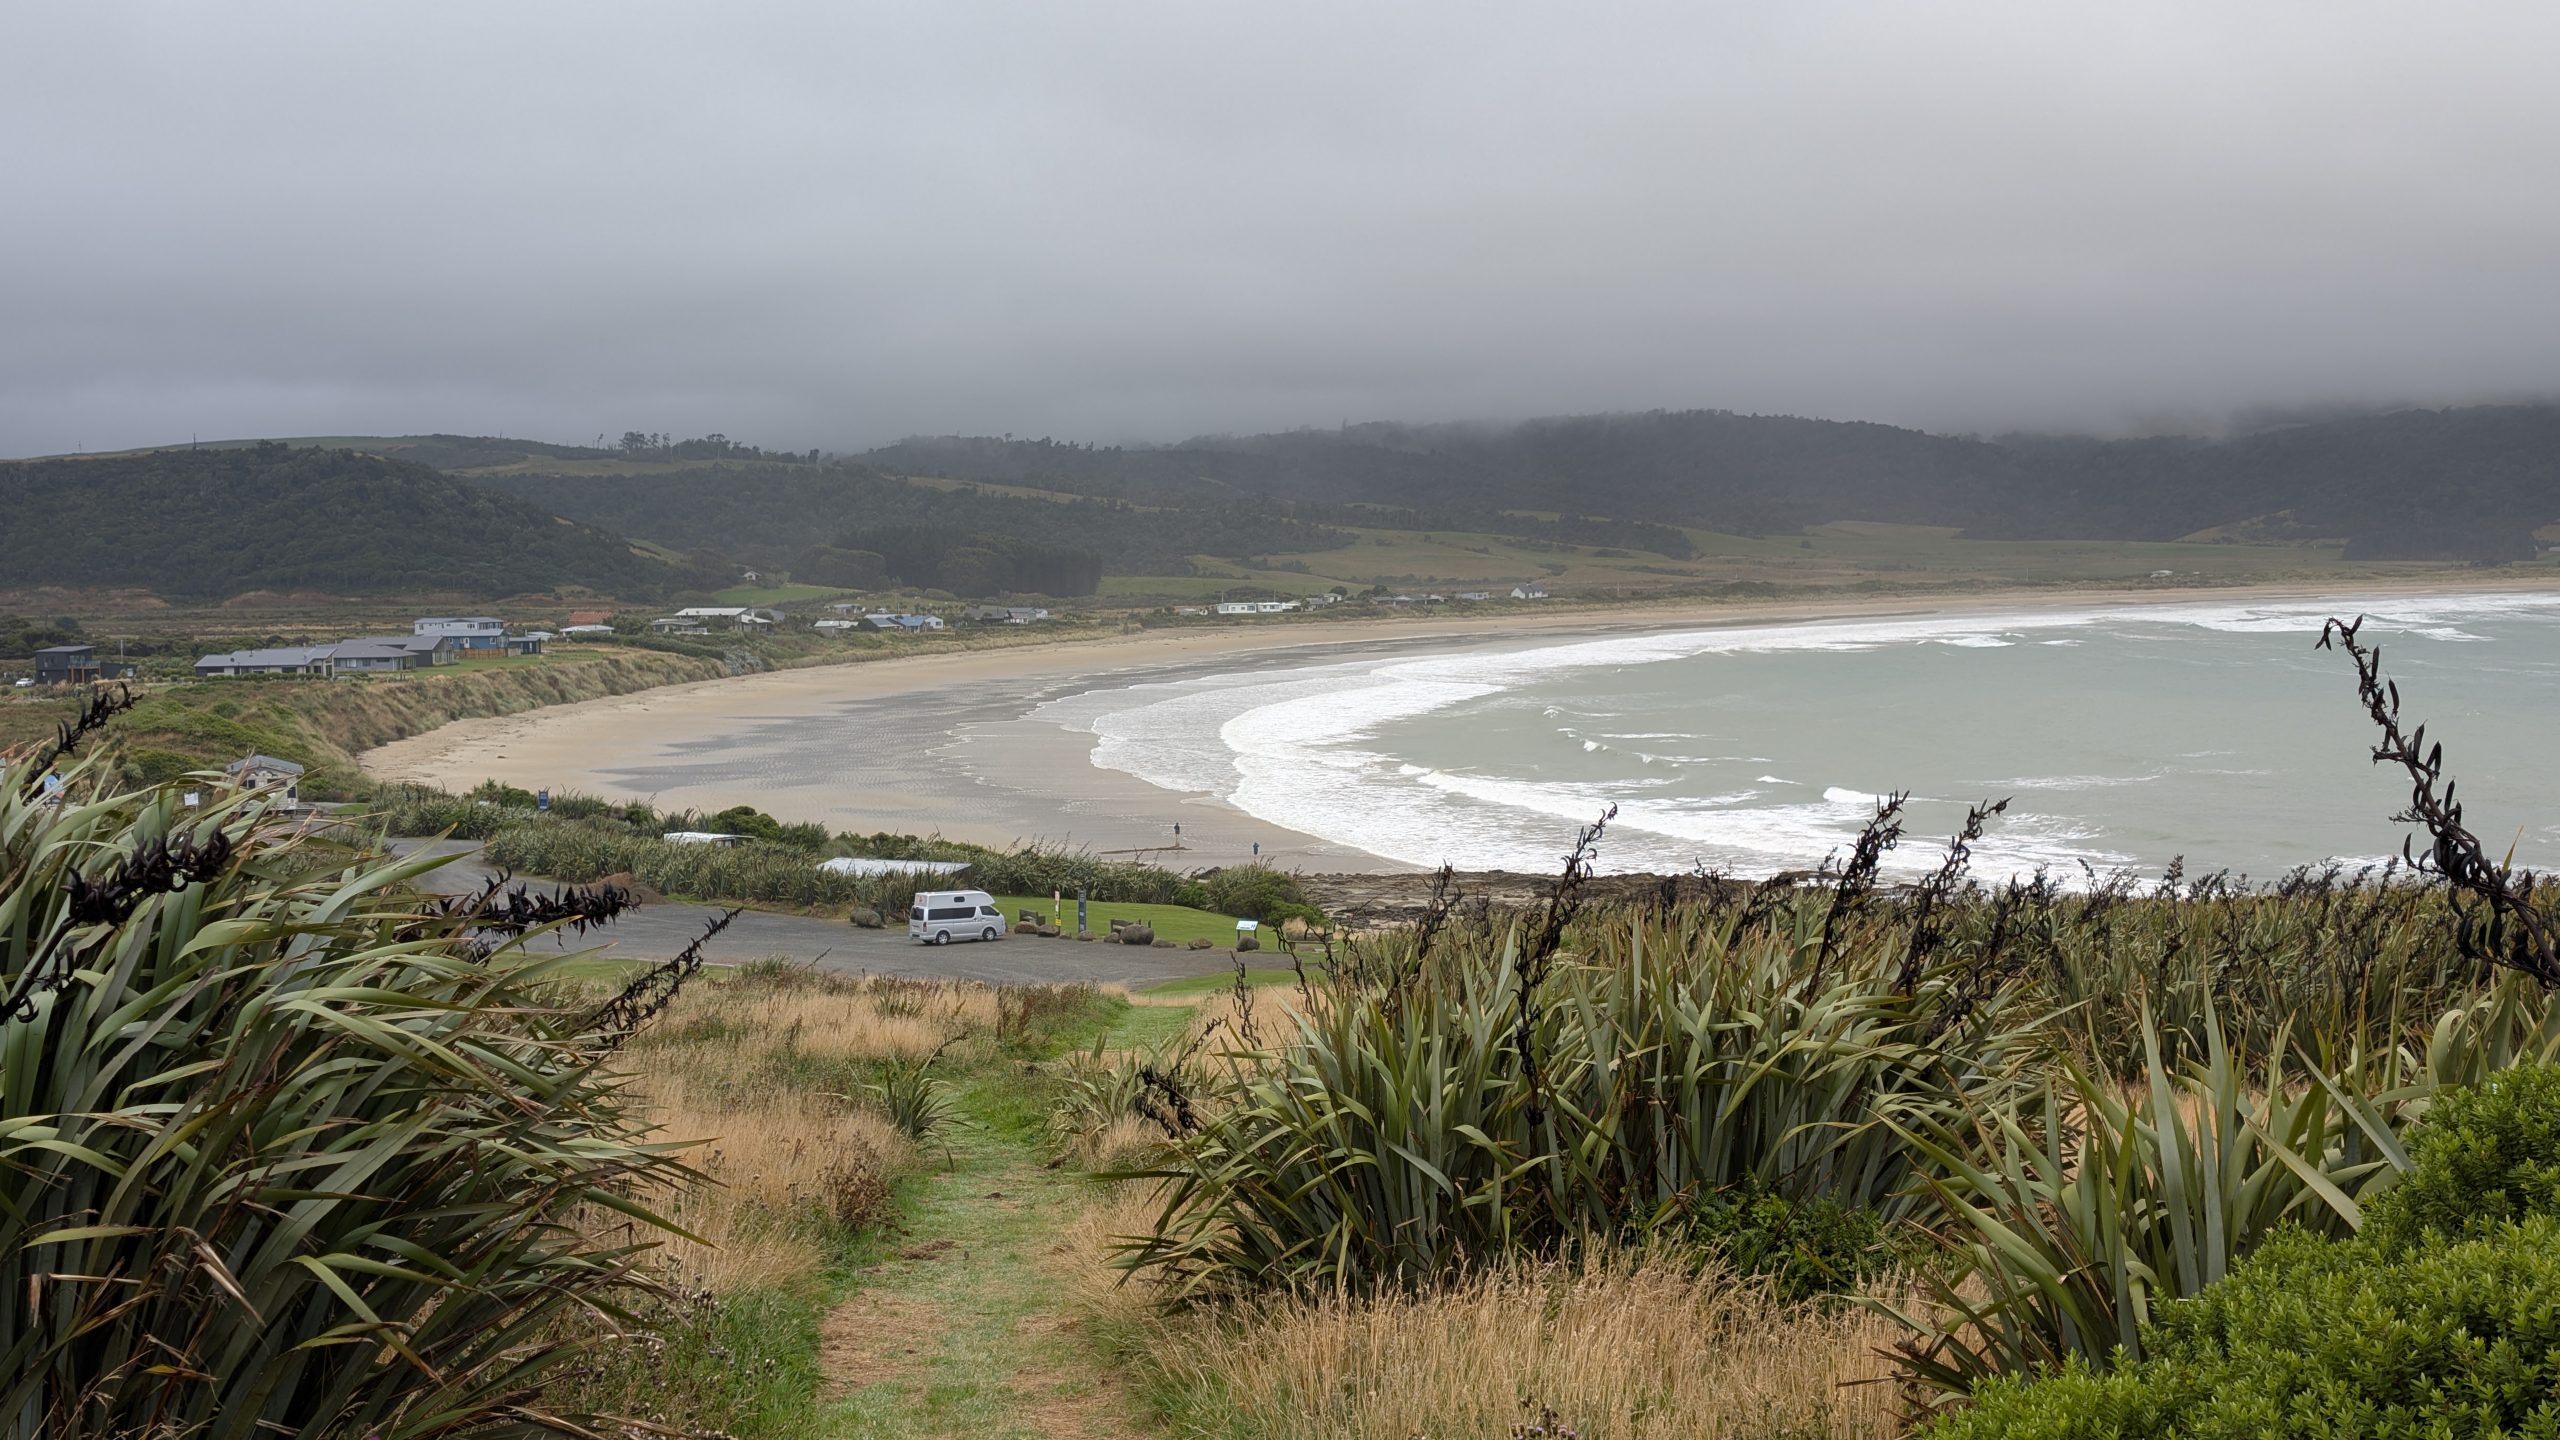
The weather rained off and on for the first couple of hours of the drive. But it improved as we drove further north. By the time we reached the town of Gore, it was partly cloudy. We stopped at a bakery in Gore to buy a few treats and a couple of steak and cheese pies for lunch.
Big fish statue in the town of Gore
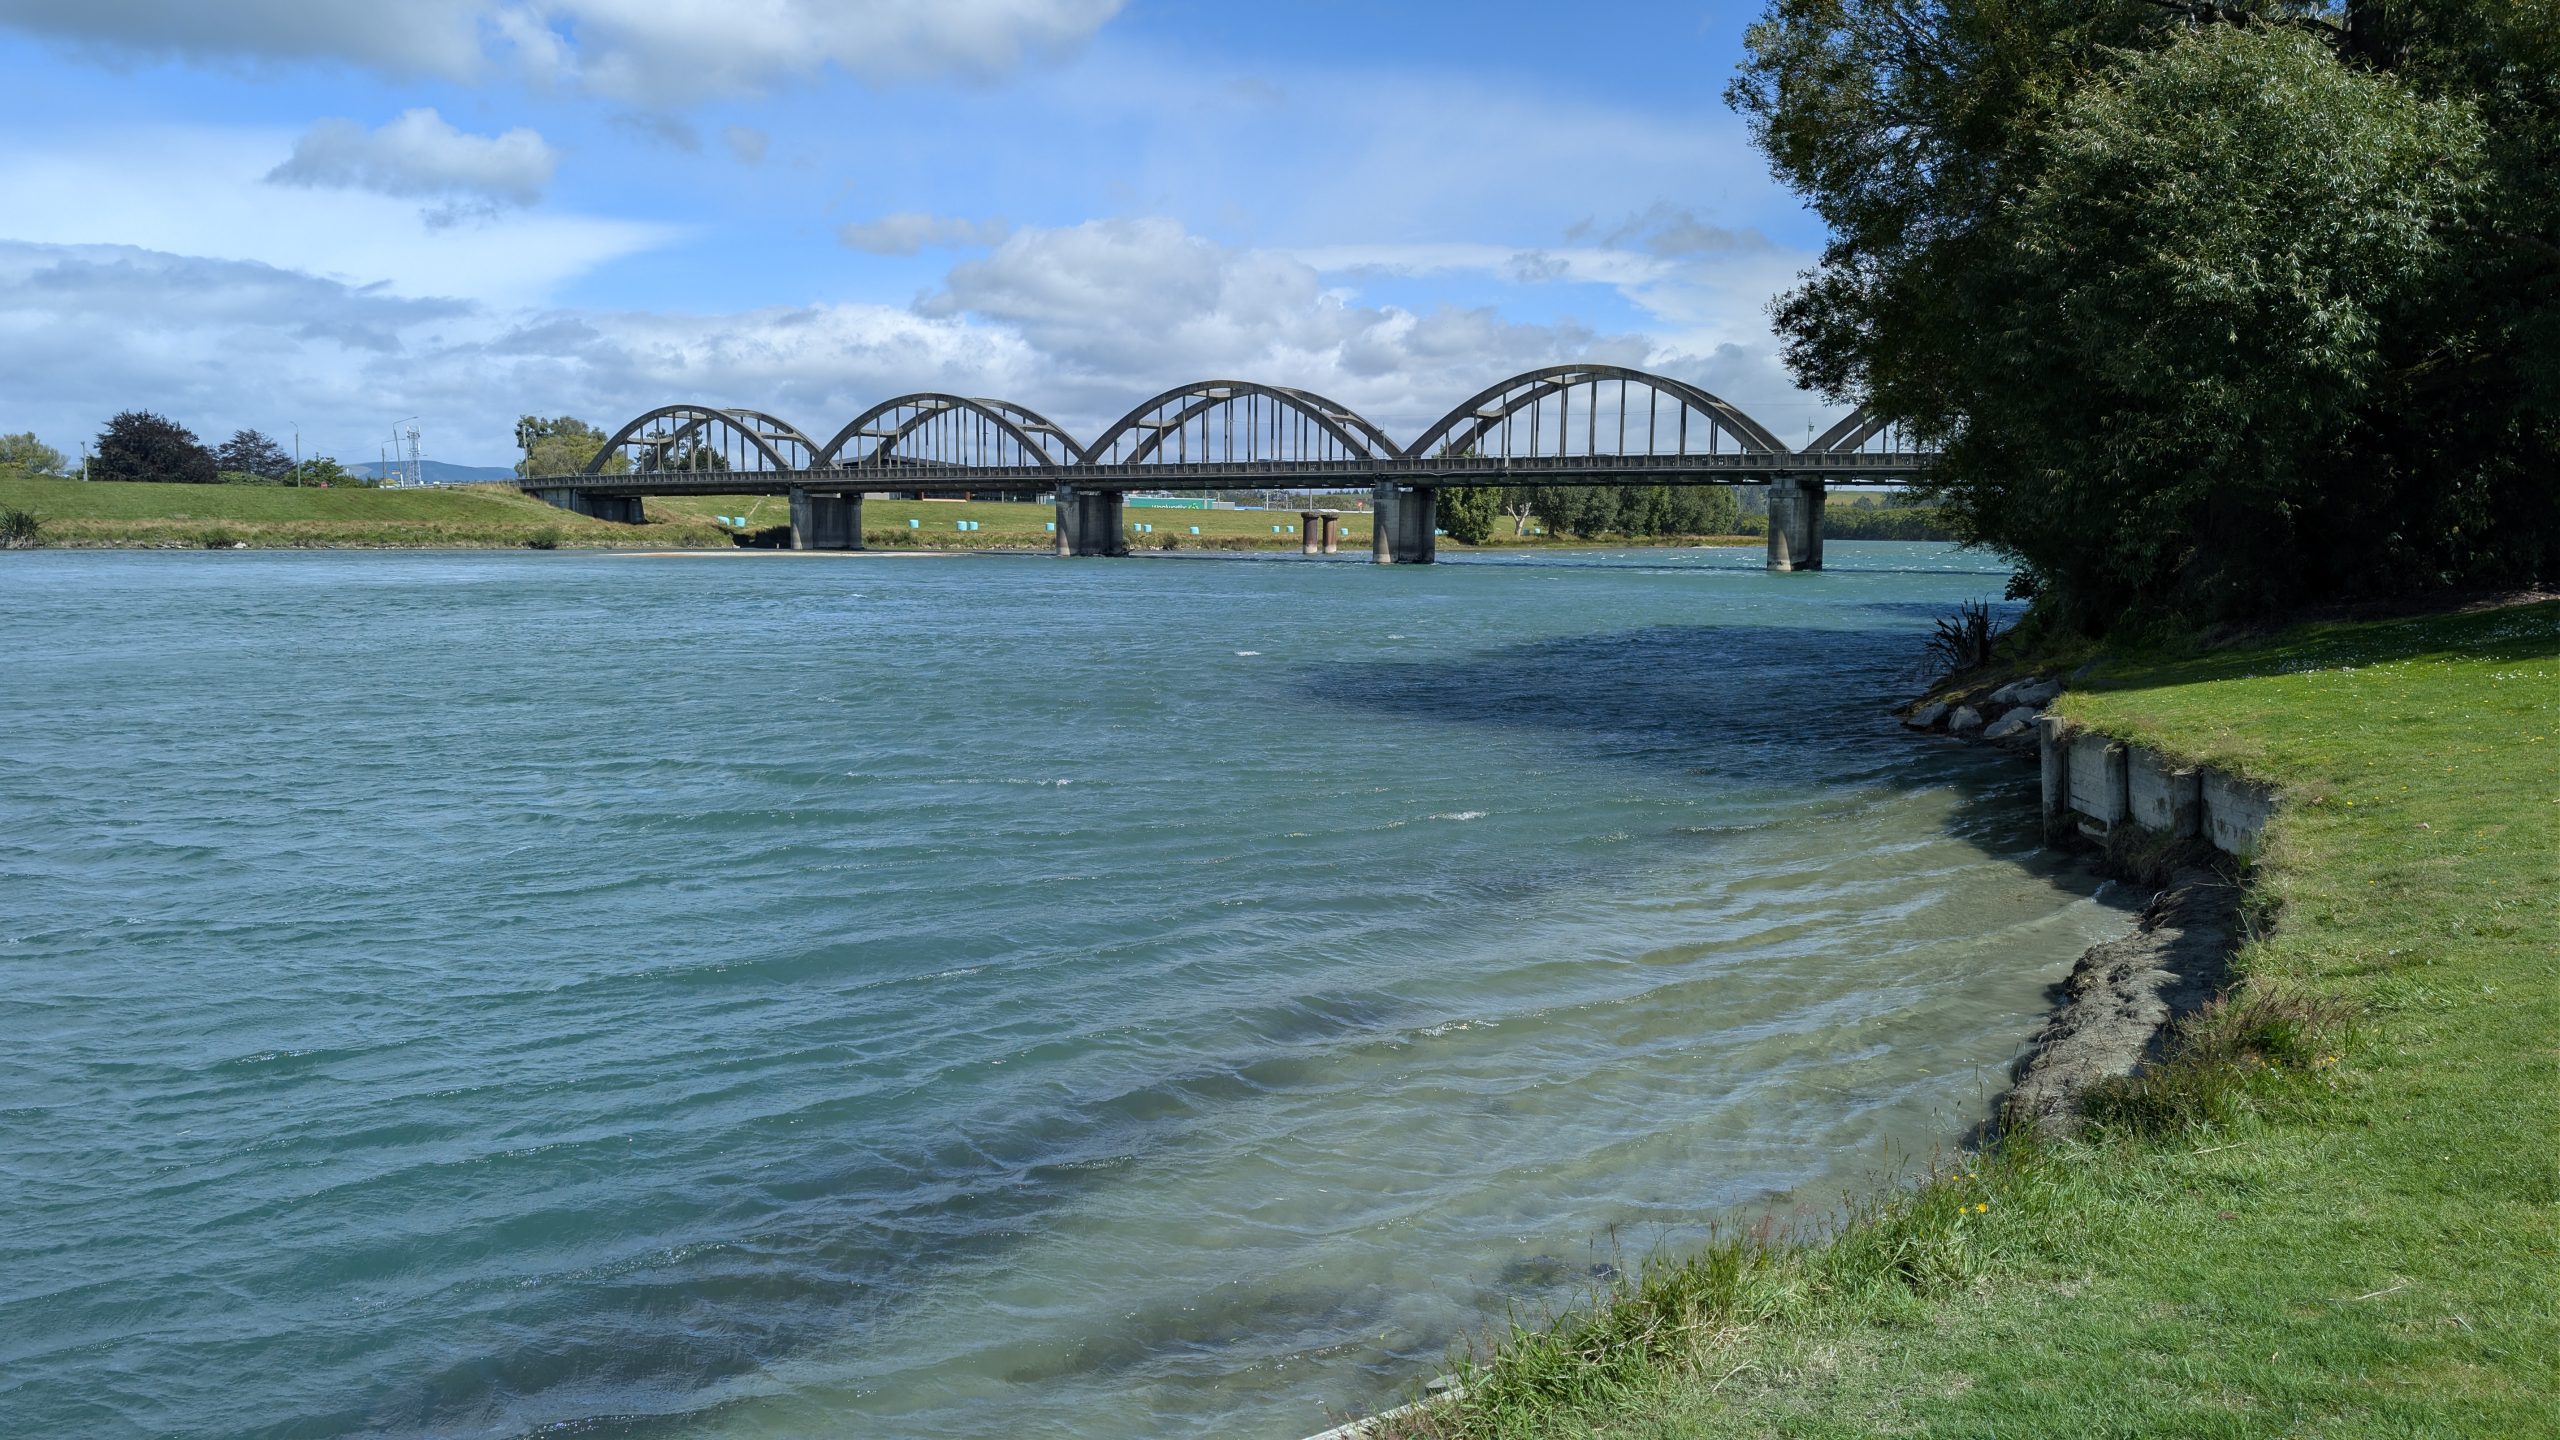
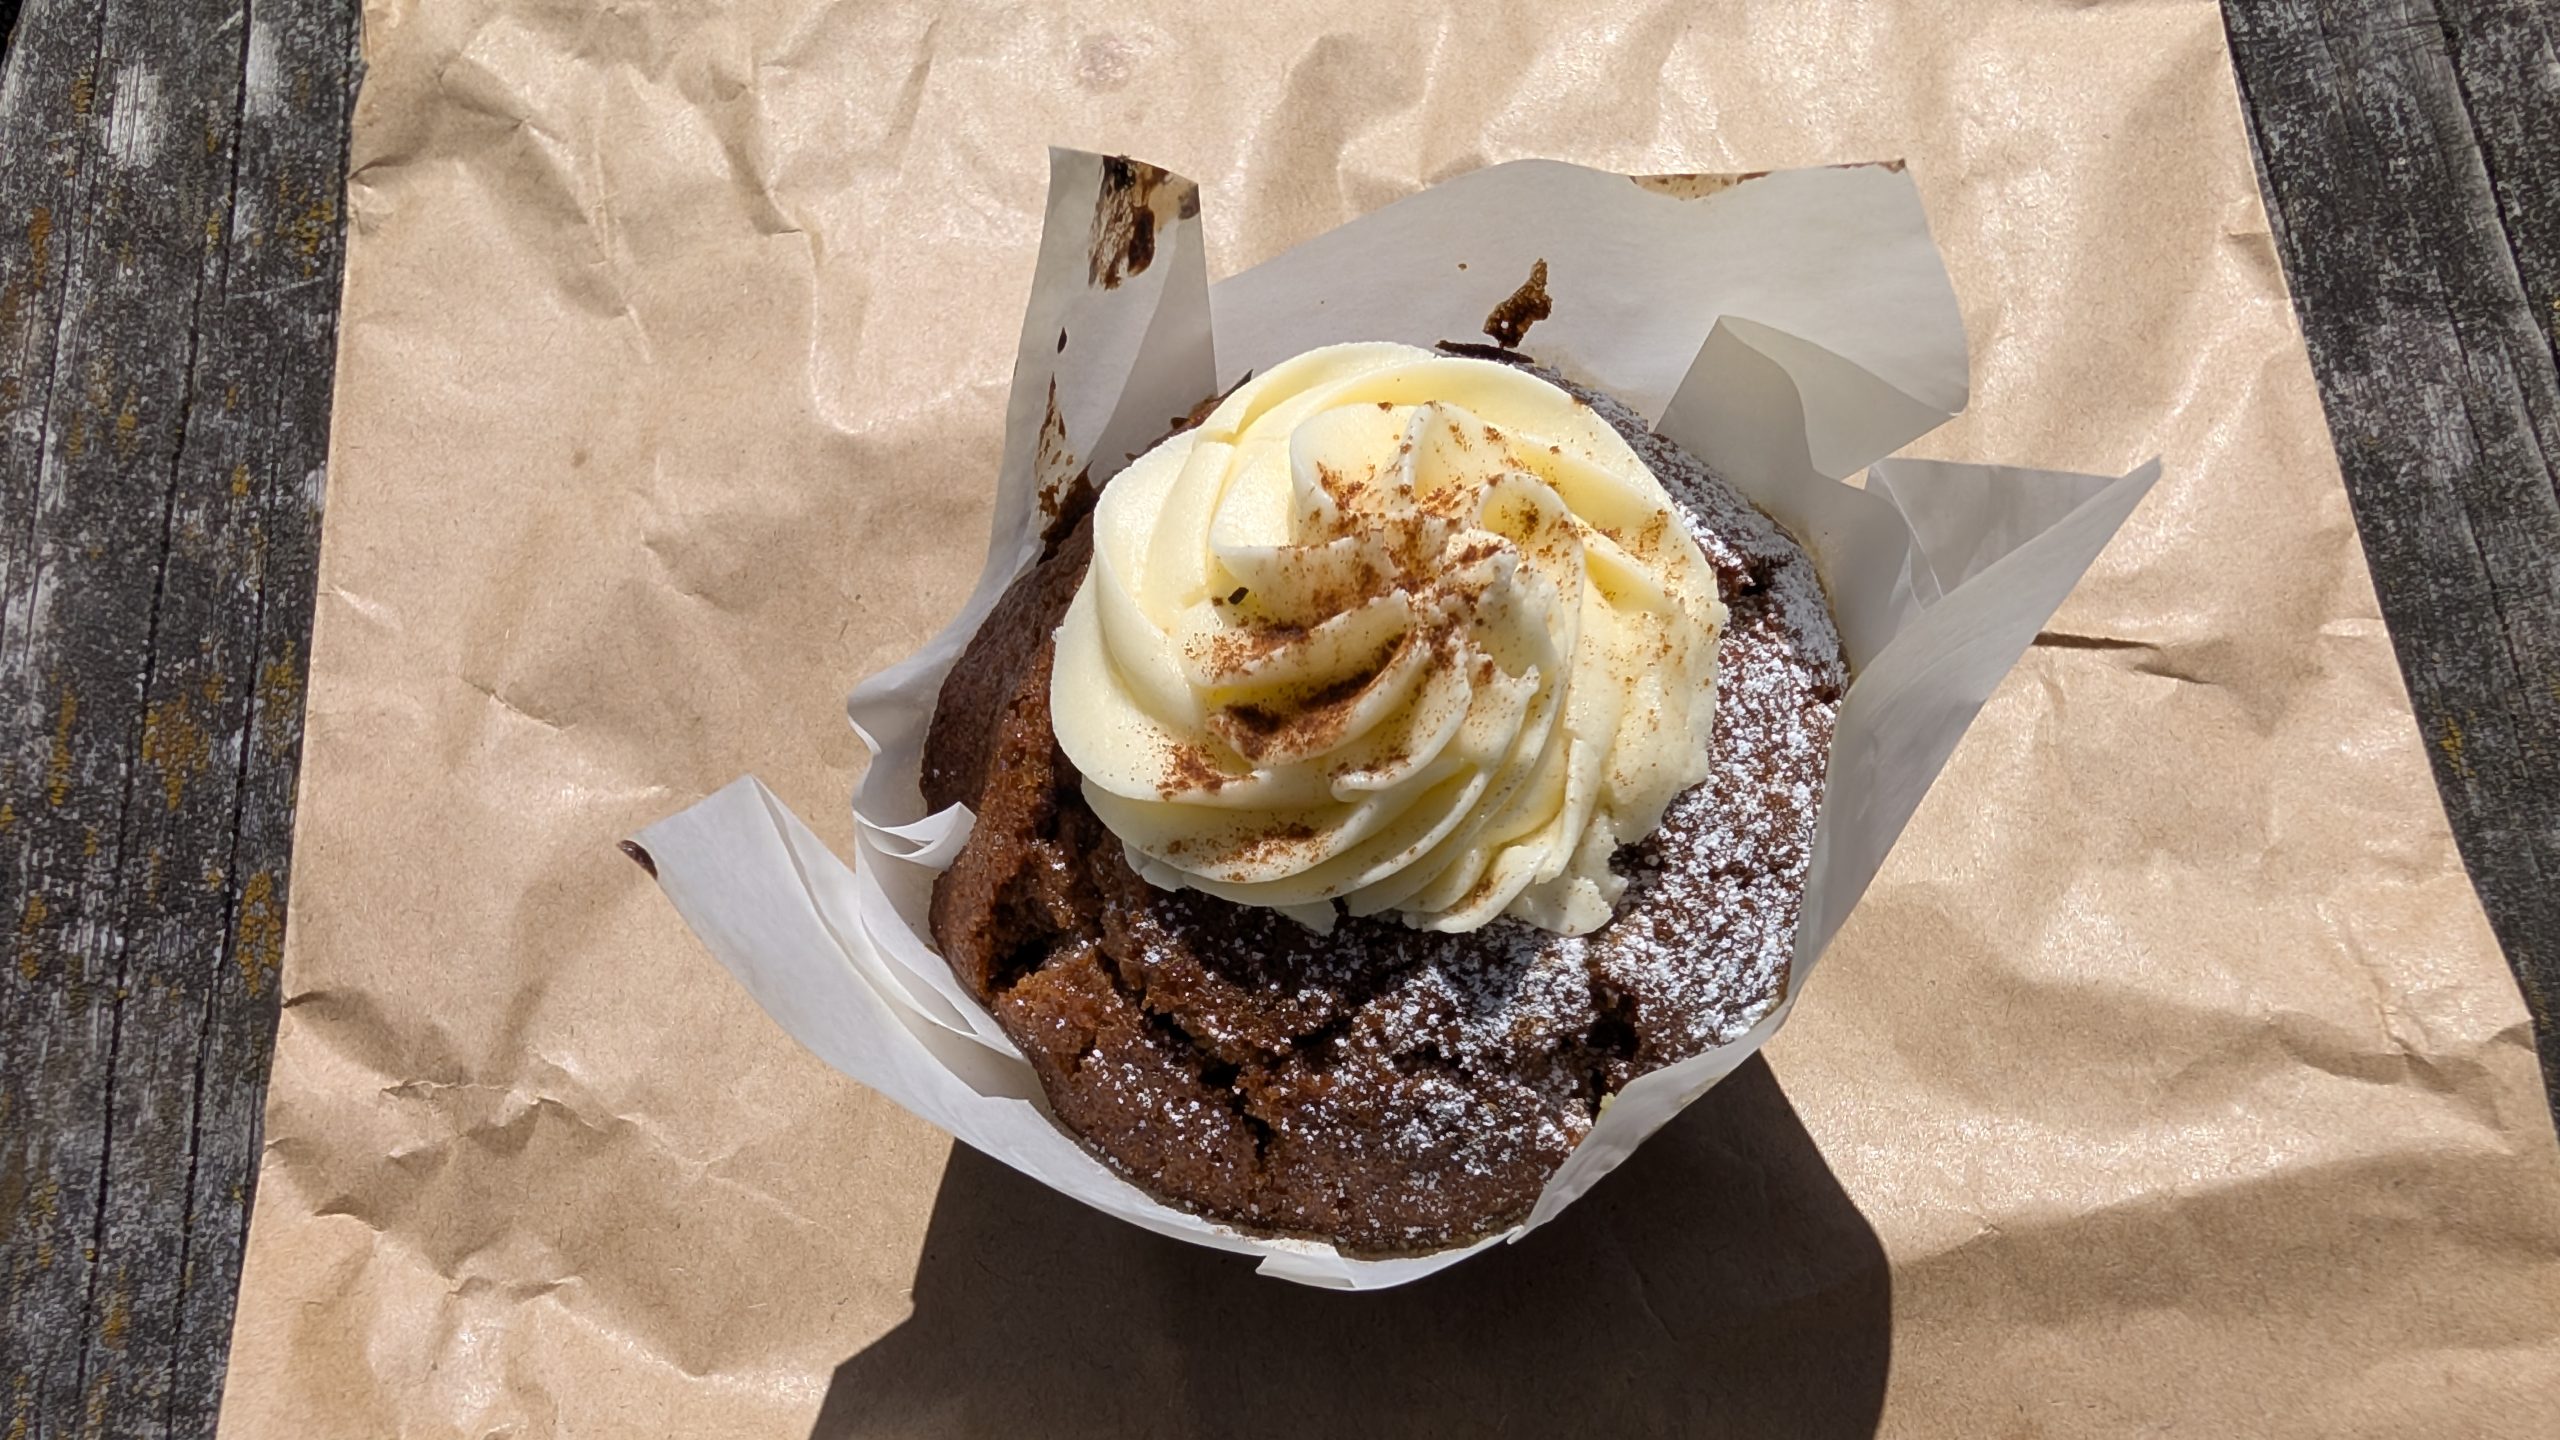
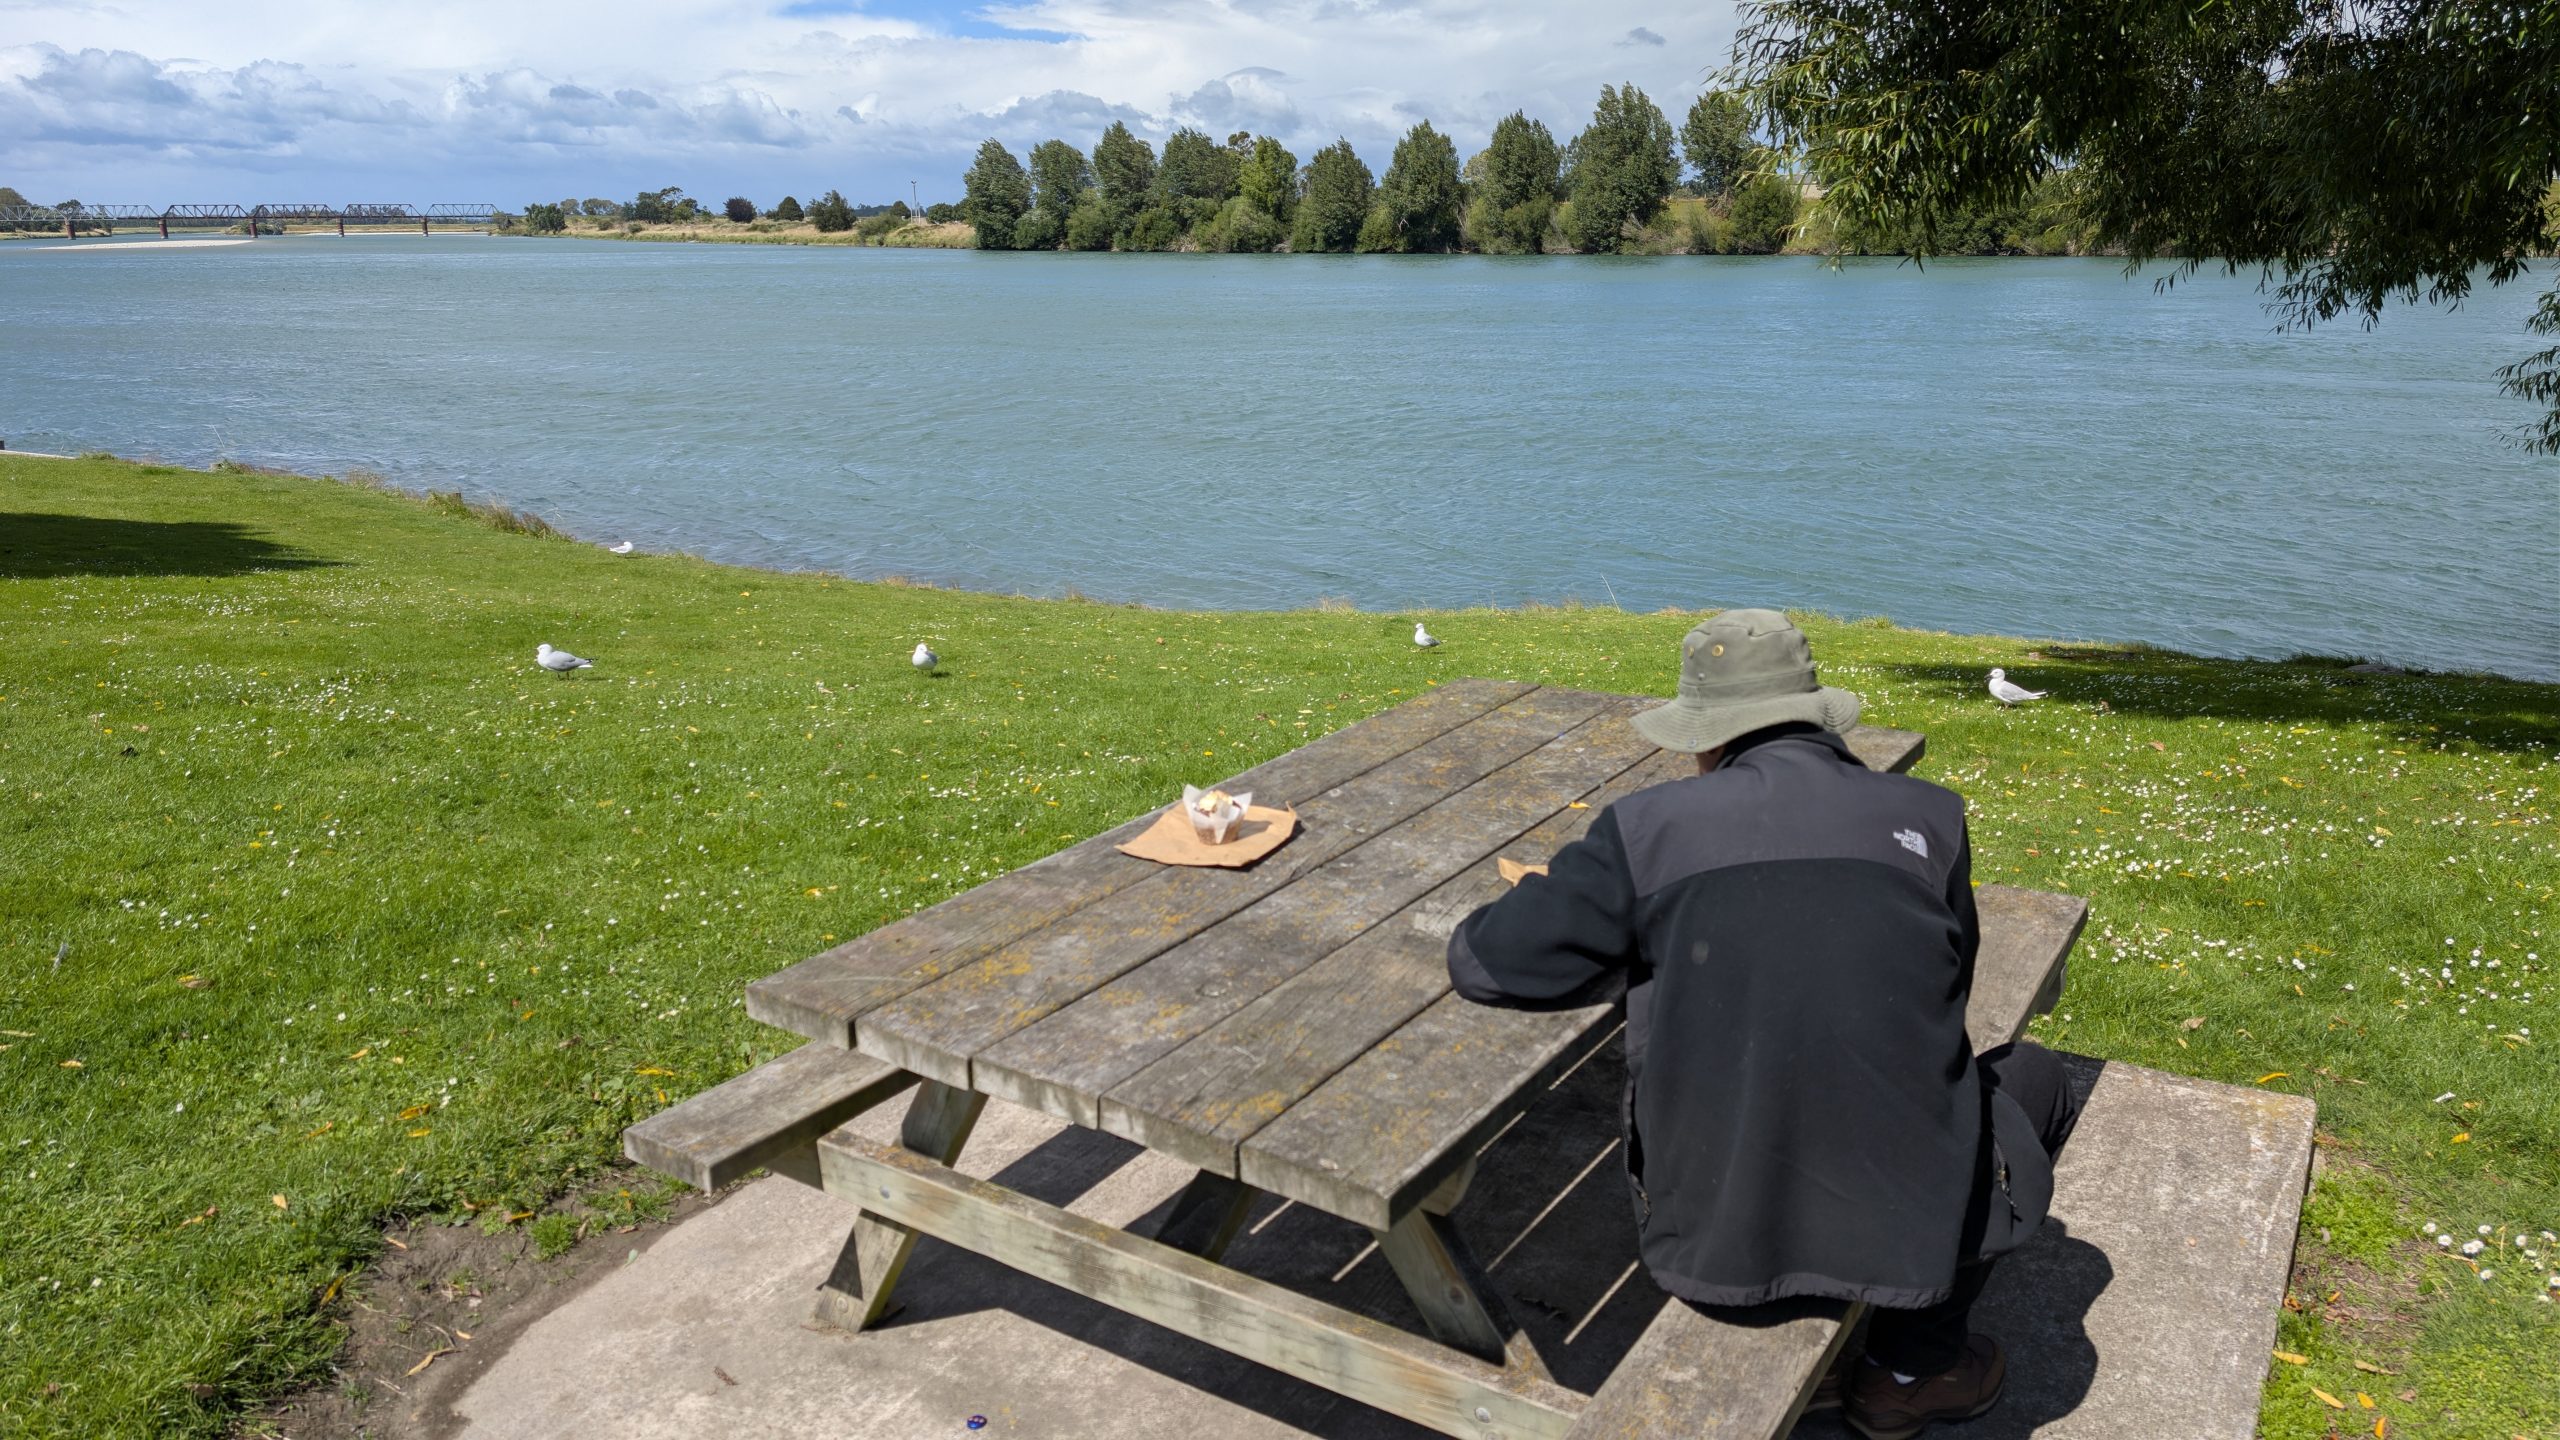
We ate our pies at a local park and then continued driving to the town of Balclutha. We stopped at the Arthur Strang Reserve at the edge of the Clutha River to eat our bakery treats.
State Highway 1 bridge over the Clutha River, view from Arthur Strang ReserveCarrot cake muffinEating our treats at the Arthur Strang Reserve
We drove on into Dunedin where we stopped at the Pak'nSave store at the edge of town to buy groceries for the new few days. Then we drove the rest of the way to the Otago Peninsula and our AirBnb rental.
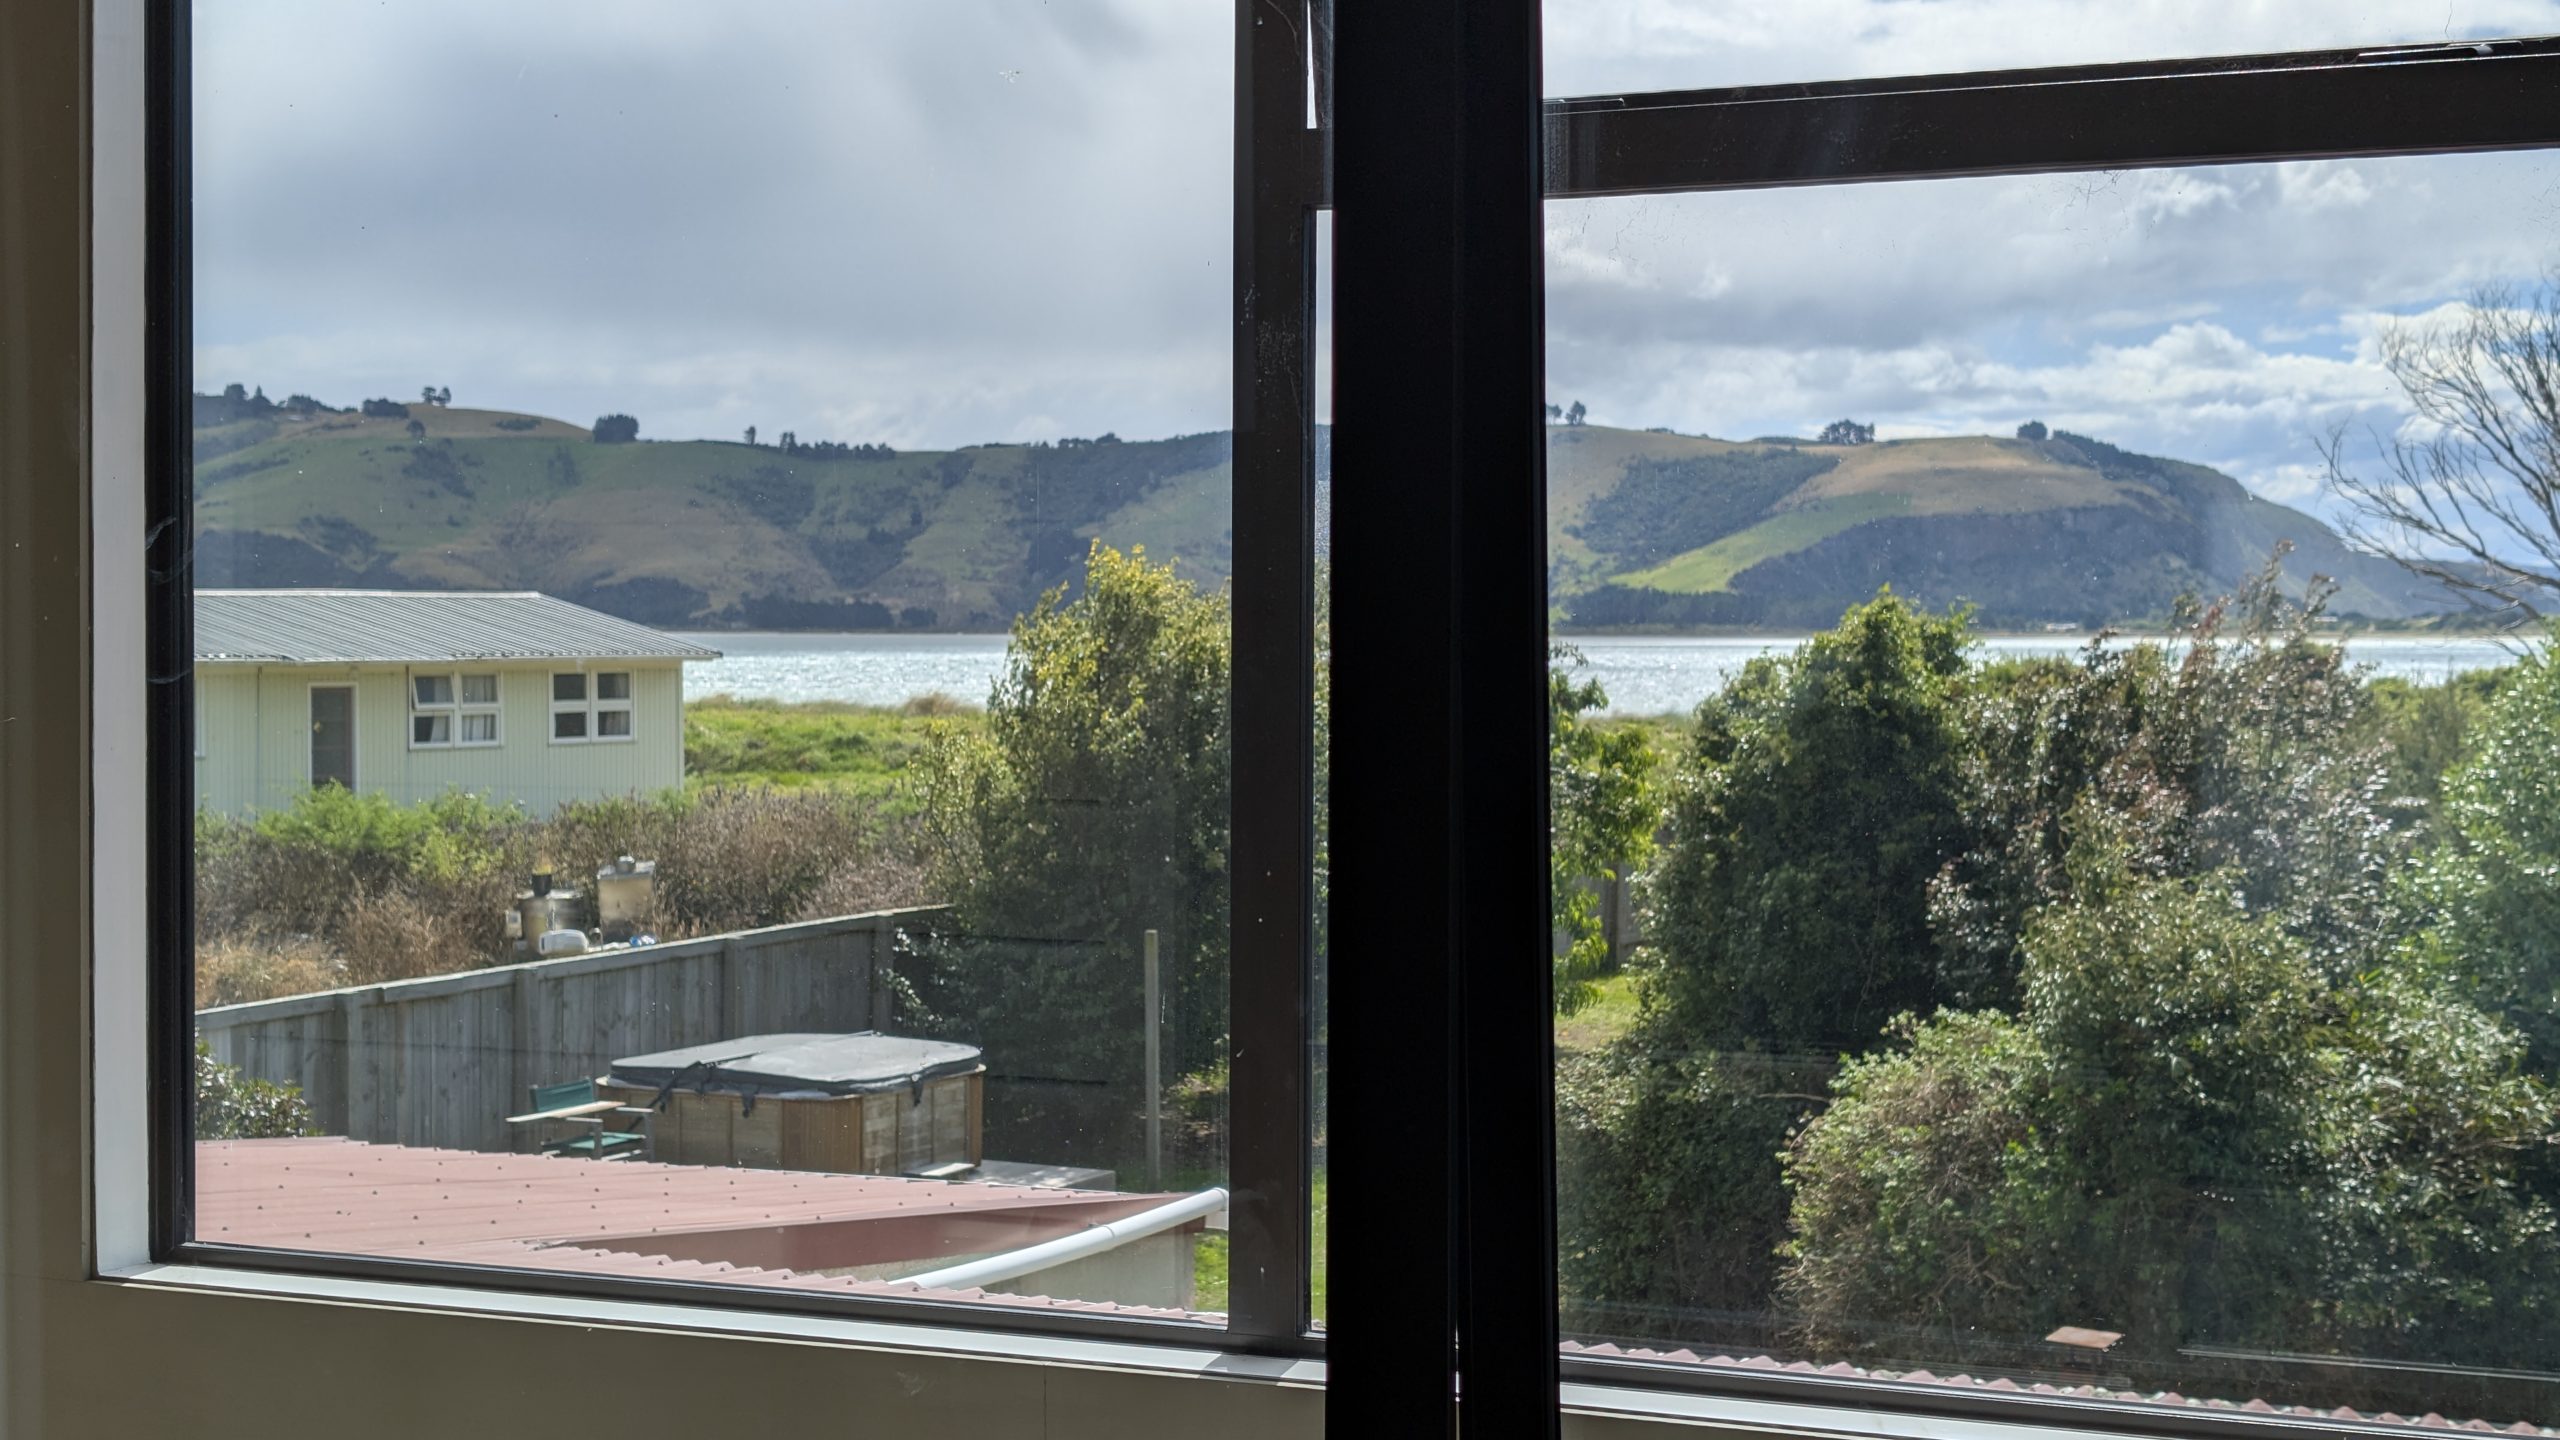
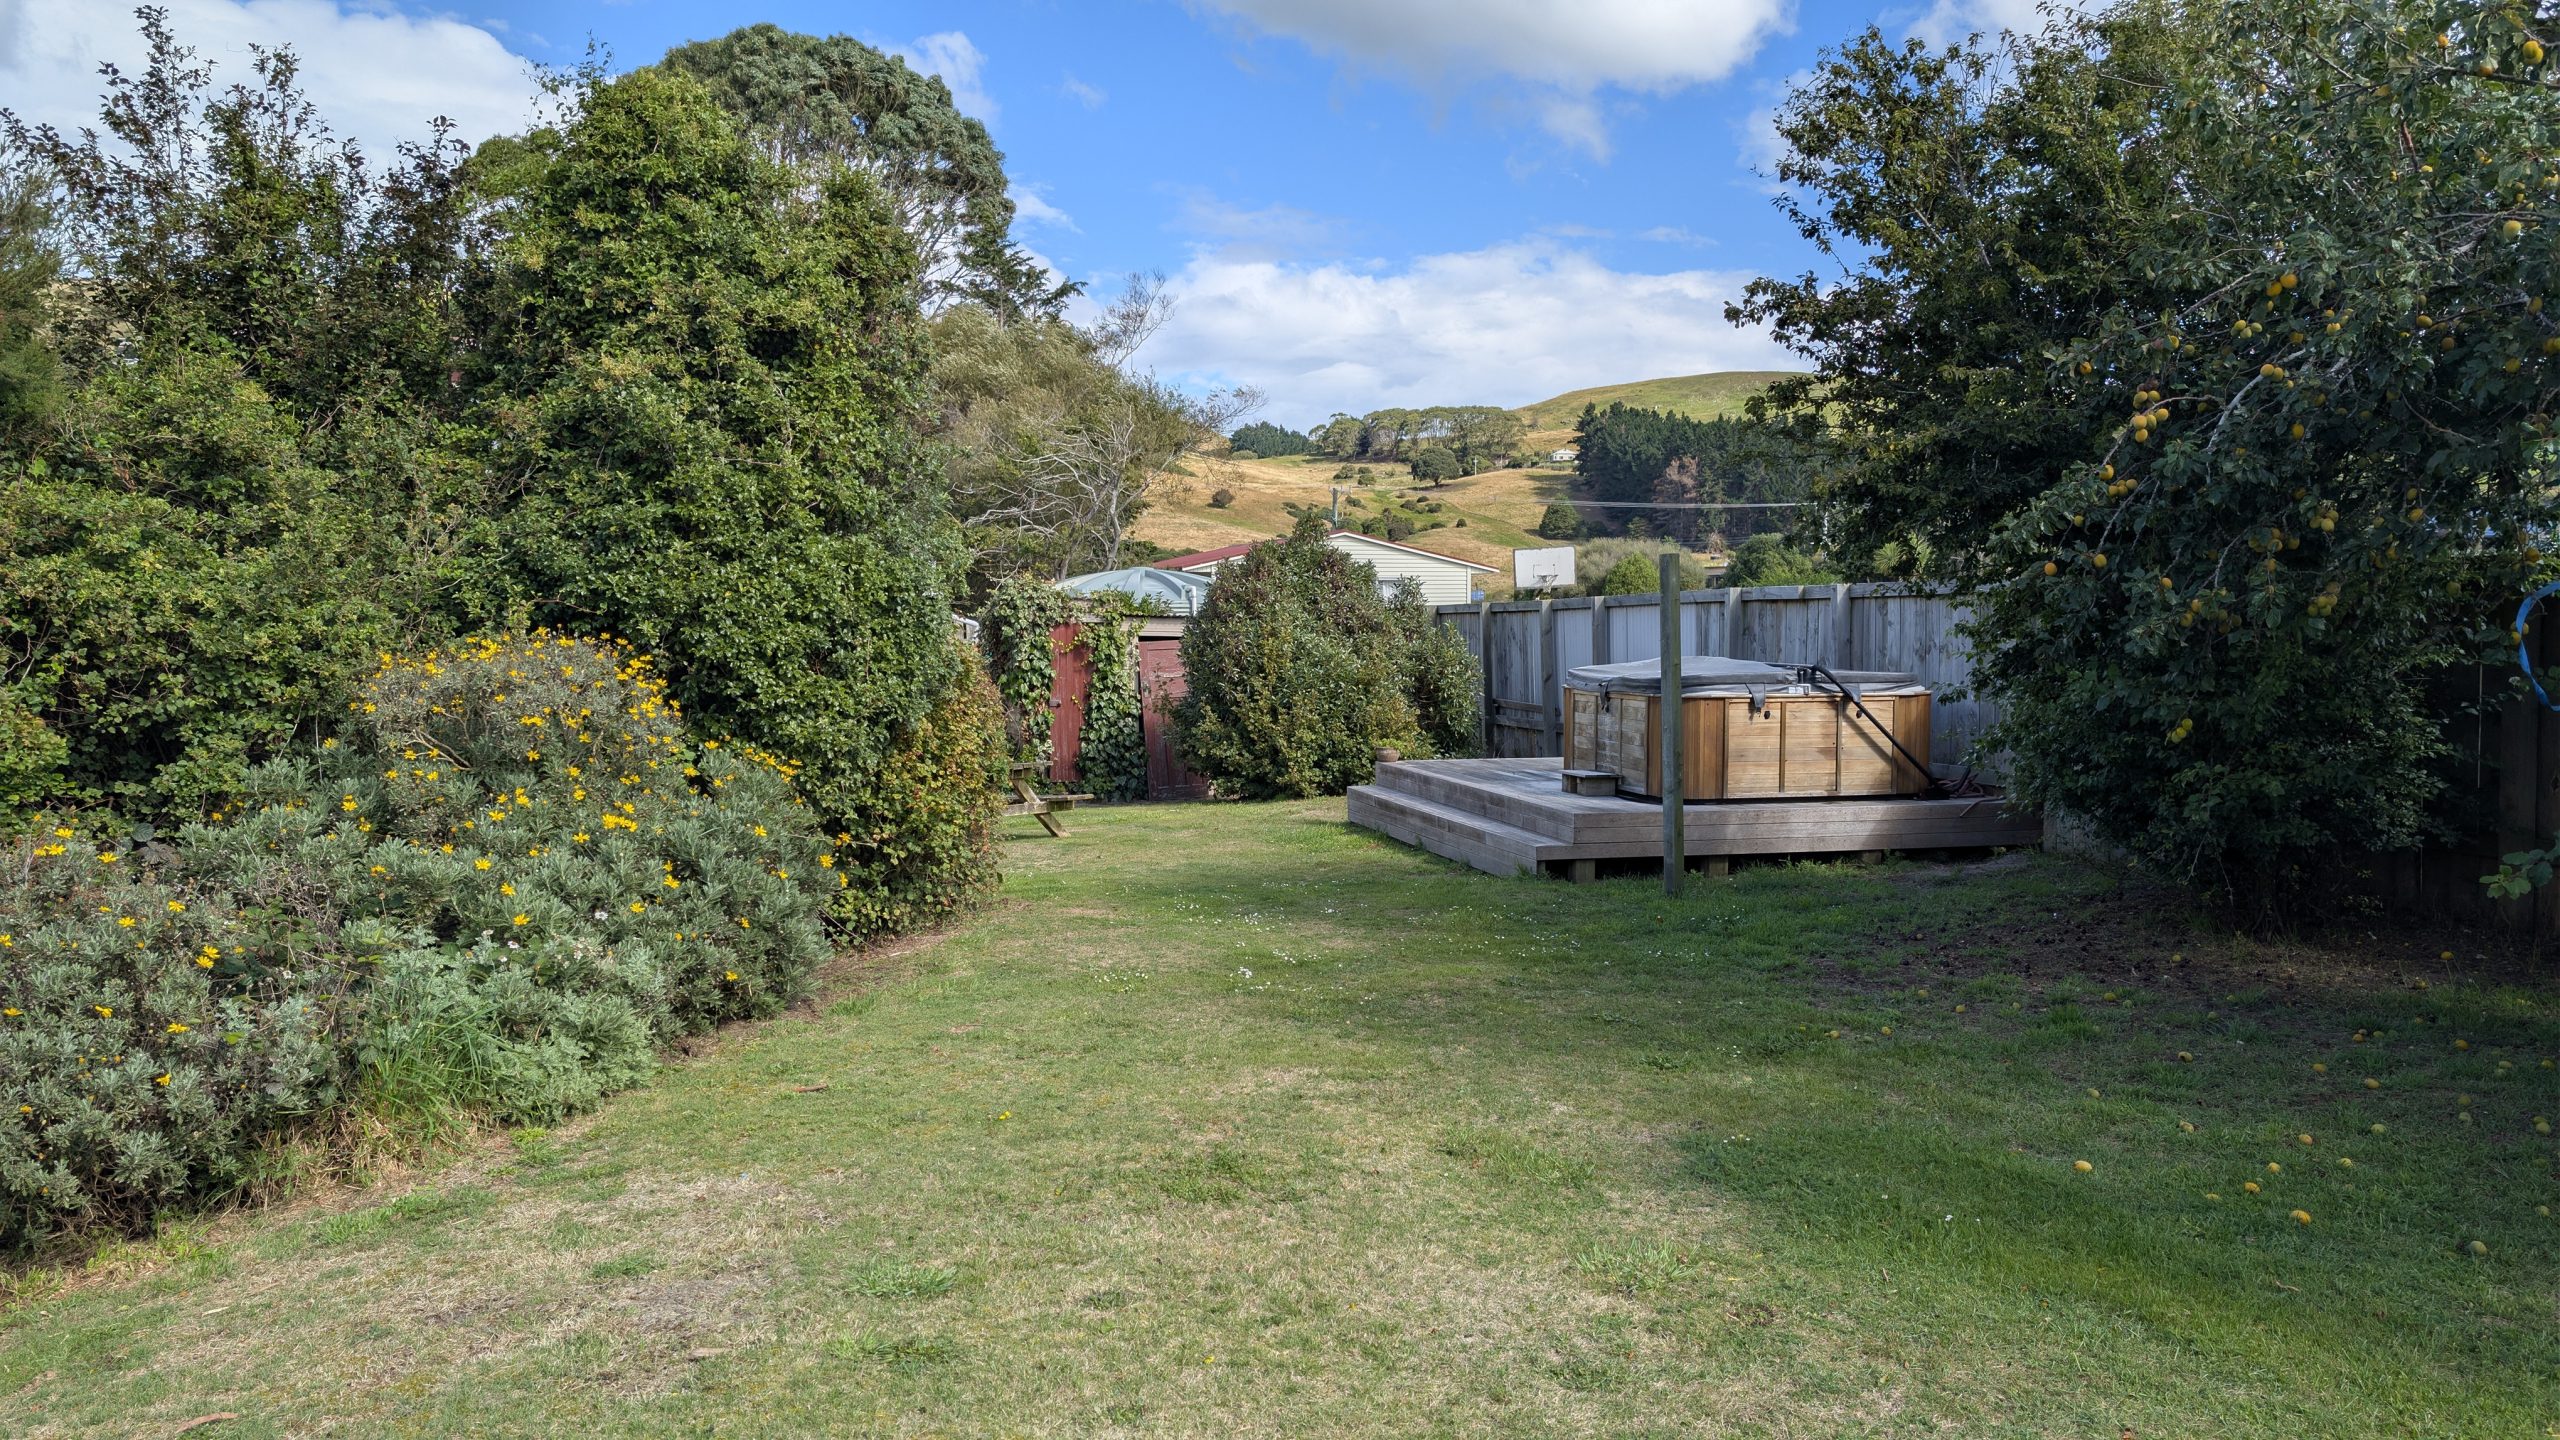
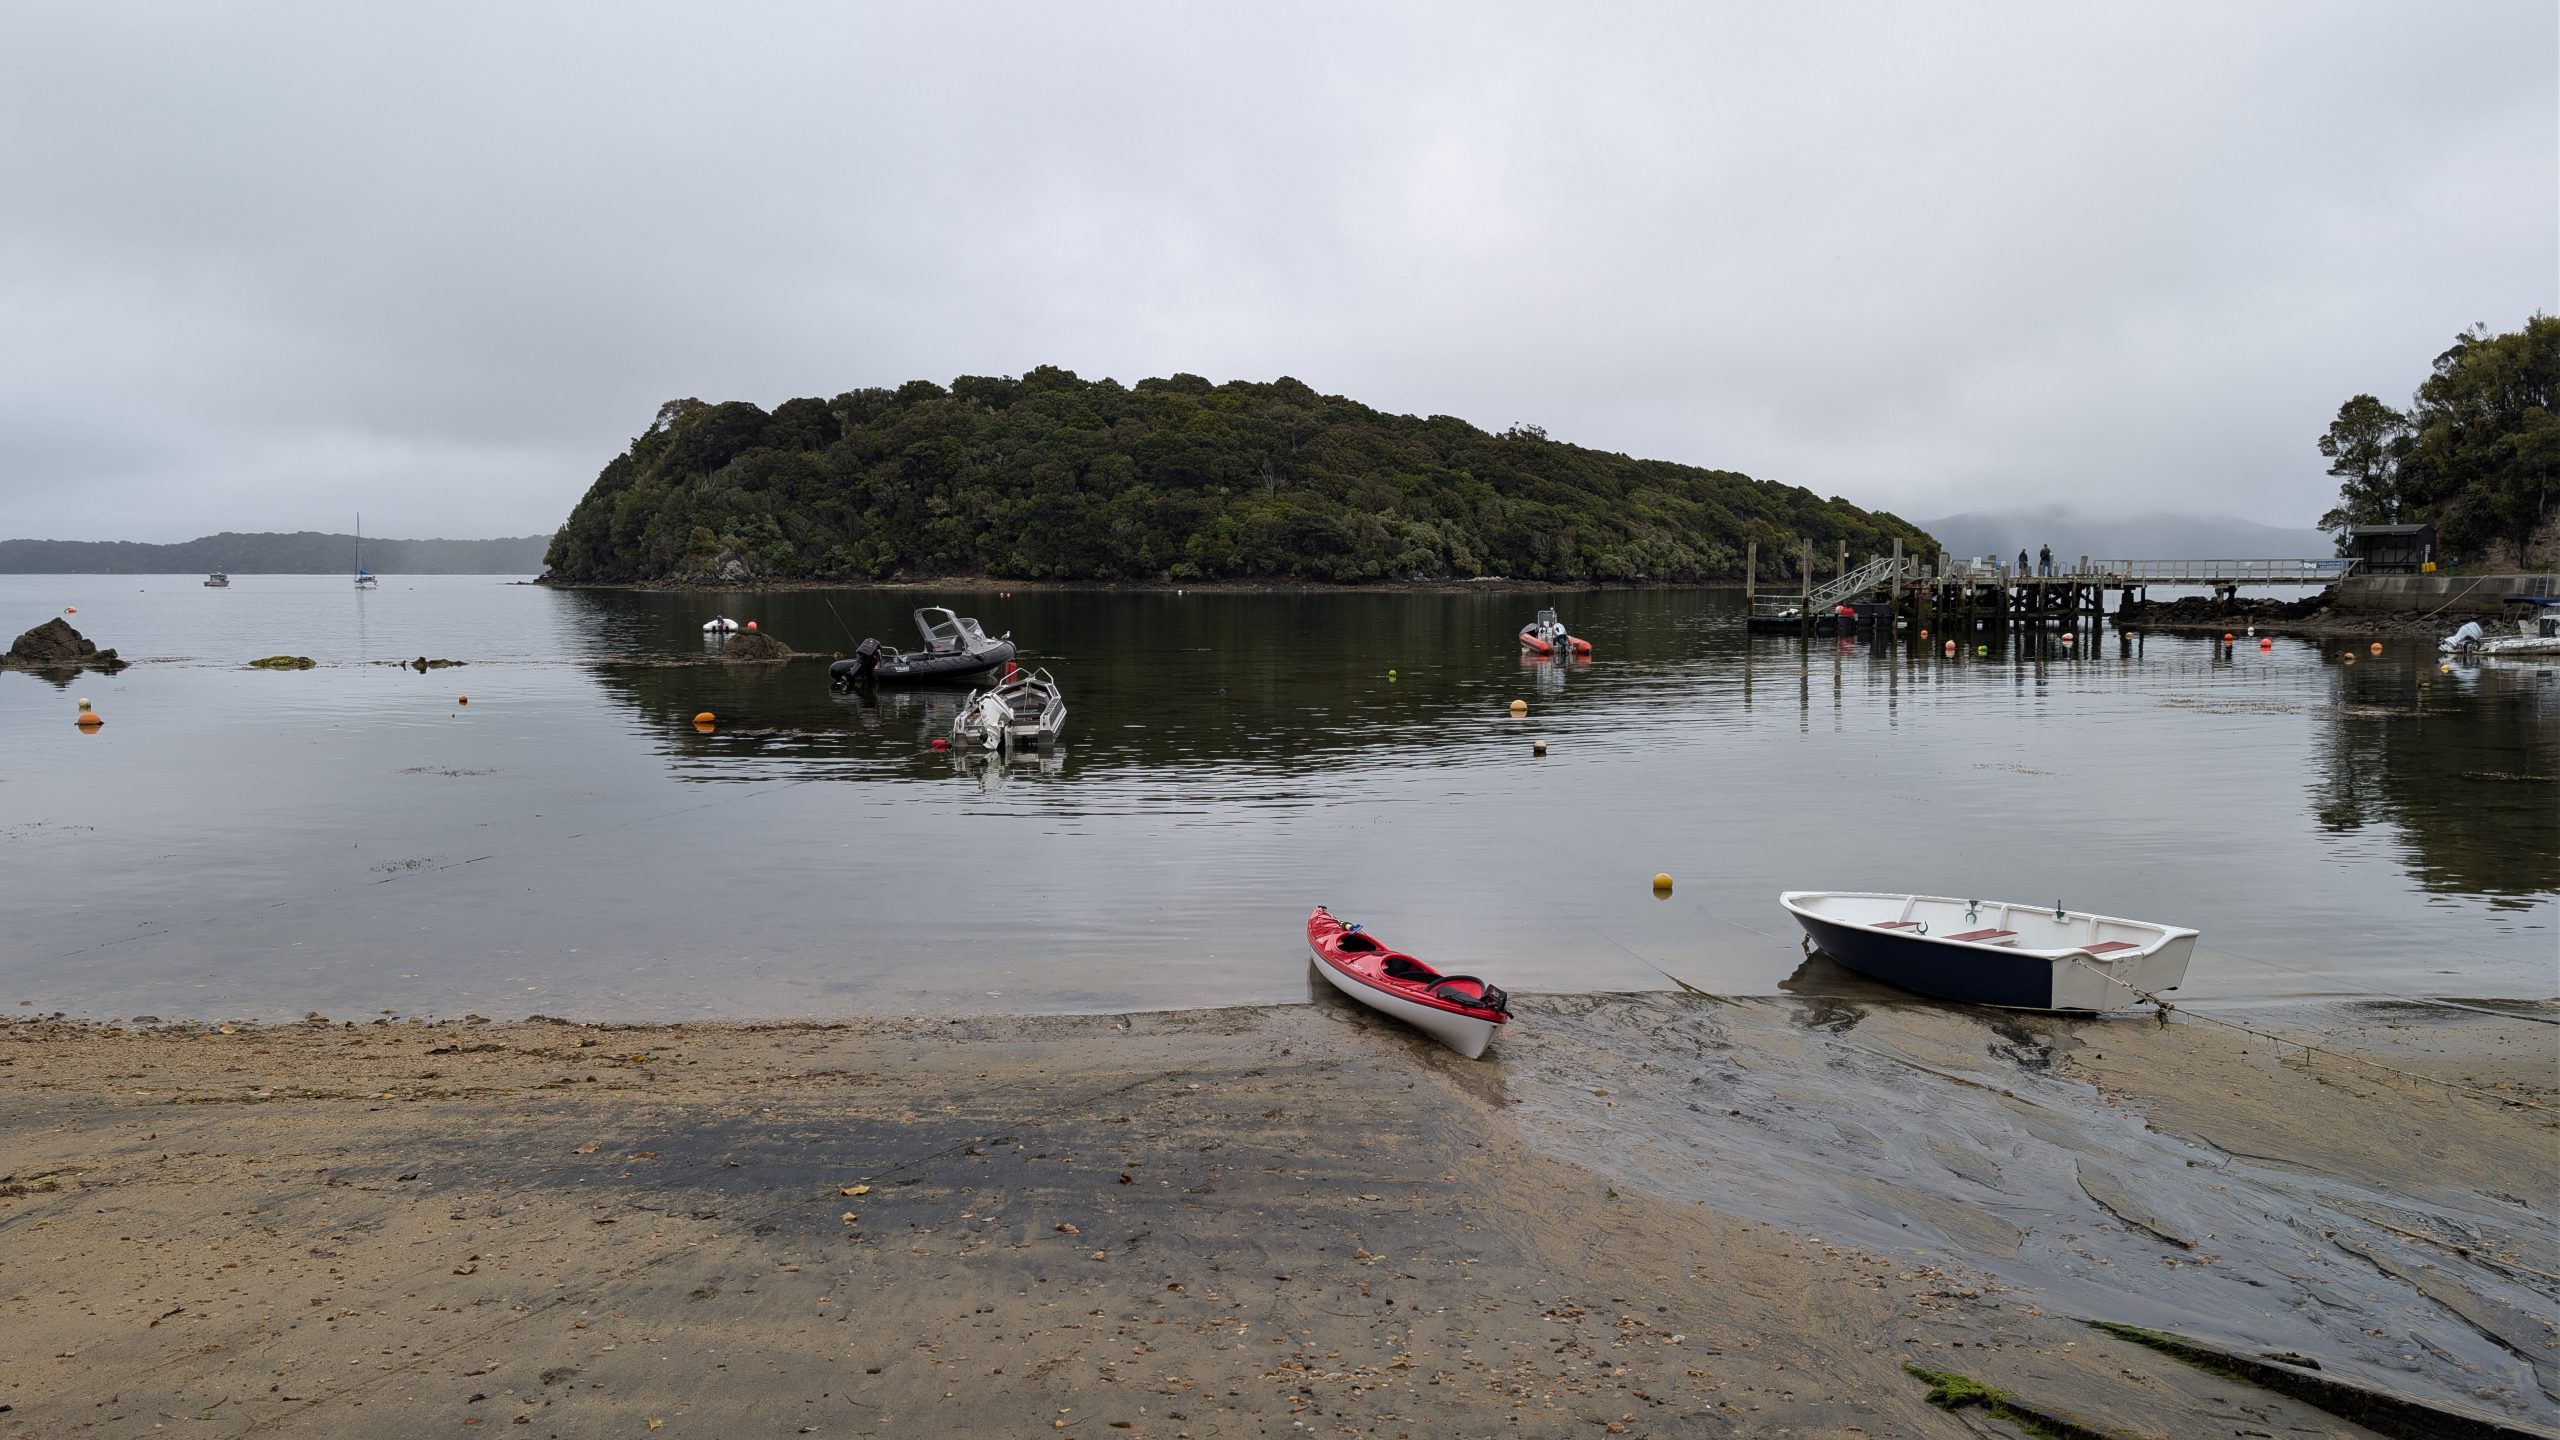
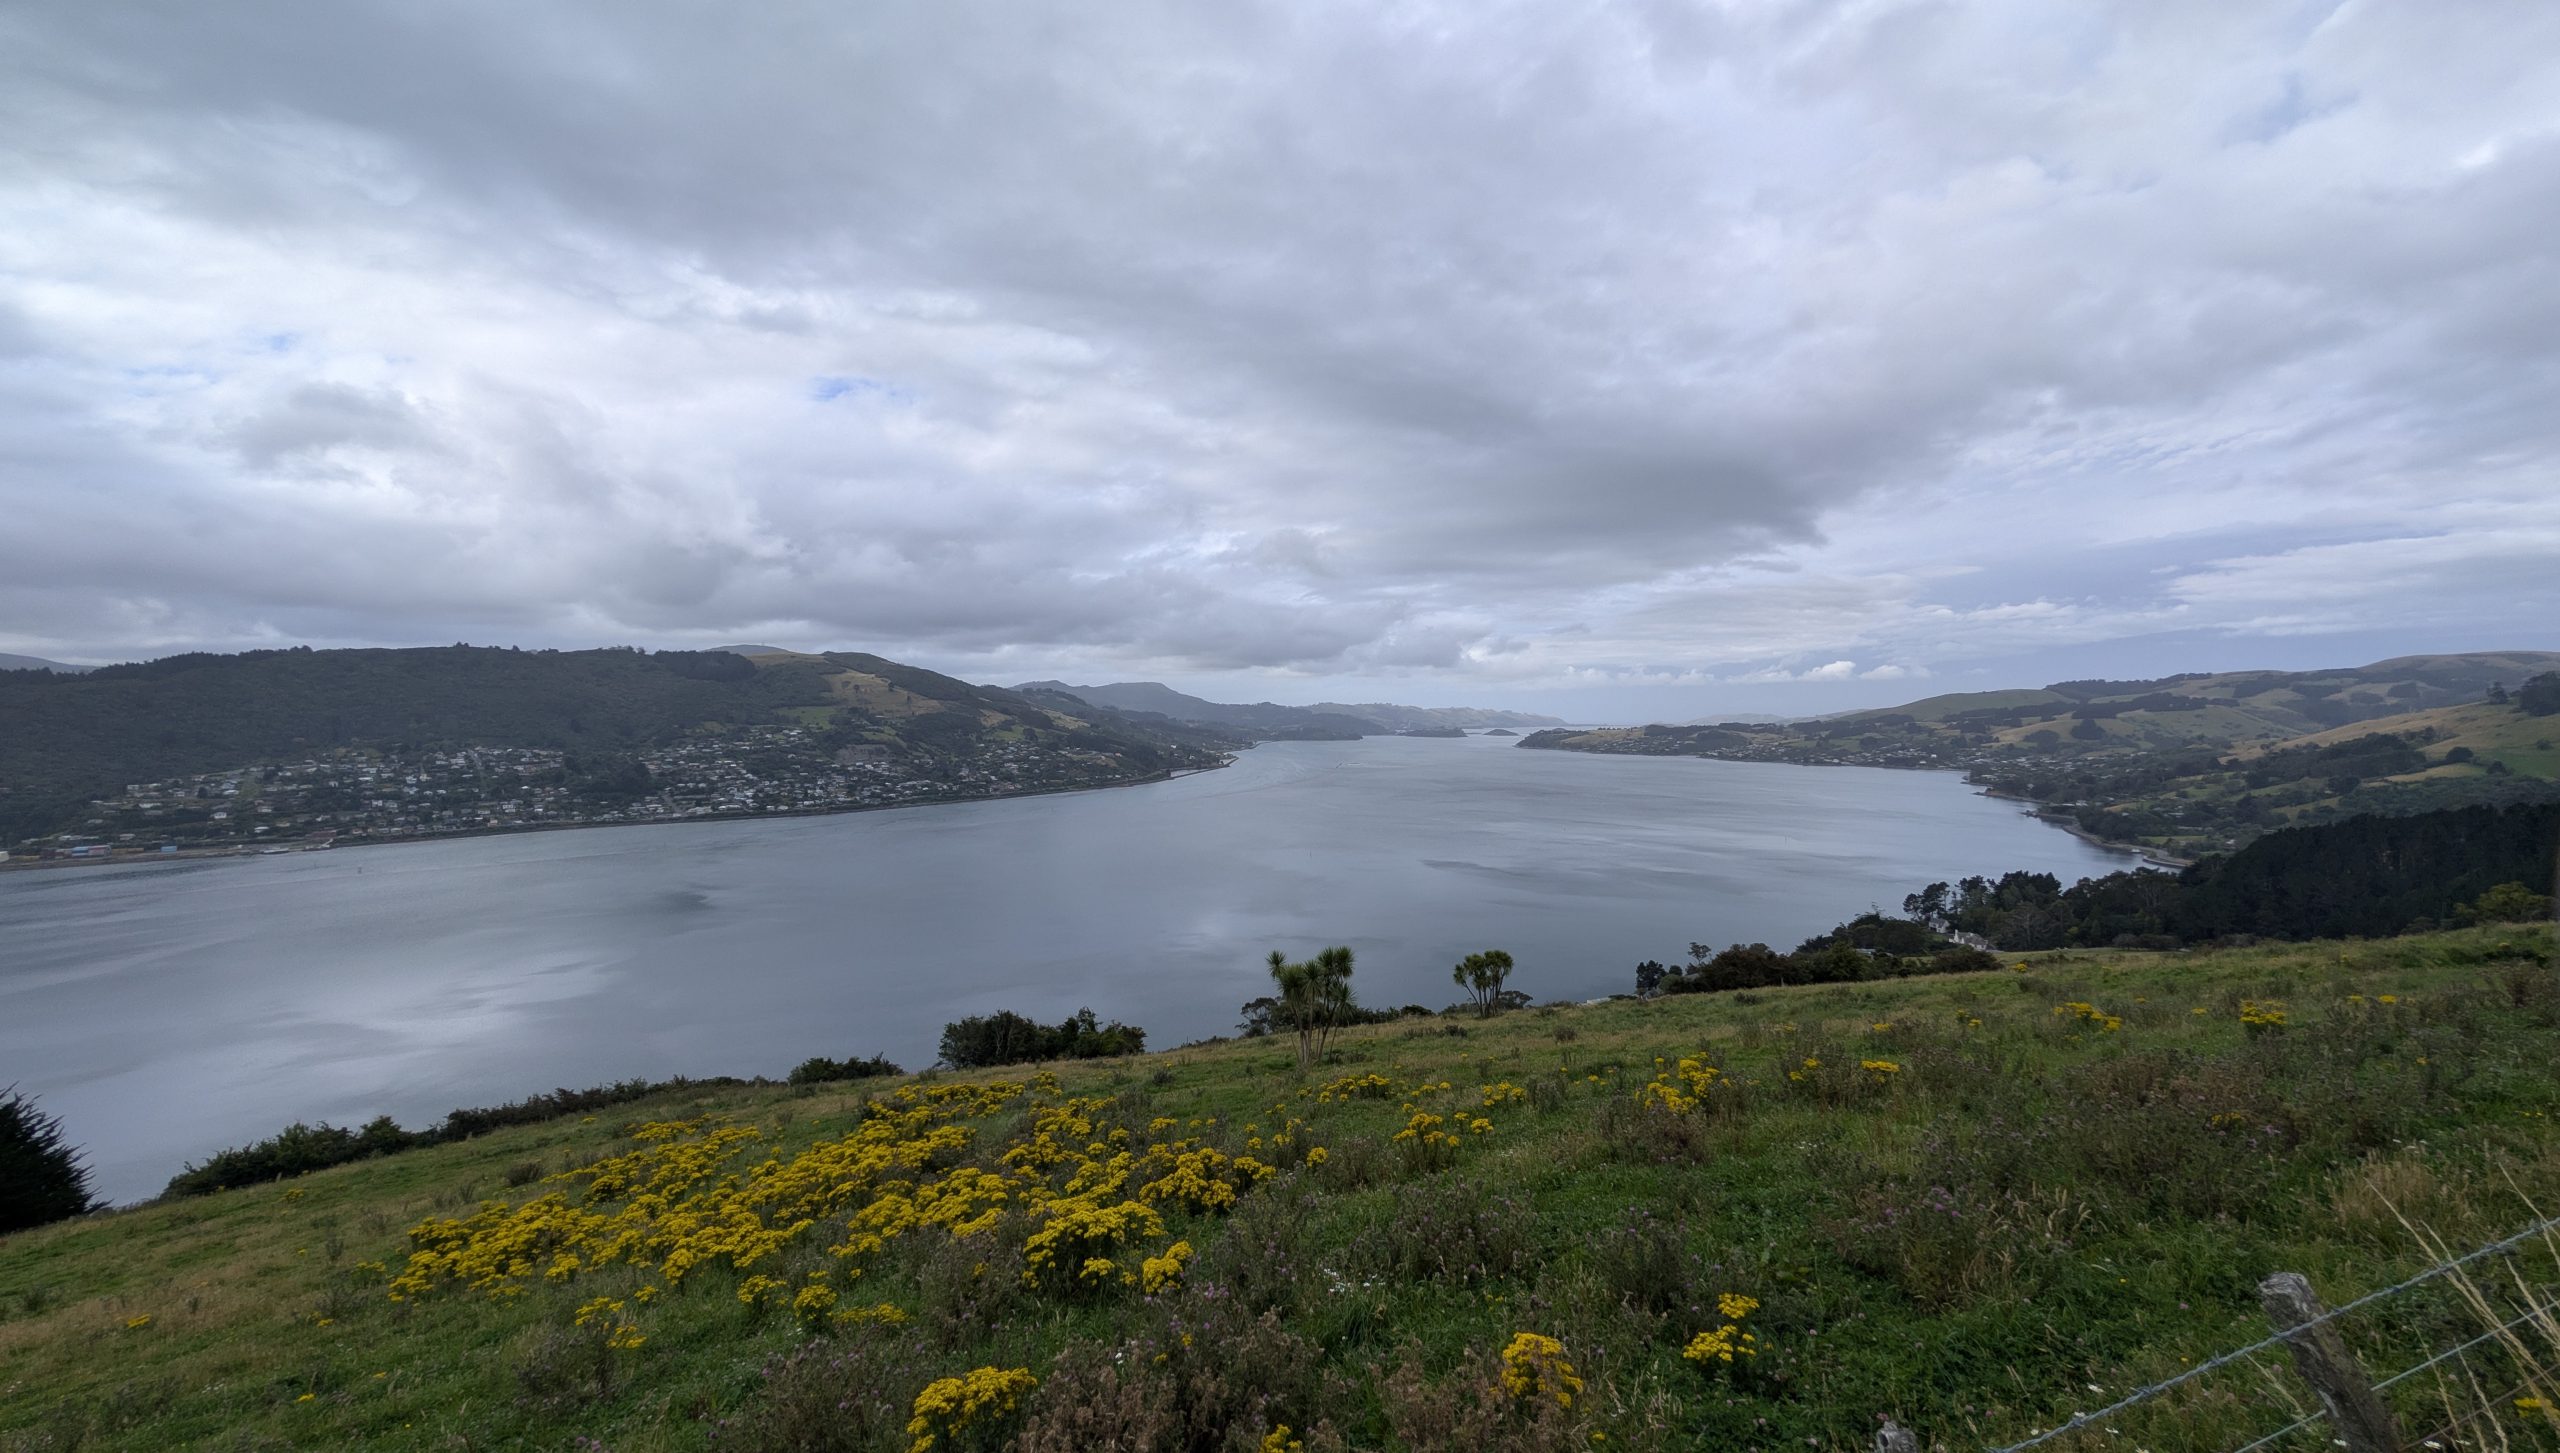
The rental was a house with windows overlooking the Otago Harbour. At the rear of the house was a path that led directly to Te Rauone Beach. It was very peaceful and quiet with beautiful views. Best of all, the back yard contained a hot tub that we were free to use.
View from the upstairs bedroomTe Rauone BeachBack yard with hot tub
The AirBnb rental had advertised there was a propane grill that we could use, so at the Pak'nSave grocery store we had purchased some steaks and pork chops to grill. But when we tried to start the grill we found out it was out of propane. I contacted the owner of the AirBnb and she said she would not be able get us a new tank until the following day. So we ended up using the electric fry pan for our pork chop dinner.
Dinner: fried pork chop, brown rice with salsa, and cinnamon applesauce
We had a free day to explore Stewart Island since we had no paid tours planned. We considered renting bikes to tour the island but decided against it since some of the places that I wanted to visit were on hiking trails. The weather forecast looked decent until about 3 PM when a band of rain showers was expected.
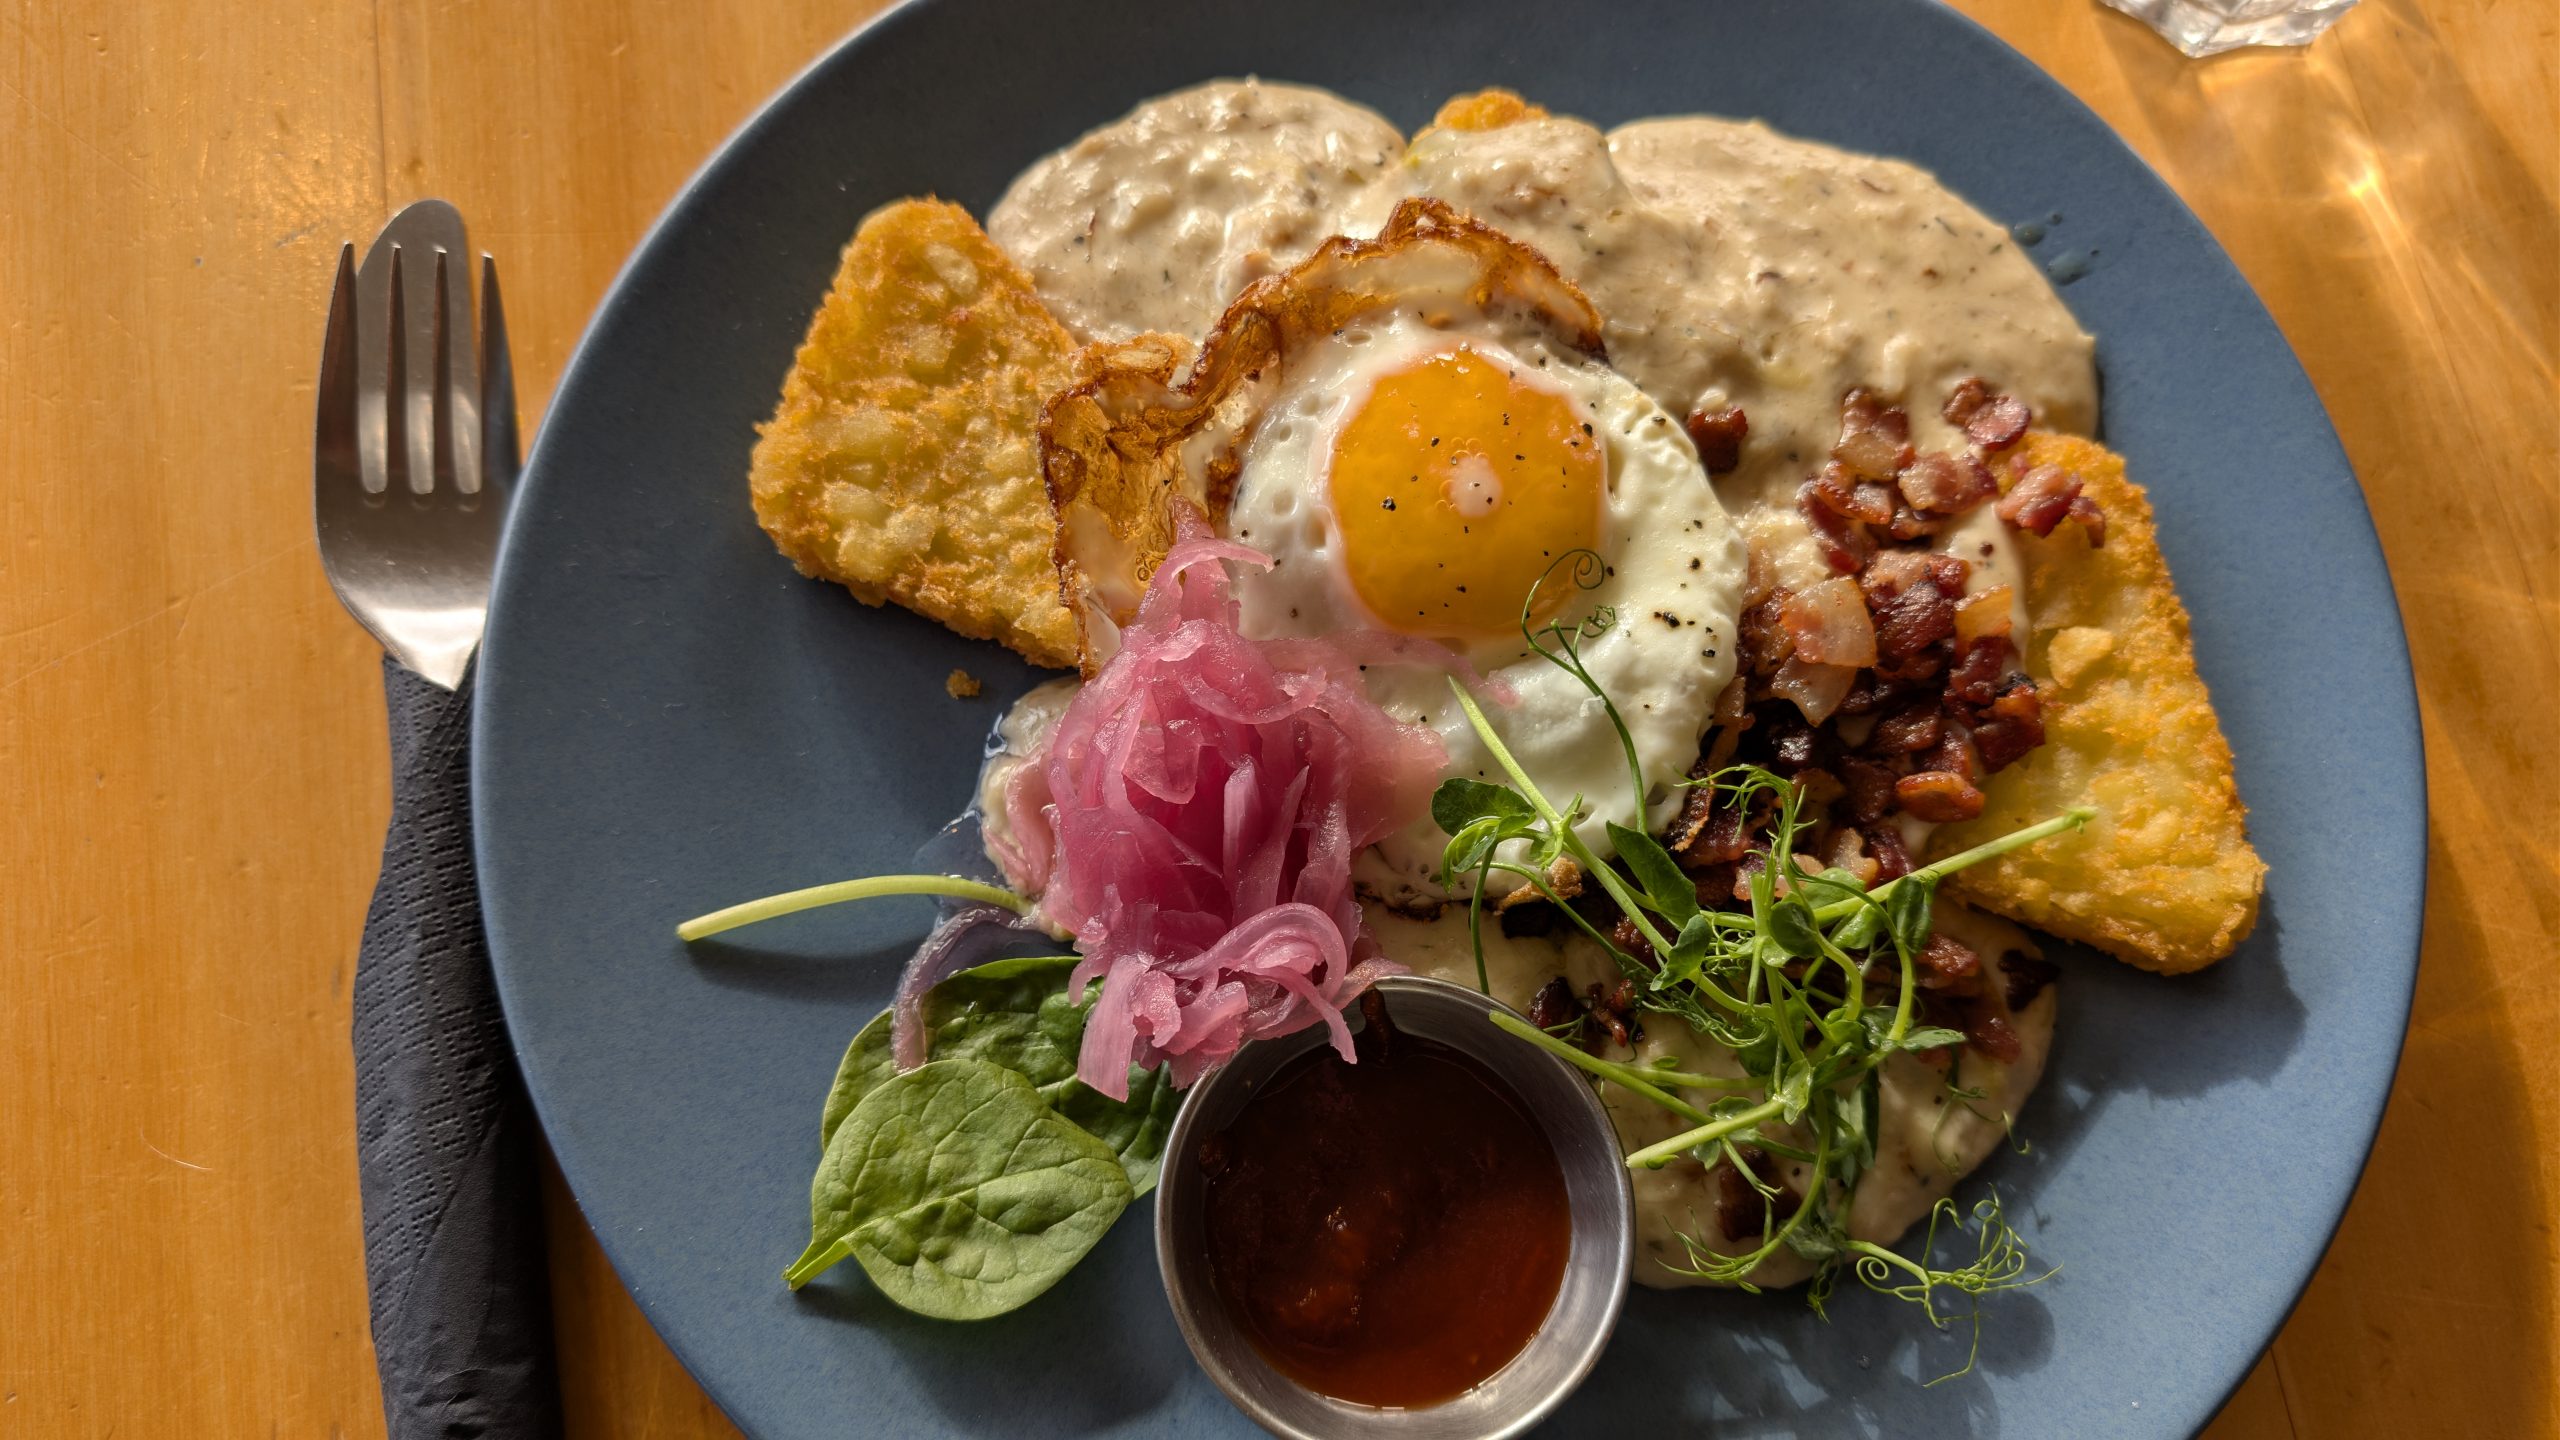
We allowed ourselves to sleep in after the late return from the kiwi spotting tour the previous night. We walked over to the hotel restaurant and had a real sit down breakfast.
Fisherman's Breakfast with local smoked fish, hash browns, and a fried egg
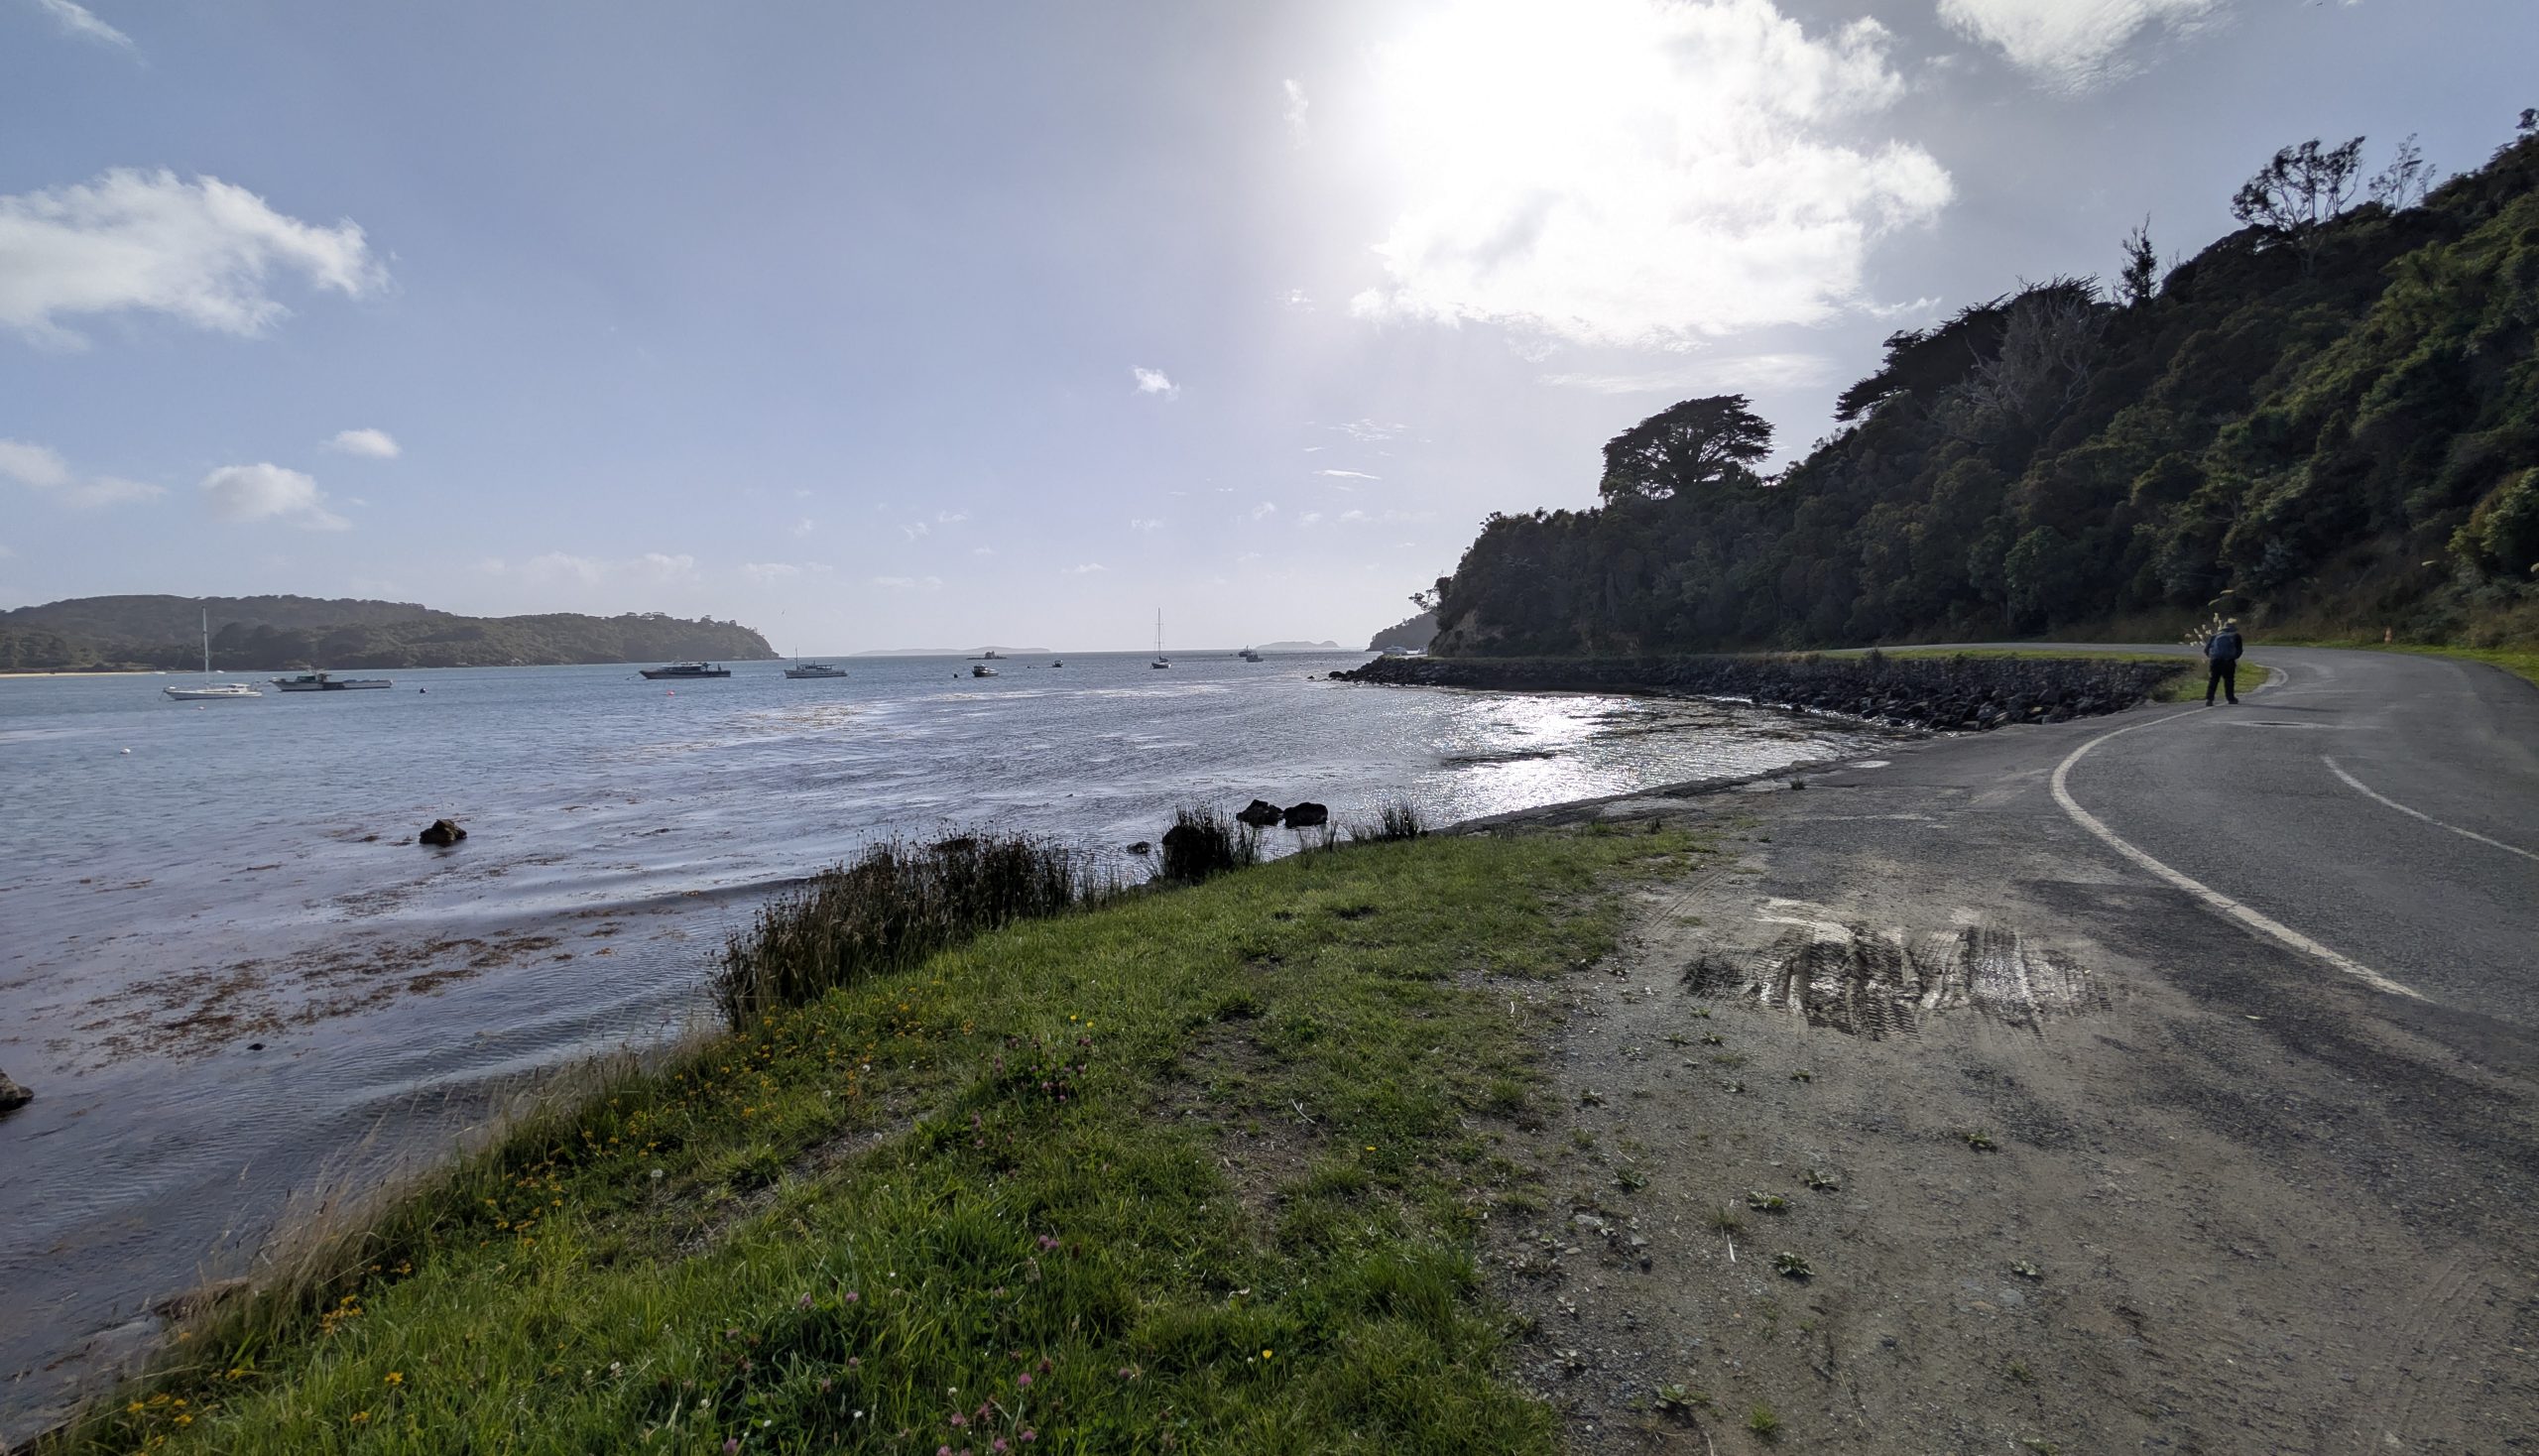
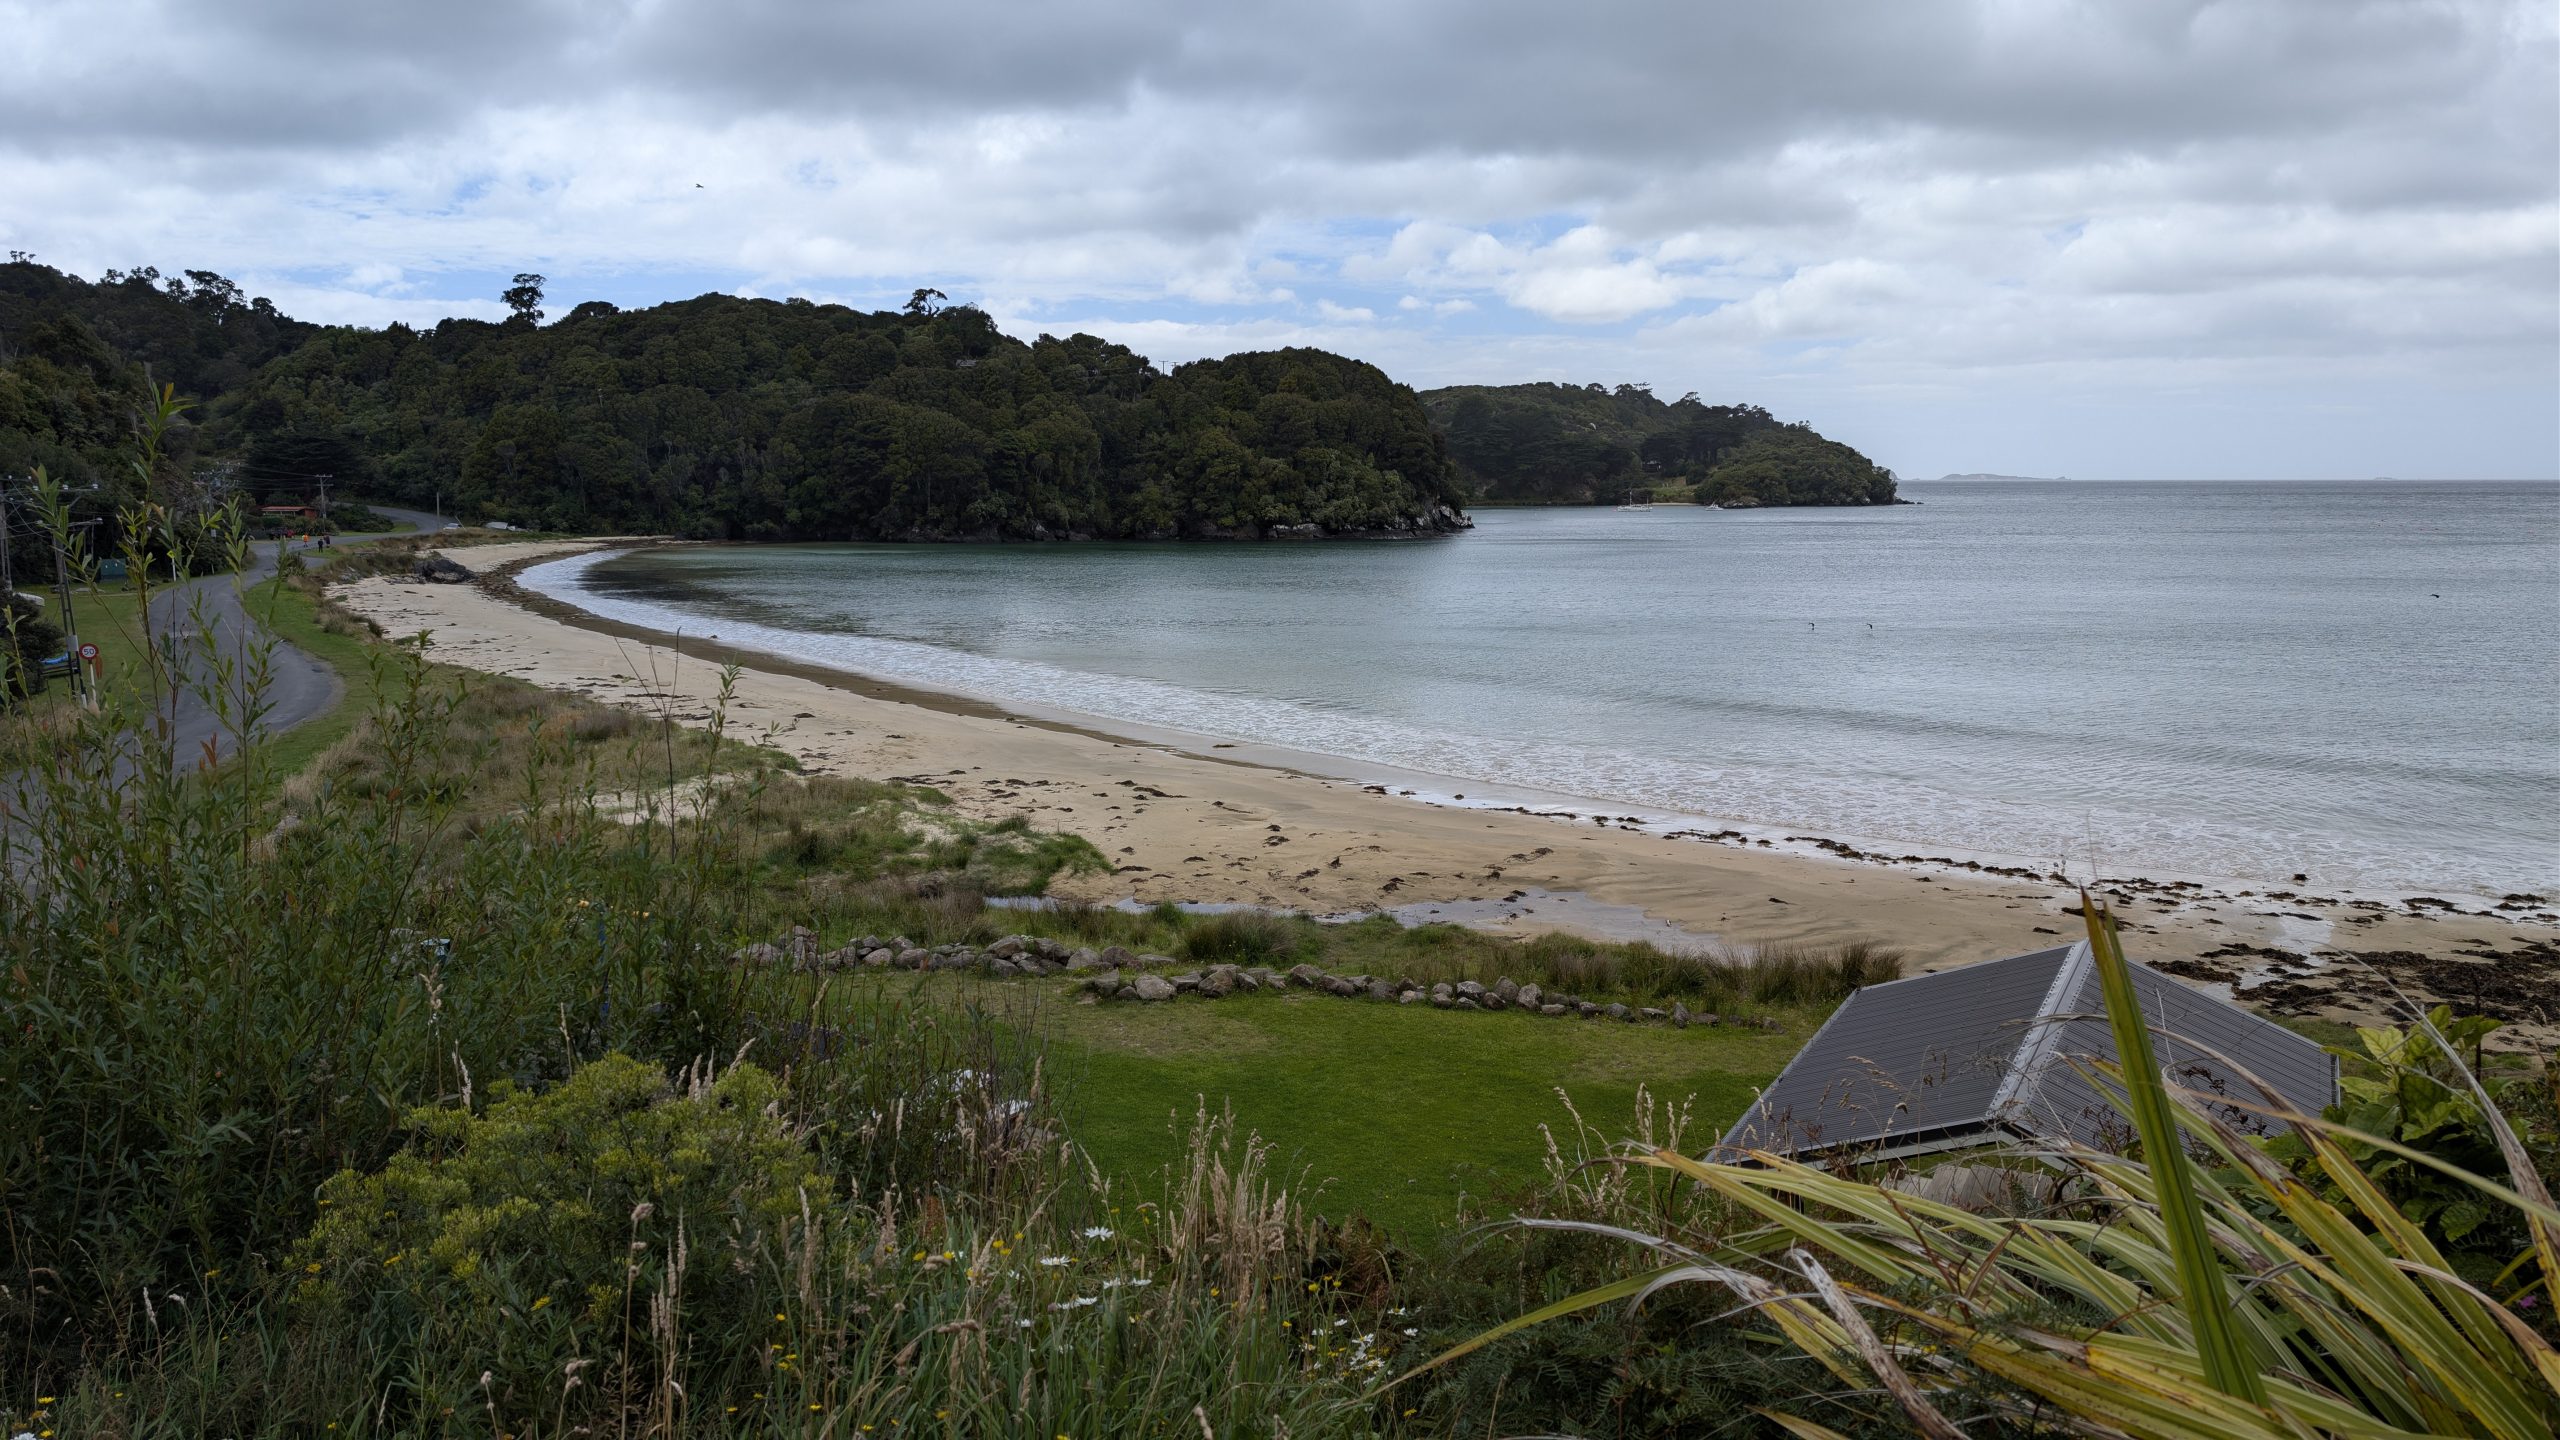
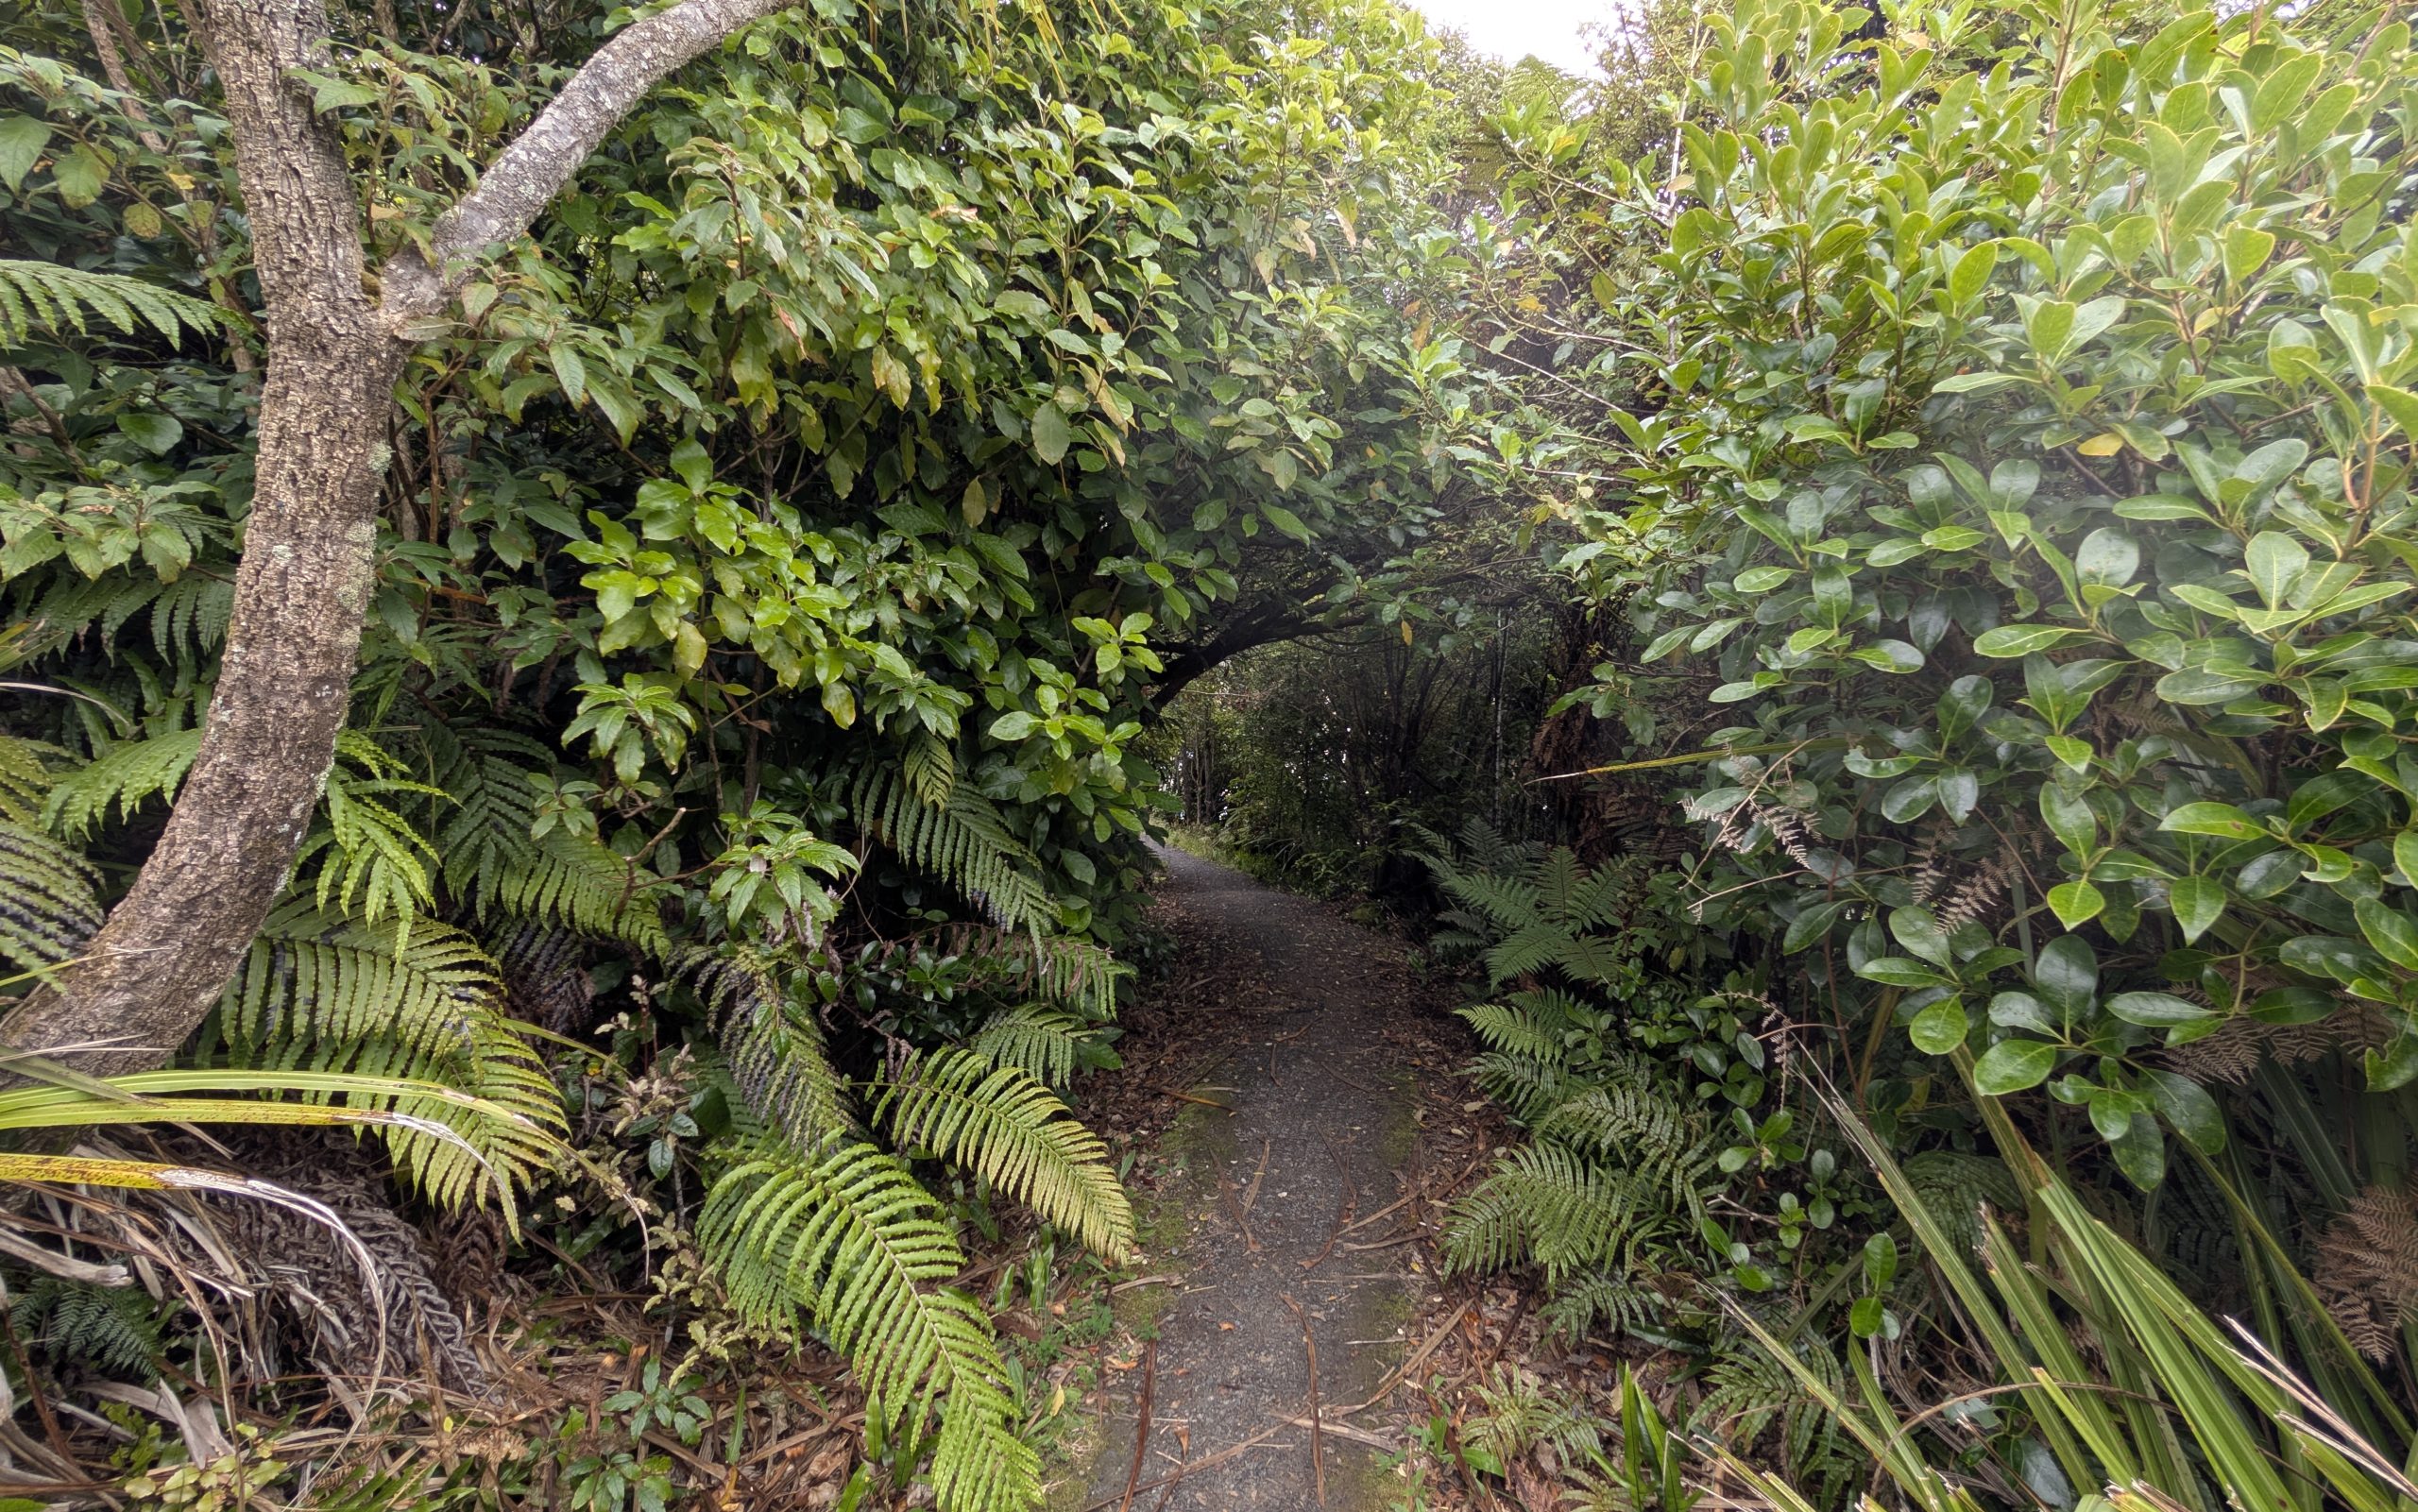
After breakfast we decided to take the walk to Ackers Point. This walk followed the southern coastline of Halfmoon Bay to a scenic lookout. The first part of the walk followed the road which had many scenic views of beaches and bays.
Starting the walk southwest from town with views of Halfmoon BayHalfmoon Bay with the town of Oban and the ferry terminal in the distance
We passed Lonnekers Beach which was at low tide, so we walked across the beach.
Lonnekers BeachLonnekers Beach looking southLonnekers Beach looking north
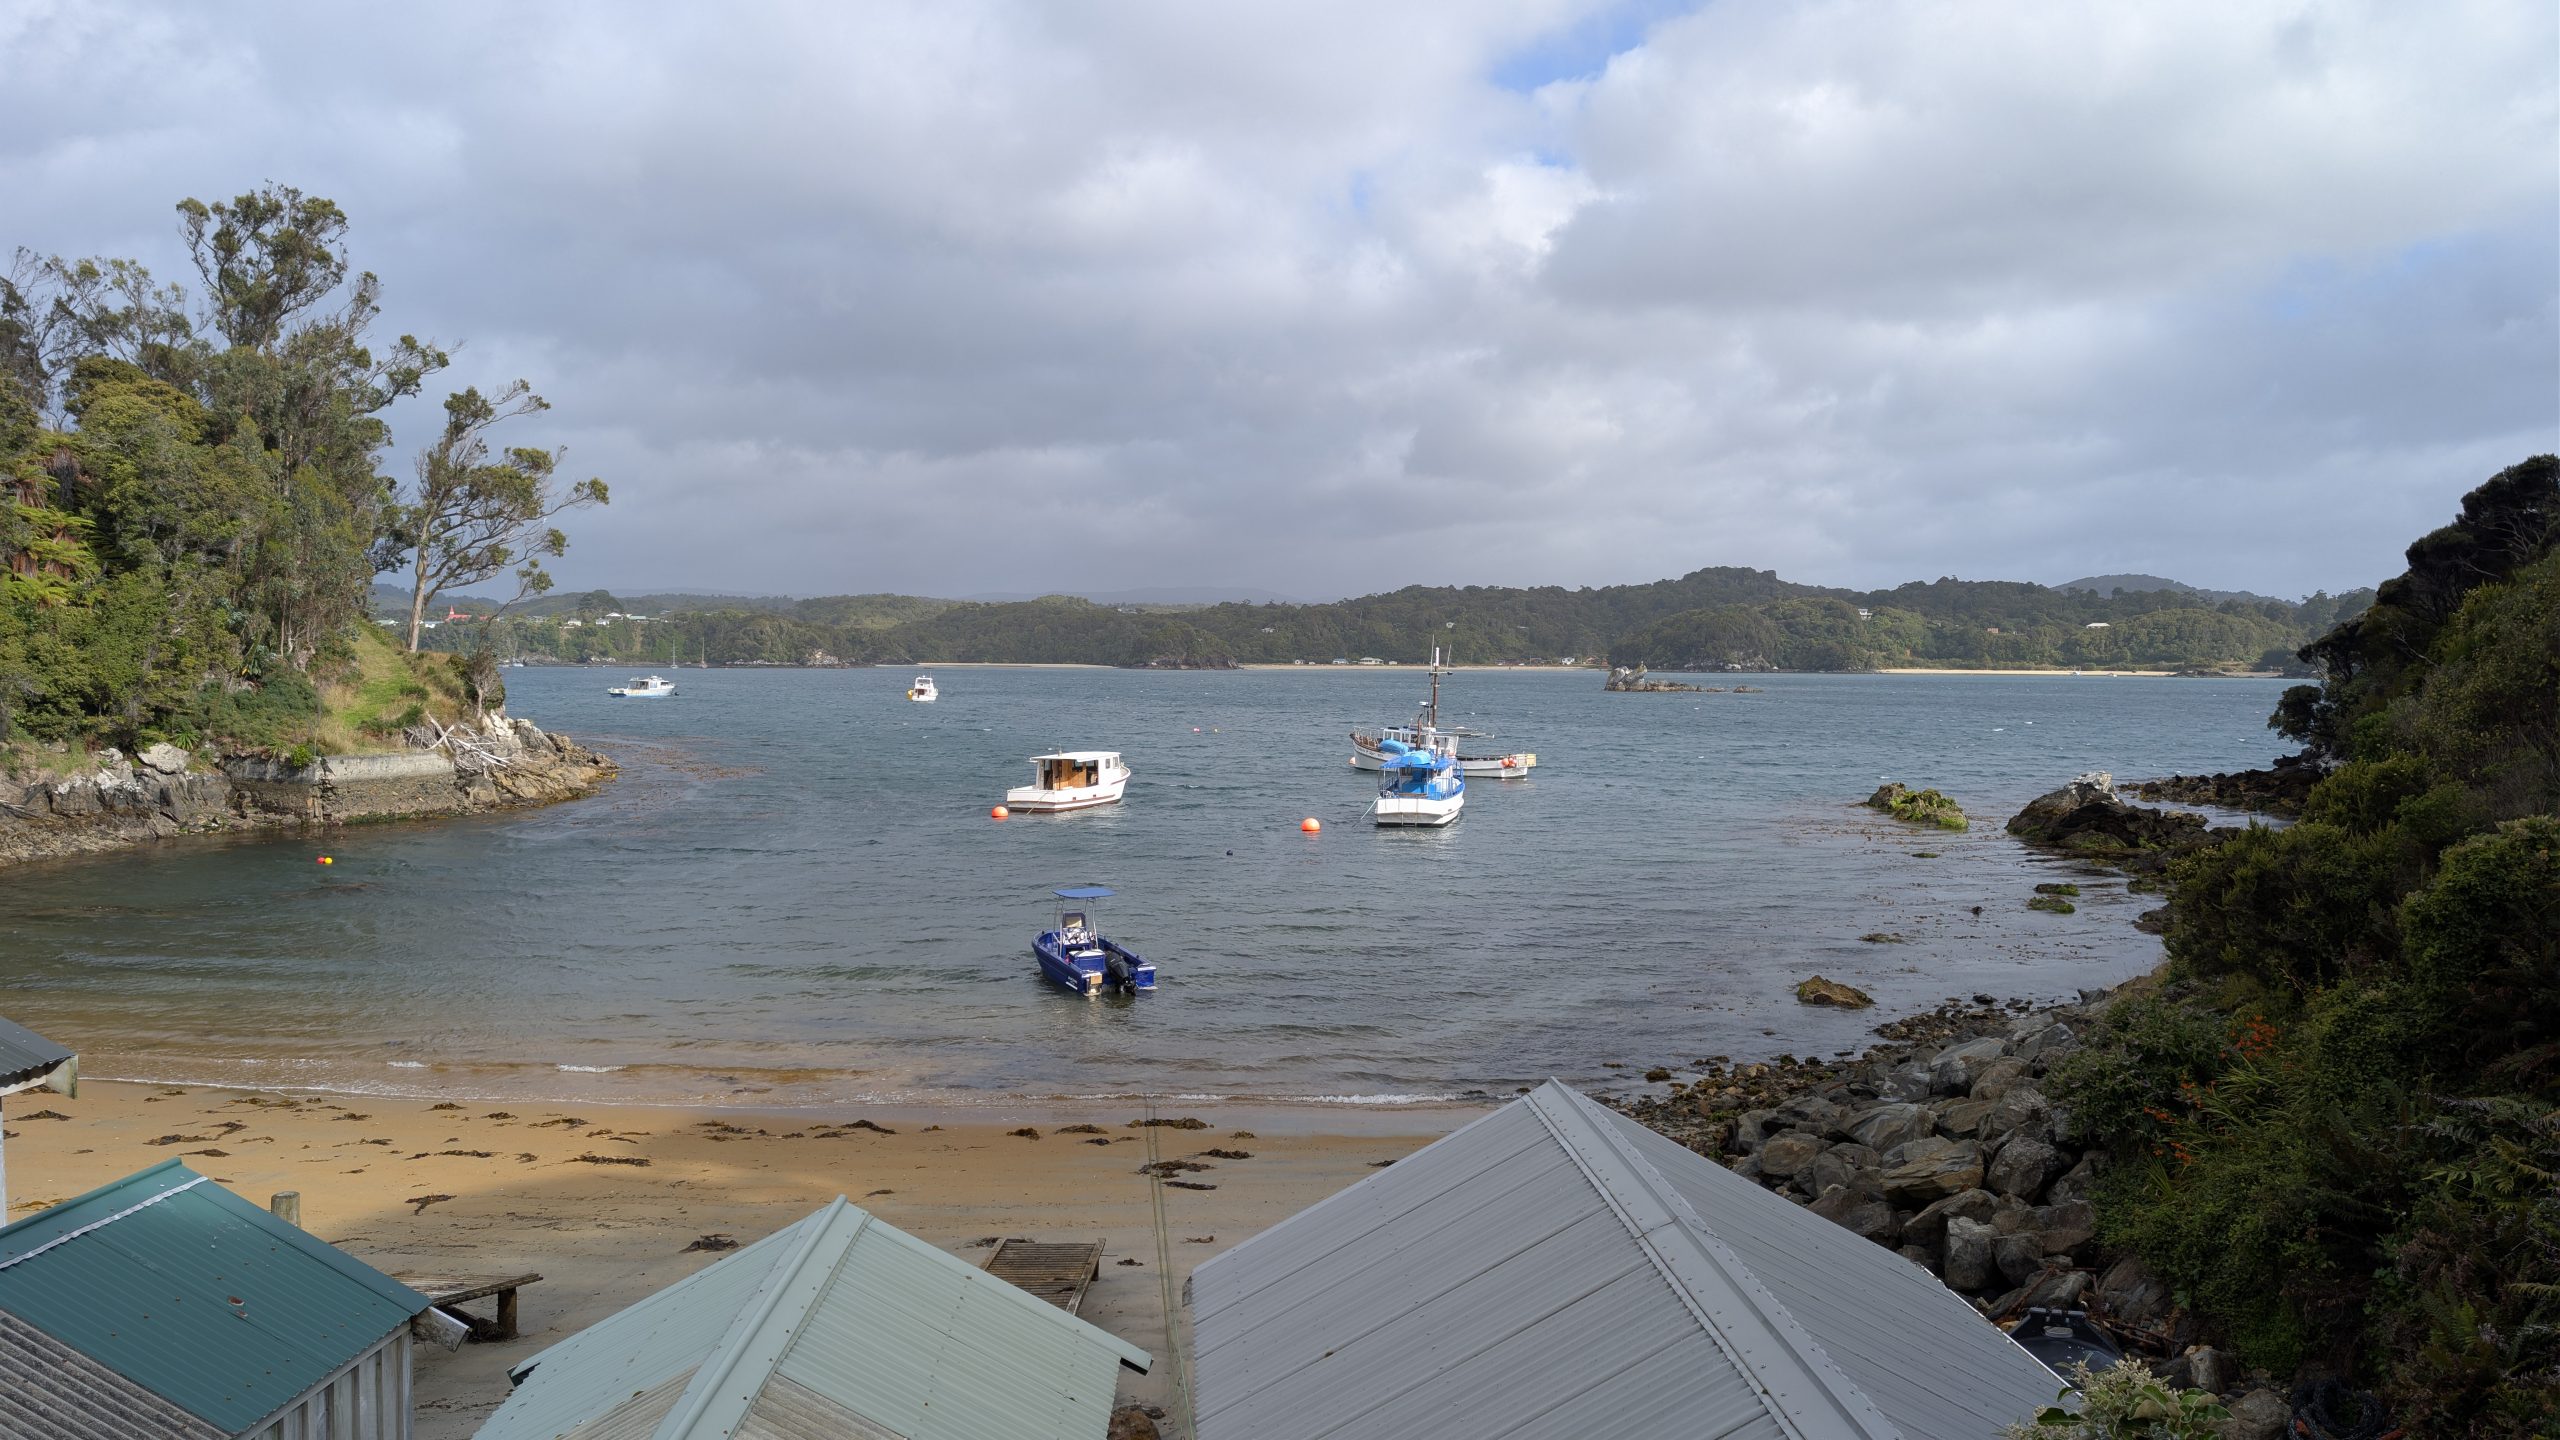
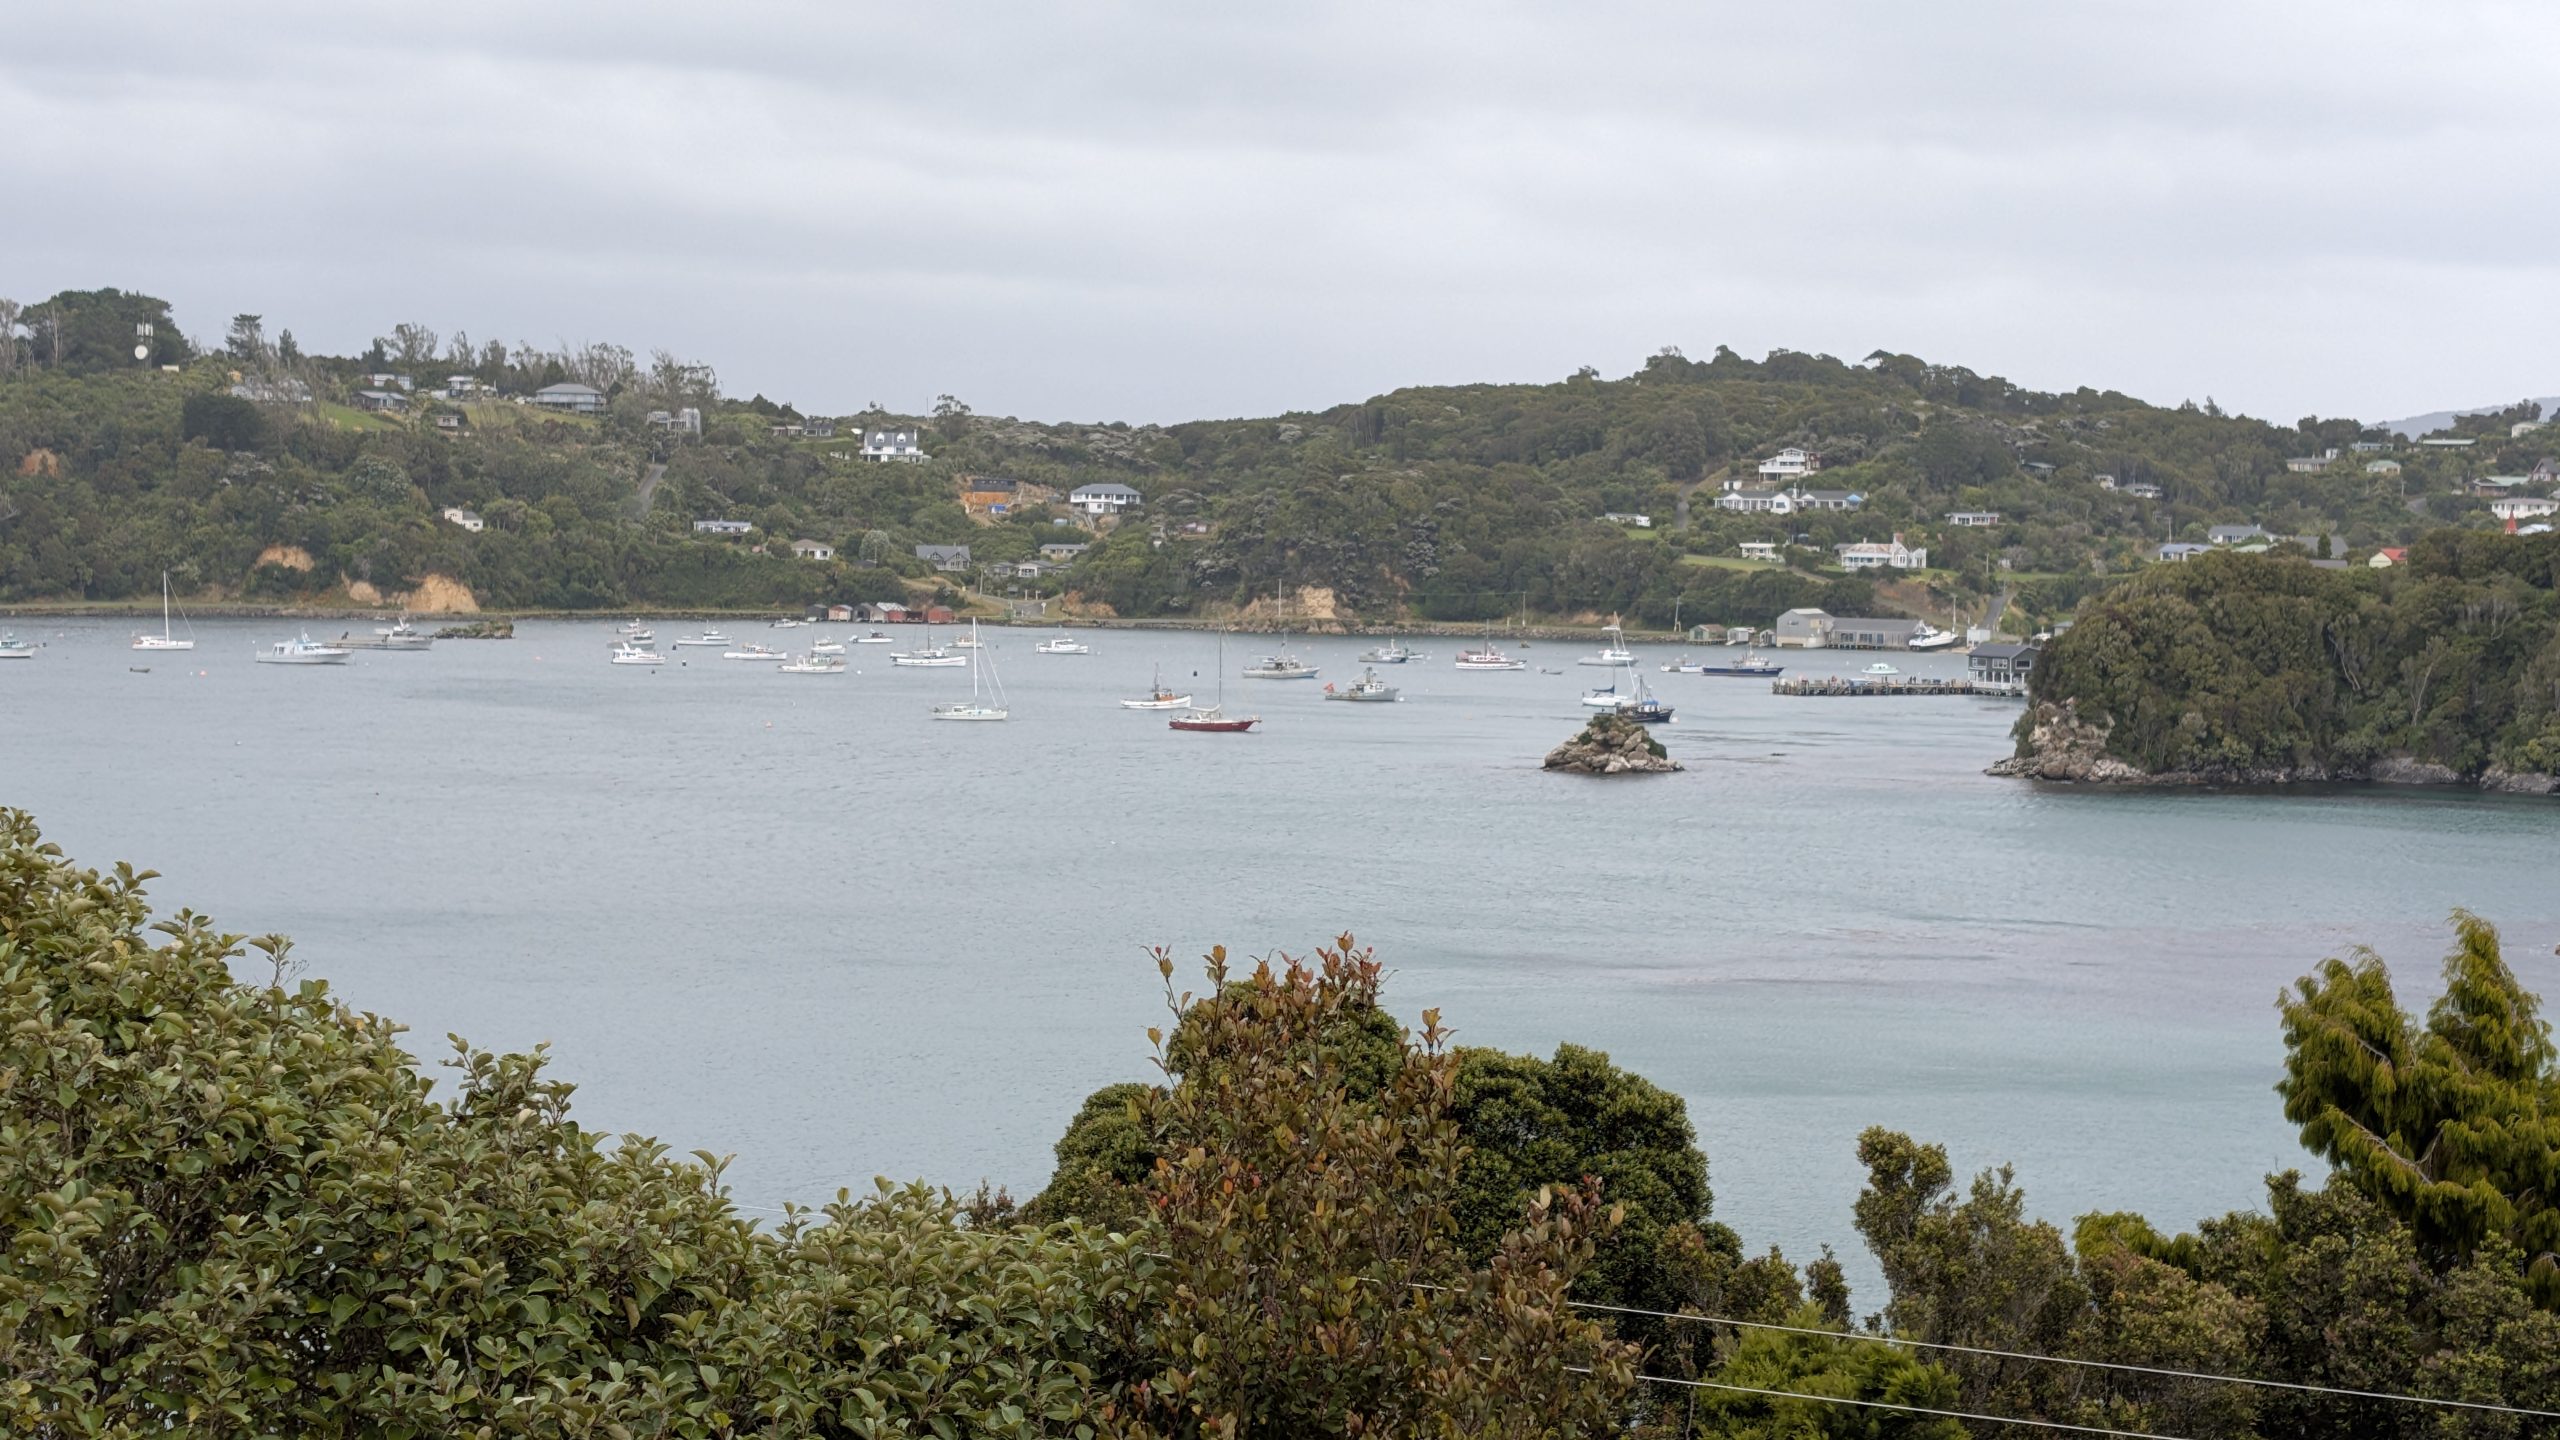
Continuing up the road we passed Leask Bay which was a private area for the locals and their boats.
Leask Bay
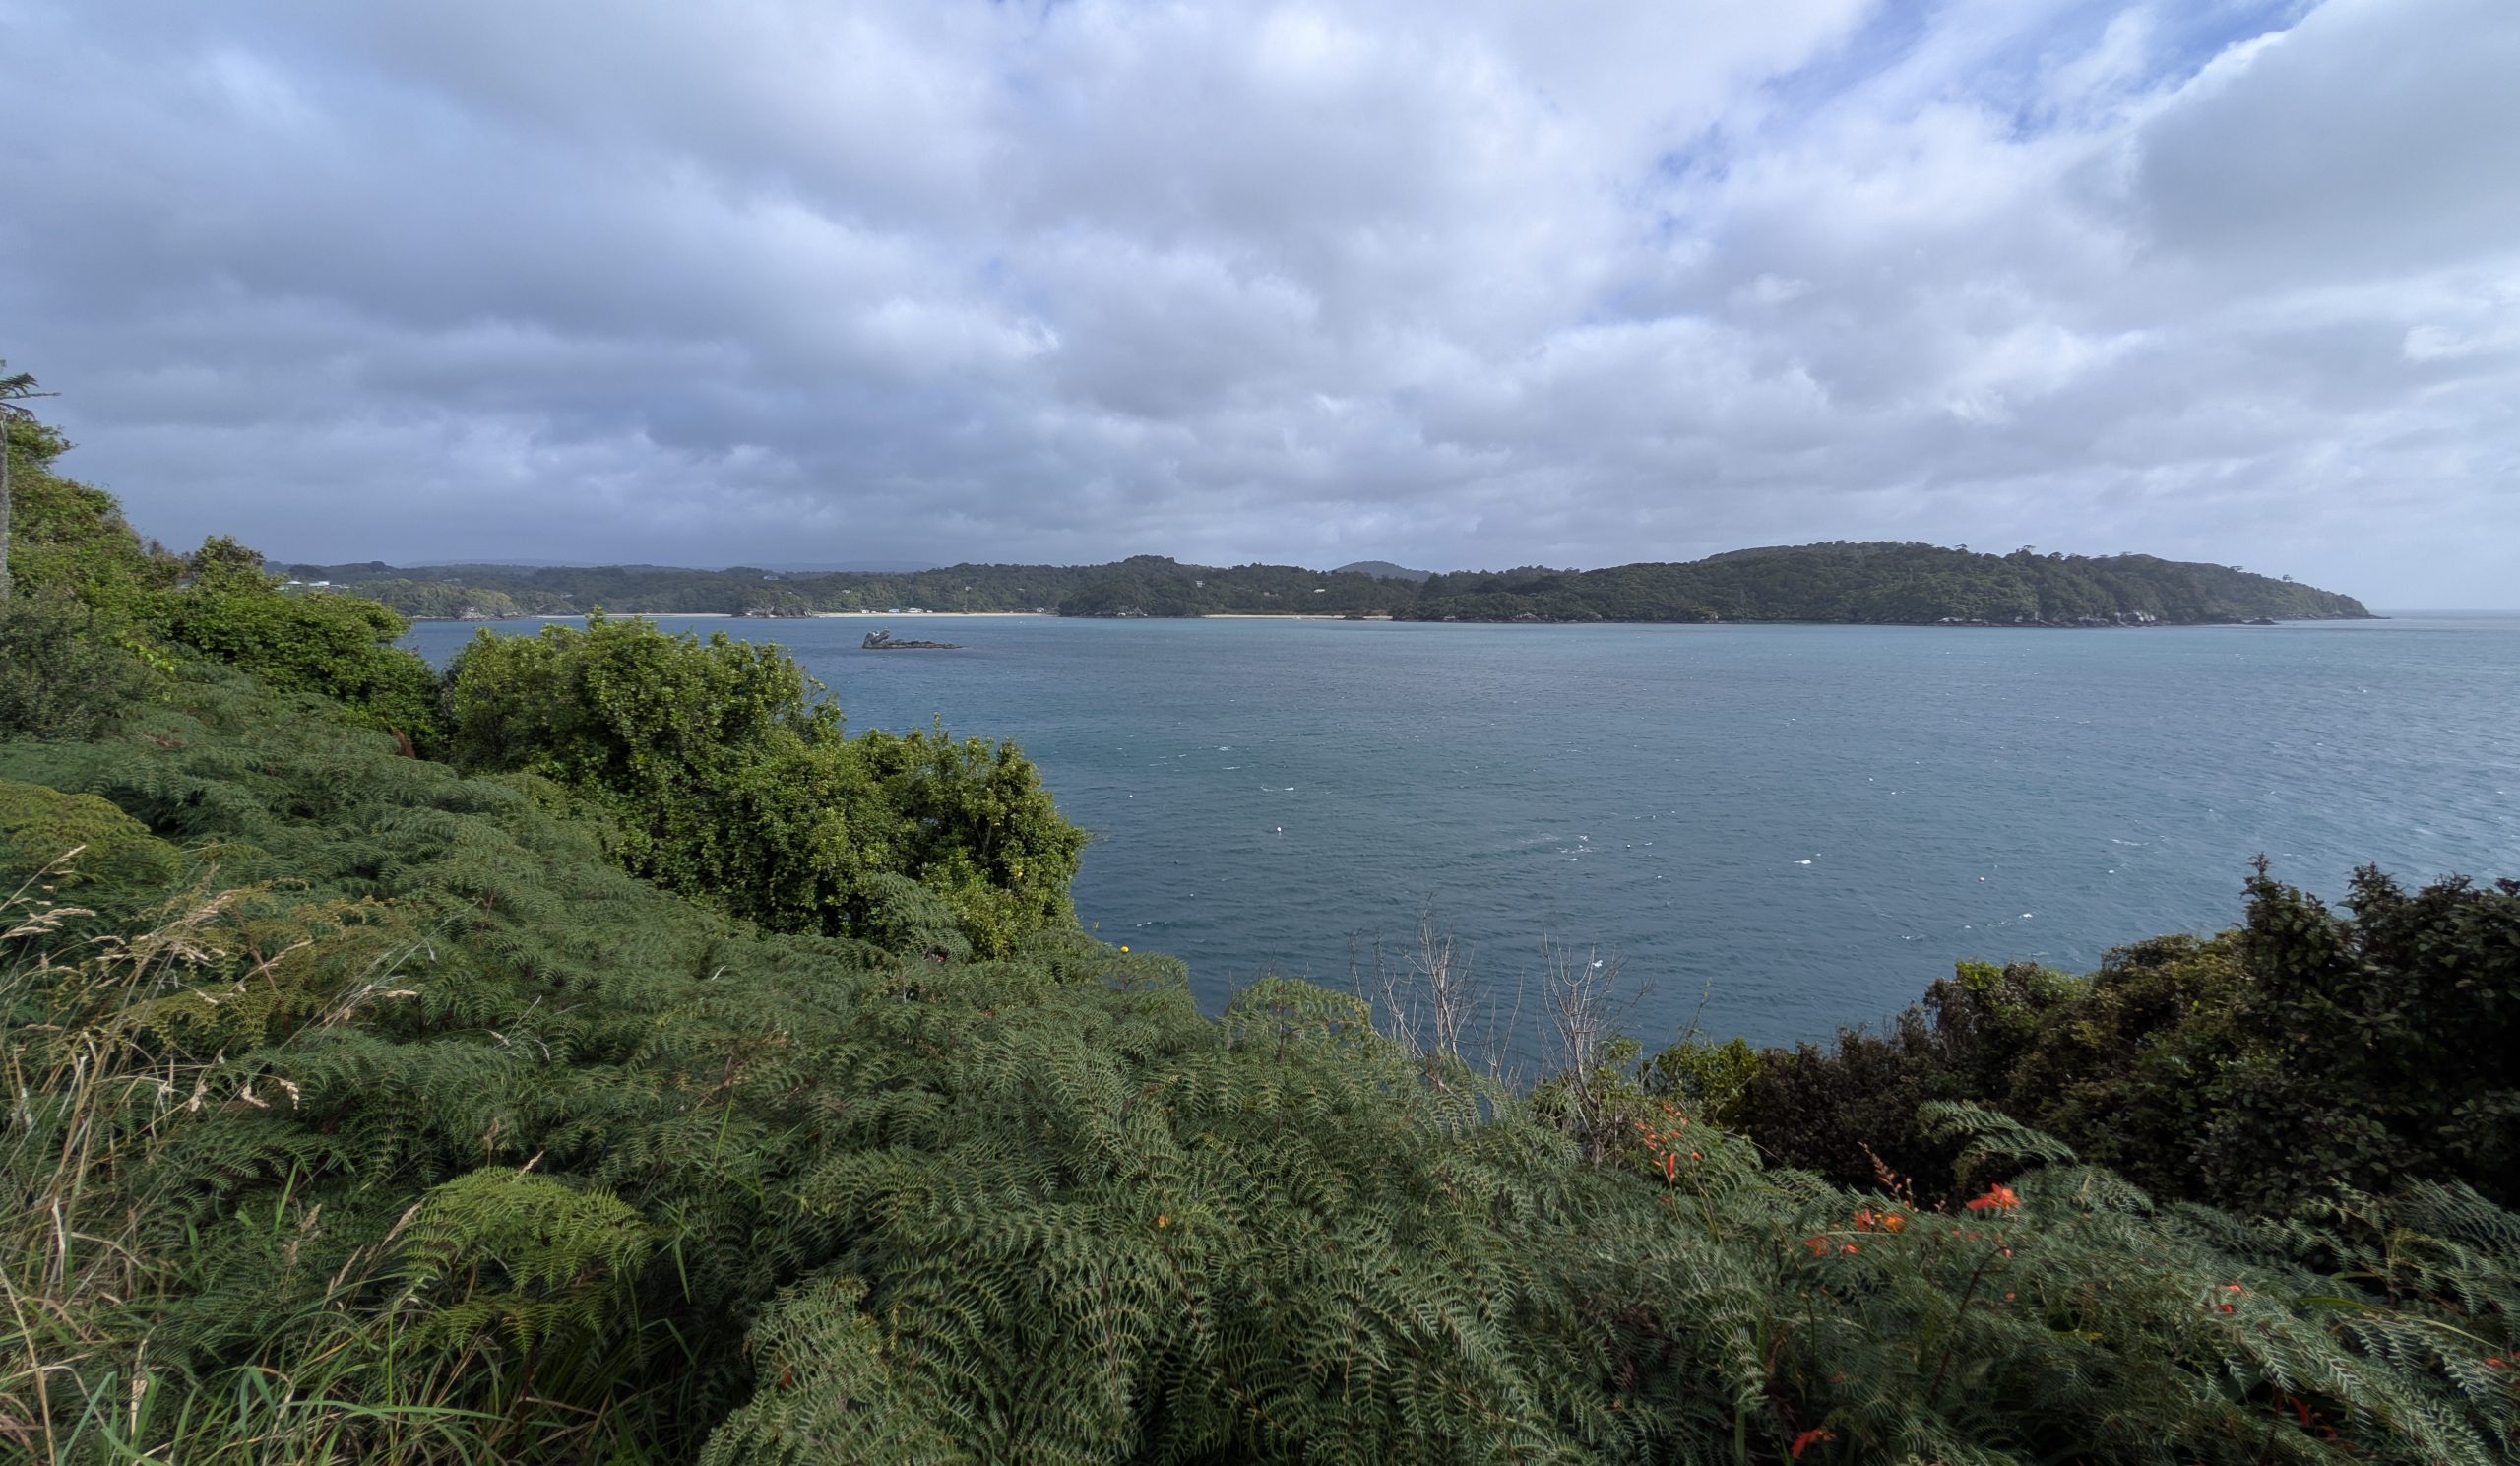
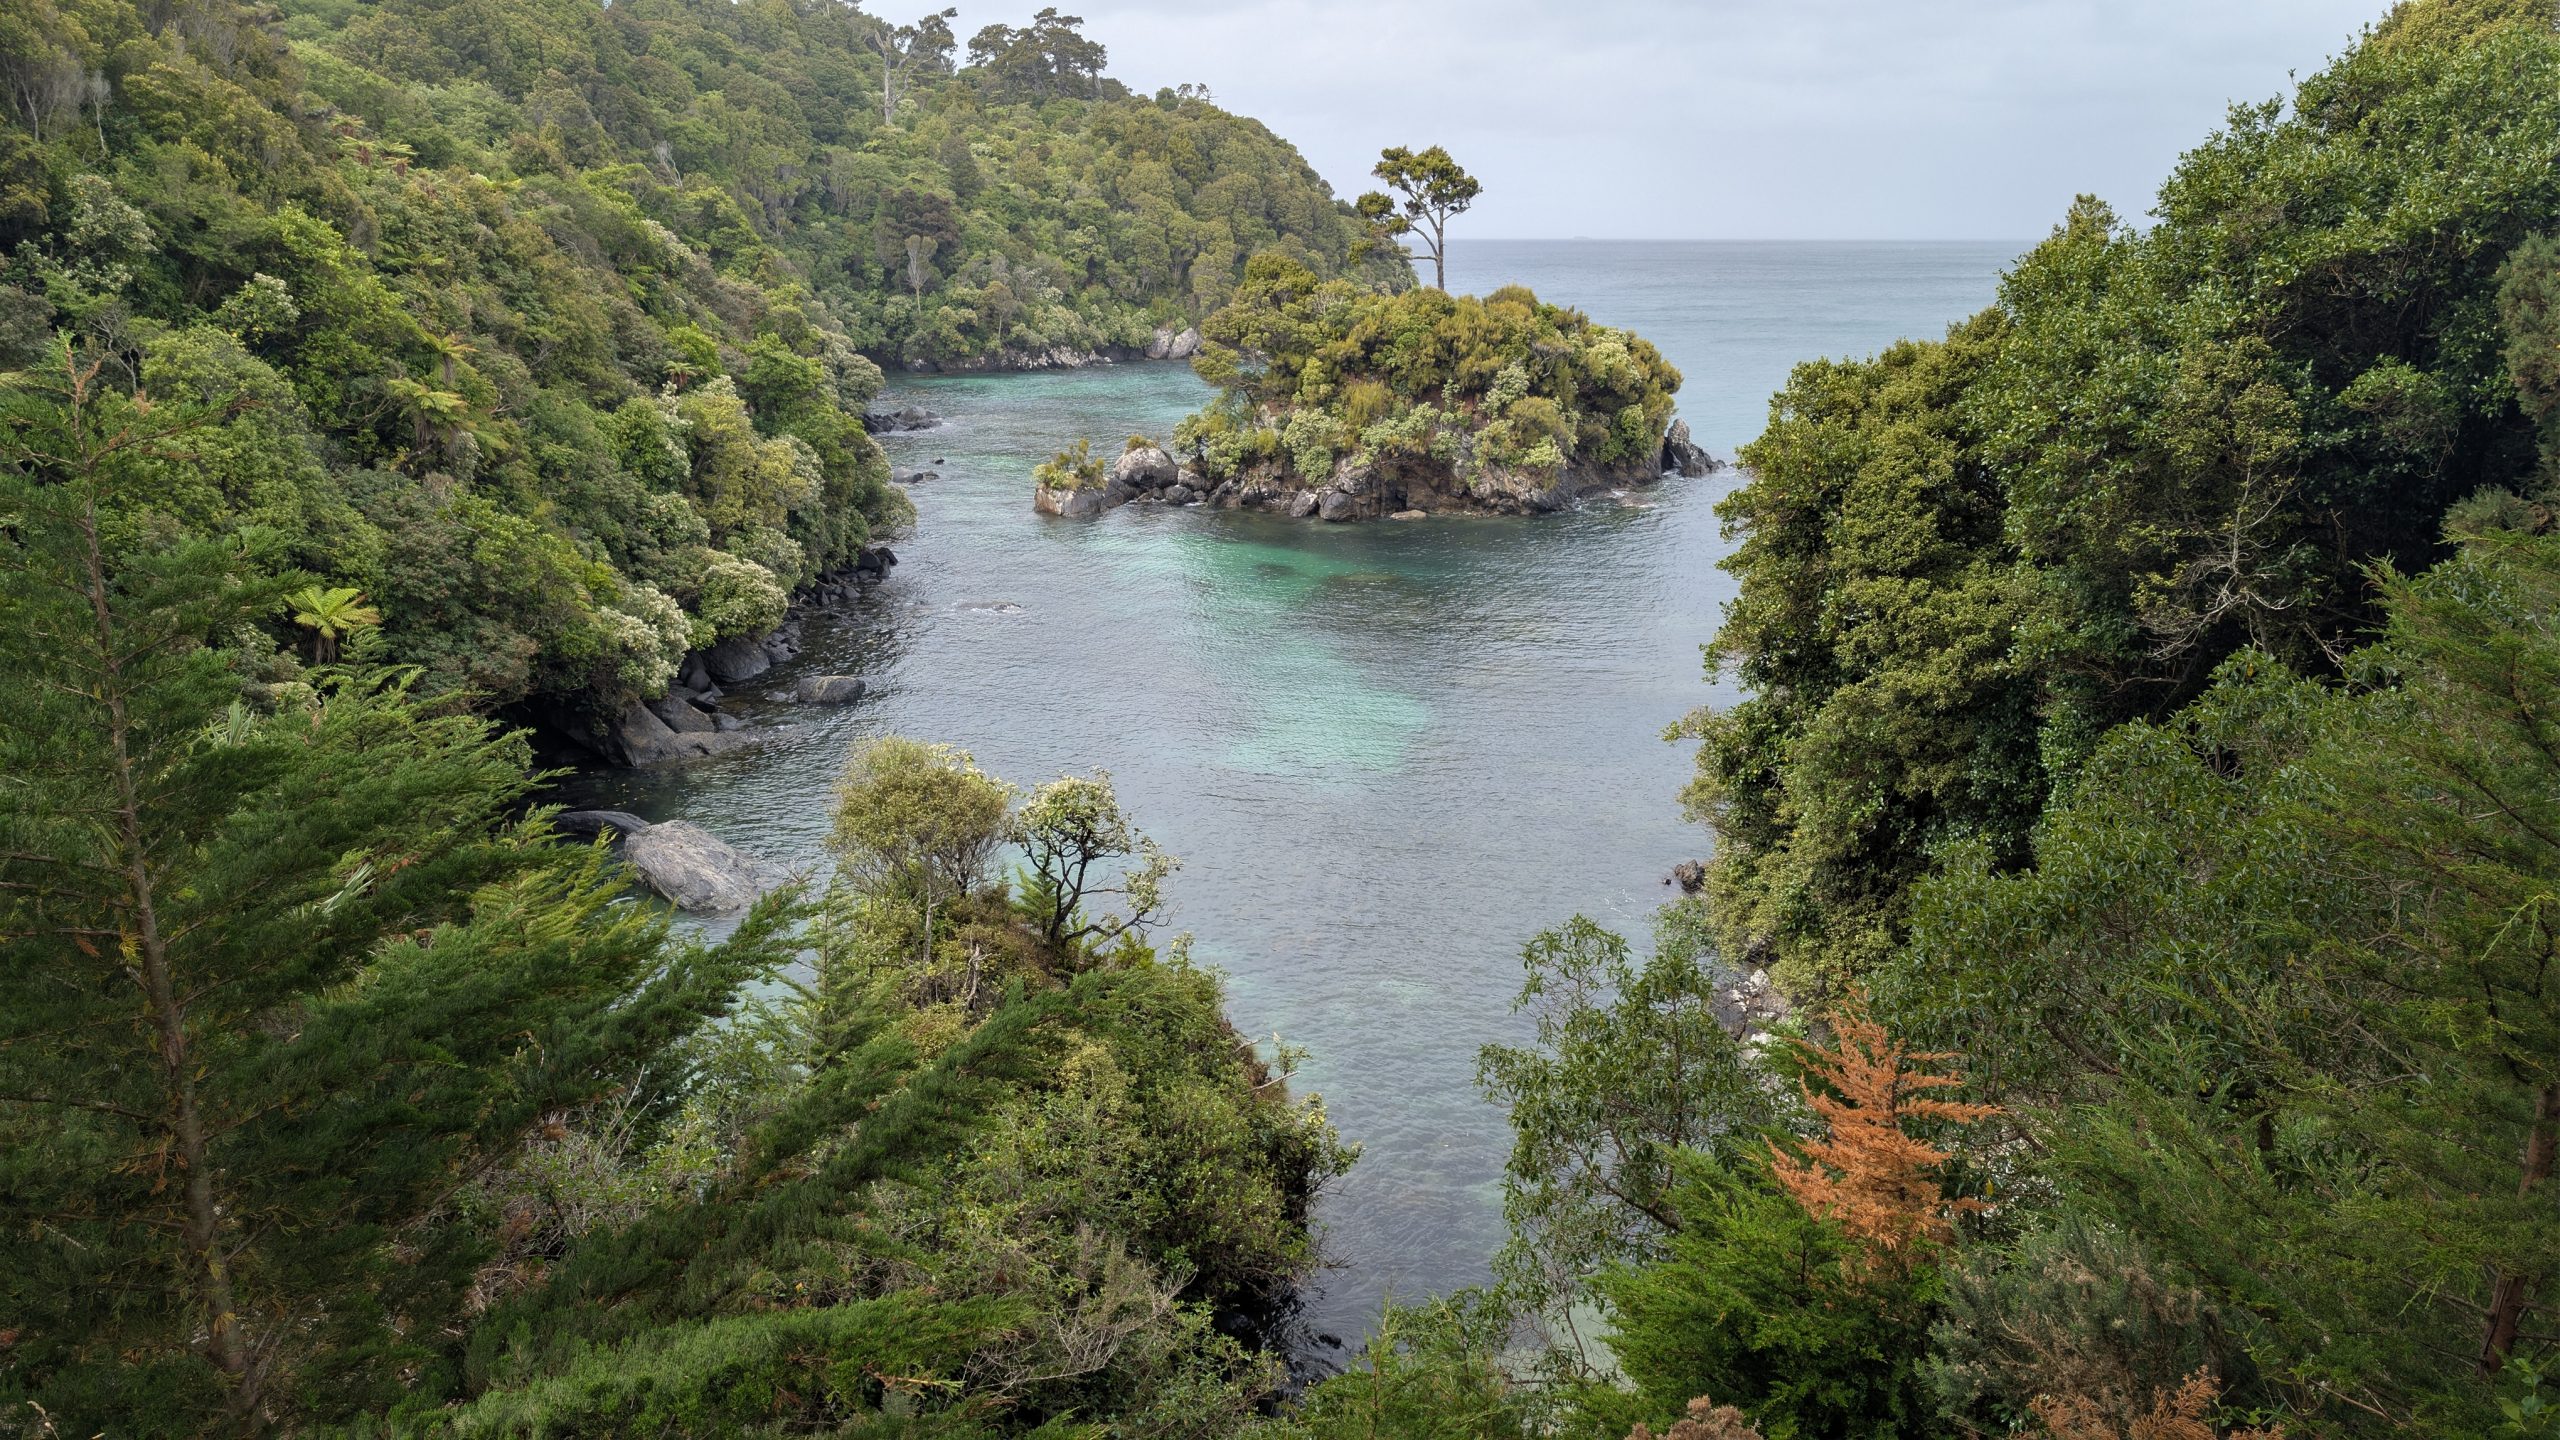
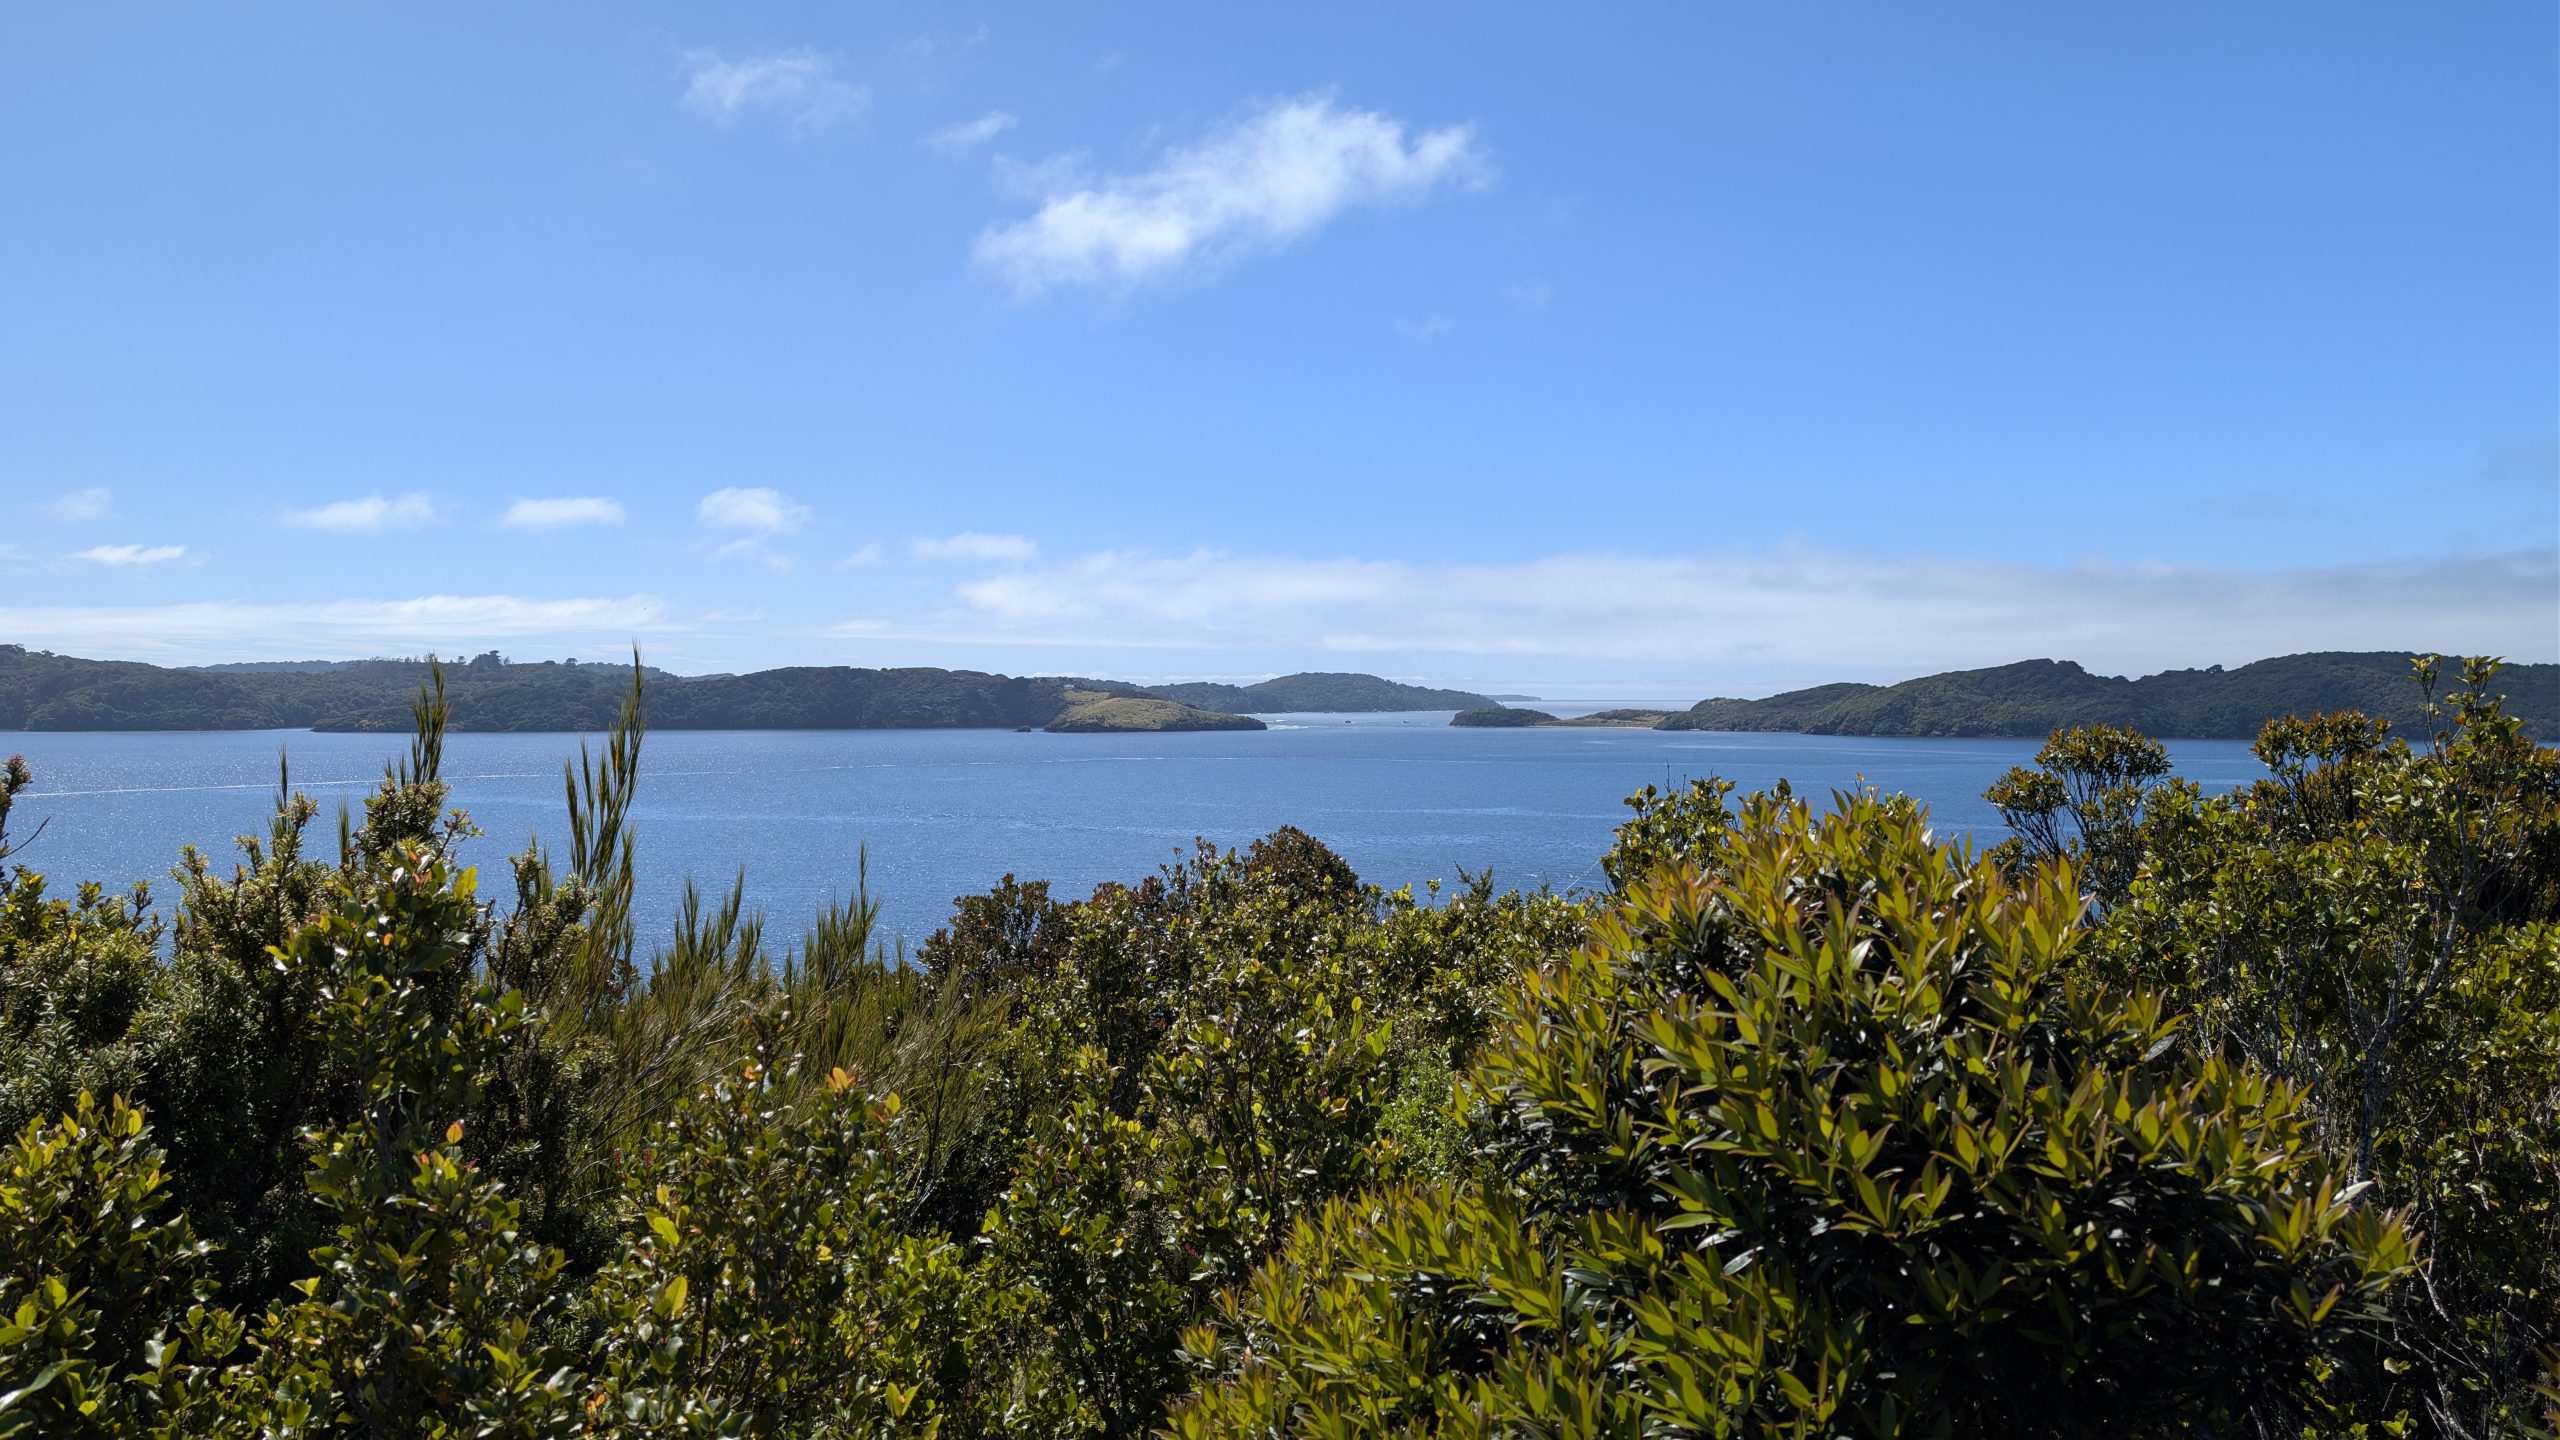
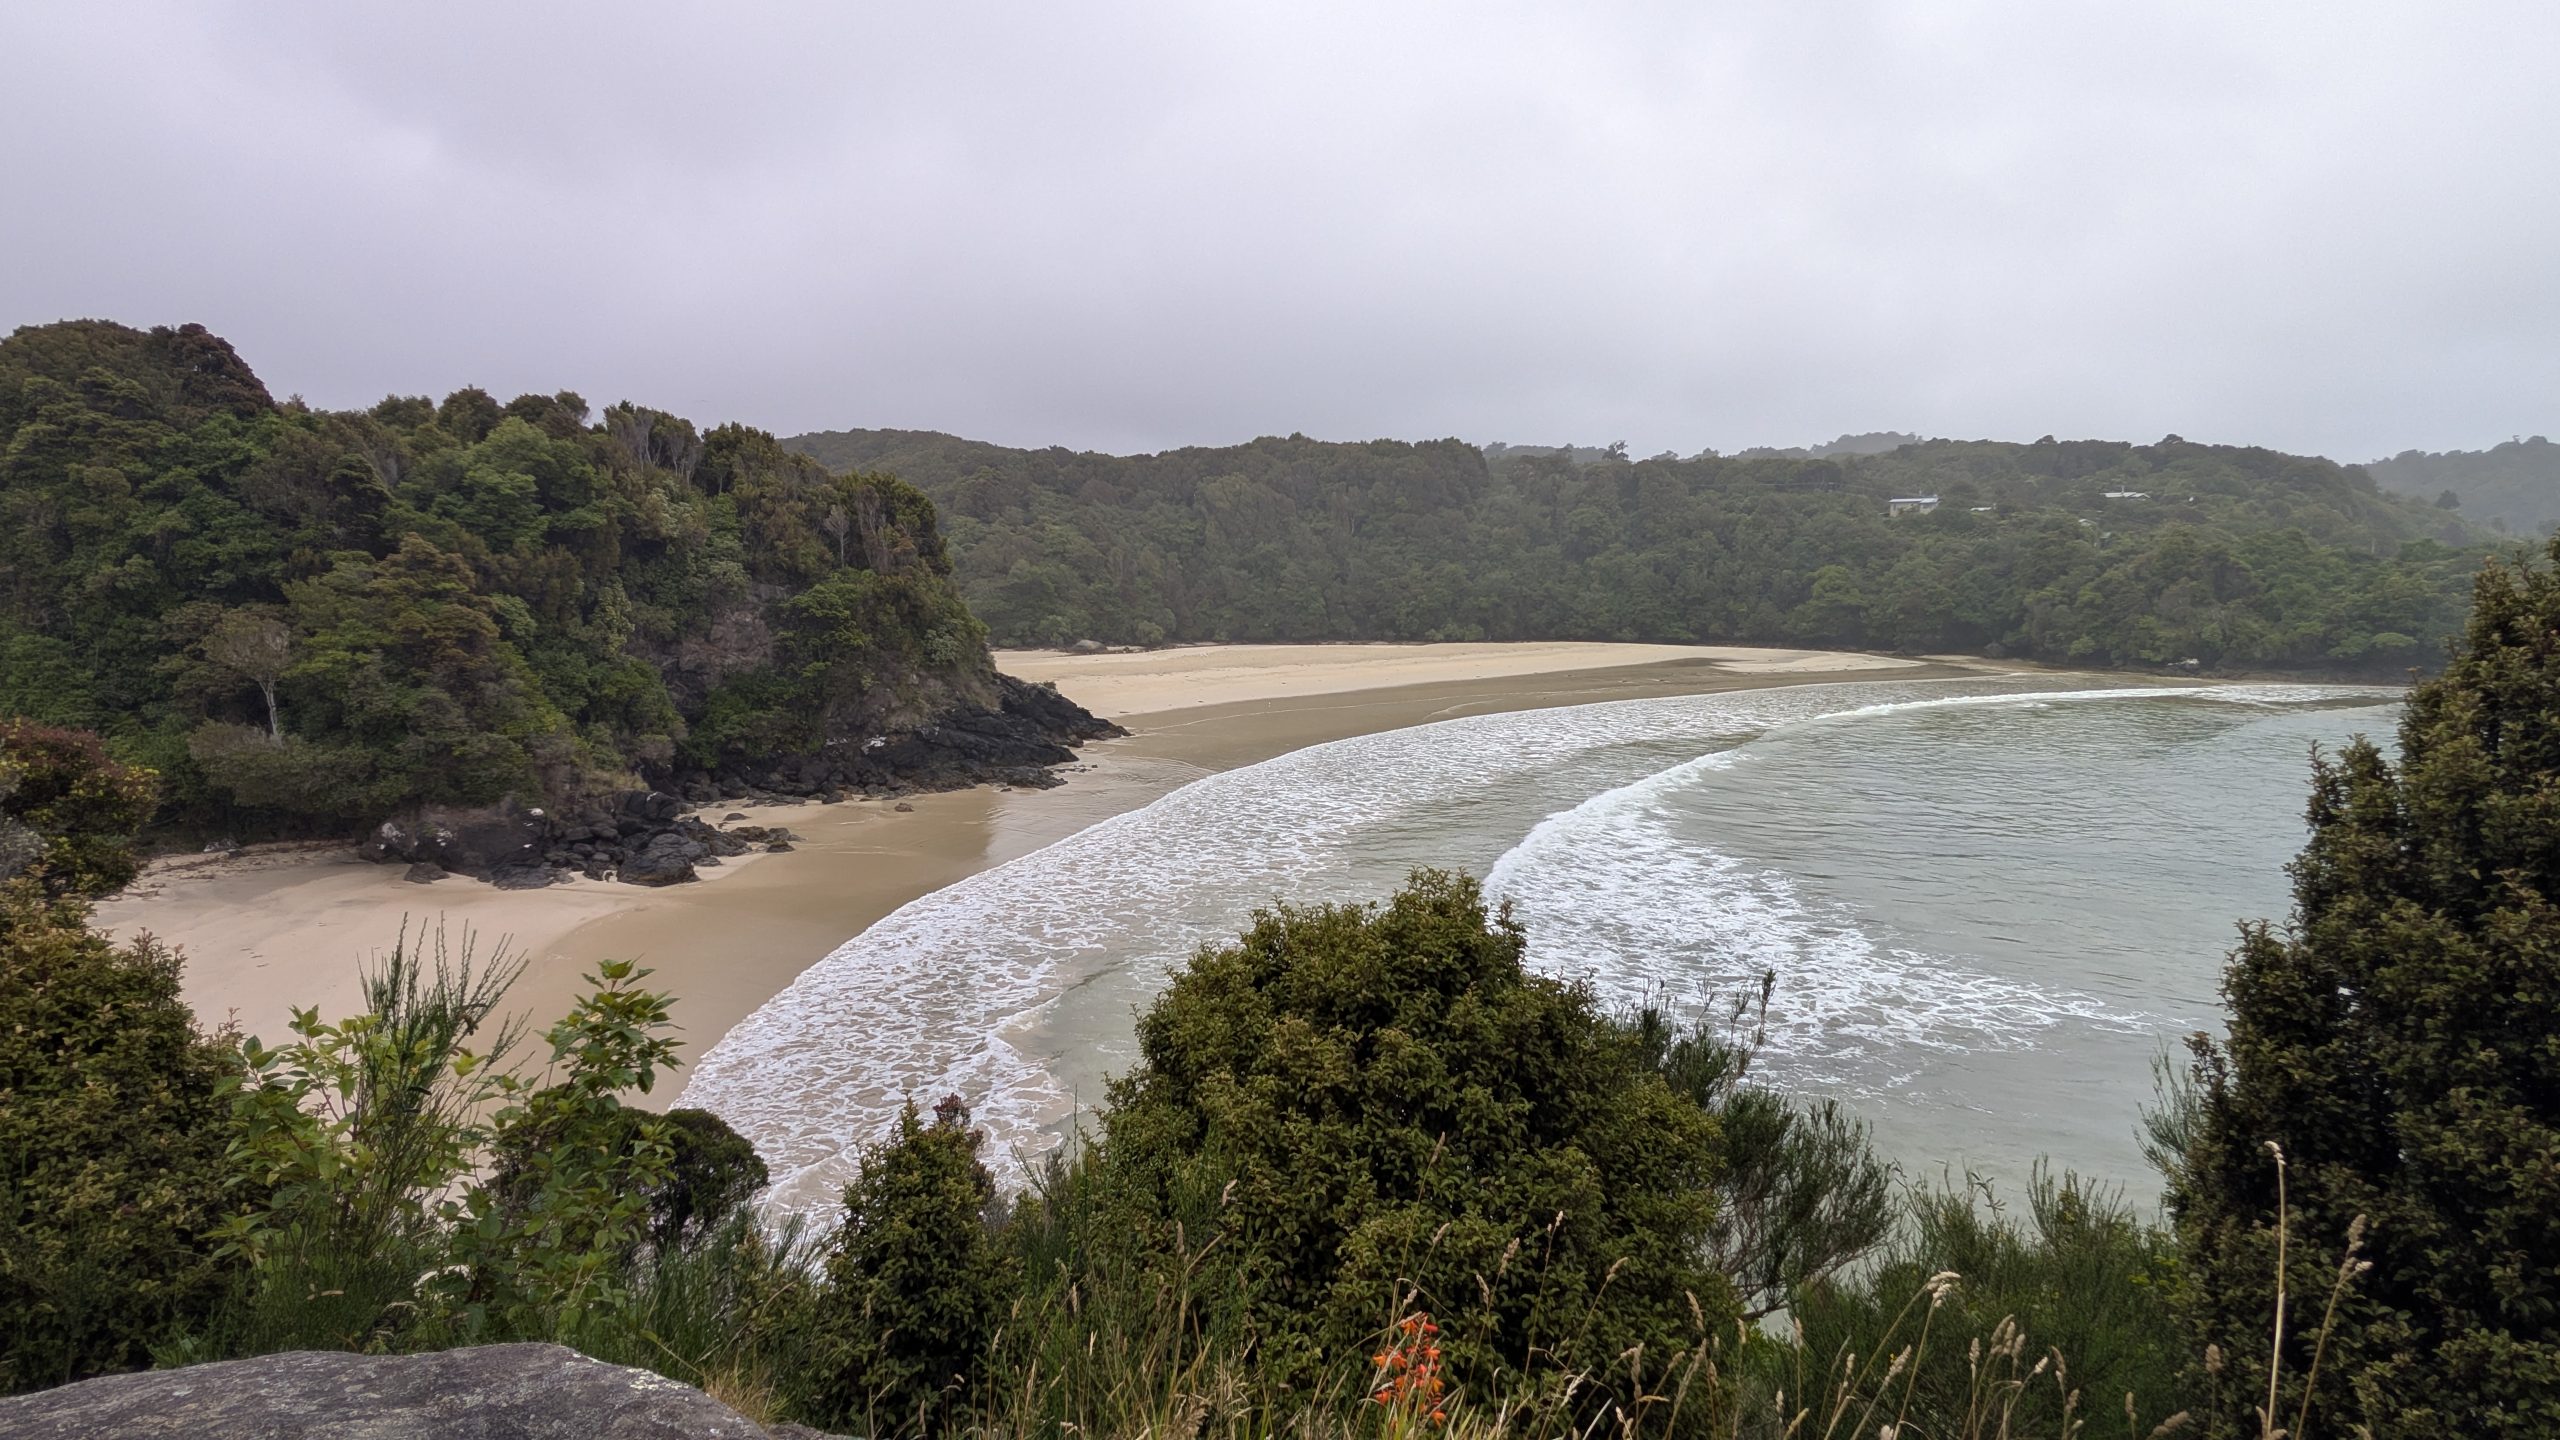
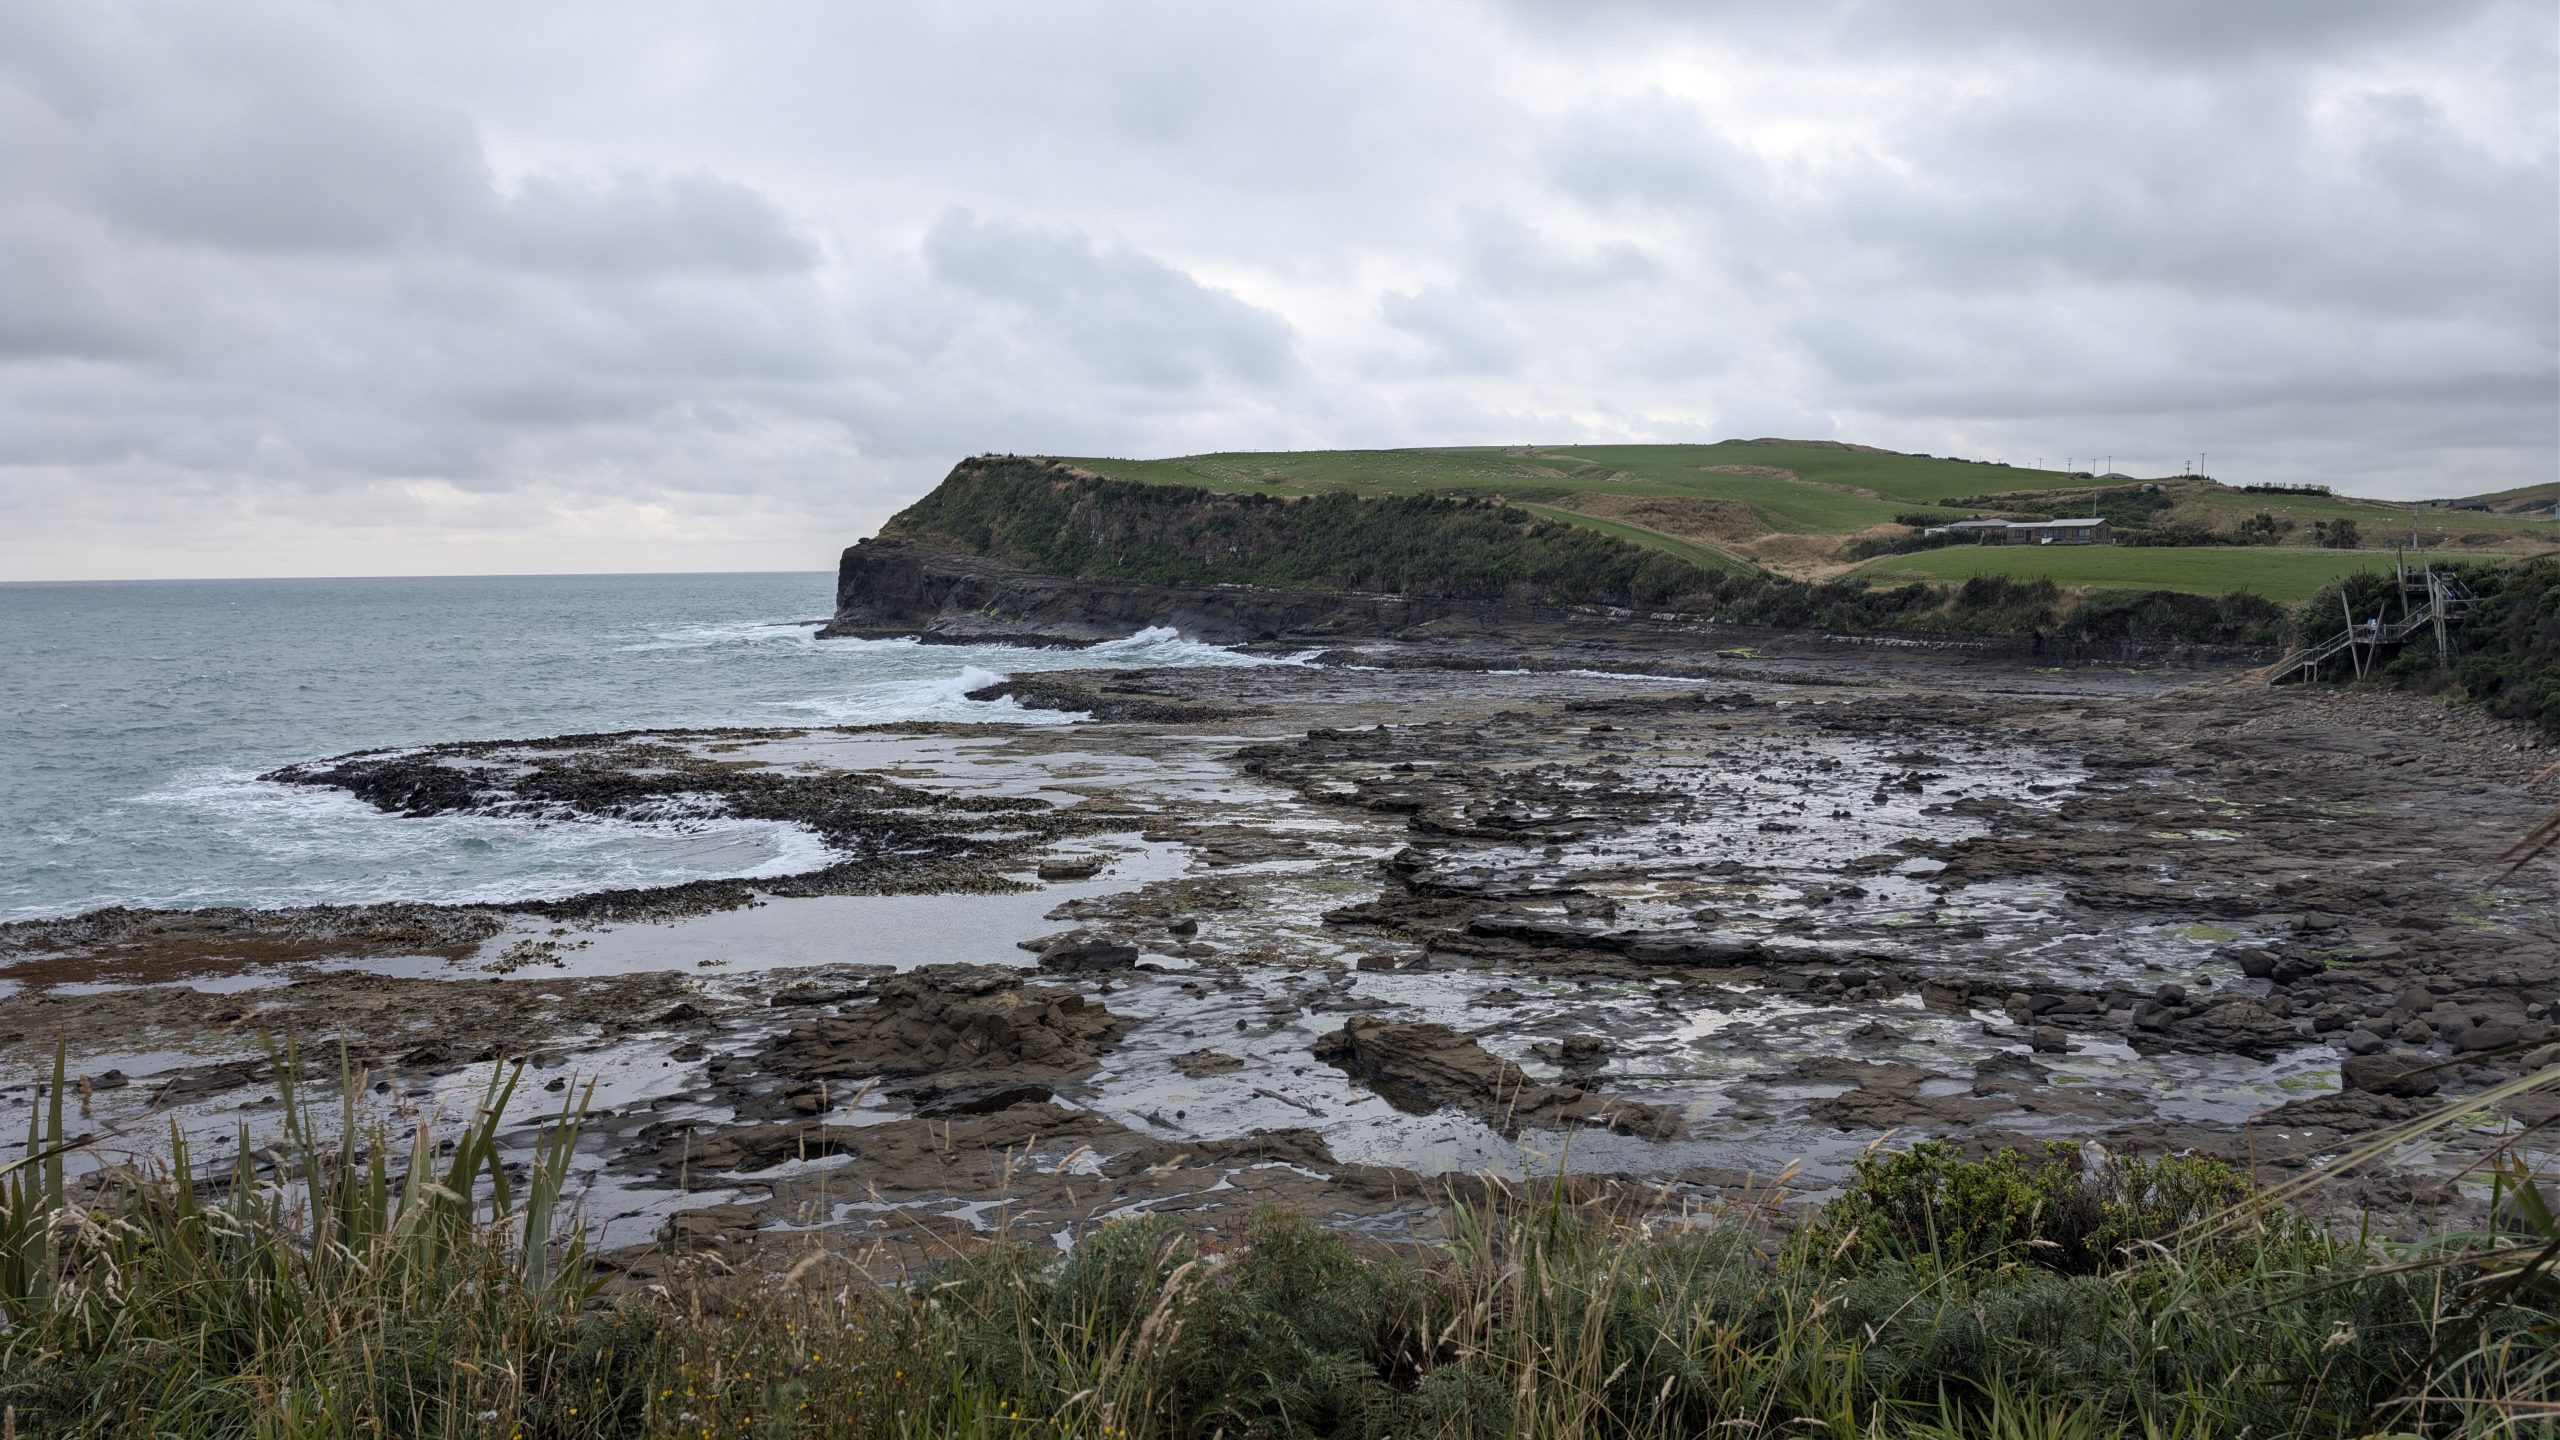
Past Leask Bay we climbed the road to a nice view of Halfmoon Bay. The photo below shows the beaches and coastline on the far side of the bay where I would take a hike later that afternoon.
Halfmoon Bay with Butterfield Beach, Bragg Bay, and the trail to Horseshoe Point in the distance
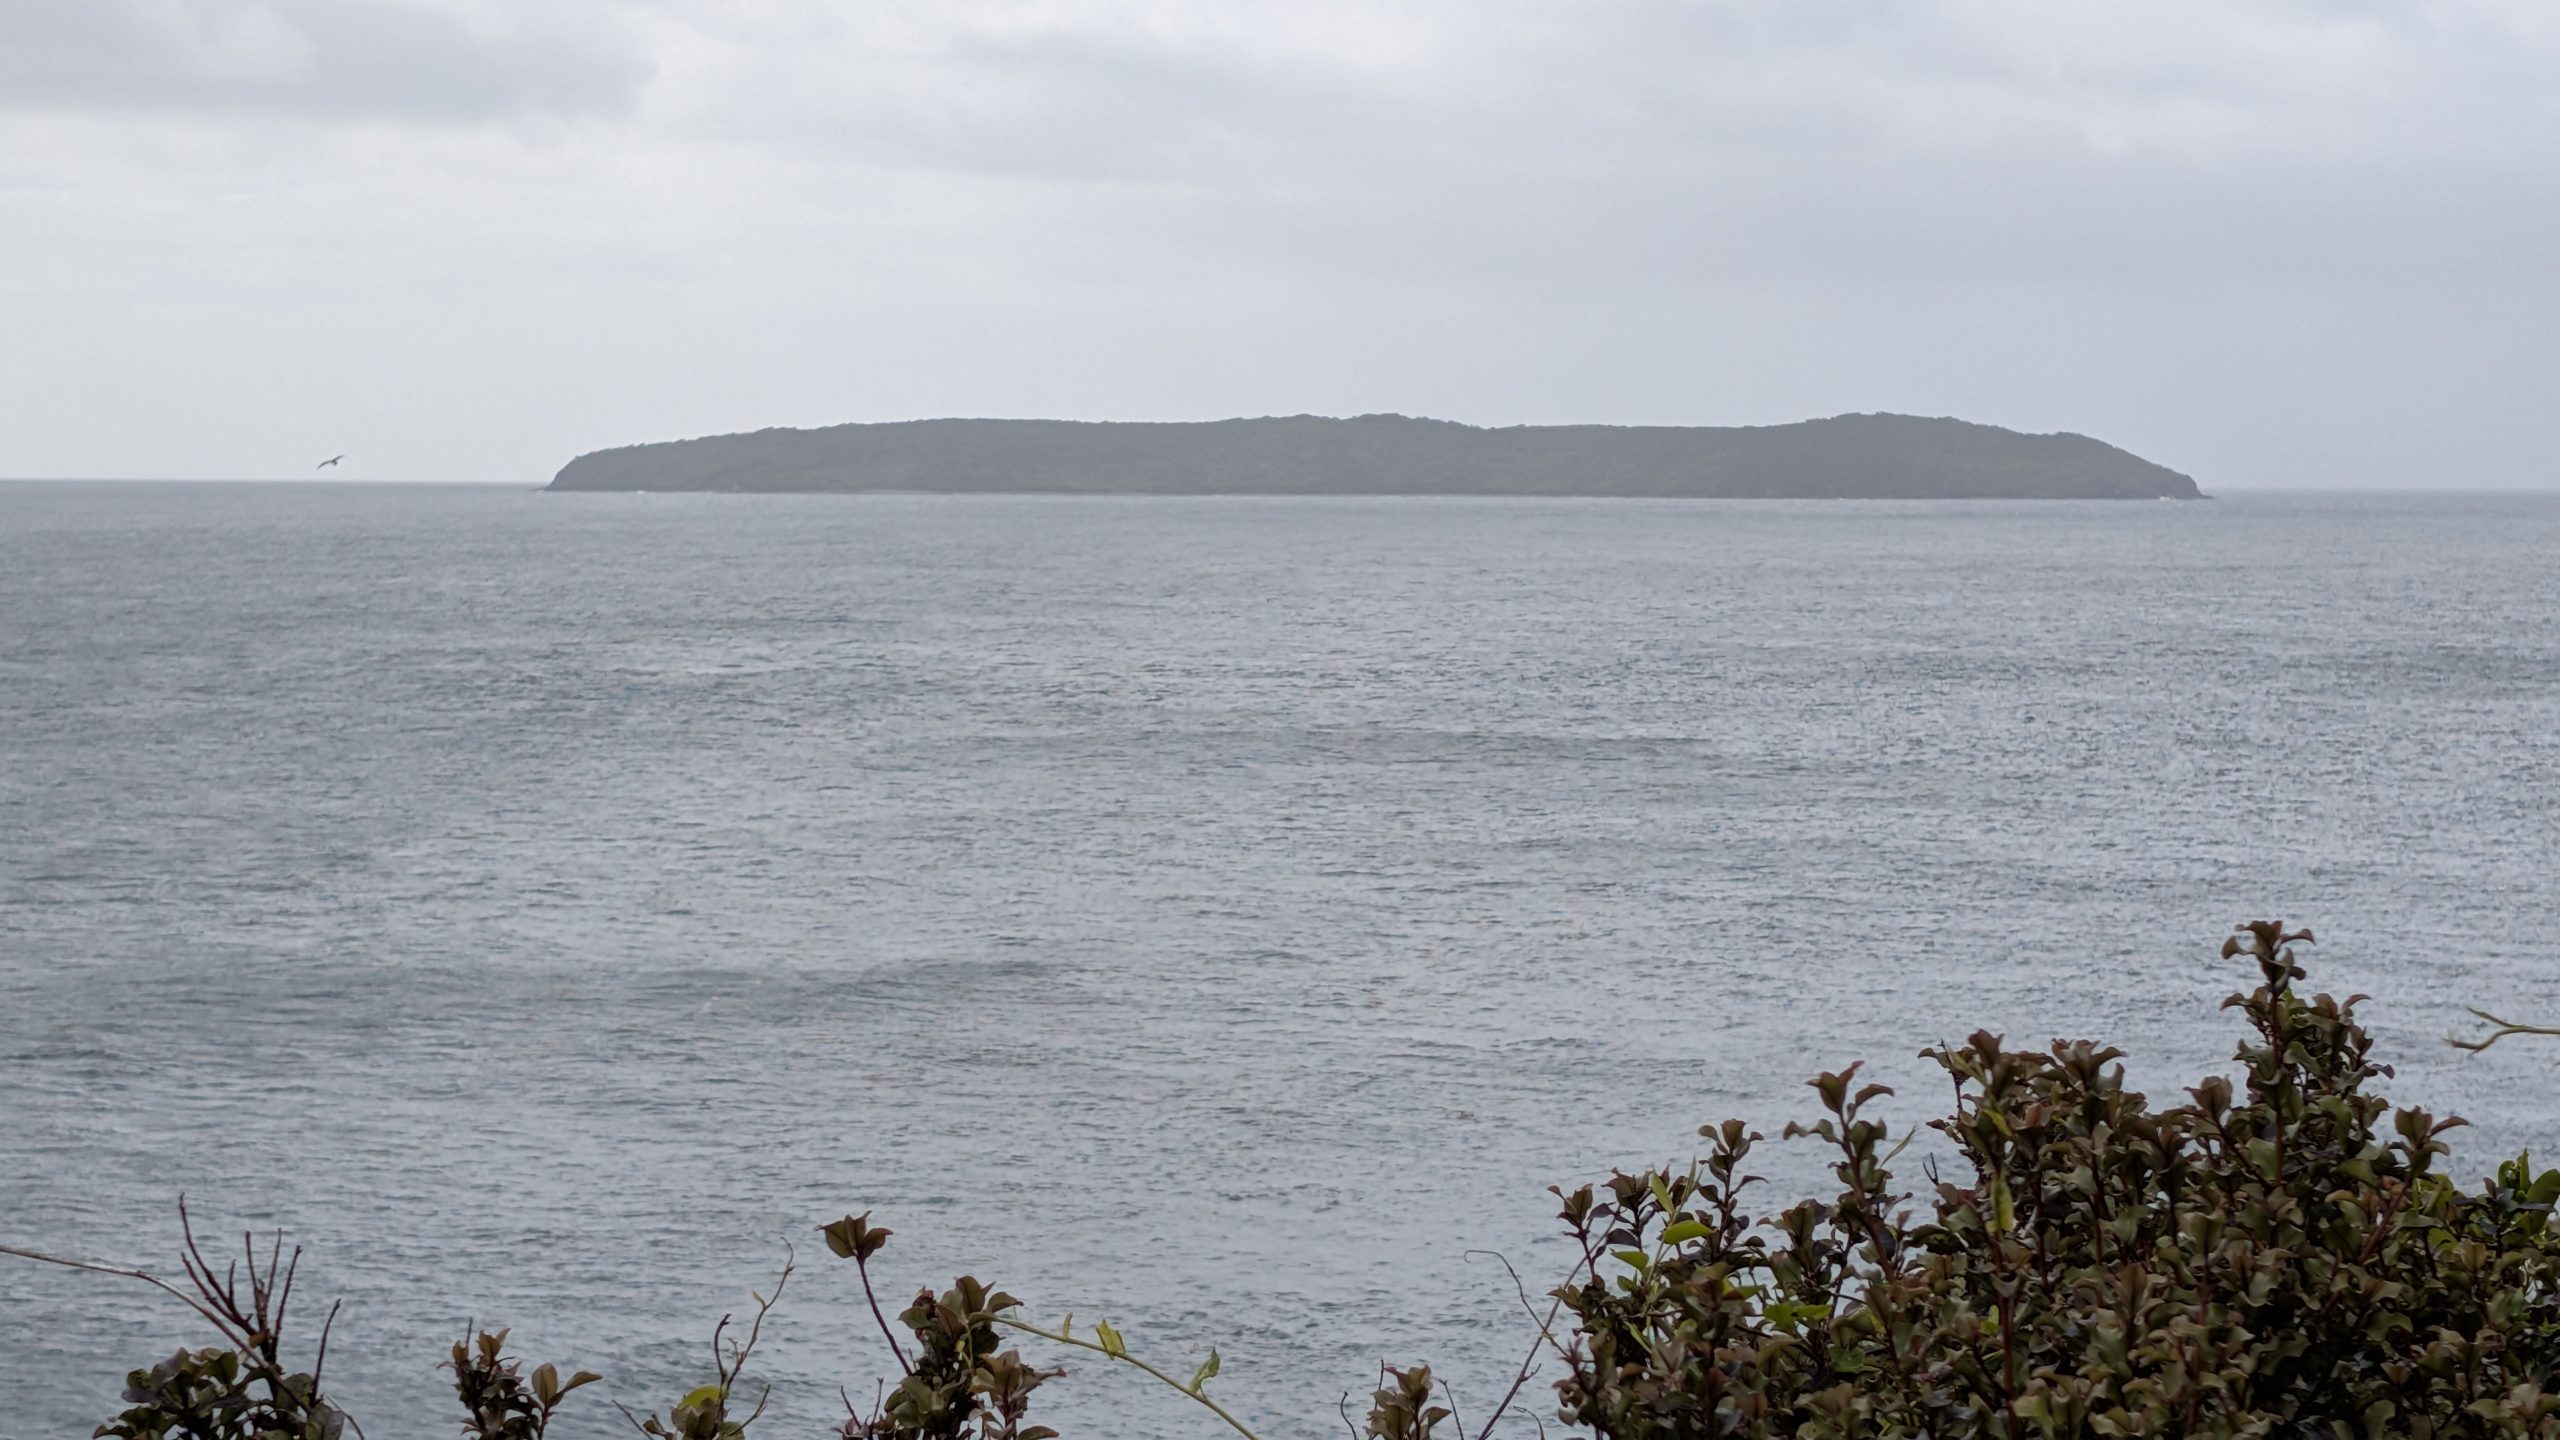
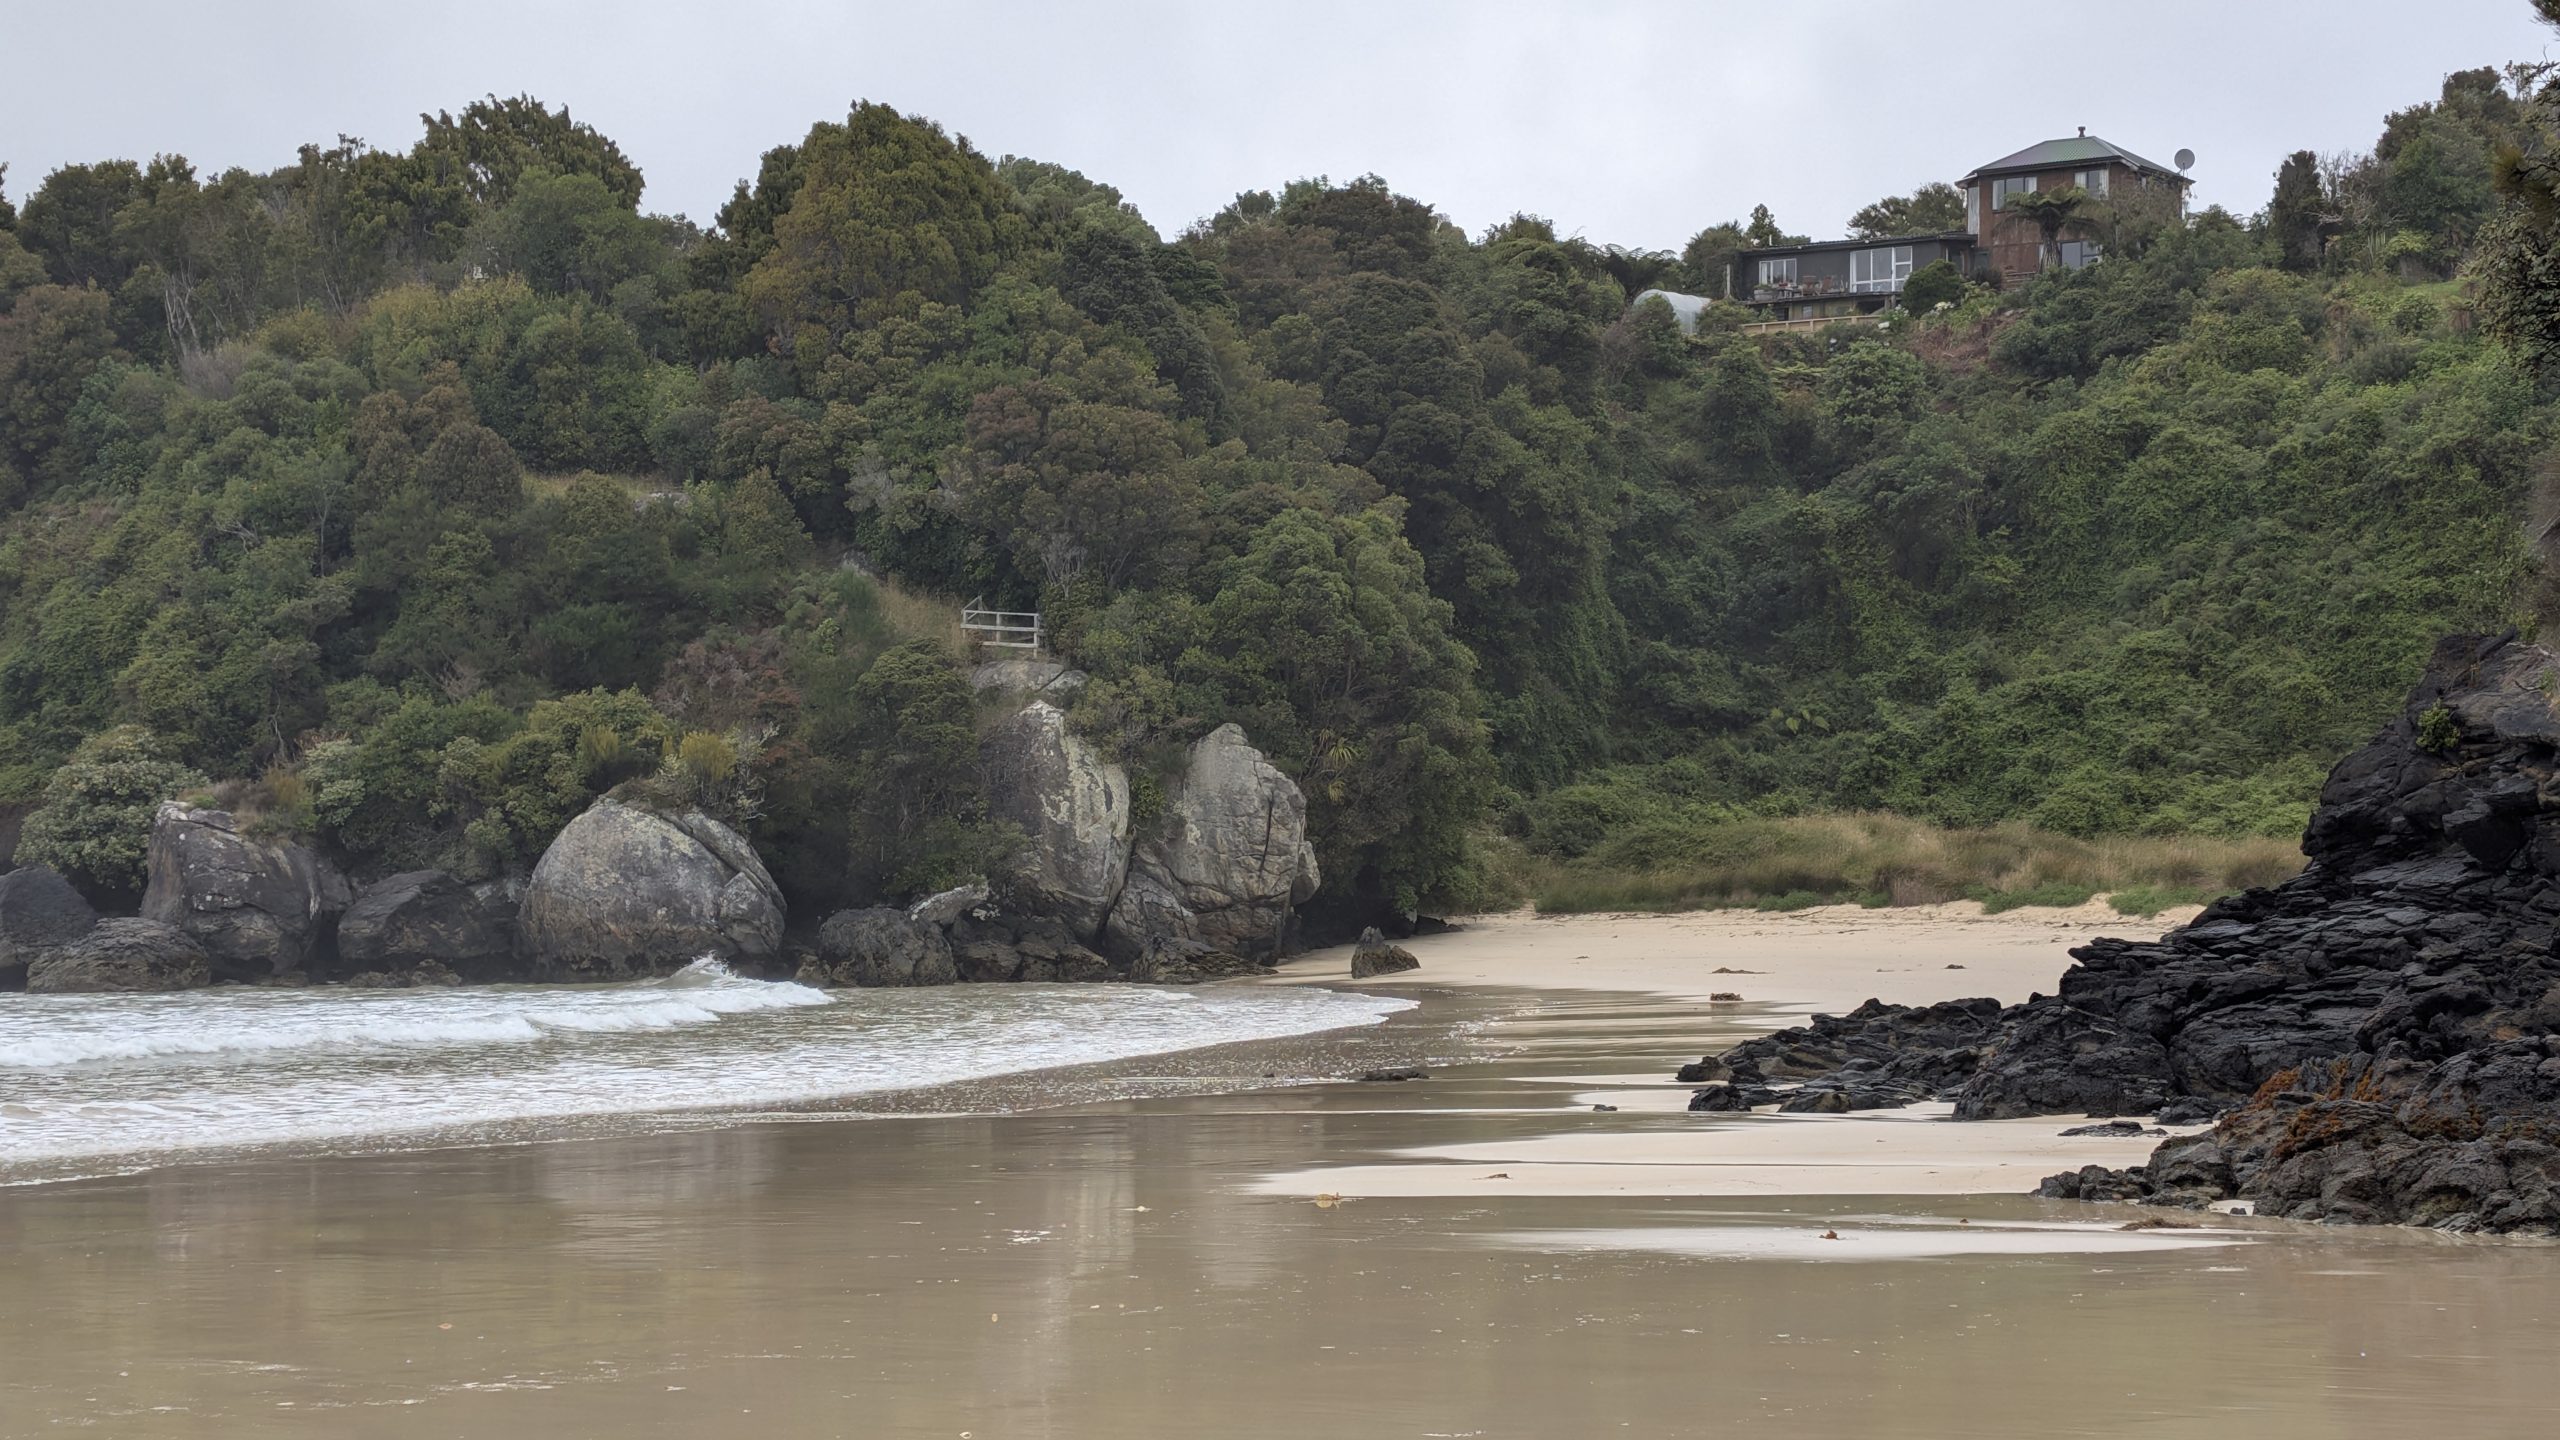
The road ended at Ackers Stone House which we would explore later on our return. We took the hiking trail that climbed up to Ackers Point. The weather had been sunny for the start of our walk but then steadily got cloudier, and by the time we reached Ackers Point it was completely cloudy and appeared to be raining in the distance. We could see many of the islands in the Foveaux Strait.
Ackers PointBench Island view from Ackers Point, where we saw the yellow eyed penguins the previous day
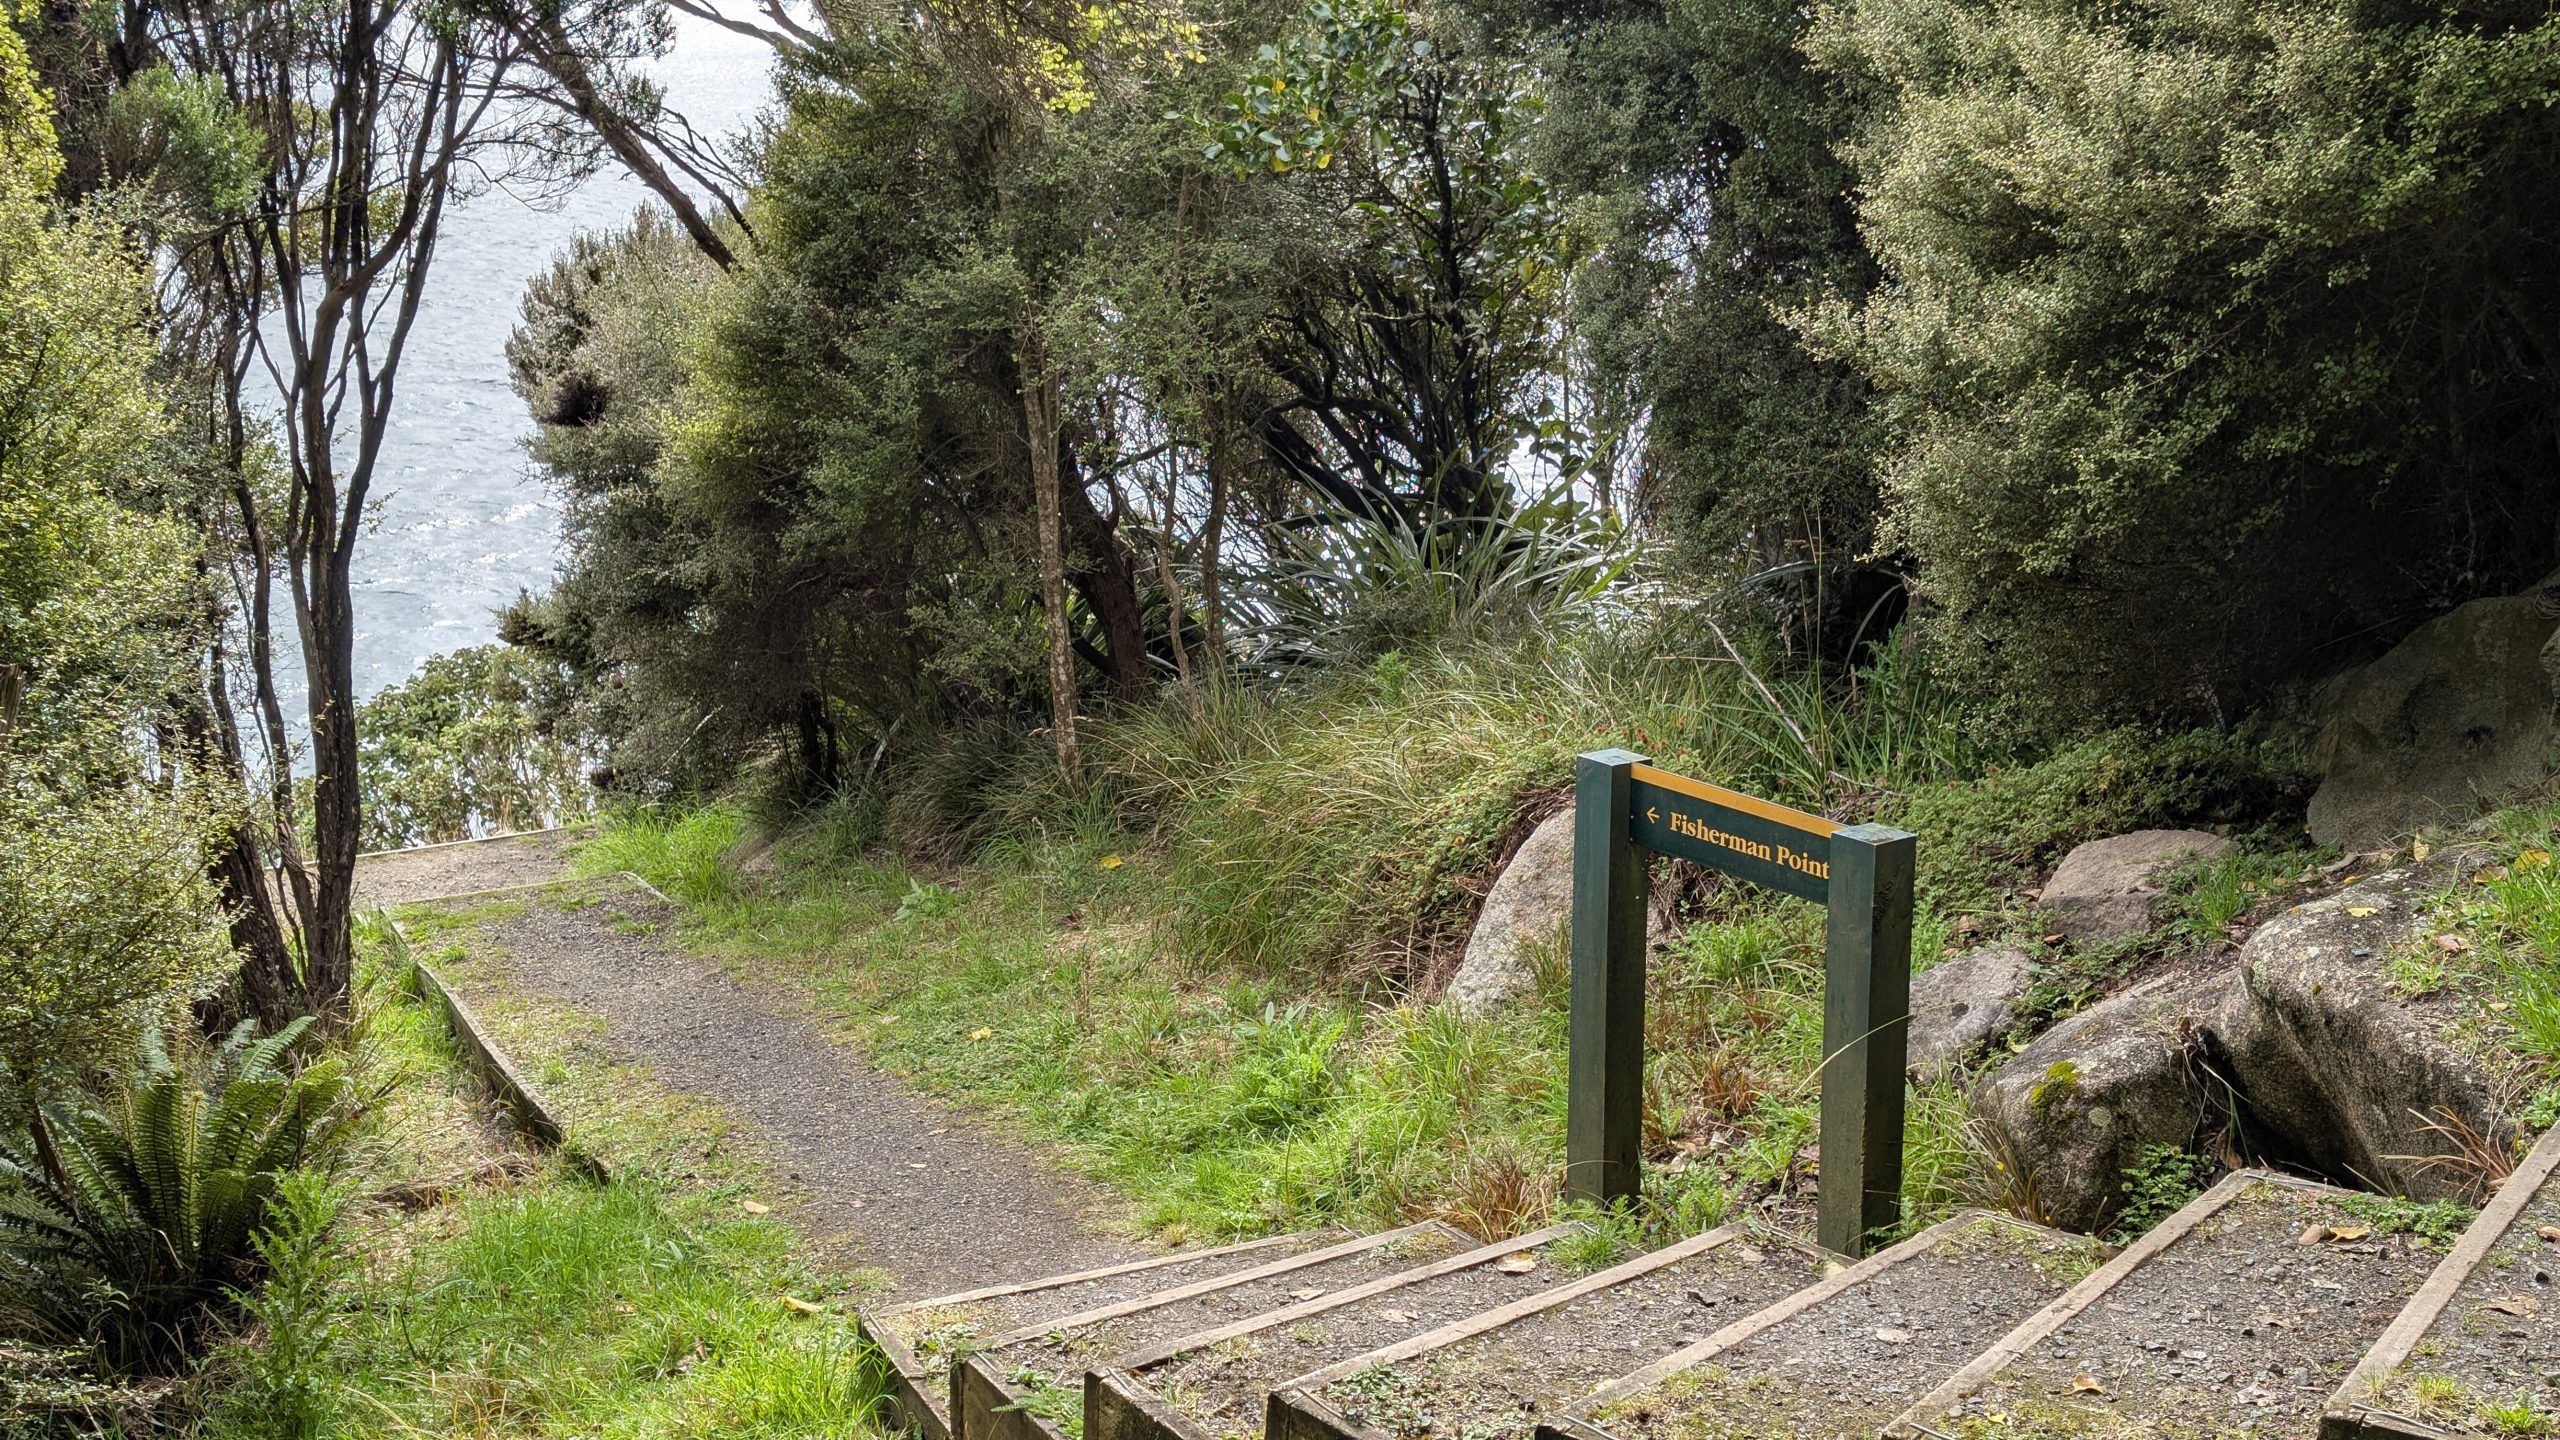
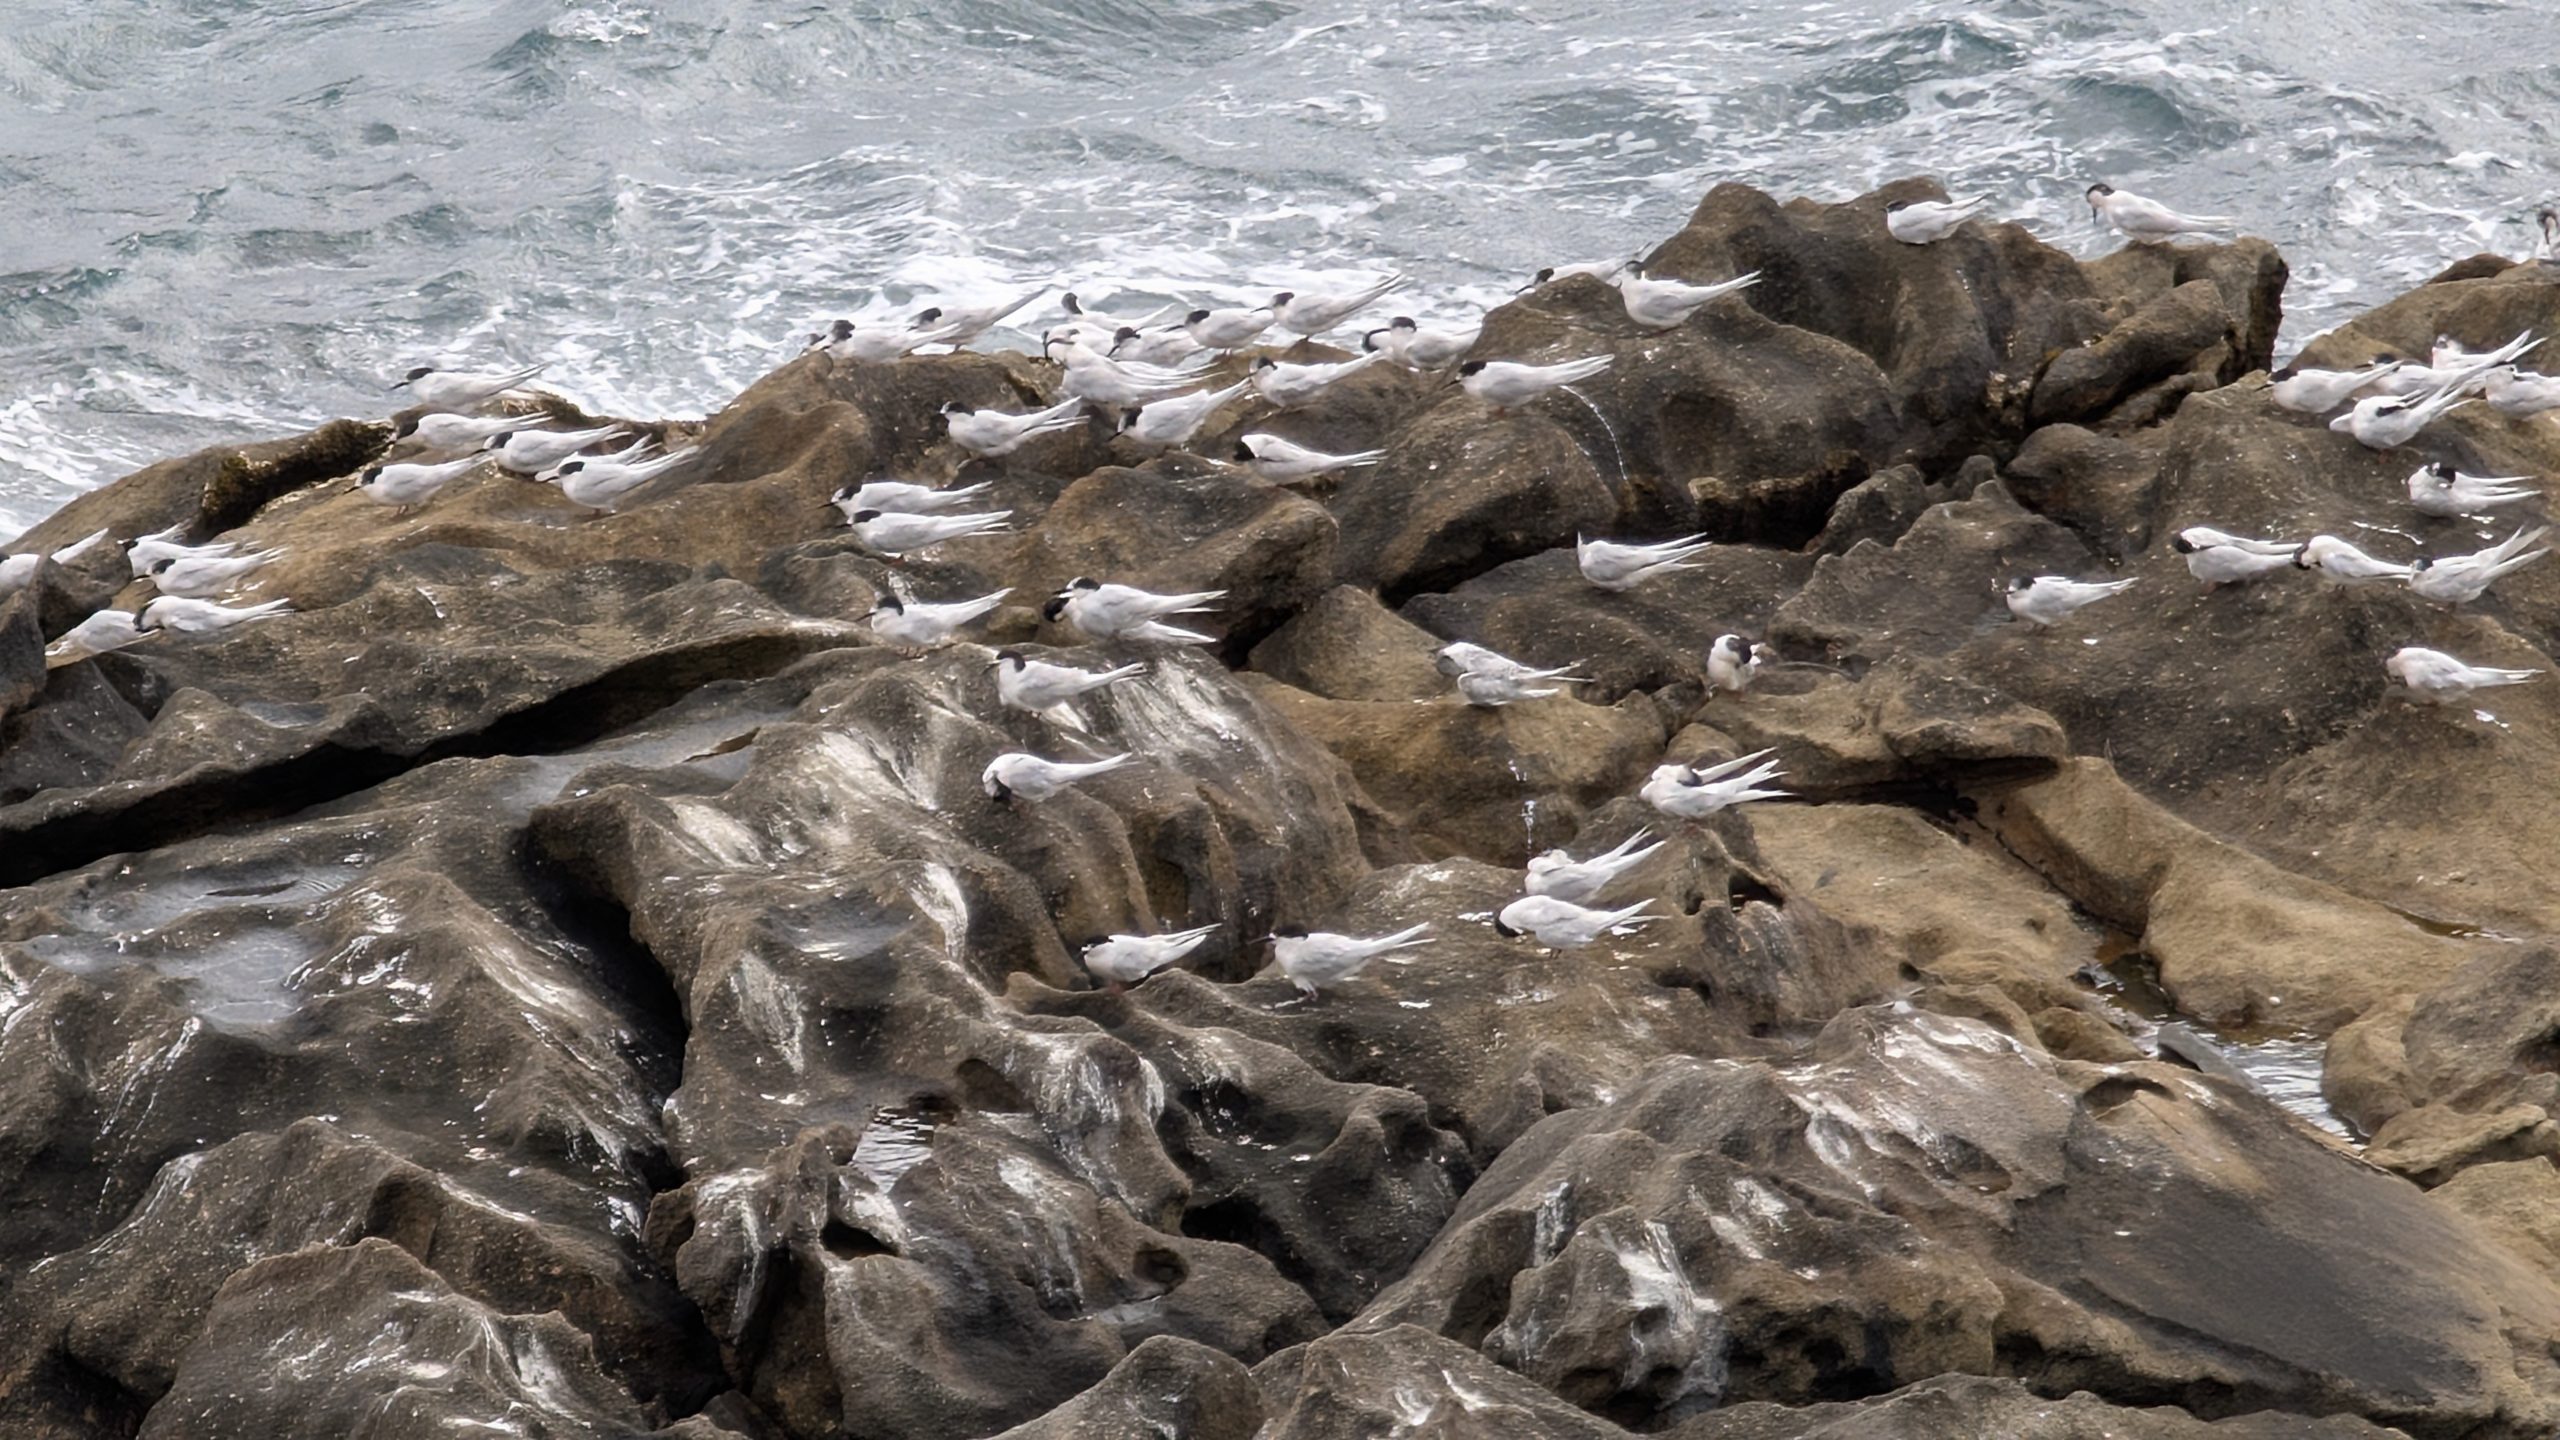
On the return walk we stopped at Fisherman Point where we saw many sea birds doing their own fishing.
Side trail to Fisherman Point
Birds at Fisherman PointWhite-fronted terns resting on the rocks at Fisherman Point
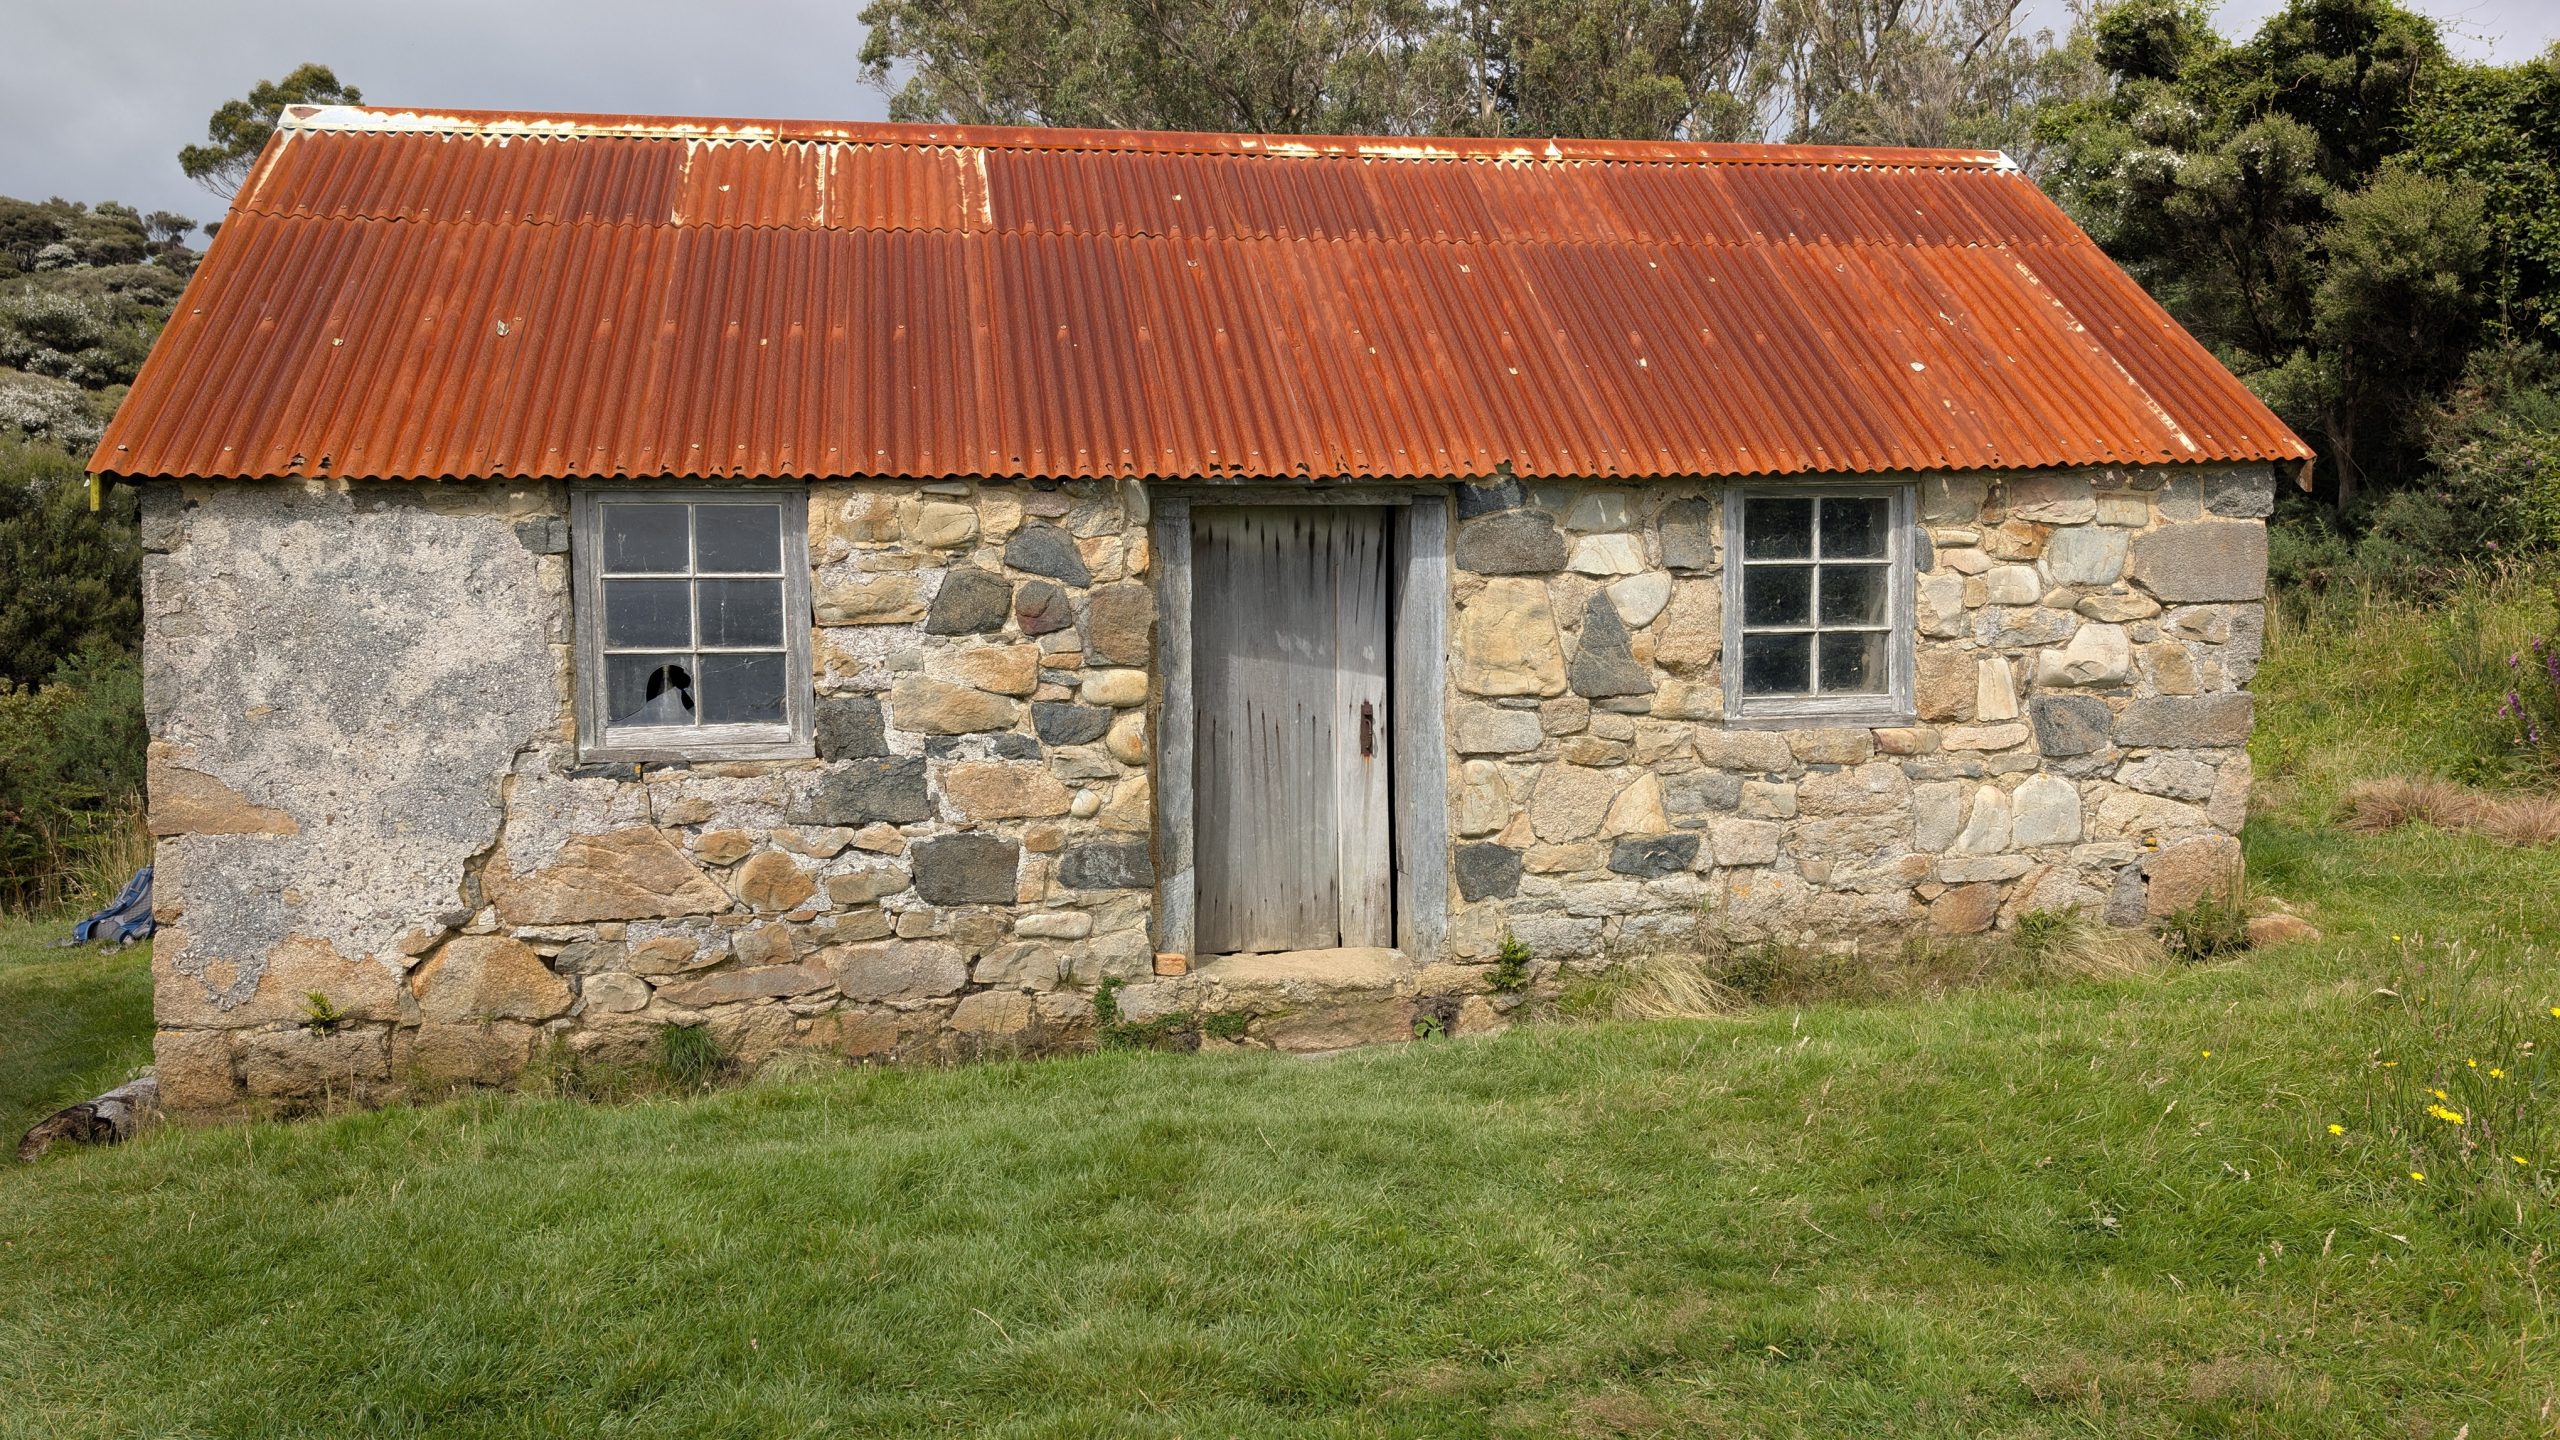
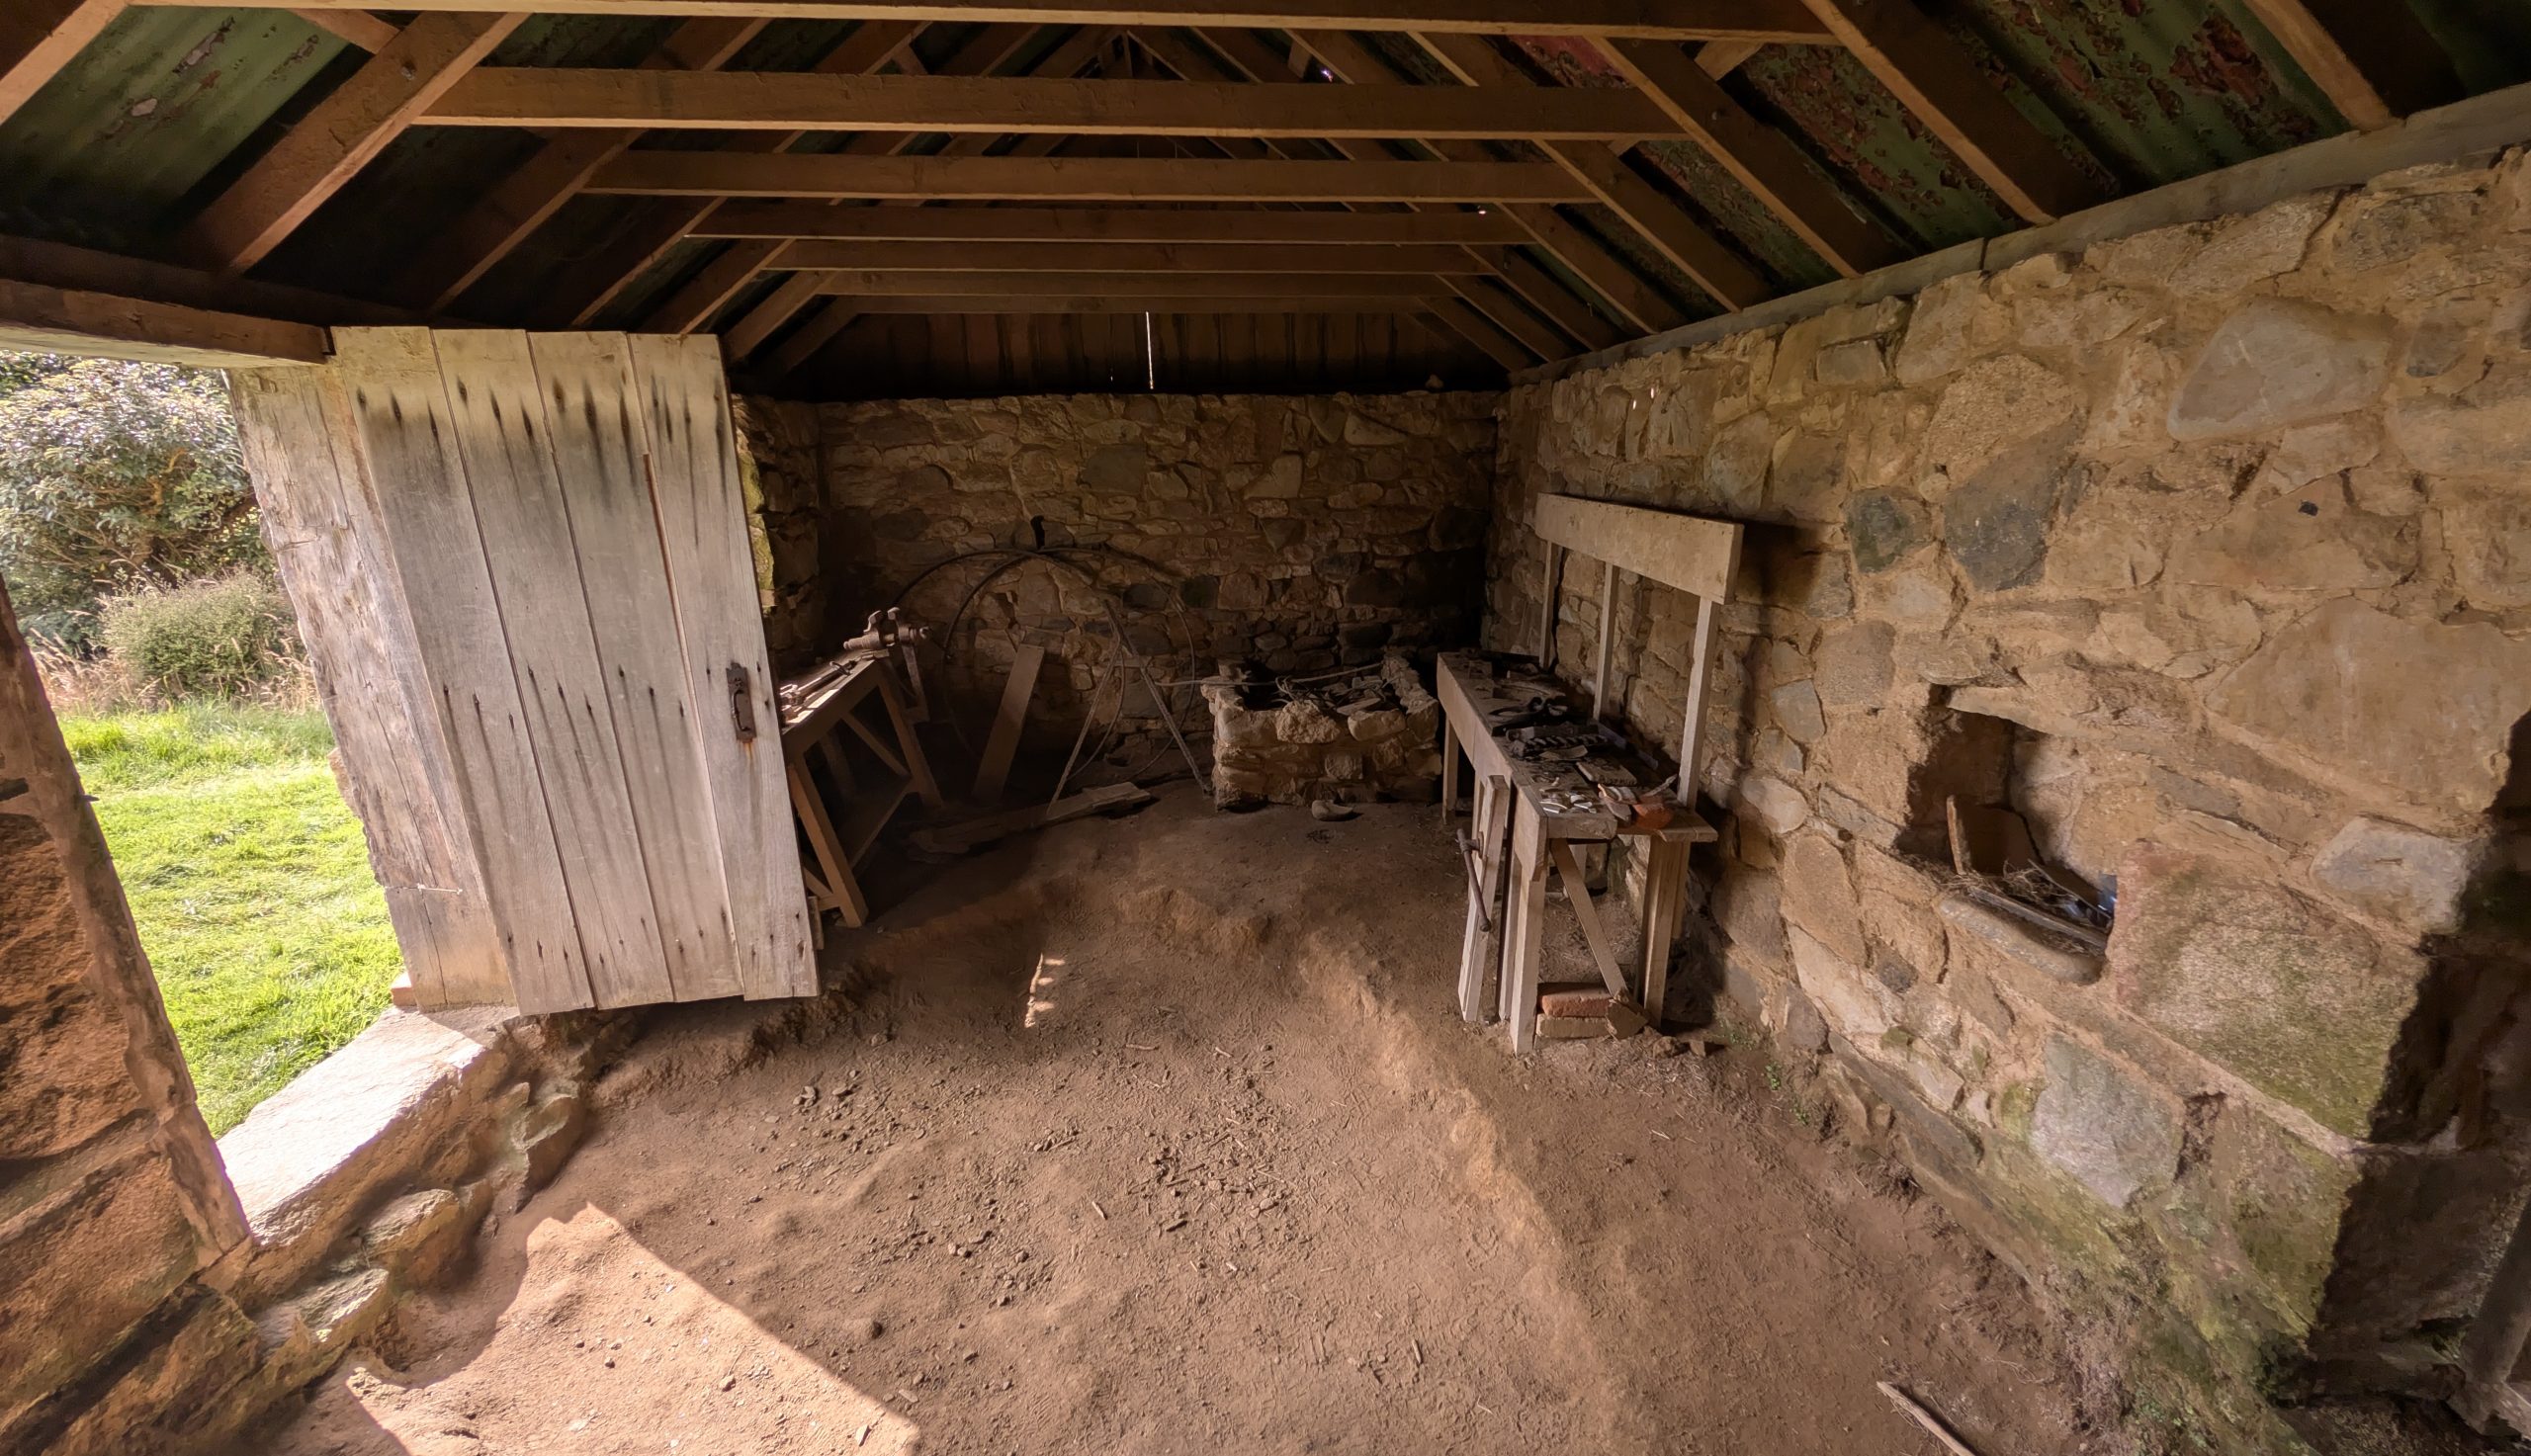
Back at the head of the trail we stopped to see Ackers Stone House, which was the oldest European building on Stewart Island and a New Zealand historic place. Lewis Acker was an American whaler who built the house around 1836 and raised 9 children.
Ackers Stone HouseInside the houseView from the opposite end of the houseHarrold Bay, located behind the house
We walked back to our room and had lunch. Heinrich was done walking for the day, but I wanted to see more, so in the afternoon I decided to hike to Horseshoe Point which was southeast of Oban and had views of the Foveaux Strait and Horseshoe Bay.
I followed the same route I had taken on the first day past Bathing Beach, and I continued on Horseshoe Bay Road to Butterfield Beach.
Butterfield Beach
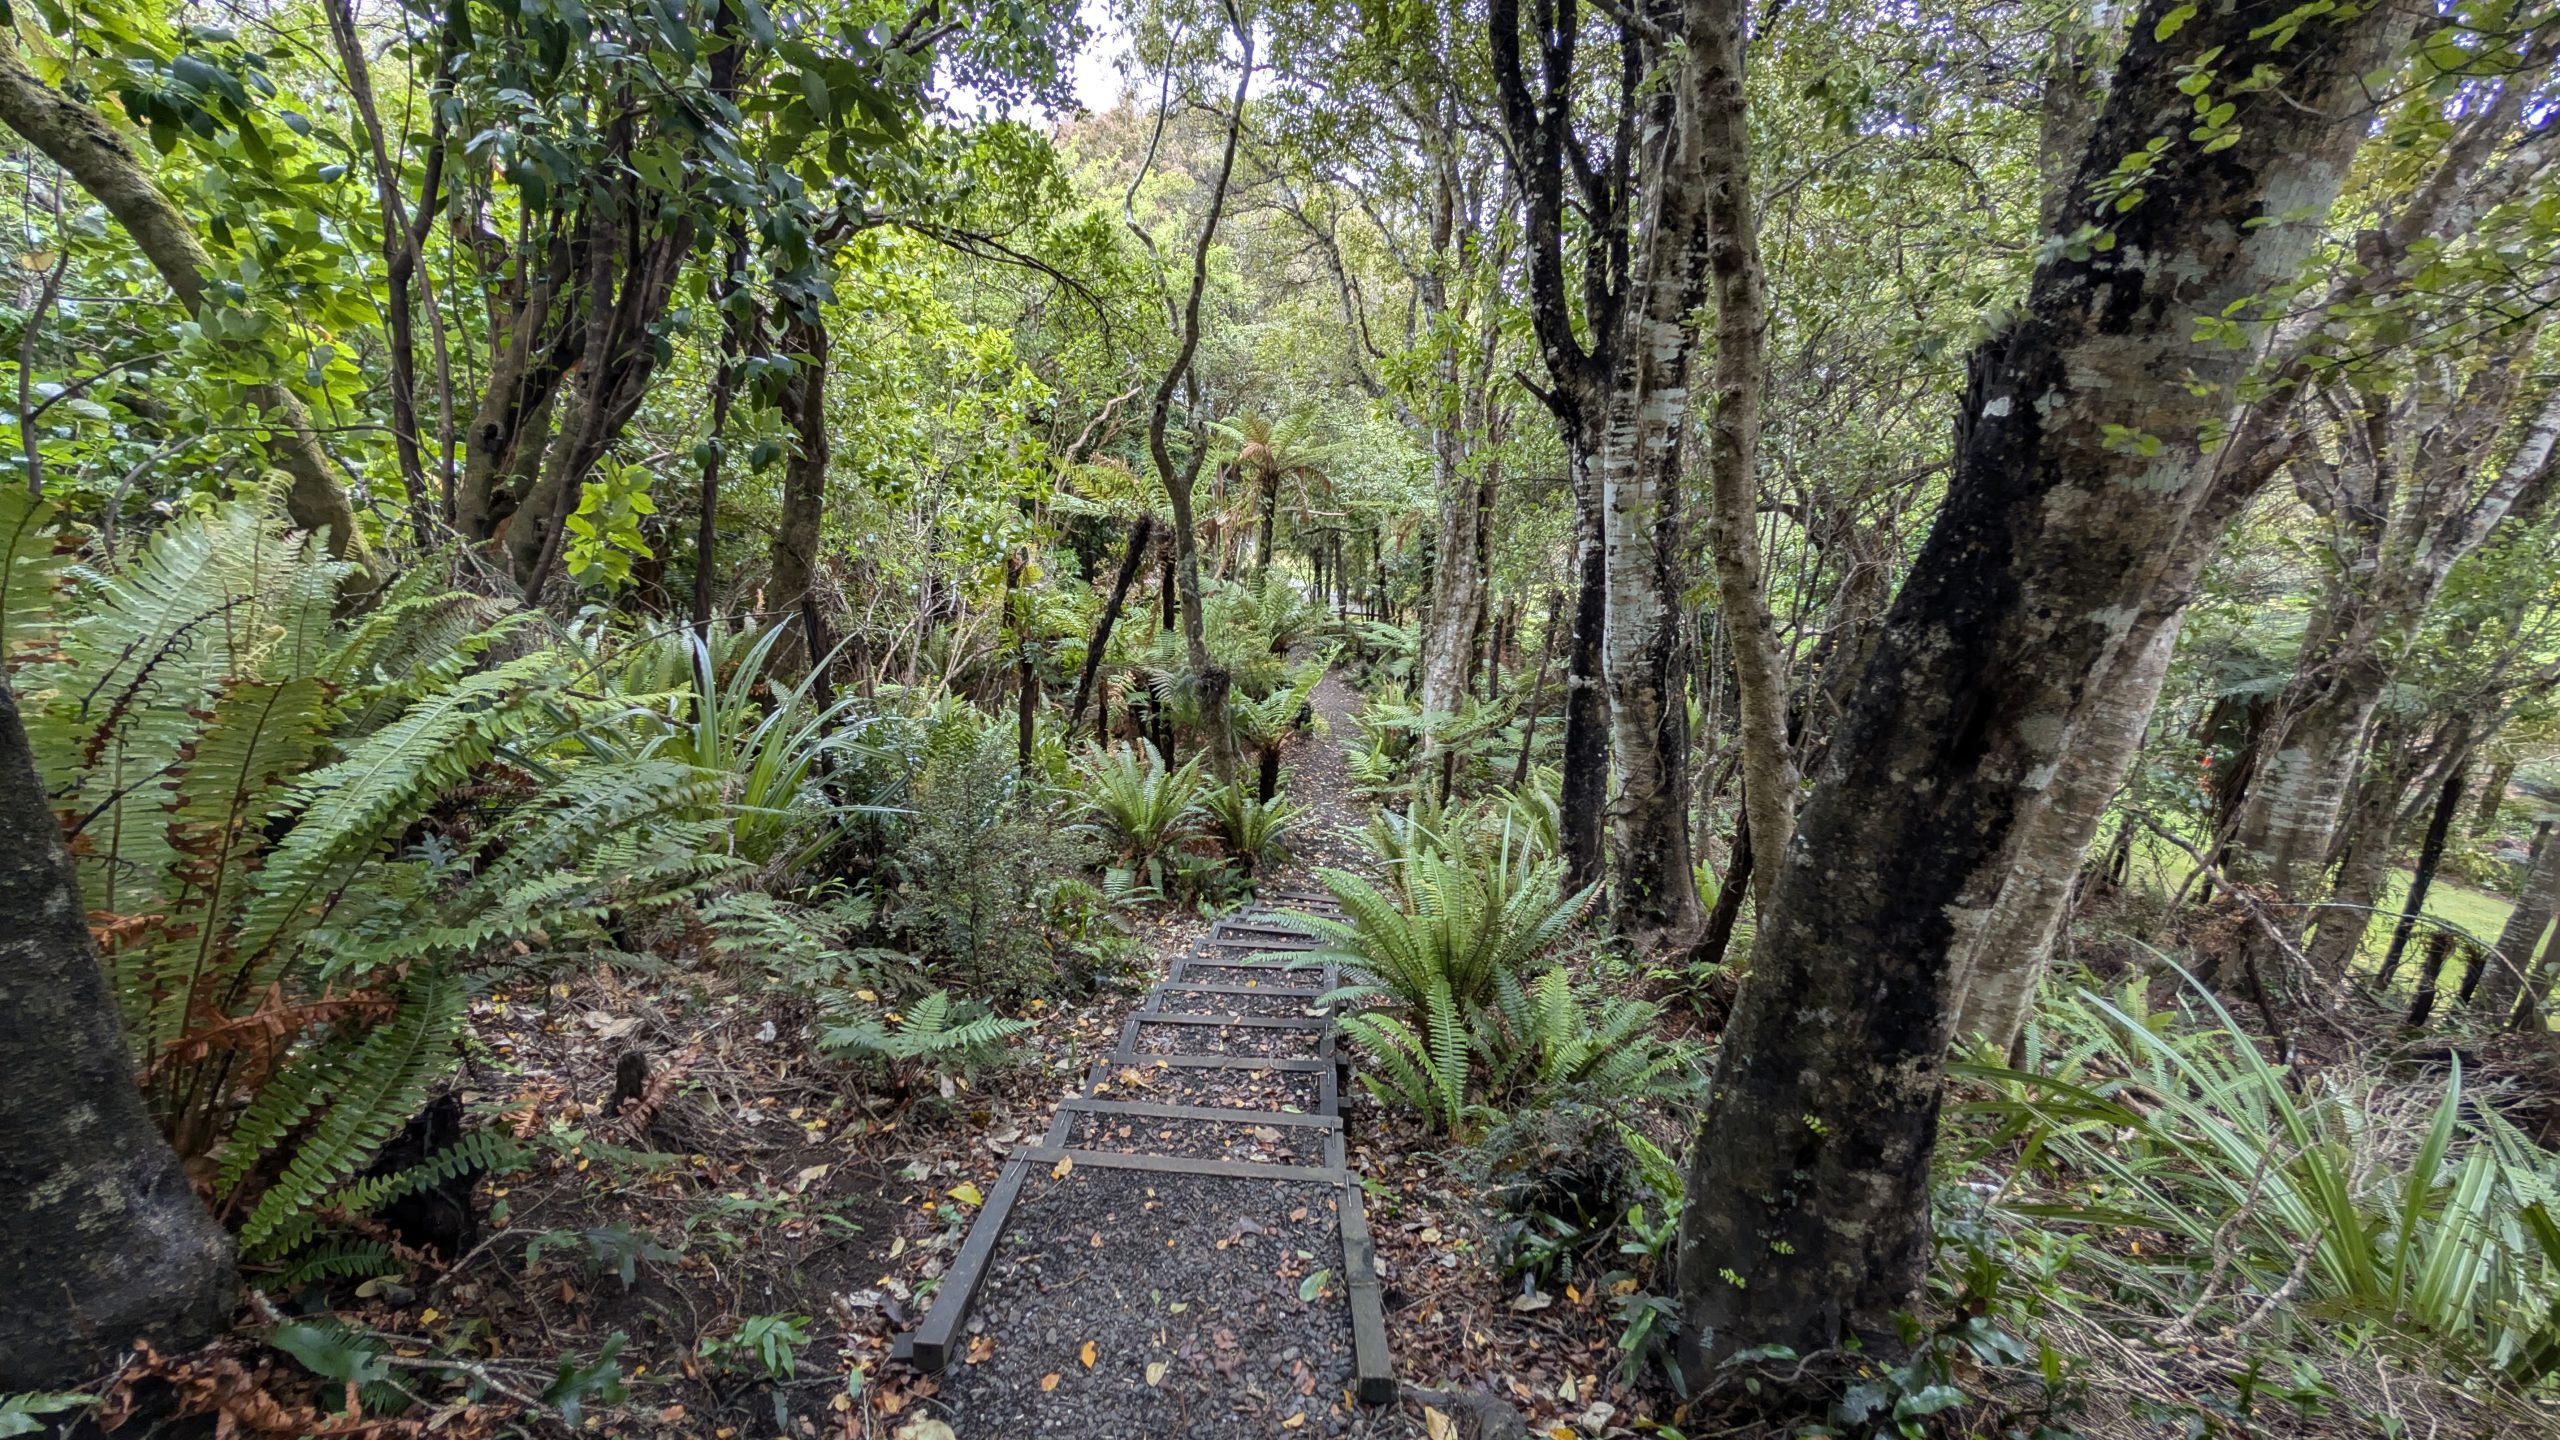
Past Butterfield Beach I walked up Bragg Bay Road, which was a gravel road. I stopped to see the Moturau Moana Native Gardens. I climbed a short trail to a nice viewpoint of Halfmoon Bay.
Halfmoon Bay view from Moturau Moana Native Gardens
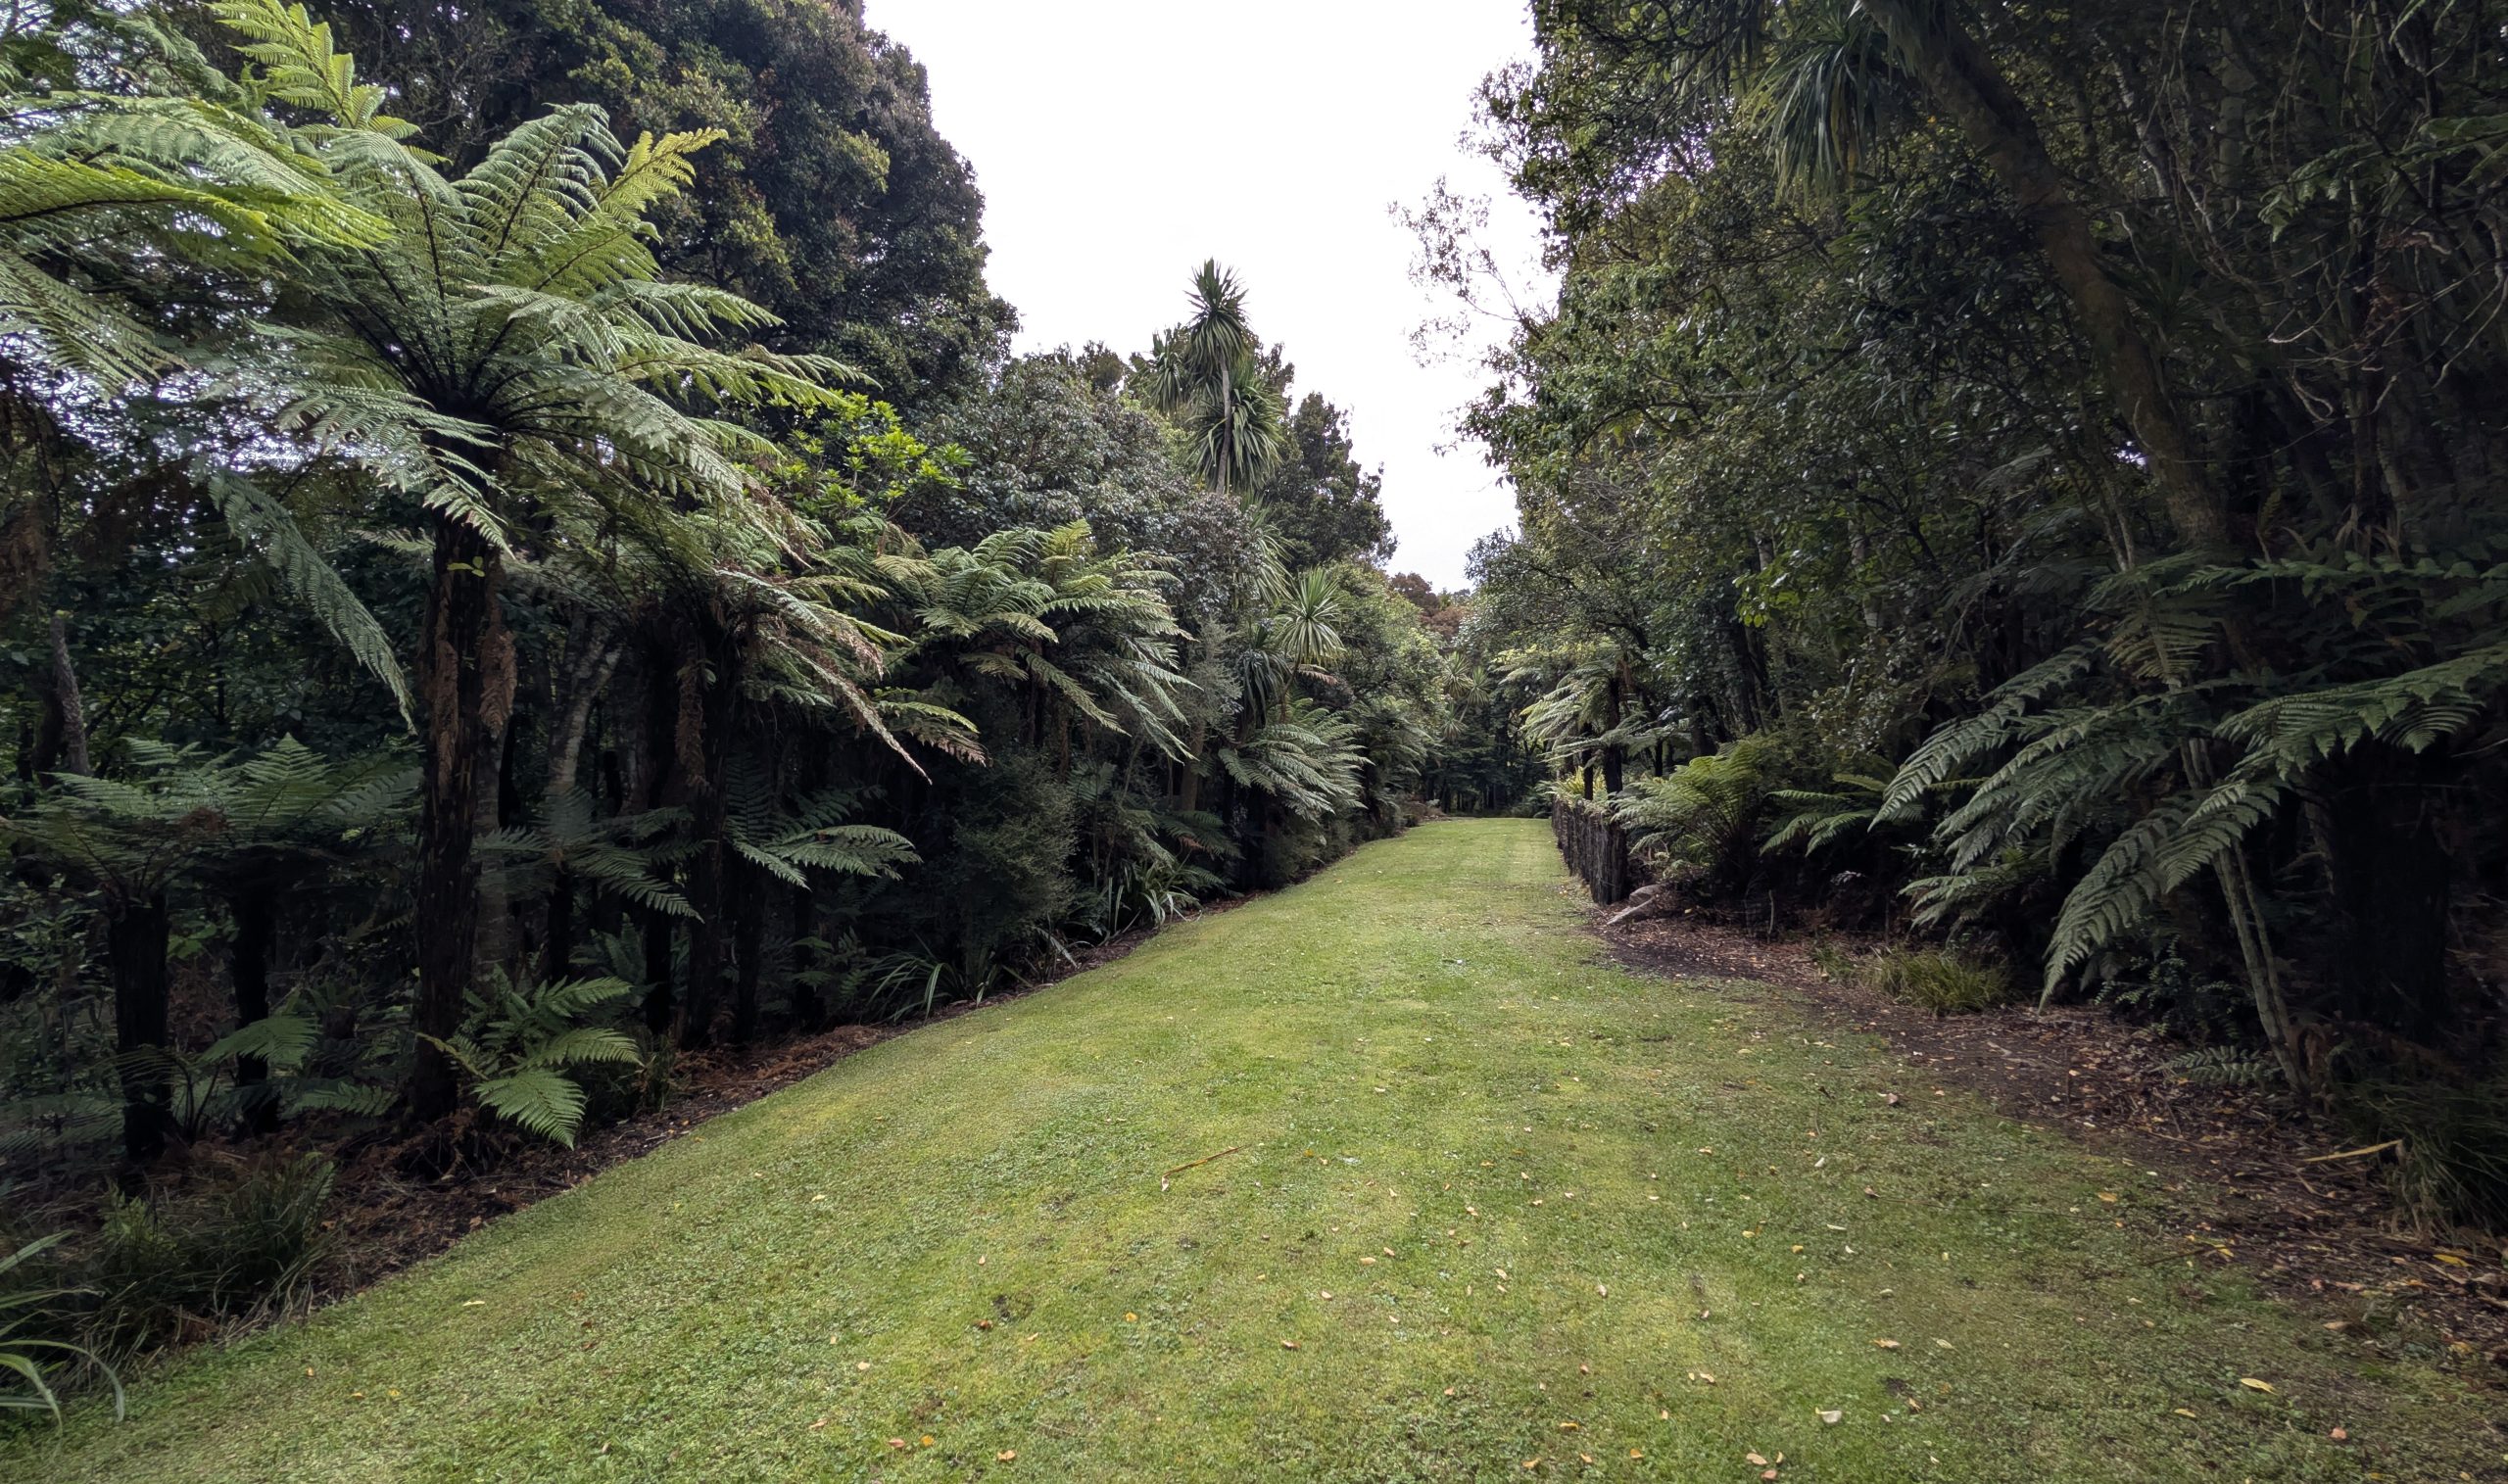
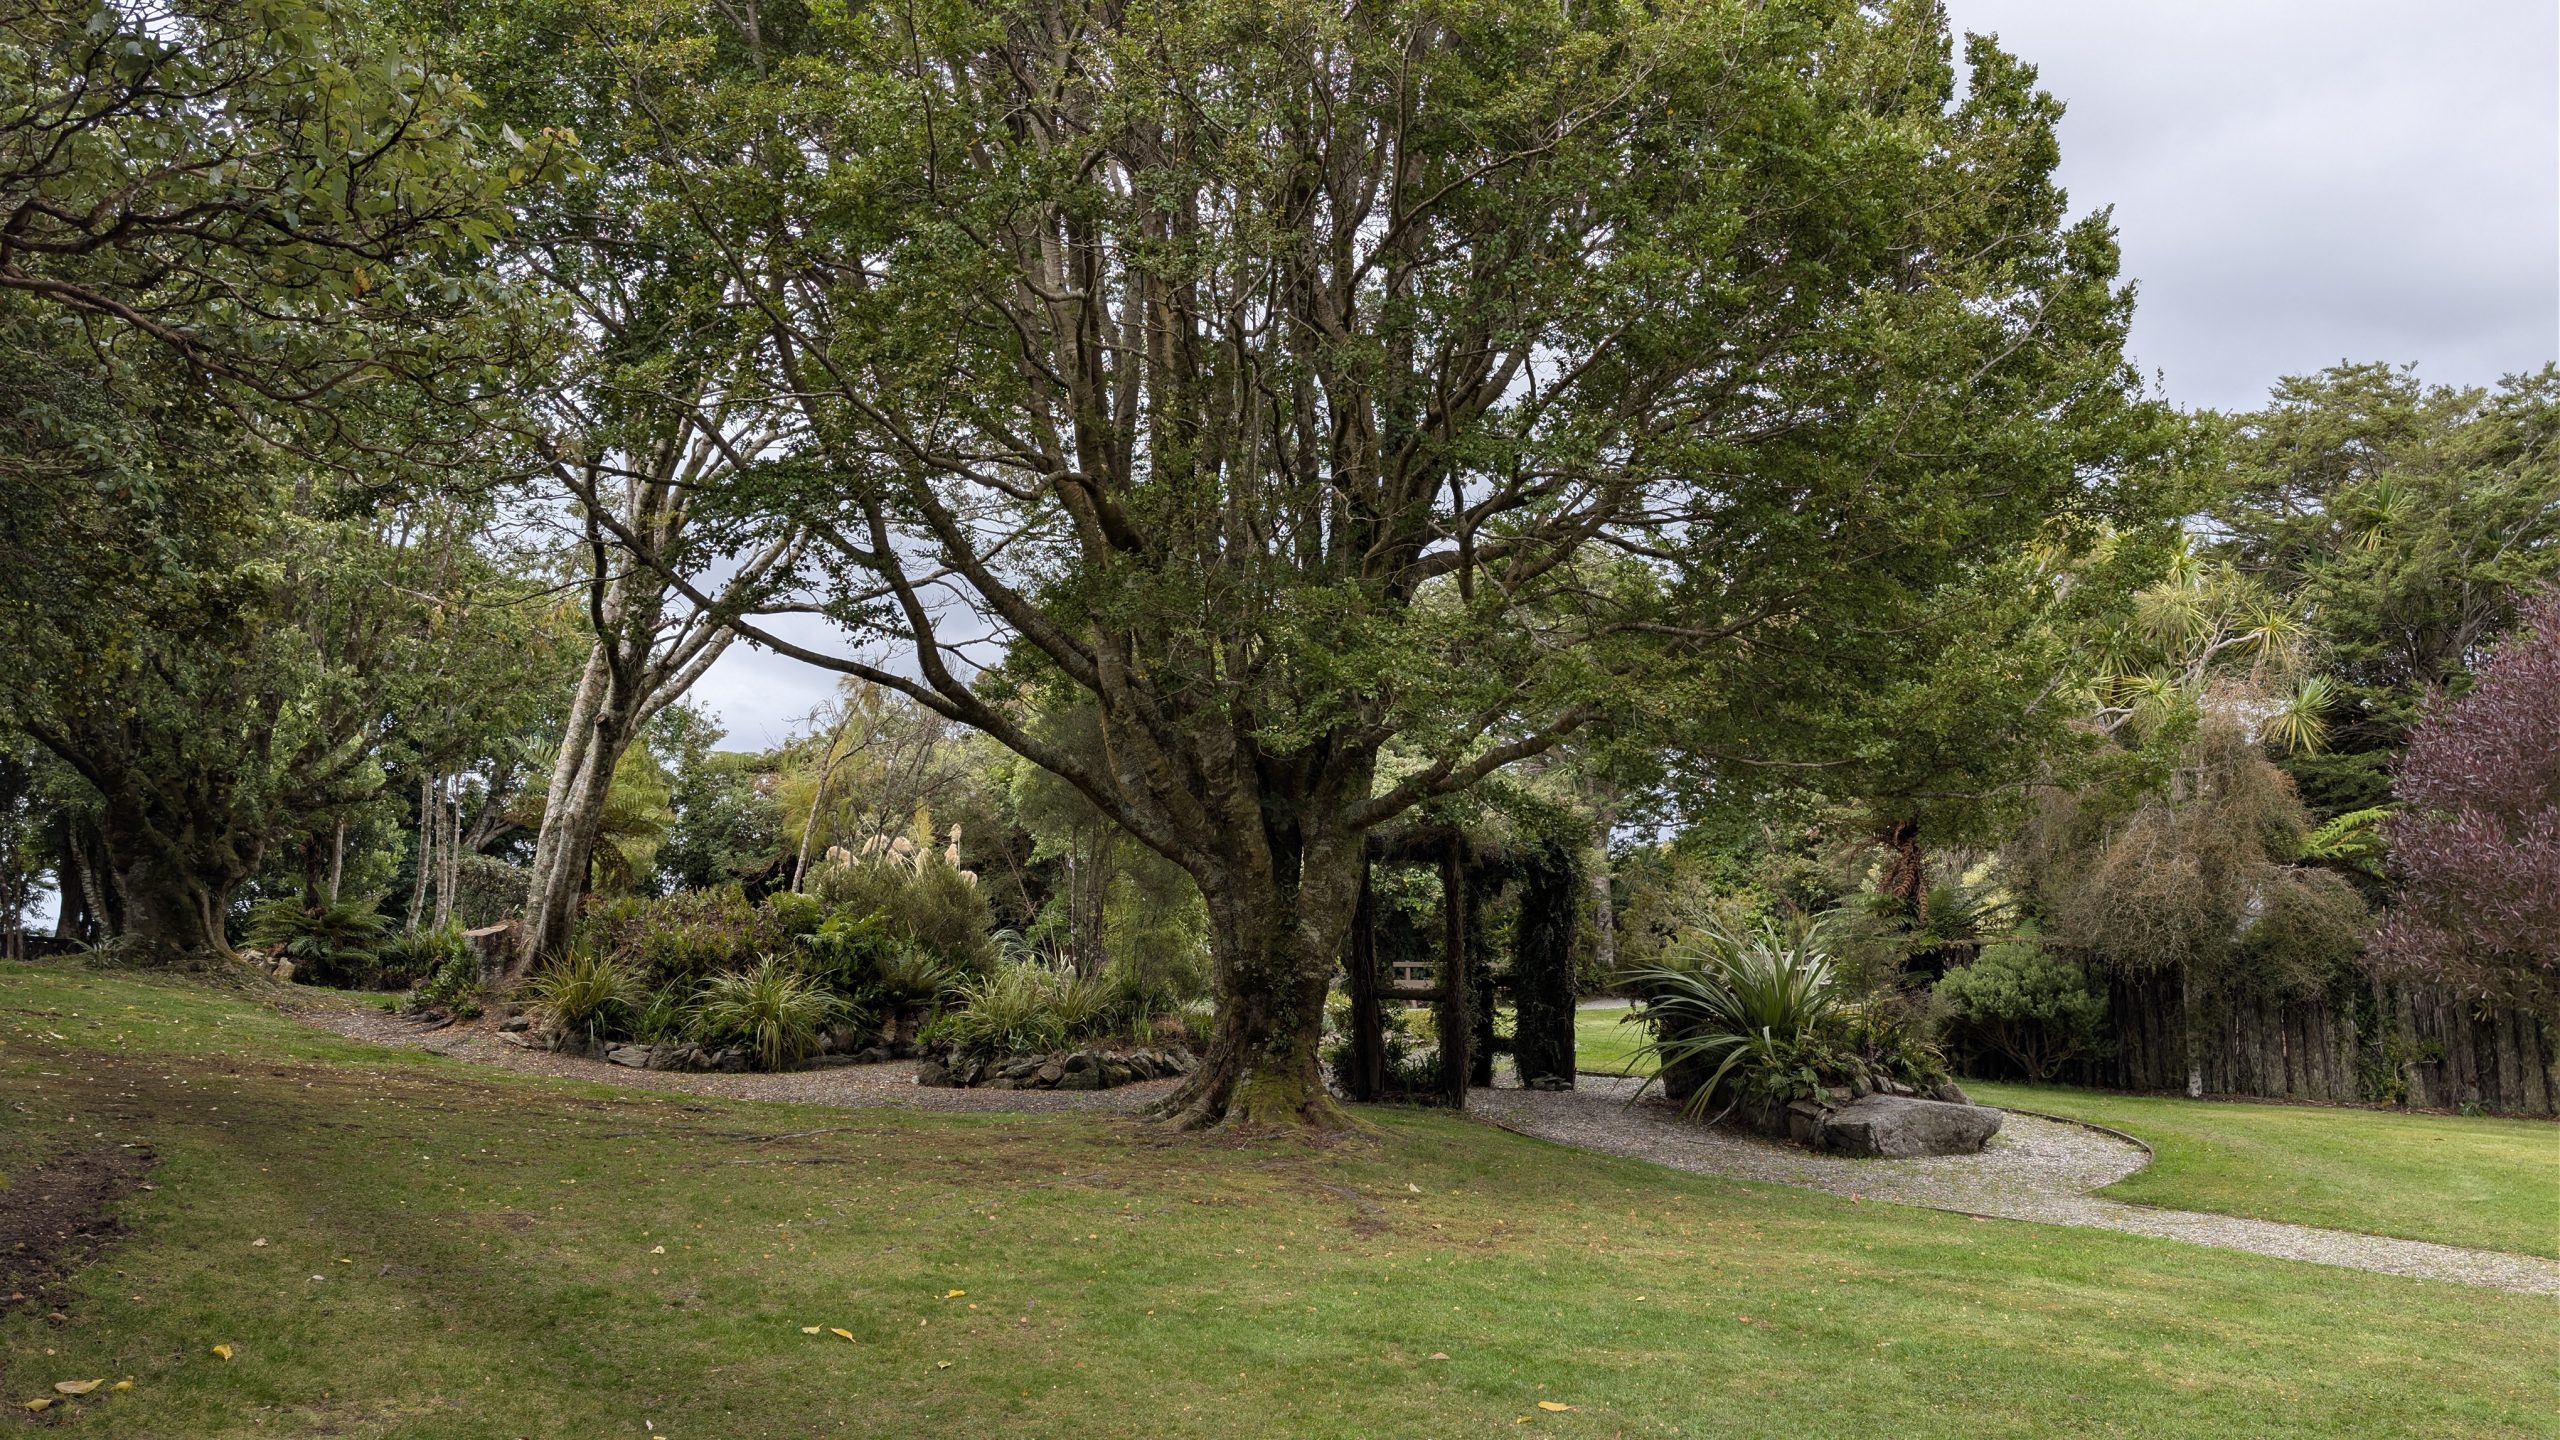
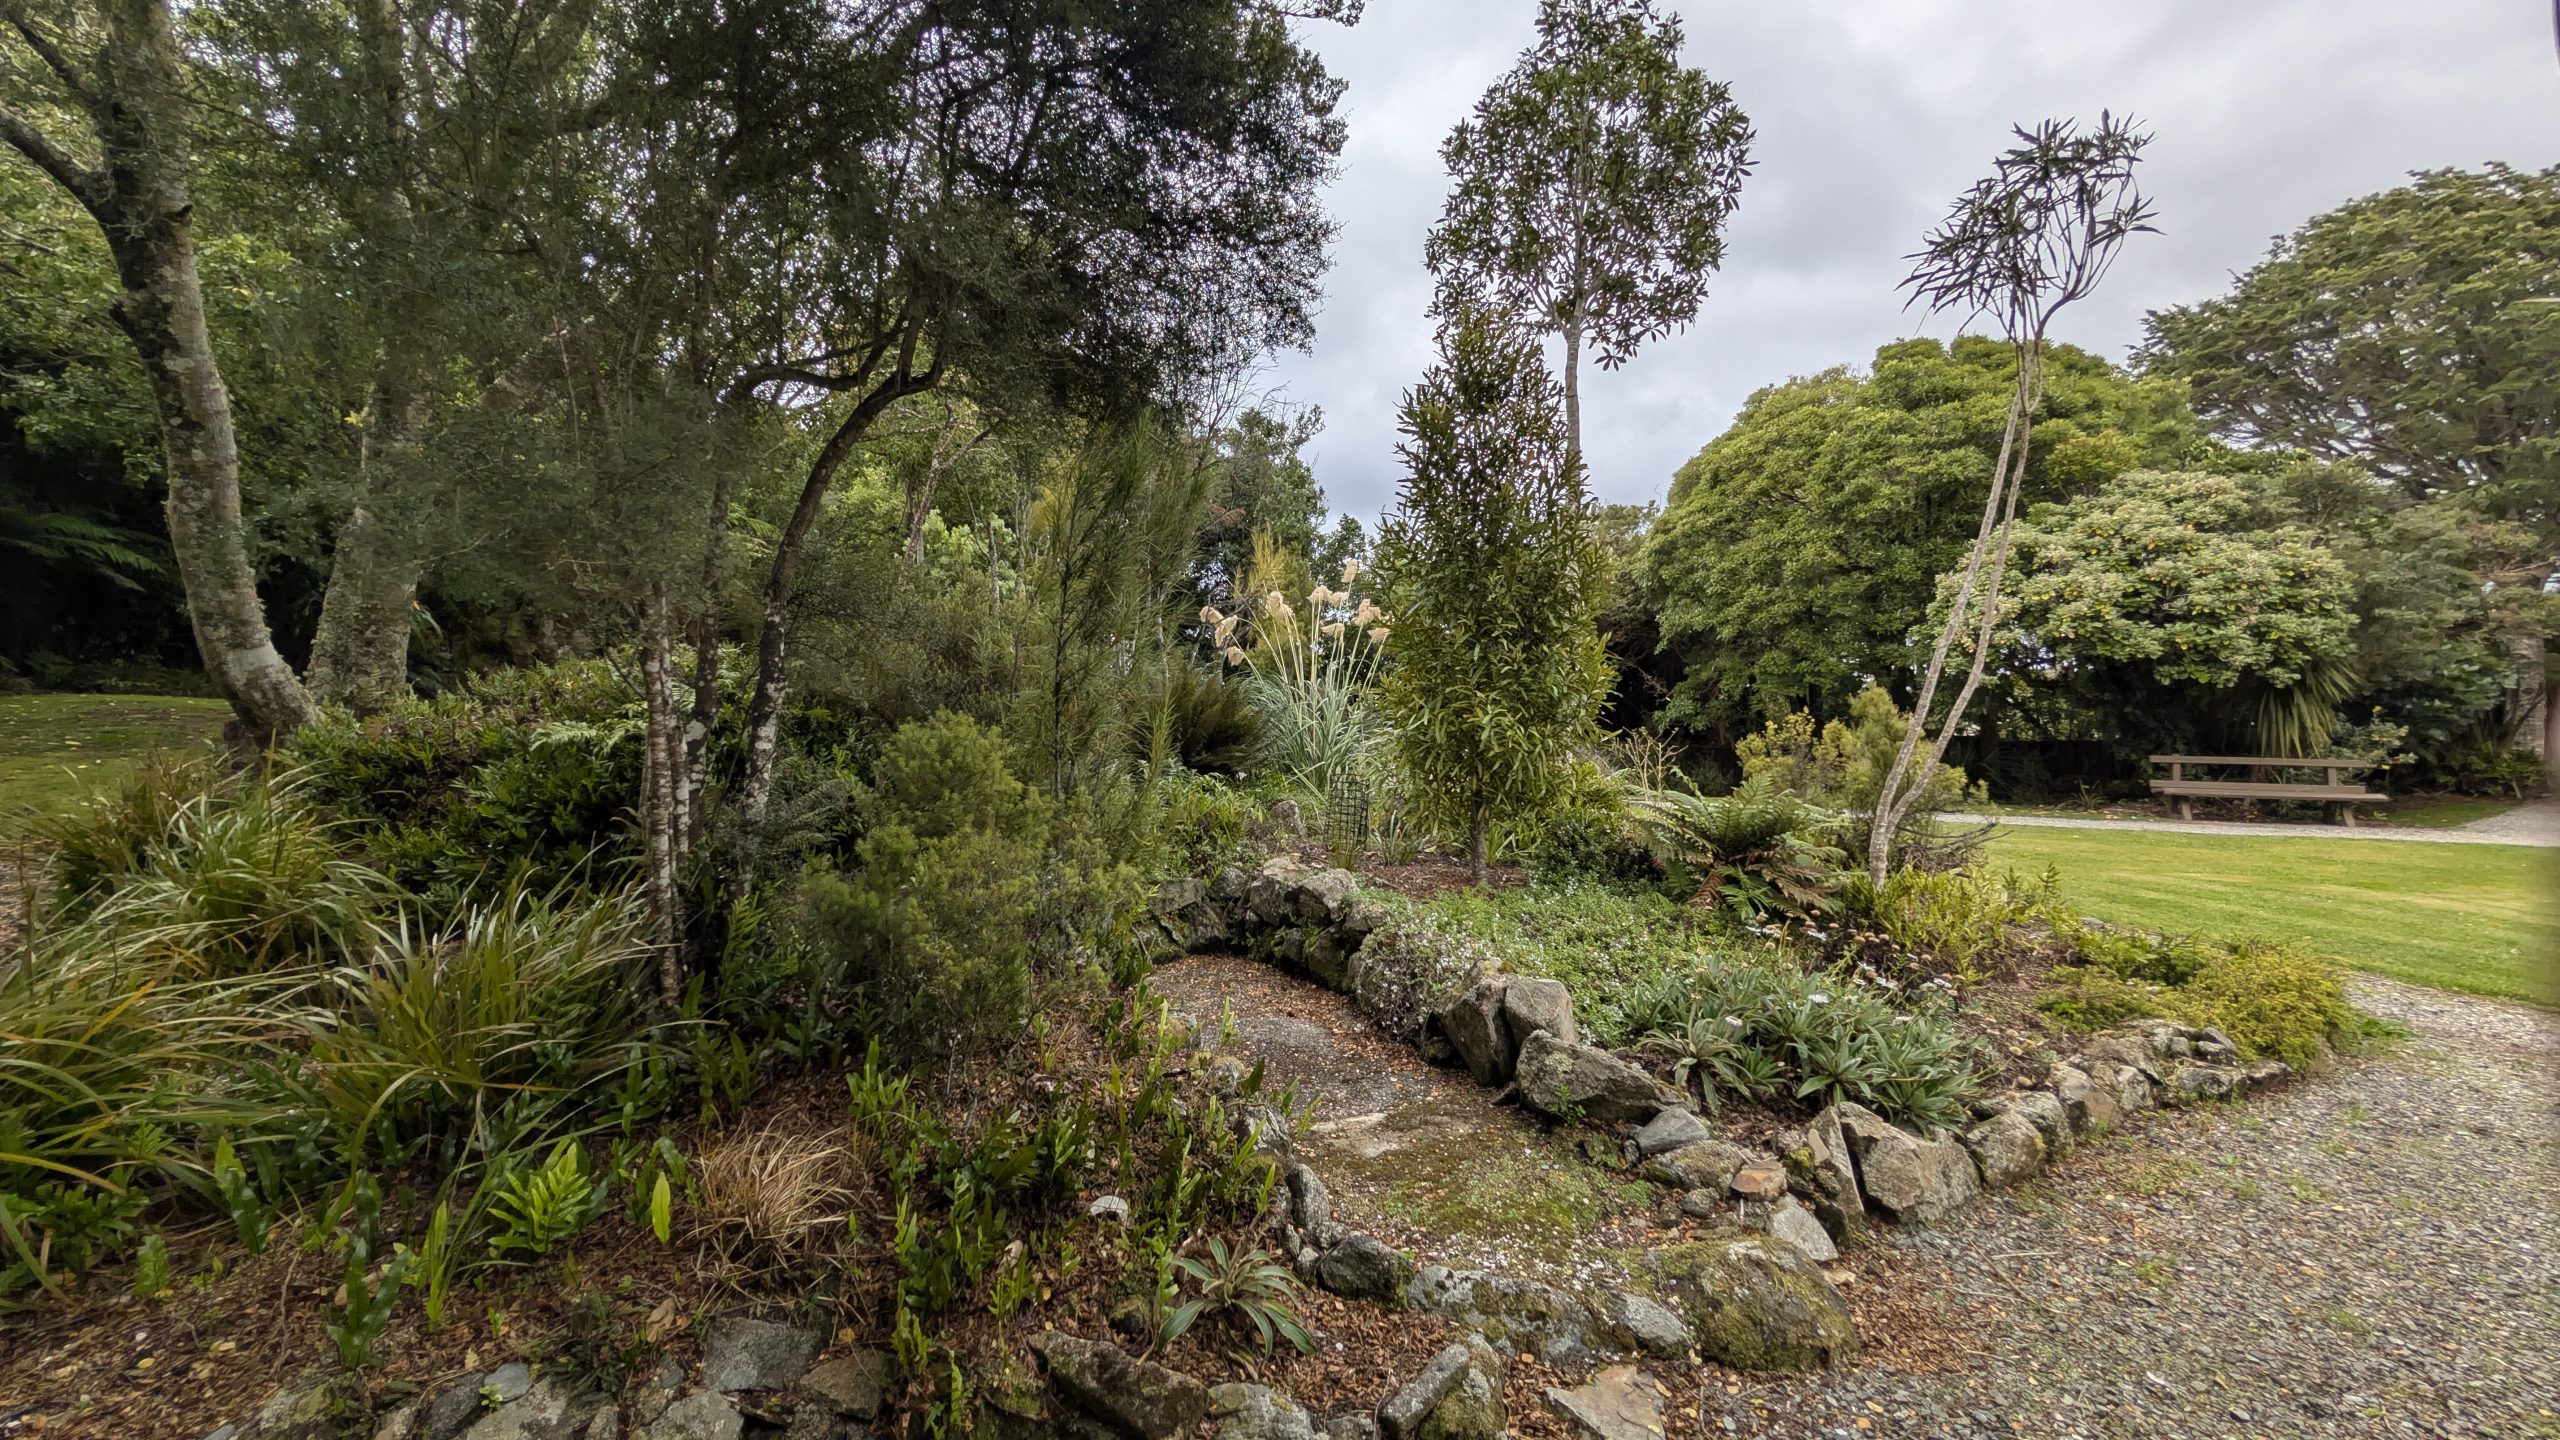
Next I explored the paths through the gardens. The area was New Zealand's southernmost public garden and was gifted to the government by Noeline Baker in 1940.
Path to Fern GullyMany native fernsPretty plants and treesGarden view
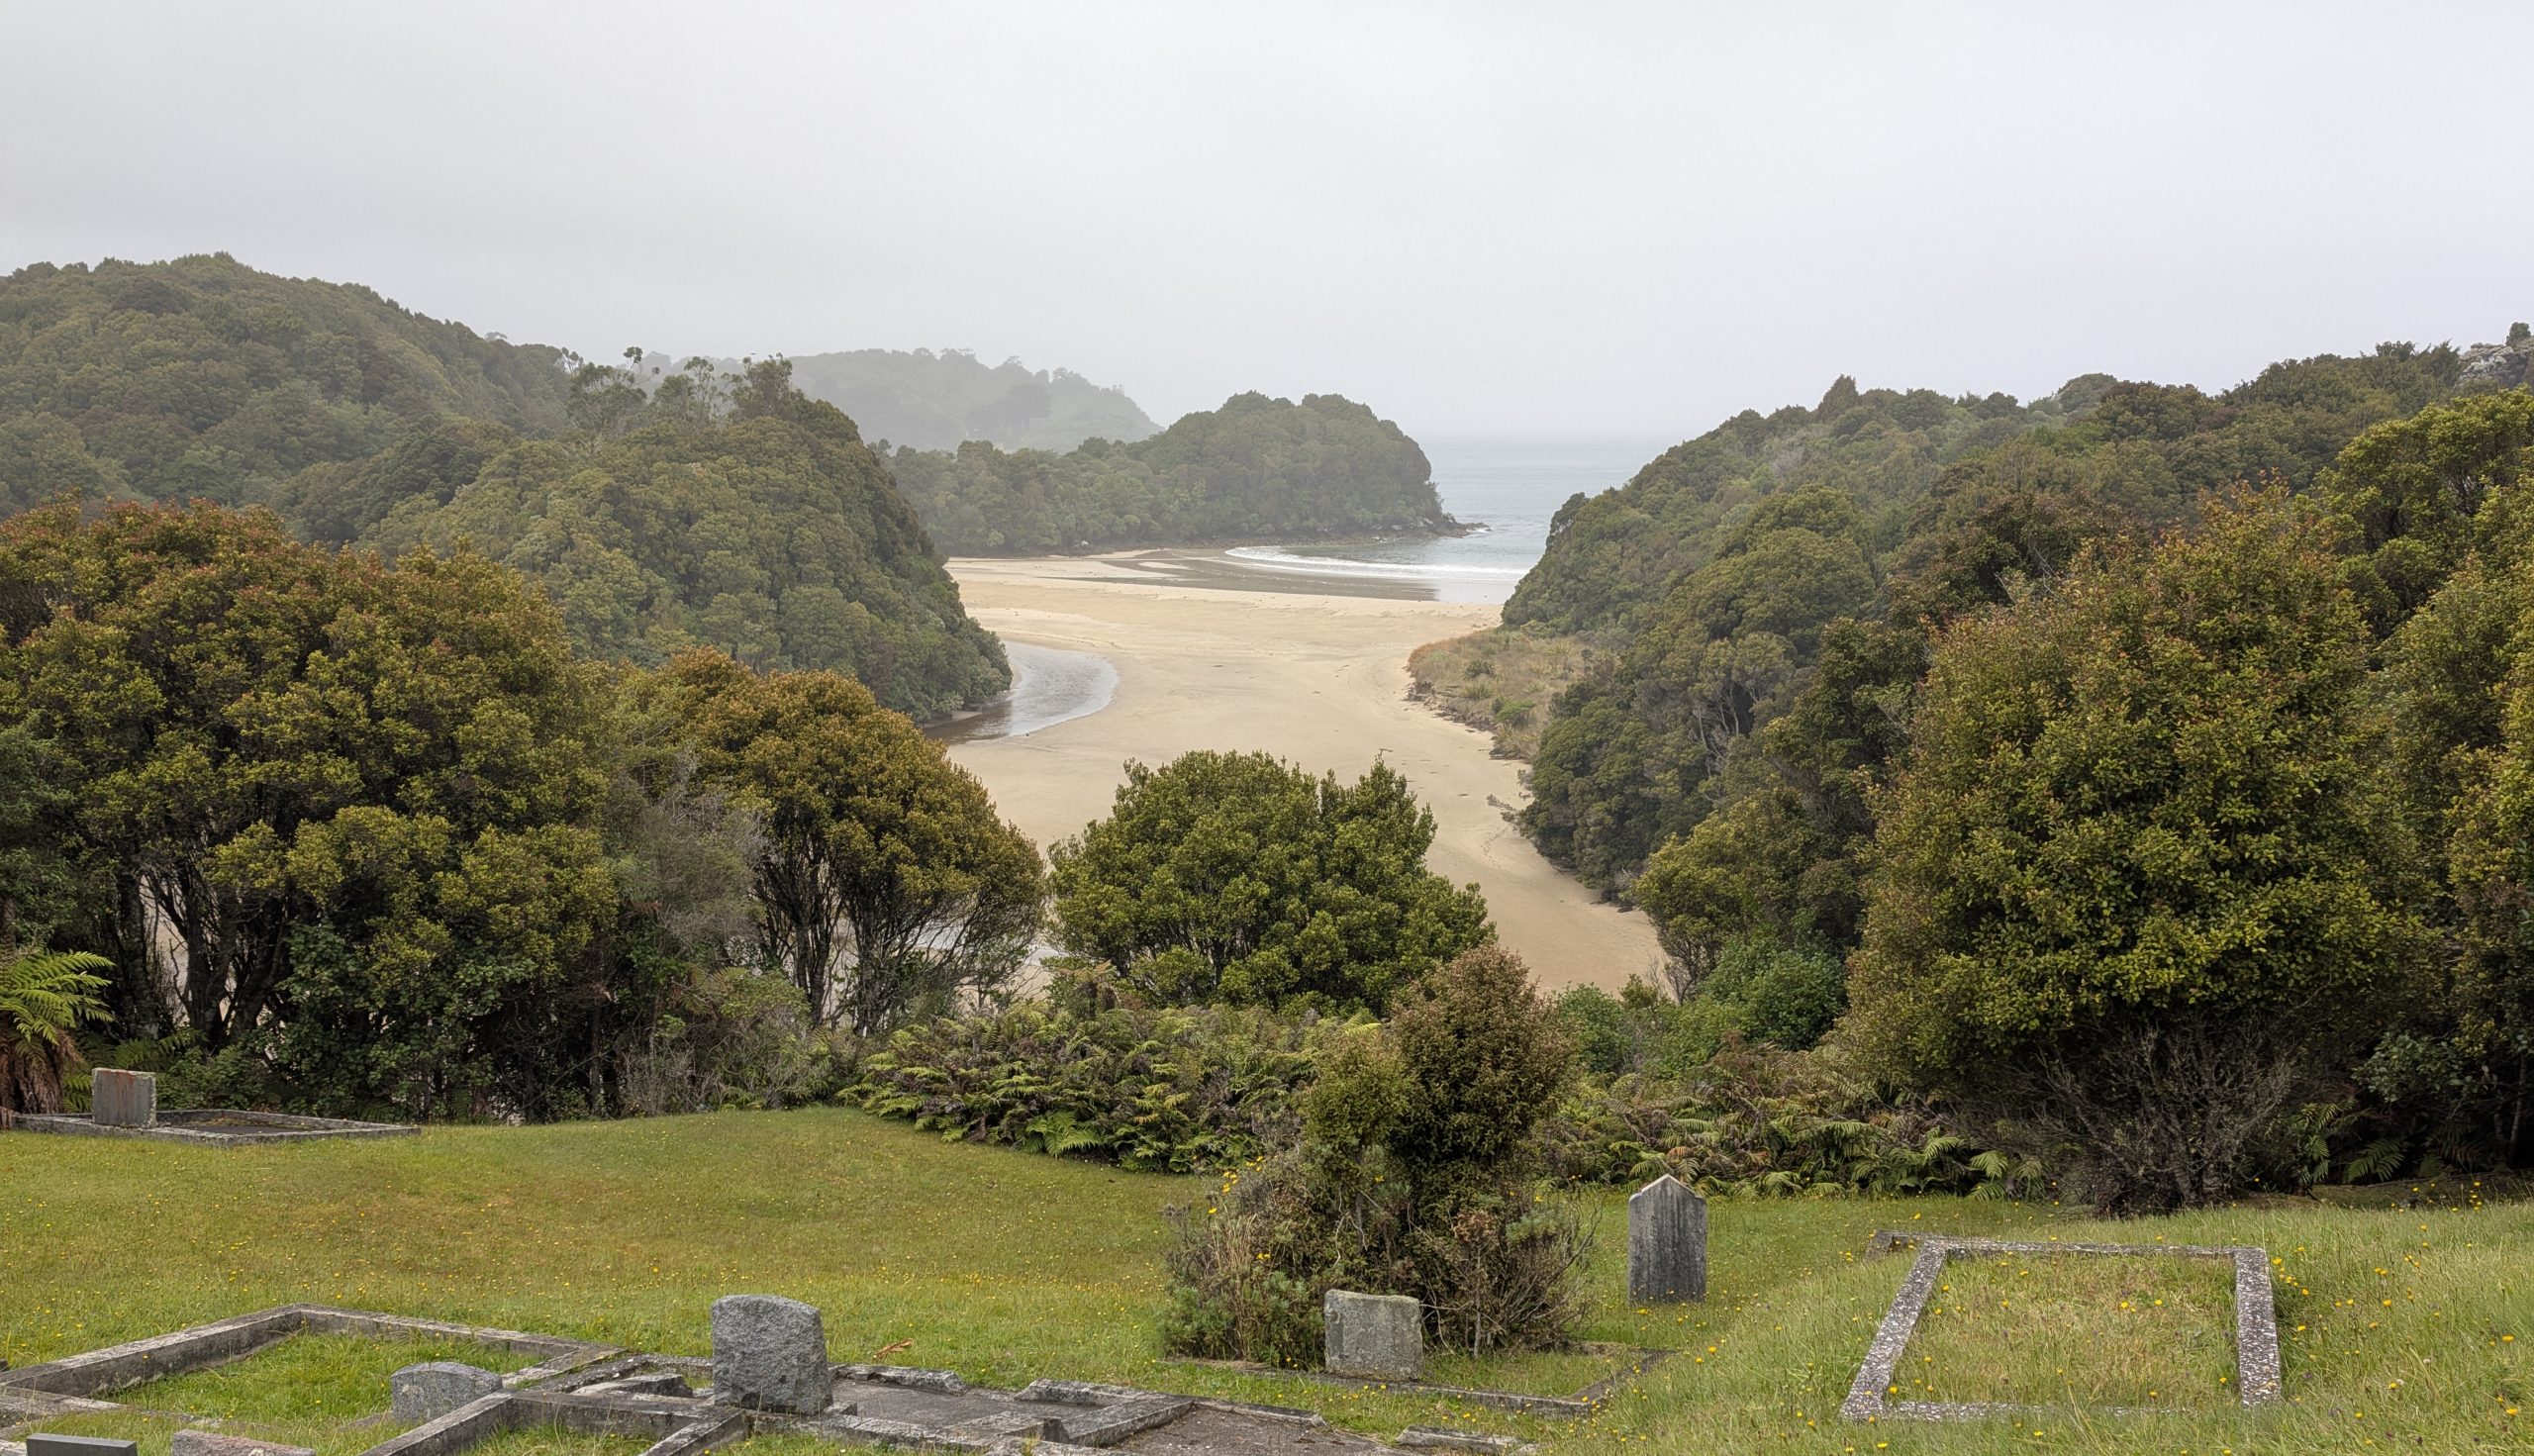
I walked back to the gravel road. The Horseshoe Point track started at the end of the road at Bragg Bay.
Bragg Bay
The track climbed uphill past a small cemetery and then wound around many little coves, going up and down. It was slow going, and the weather had started to deteriorate with the predicted rain starting shortly before 3 PM. Fortunately I had my rain gear and it was only a light drizzle off and on.
One of the coves along the Horseshoe Point track
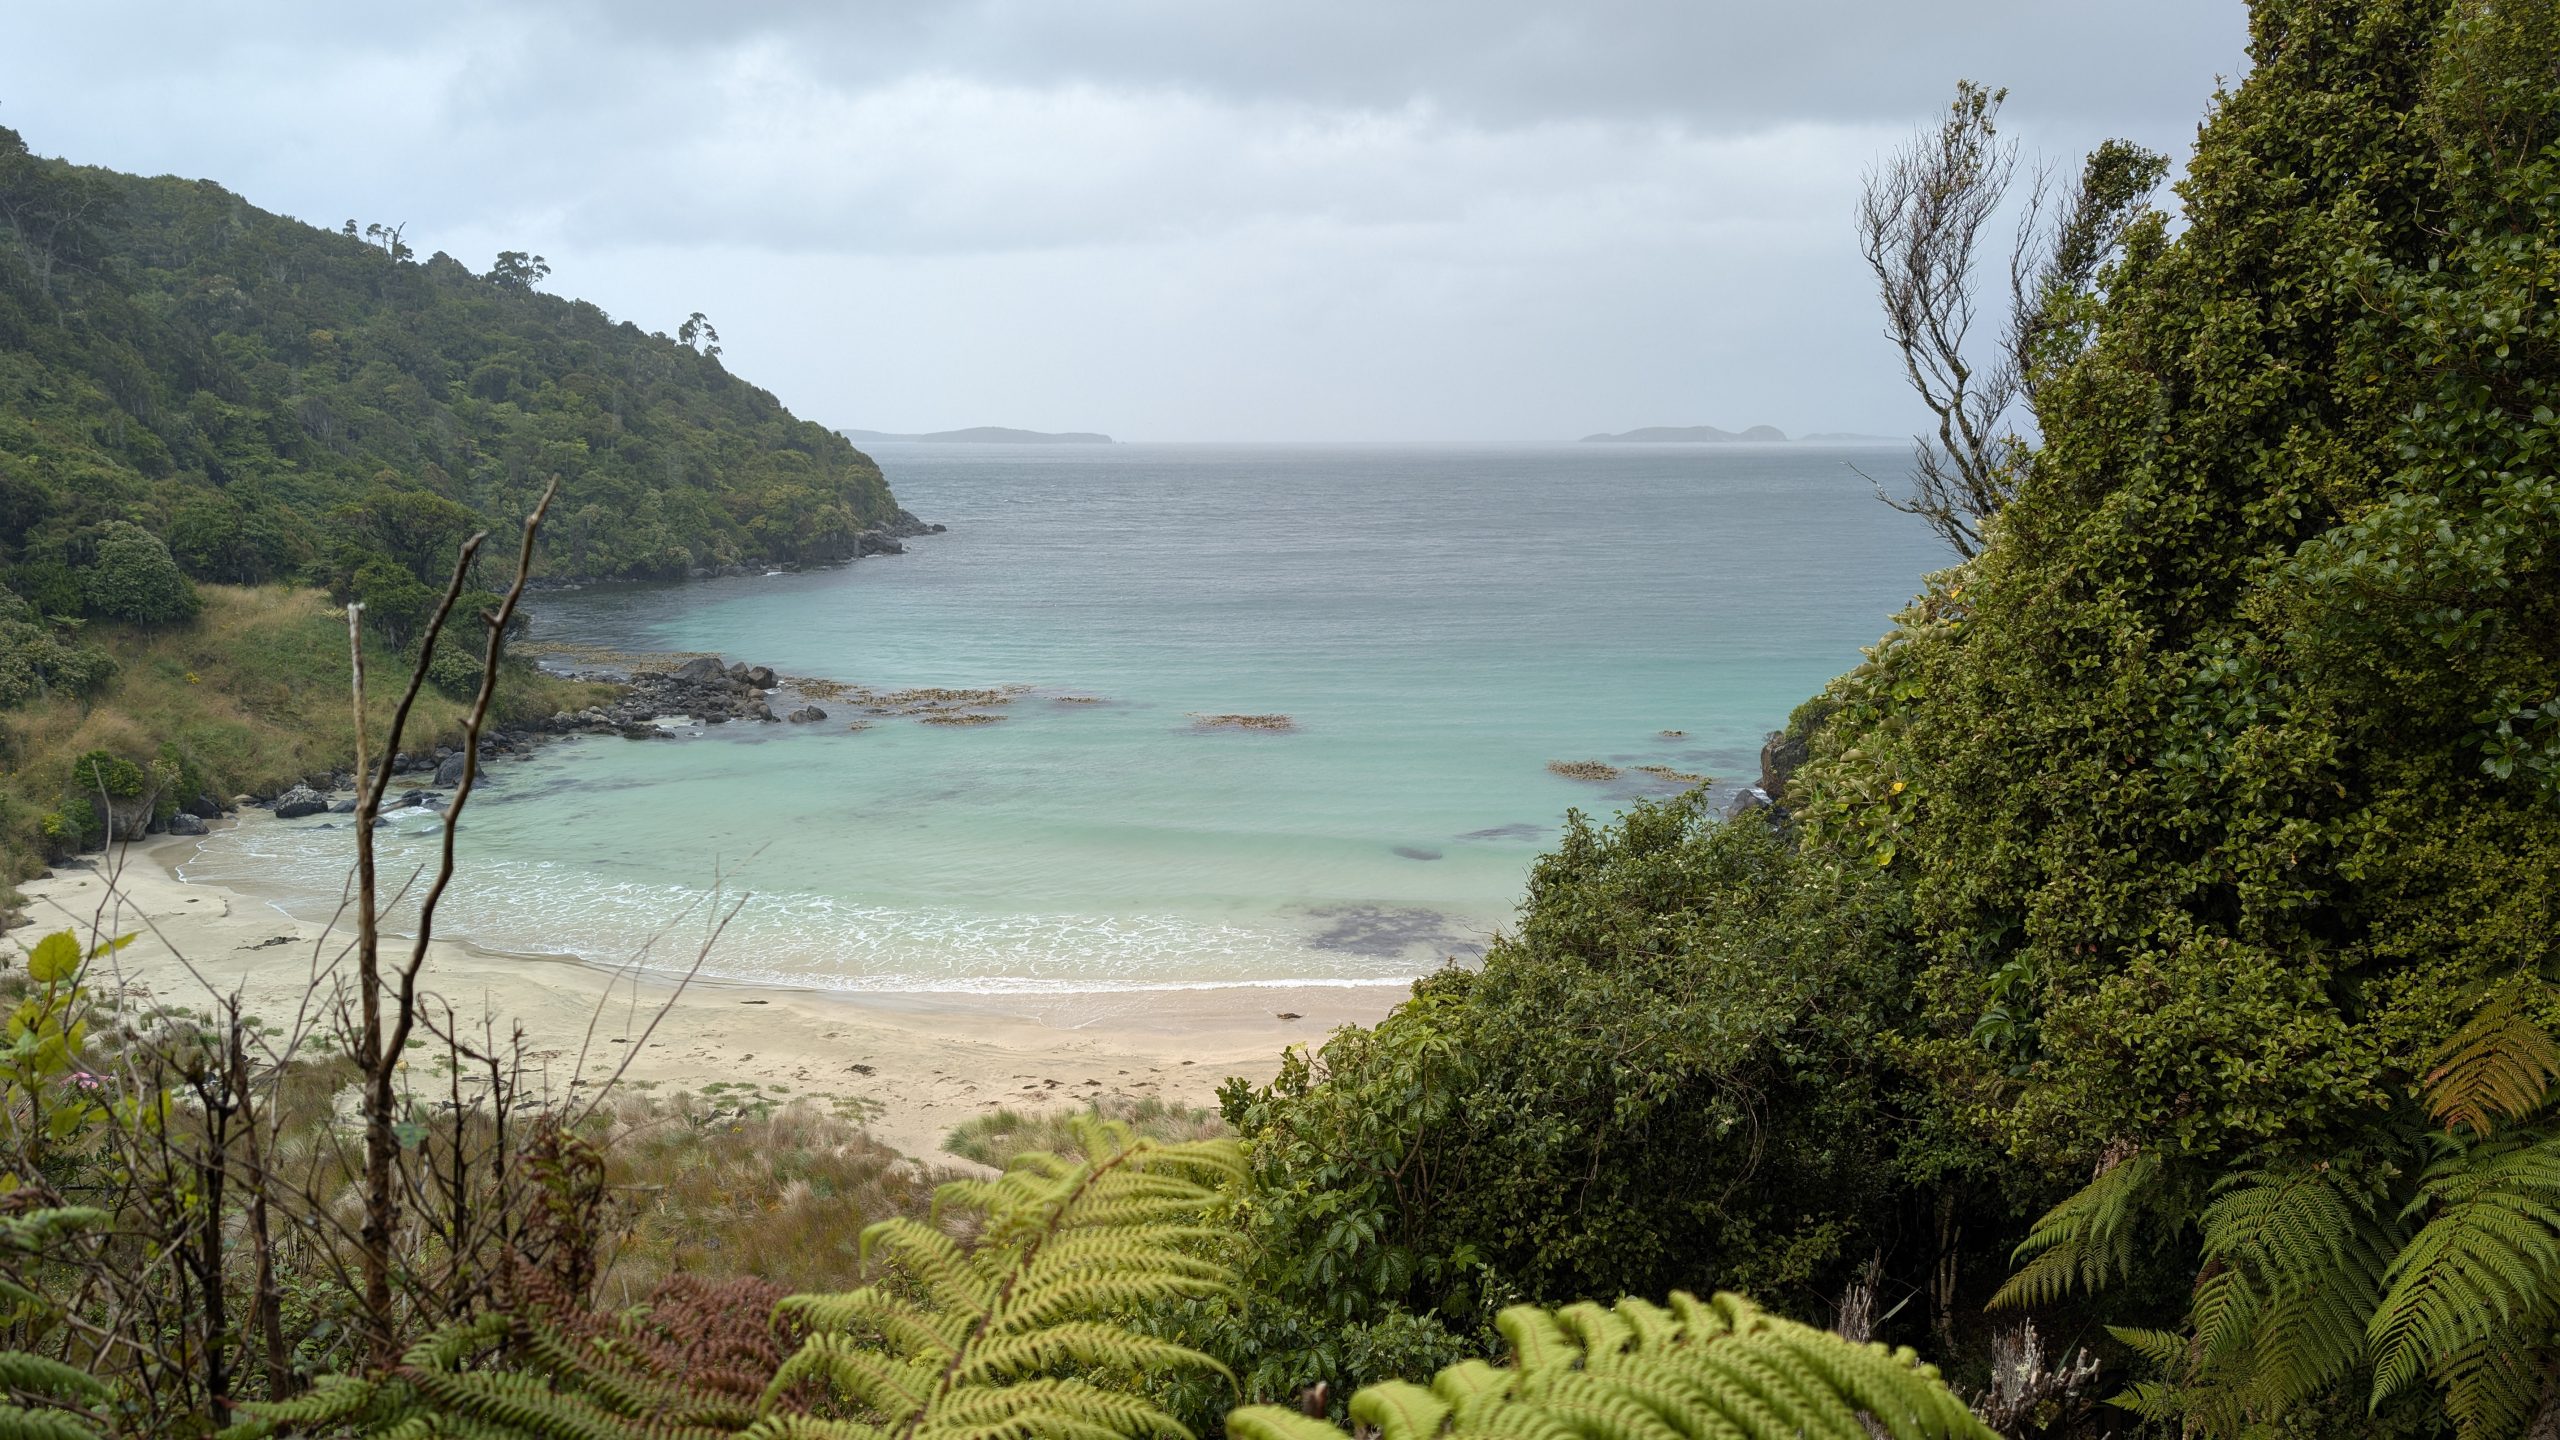
The trail descended steeply with many steps down to Dead Man Beach, which was very pretty. By then it was raining a bit harder.
Dead Man Beach view from aboveView past Dead Man Beach
The trail climbed uphill past the beach, but it was not nearly as steep on that side. I continued to climb gradually higher on the trail until finally I reached Horseshoe Point. By that time it was raining even harder, and I was very thankful for my rain gear. I did not stay very long at the point since it was raining, windy and generally miserable conditions.
Horseshoe PointHorseshoe Bay view from Horseshoe Point
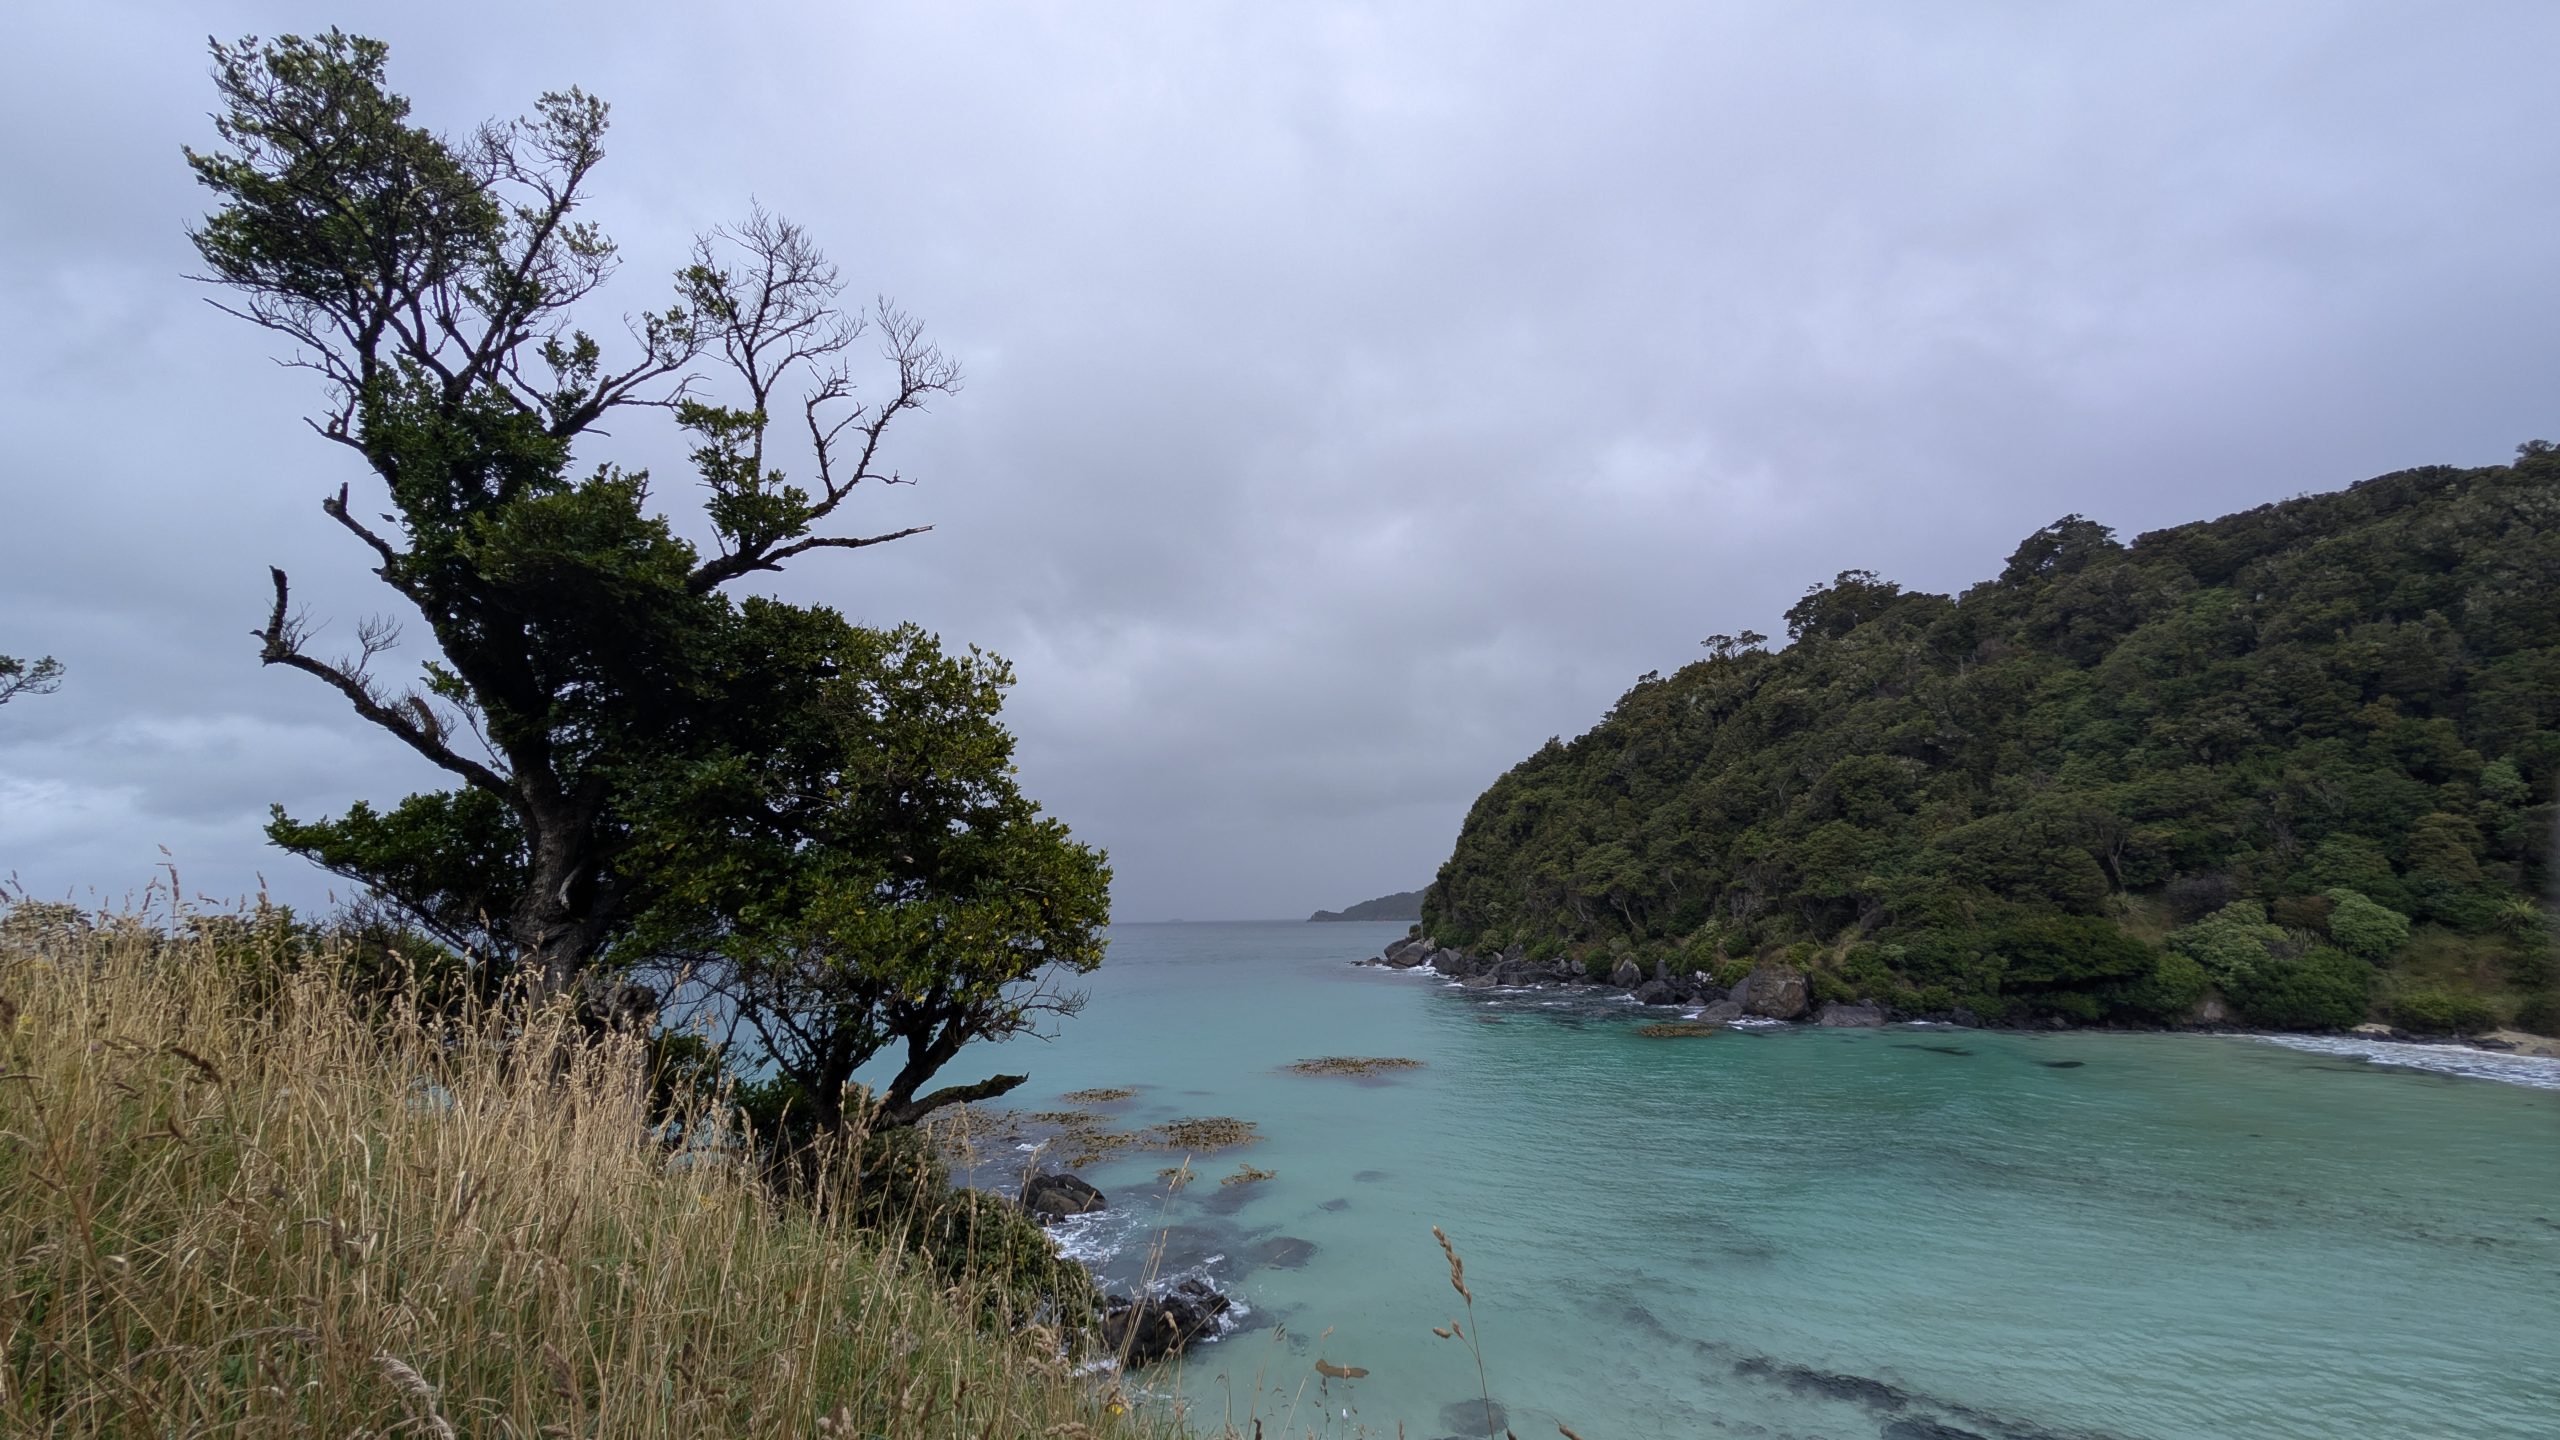
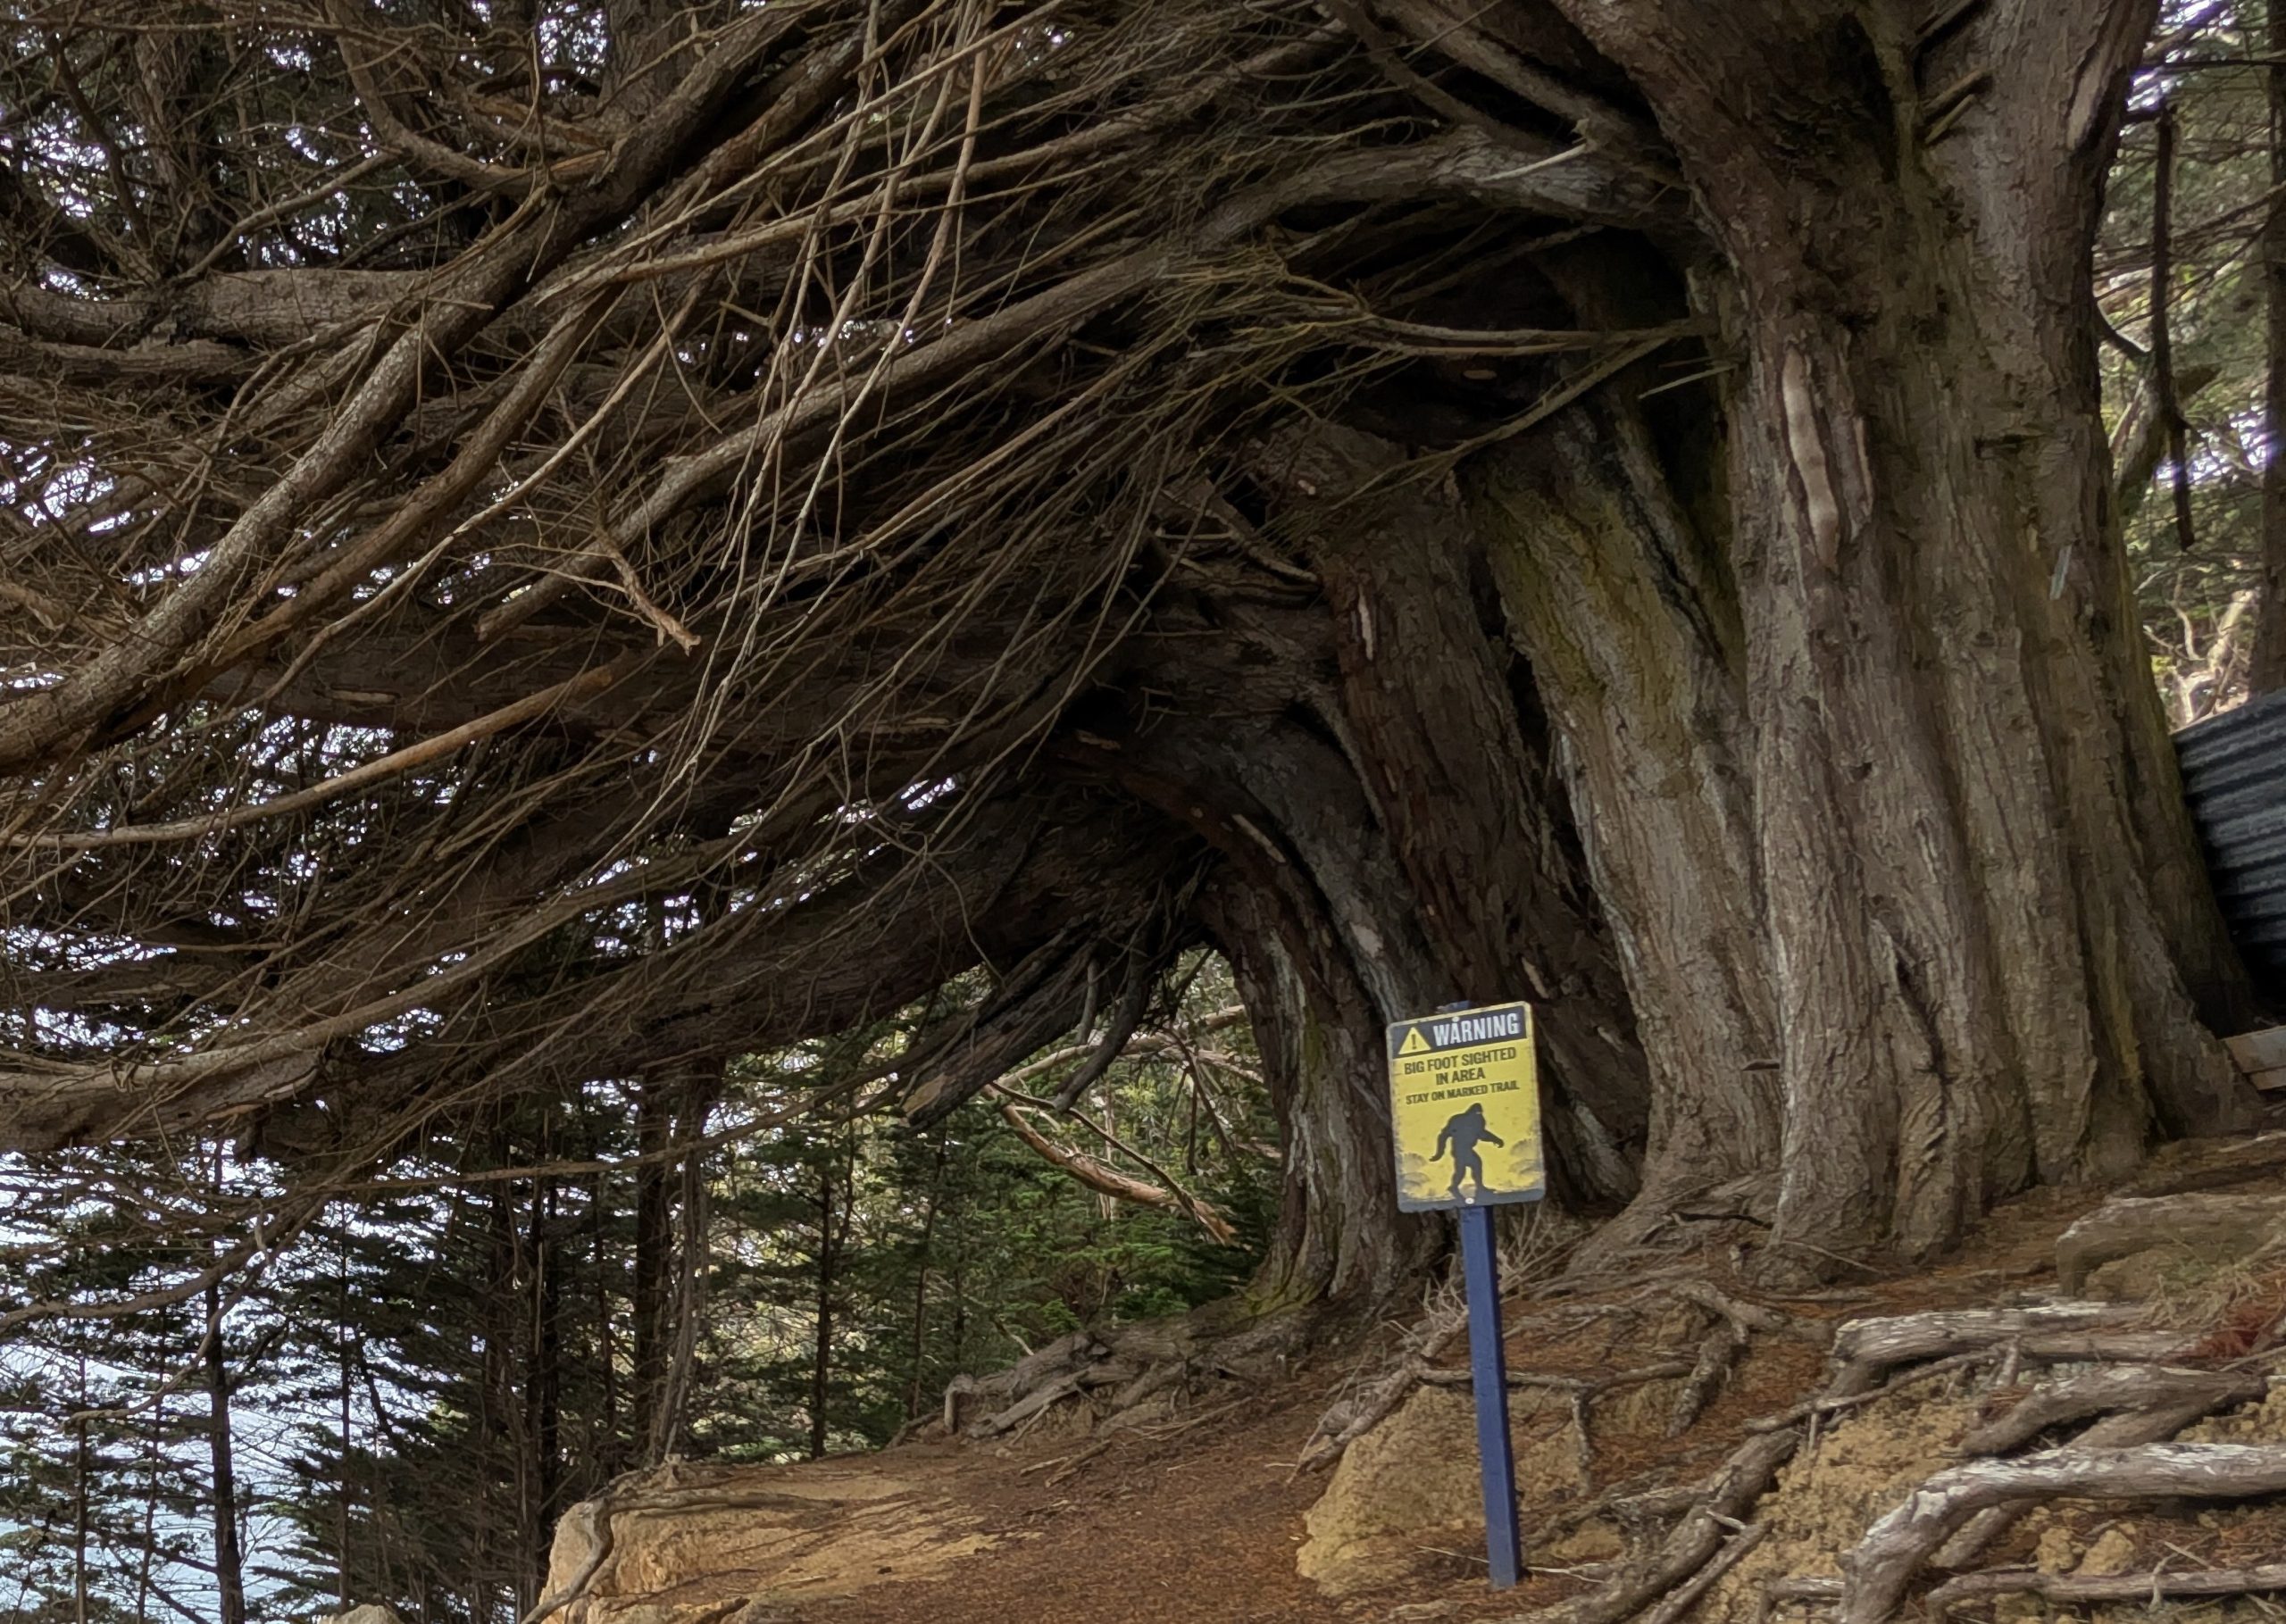
I continued on the trail, descending down gradually to Horseshoe Bay. It continued to rain steadily. Fortunately the downhill trail was much easier than going up. It ended at Horseshoe Point Road, which was a dirt road that followed the shore of Horseshoe Bay. At the start of the dirt road was a funny sign.
Watch out for Big Foot
Finally I reached the end of the dirt road where it intersected with the main Horseshoe Bay Road. I was able to follow the main road about 2 miles all the way back to town.
Horseshoe Bay view from the main road
It continued to rain steadily as I walked along the main road, and finally the rain let up just as I approached town. The sun came out and there was a rainbow. By the time I reached town there were actually patches of blue in the sky.
Rainbow at the ferry terminalA few minutes later with nicer weather
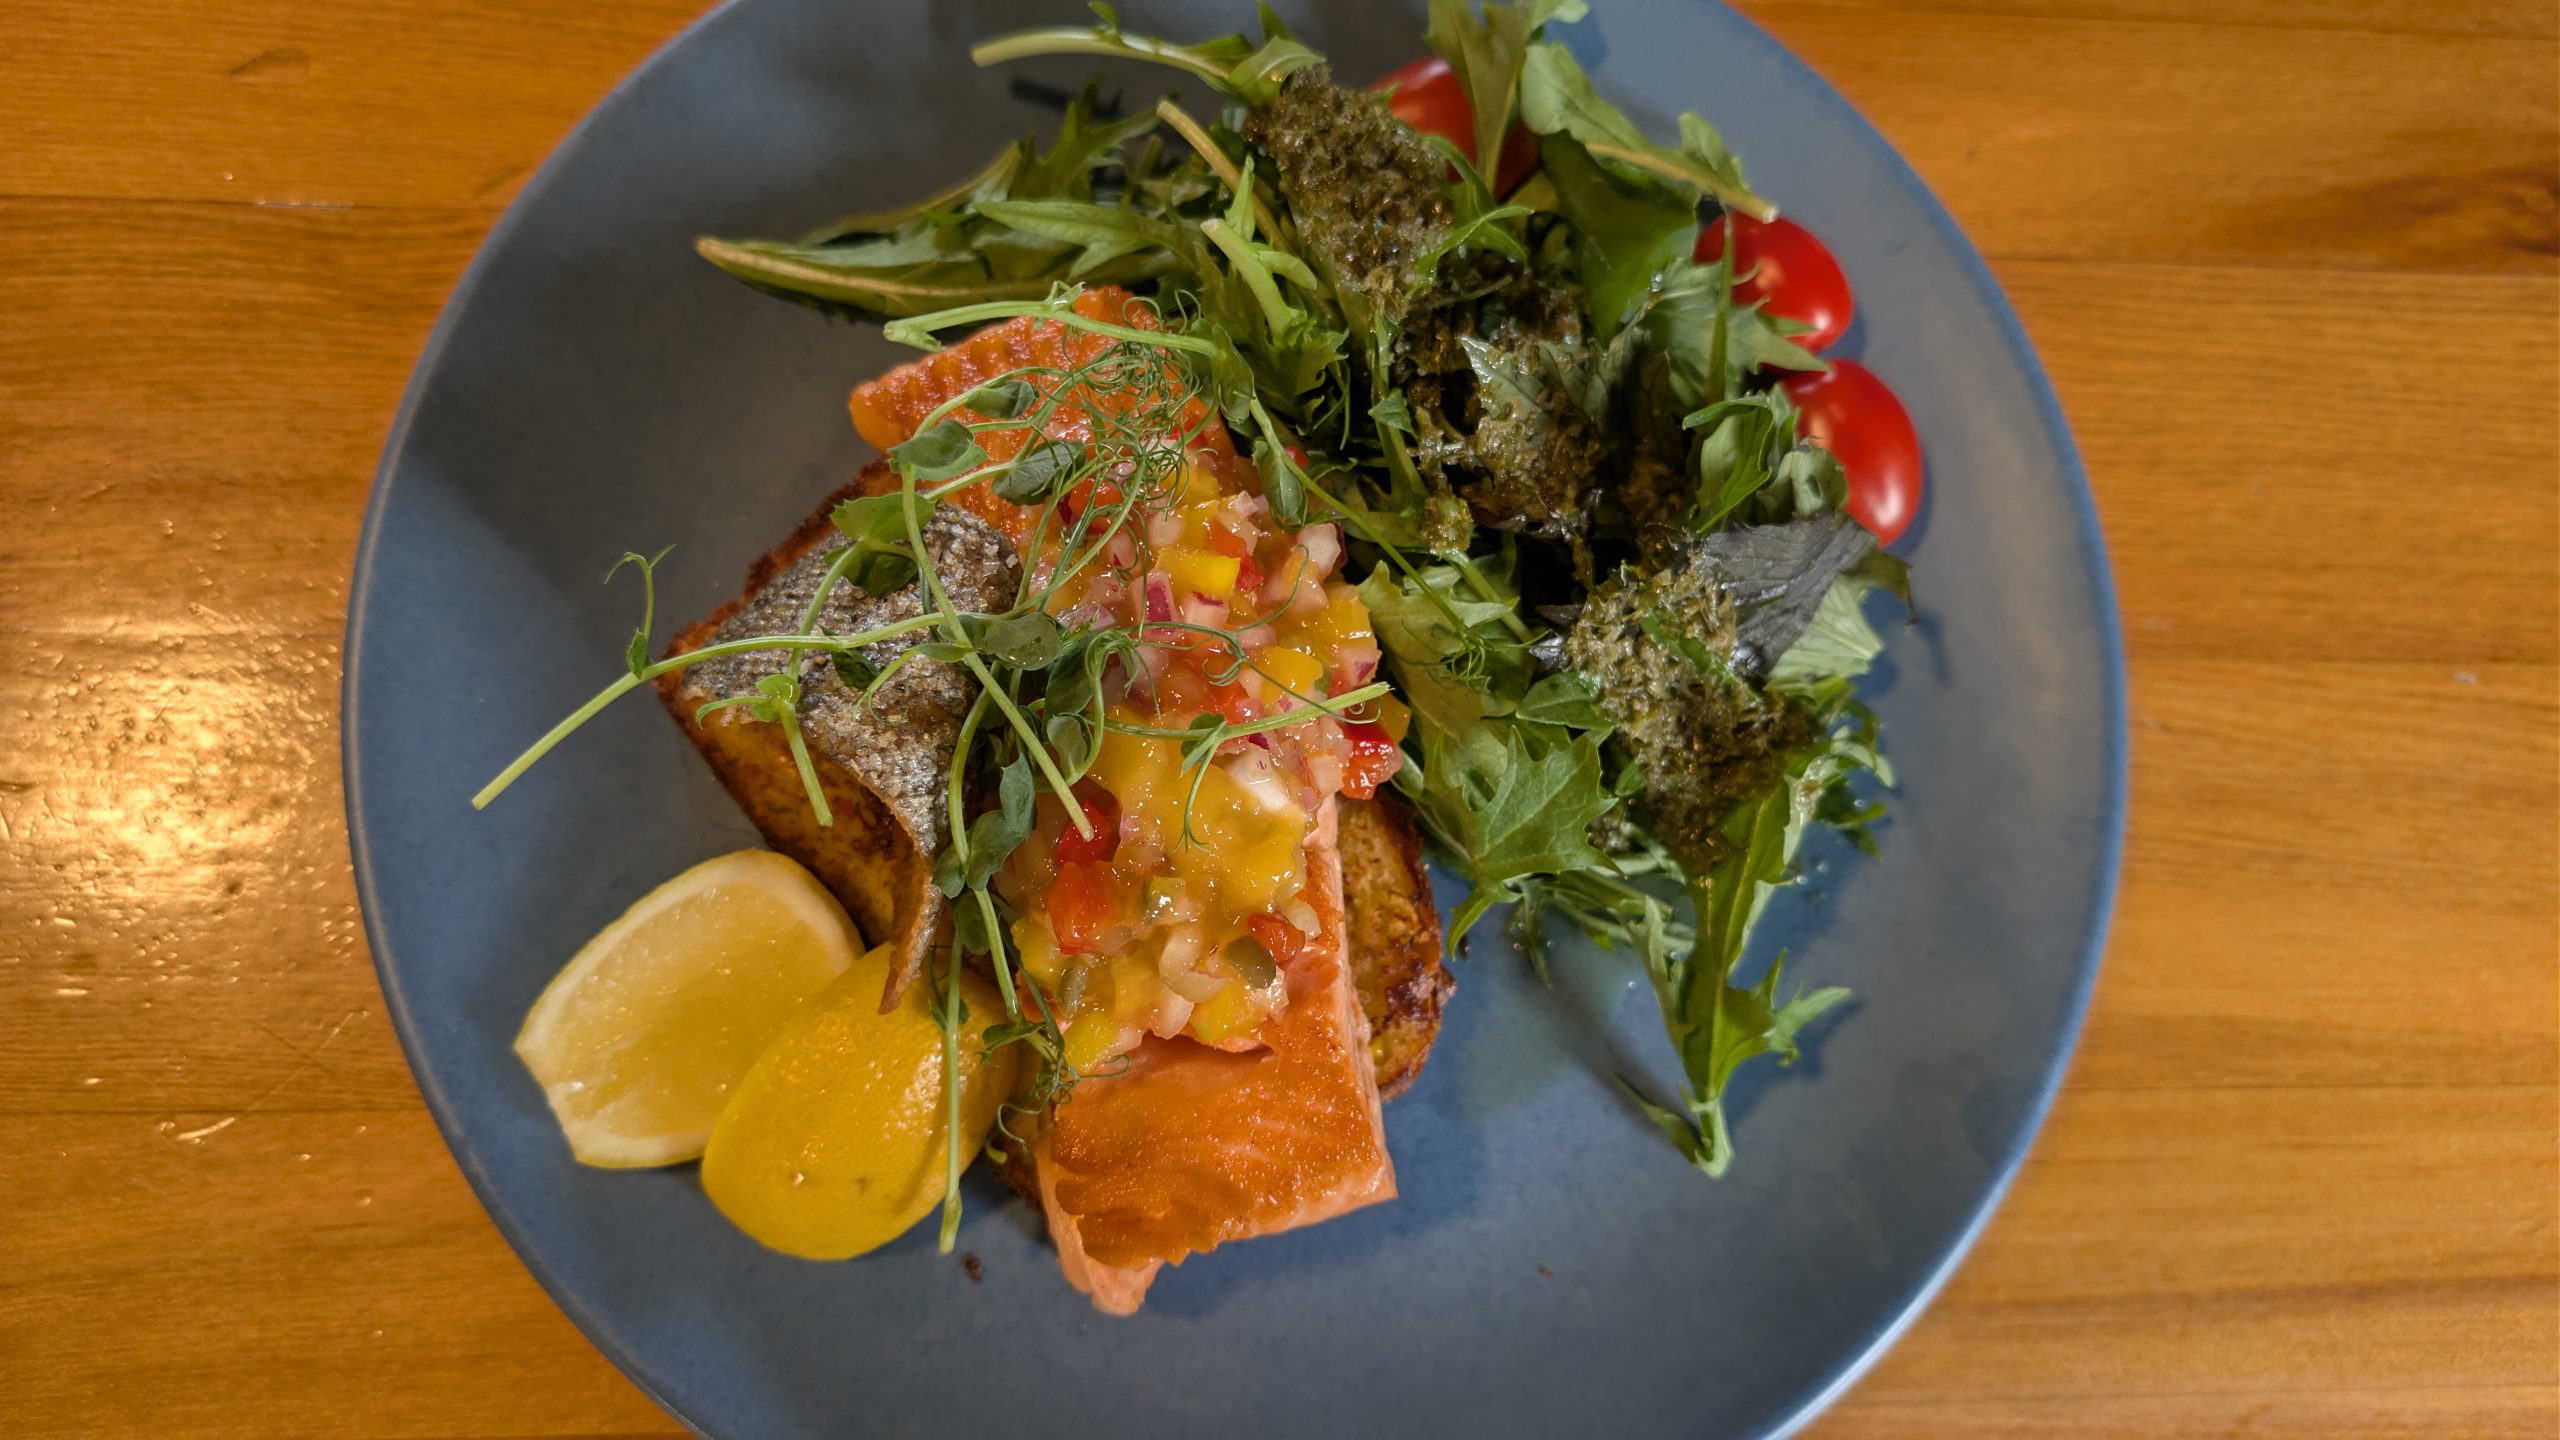
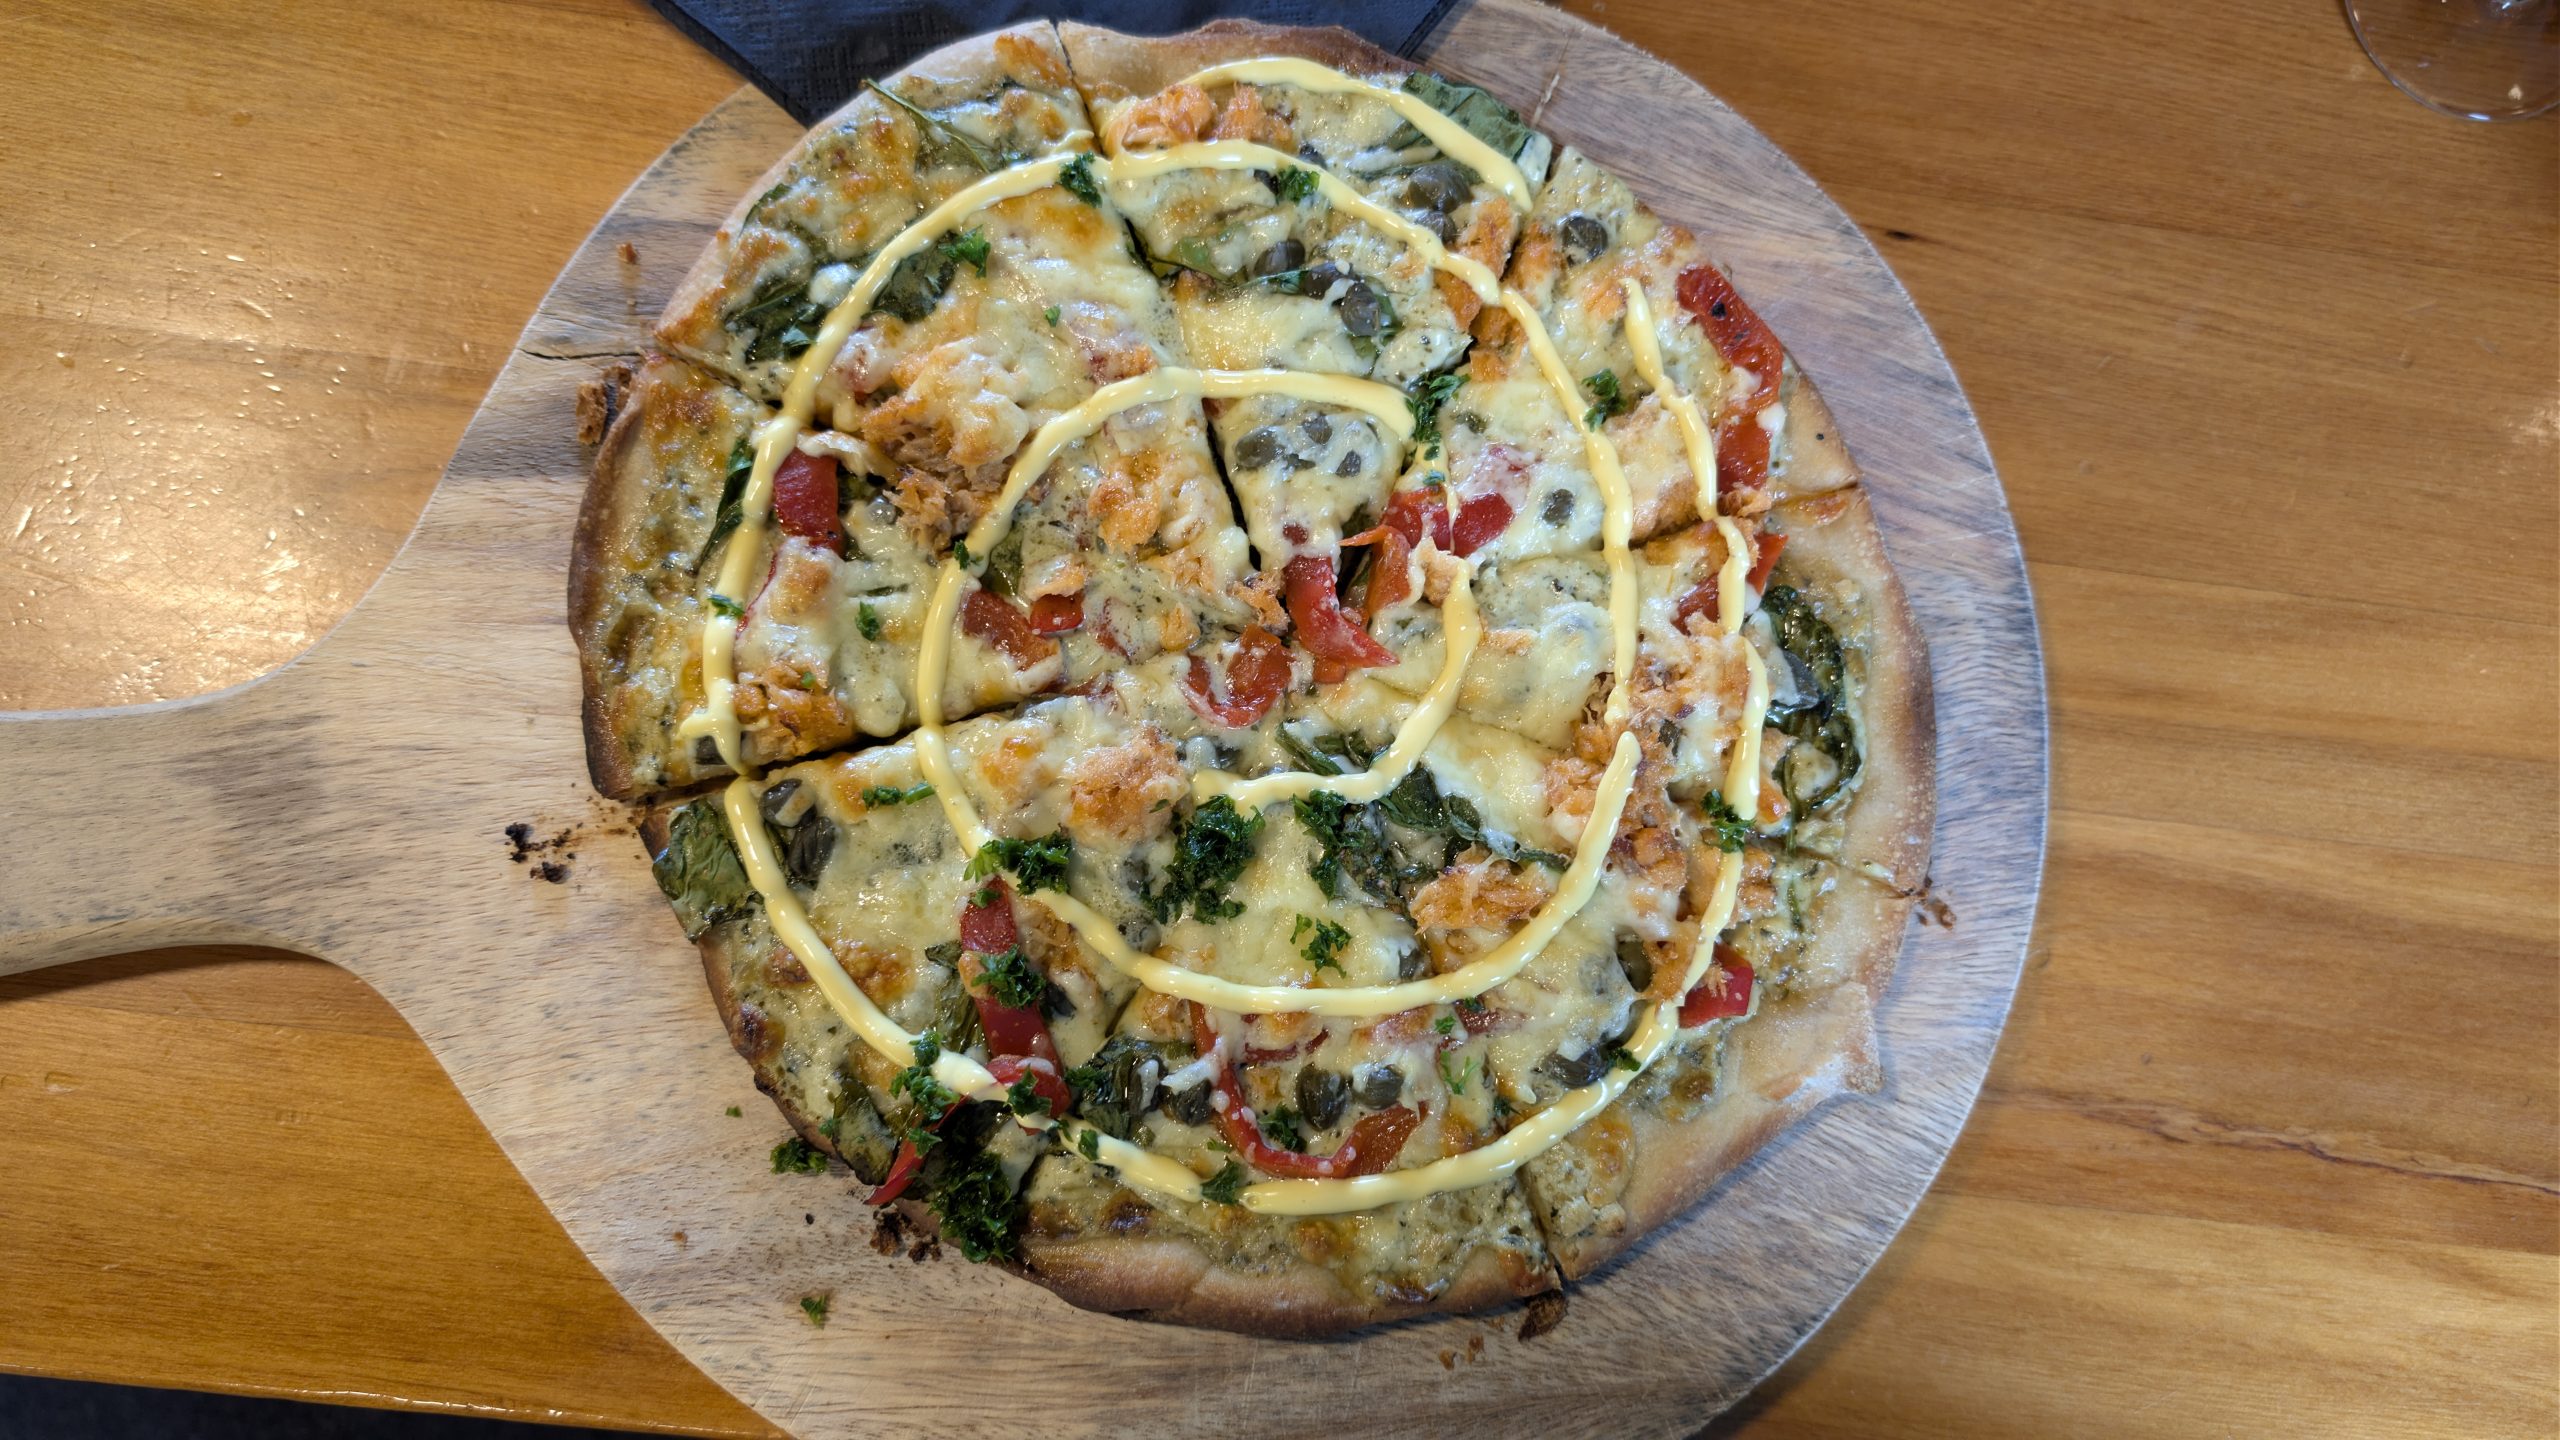
I went back to the room and dried out. My boots and socks were soaked. After changing into dry clothes, I walked over to the hotel restaurant with Heinrich to eat dinner. It was a nice evening with partly cloudy skies.
Heinrich's dinner: salmon, fish of the dayMy dinner: salmon pizza
After dark I ventured out one more time, hoping to spot a kiwi on my own. I had brought a small red flashlight which I soon discovered was not nearly bright enough to be of much use. I walked to Traill Park. I had been told this was a good place to look since it has a large grassy field that kiwis like for finding worms to eat. Apparently I wasn't the only person with this idea since I ran into a few others with red flashlights.
While I was in the park, I looked up and saw stars! It looked almost completely clear. Too bad there was no aurora. But the nice weather was short lived. 15 minutes later it started drizzling rain.
My search for kiwi was in vain, and I decided to head back to the room. I was looking for the Fuchsia Walk which should have brought me back close to the hotel. Somehow I got turned around and ended up on the Raroa Walk which headed in the opposite direction toward Golden Bay. I didn't realize my mistake until I got all of the way to the end of the trail and saw the signs to Golden Bay. I followed the main road back to the hotel, which was a 20-minute walk from there. Another late night out.
Our first full day on Stewart Island was packed with activities. It rained overnight and we woke up to an overcast morning. But the weather forecast looked good for it to clear in the afternoon.
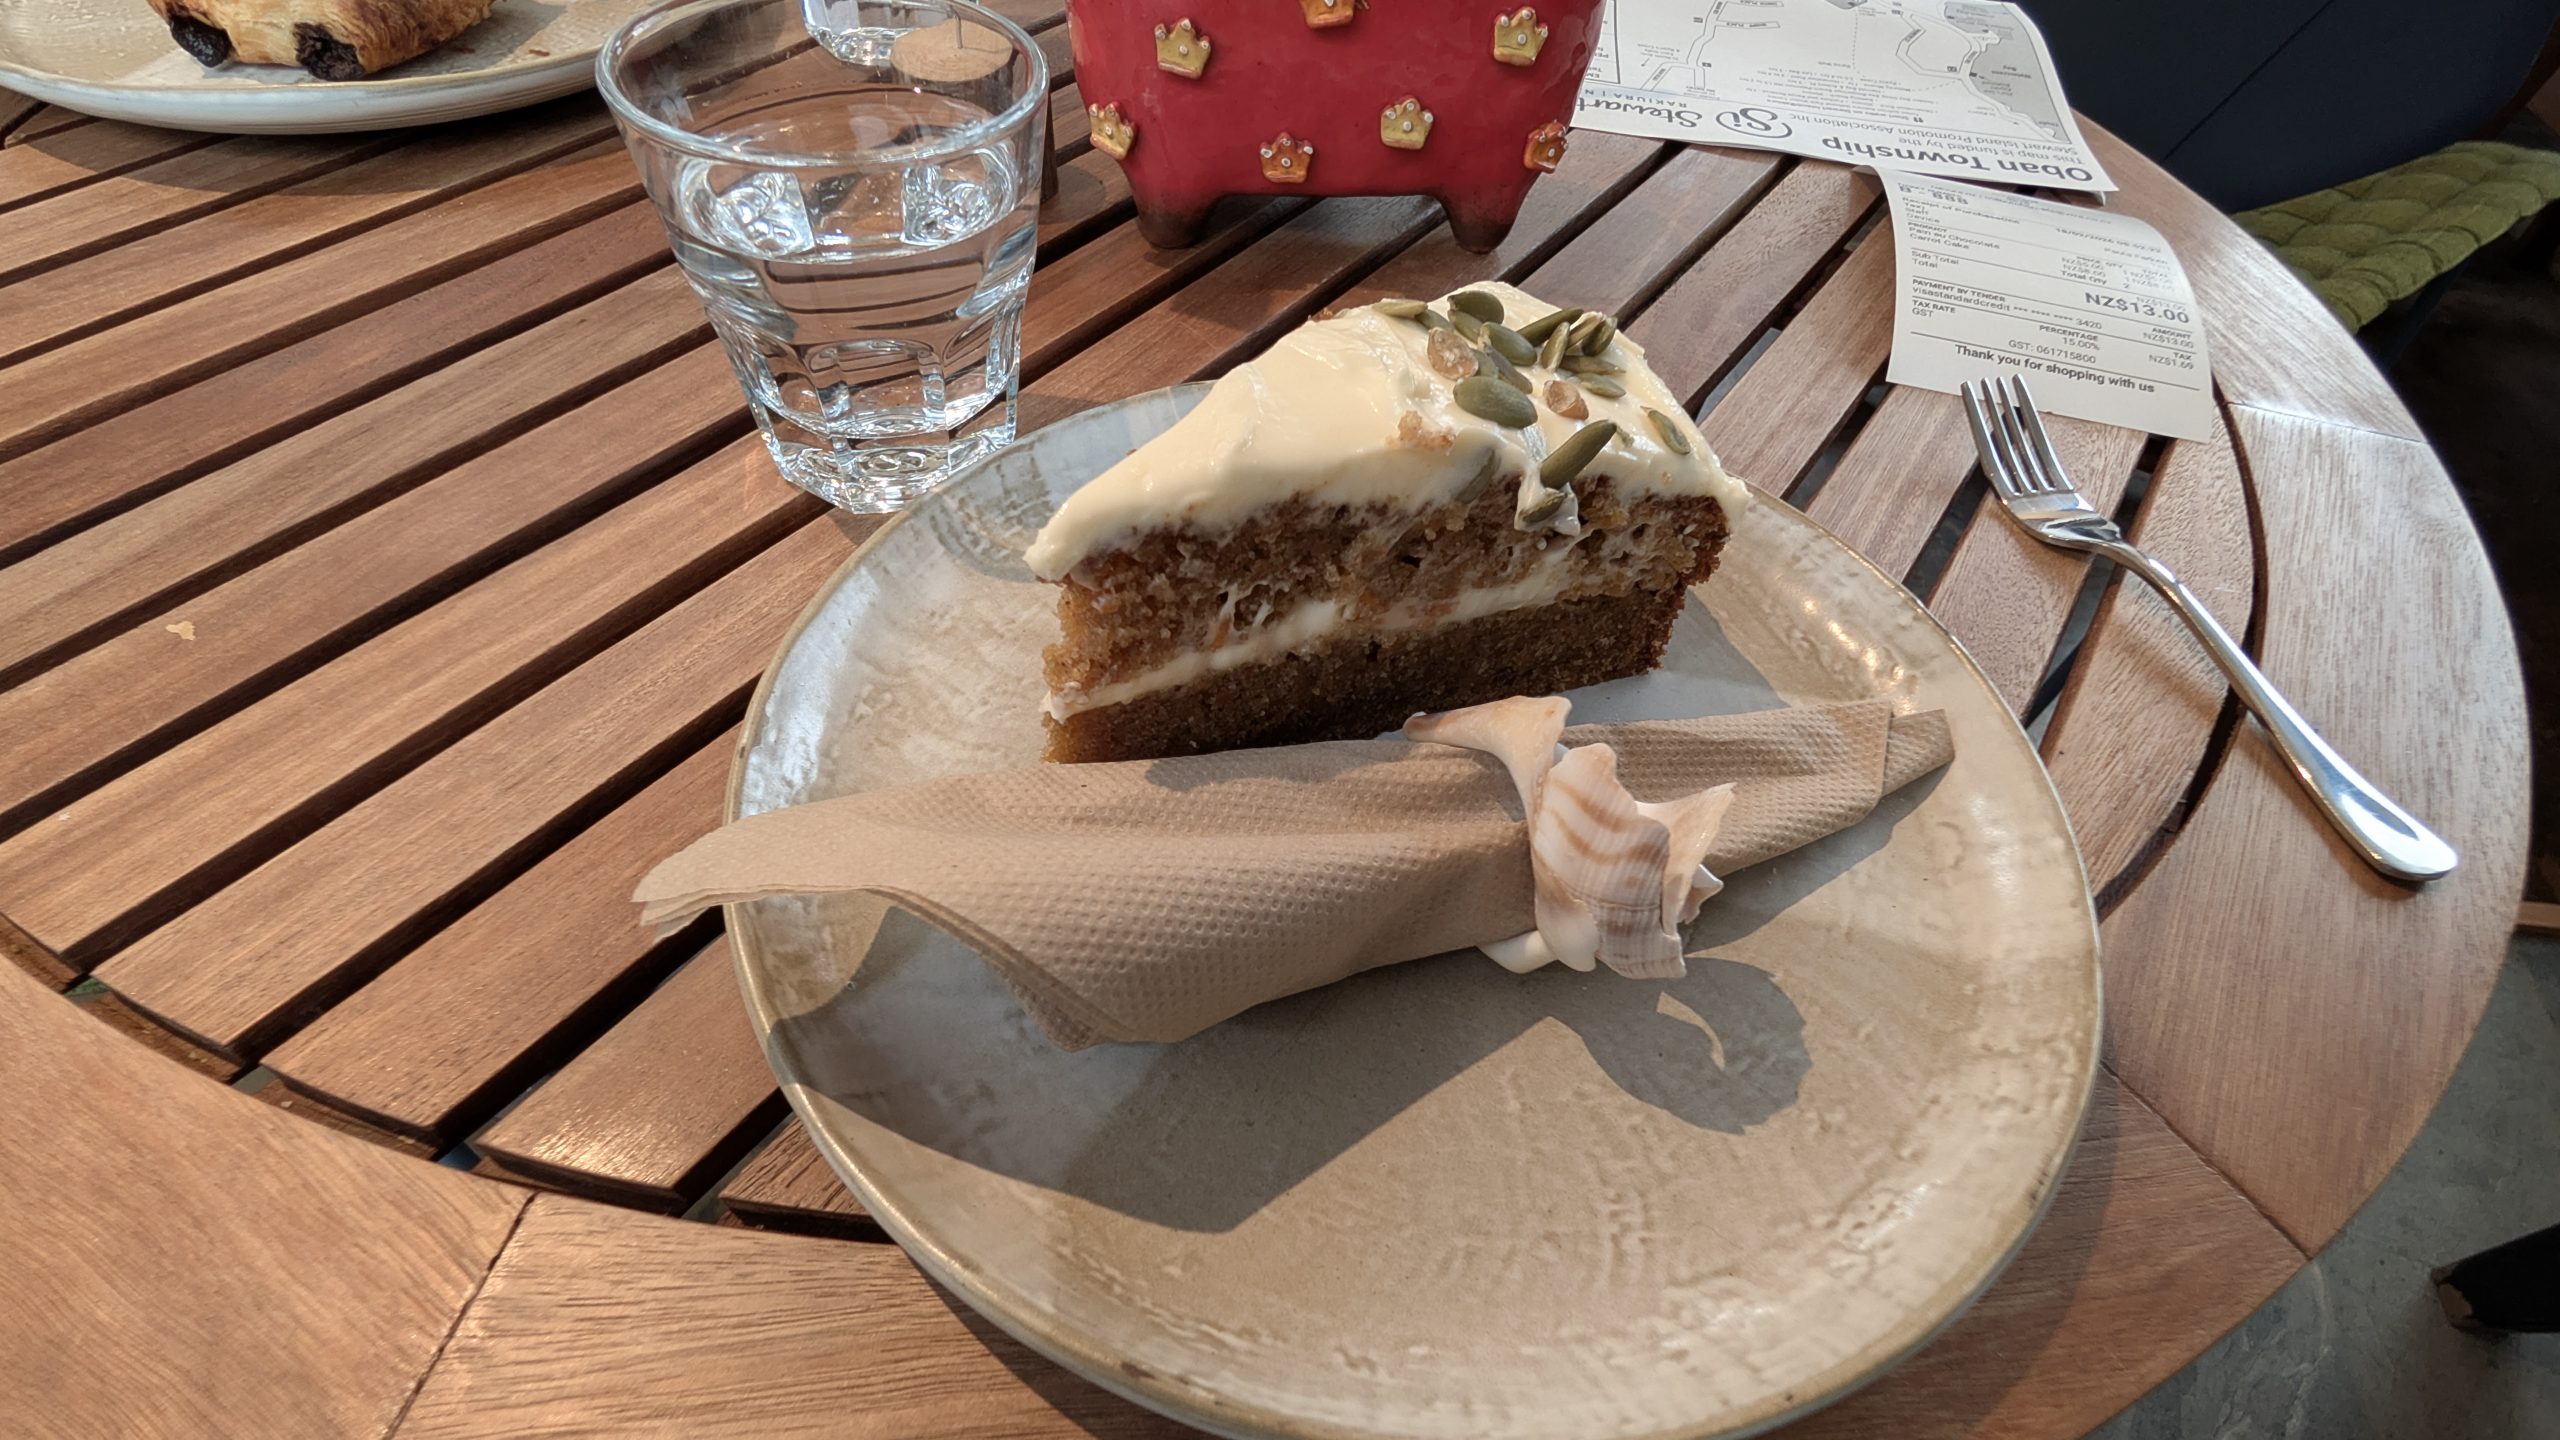
We walked over to the local bakery and bought some treats. This was also one of the places where we could reserve a sea shuttle to take us to the nearby Ulva Island. We reserved the 10:30 AM shuttle and scheduled a return time of 3 PM.
Carrot cake treat at the bakery
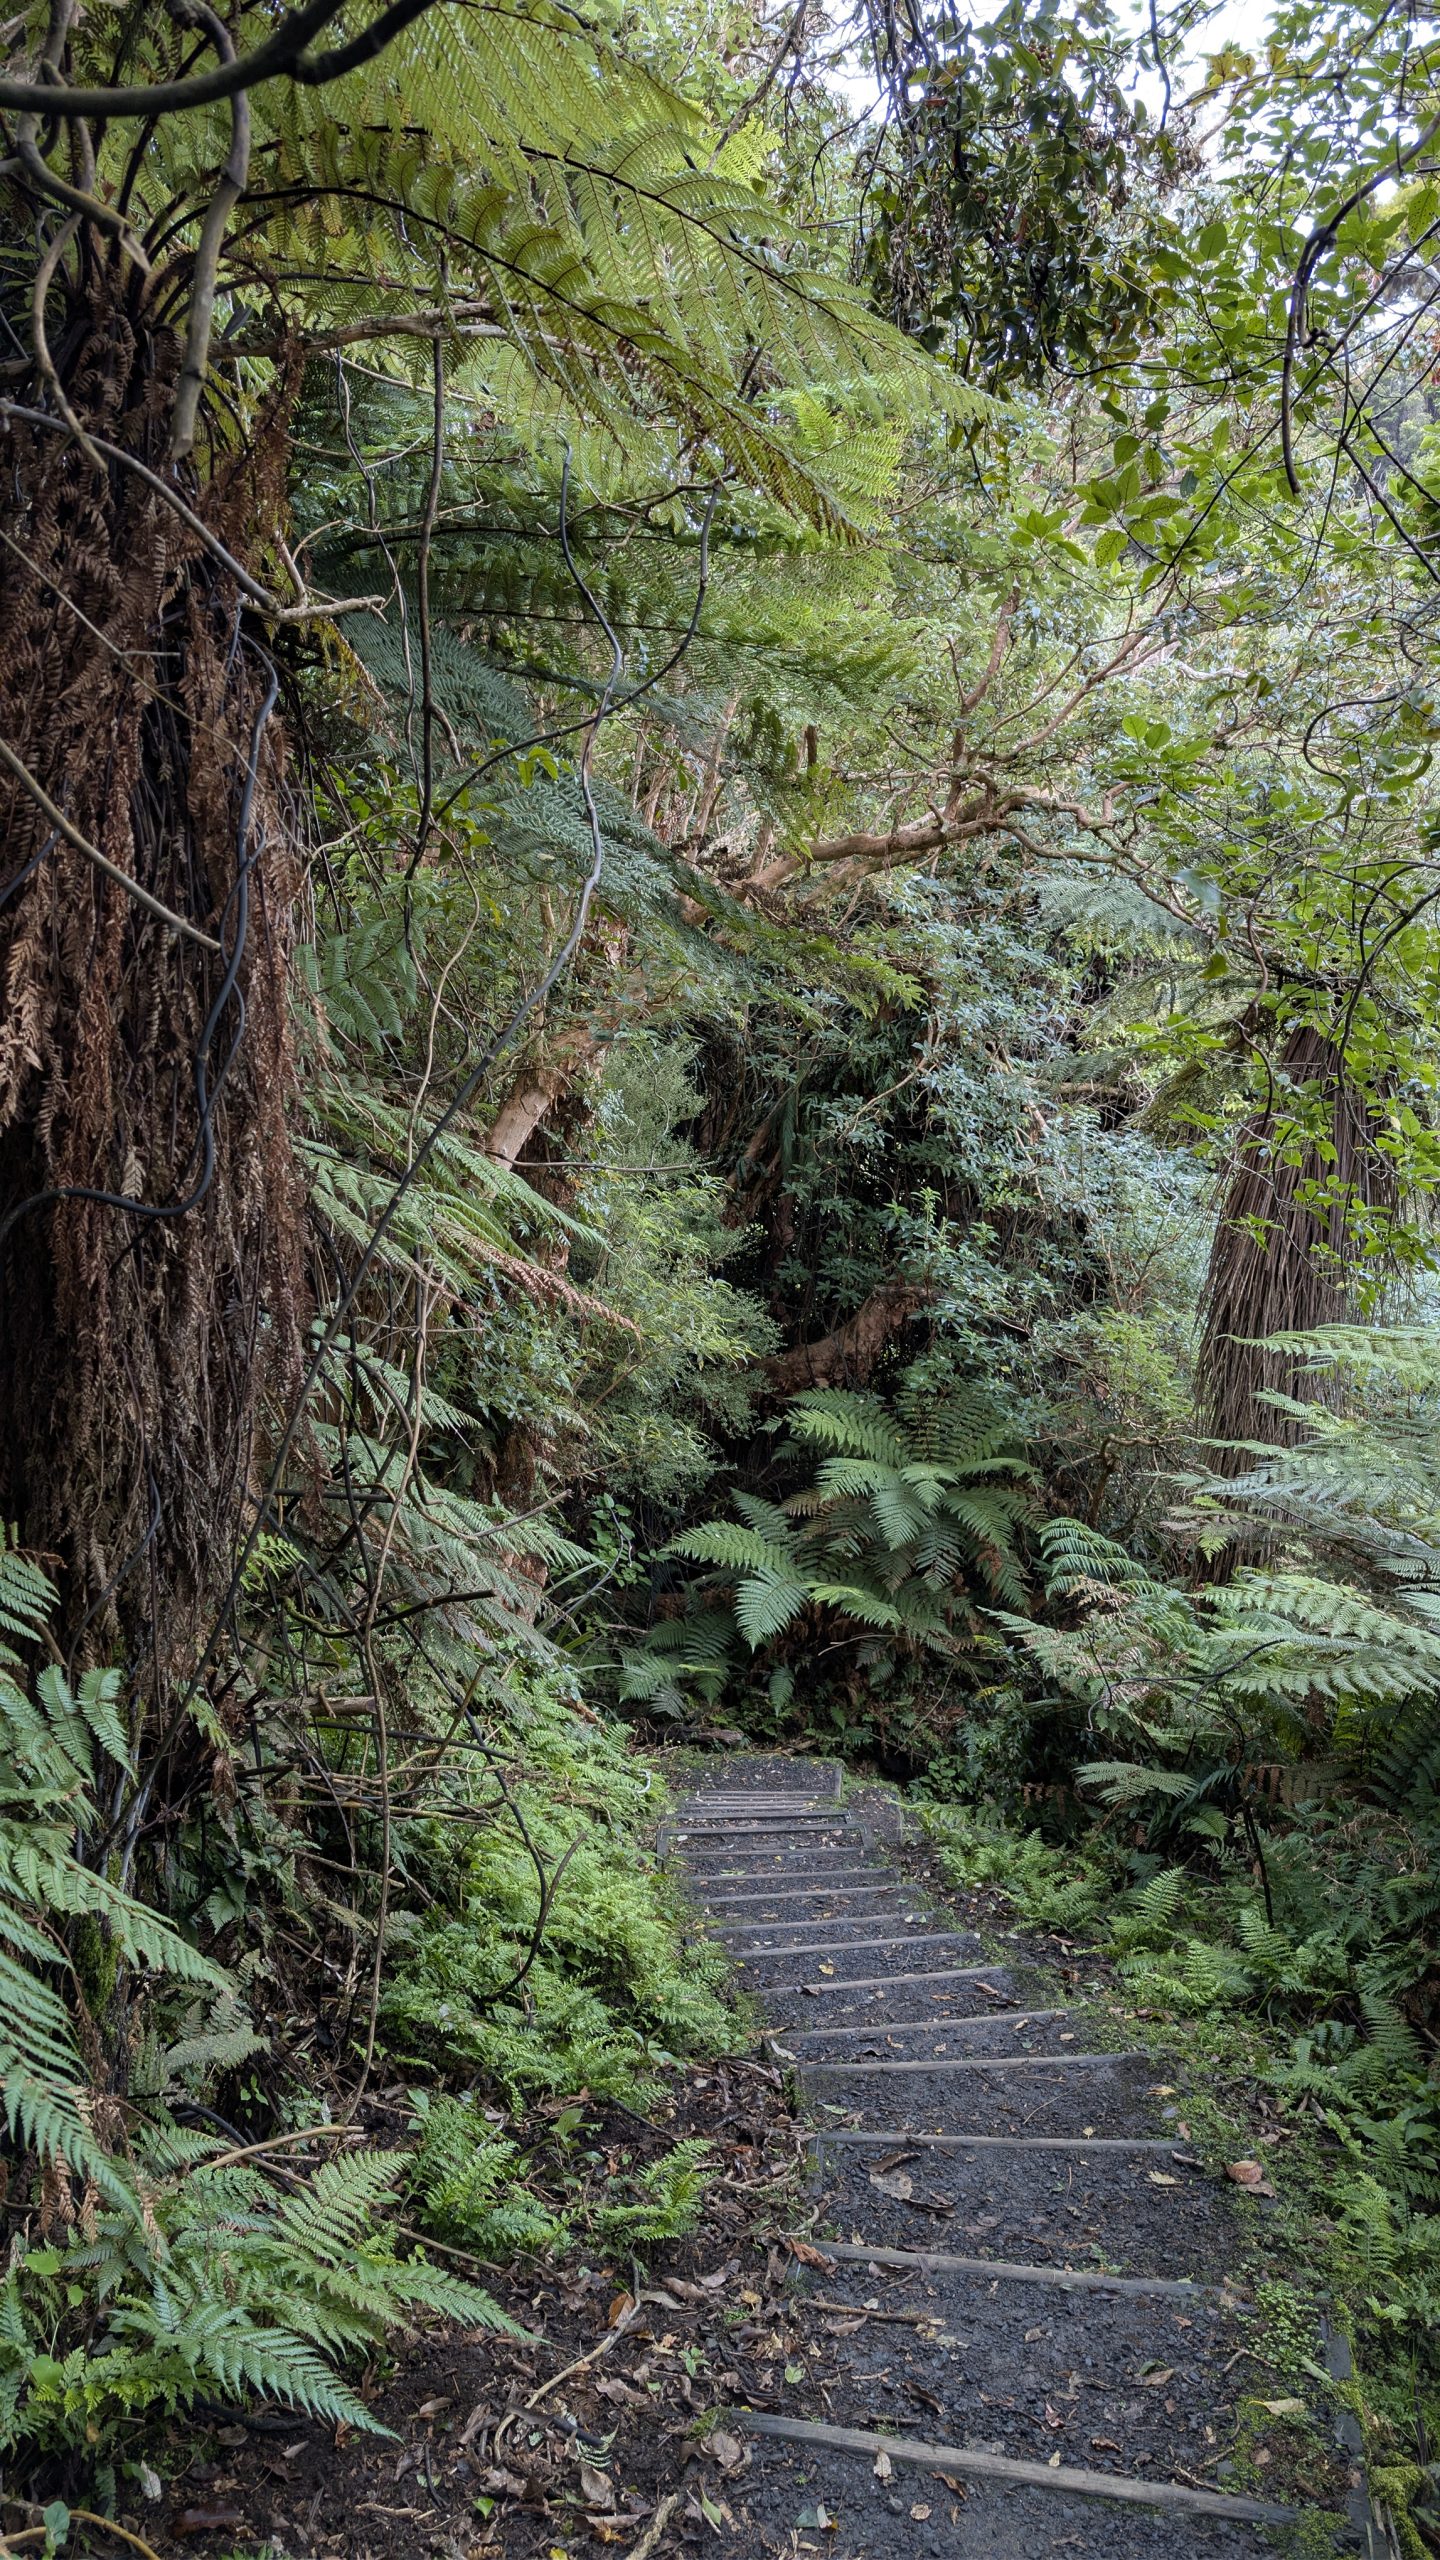
The shuttle left from the Golden Bay wharf which was about a 20-minute walk from our room. We had over an hour to spare, so we took the scenic route via a couple of trails (Fuchsia Walk and Raroa Reserve Track) through the forest to get there.
Big tree on the Fuchsia Walk
Trail to Golden Bay Beach
Golden Bay Beach. The wharf is on the right.
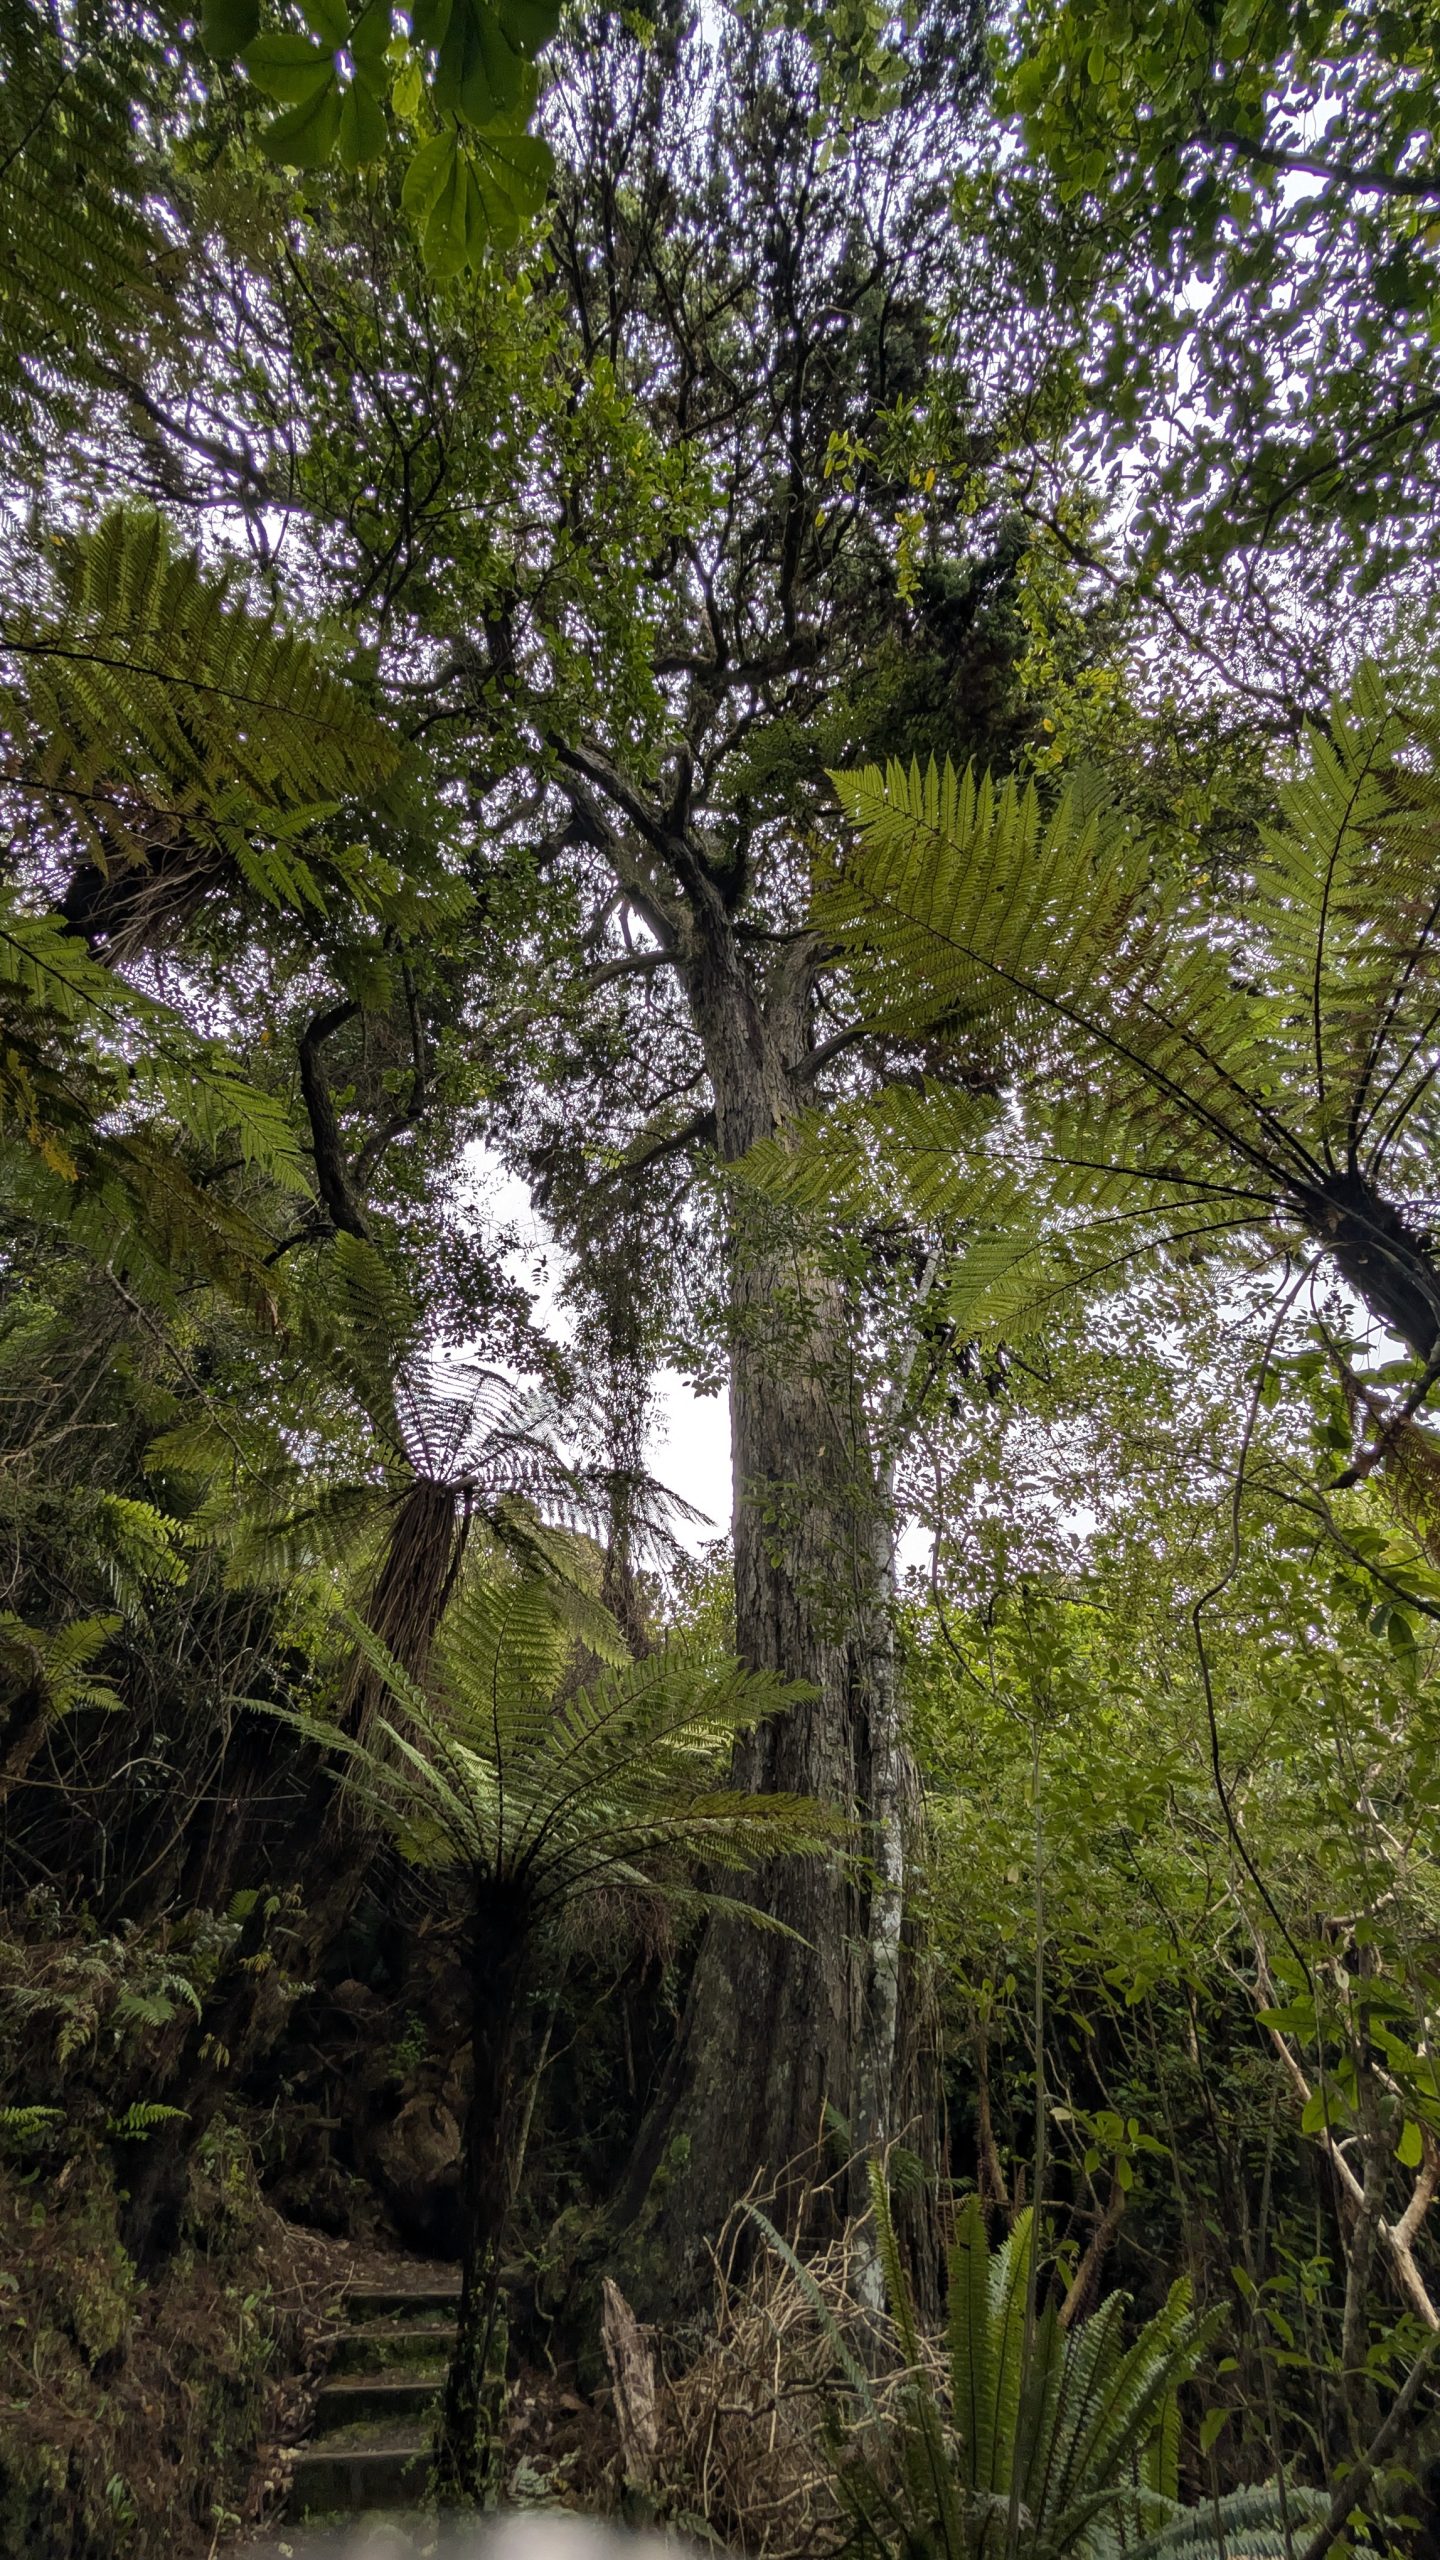
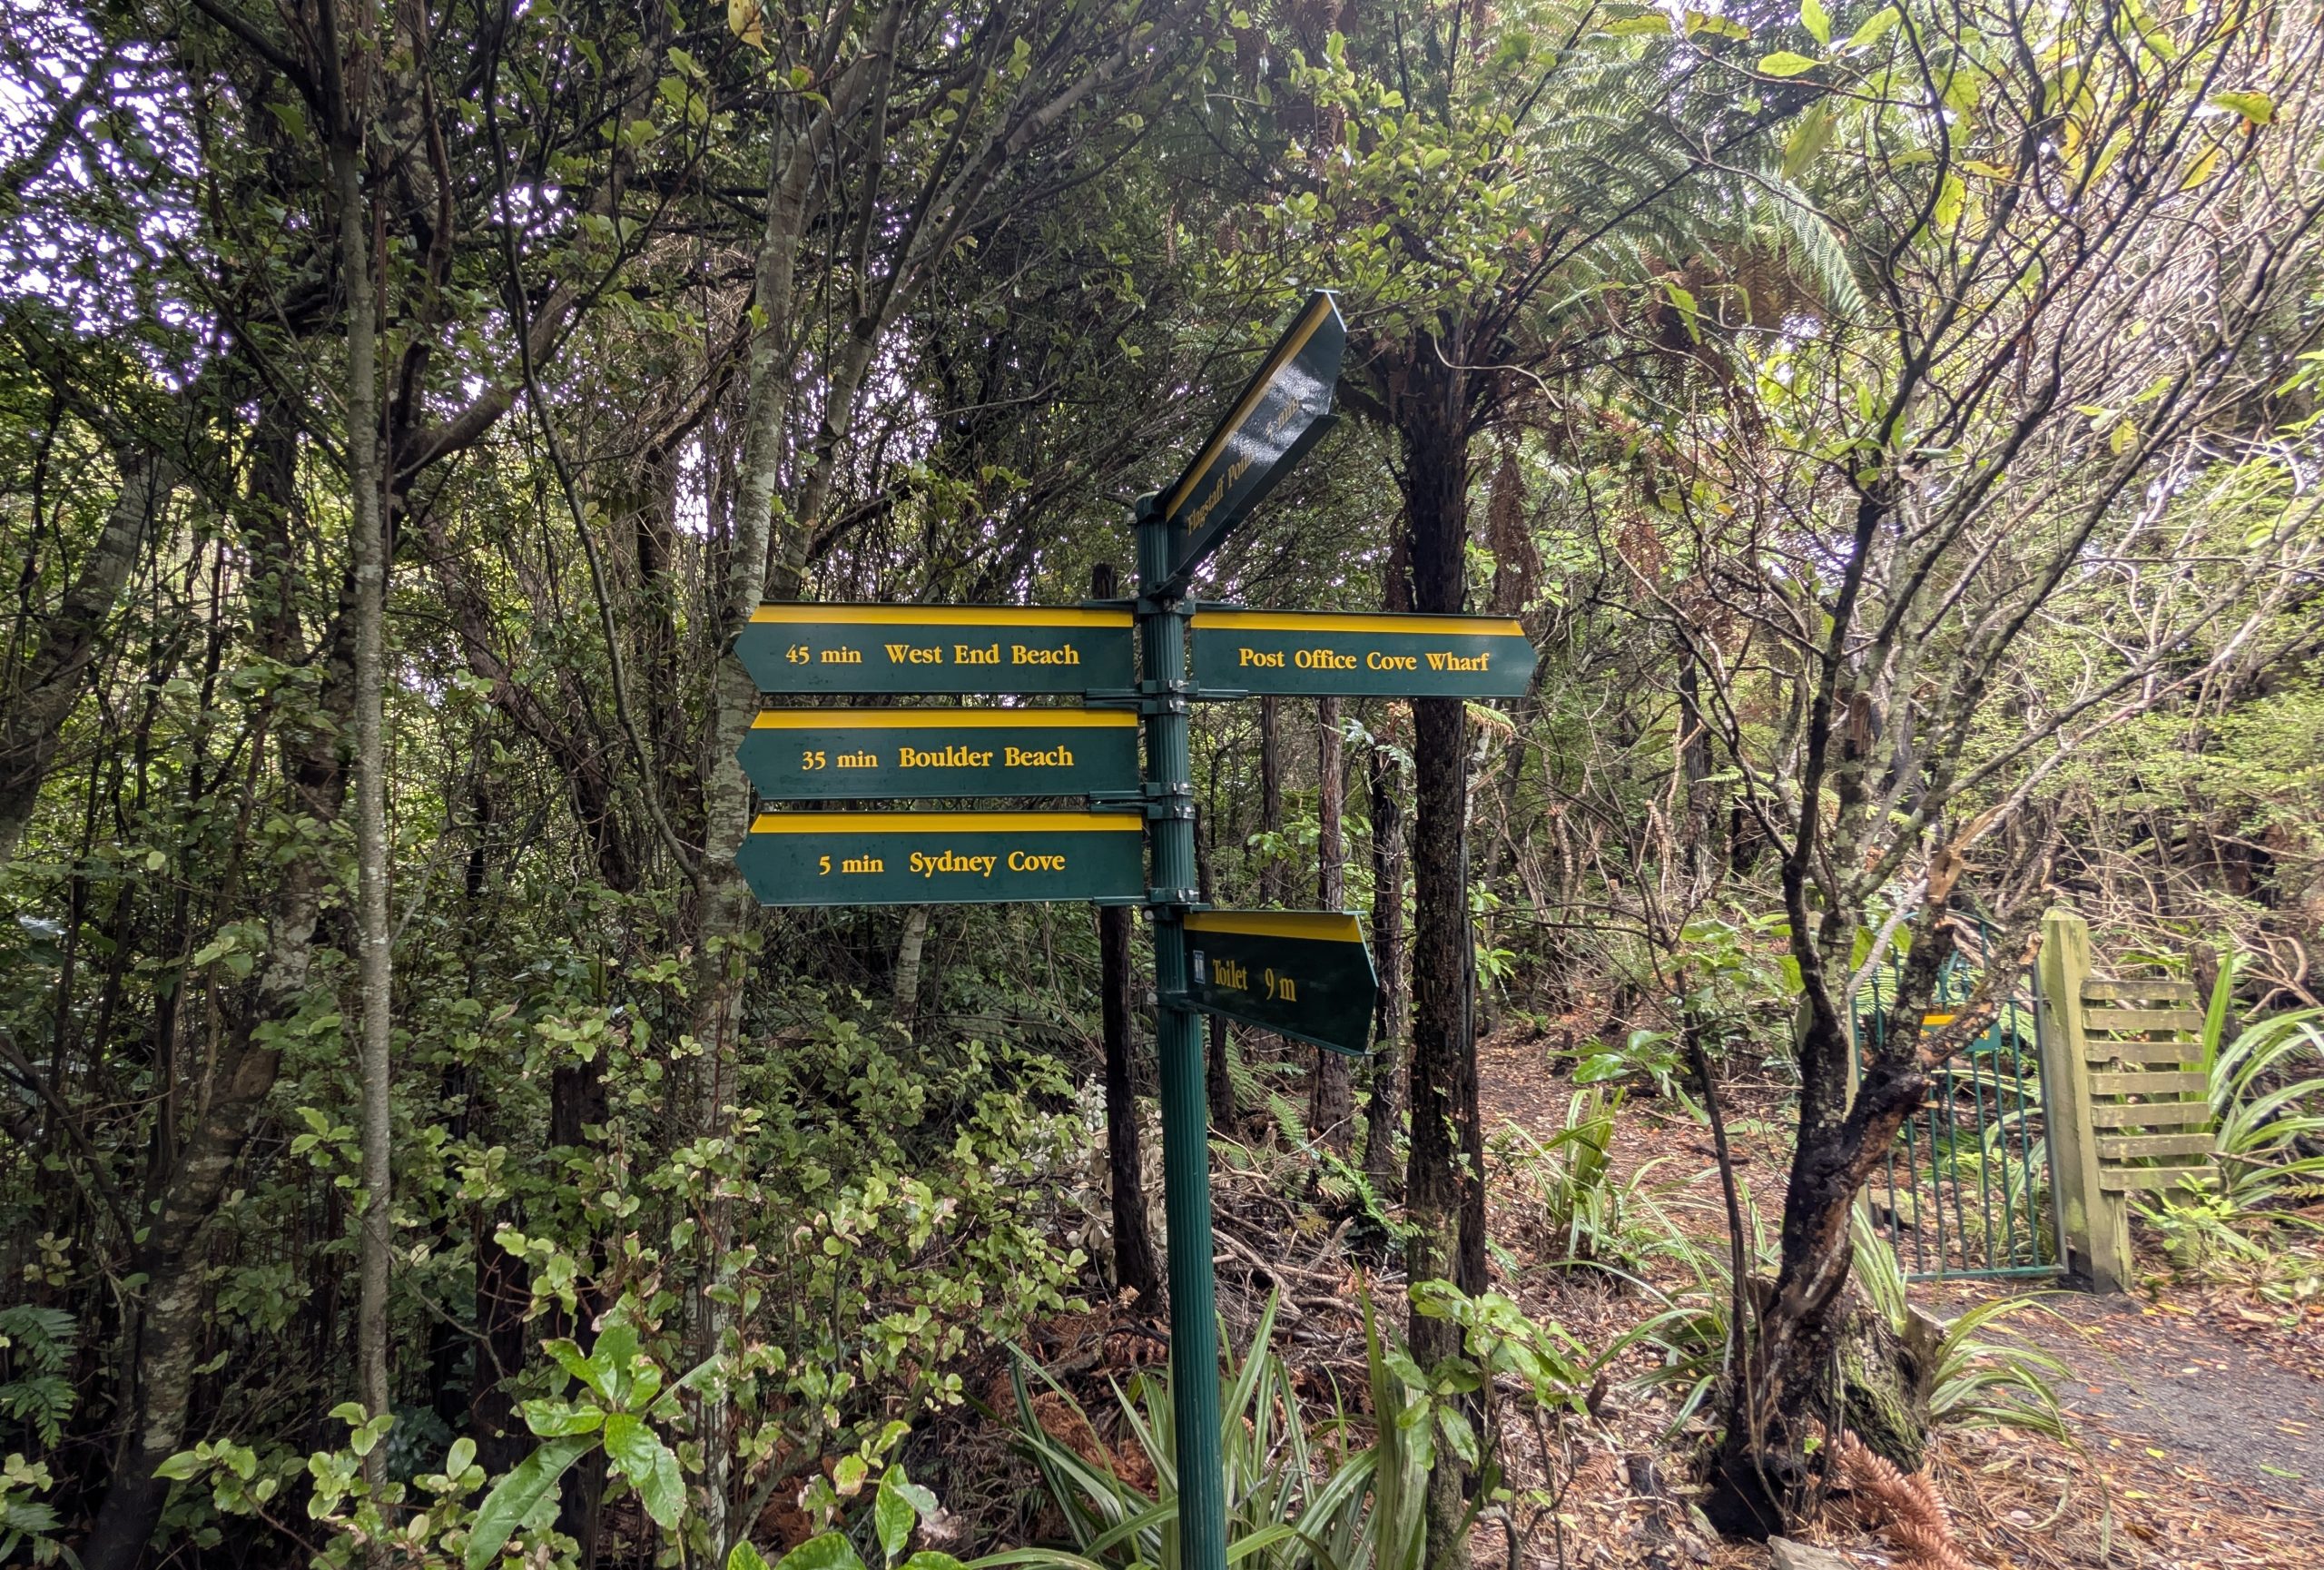
The sea shuttle met us promptly at 10:30 AM. It was a quick 8-minute ride to Ulva Island. Our plan was to hike the entire network of trails on the island. Ulva was a predator-free island, so there was a large variety of birds and native plant life with minimal introduced species.
Trail signs near the wharf showing our options
We decided to hike to Boulder Beach. The goal was to take our time and look for various birds. The trail was very easy: flat most of the way. I am not a big bird watcher, but I have to admit I really had fun walking the trails. And we saw and heard quite a variey of of birds. Our first sighting was a kākā. This was a parrot that was considered to be threatened in many areas but was common on Ulva, so we felt lucky to have had such a good view.
Kākā
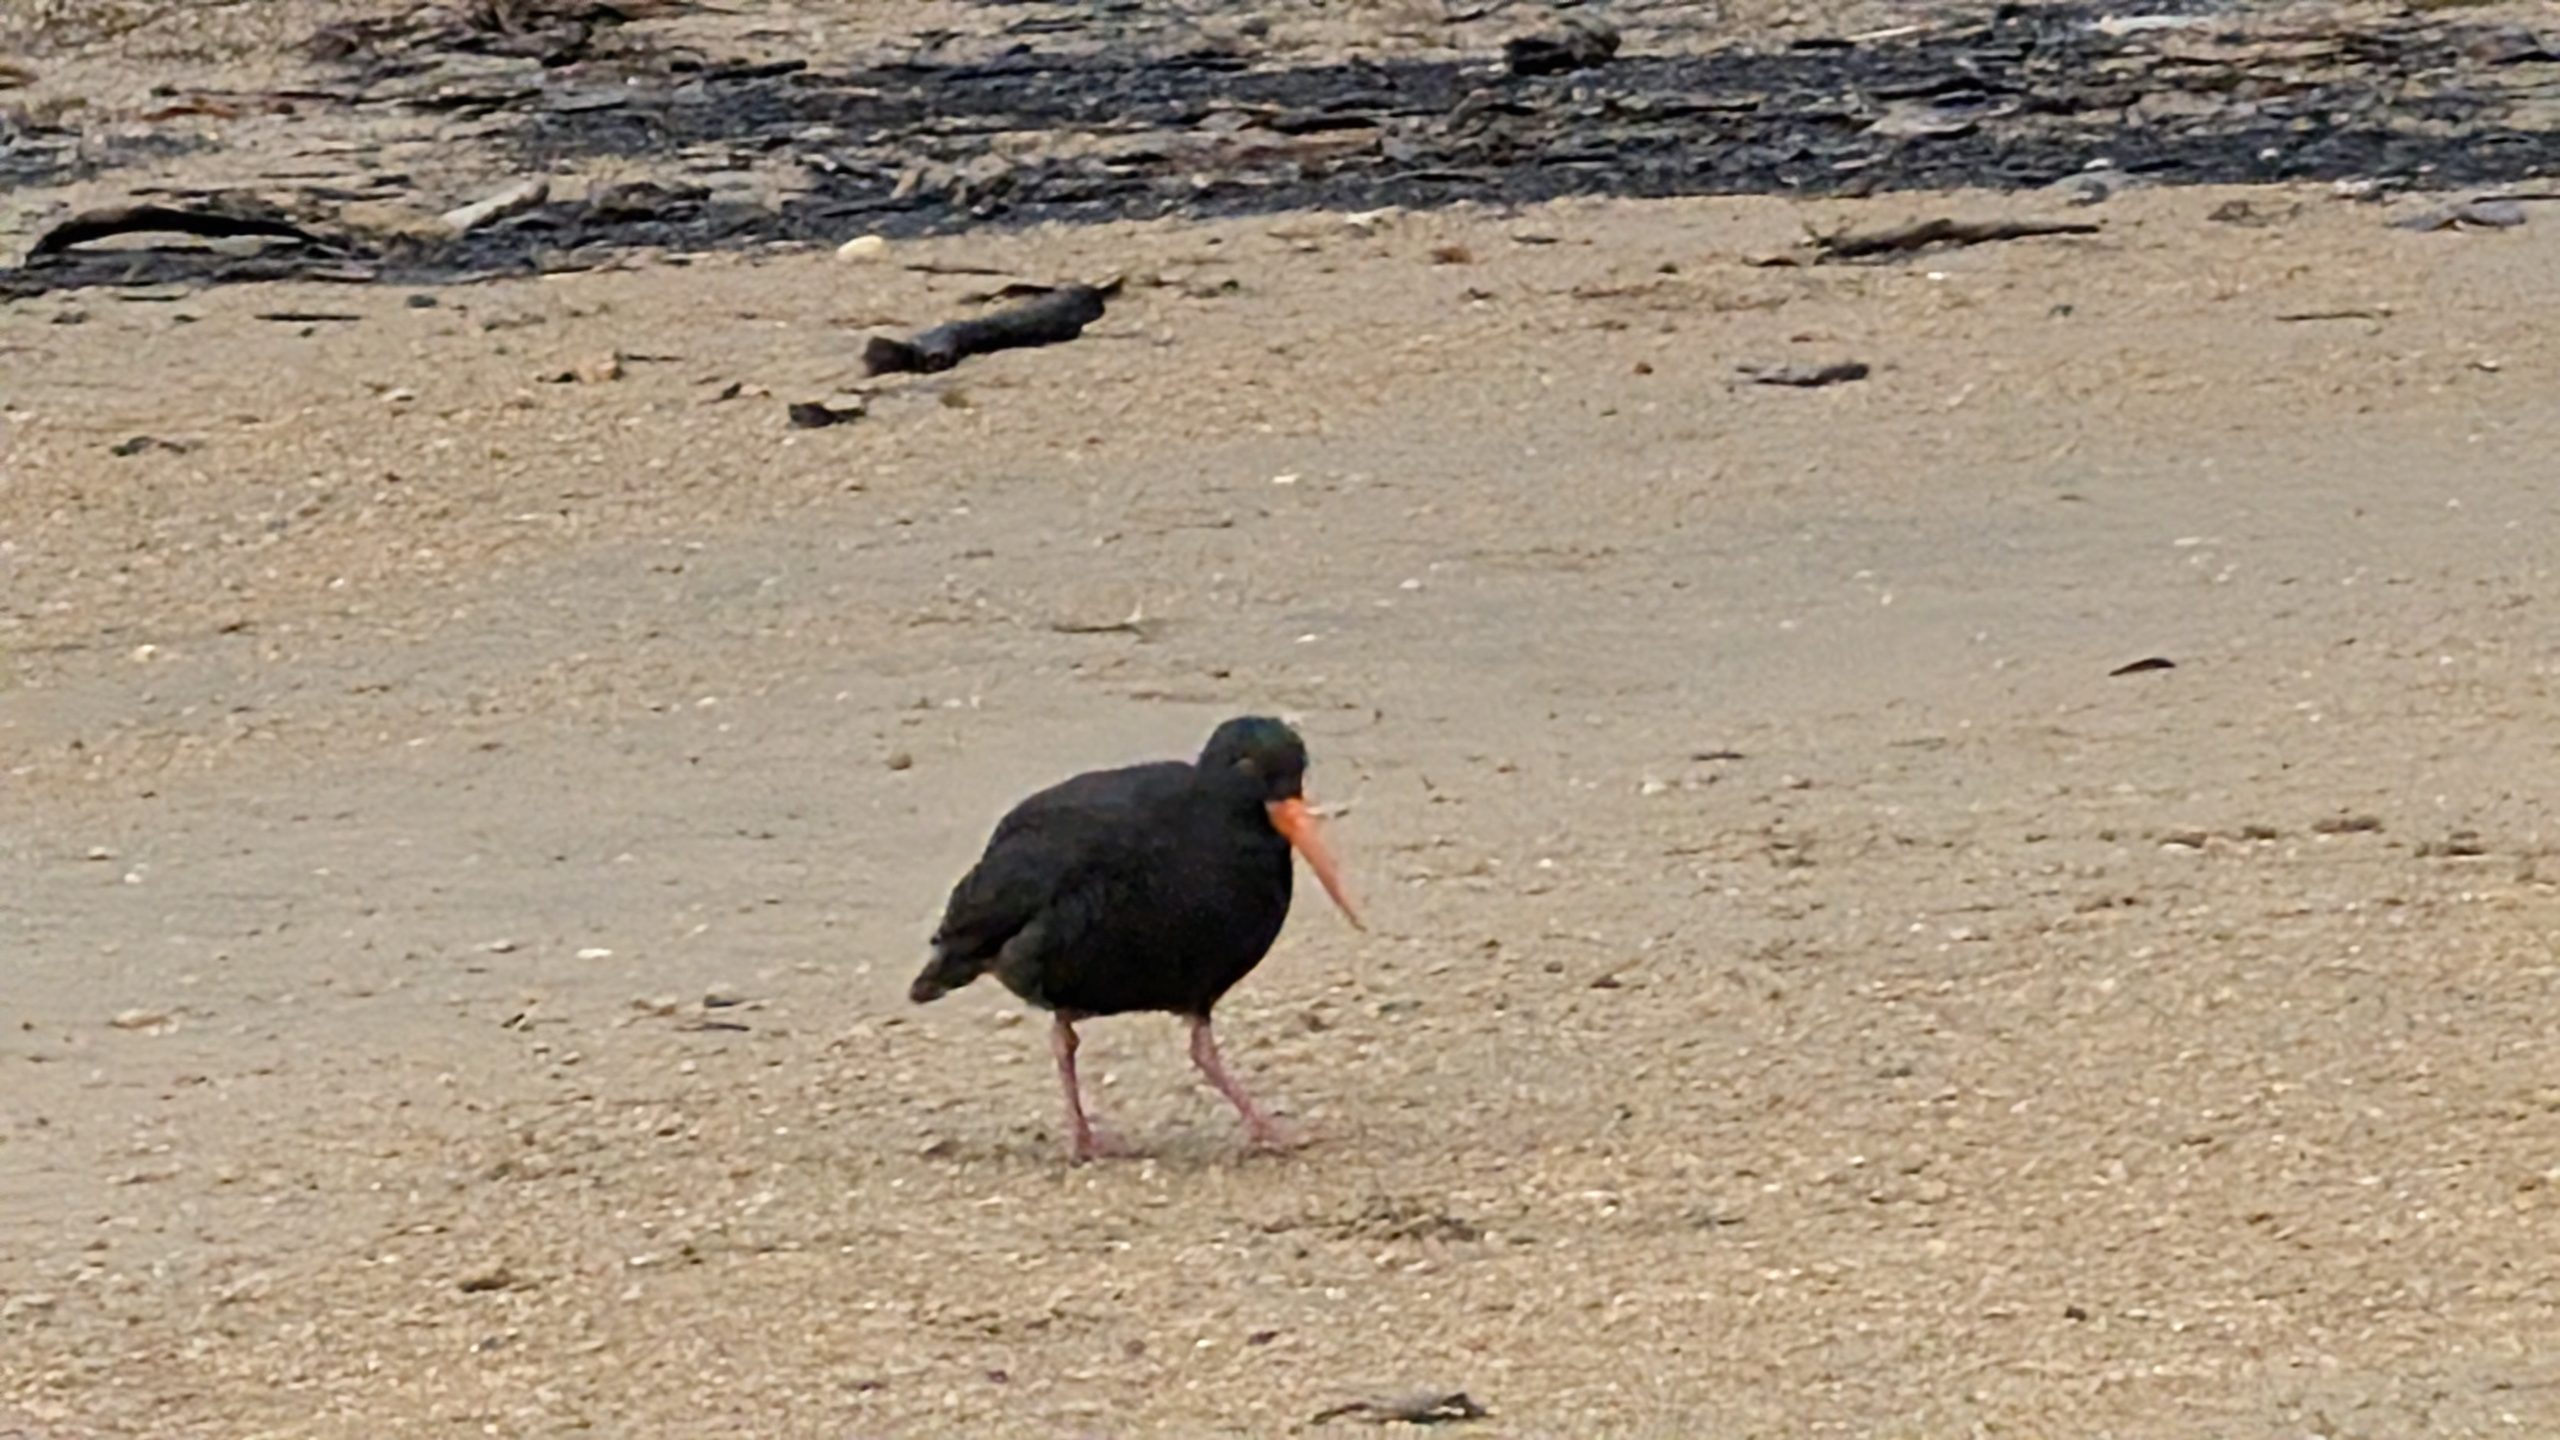
We arrived at Boulder Beach and had a water and snack break. We saw several oystercatchers running around on the beach.
Boulder BeachOystercatcher (torea)
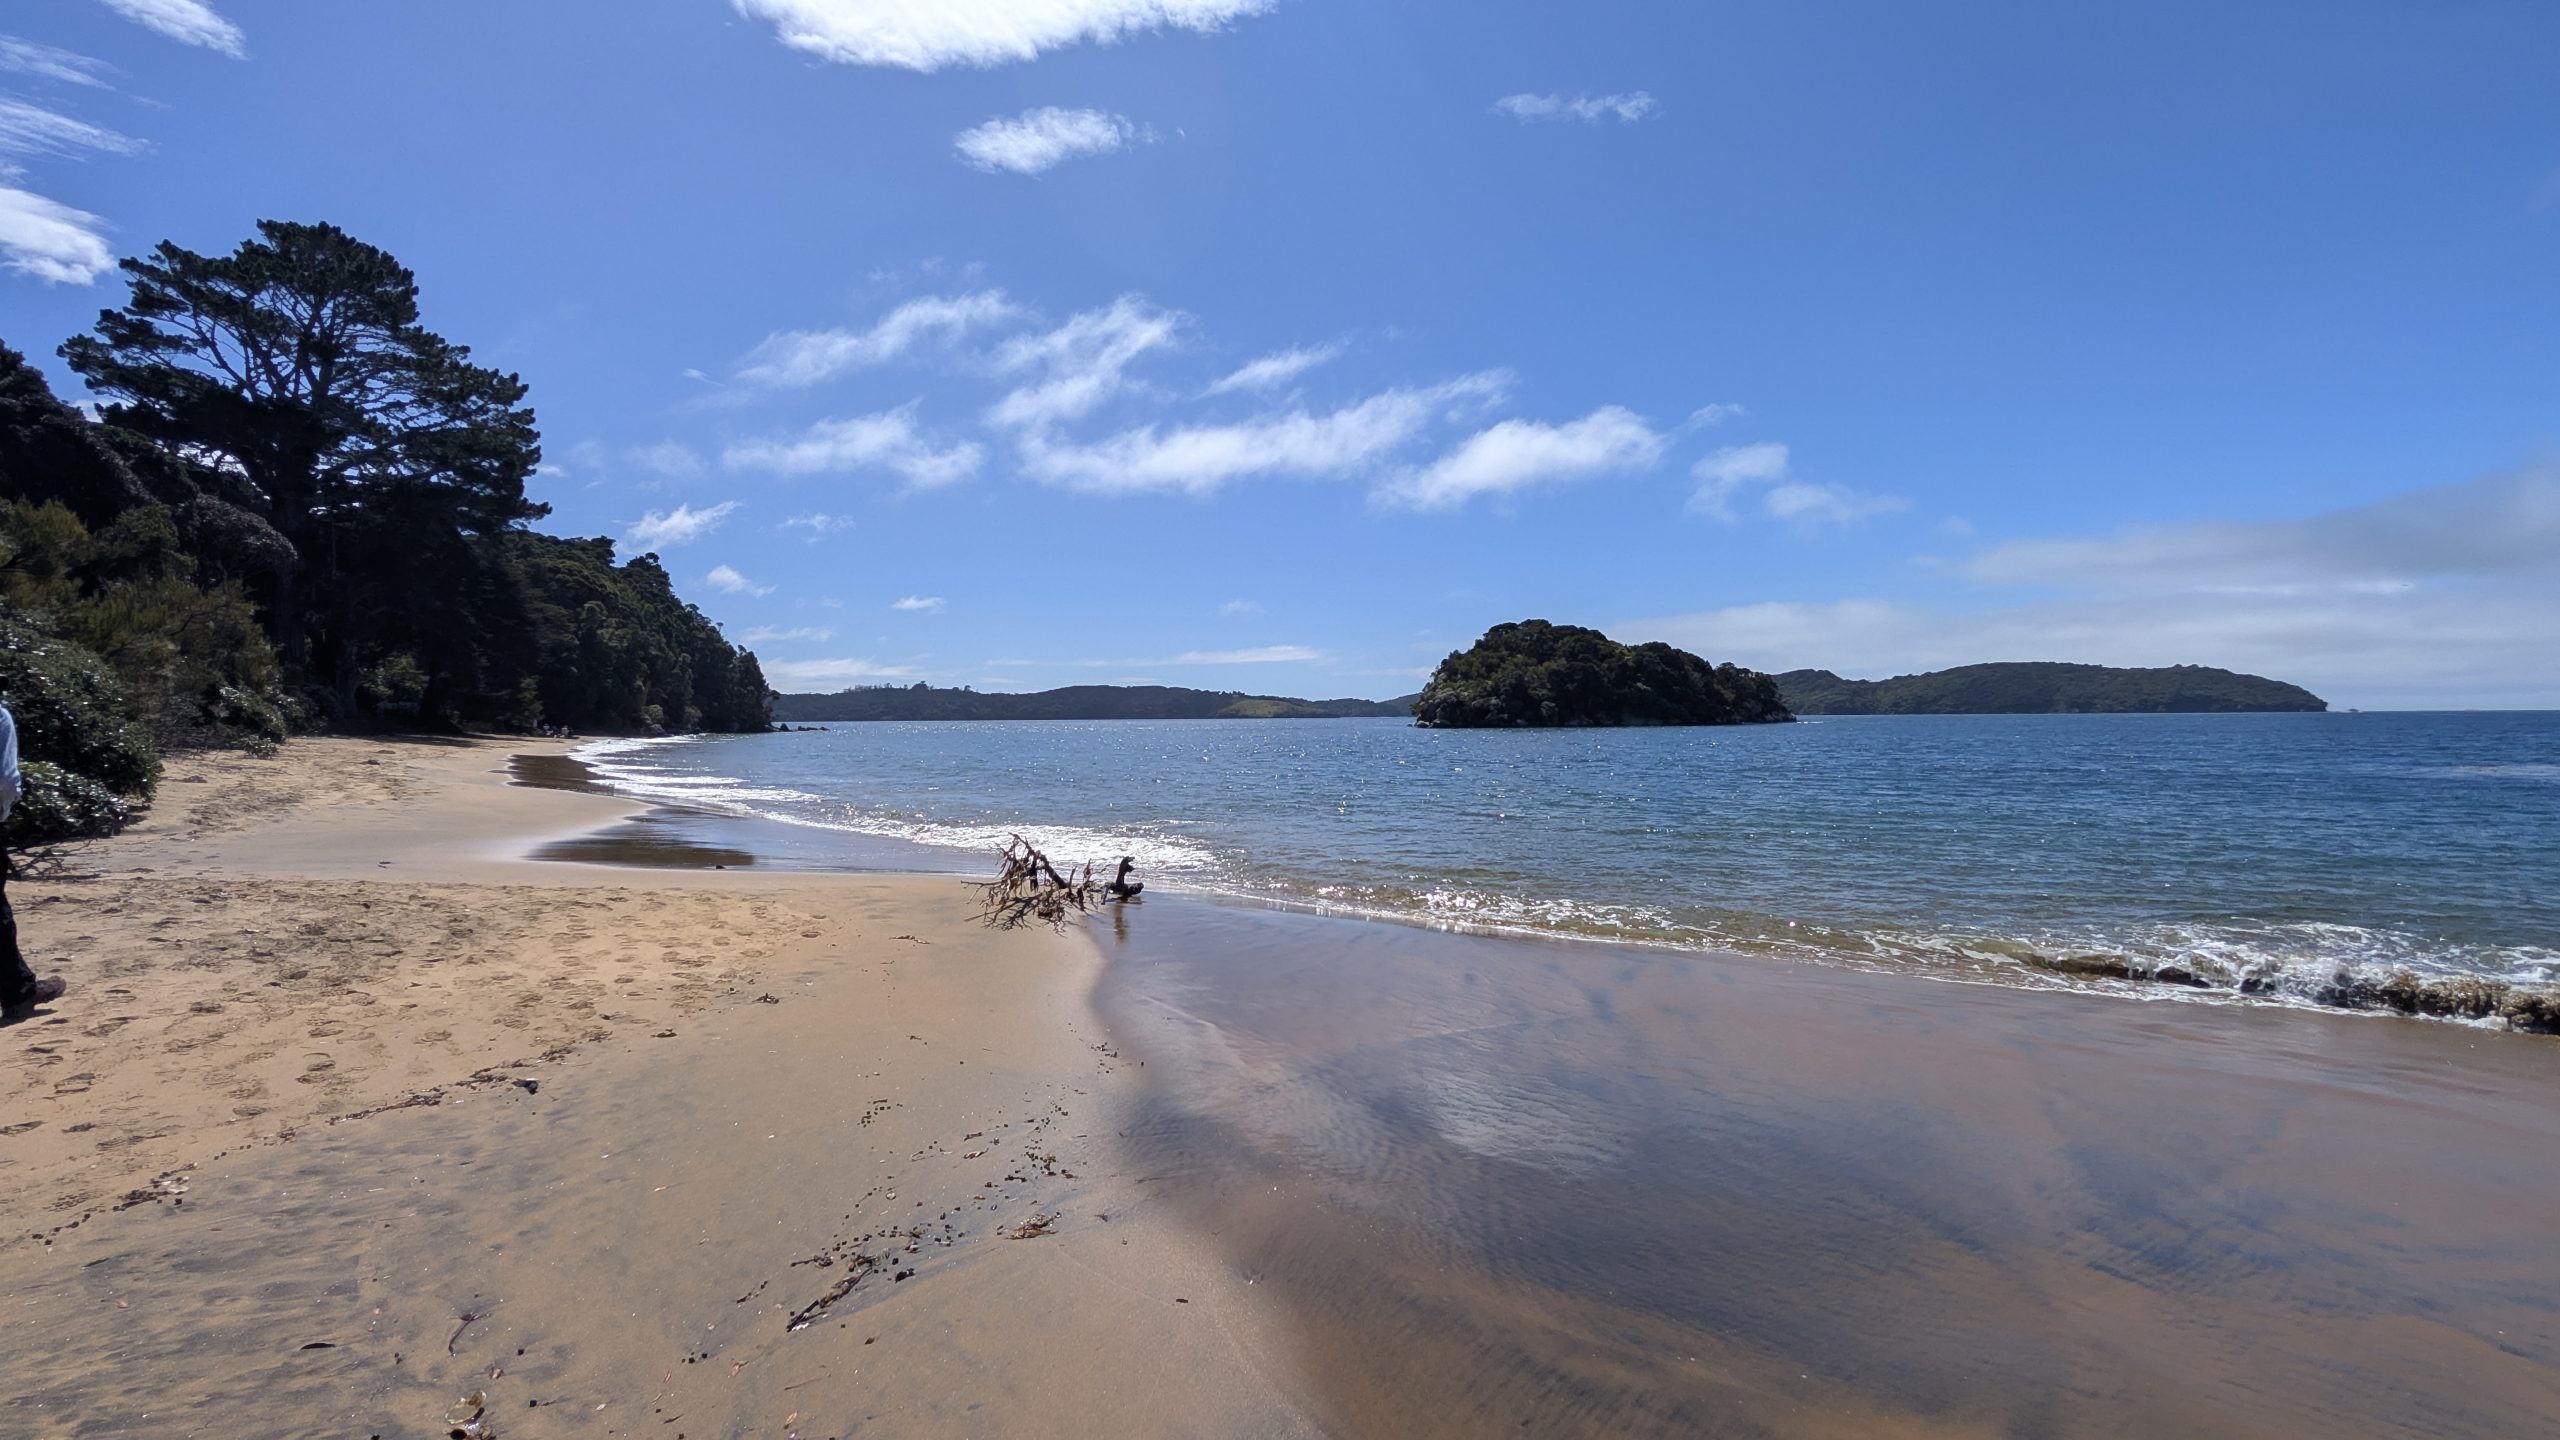
Next we took the trail to West End Beach. By the time we arrived, the weather had cleared and it turned into a beautiful afternoon.
West End BeachView from West End Beach
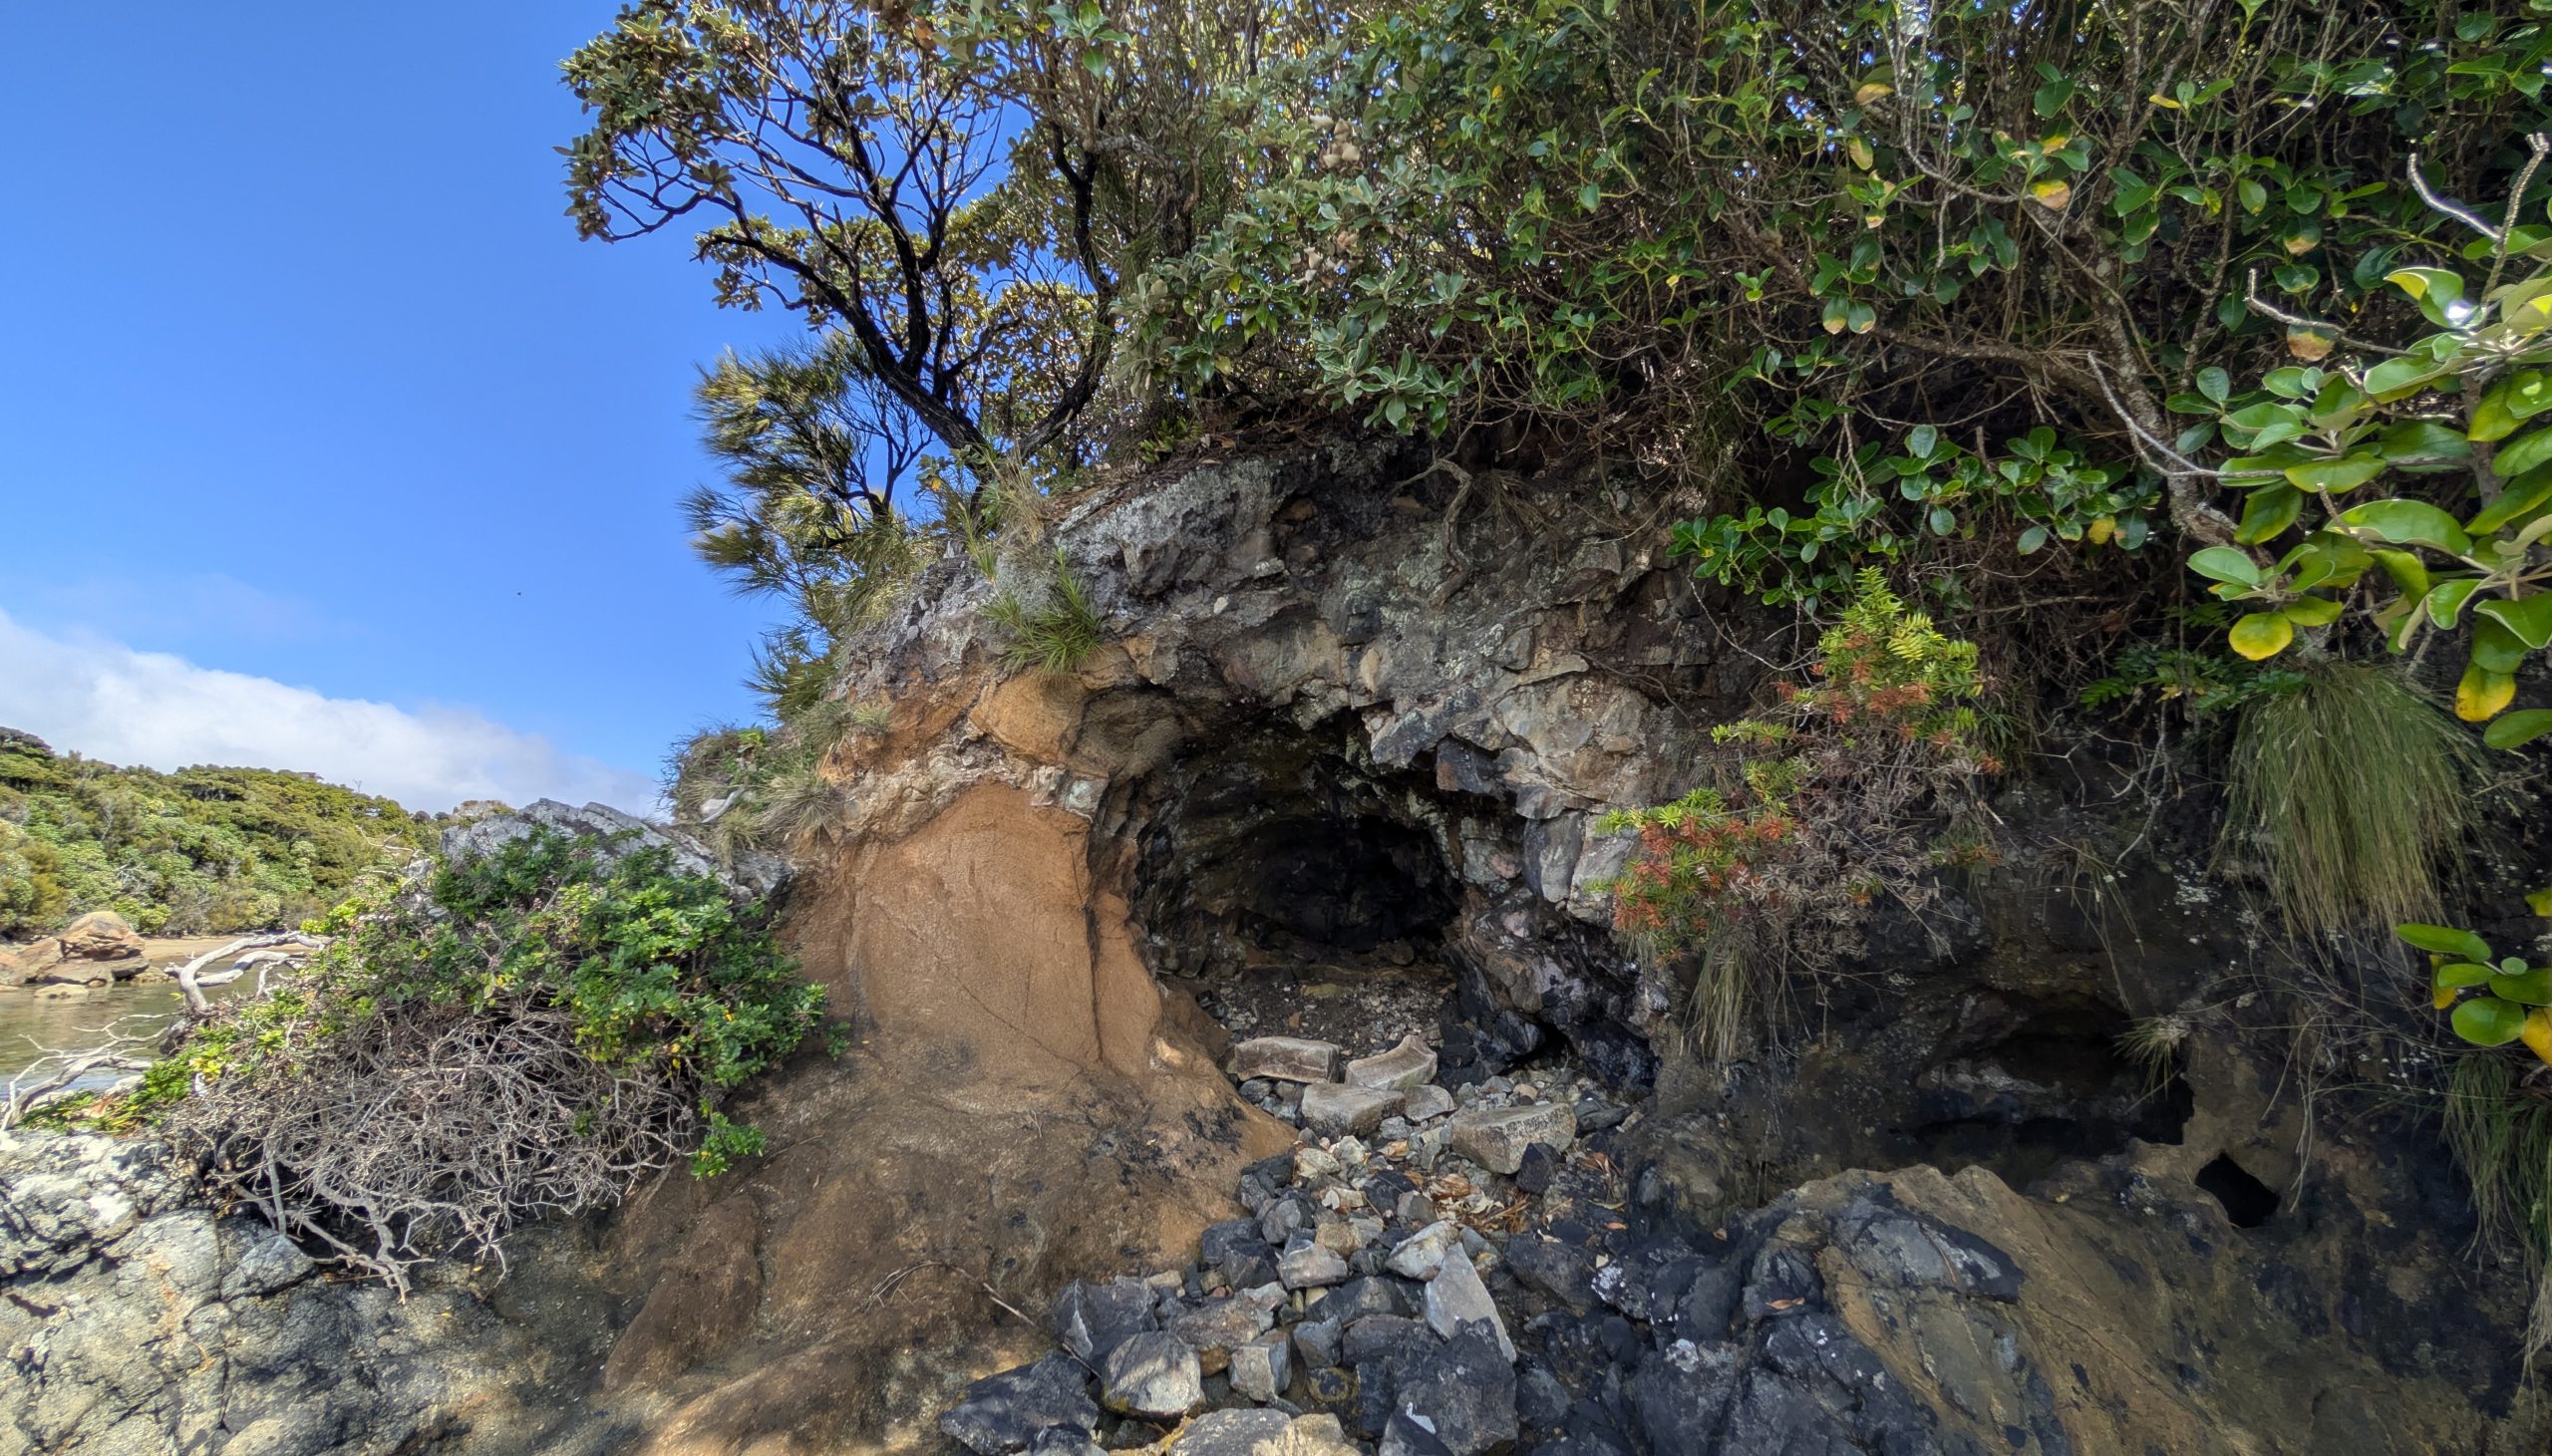
On the right hand side of the beach was a little sea cave that I explored. It was really just a big overhang and not a cave, but it was interesting. On the way back from the cave I saw three weka birds: two adults and a young one.
Sea cave at West End Beach
Juvenile weka bird at West End Beach
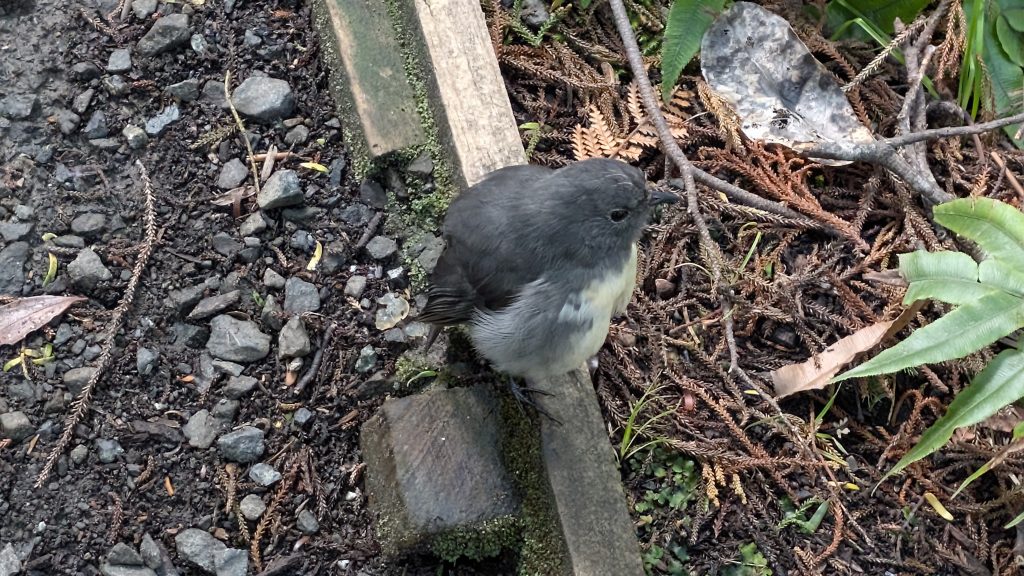
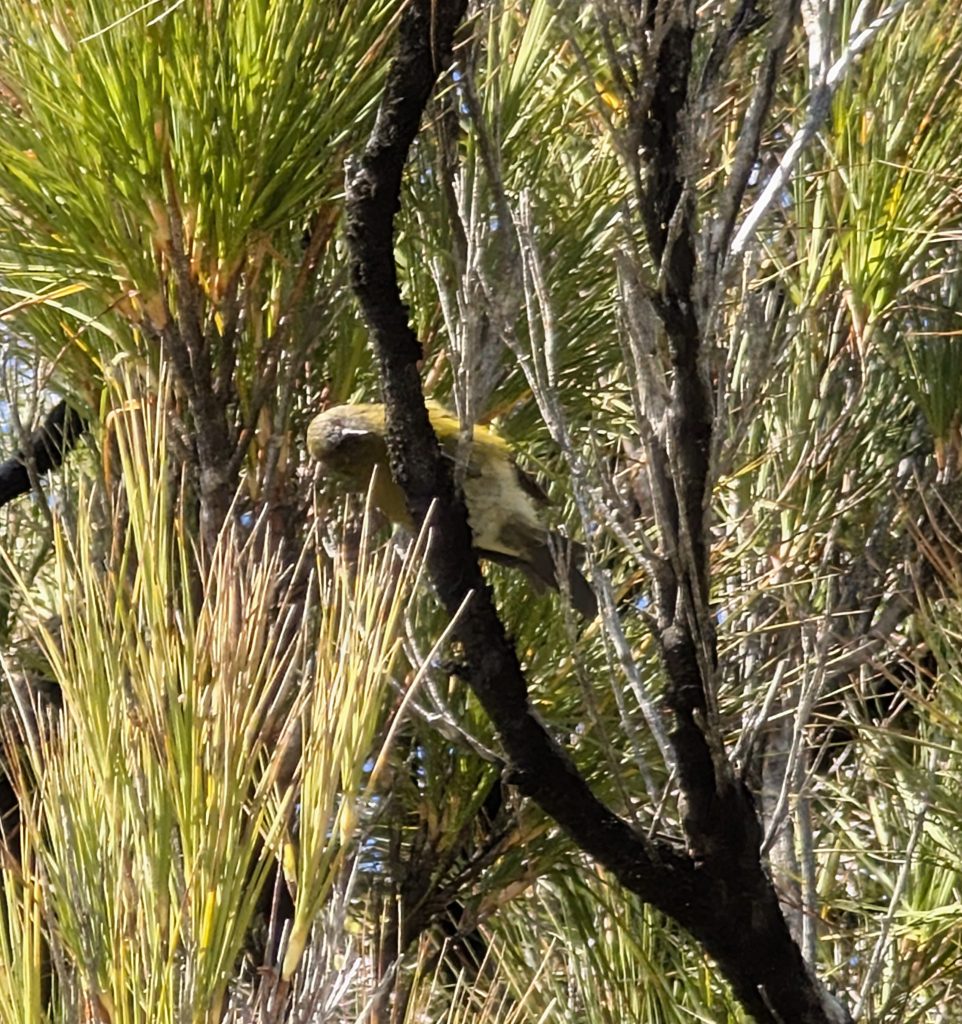
We turned around and started walking to the other side of the island at Sydney Cove. This was yet another pretty forest walk. We saw a few more interesting birds along the way, and we heard the calls from the kākā birds, but we did not see them.
Trail from West End Beach to Sydney CoveStewart Island robin (toutouwai)
New Zealand parakeet (kākāriki)
We had almost reached the cove when we saw a couple of people ahead of us, staring into the forest. They excitedly whispered to us: kiwi! And sure enough, a large adult kiwi was grazing just to the side of the trail. After a few minutes it crossed the trail and then was grazing for several minutes on the other side. It seemed entirely unfazed by our presence. We watched it for about 20 minutes before it finally disappeared into the woods. This was the icing on the cake for me, to see a kiwi in broad daylight.
Kiwi crossing the trail
Kiwi at the side of the trail
Kiwi continuing to graze
We continued on the trail down to the beach at Sydney Cove. Then we followed the path across the beach to the next short trail up to Flagstaff Point which had nice views of the area.
Sydney CoveFlagstaff Point
From Flagstaff Point it was just a 5-minute walk back to Post Office Cove Wharf where we would meet the sea shuttle to return us to the main island. Since it was still a little early for the boat, I walked back to Sydney Cove and saw a sea lion swimming in the water close to shore.
Sea lion swimming at Sydney Cove
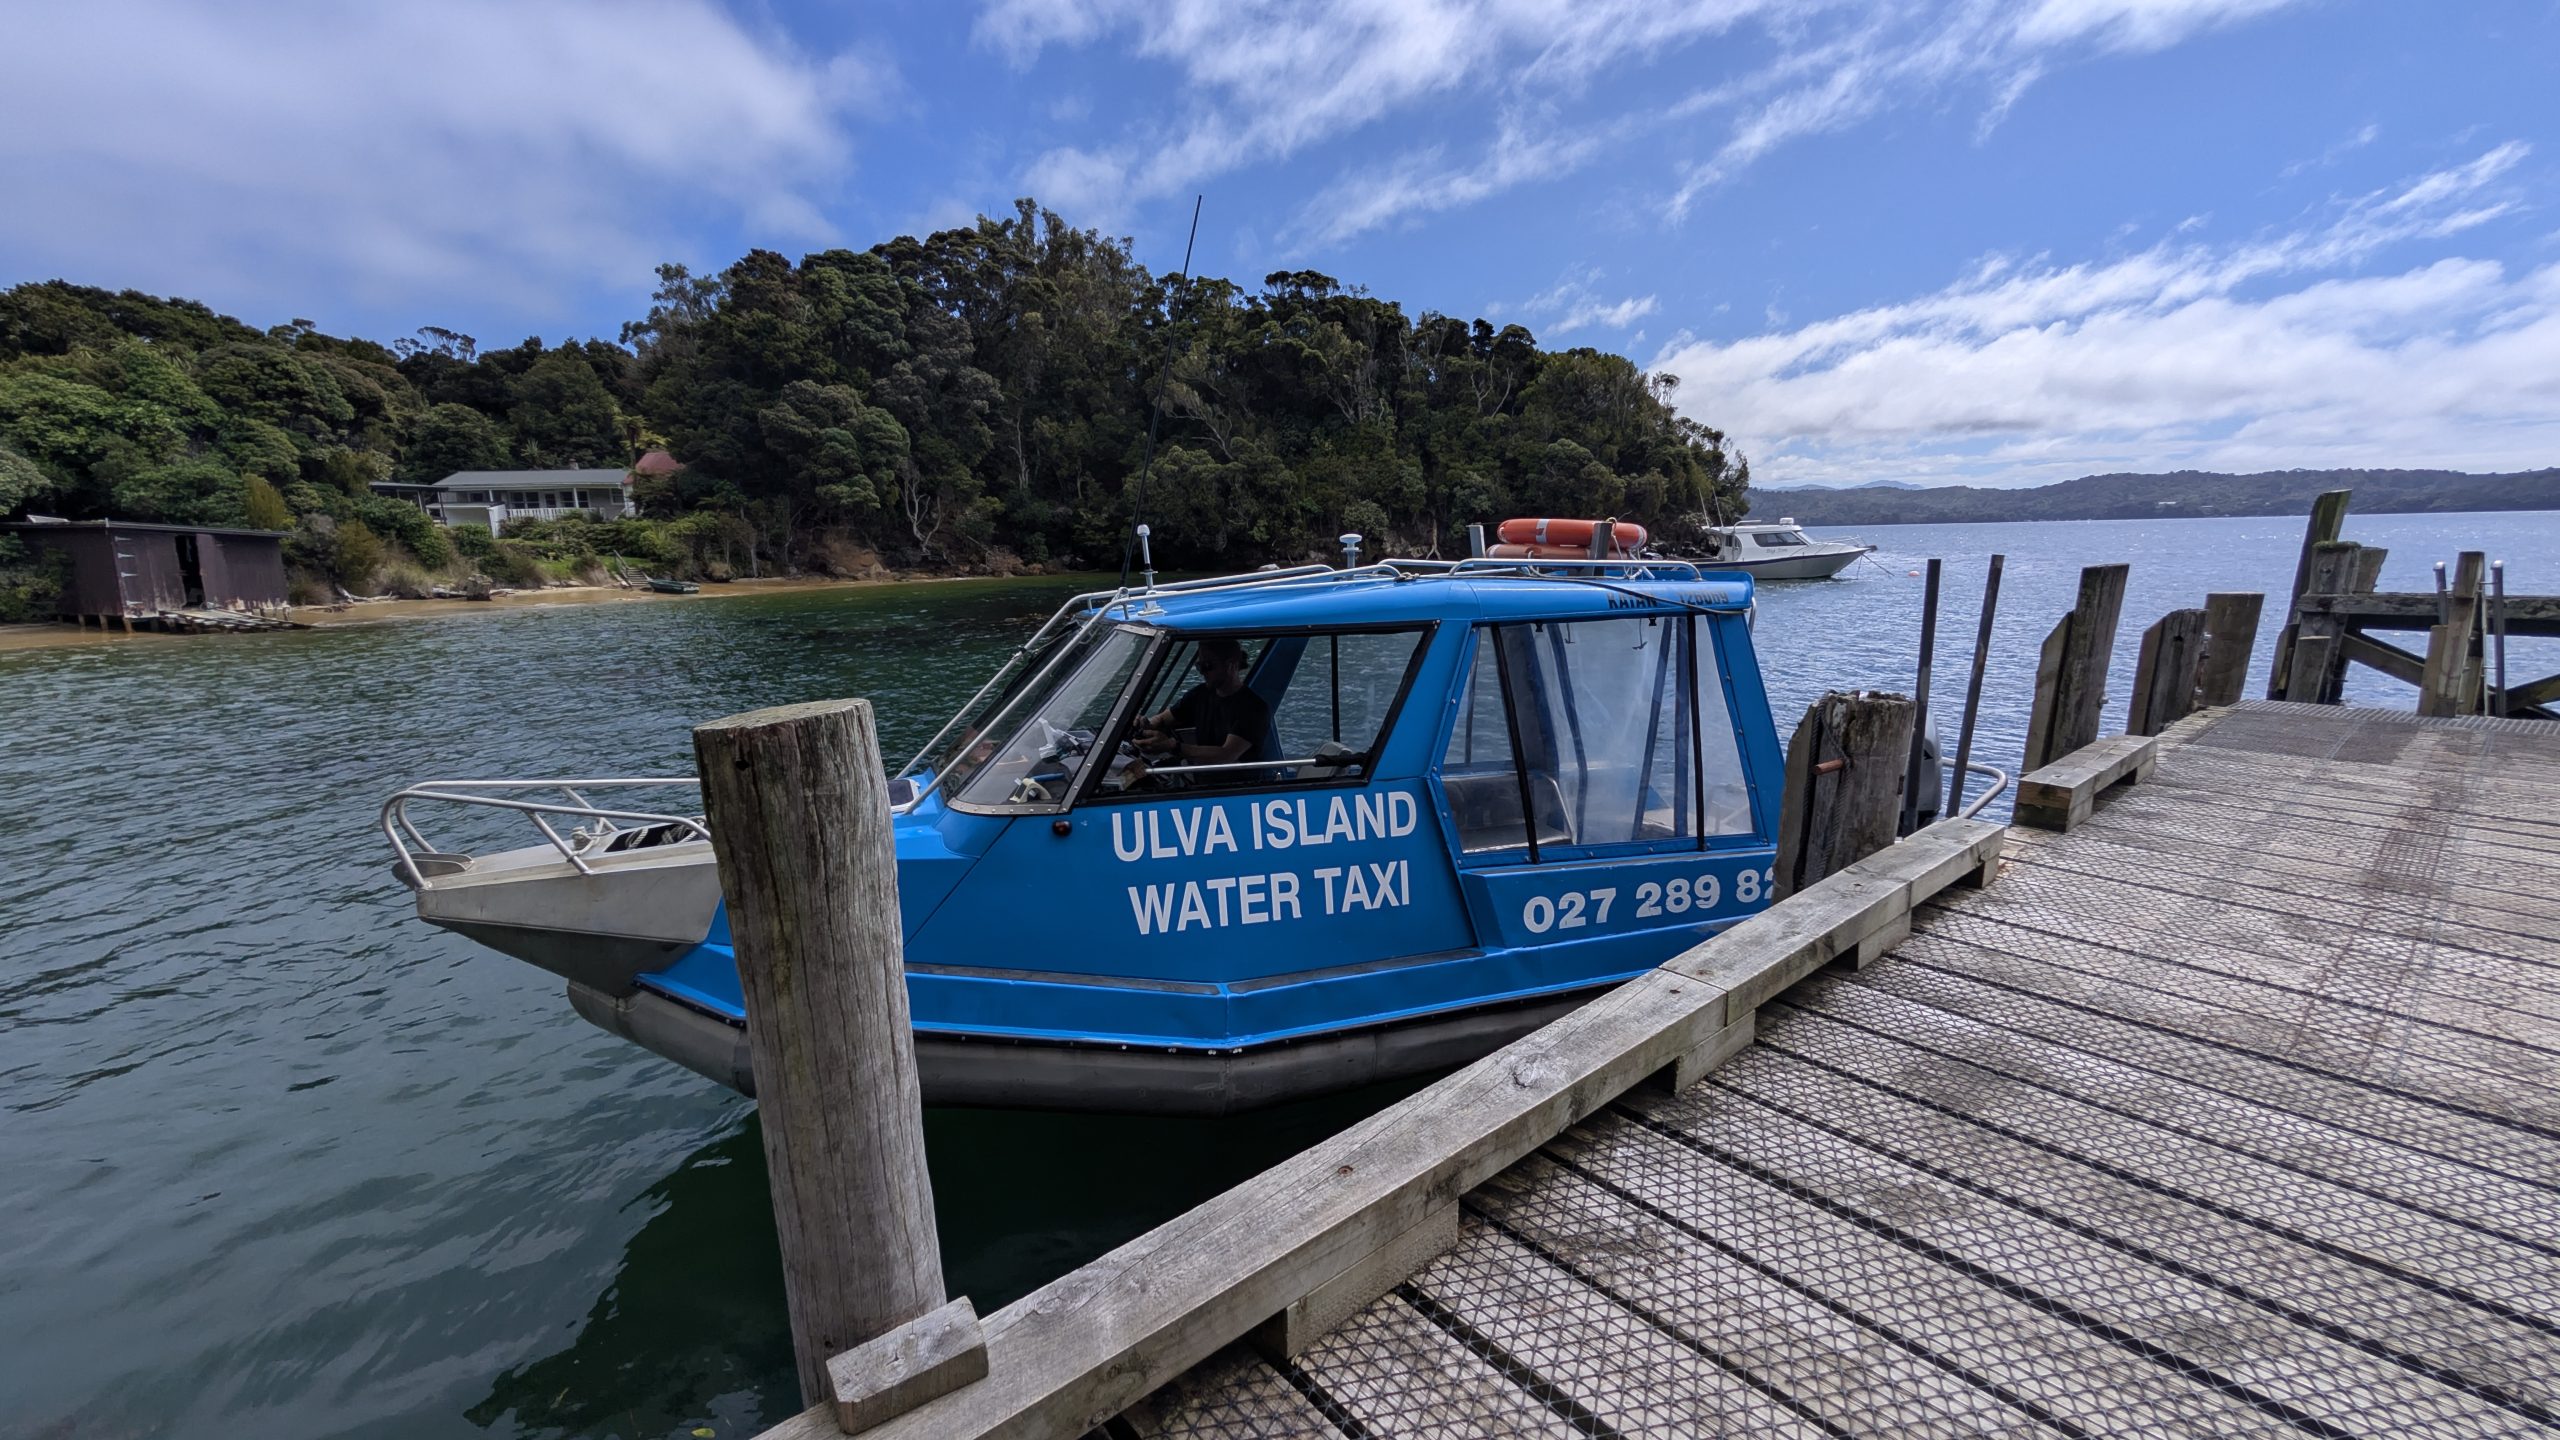
The water taxi arrived shortly before 3 PM, and we took the quick jaunt back to the wharf at Golden Bay. The experience on Ulva Island greatly exceeded my expectations. Even before we found the kiwi, it was a really fun day walking around on the trails. The bird sounds were prolific, and the native forest was beautiful.
Sea shuttle at Post Office Cove Wharf
We took the 20-minute walk back to our room, and then we walked over to the hotel restaurant for an early dinner.
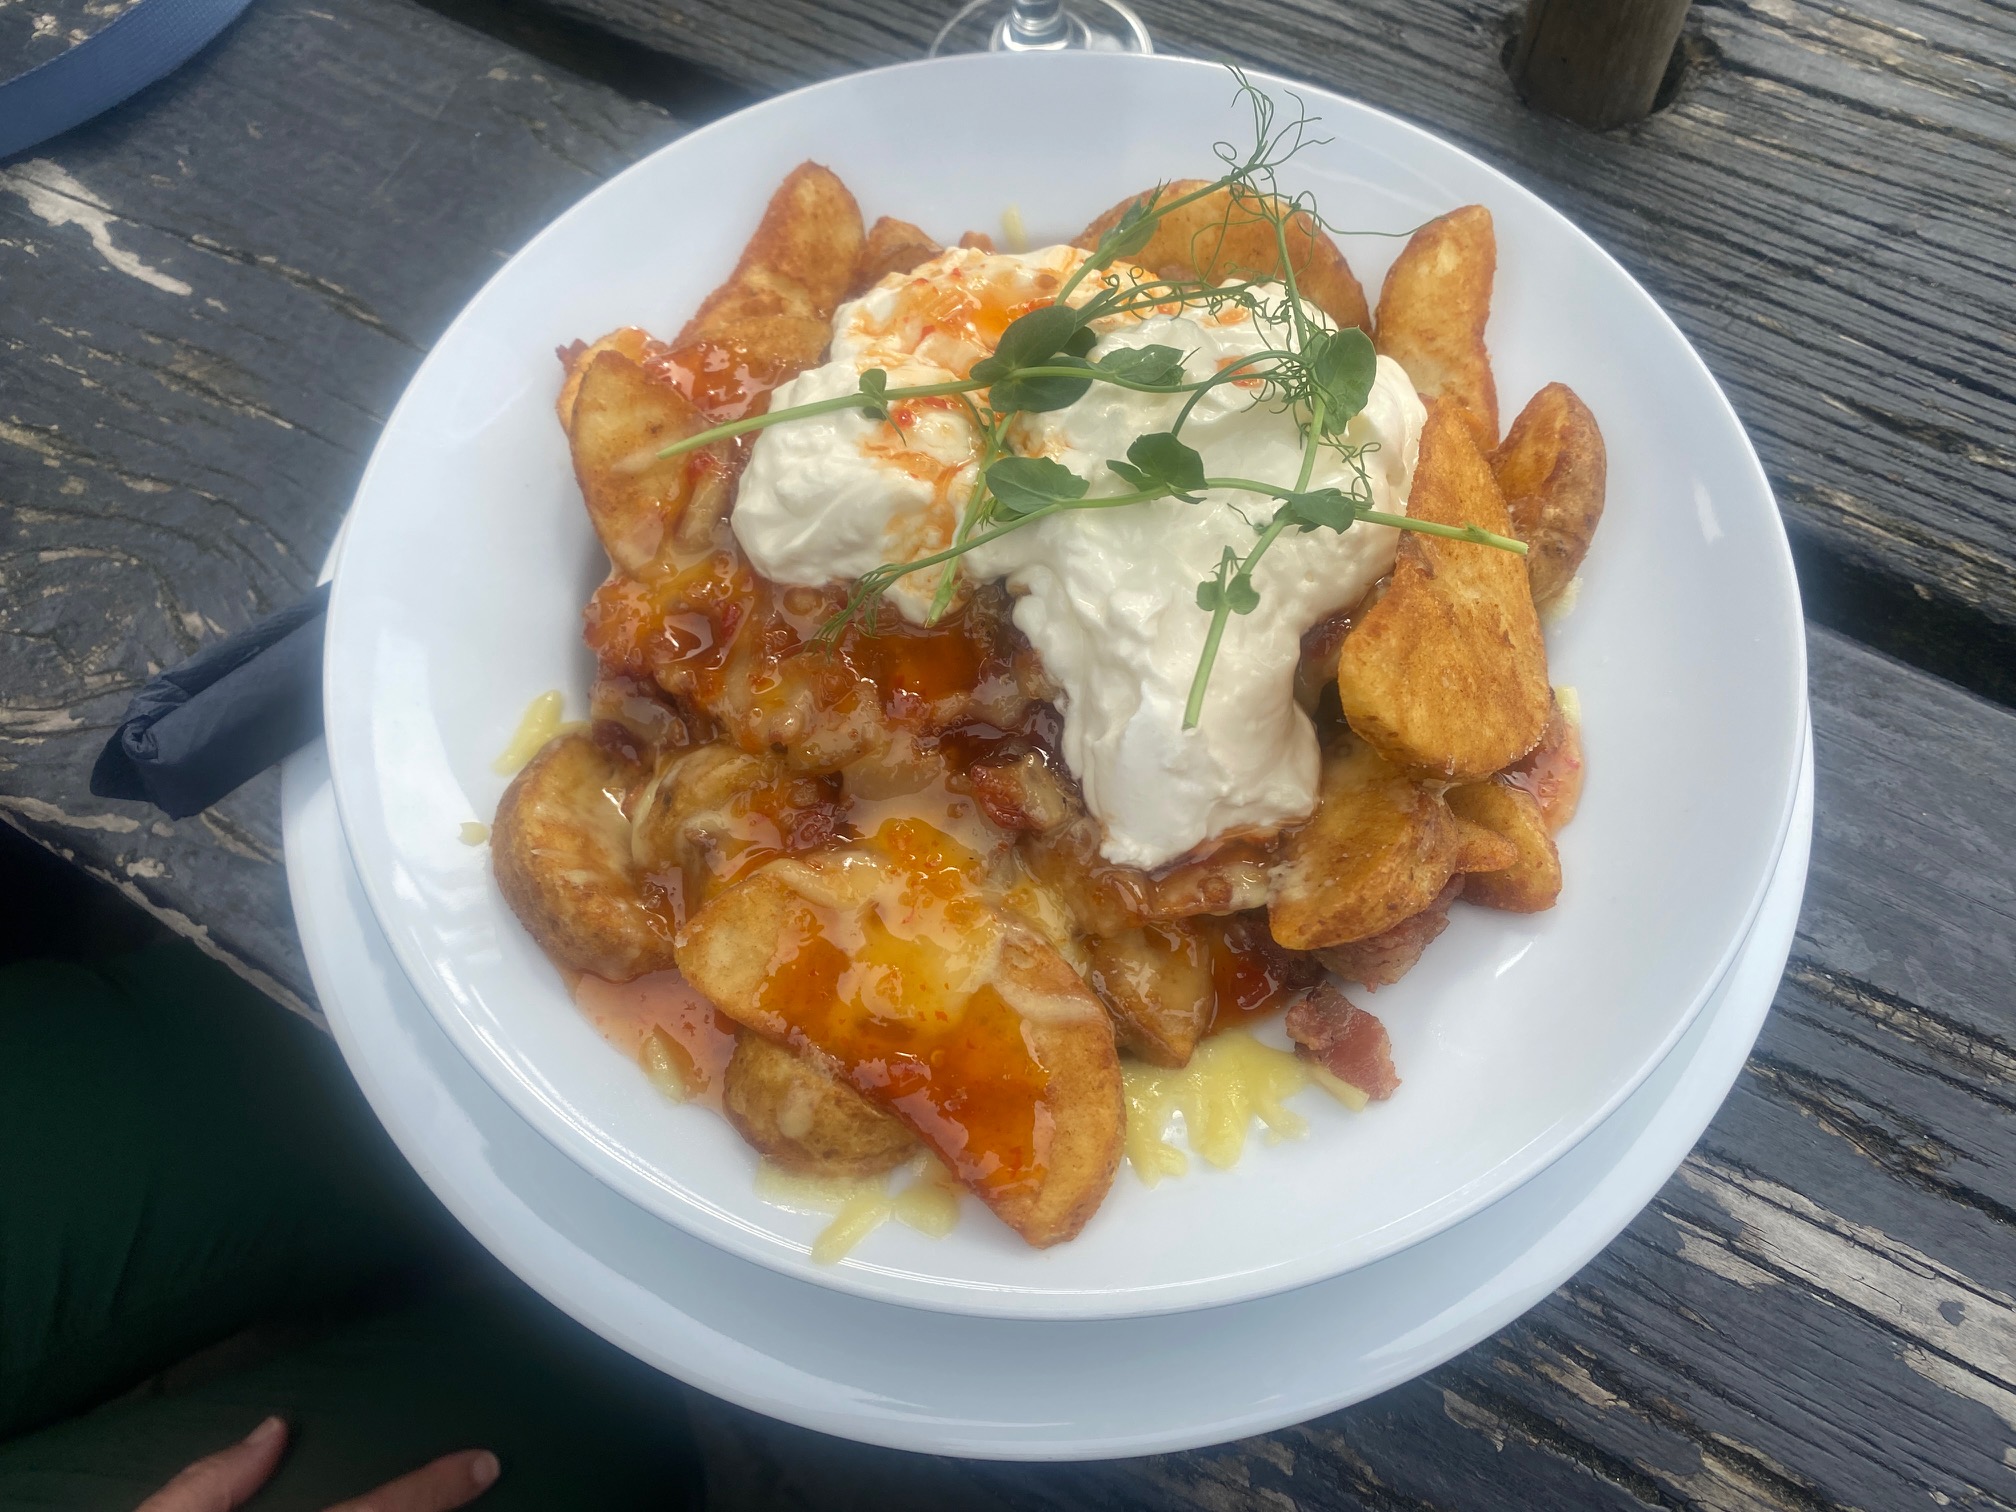
Potato wedges and bacon ordered from the bar menu
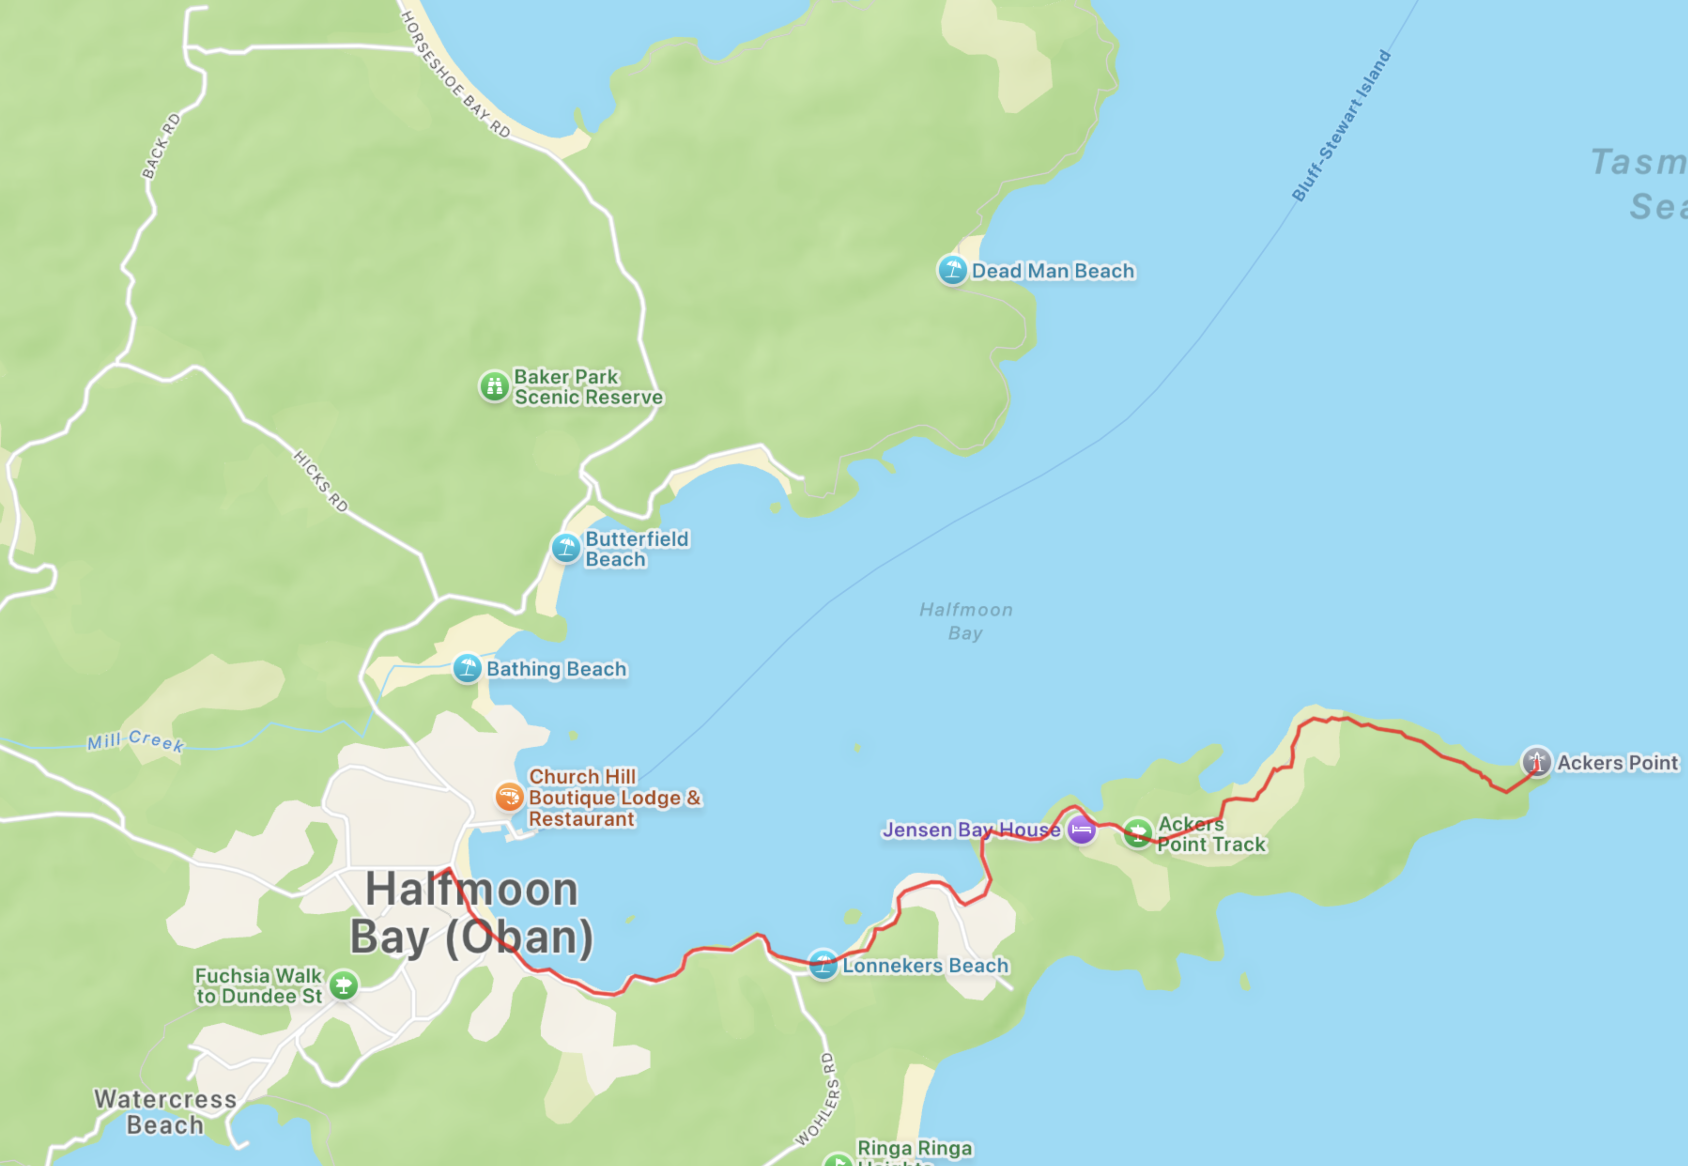
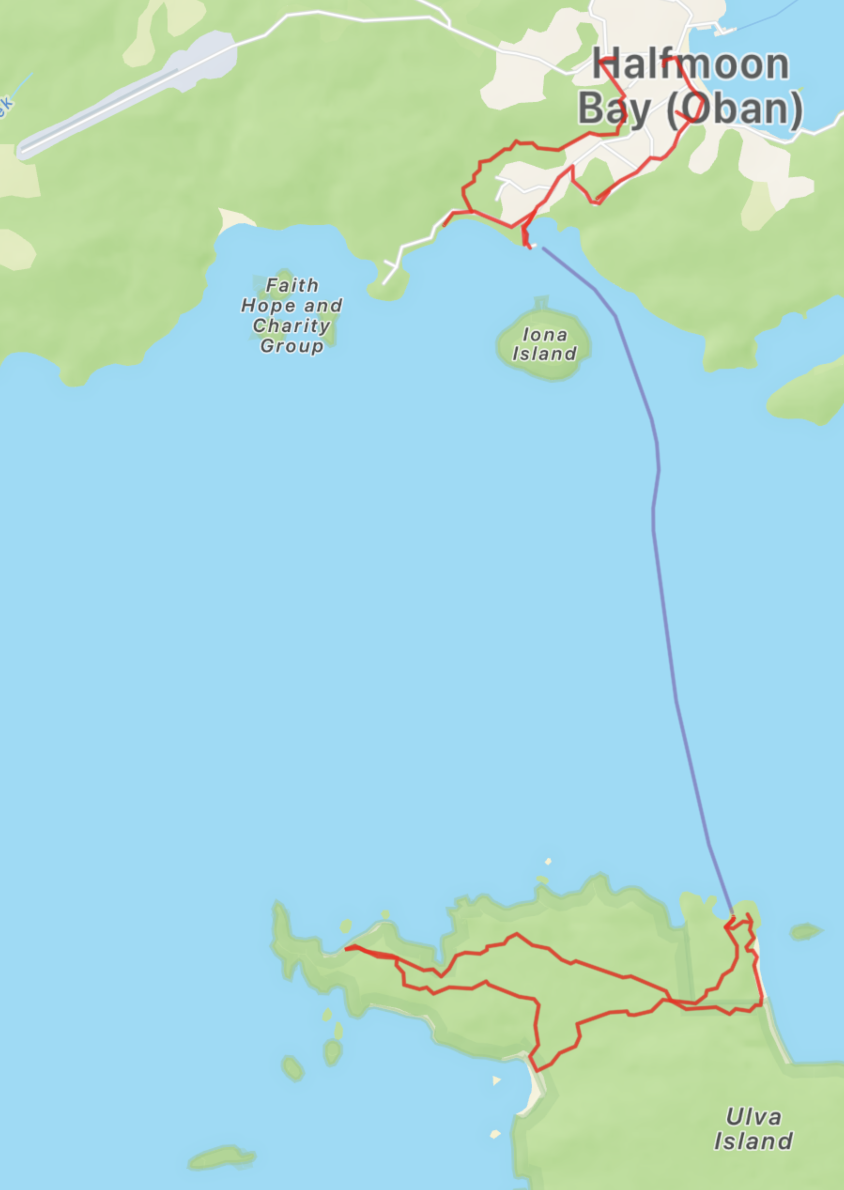
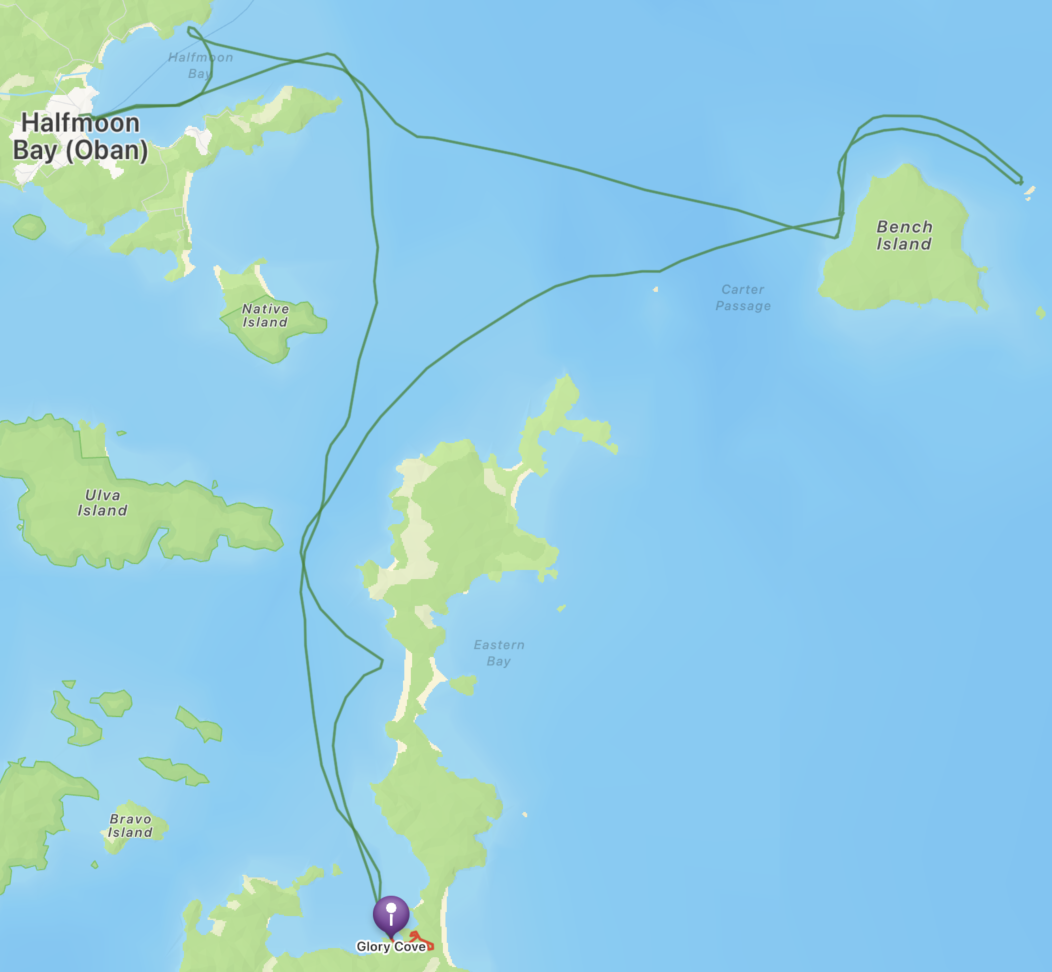
At 7:30 PM it was time for our next adventure: the Wild Kiwi Encounter tour with RealNZ. This was a 4- to 5-hour tour that started with a boat cruise around some of the outlying islands and ended with a walk on the trails in Glory Cove, the southernmost point we would have ever been, to search for kiwi. During the boat cruise portion of the tour we would look for other wildlife: penguins, sea birds, fur seals, and sea lions.
Map: Day 27 (wildlife cruise and kiwi spotting)
The tour left from the ferry terminal and used the same boat that had ferried us over from Bluff. There were 19 total people on the tour plus 2 guides, so the boat was very uncrowded.
Start of the wildlife cruise
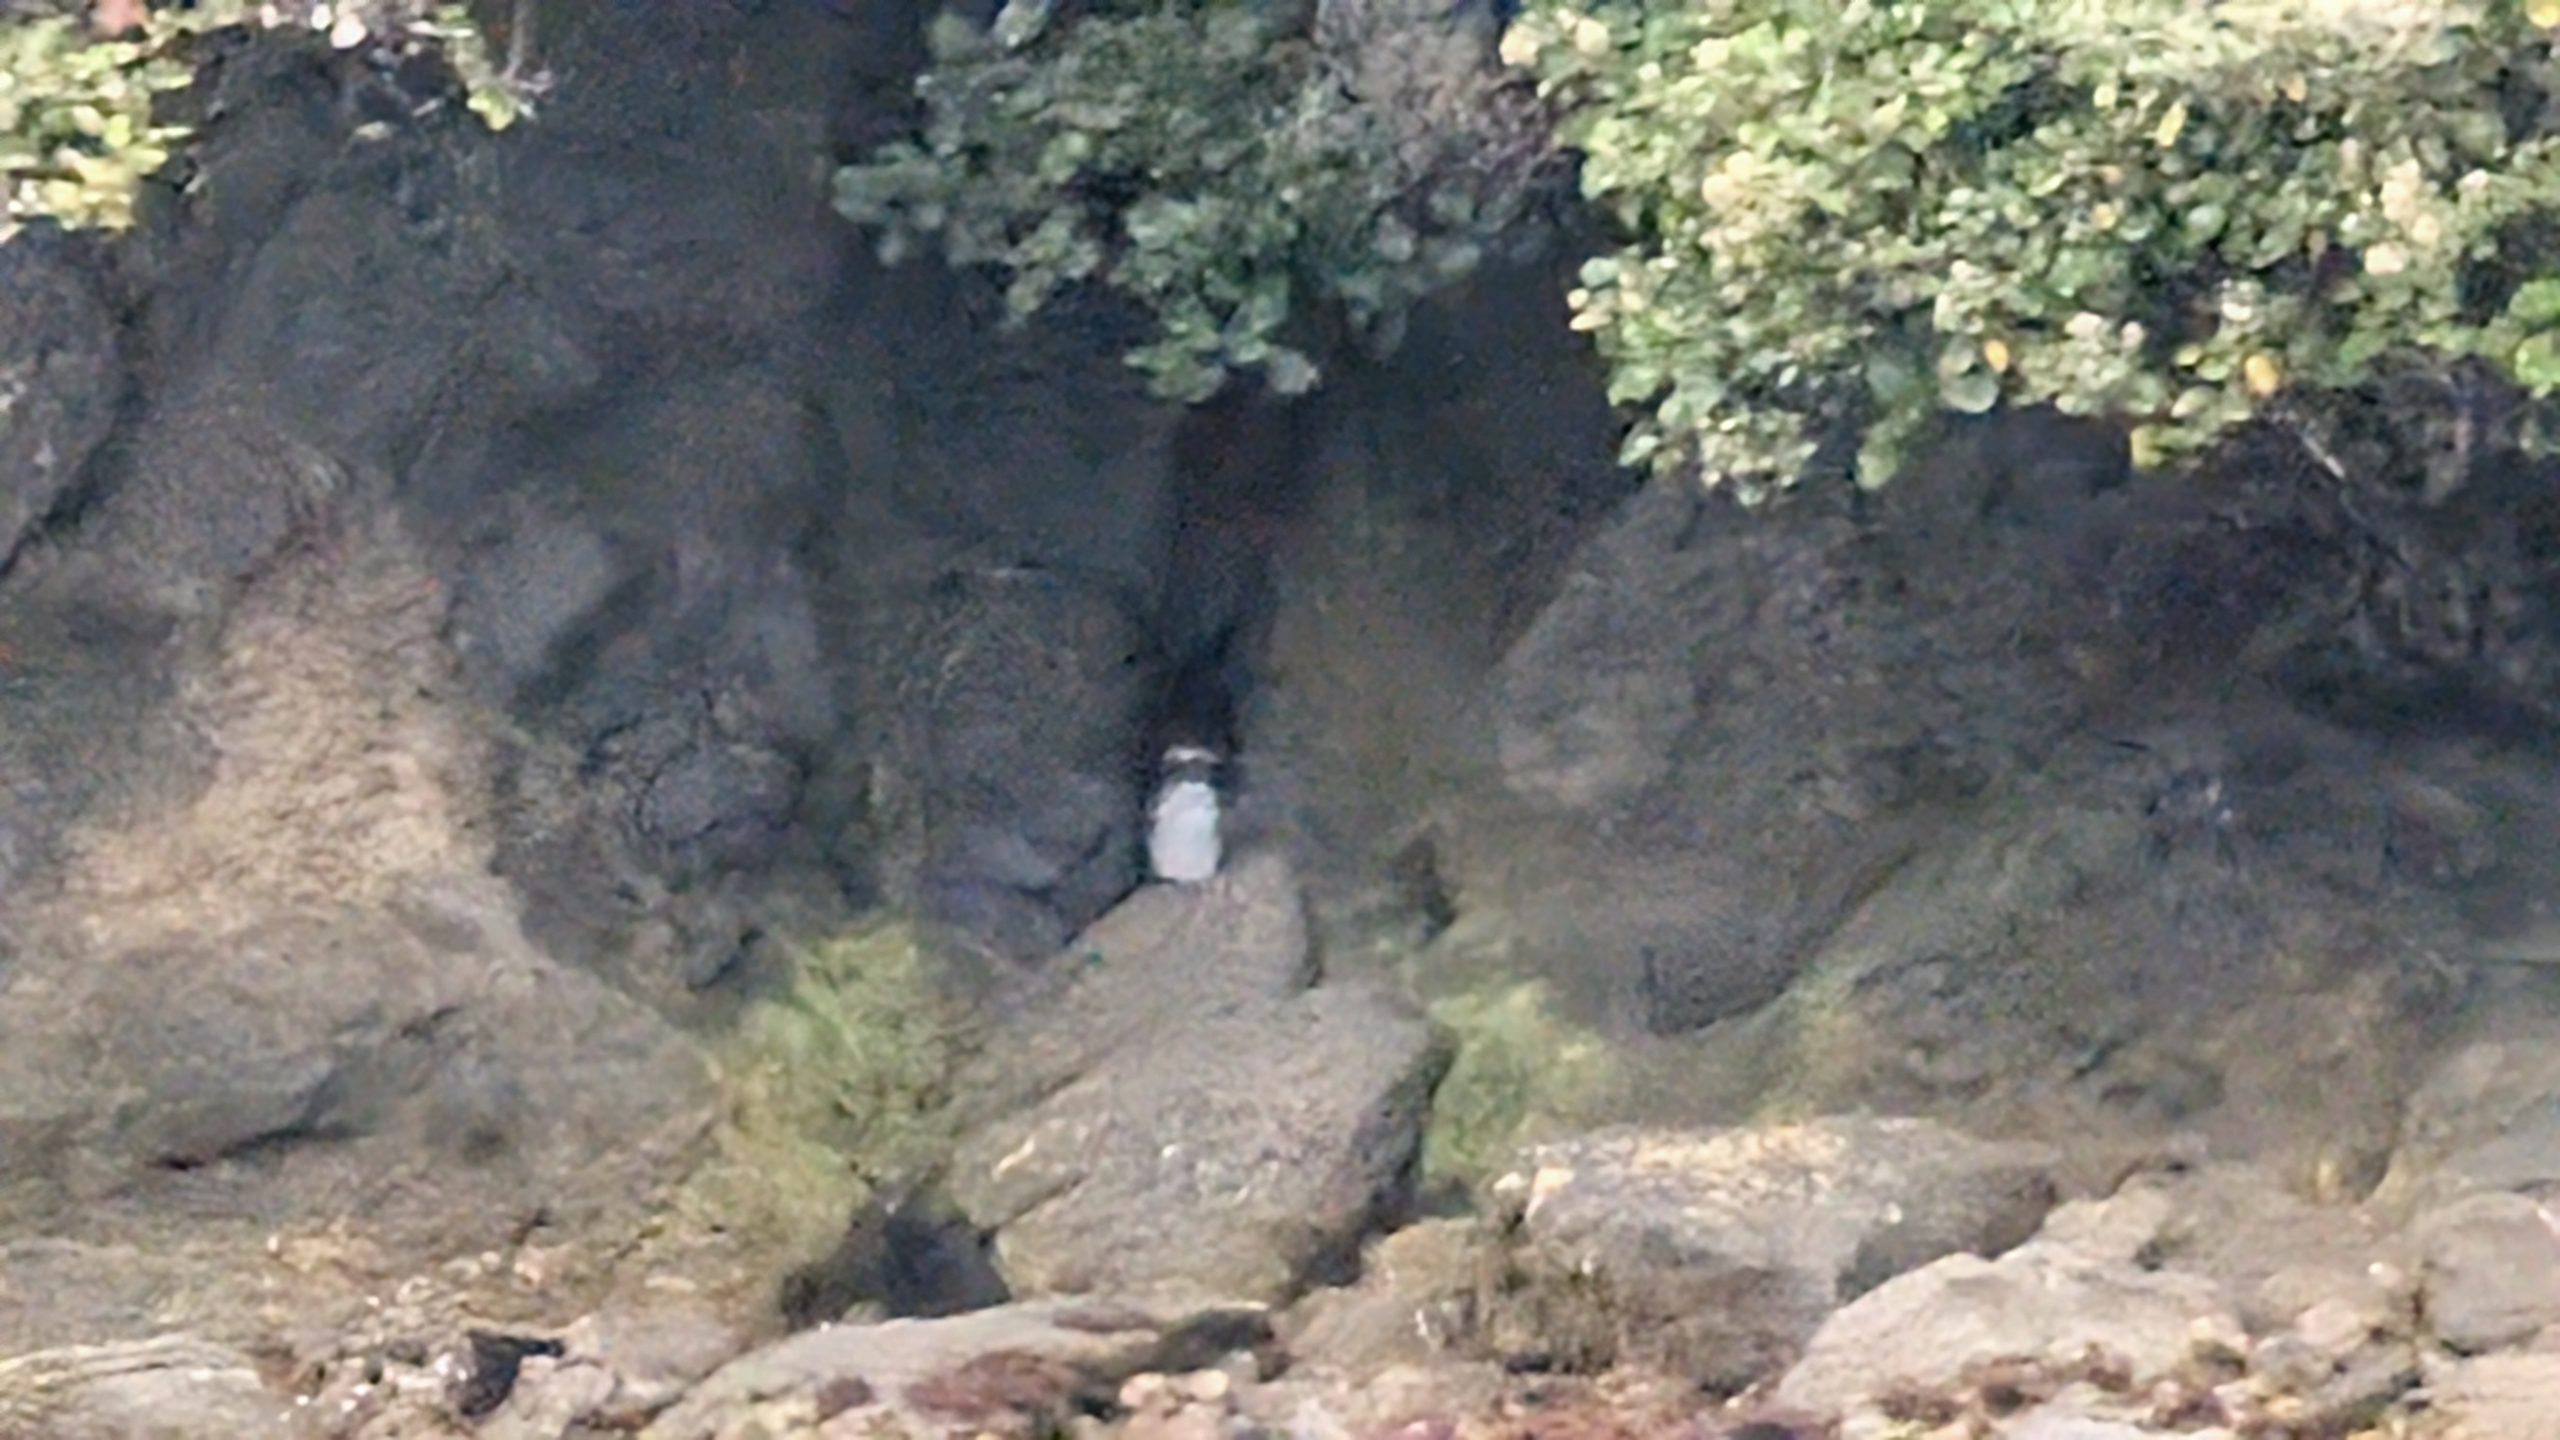
The boat passed an island where we were able to view a Fiordland crested penguin standing outside a little cave. The guide told us that the penguin was probably moulting. This was the stage during the year when the penguins shed their feathers and grew a new set, and during that time they were unable to go in the water since they had lost their waterproofing. For a couple of weeks they would have to stay onshore. Although the penguin was a bit far away, I was able to get a photo. This was my very first sighting of this type of penguin.
Fiordland crested penguin
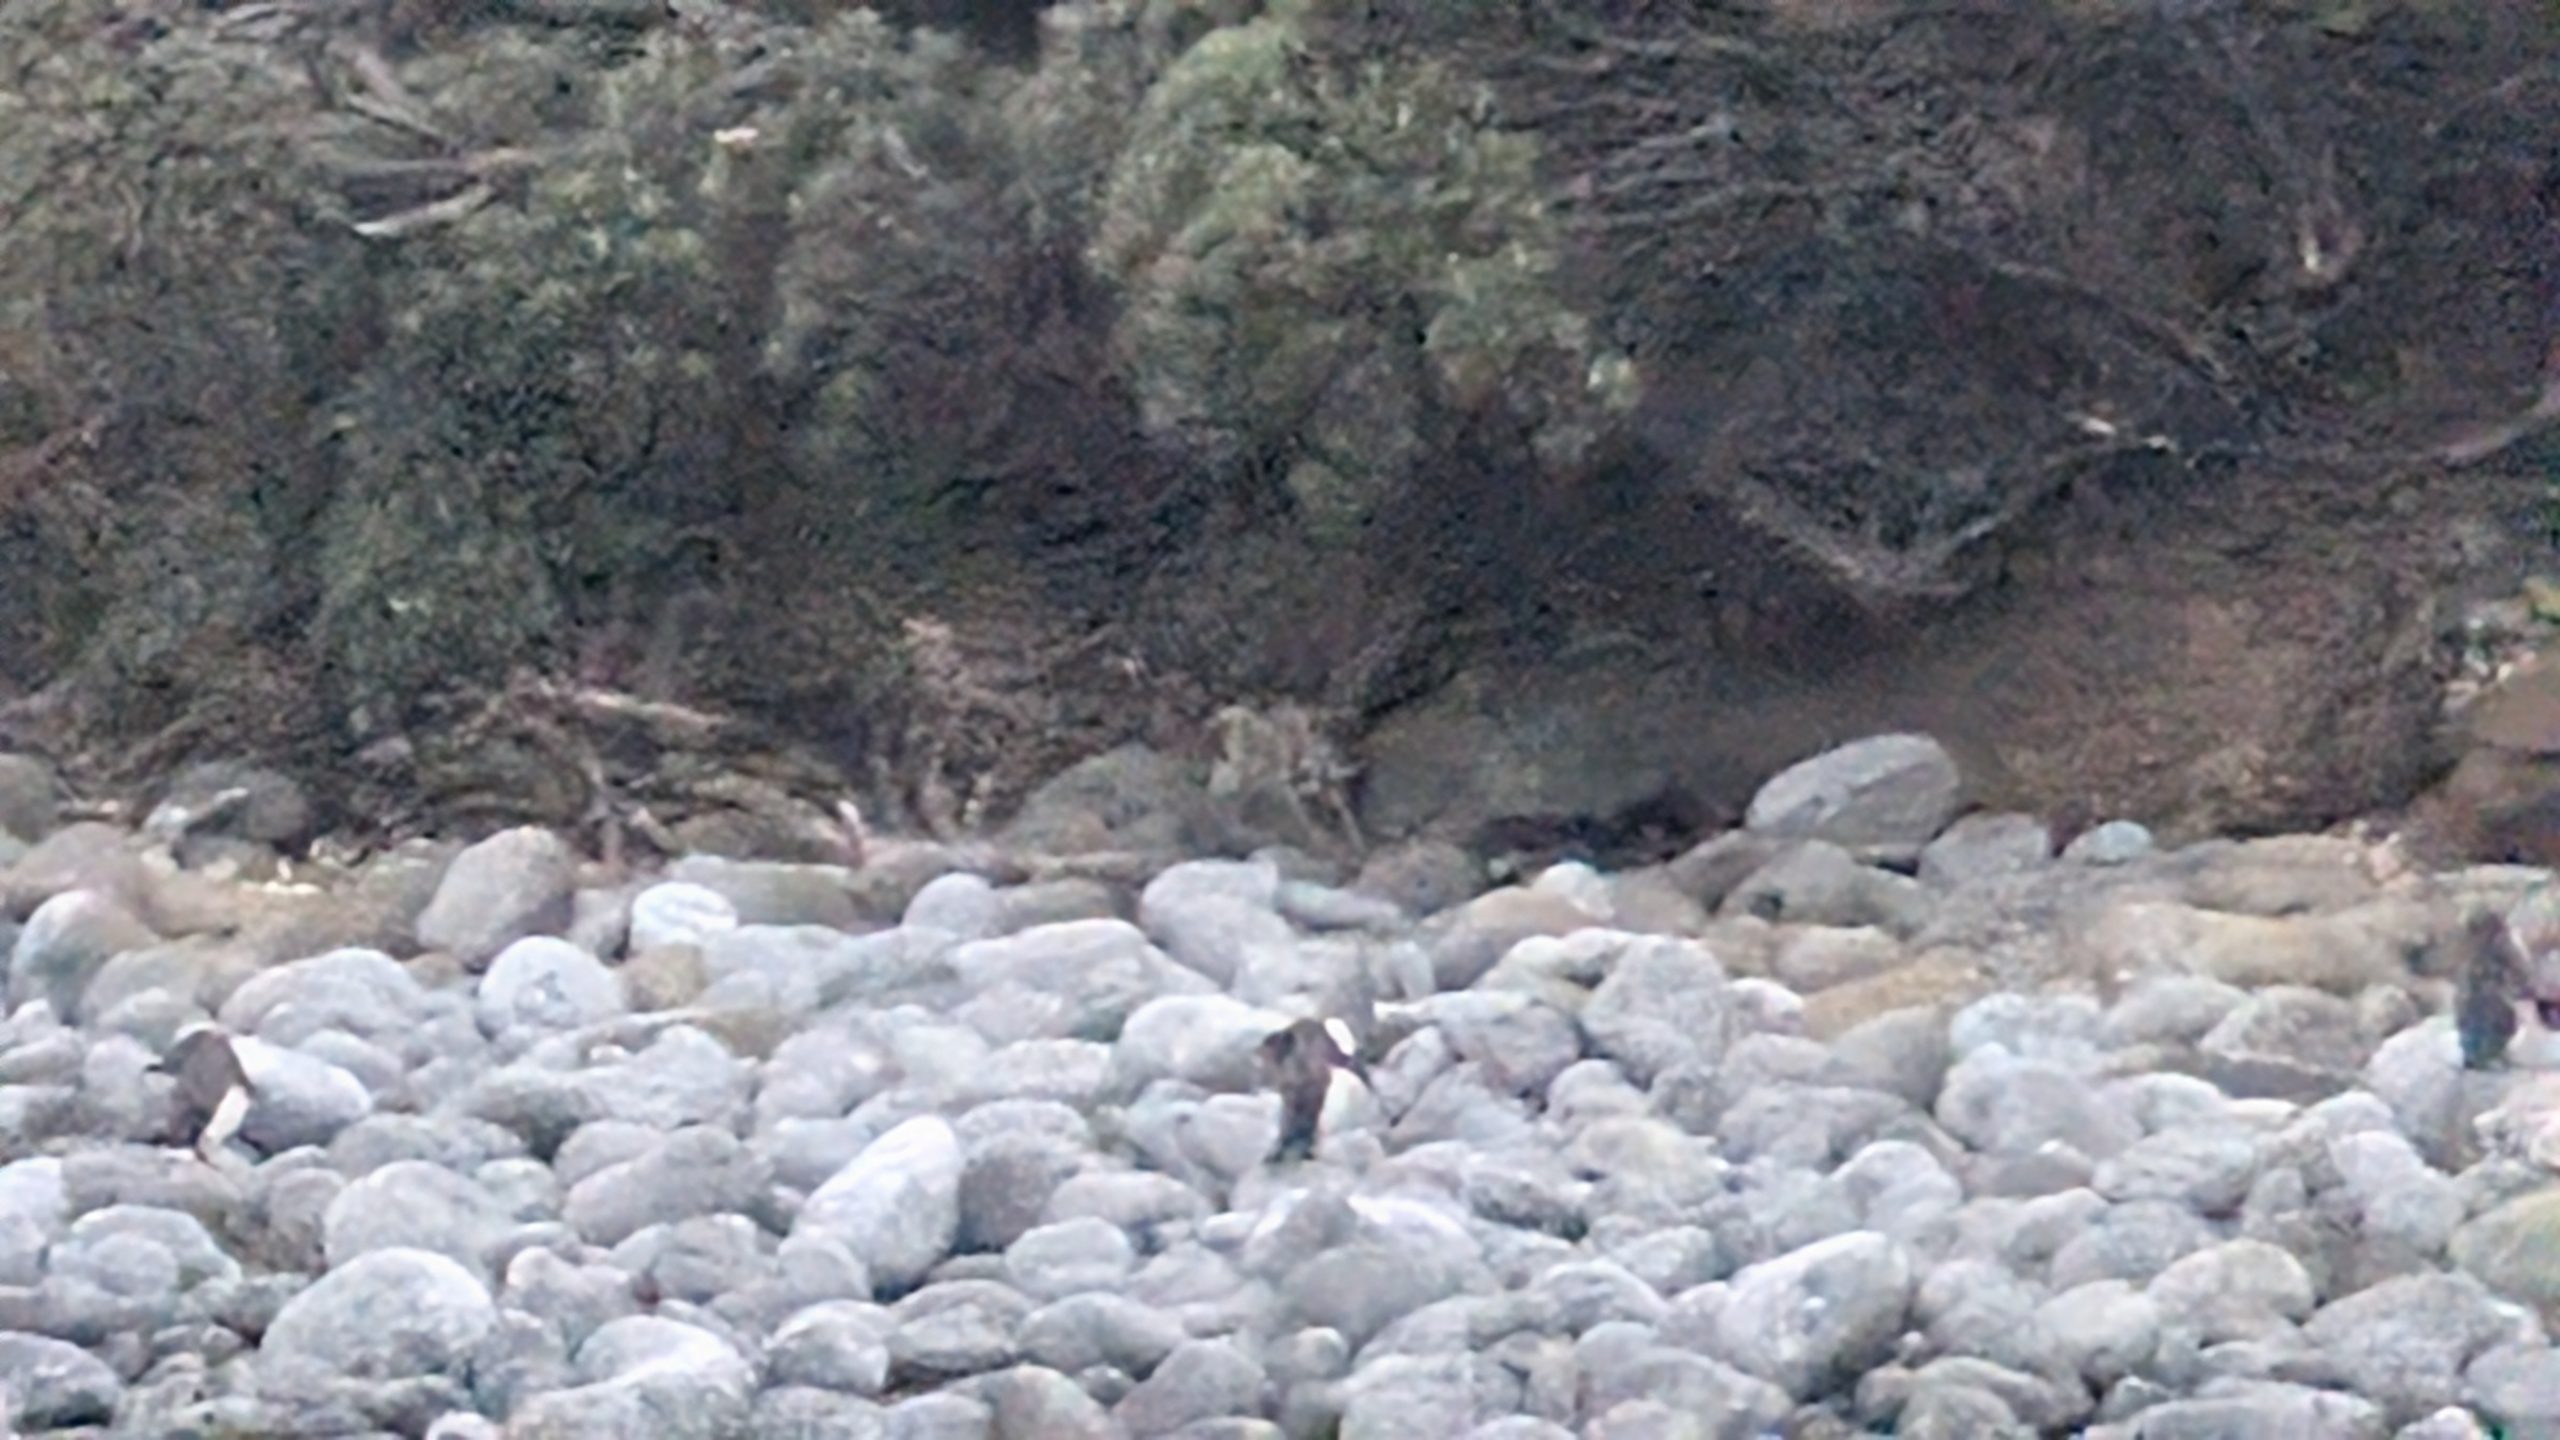
Next we passed by Bench Island where we were hoping to see some of the yellow eyed penguins in the water or onshore, but we didn't see any. The boat continued on to an area where we were able to see a group of fur seals hunkering down on the rocks. They are hard to pick out in the next photo: look for the darker black objects on the left side that resemble rocks.
Fur seals resting on the rocks
The boat circled back to Bench Island for a second attempt at the penguins. This time we found them: 3 Hoiho were standing on the rocks near the shore. They didn't move around much and just stood there the entire time that we watched them.
Three yellow eyed penguins at Bench Island
Penguin video
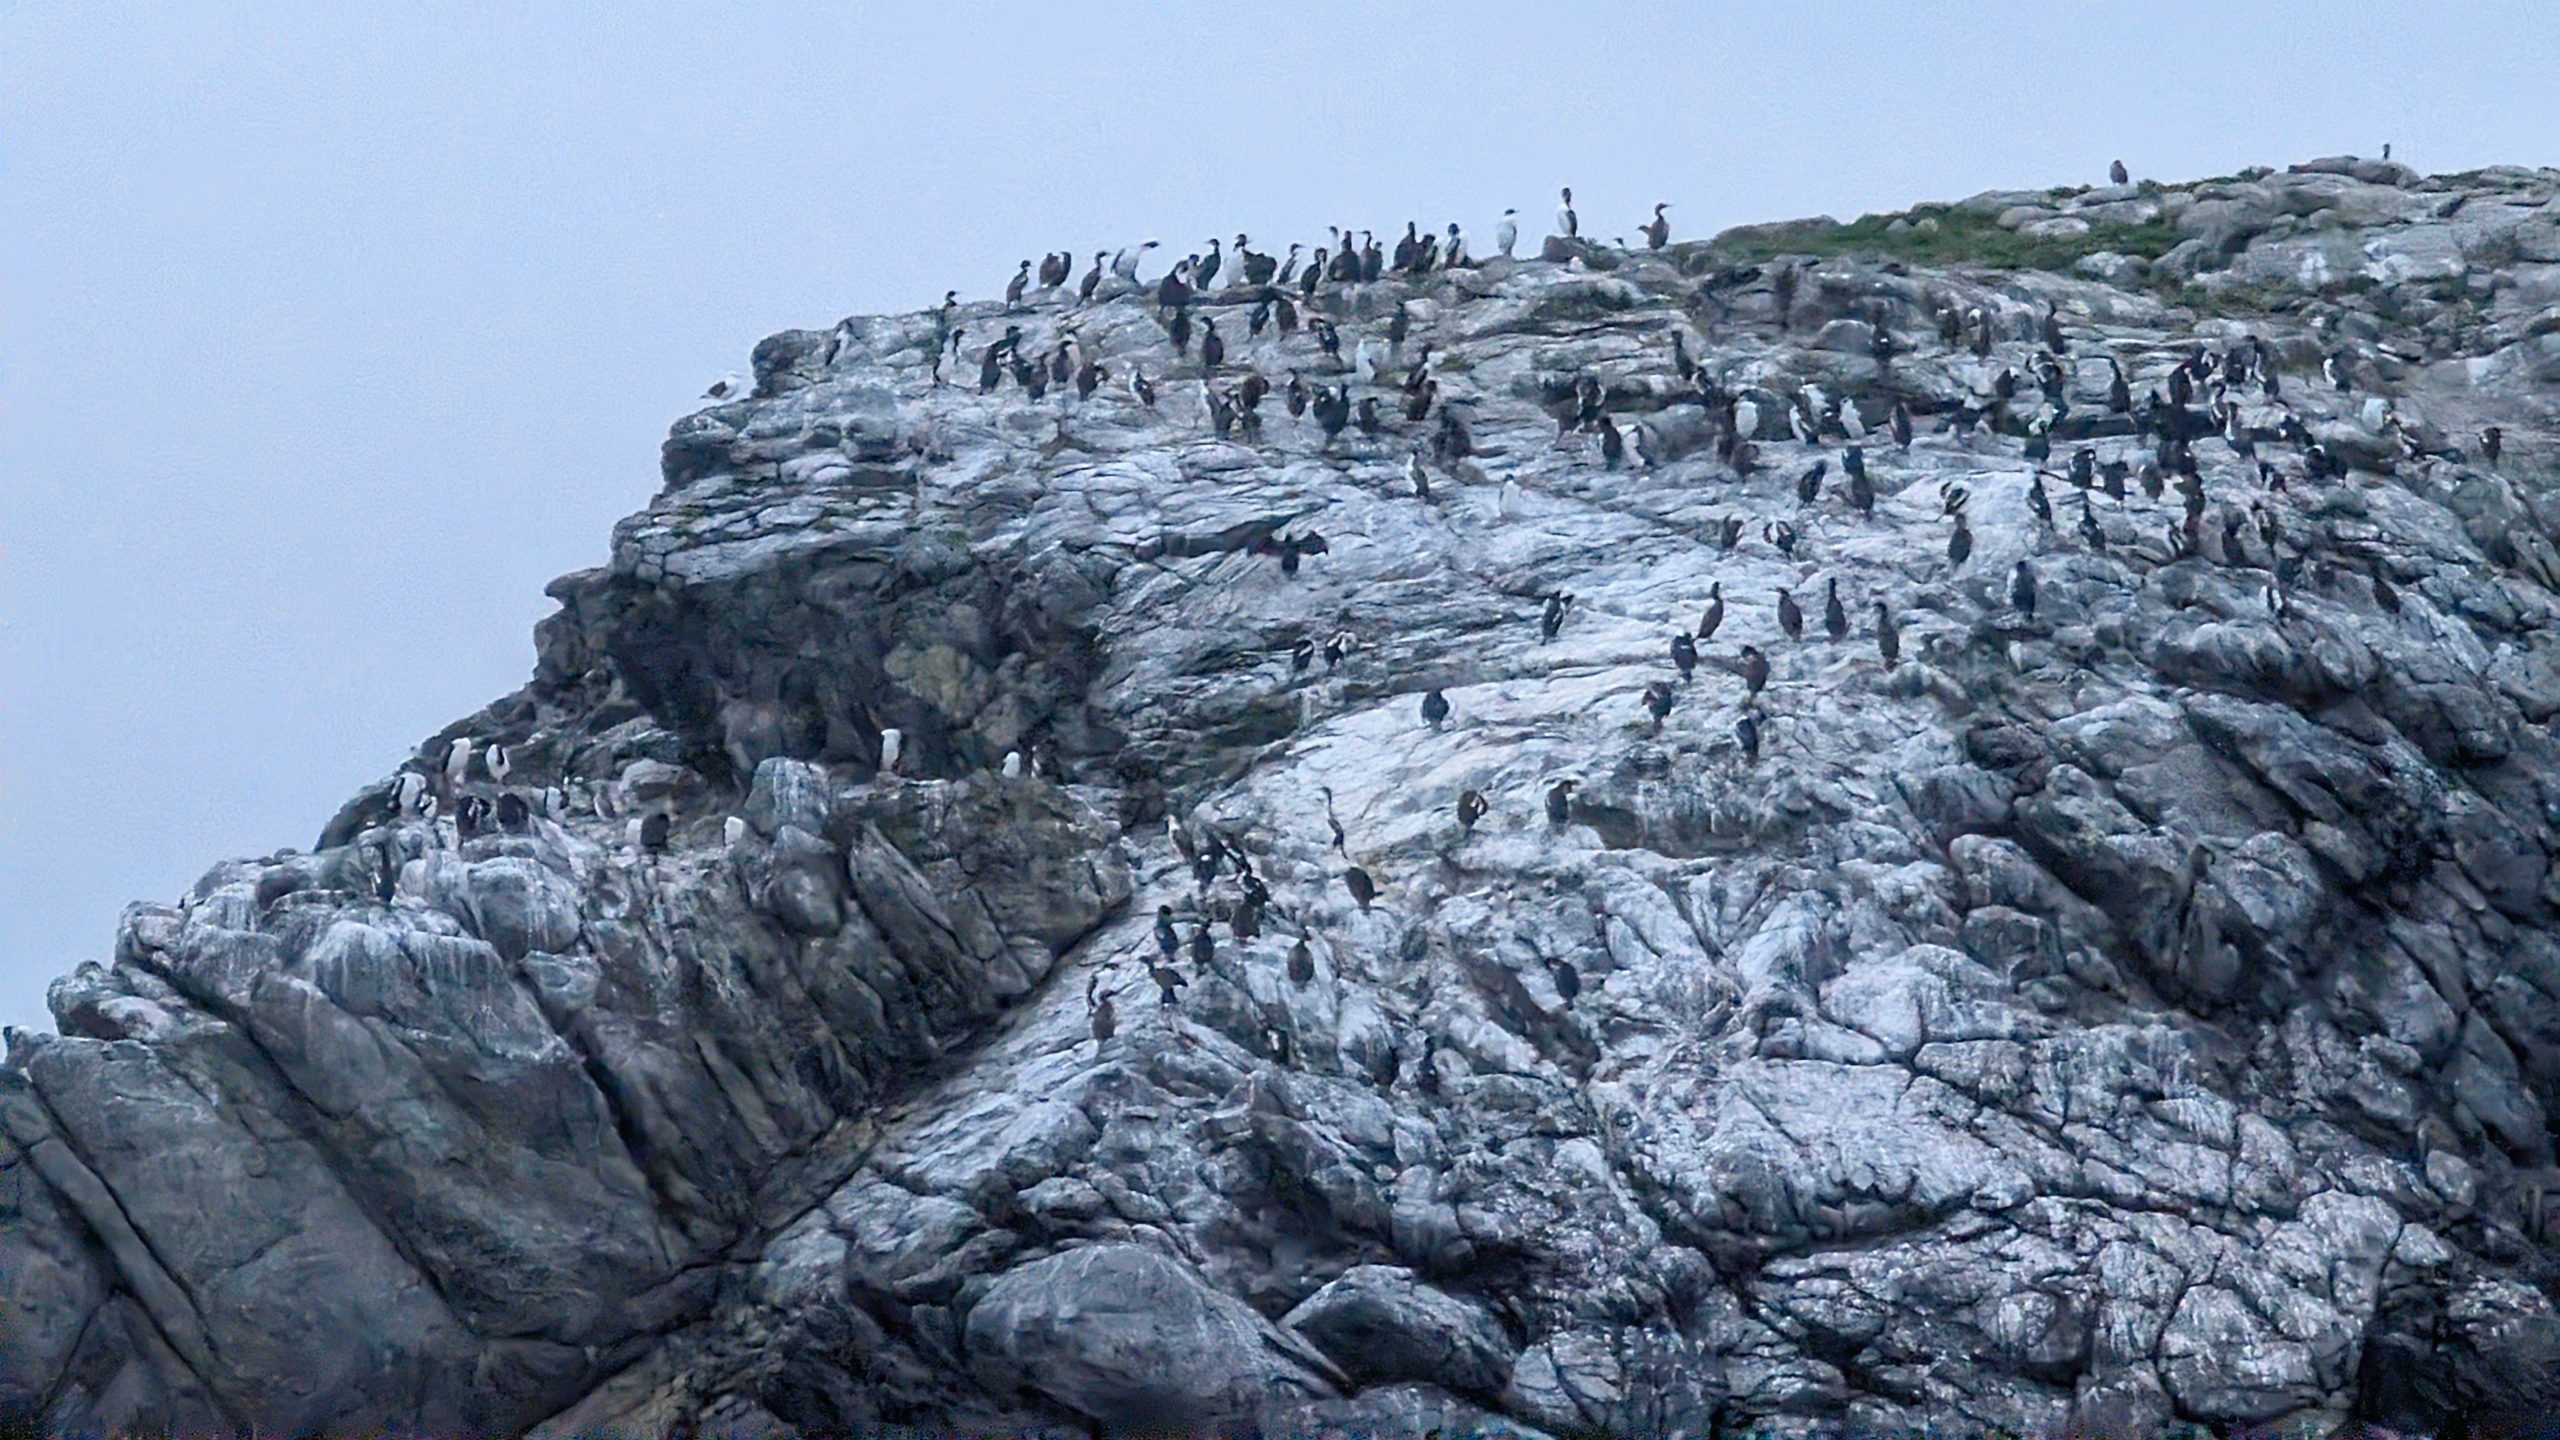
Our next stop was a rocky island where hundreds of shag birds were resting.
Many shags
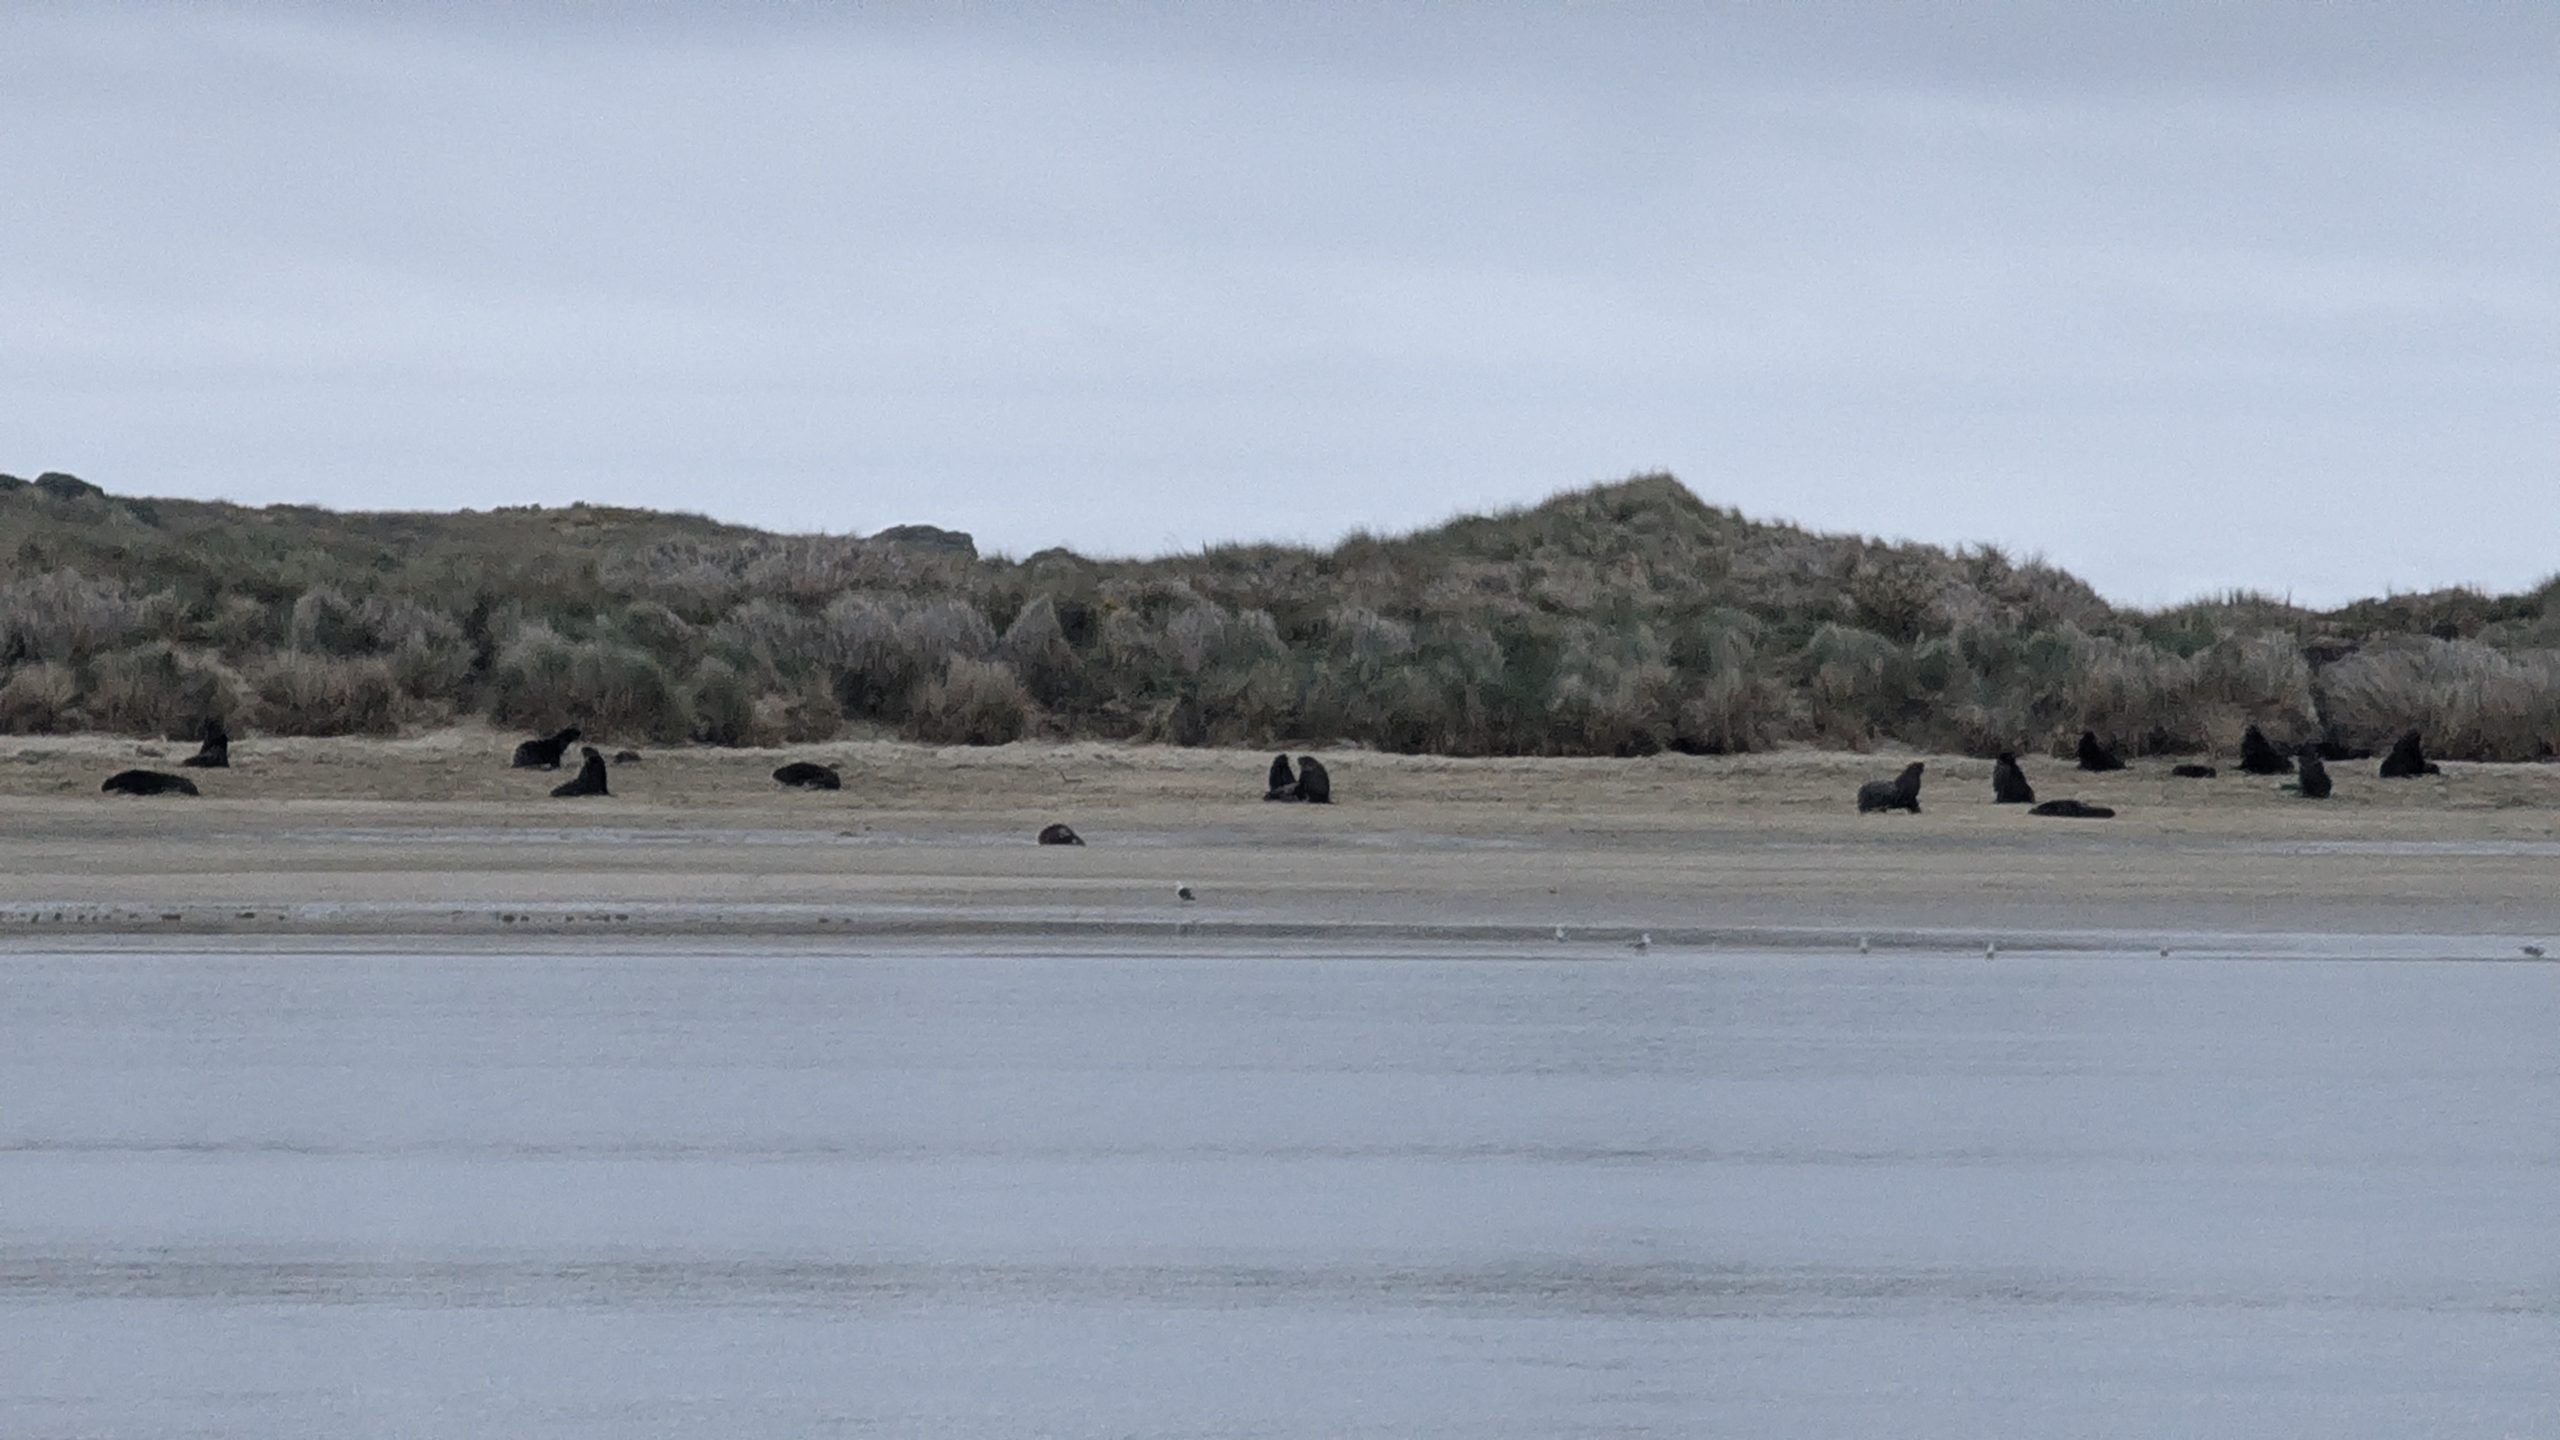
Near our stop at Glory Cove was a beach where many sea lions were hanging out.
Sea lions on the beach
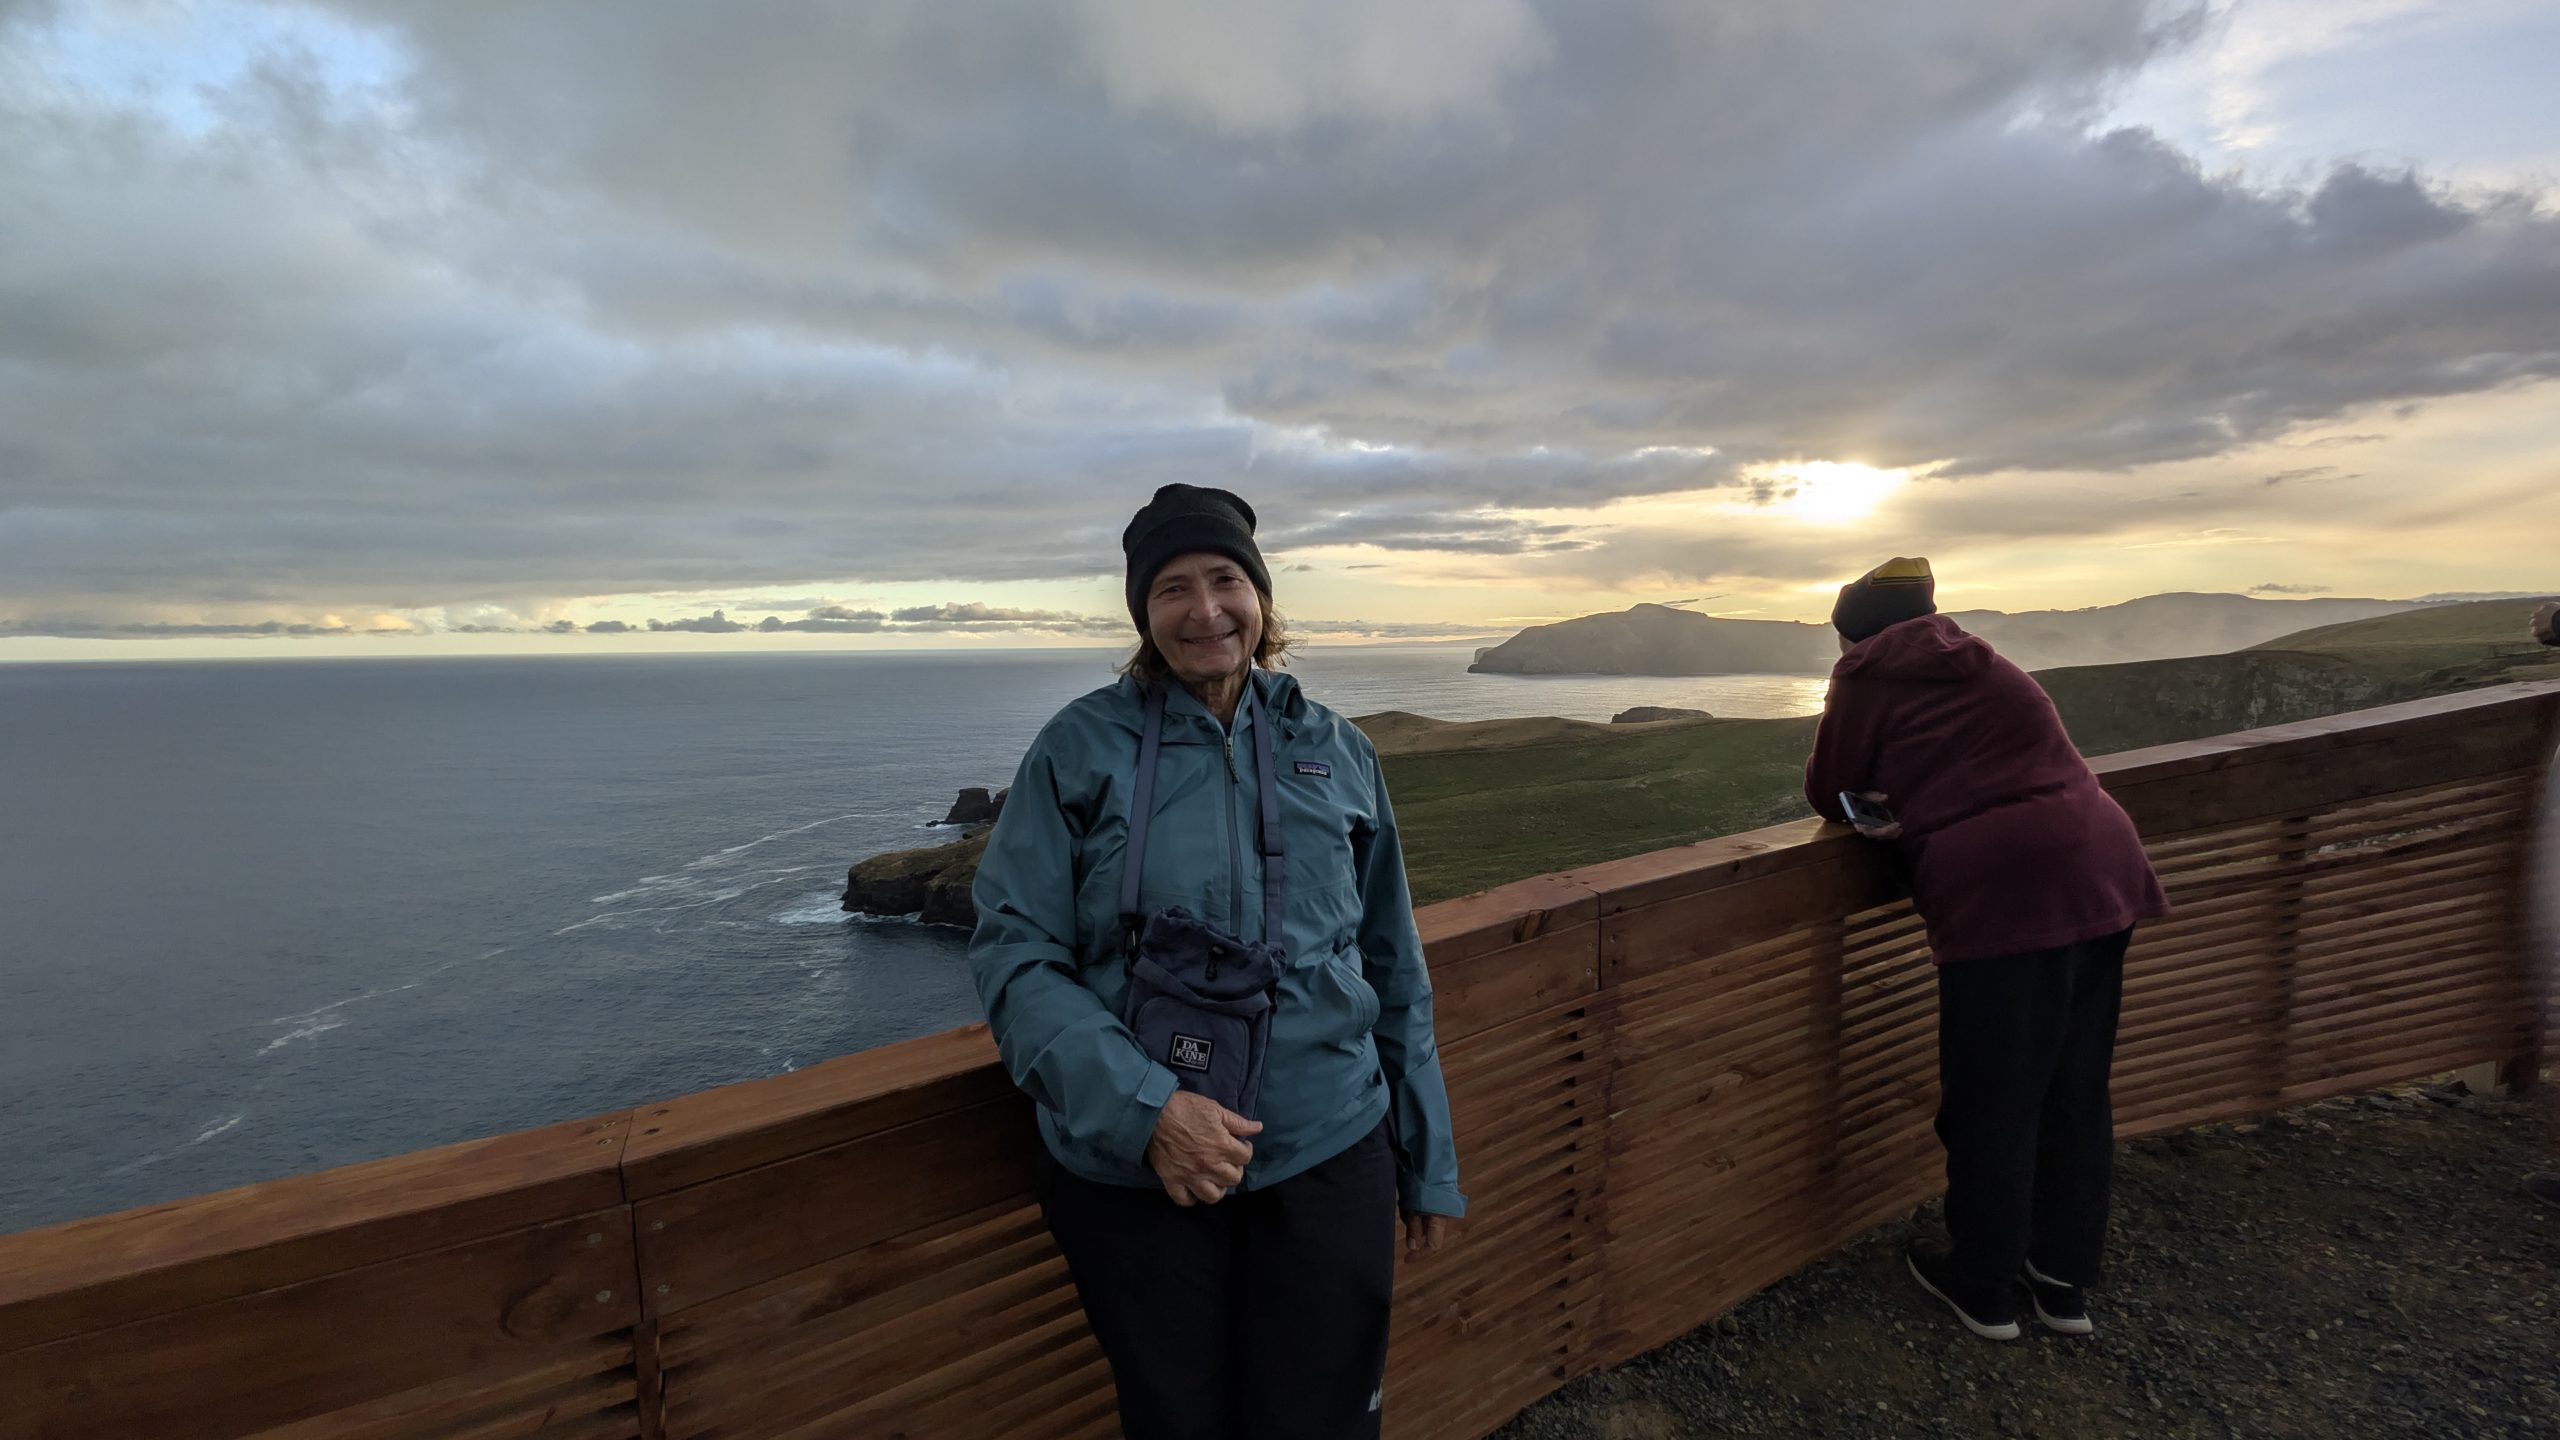
The boat docked at Glory Cove, and we got ready for the kiwi spotting portion of the tour. First we listened to a talk from the guide on what to expect. The rules for the hiking portion of the tour were much stricter than what we had encountered with Beaks and Feathers. We were to walk single file at all times and make as little noise as possible. We were not allowed to take our backpacks with us. We each received a flashlight that we used to point down at our feet at all times: enough light to see where we were going. We were split into two groups: Heinrich and I were in the first group of 10 with our guide. I was at the front of the line. Shortly after we got off the boat and started the walk uphill, the guide turned around and asked me what I was wearing. Apparently my rain pants were making too much noise, and she asked me to take them off. Fortunately I had two more layers underneath and it was not raining! She slung my rain pants over the railing and said I could pick them up when we returned to the boat.
We walked about 20 minutes when the guide spotted an adult kiwi close to the trail. It was a very good viewing with the kiwi not bothered by our presence, and everyone in the group was able to get a good view of it. We watched it for about 20 minutes, and it was still there when the guide said we had to move on.
Kiwi at Glory Cove
After about another 10 minutes of walking, the guide spotted another kiwi. It was a juvenile and was very actively moving around. I was not able to get any good photos of it, but we watched it for about 5 minutes before it moved out of sight.
For the second half of the hike, the guide had us switch places so I was now at the very back of the line. But that turned out okay since we did not see any more kiwi. We returned to the boat, I retrieved my rain pants, and then we settled in for the half hour ride back to the ferry dock.
It was after midnight when we returned. I thought it was a good tour and interesting to compare it with the Beaks and Feathers kiwi experience where the spotting rules were more relaxed. That might be due to so many kiwi on the Beaks and Feathers tour that we were almost guaranteed to see at least one, where with the RealNZ tour it required more luck to see at least one, and some of the tours might not get to see any.
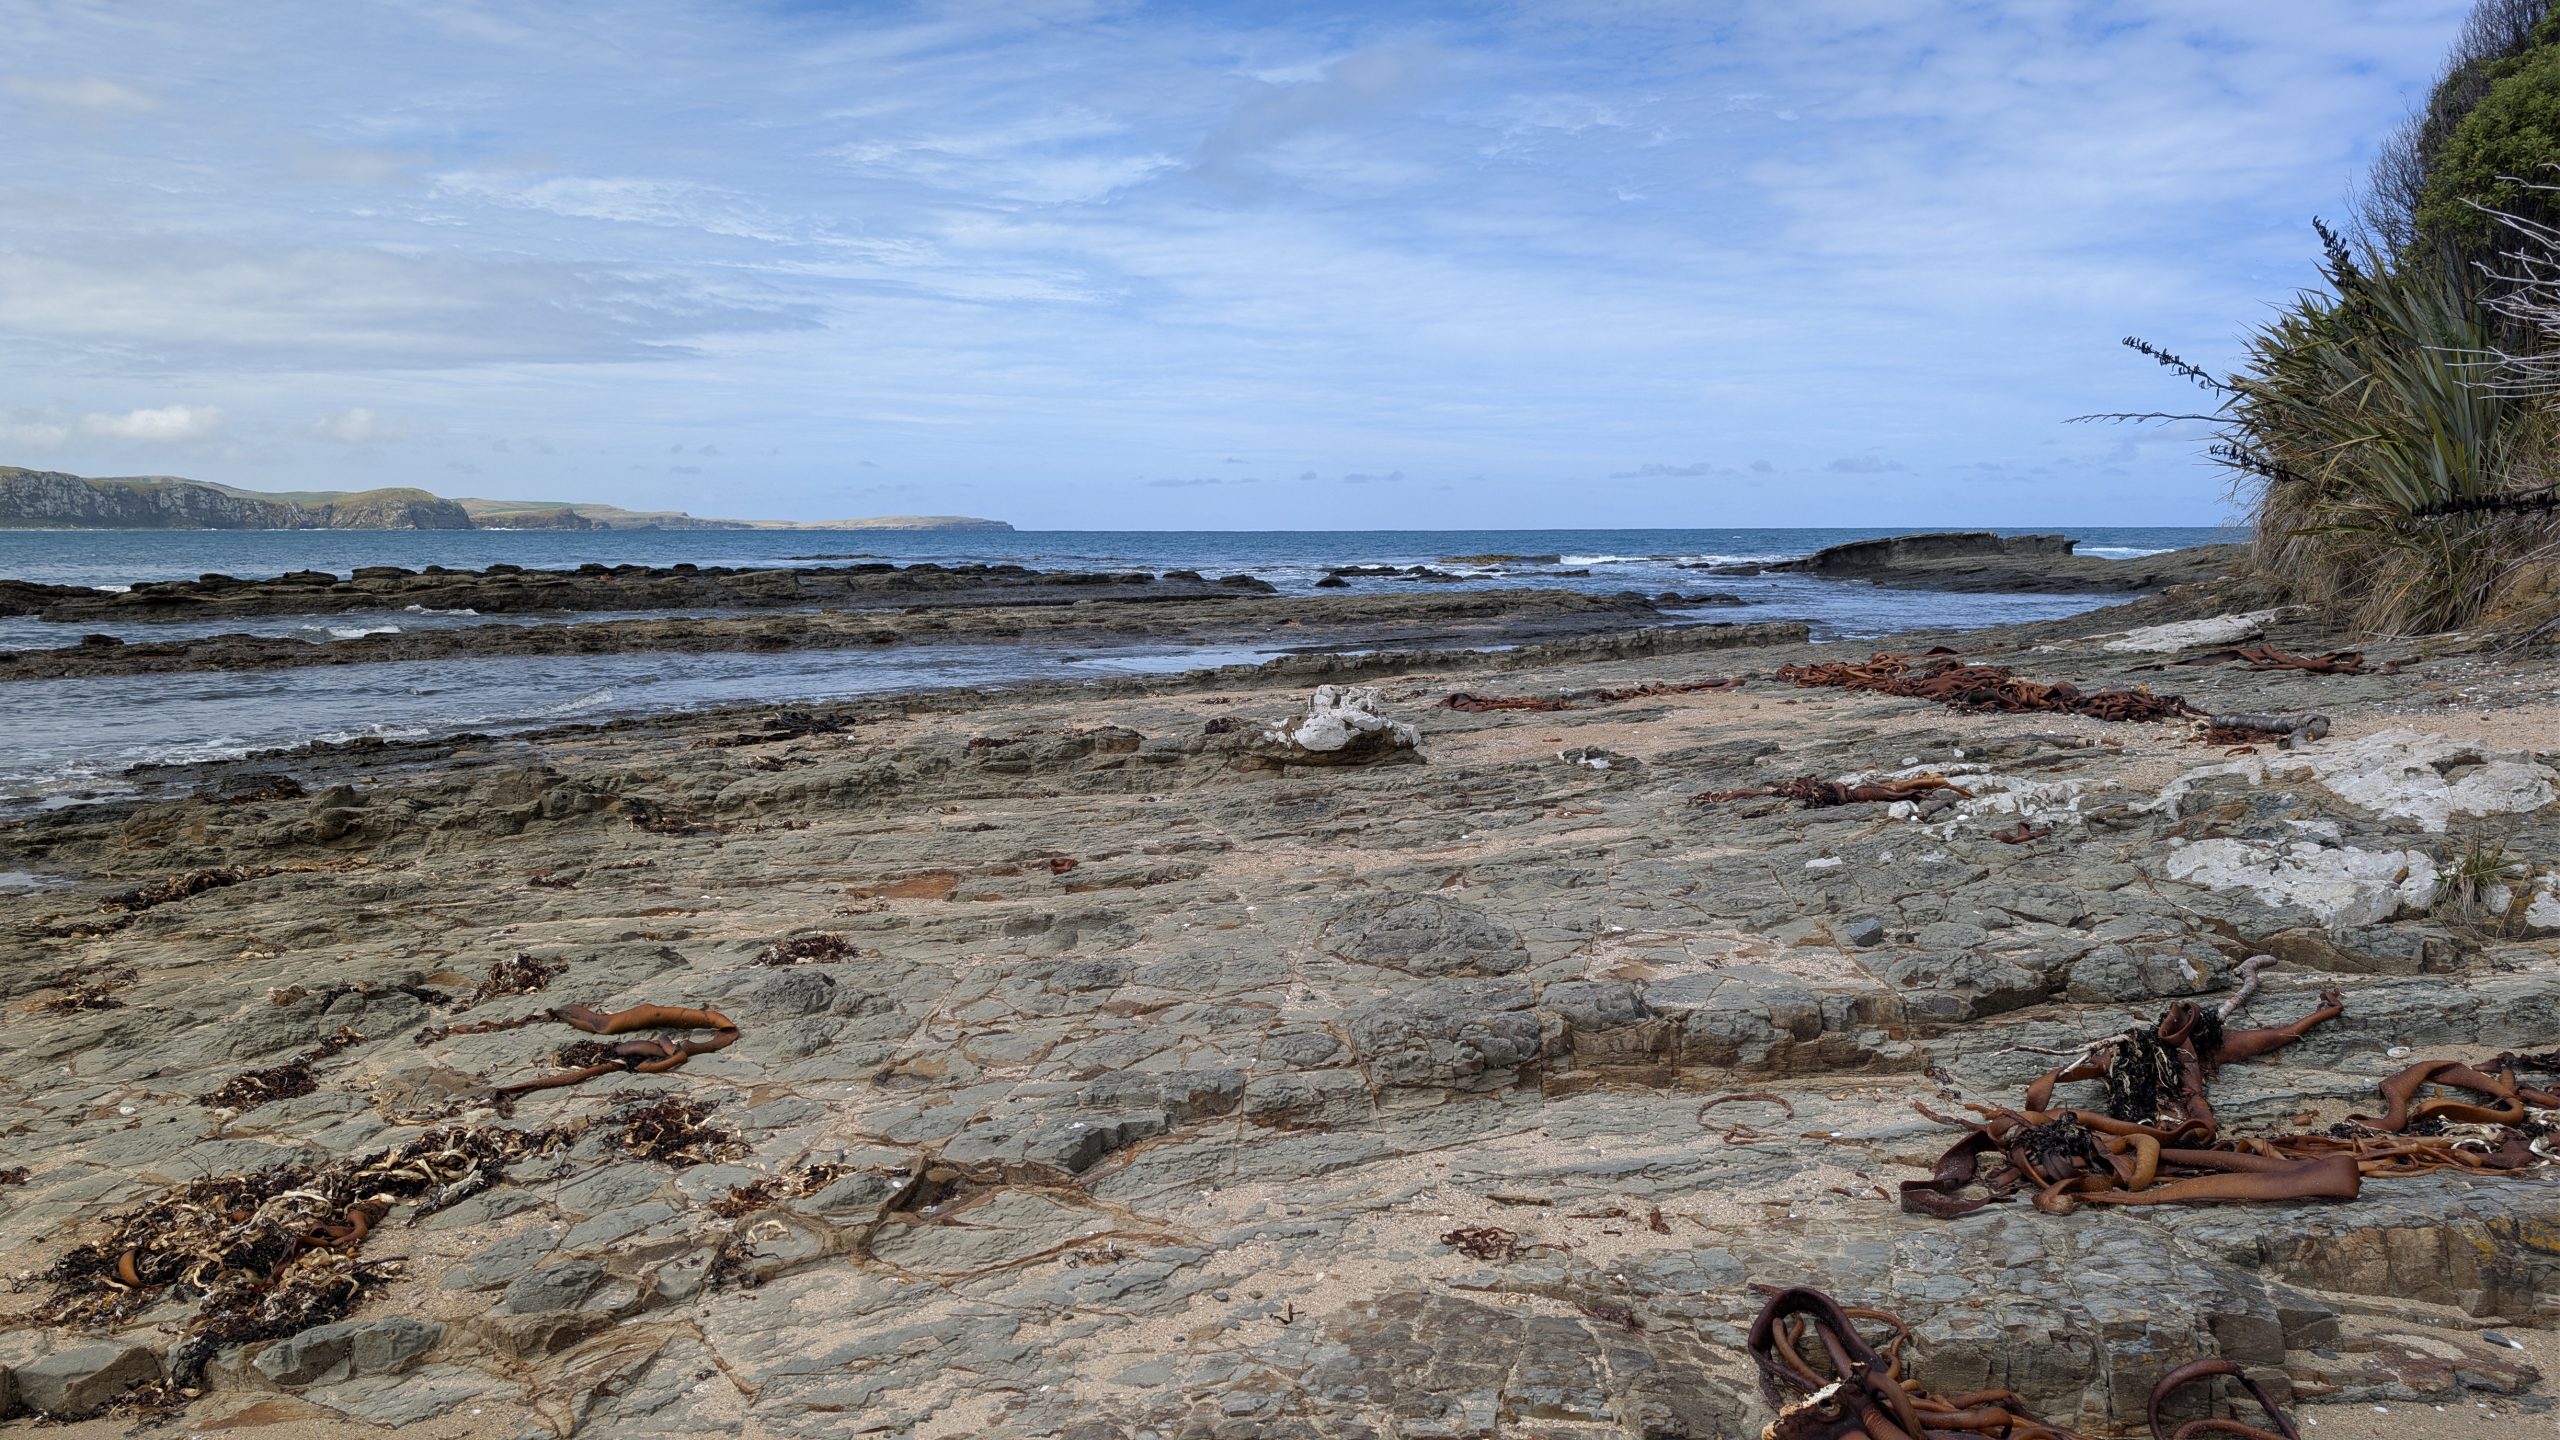
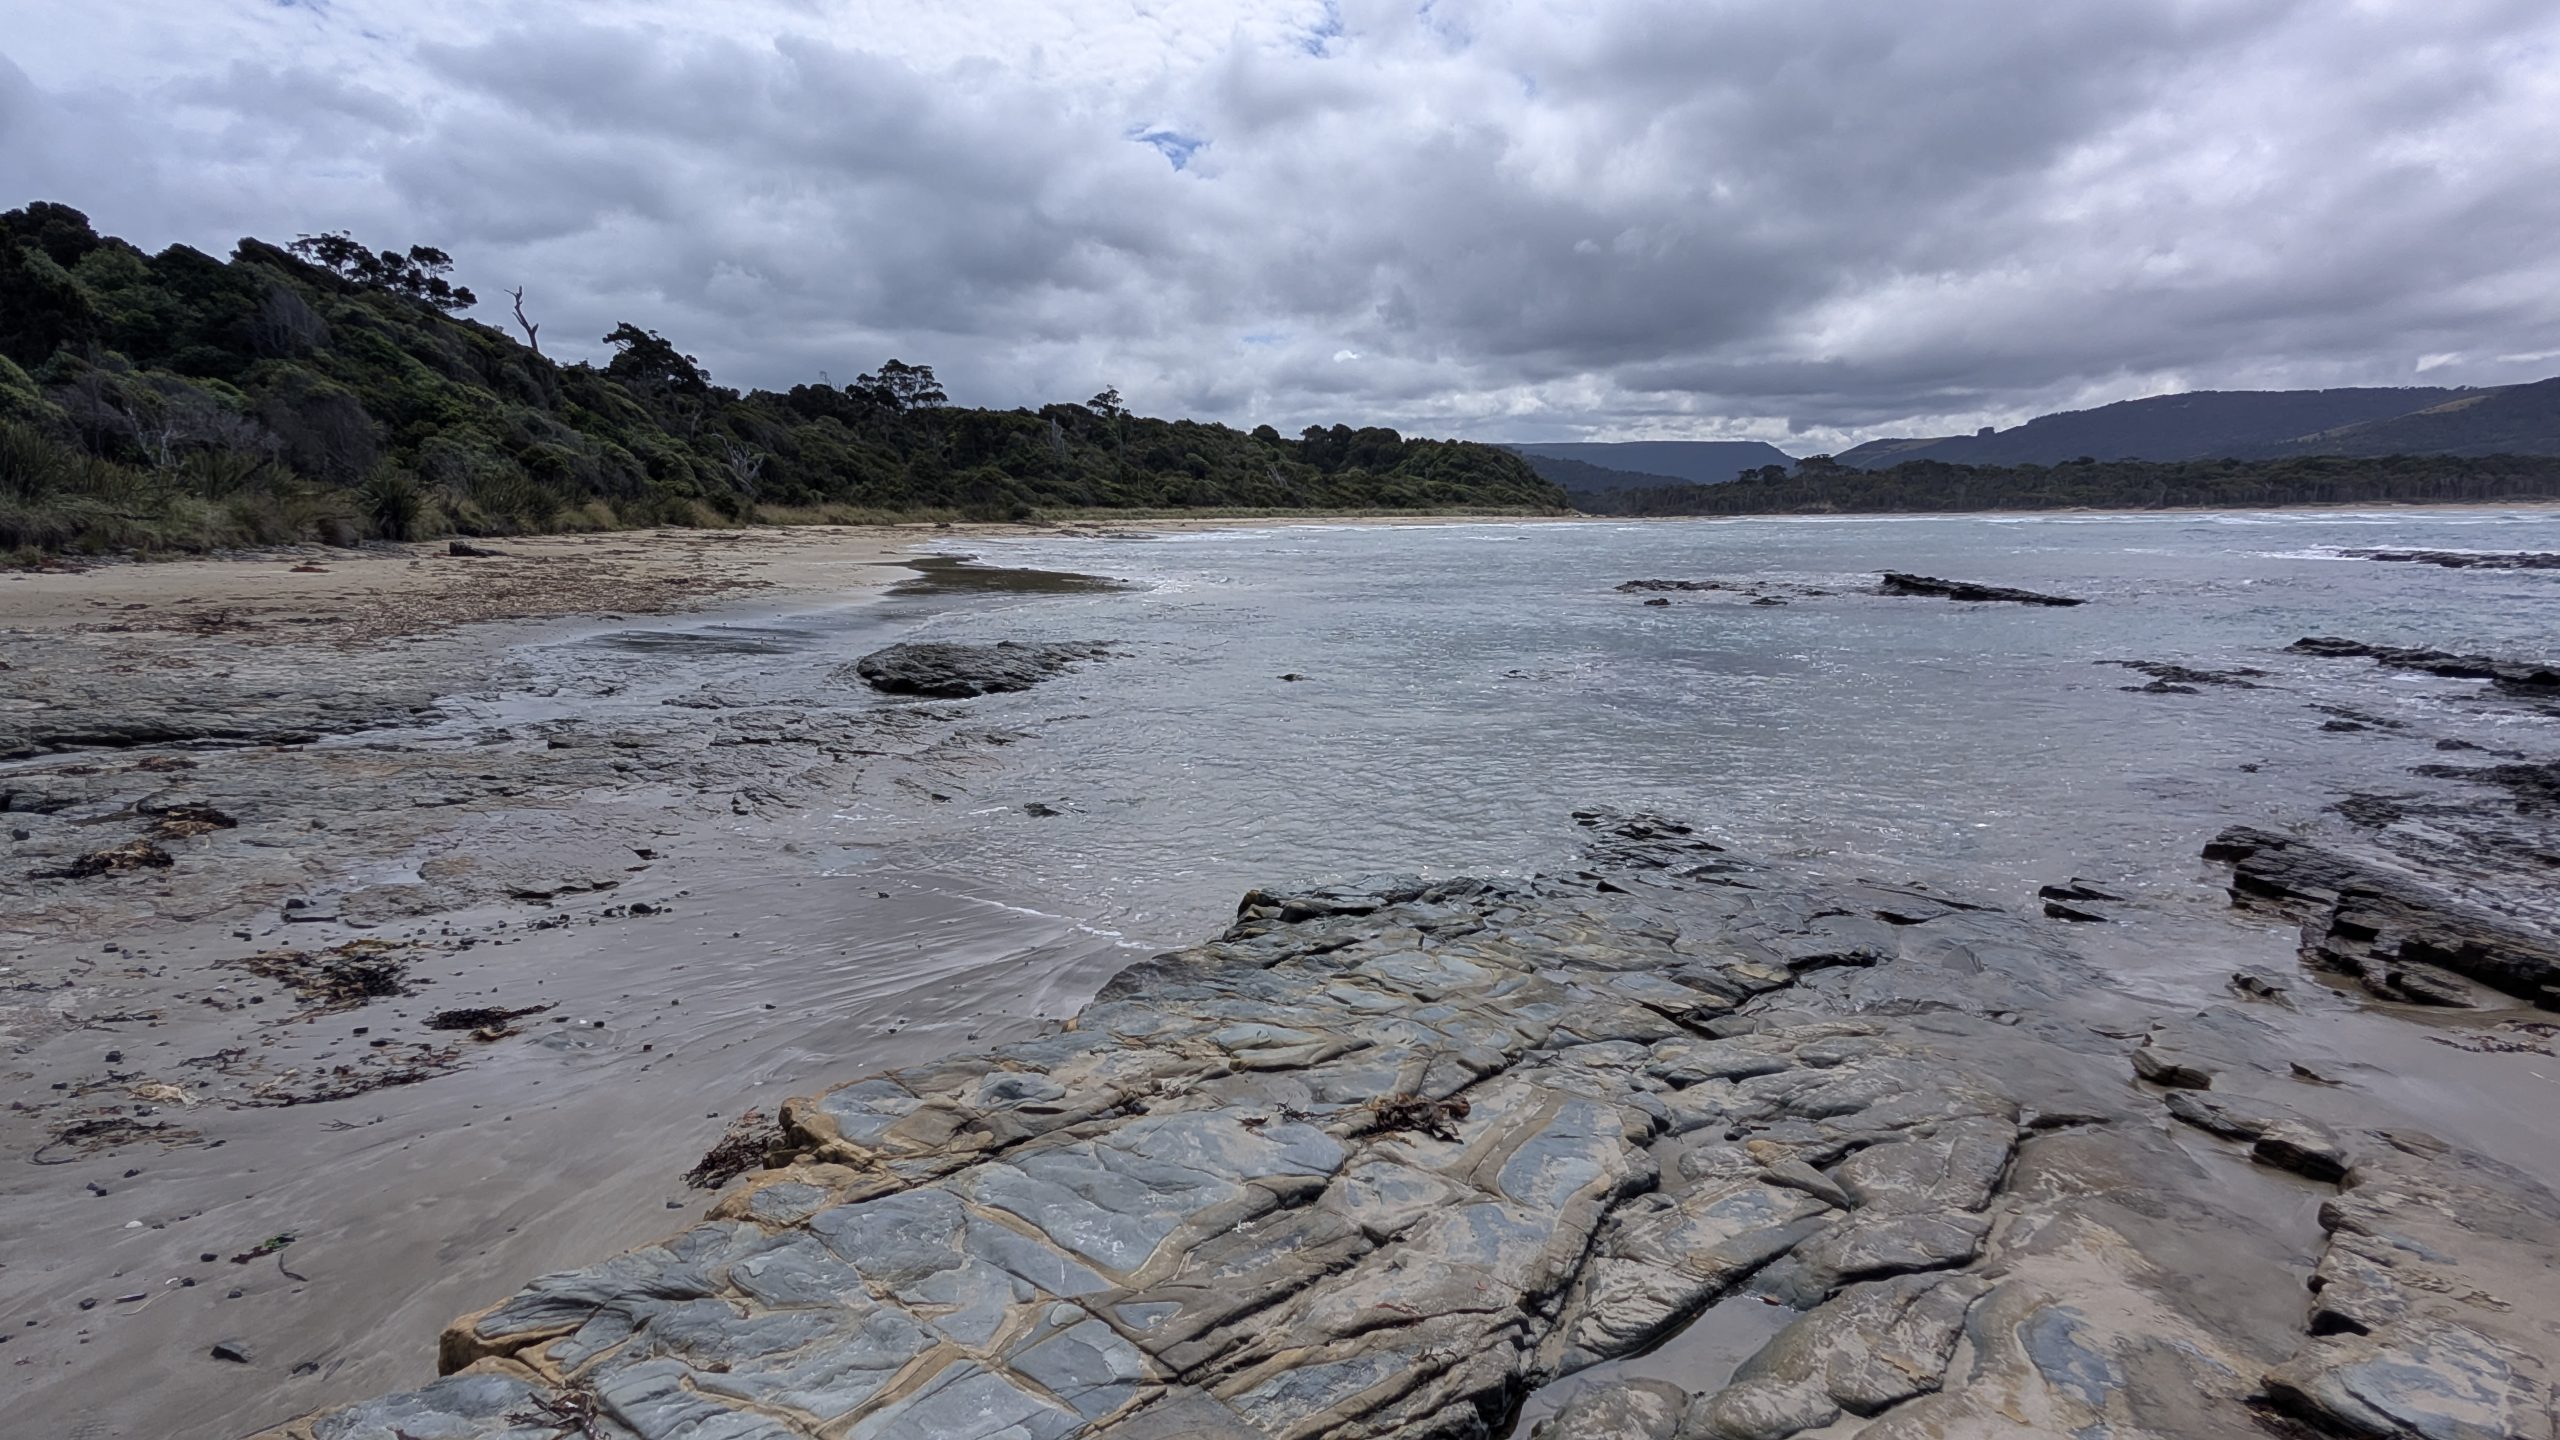
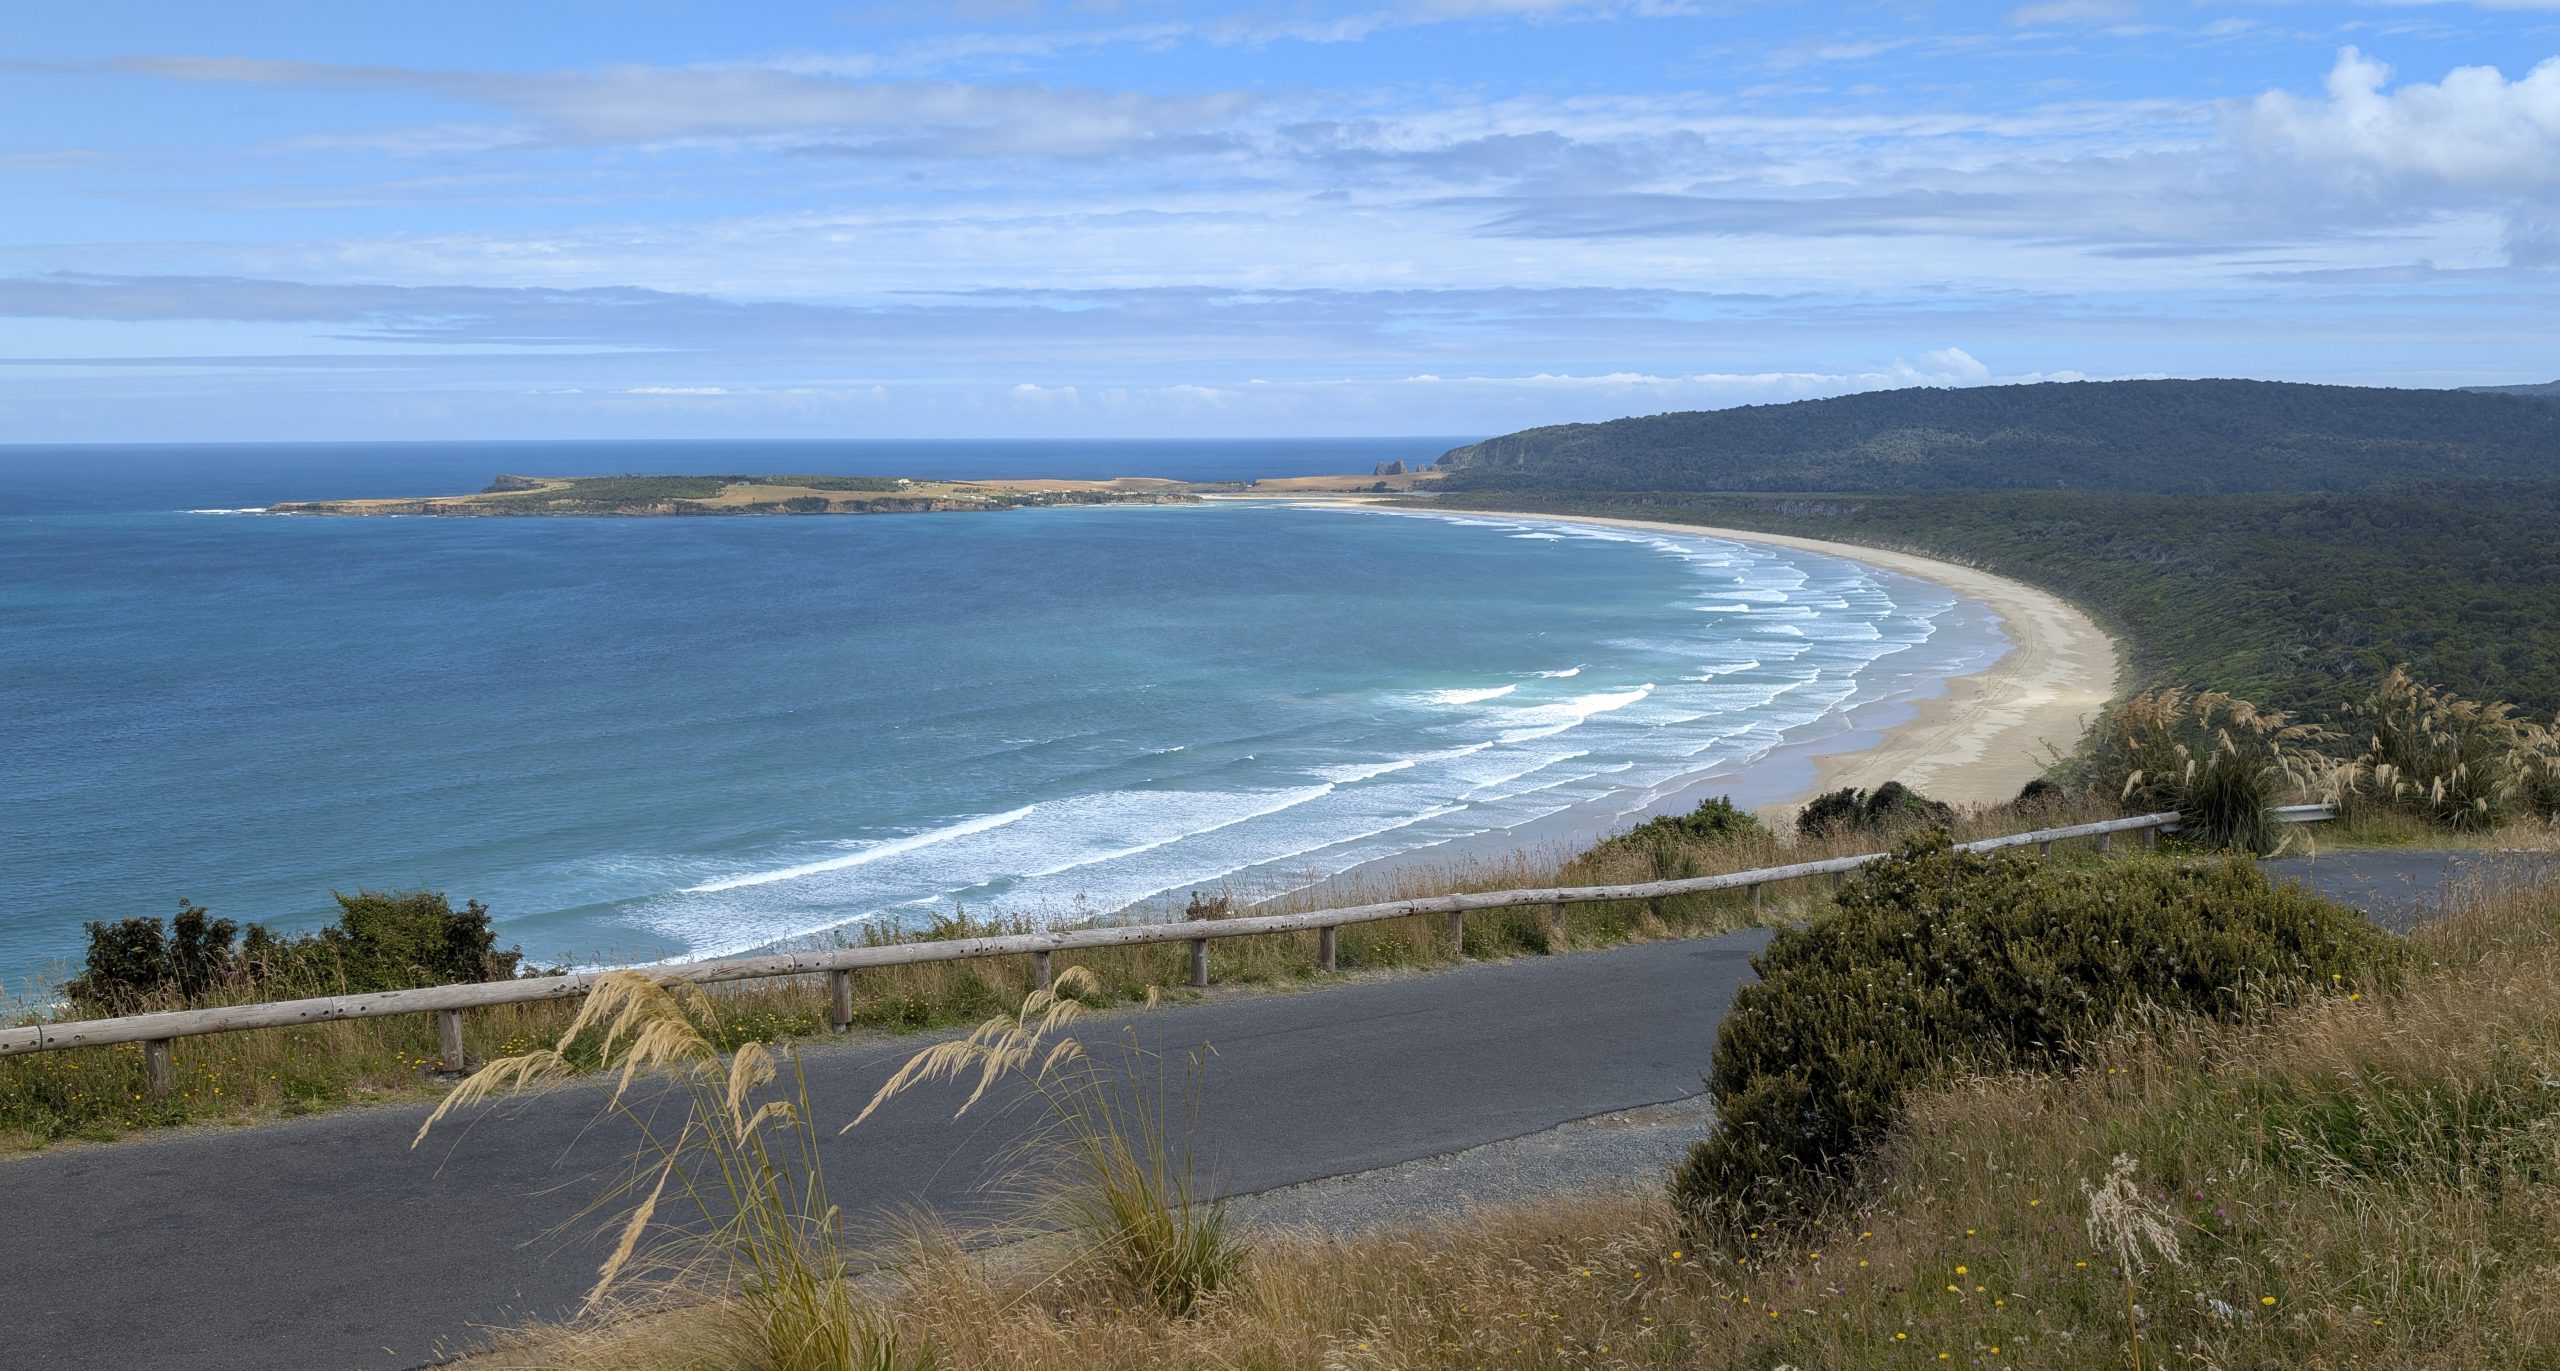
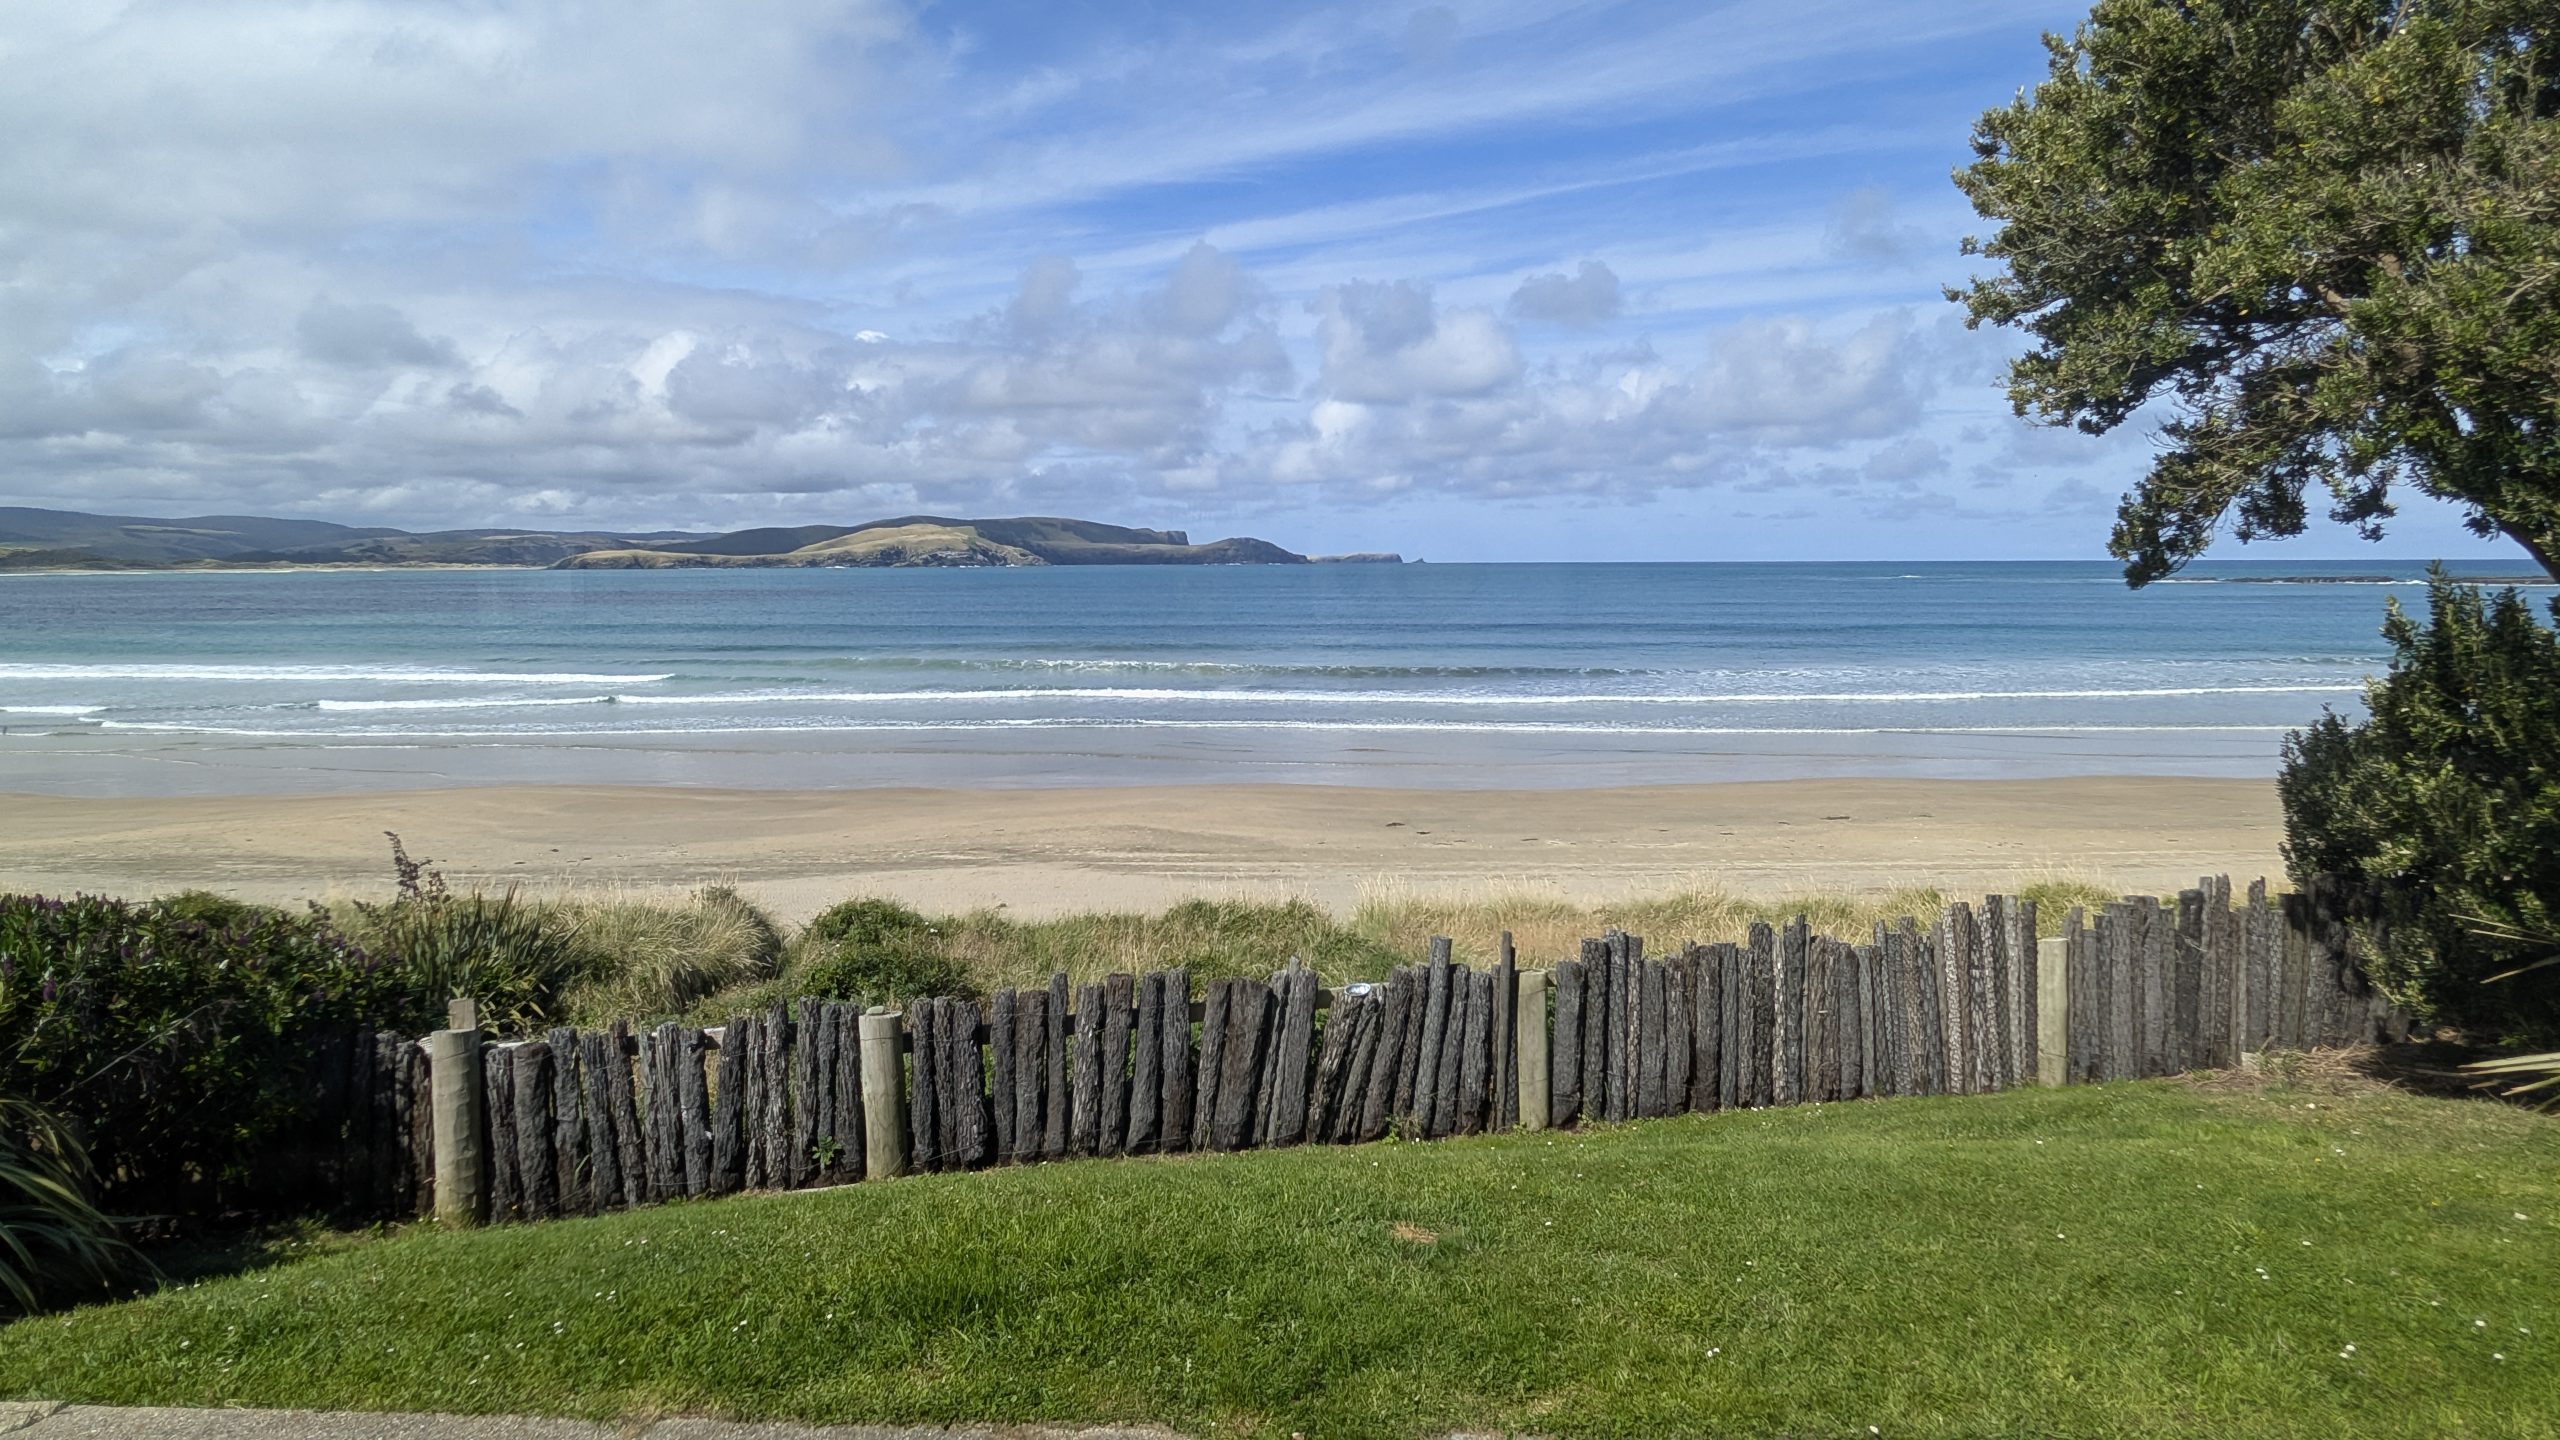
Overnight we got a good night's sleep, meaning we didn't hear the penguins unfortunately. We woke up to unchanged weather conditions: raining and windy. We checked out of the house and drove to a viewpoint of Porpoise Bay for one final look around. Porpoise Bay, where our rental house was located, was adjacent to Curio Bay. It was called Porpoise Bay because a pod of Hector's dolphins resided there. I had seen the dolphins frolicking in the bay on both of our previous visits in 2019 and 2023, but on this visit I didn't see any. The weather and waves might have been too rough to spot them, or maybe they went elsewhere in those conditions.
Porpoise Bay
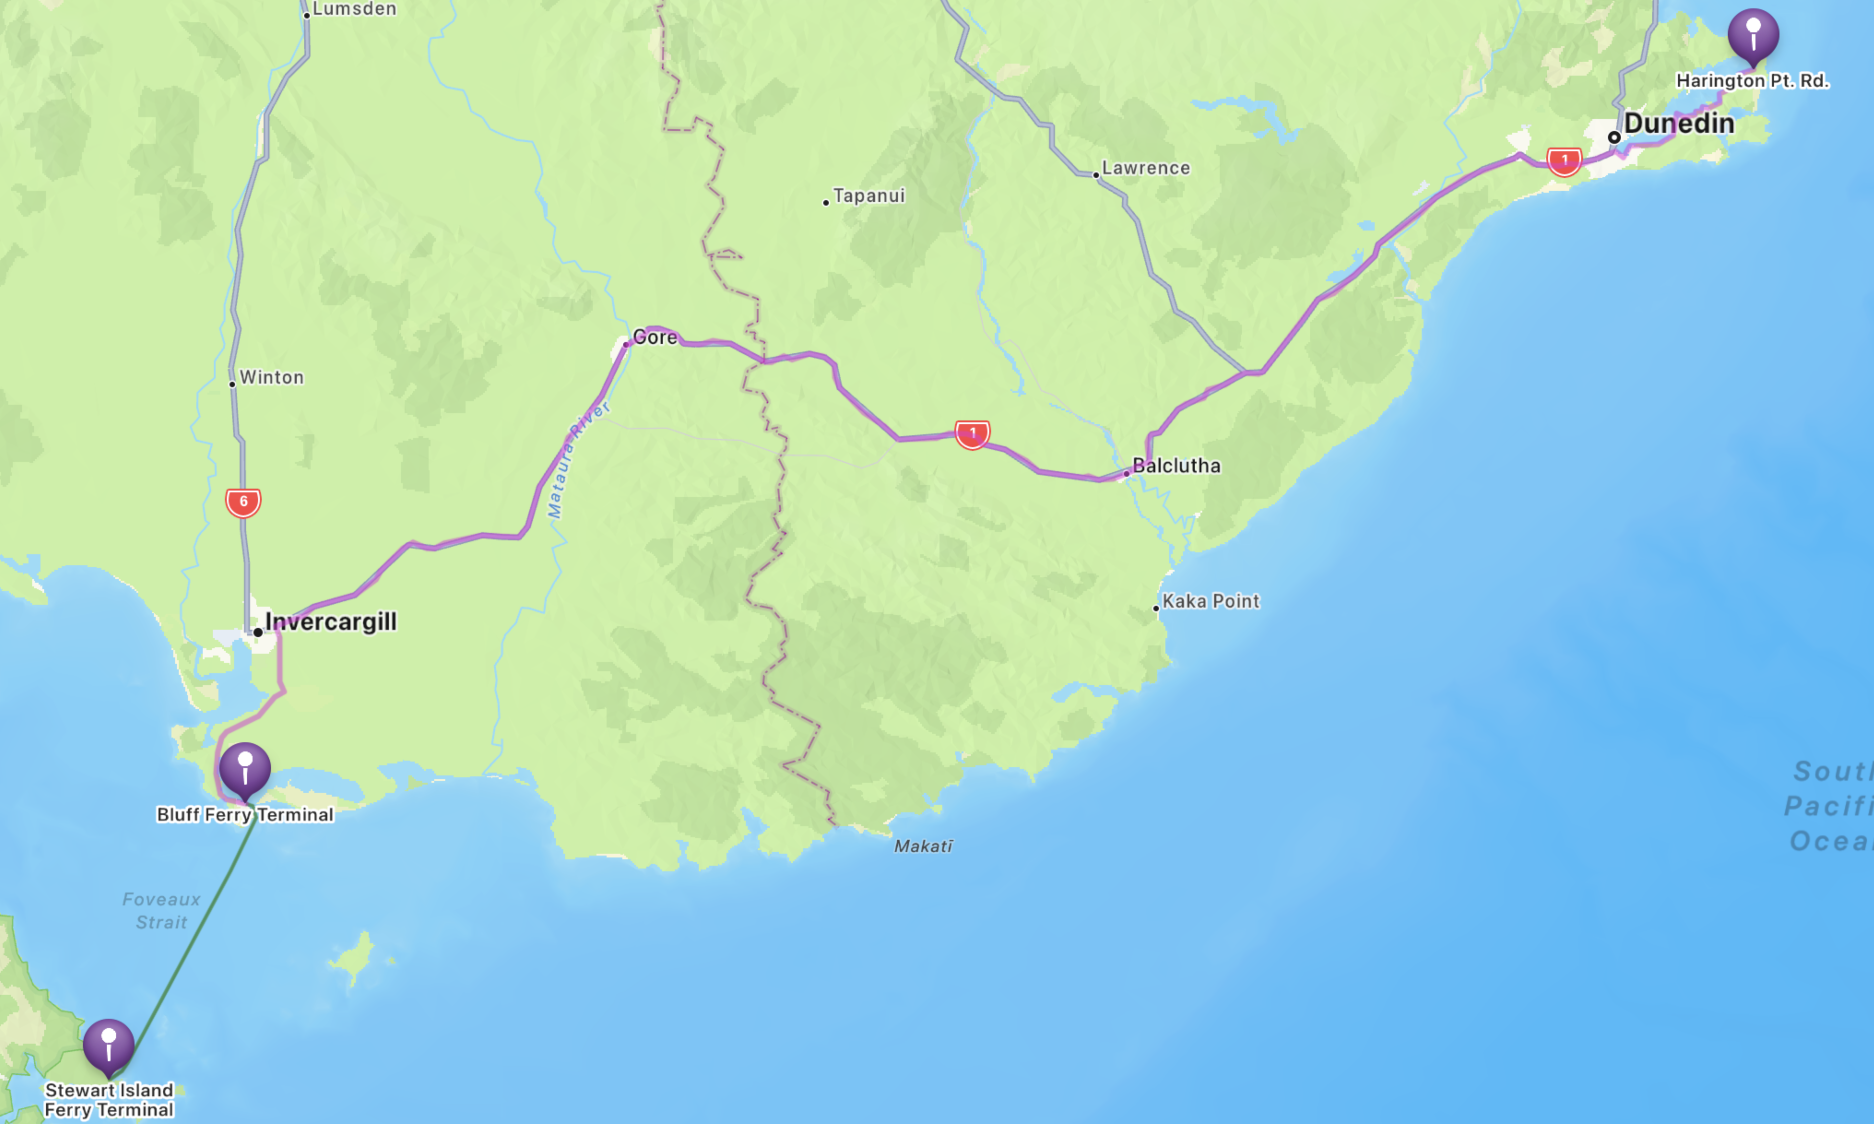
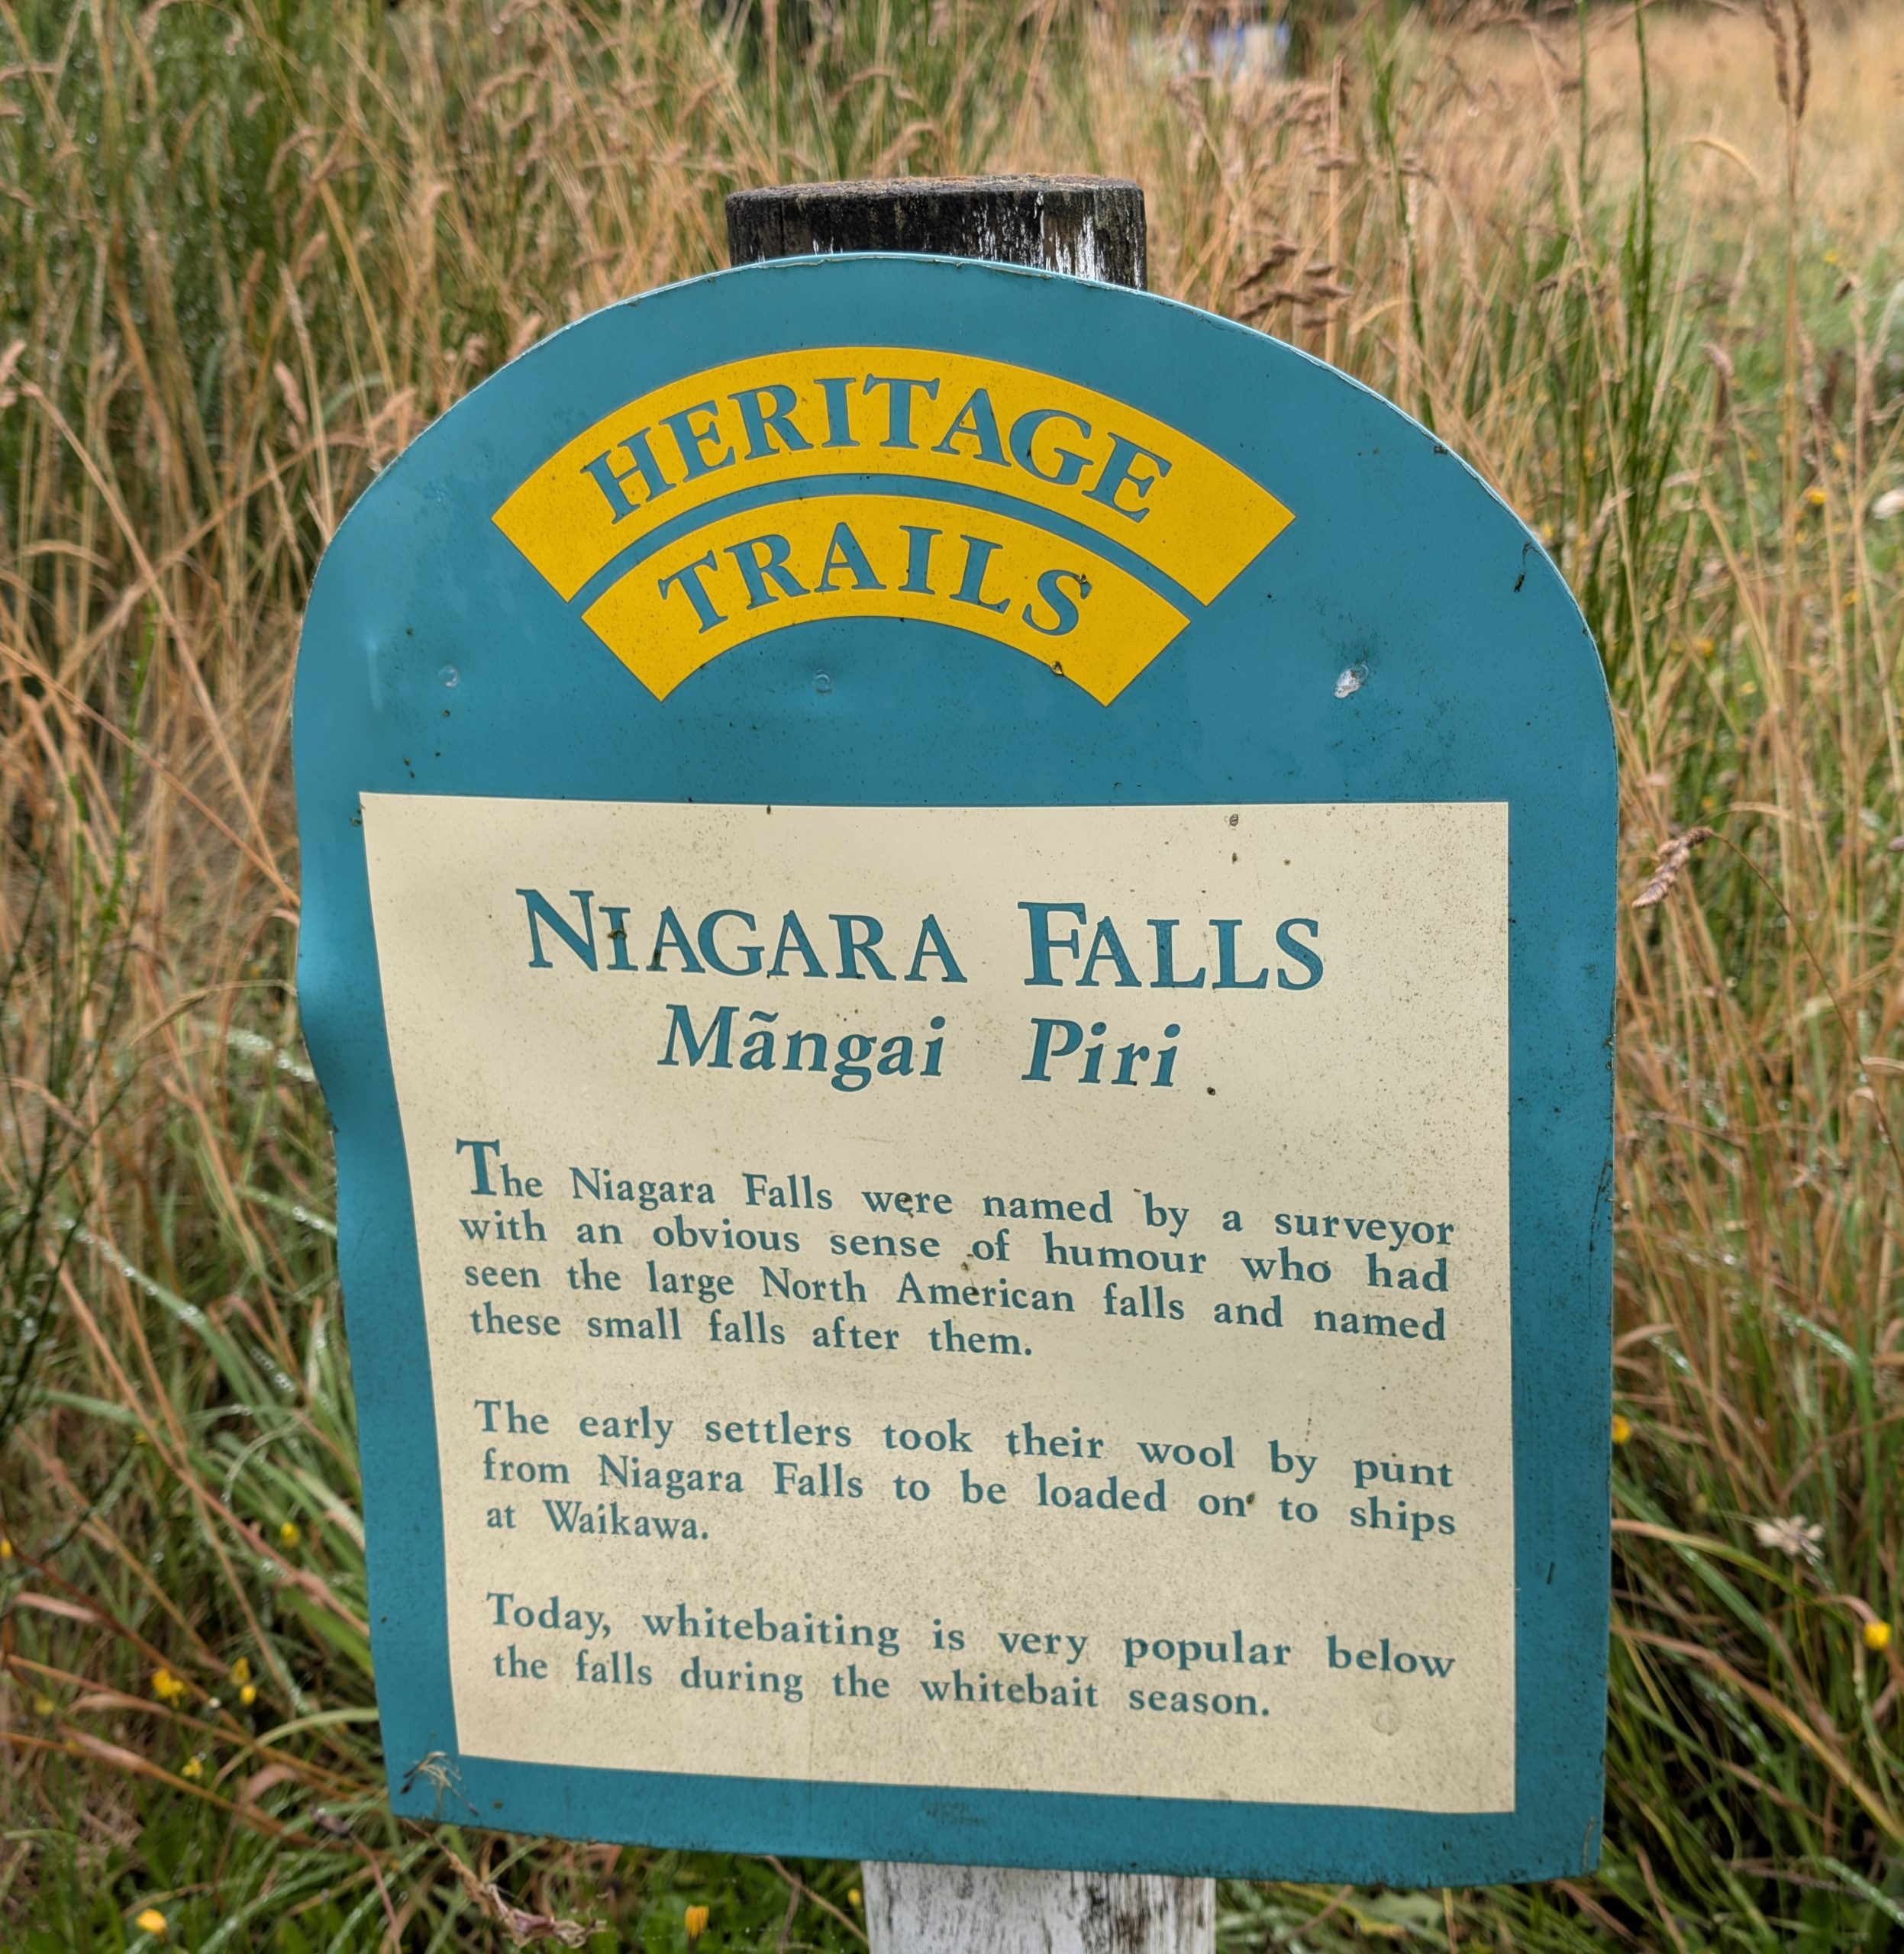
We drove to Bluff, where the ferry to Stewart Island was located. We made one brief stop along the drive: Niagara Falls. The below caption and video explain it all.
Niagara Falls sign
Niagara Falls
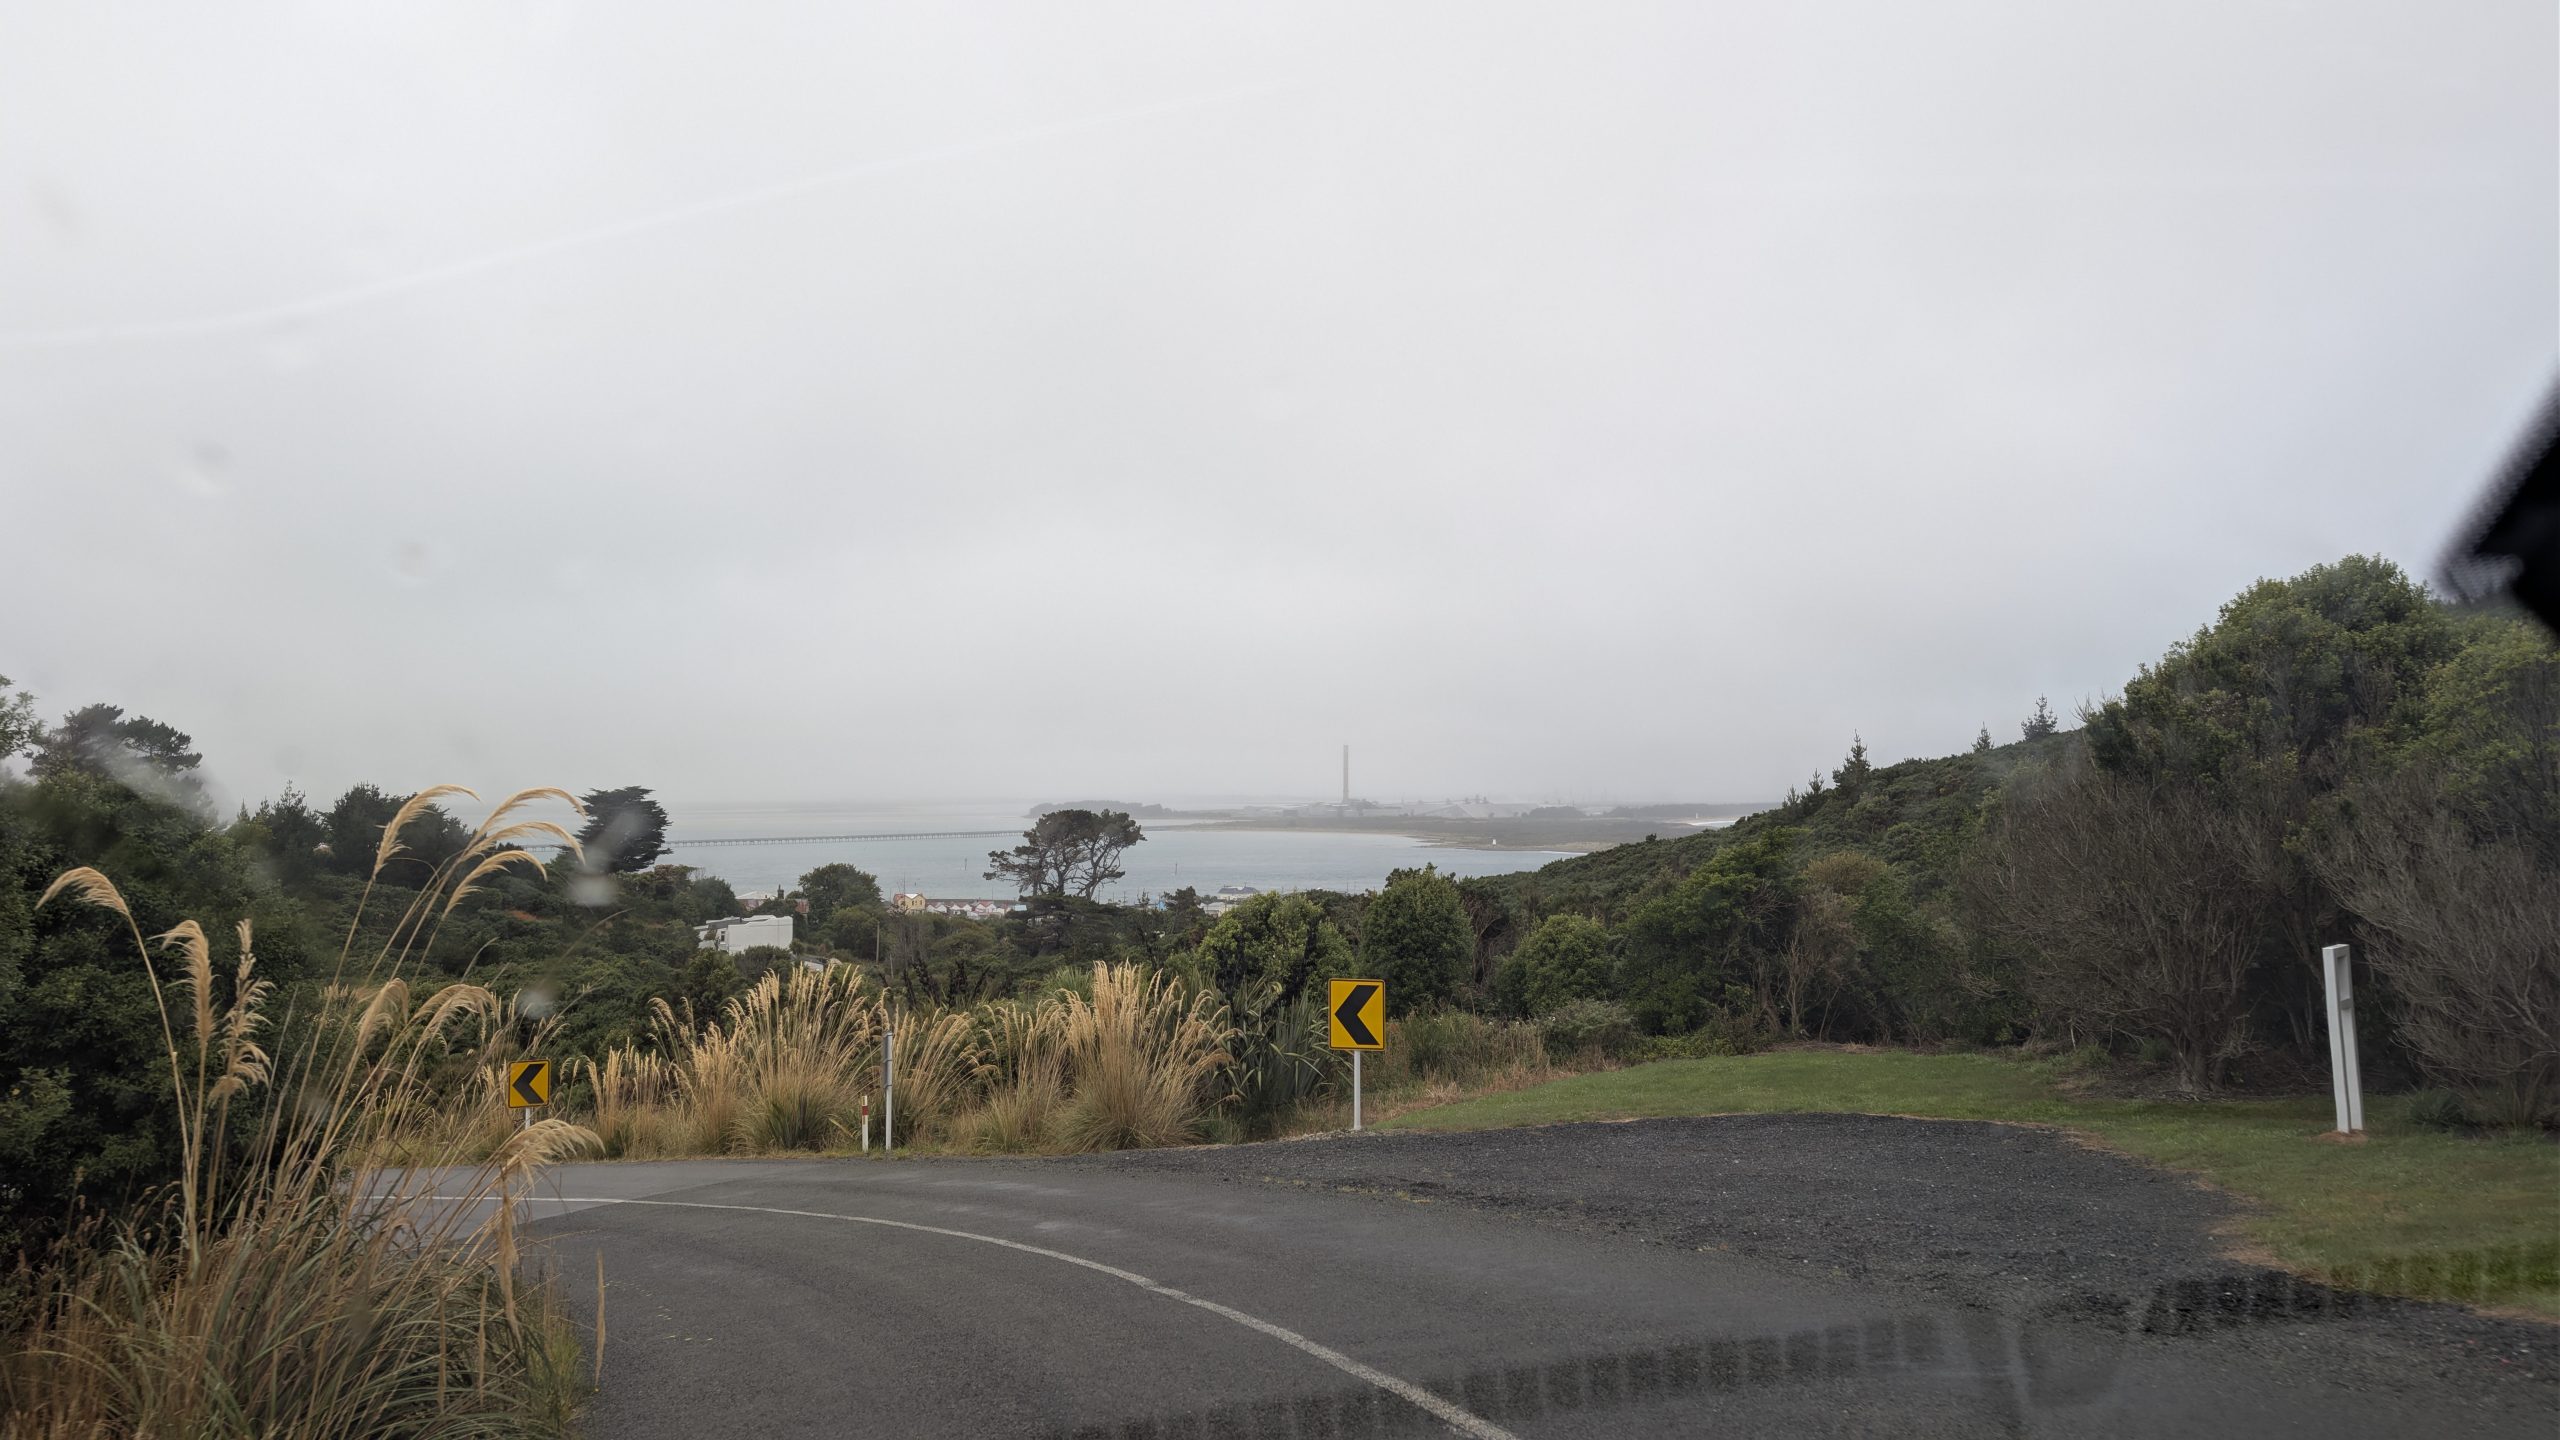
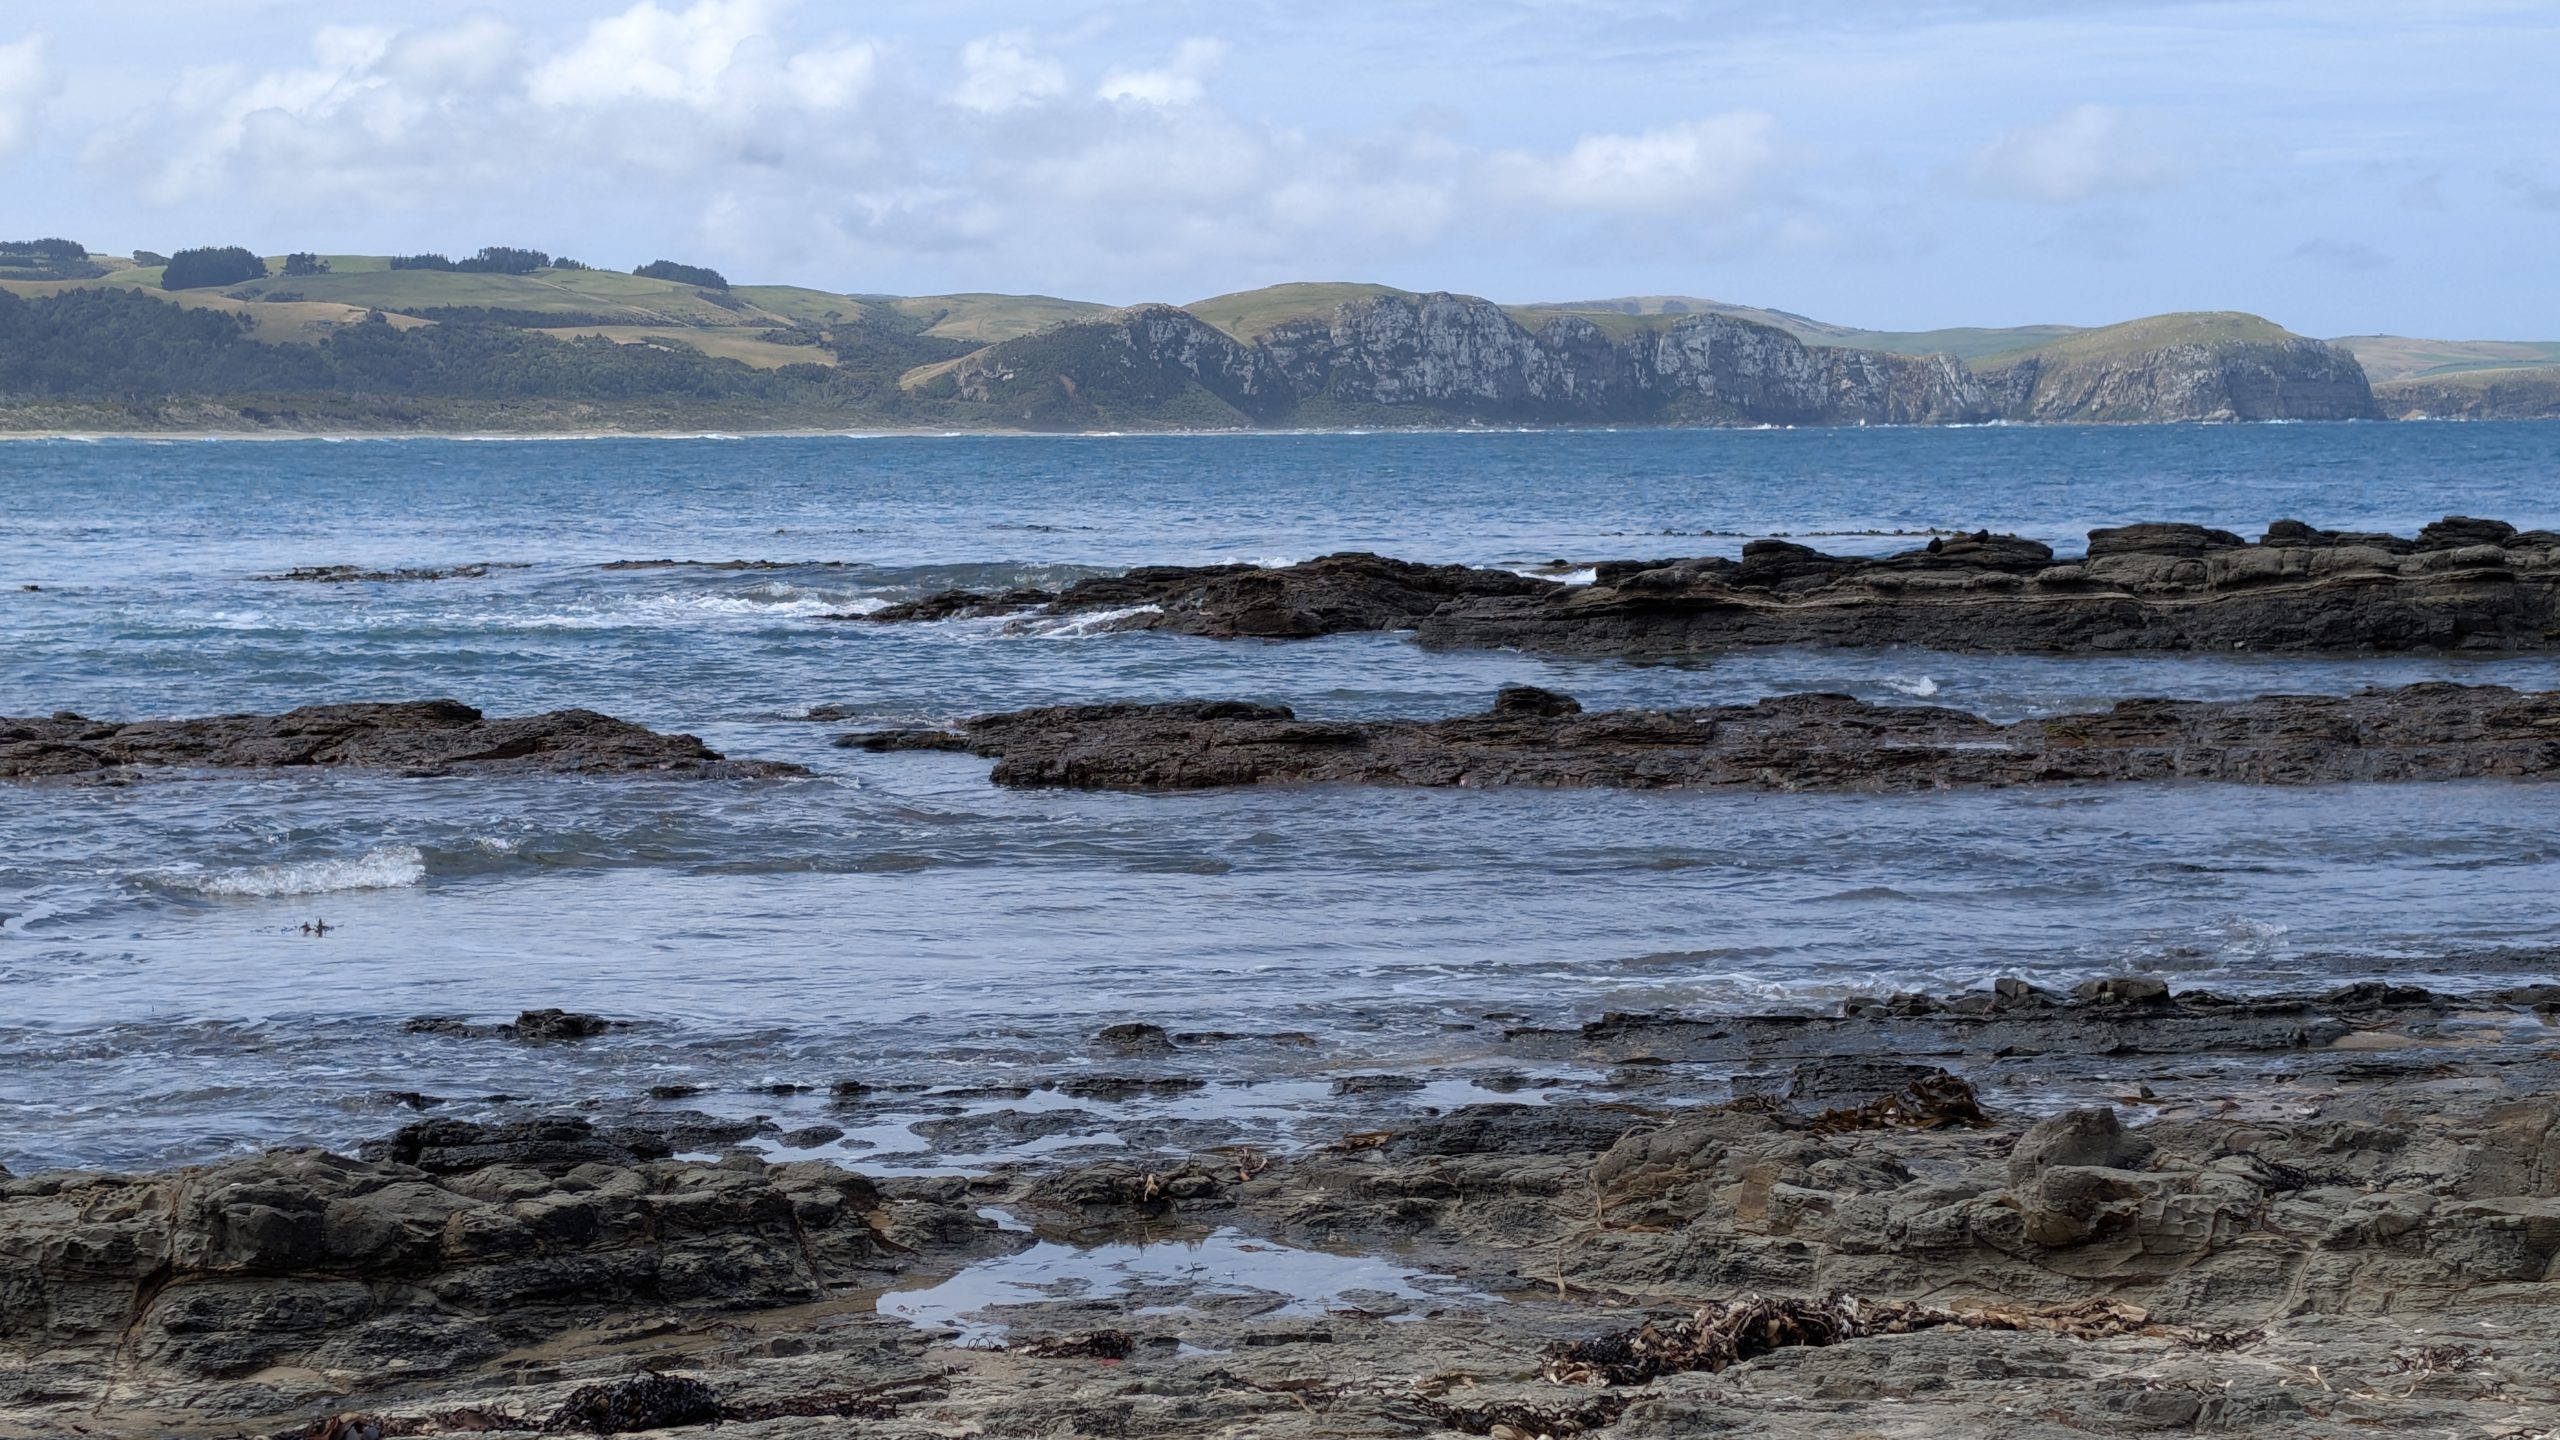
We arrived early for the ferry, so we did a quick drive up to Bluff Hill. In 2023 we had nice views at the top. This time it was completely fogged in and there was no view. We did get a view when we got beneath the fog layer on the way back down.
View of the ferry area from near the bottom of Bluff Hill
We drove to the overnight parking area for the ferry and found the parking lot to be completely full. Even worse, we just missed getting the last spot since a car just ahead of us grabbed it. We found another unsecured 24-hour parking area next to the ferry terminal. We weren't sure if we would be able to use that area for multiple days, so we asked inside at the check-in counter for the ferry. We were told we could use it: the other option was to wait until passengers from the incoming ferry returned and we could grab one of their spots. Since we did not want to wait that long, we decided to use the unsecured area. Then it was another 15 or 20 minutes of fumbling around as we had to download a parking app to our phone, establish a log in, and then pay for the parking using the app on the phone. Not a fun experience, but we got it done.
The ferry allowed one checked bag per person, so we each checked one suitcase, and we had small carry-on bags to take with us onboard. Then we waited until the incoming ferry from Stewart Island arrived, and we got to say a brief hello to Graham who was on that ferry and on his way back north.
It was a one-hour sailing to Stewart Island, and the ride was a real rock and roll experience since there were lots of big waves with the weather. I didn't take any photos since it was all gray outside and we were just bouncing around in the water.
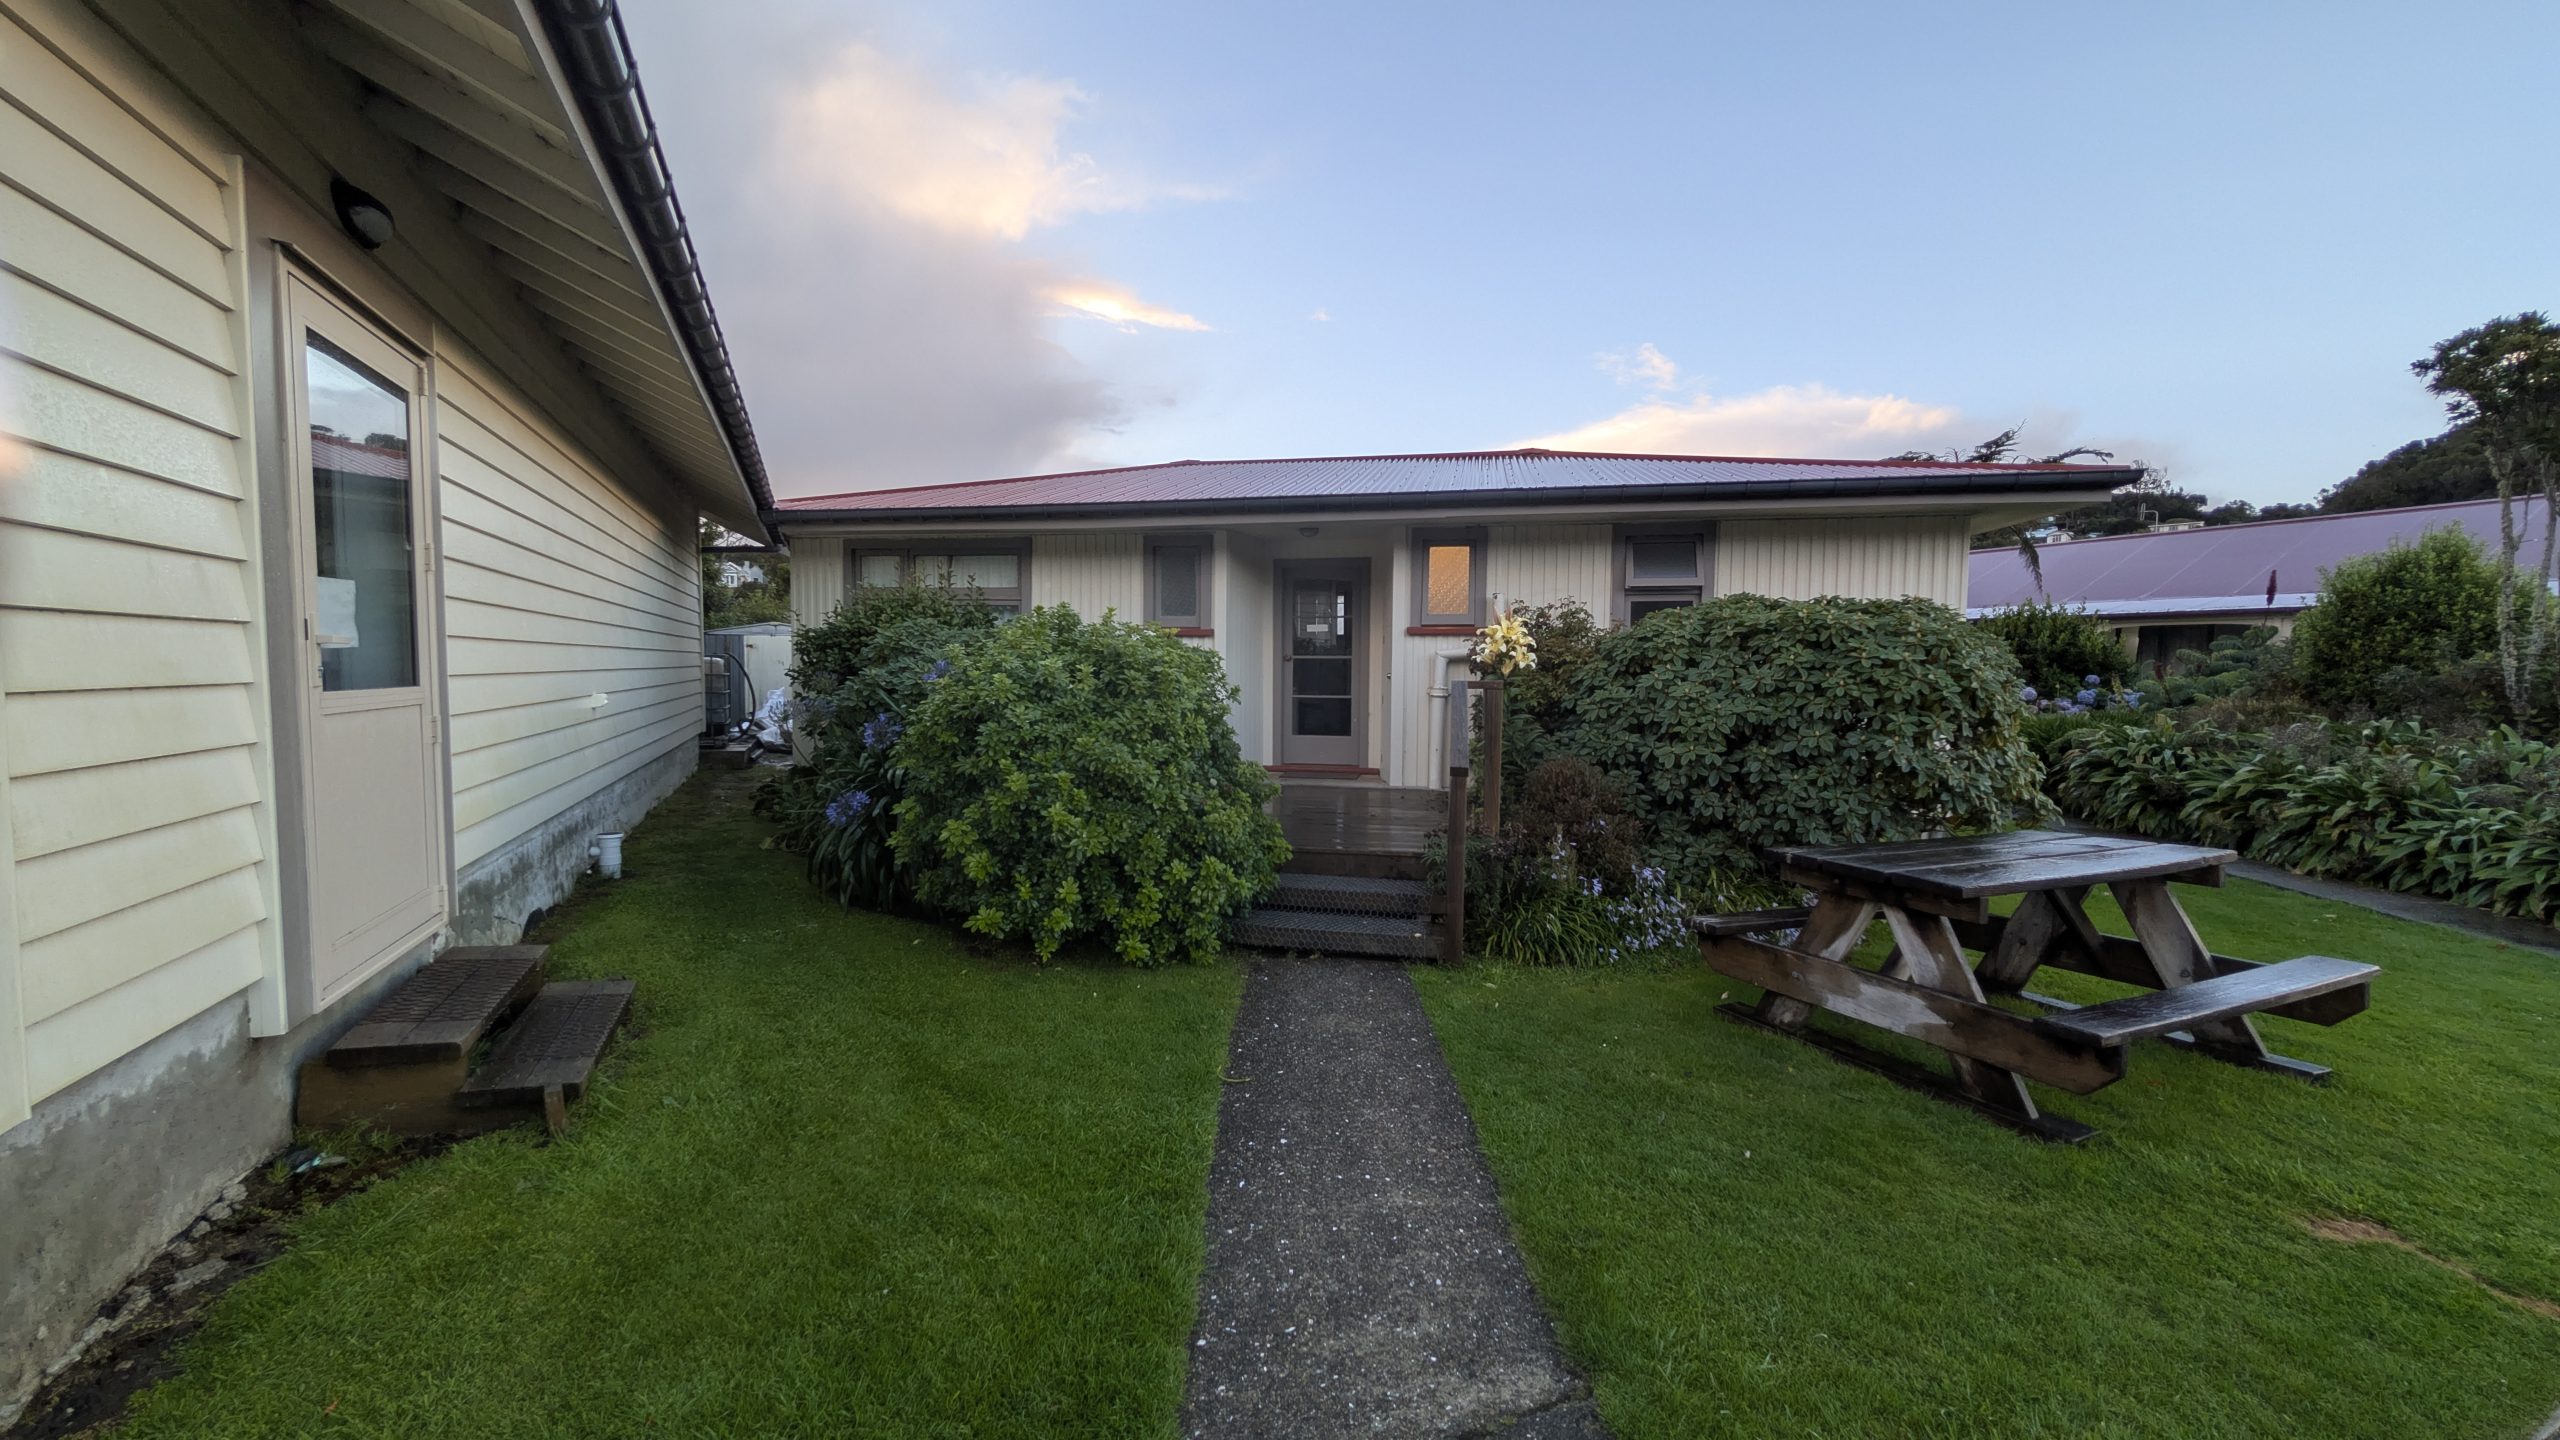
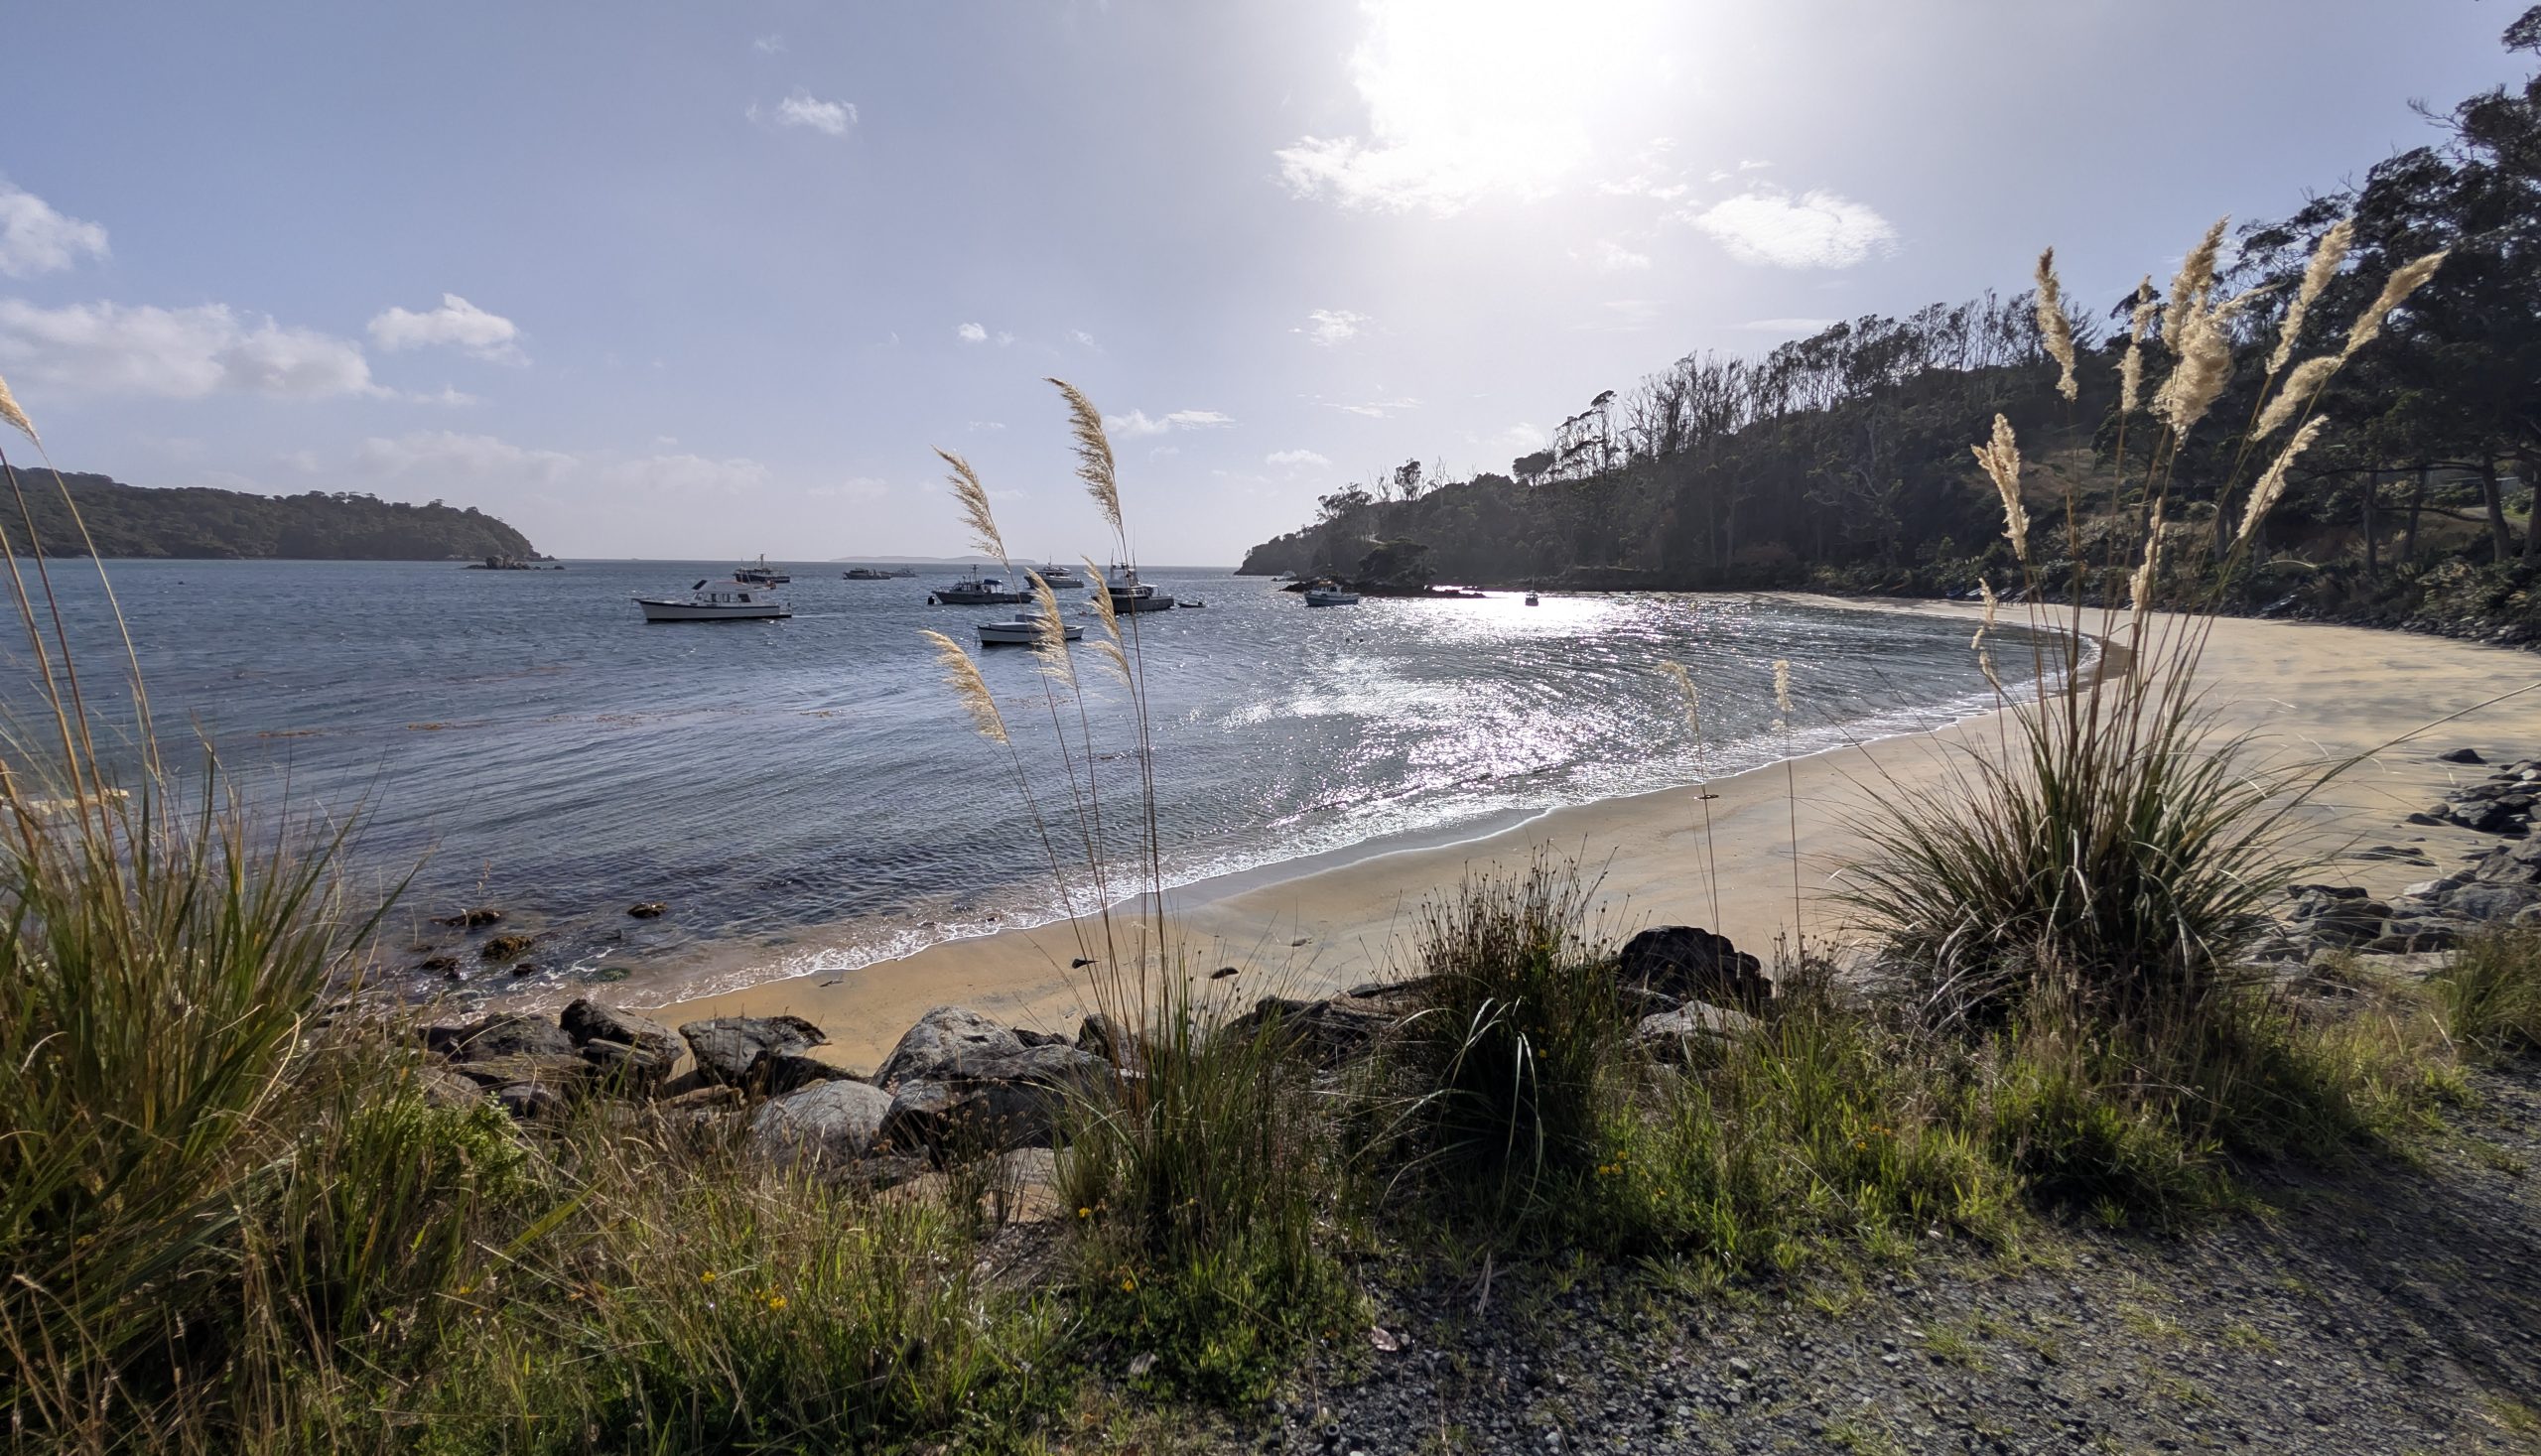
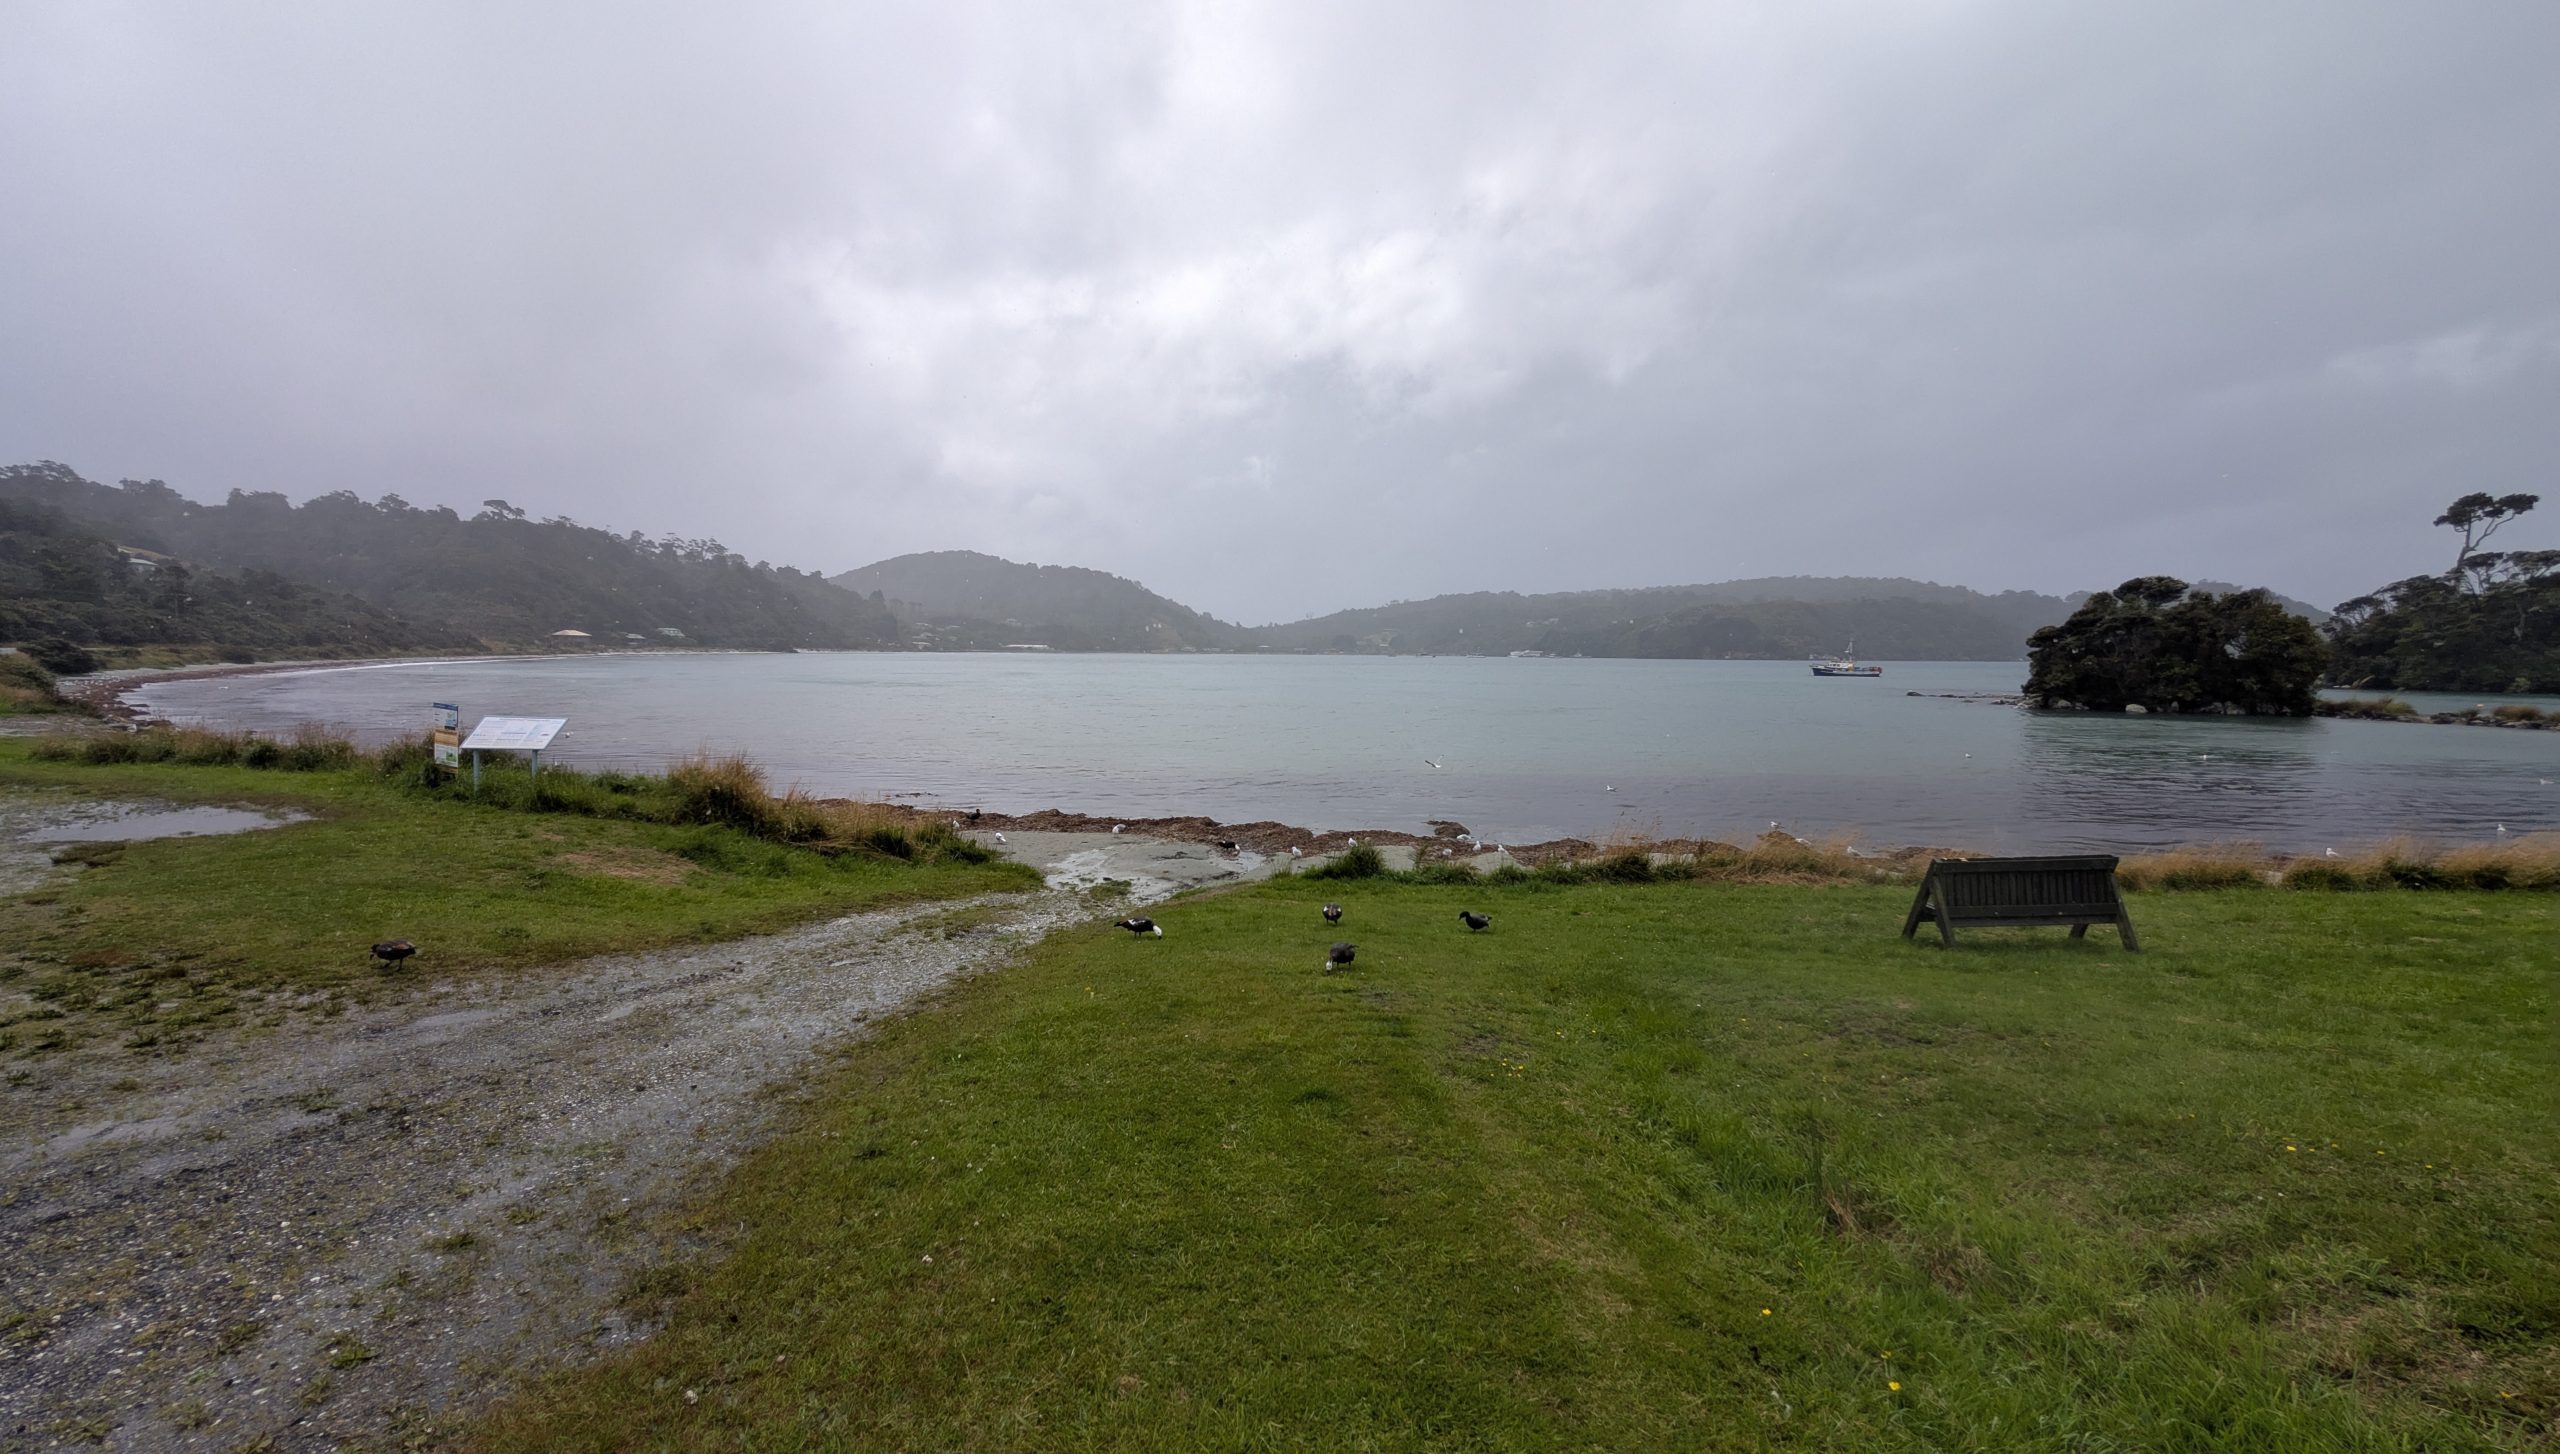
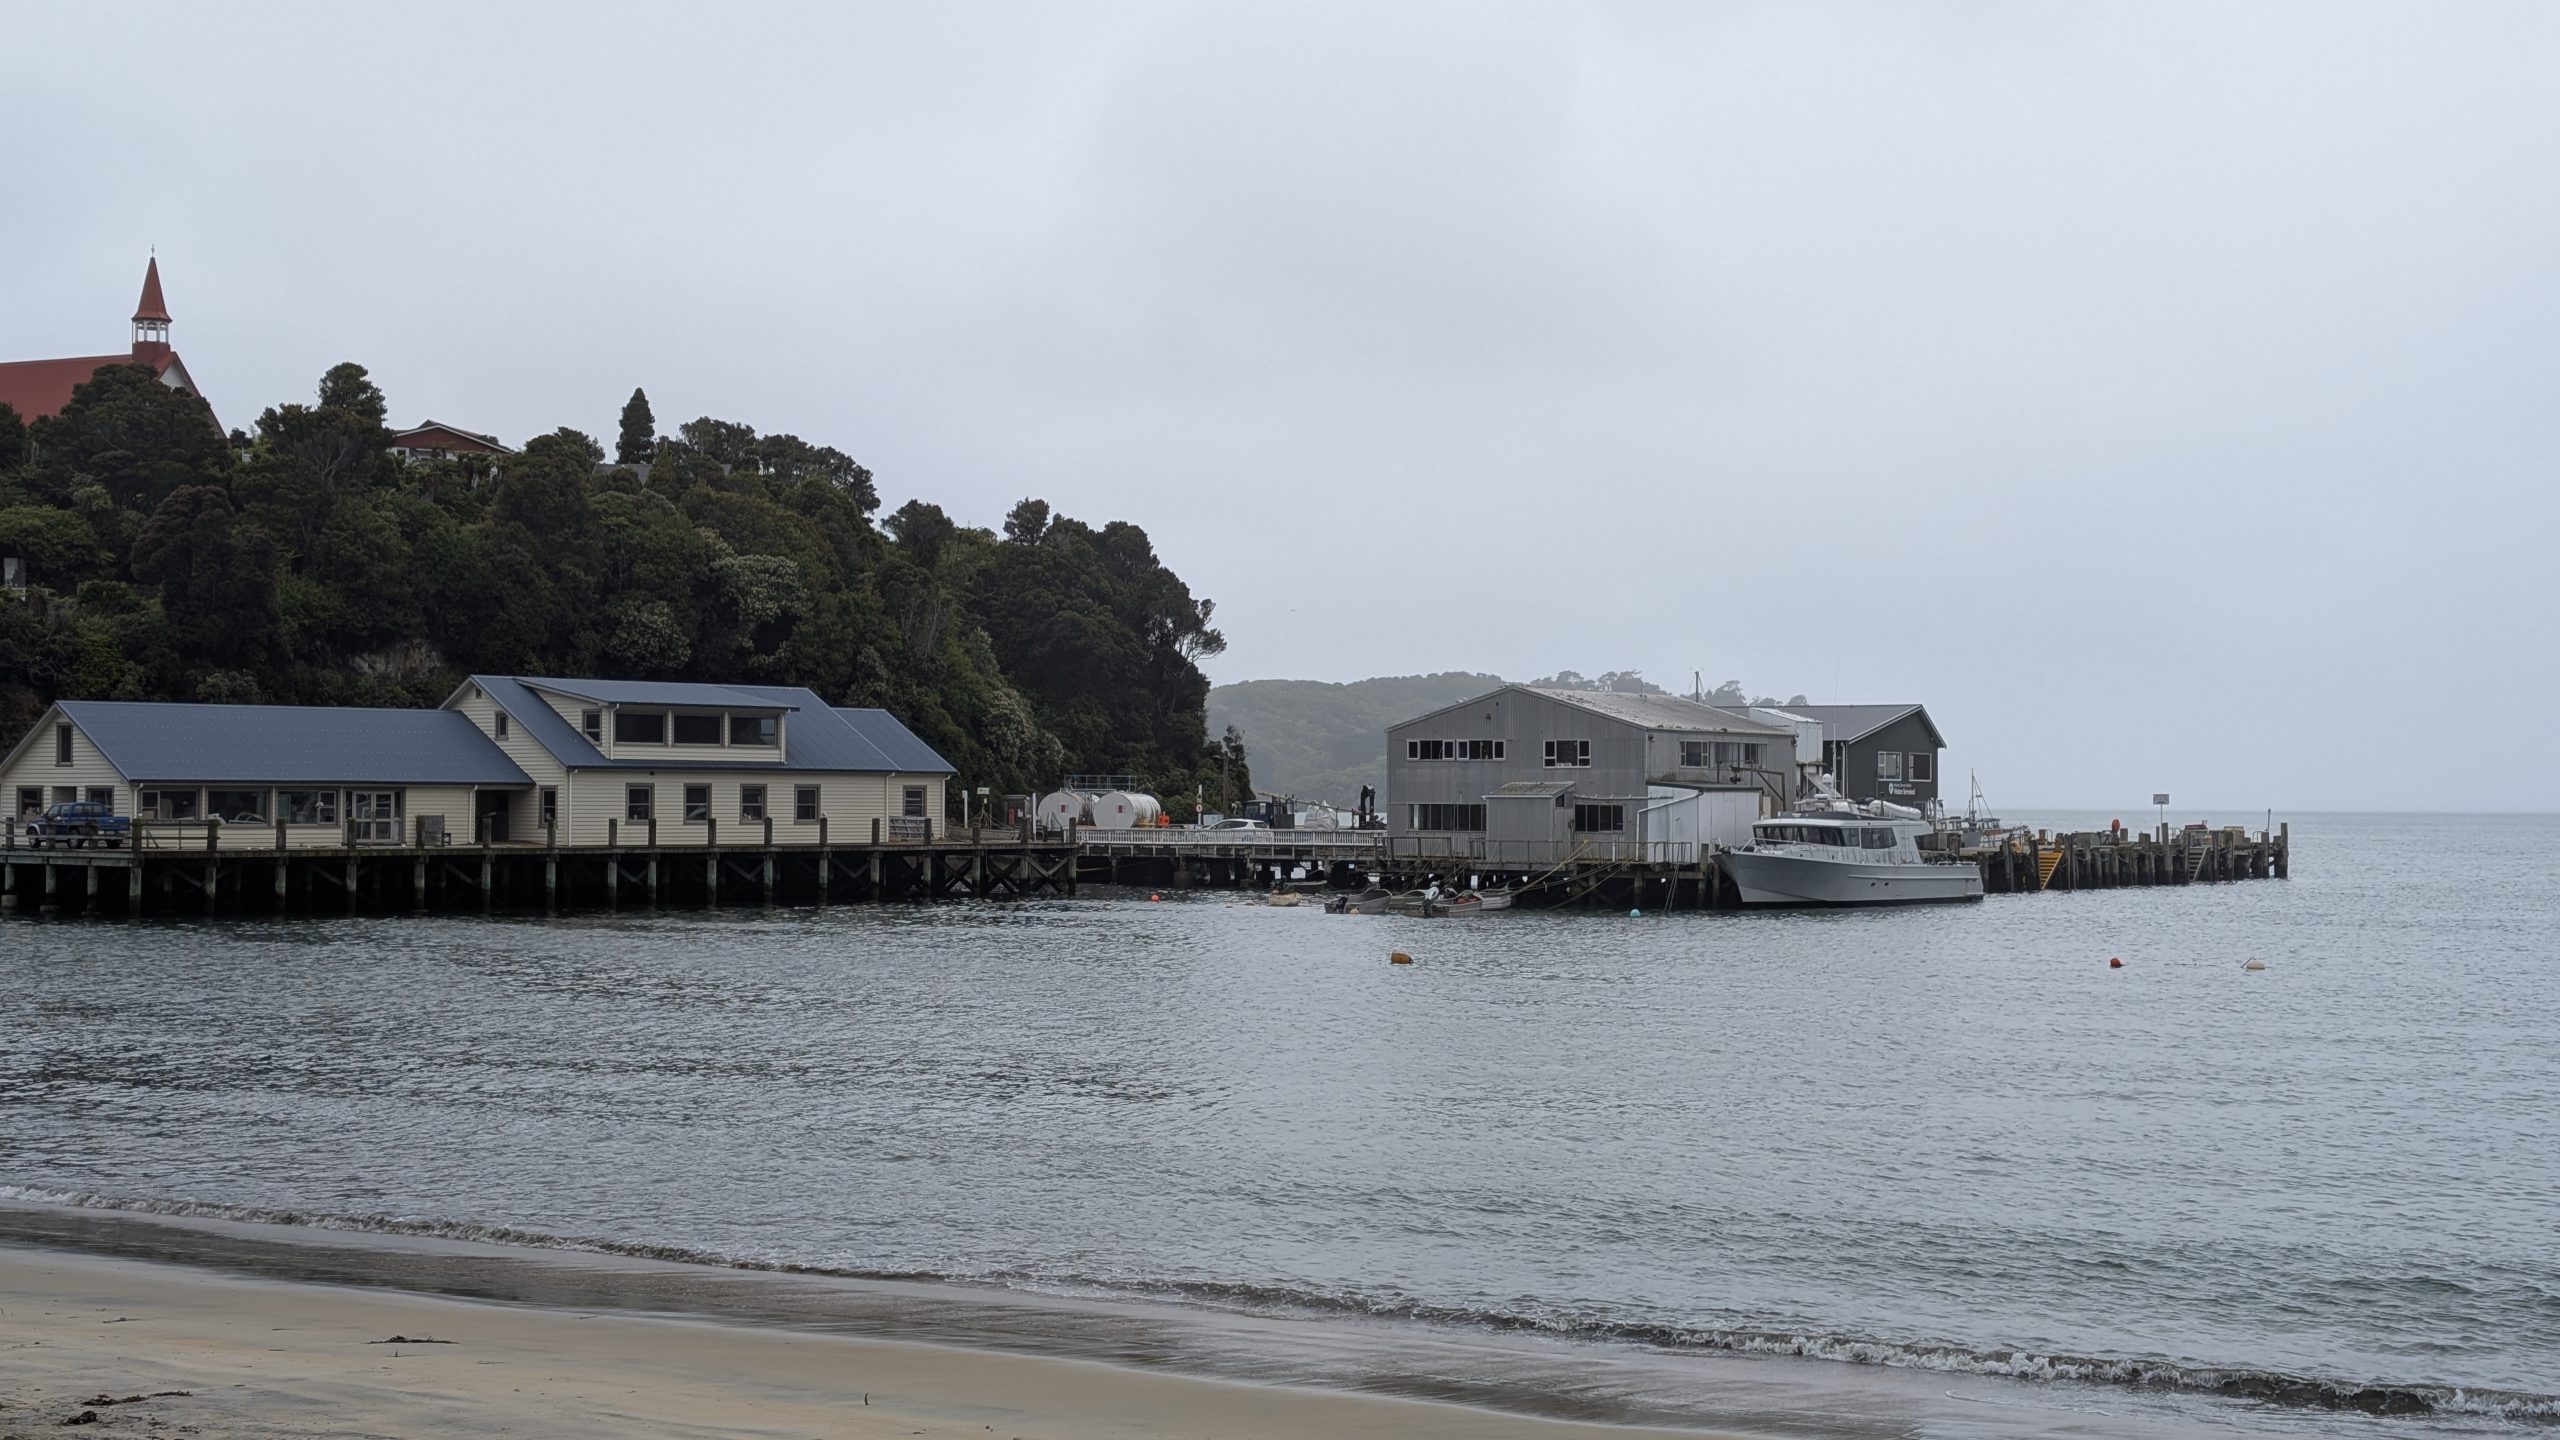
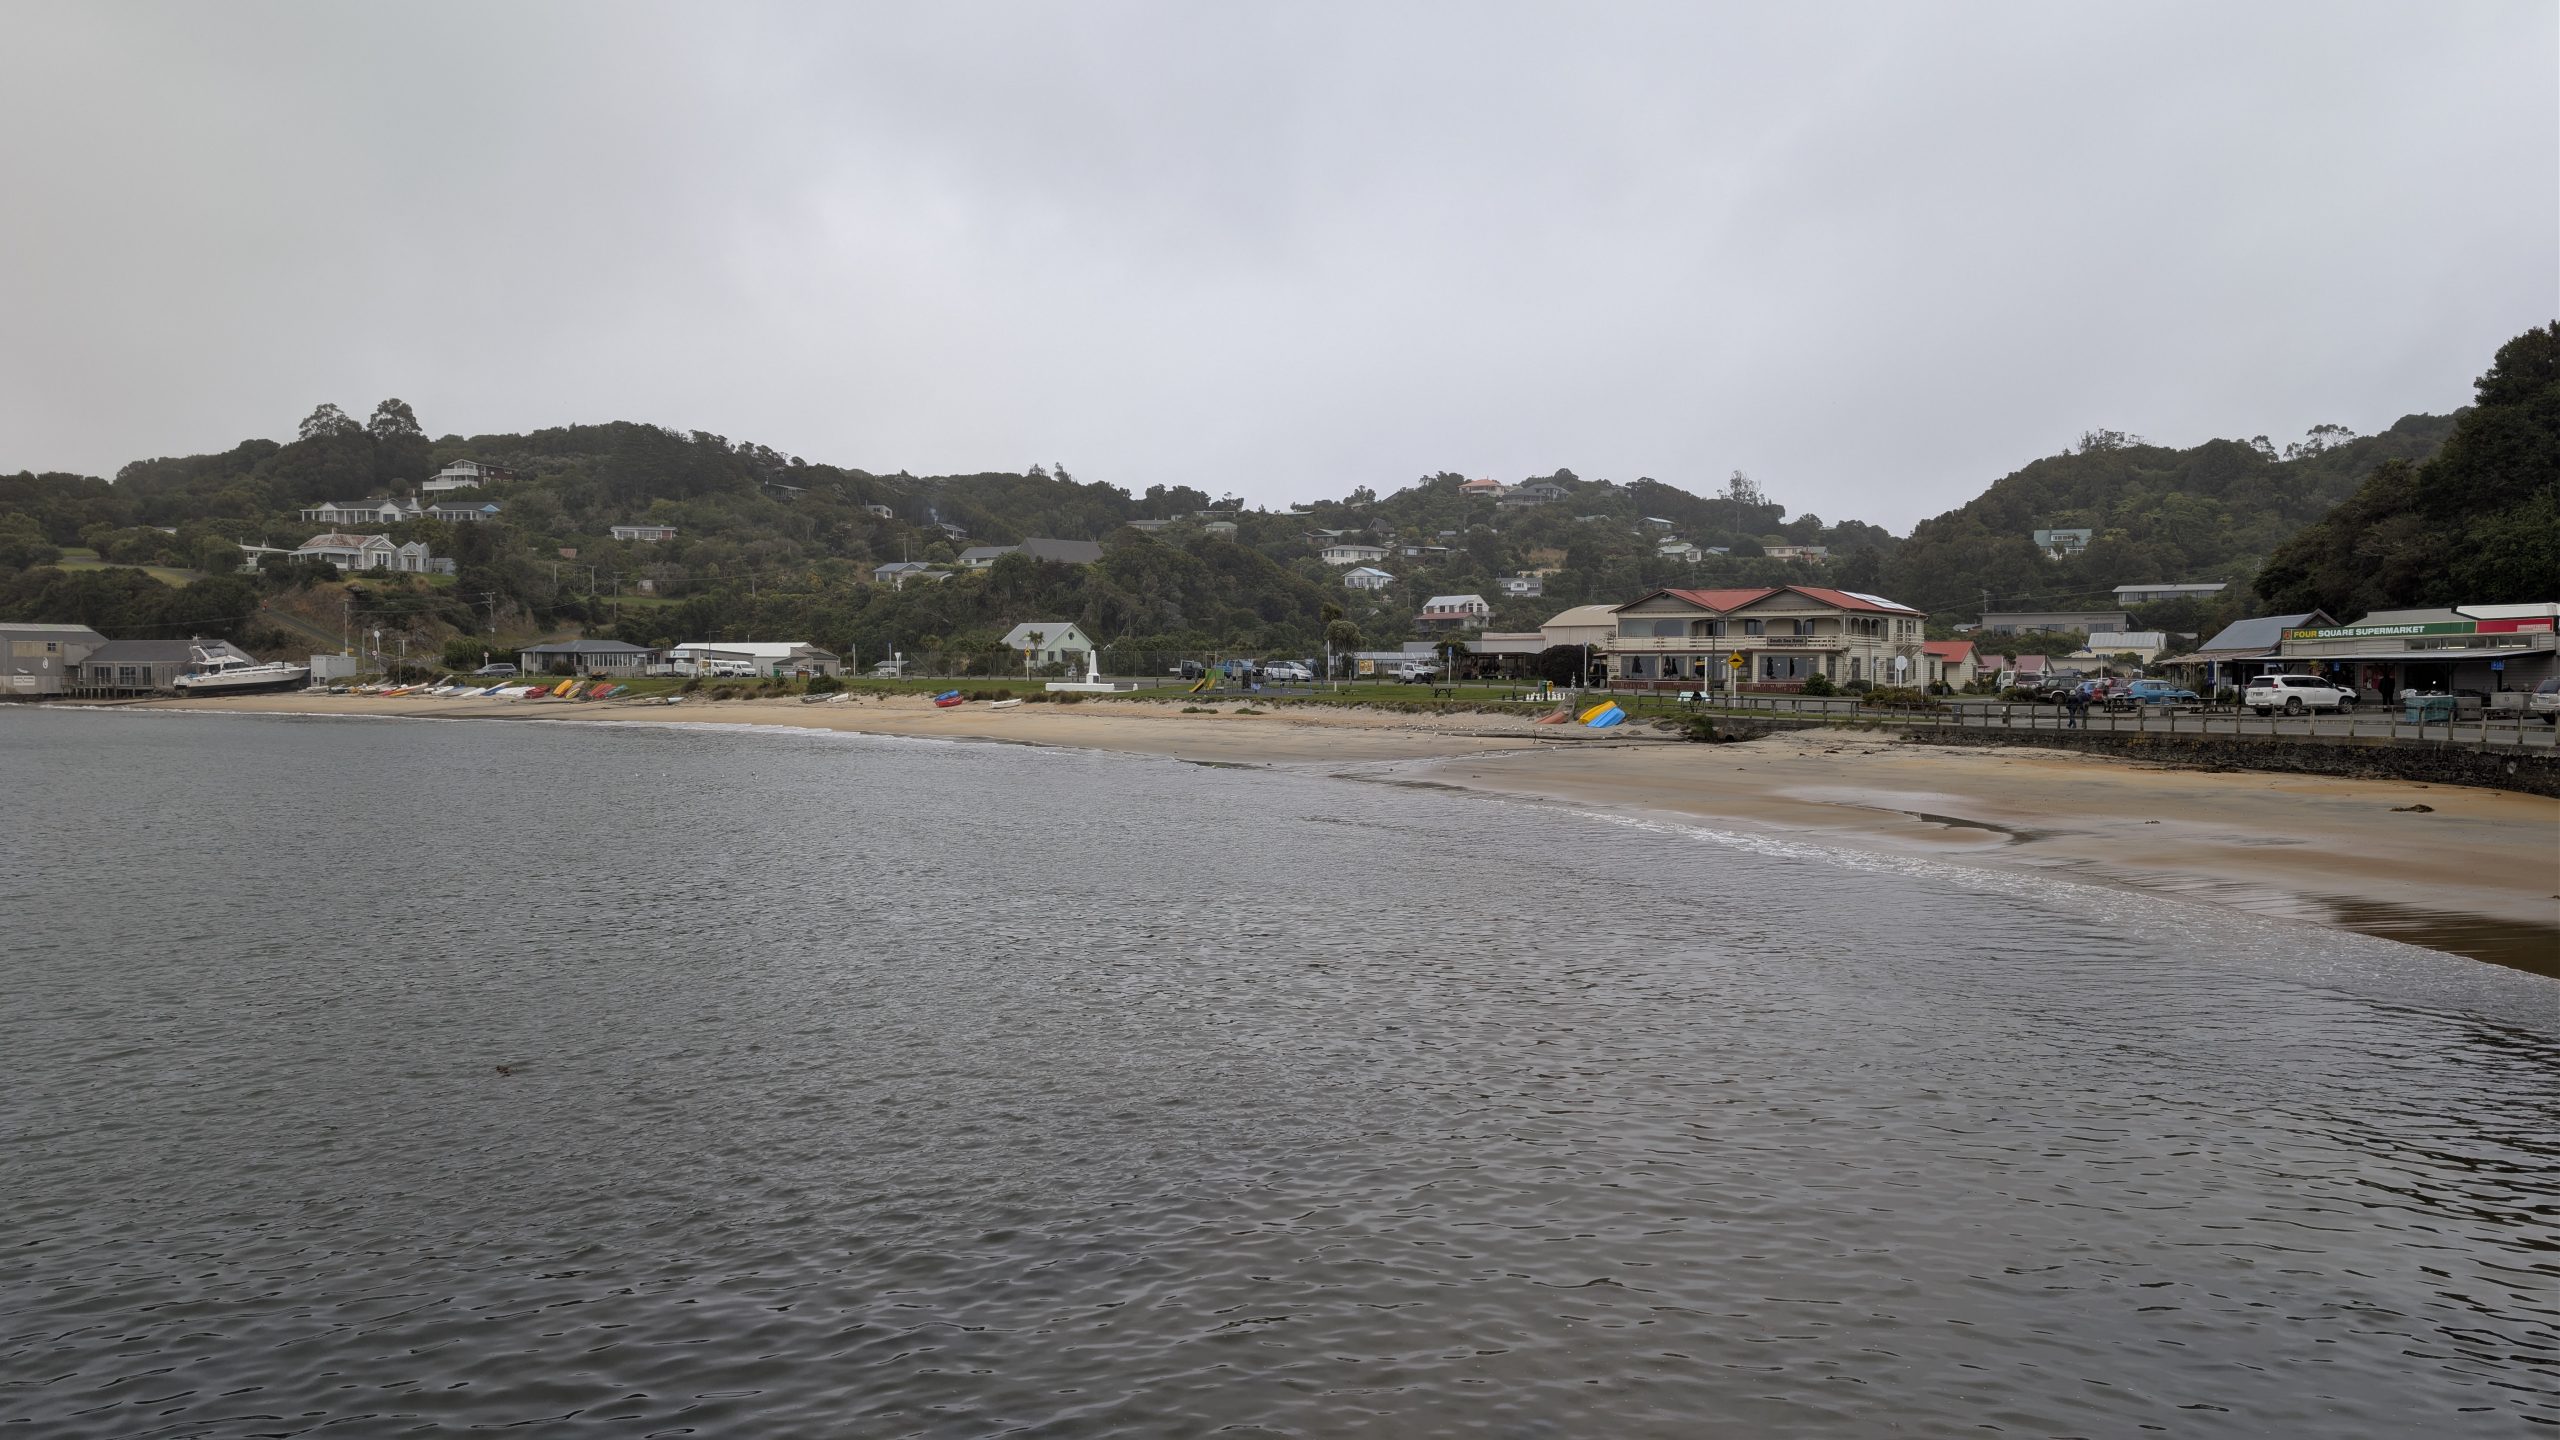
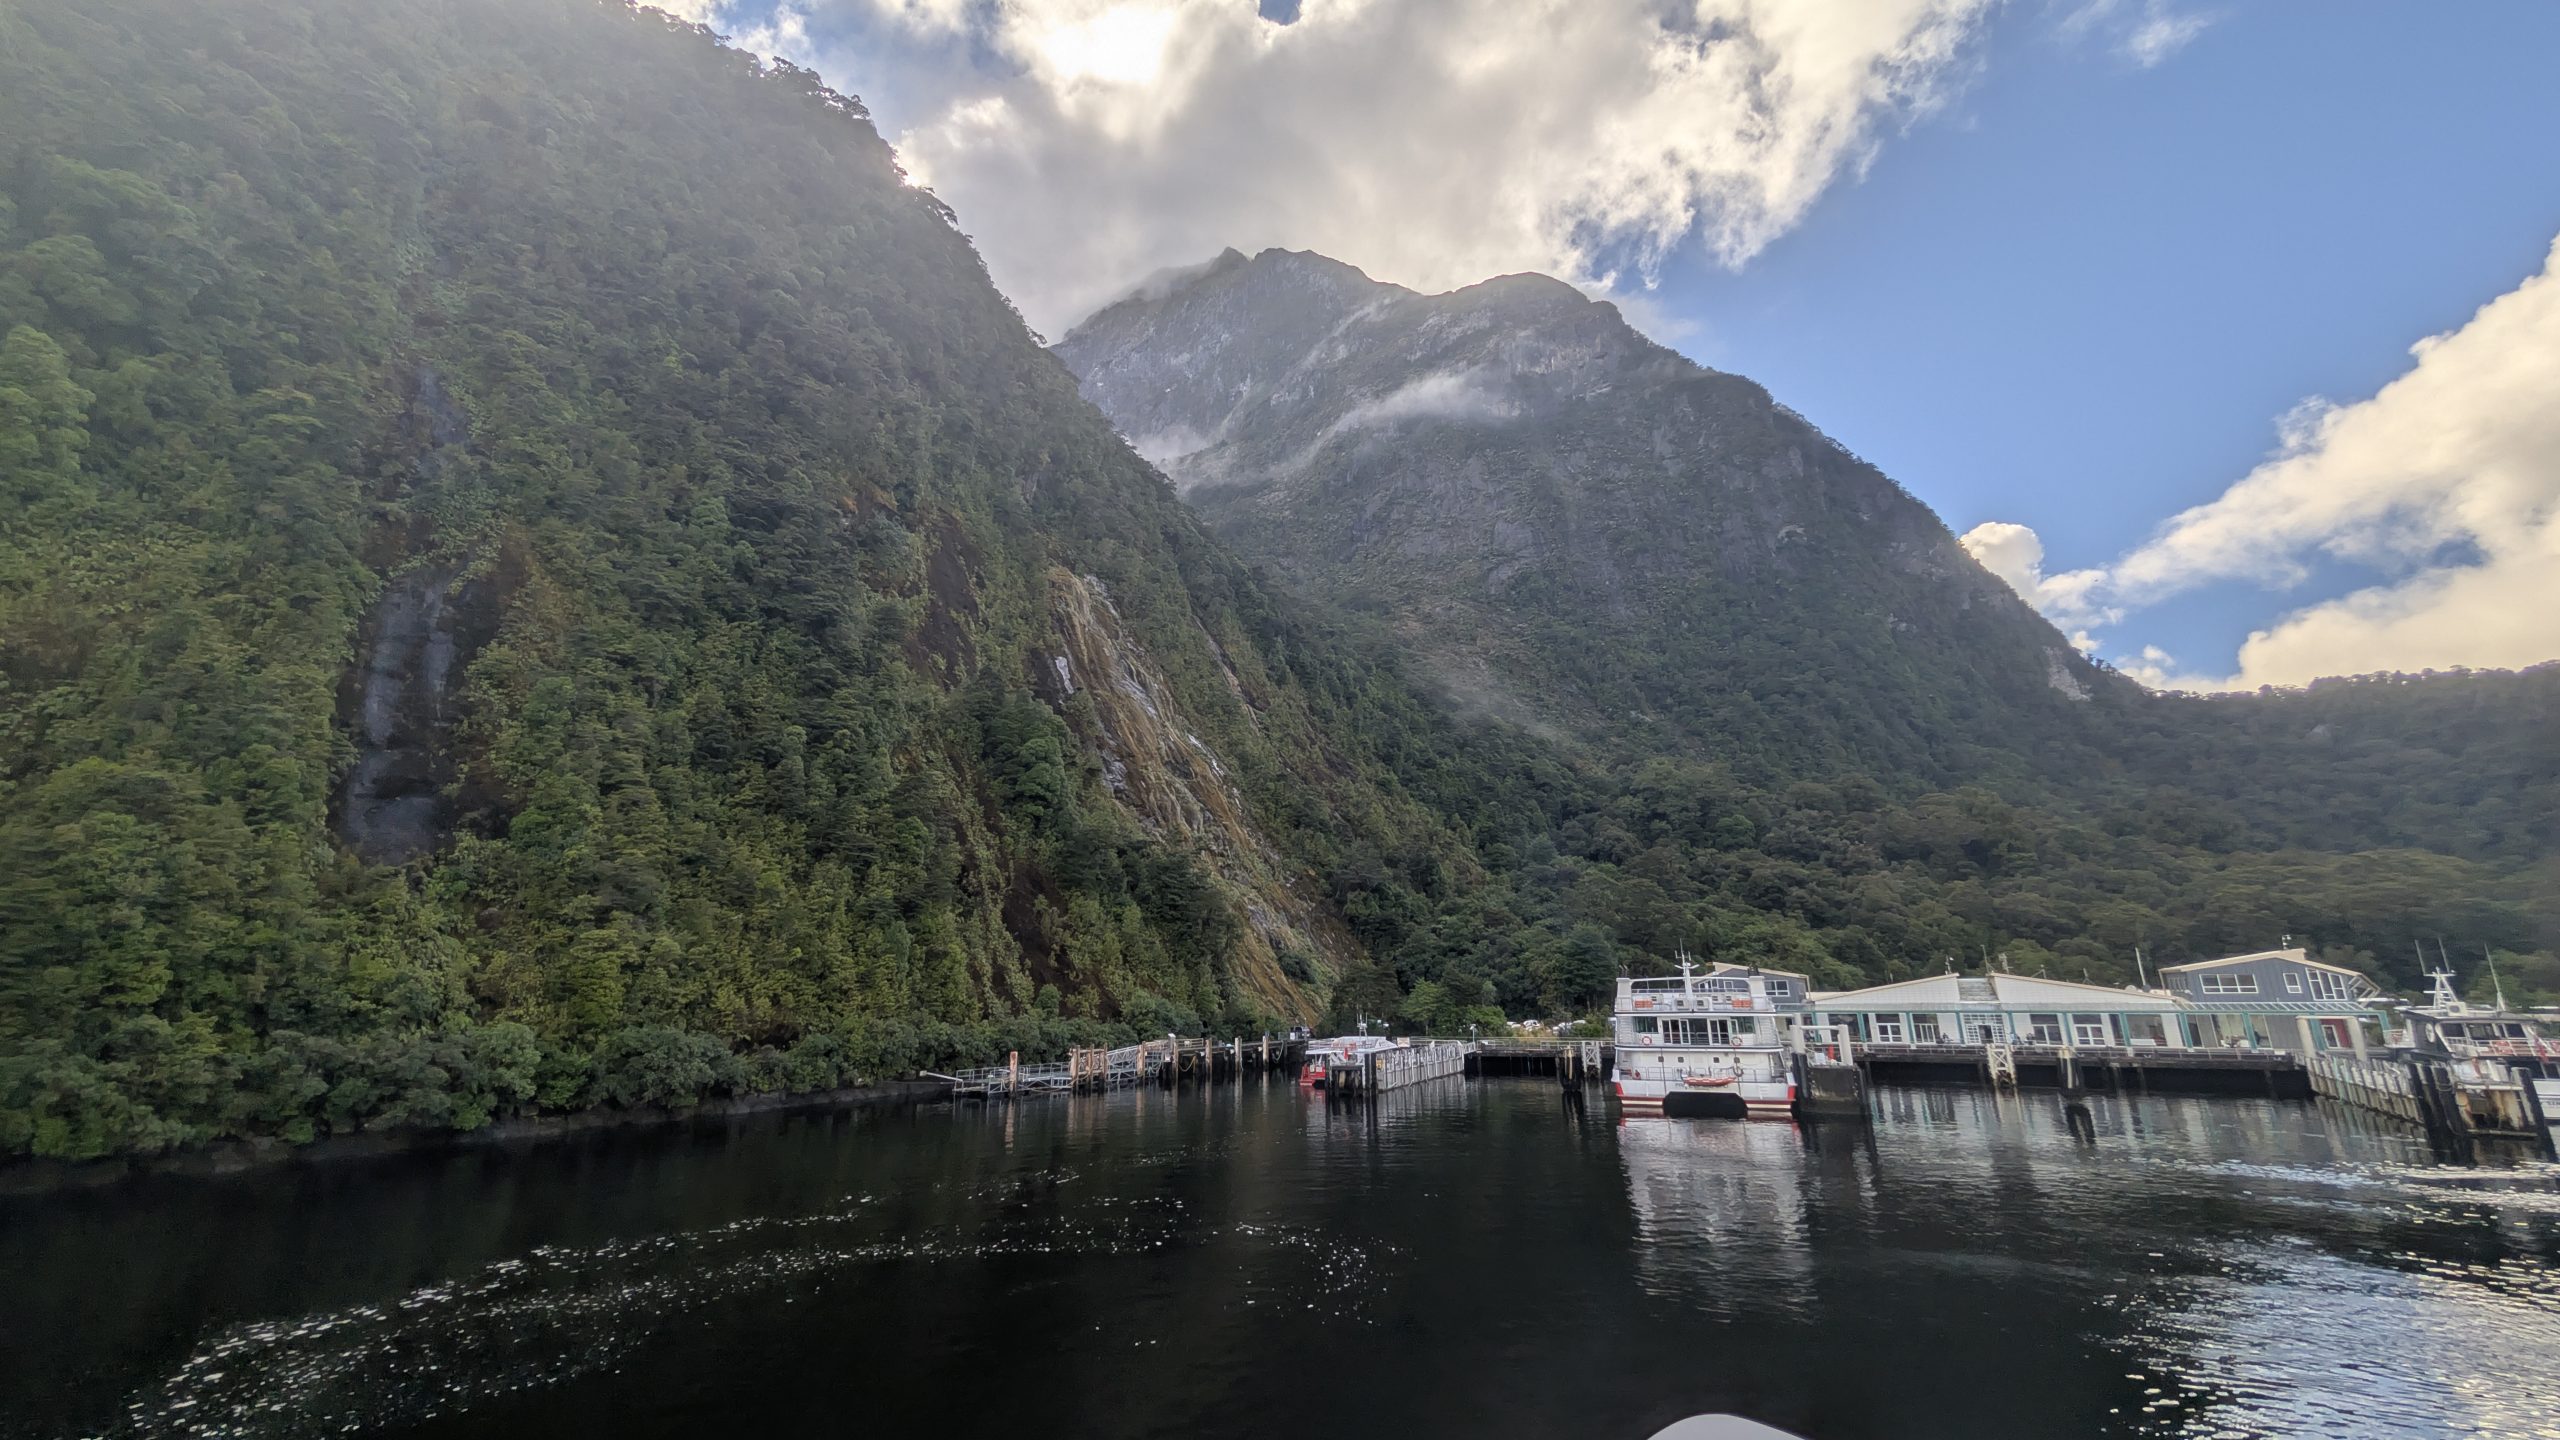
The ferry arrived at the town of Oban. It was the only town on the entire island, and it was very, very small with all of the amenities located within just a few blocks.
Stewart Island ferry terminalTown of Oban
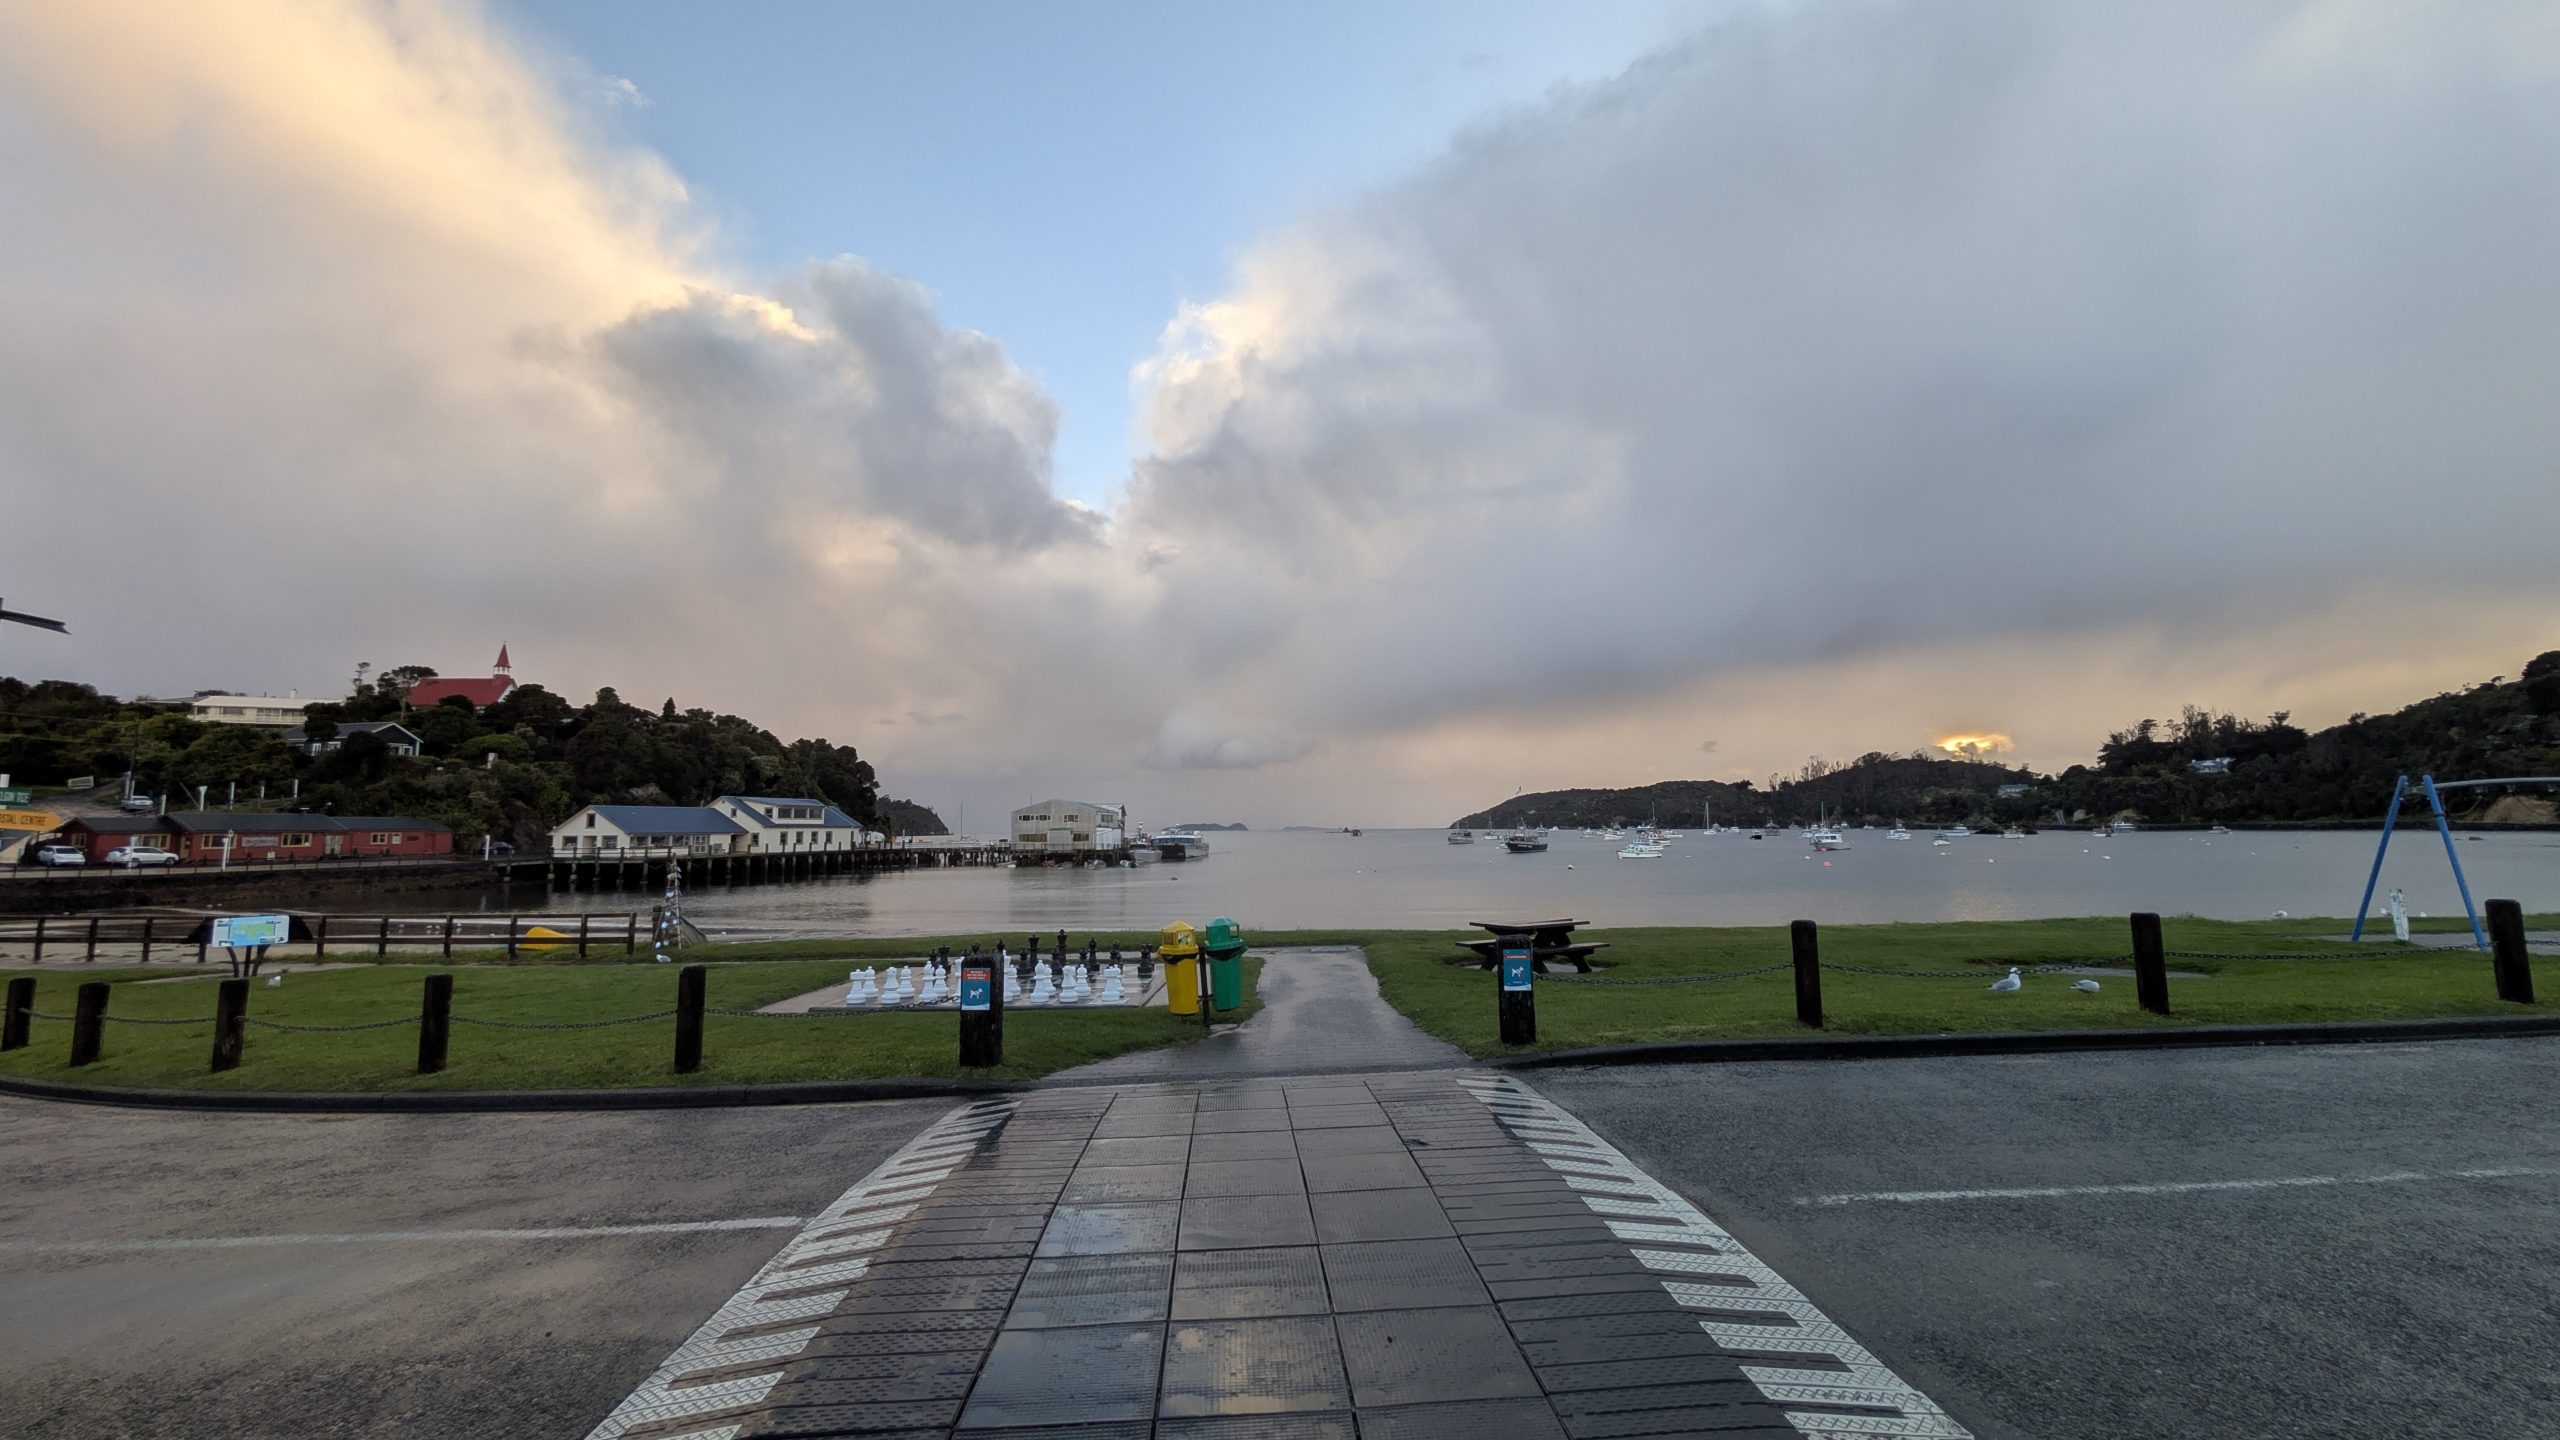
We checked into our room at the South Sea Hotel. We were in the annex building directly behind the main hotel building. Although we had a shared bathroom, it was never busy since only a couple of rooms used it.
South Sea Hotel annex
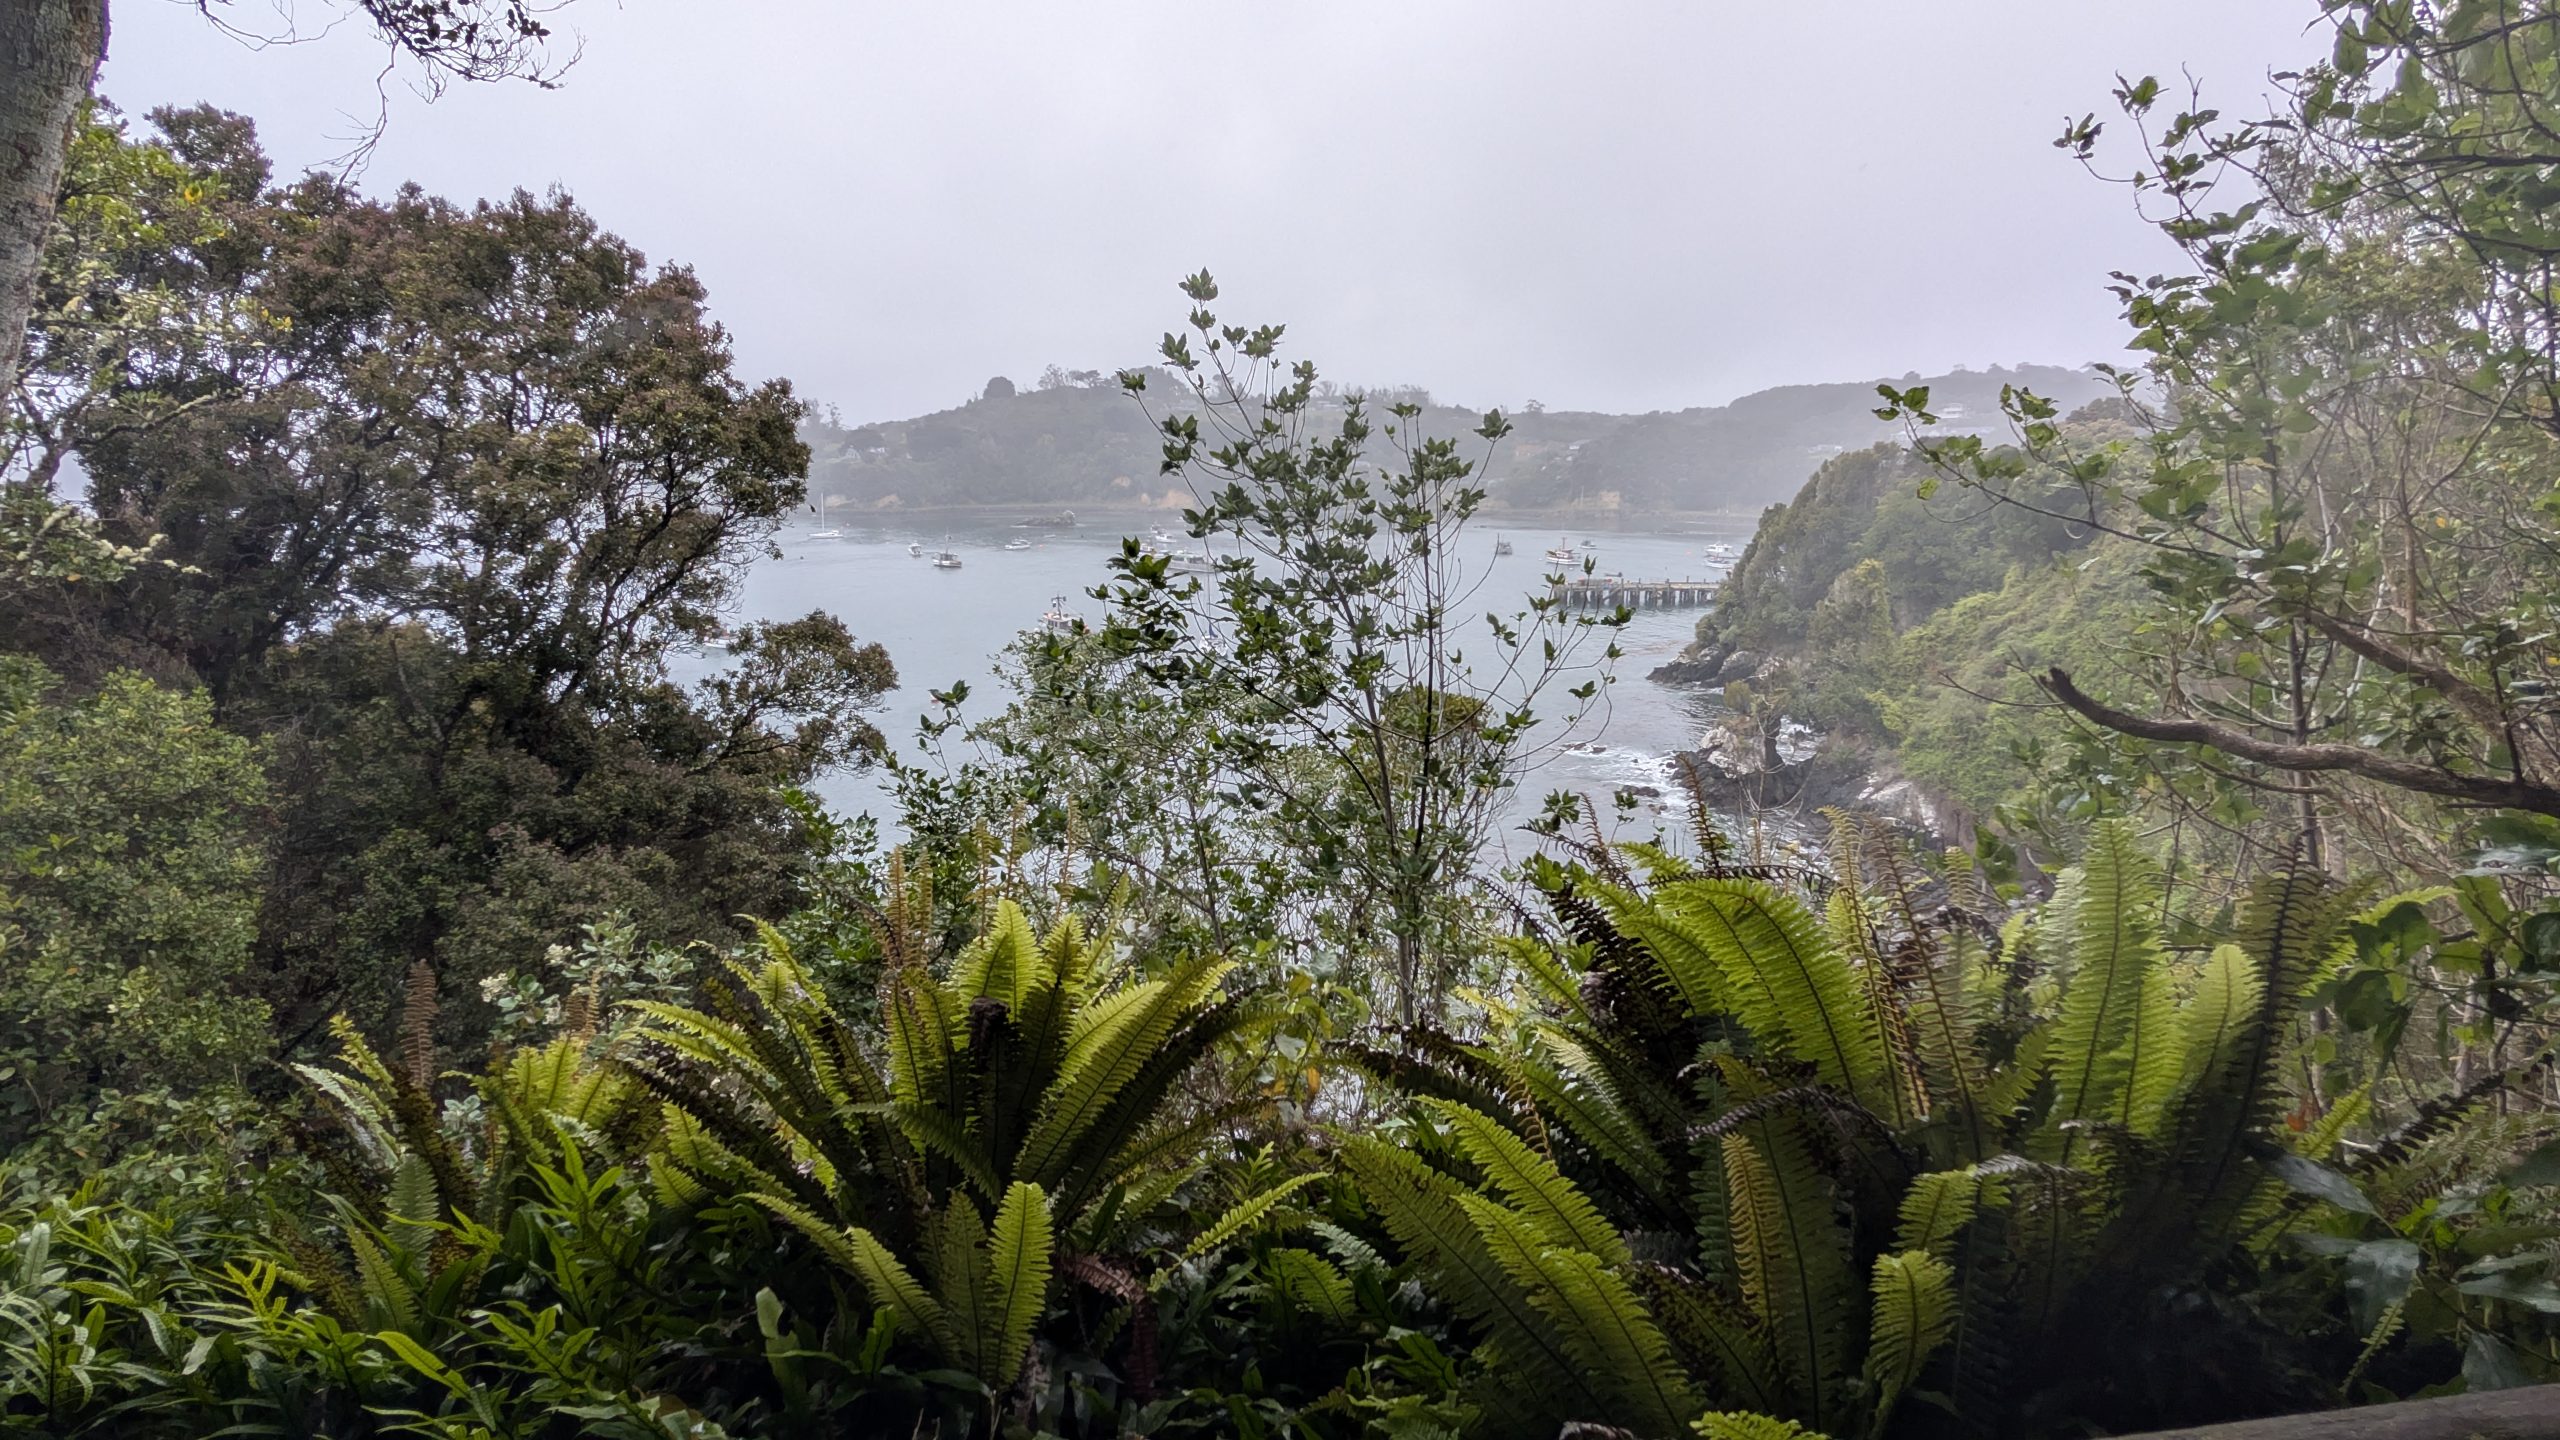
In the afternoon I decided to go for a walk. The weather was still overcast, but it was not raining. I climbed up to the Halfmoon Bay Lookout for a view of the ferry area.
Halfmoon Bay Lookout
I continued on the trail to Bathing Beach. It was a fun walk through a rain forest. The start of the walk went through a tree tunnel. Overhead I got a great view of two kererū birds that flew to a branch close by.
Tree tunnel entrance to Bathing Beach trail
Kererū
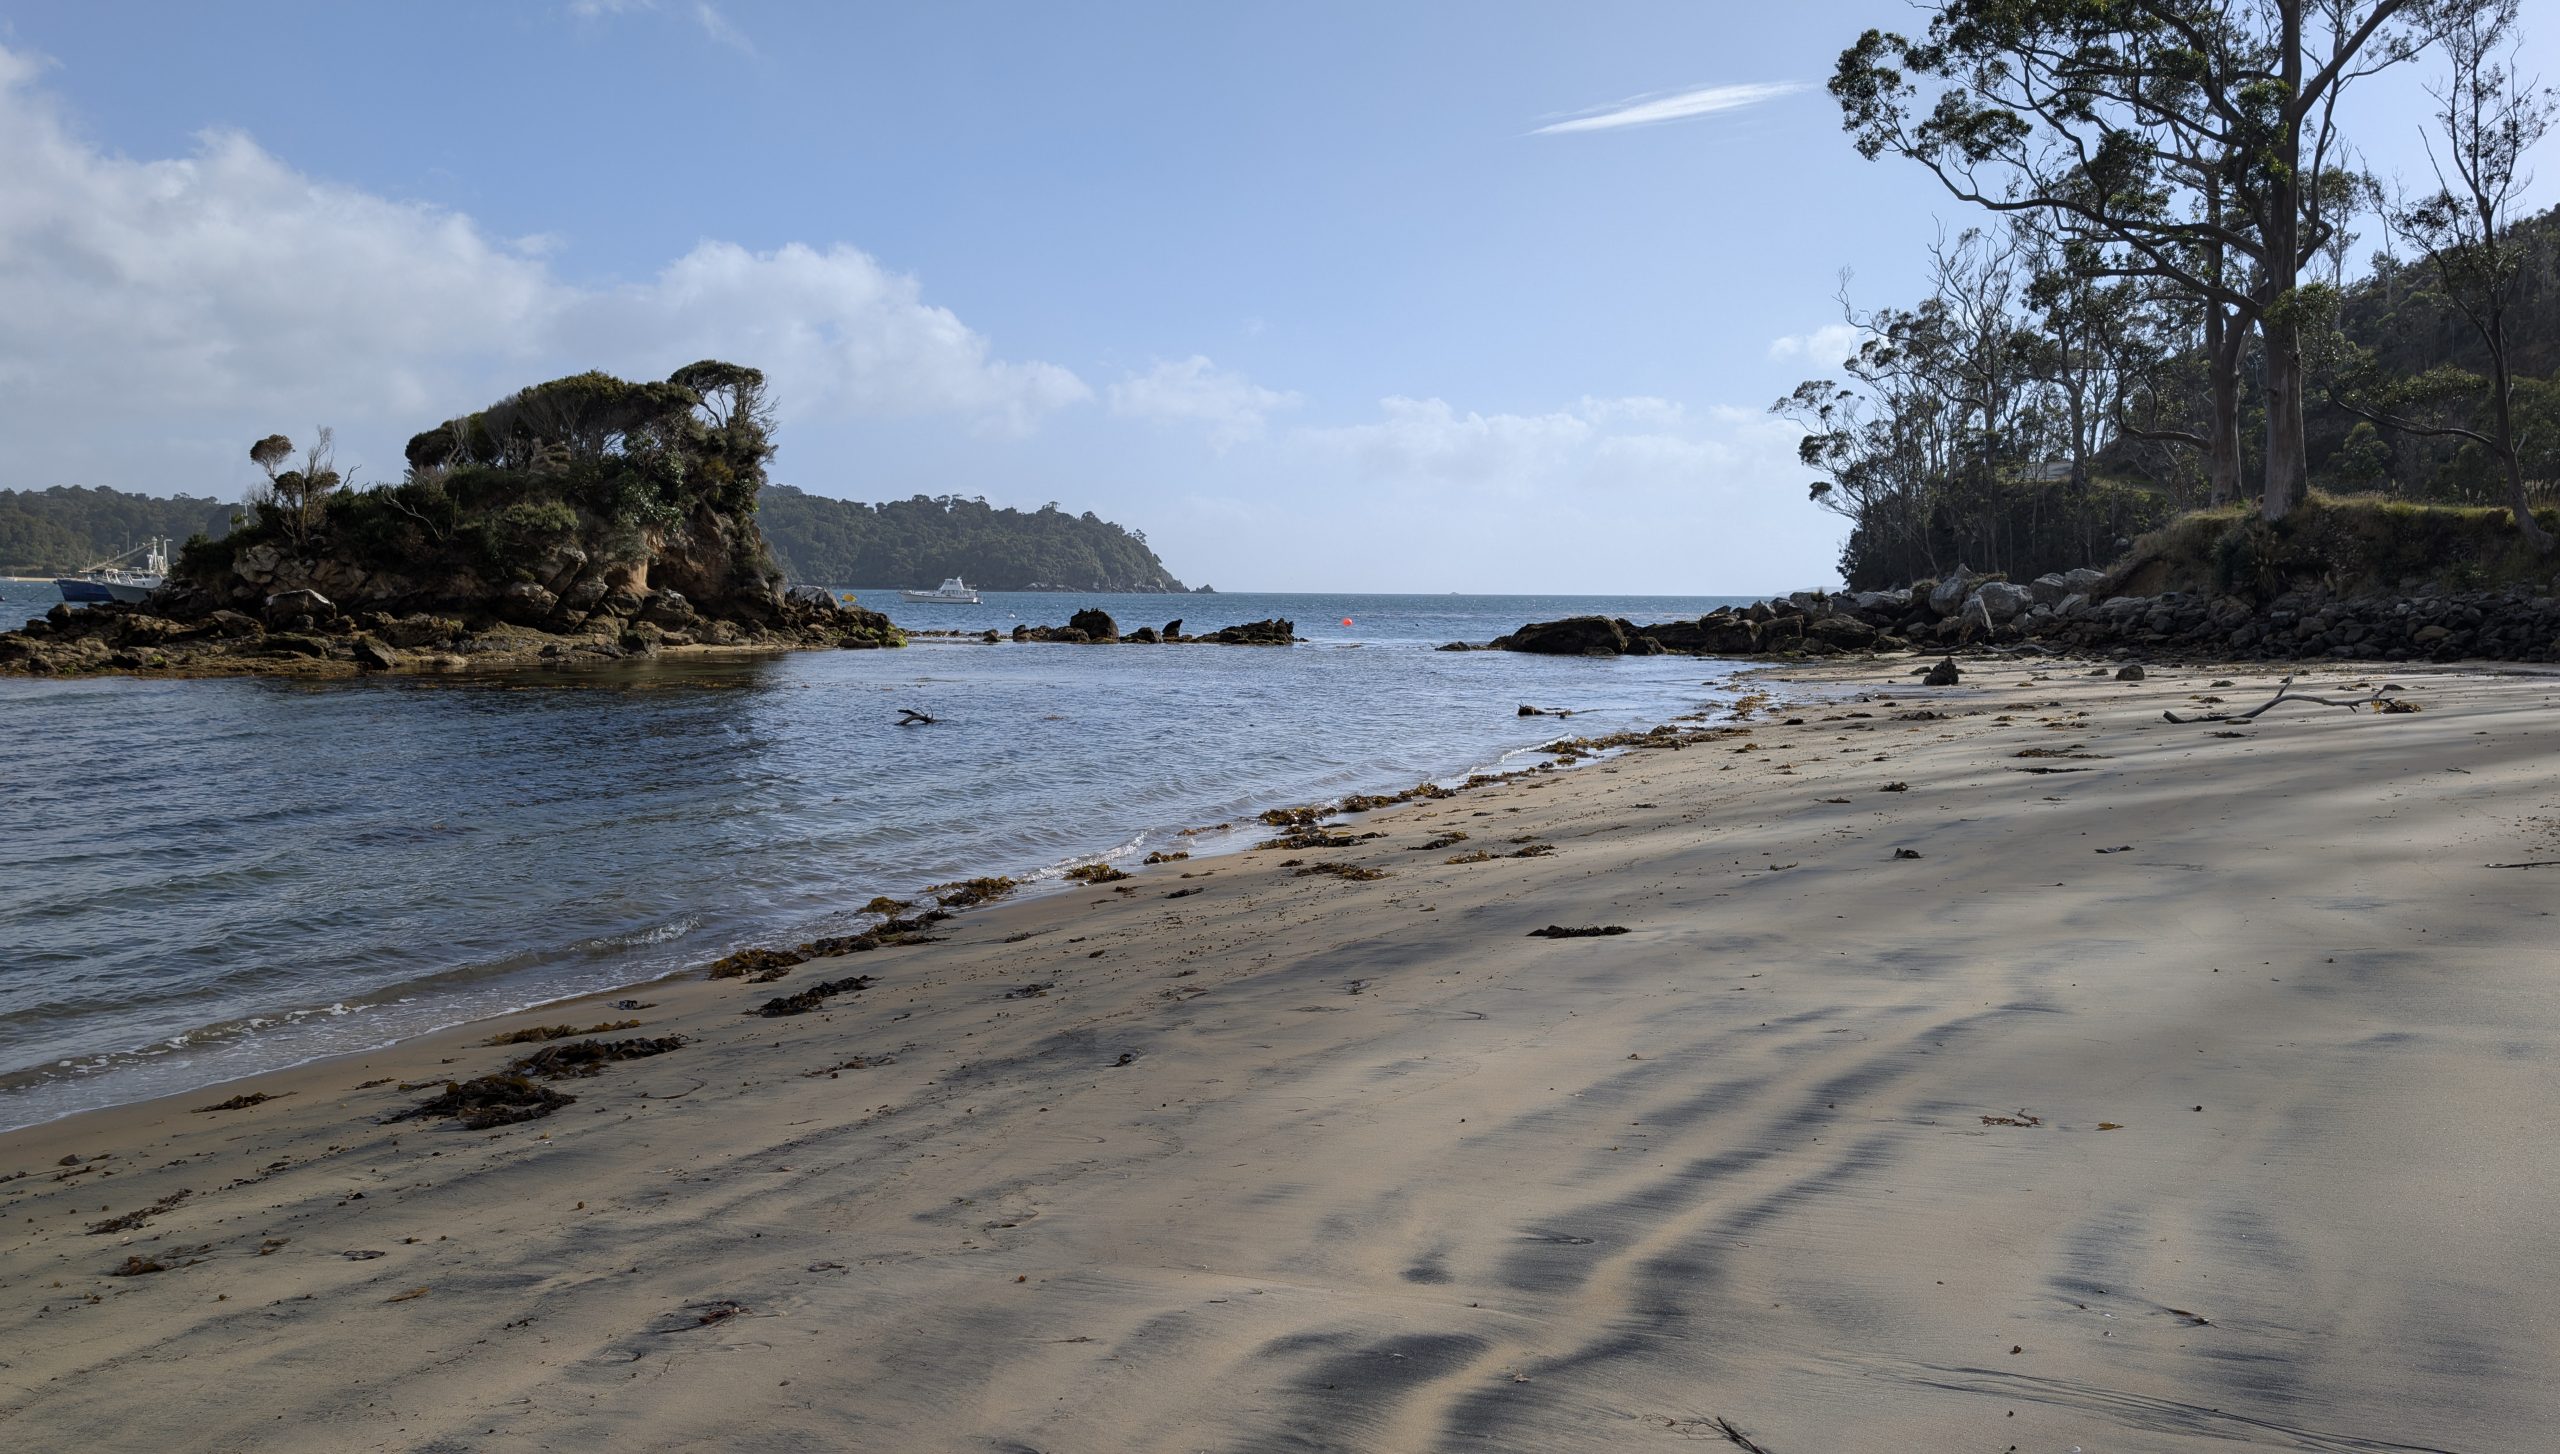
The trail opened up to a nice view of Bathing Beach below. It was low tide, so I descended the bluff to walk the beach.
Bathing BeachBathing Beach and the bluff above
Then I crossed the road and walked up a hill to a cemetery where there was a view of Bathing Beach from above.
Bathing Beach view from the cemetery
I returned to the room, and then we walked down the street to the Kai Kart takeaway, where we ordered fish and chips for dinner. The half scoop of chips that we shared was huge!
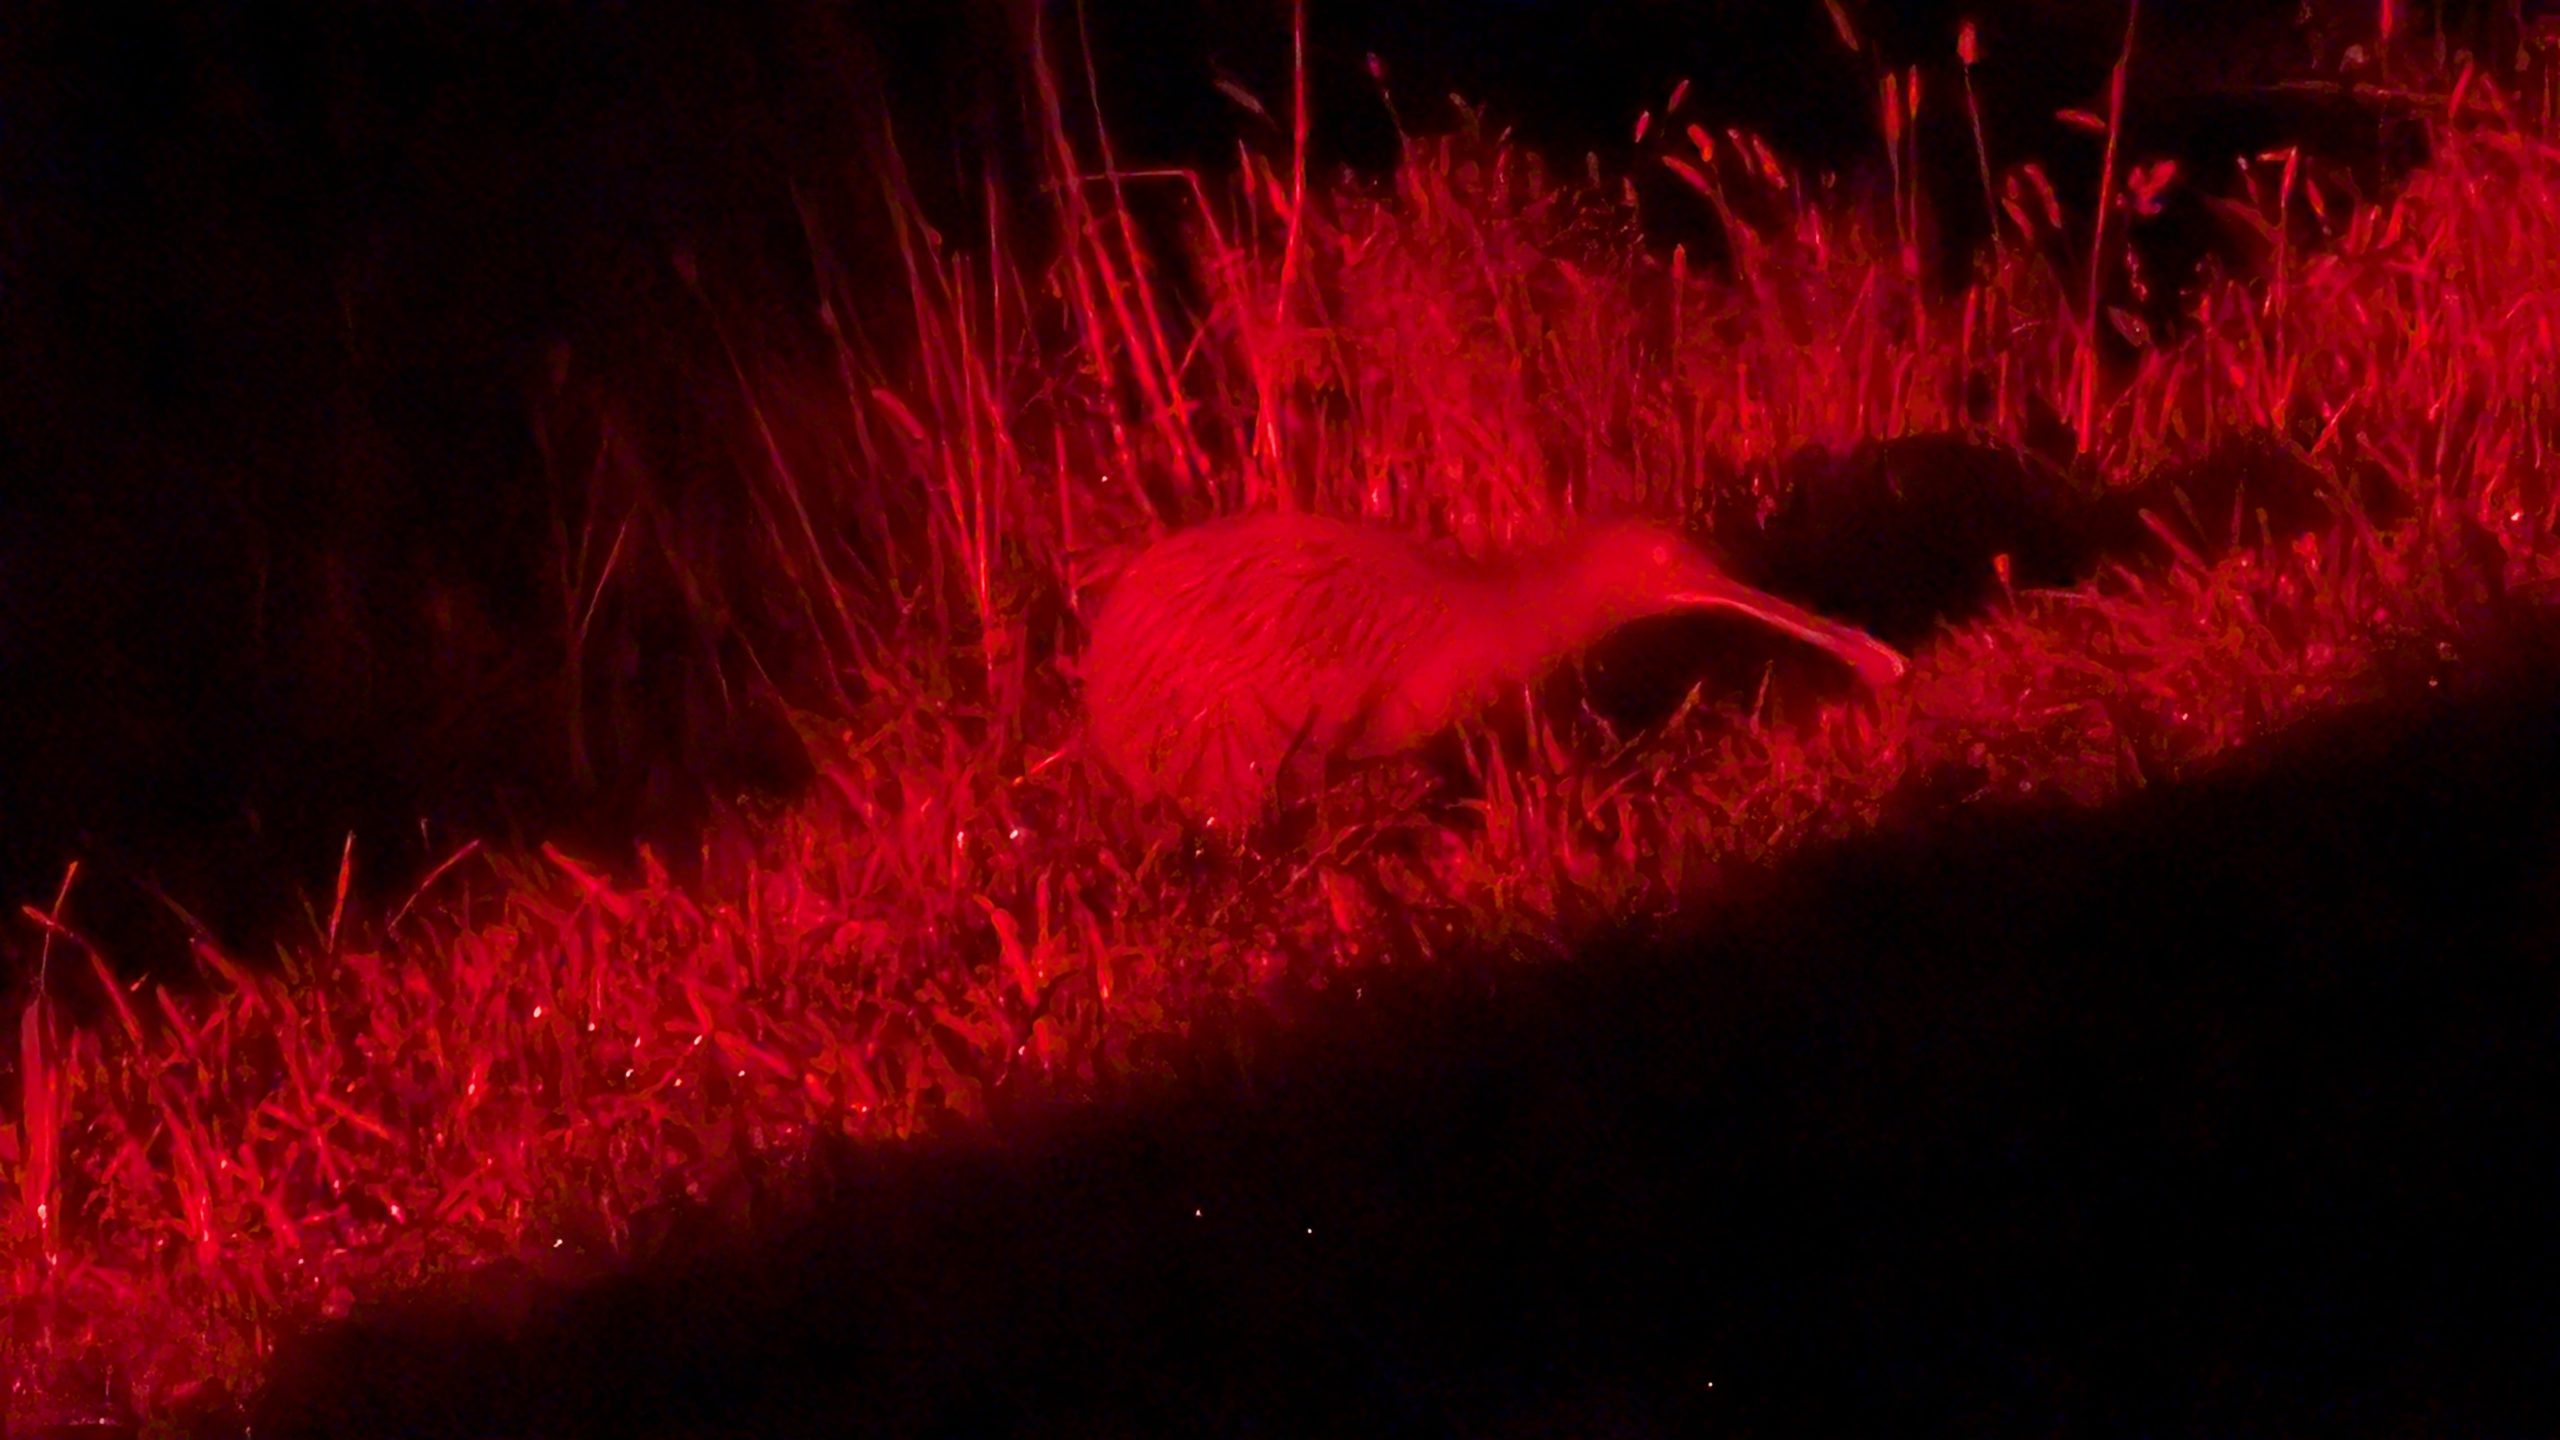
The real fun began later that evening when we went on a kiwi spotting tour with Beaks and Feathers. This was a small group tour with only 10 people. The guide drove us in a van to a private strip of land next to the airport. It was a large grassy area where we could easily walk around. The guide used a bright red light to spot the kiwi, and then she dimmed down the light to give us all a chance to view the kiwi and take non-flash photos and videos.
In general, kiwi birds are not disturbed by red light. In fact, they have very poor vision, but their hearing is excellent. We had to remain as quiet as possible to not disturb the kiwi. We were able to observe 7 kiwi that night. It was drizzling rain for the first half of the tour, but then it cleared. The drizzle did not affect the kiwi sighting. The first kiwi that we saw was a juvenile, and he did not like our presence. He ran away after just a few seconds.
Juvenile kiwi
Most of the other kiwi that we observed were adults and more tolerant of our presence. I took many videos and photos. The two below are my favorite.
Adult kiwi
Adult kiwi, unbothered by our presence
The tour lasted an hour and a half, and then we were driven back to our room. It was a late night, past midnight when we returned, but well worth it.
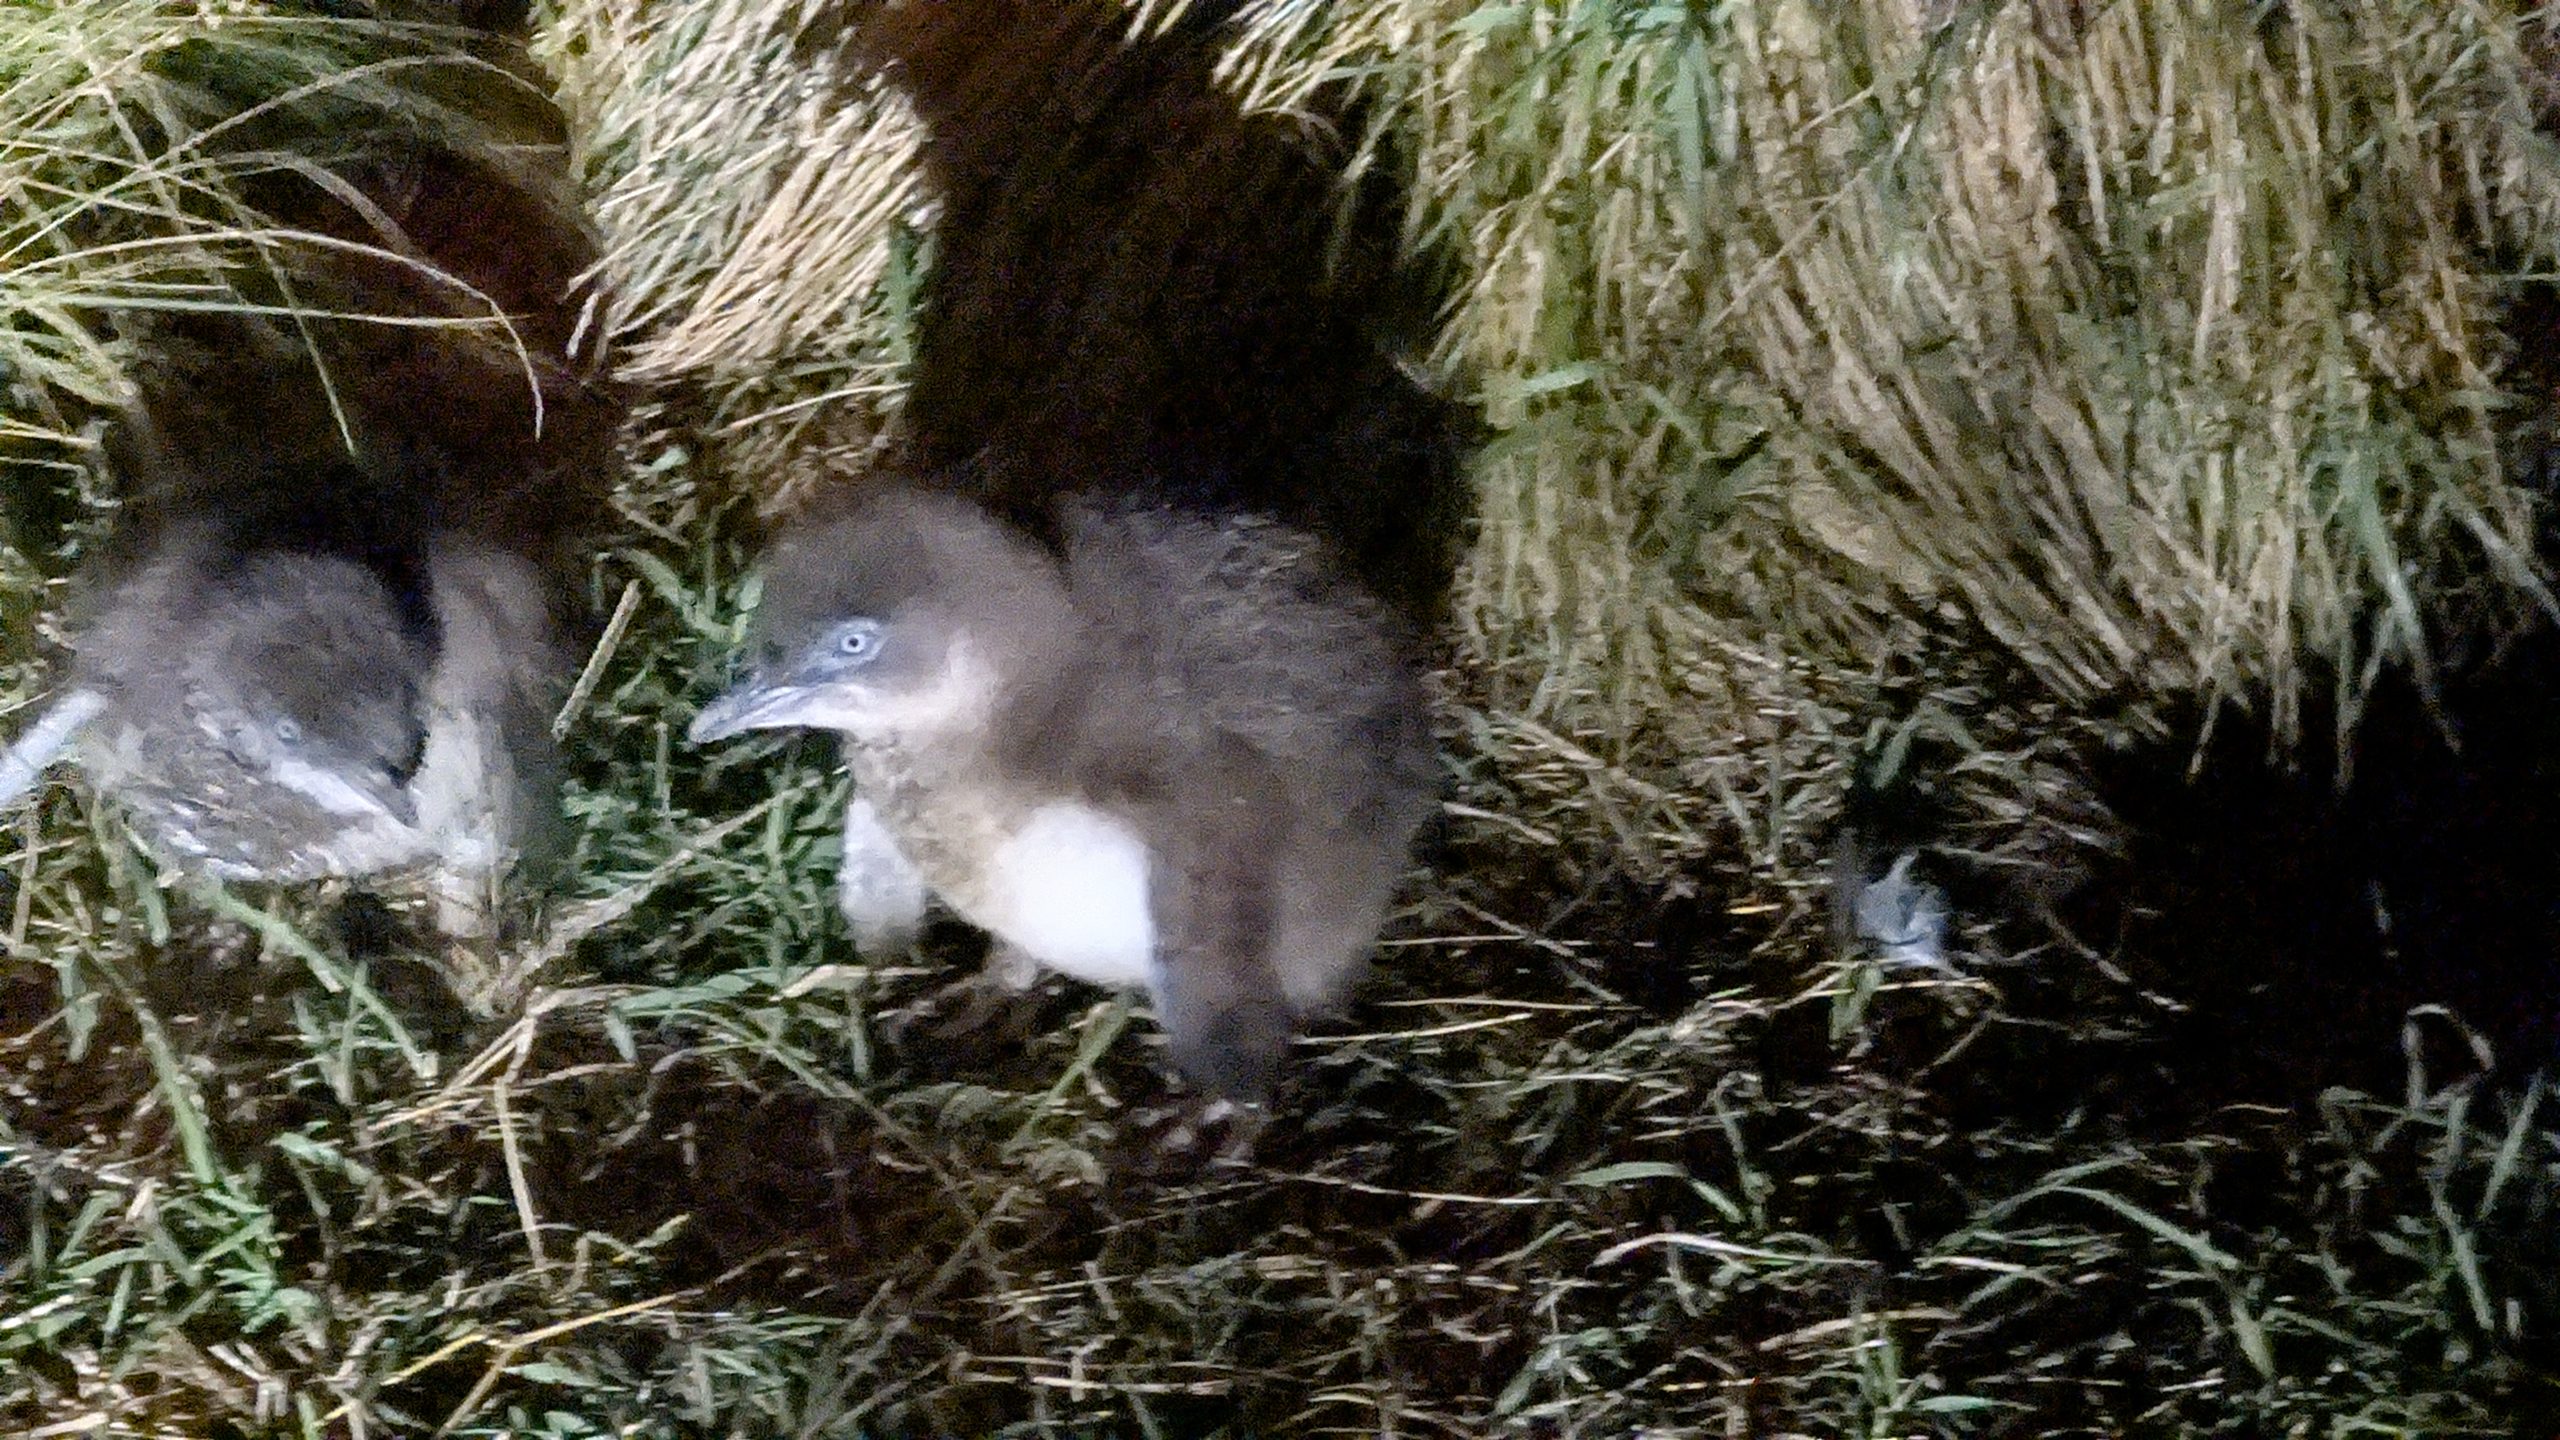
At about 3:30 AM I finally heard what I was hoping to hear: the little blue penguins making noises under the house. There were several minutes of on and off squawking. The sounds were fainter than what I had heard while there in 2023 and appeared to be coming from a different location under the house. It was still fun to hear.
Turn up the volume to hear the little blue penguins
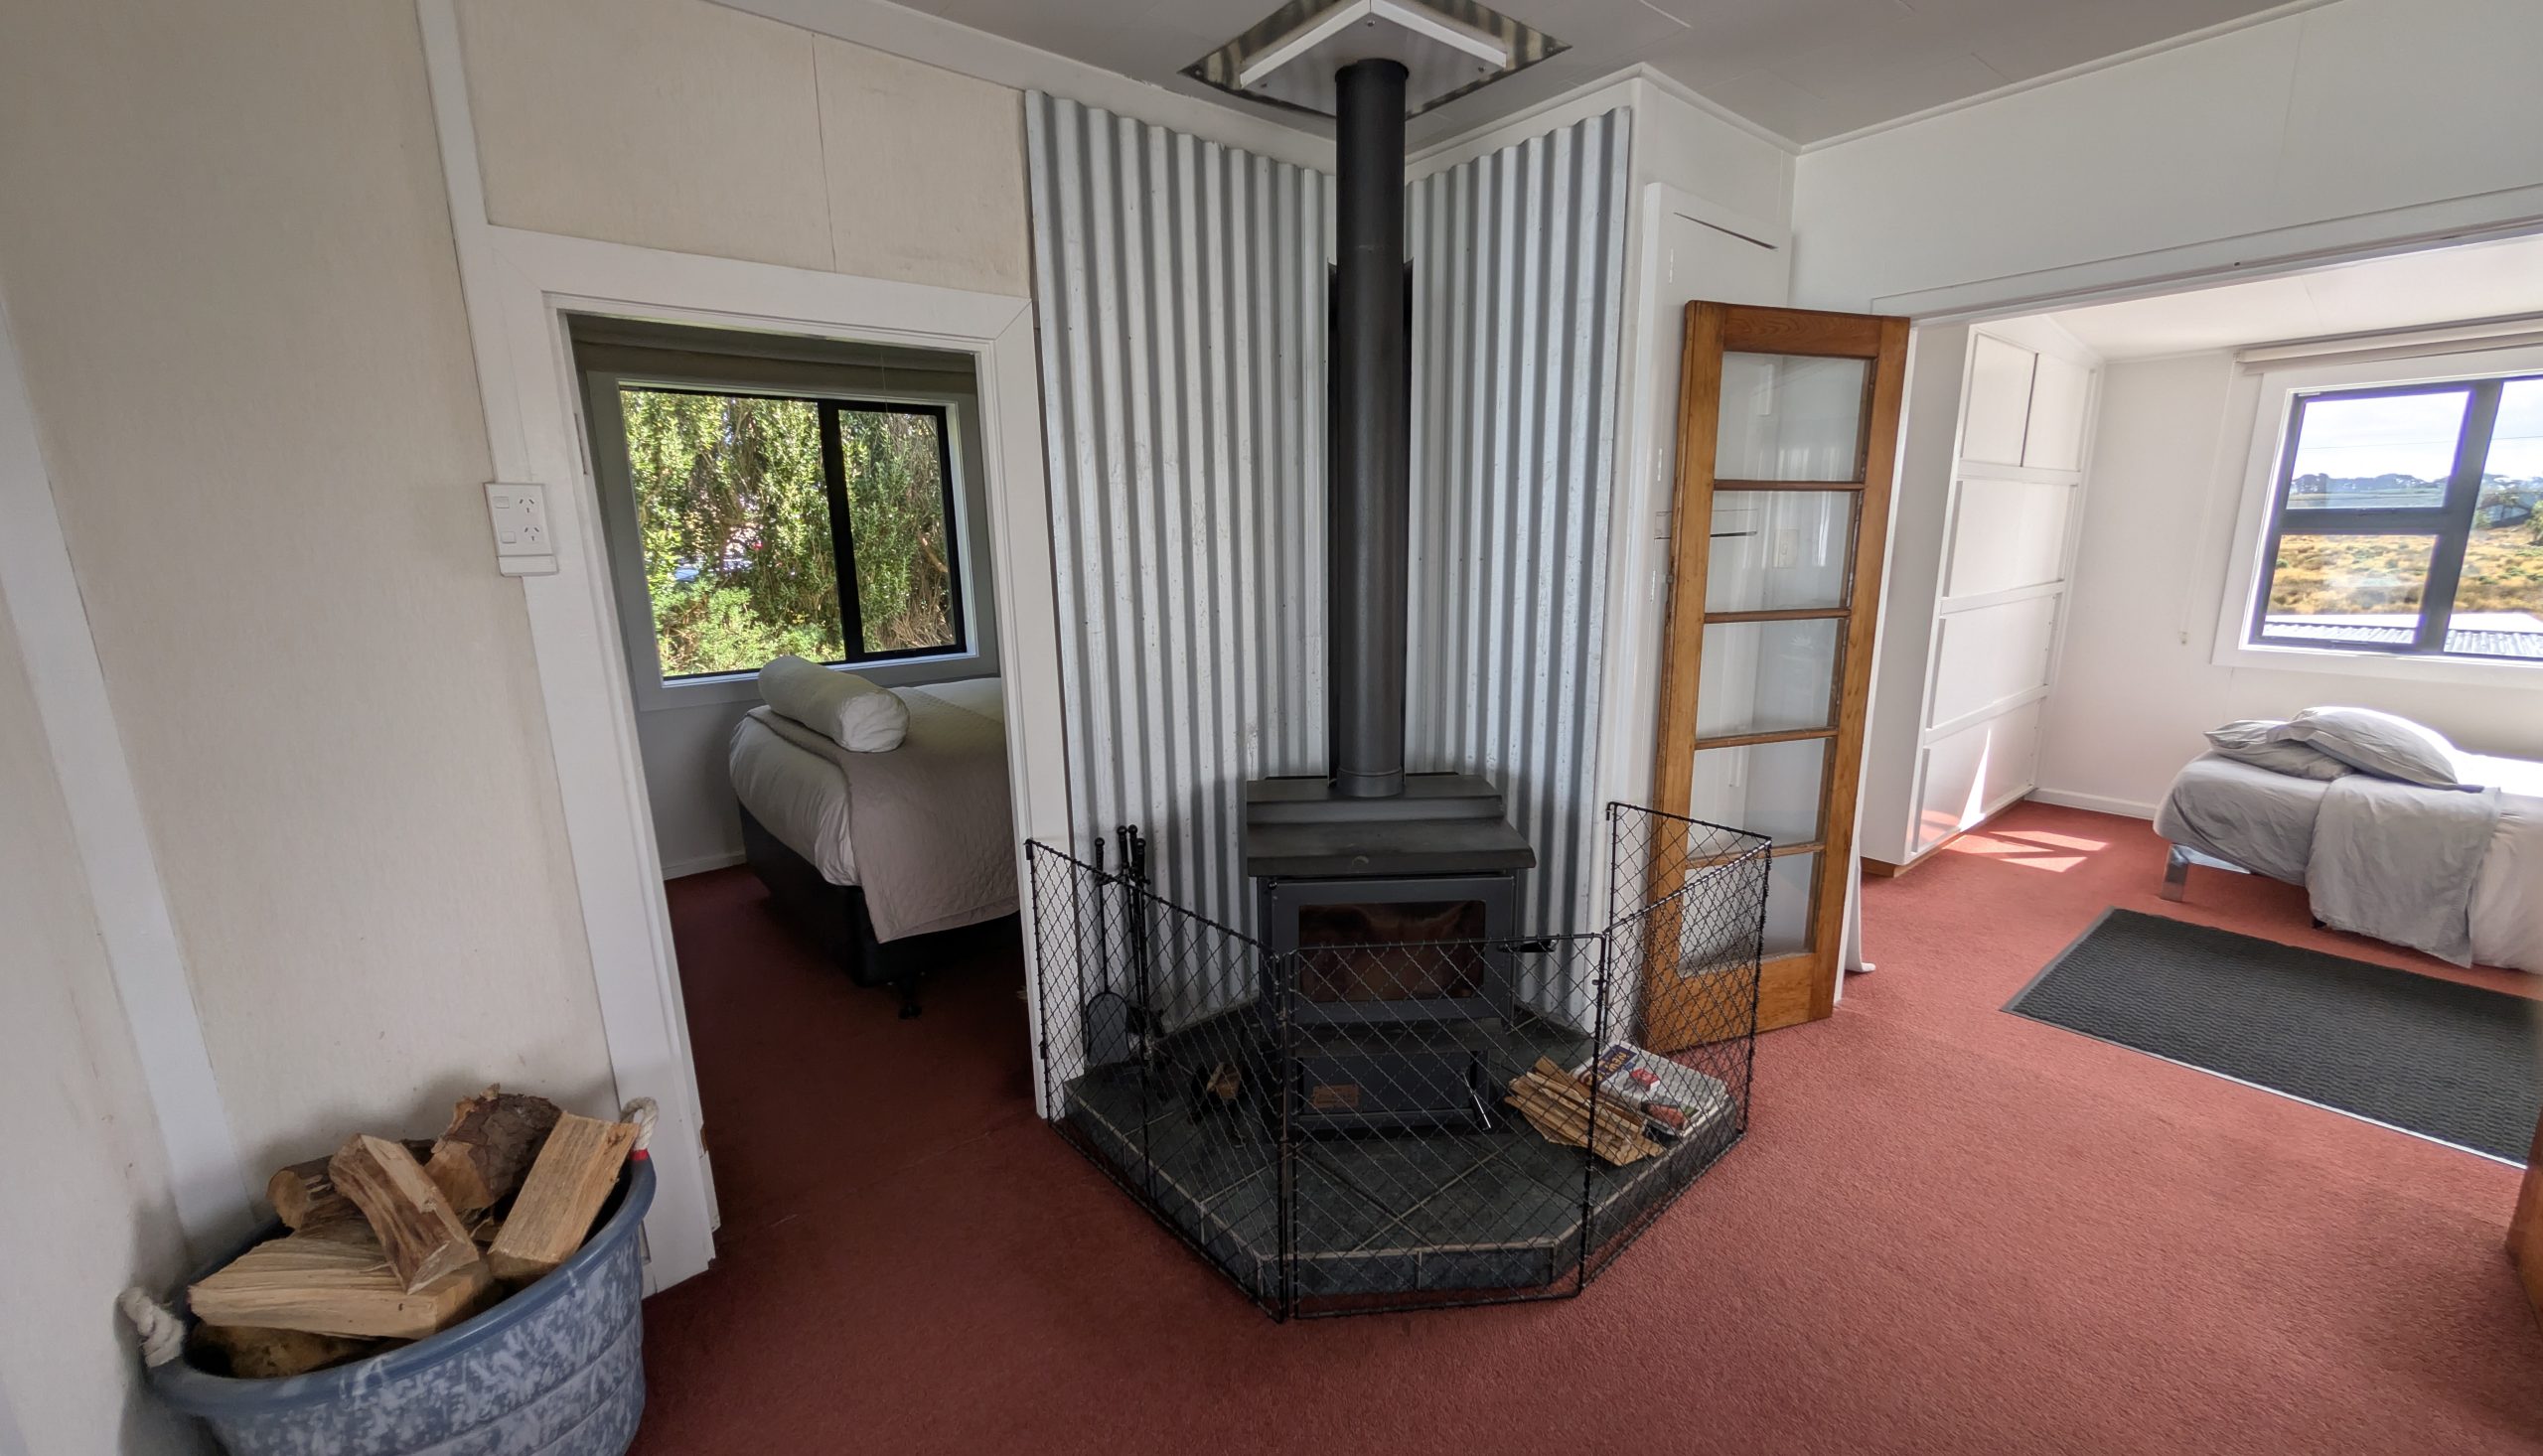
In the morning we woke up to cloudy skies, cold, wind, and rain. The bad weather continued all day long. We didn't have much planned for the day, so we spent it enjoying the wild and windy views of the ocean and waves from the house. We built a fire and relaxed.
Ocean view from the house
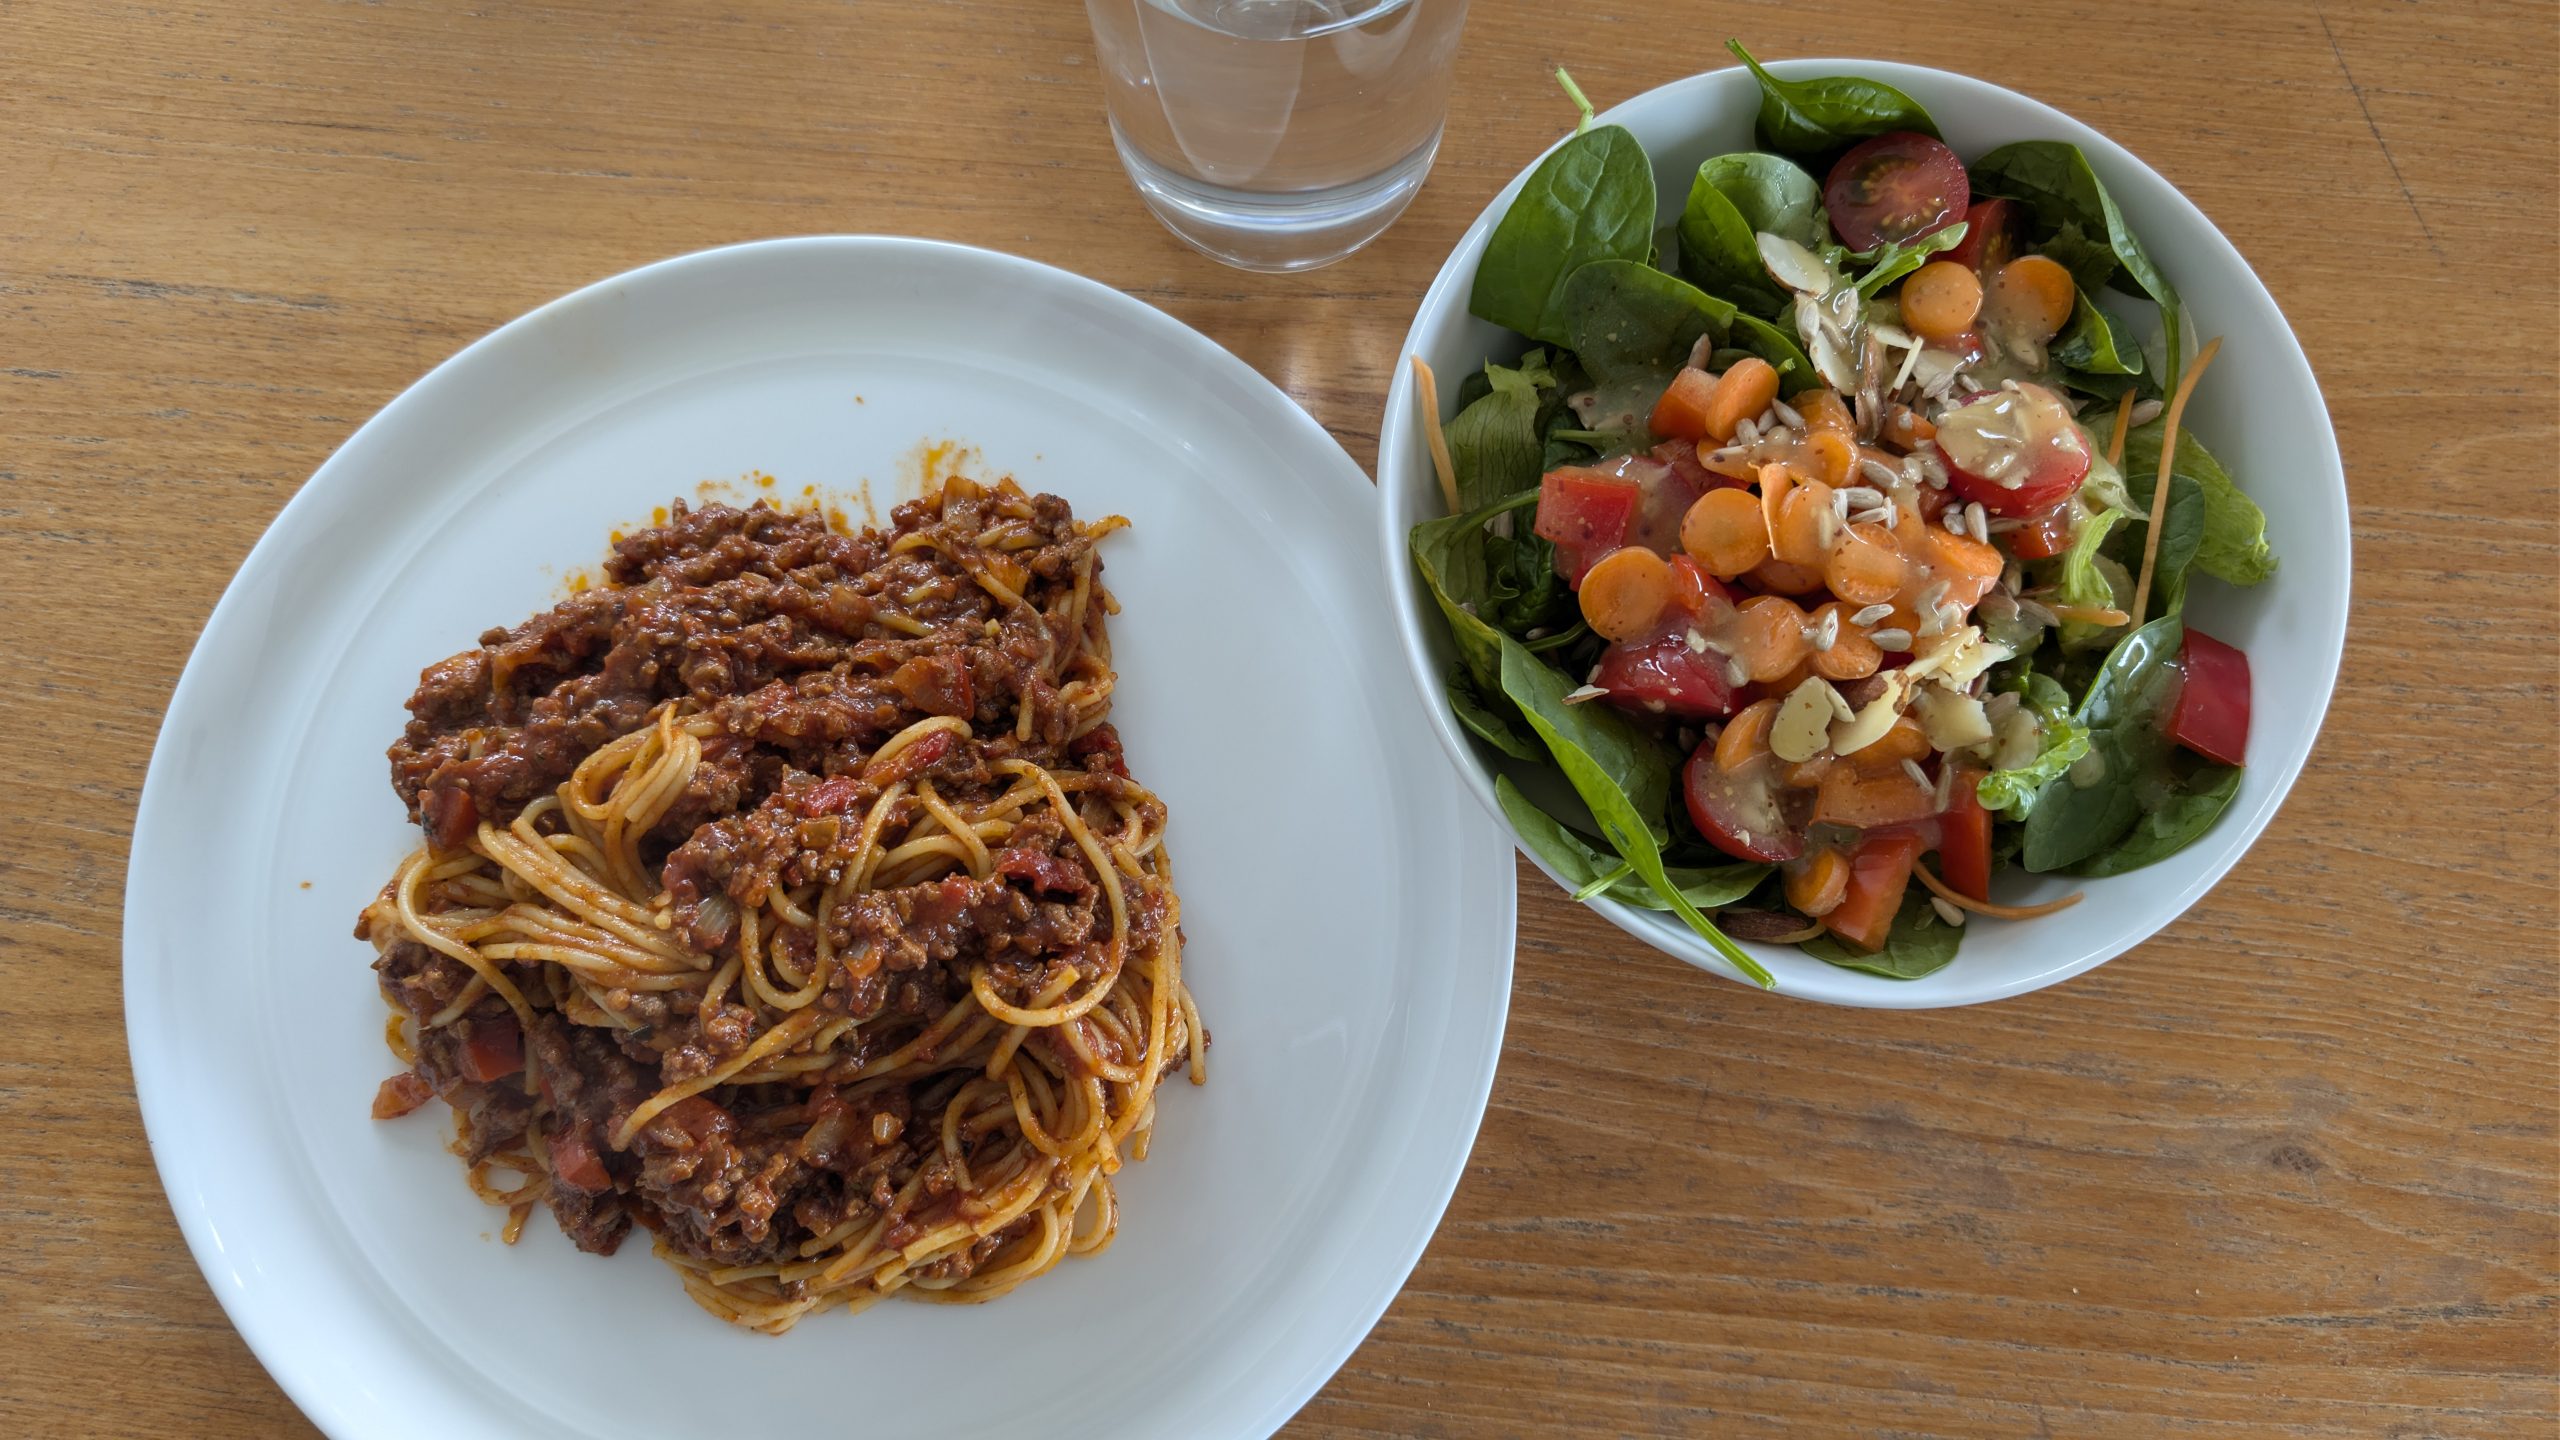
In the evening I made spaghetti and salad for dinner.
Dinner at the house
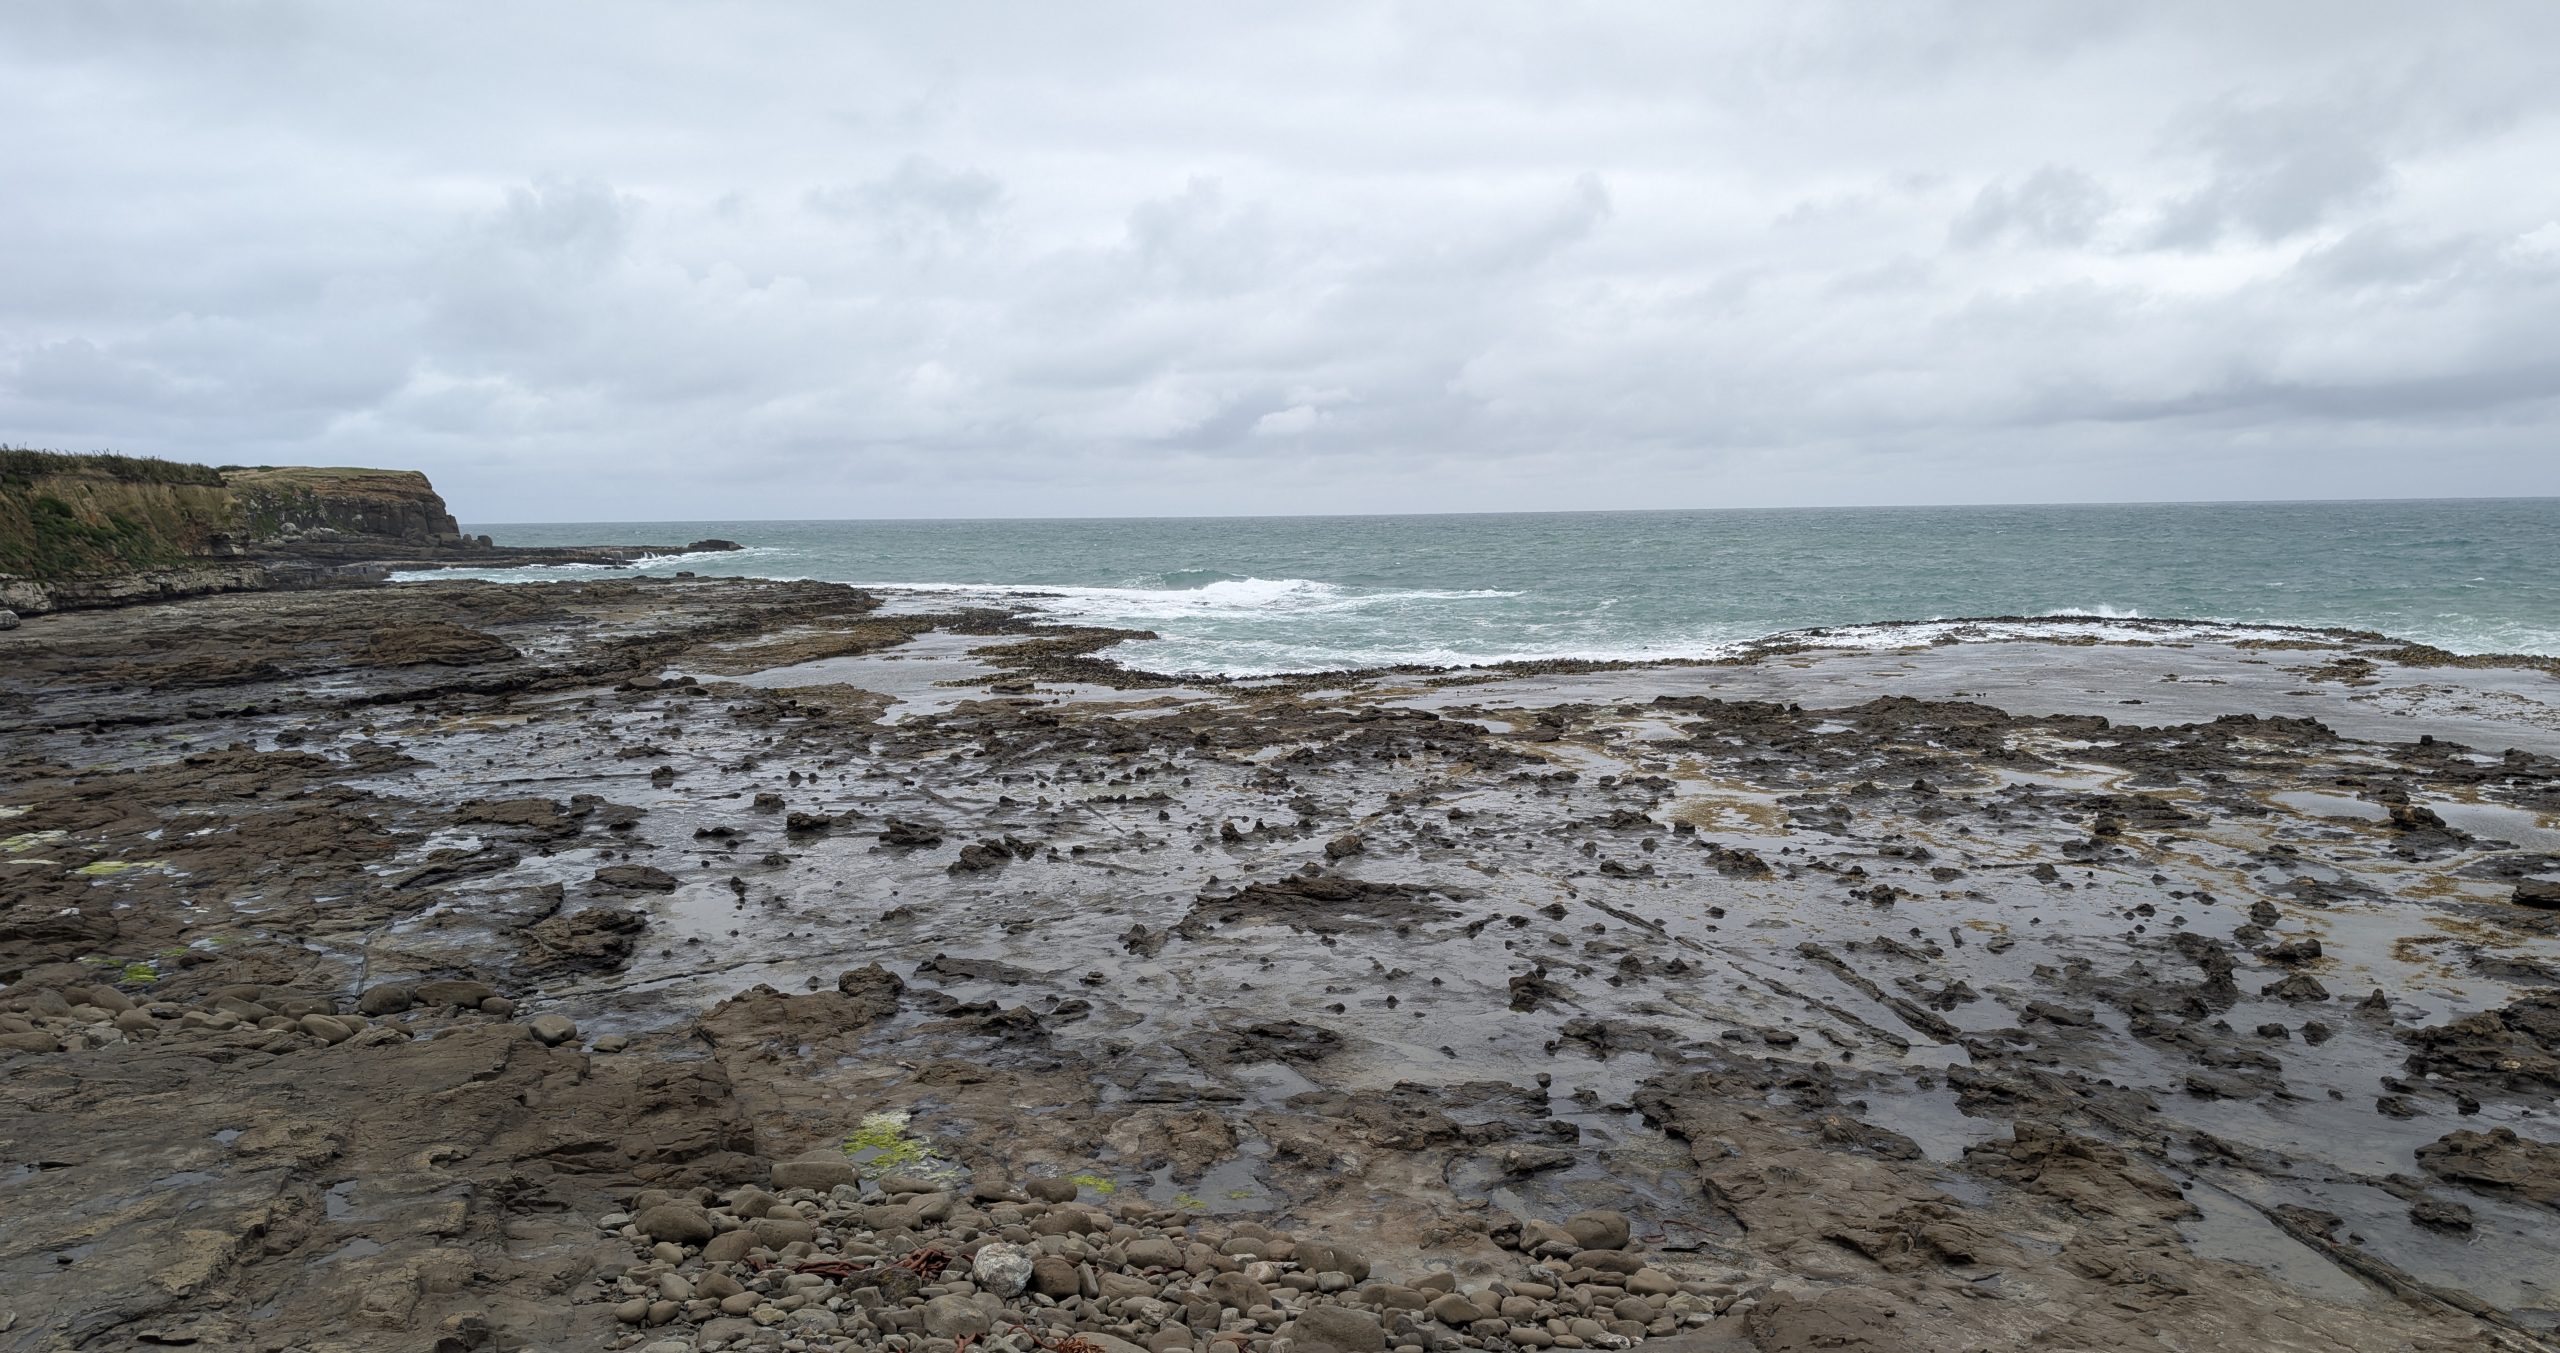
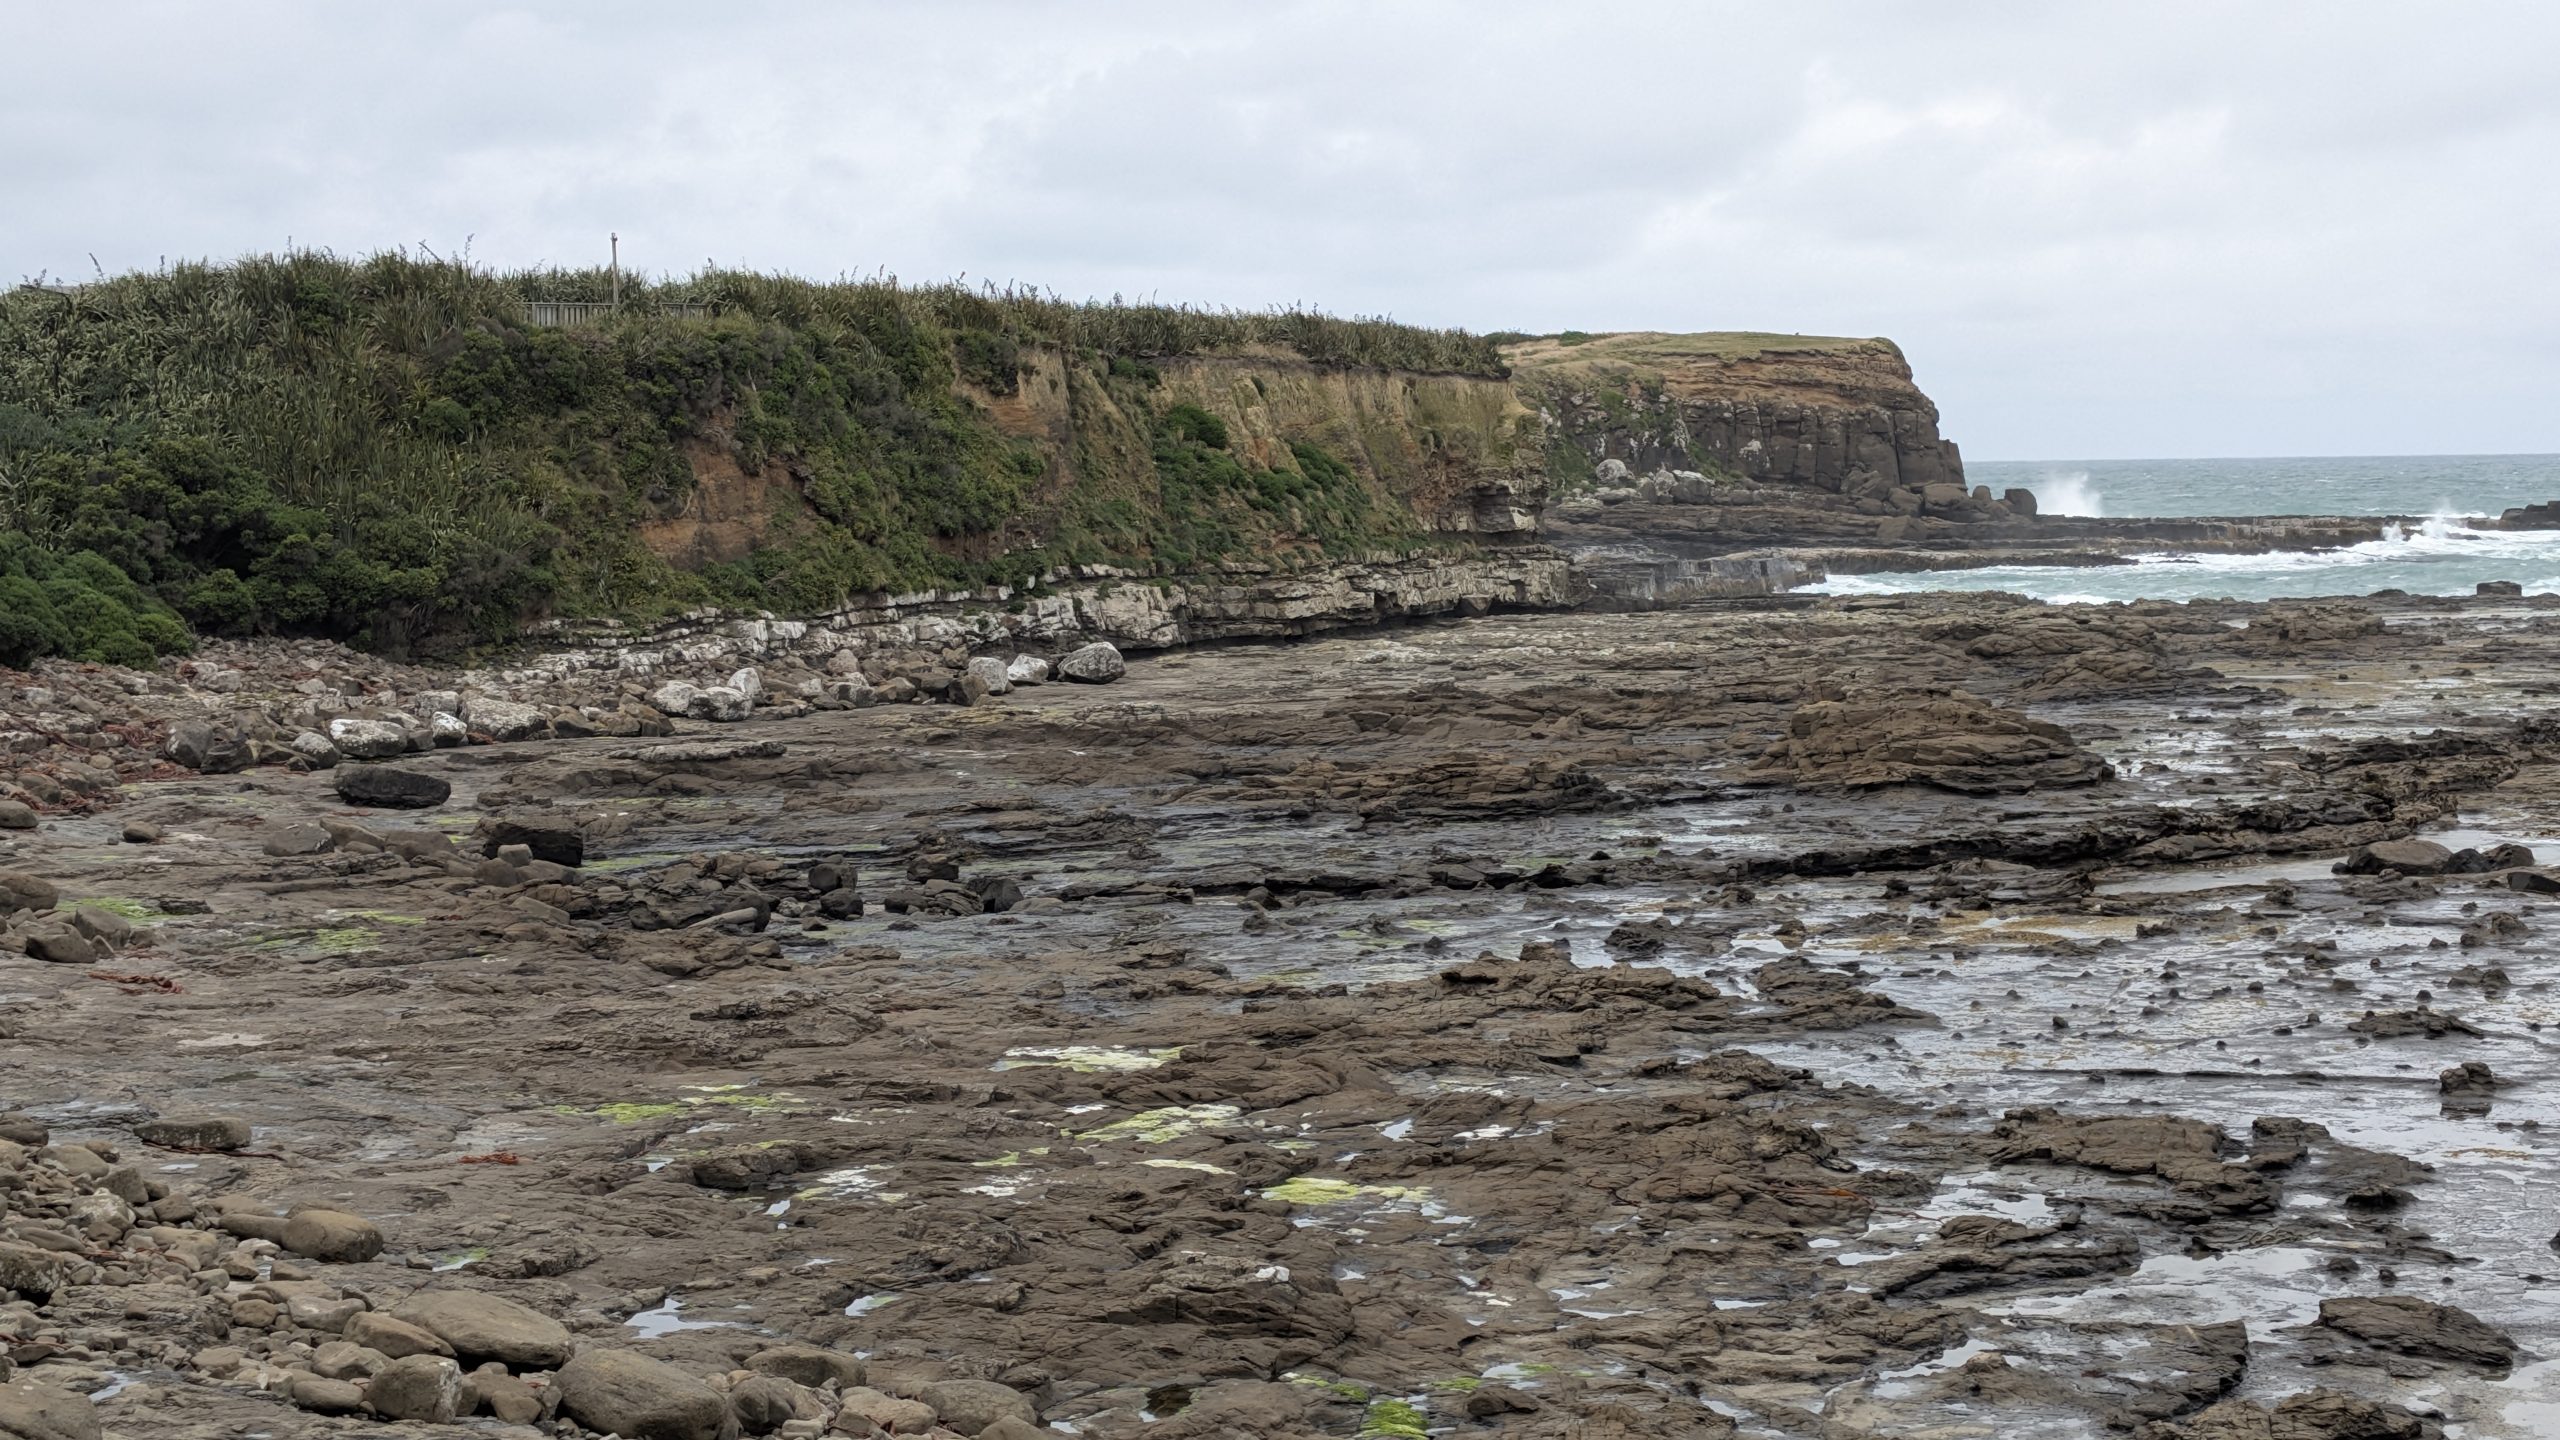
After dinner we made one more attempt to see the yellow-eyed penguin at Curio Bay. The weather was still wet, cold, and windy. A few other hardy souls joined us on the viewing platform. We were there for about an hour but were unsuccessful in our attempts to see the penguin.
The penguin viewing area overlooked a petrified forest. Below are some of the views from that evening.
The vertical lines on the beach are the petrified logsThe rocky area near the trees is where we saw the penguin in 2019Looking in the opposite direction toward South Head
We returned to the house and enjoyed another fire to stay warm.
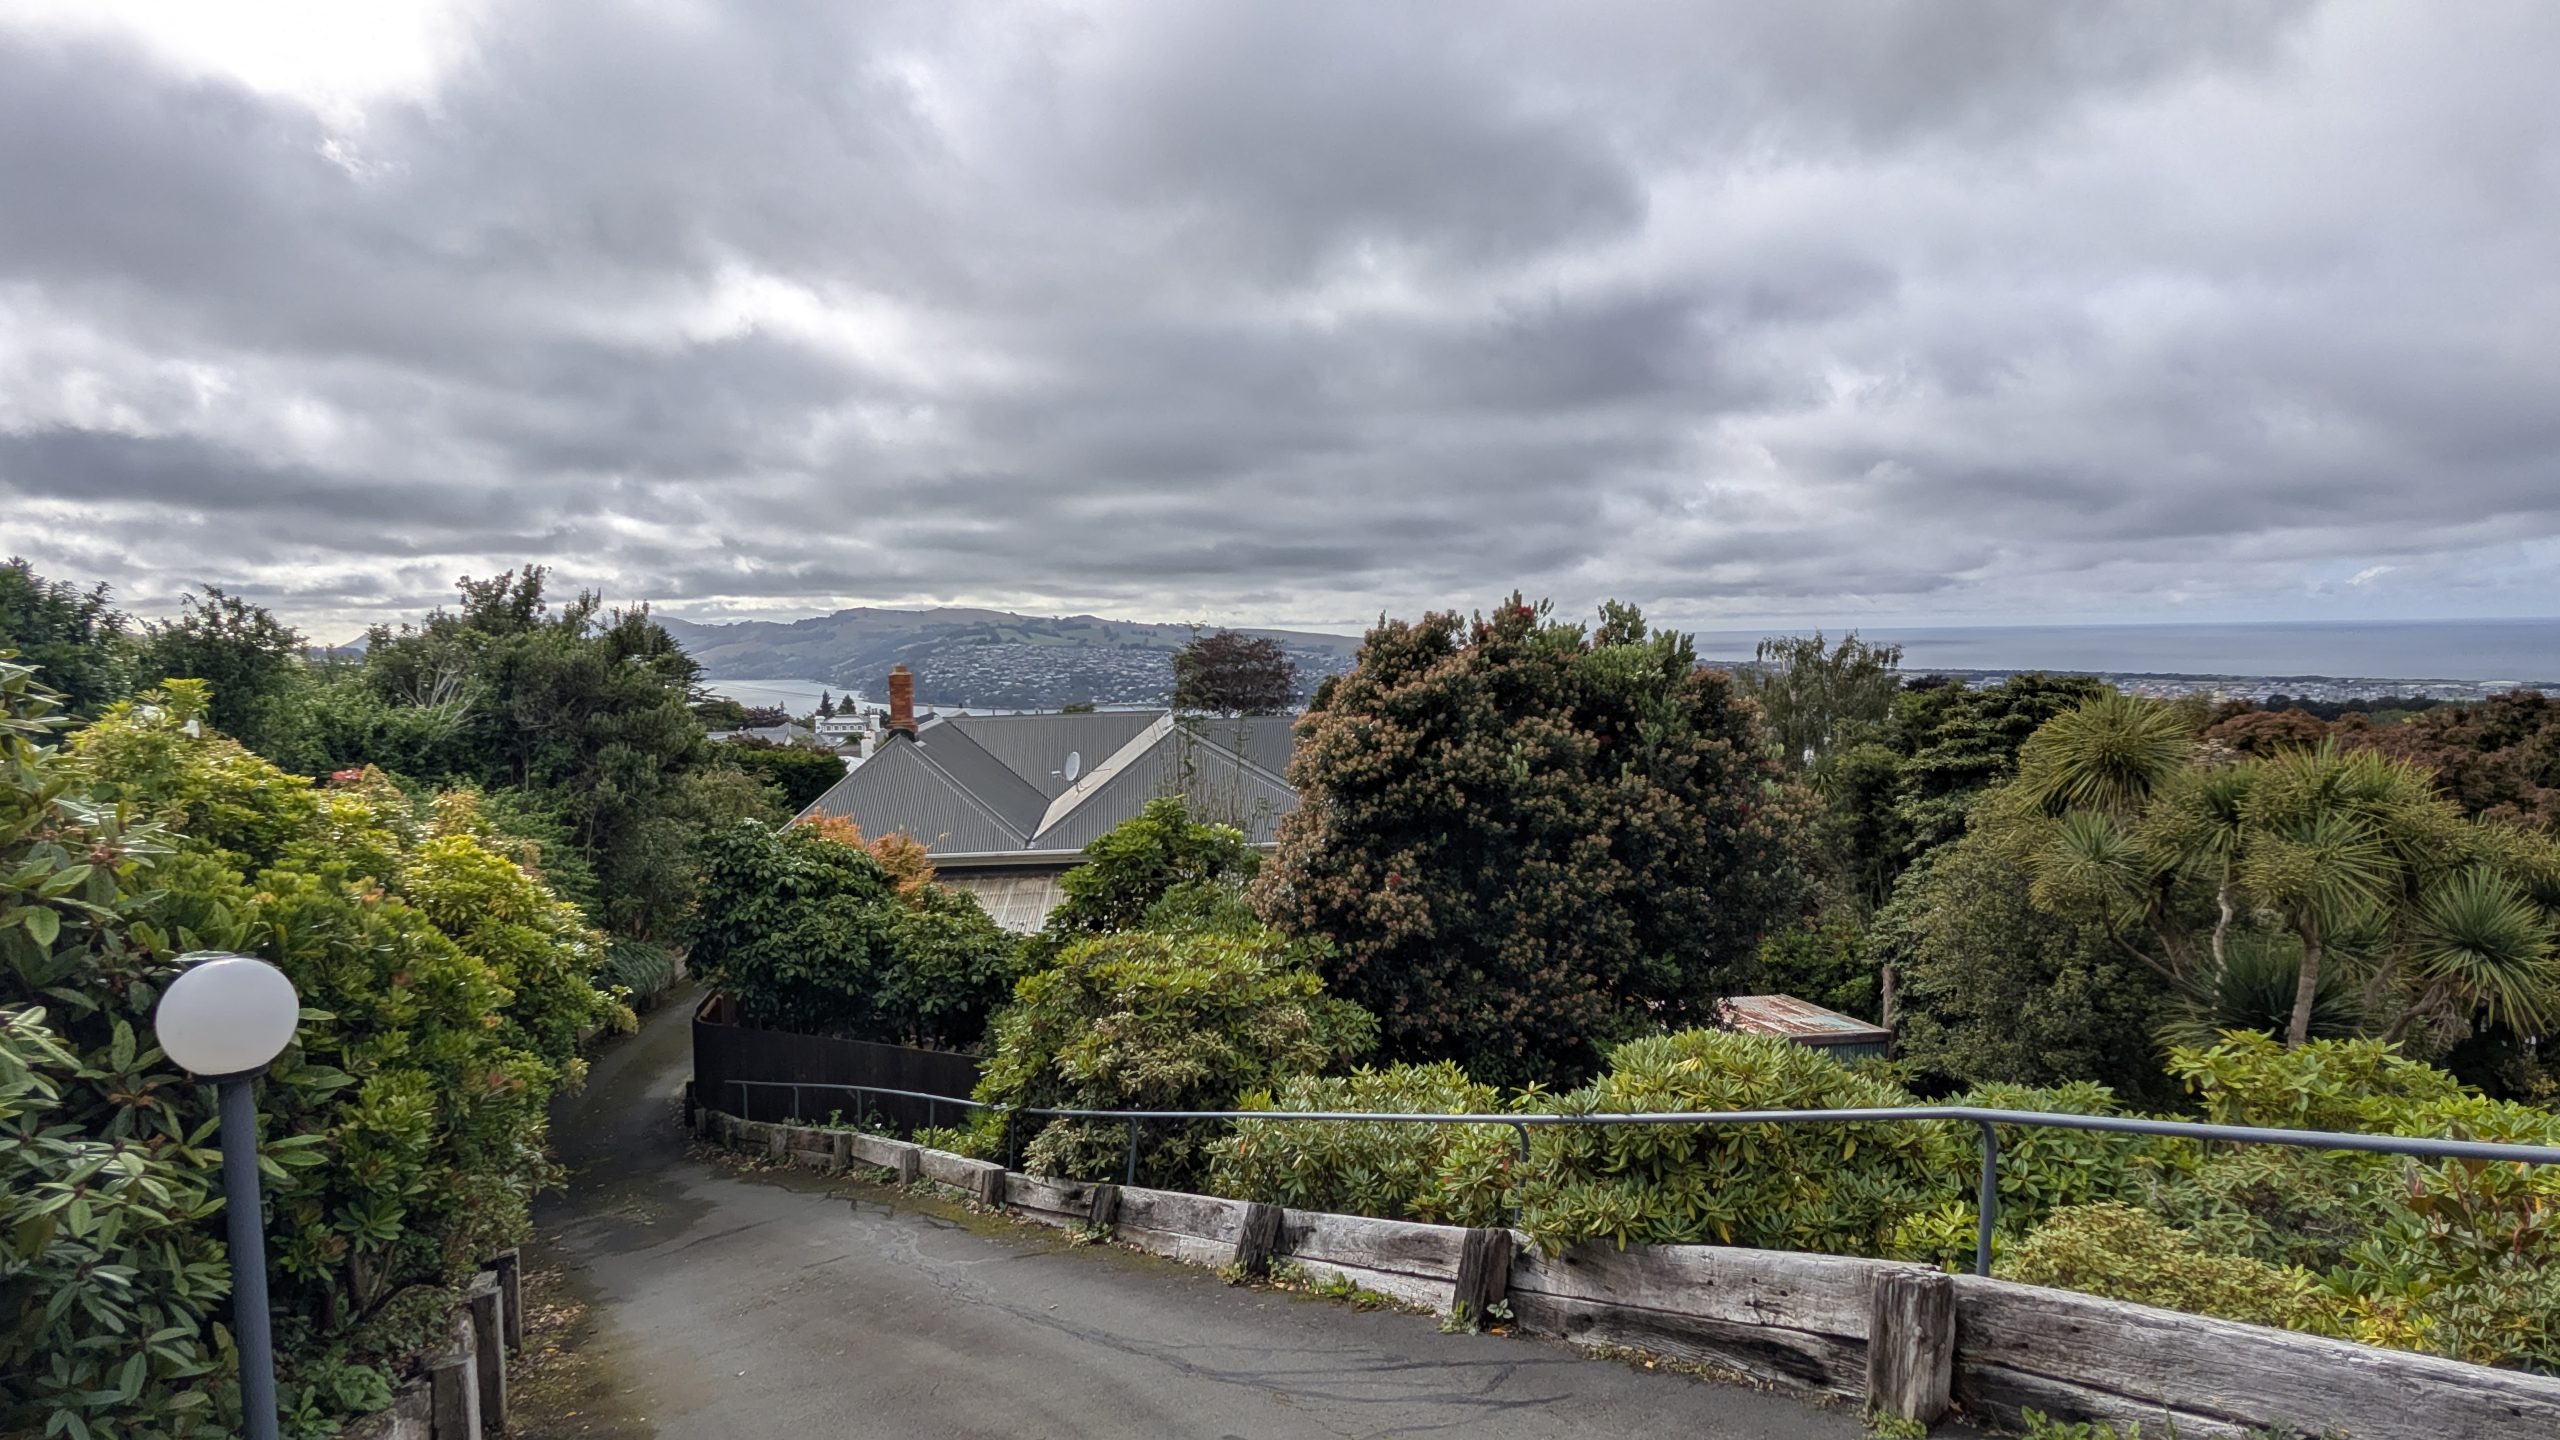
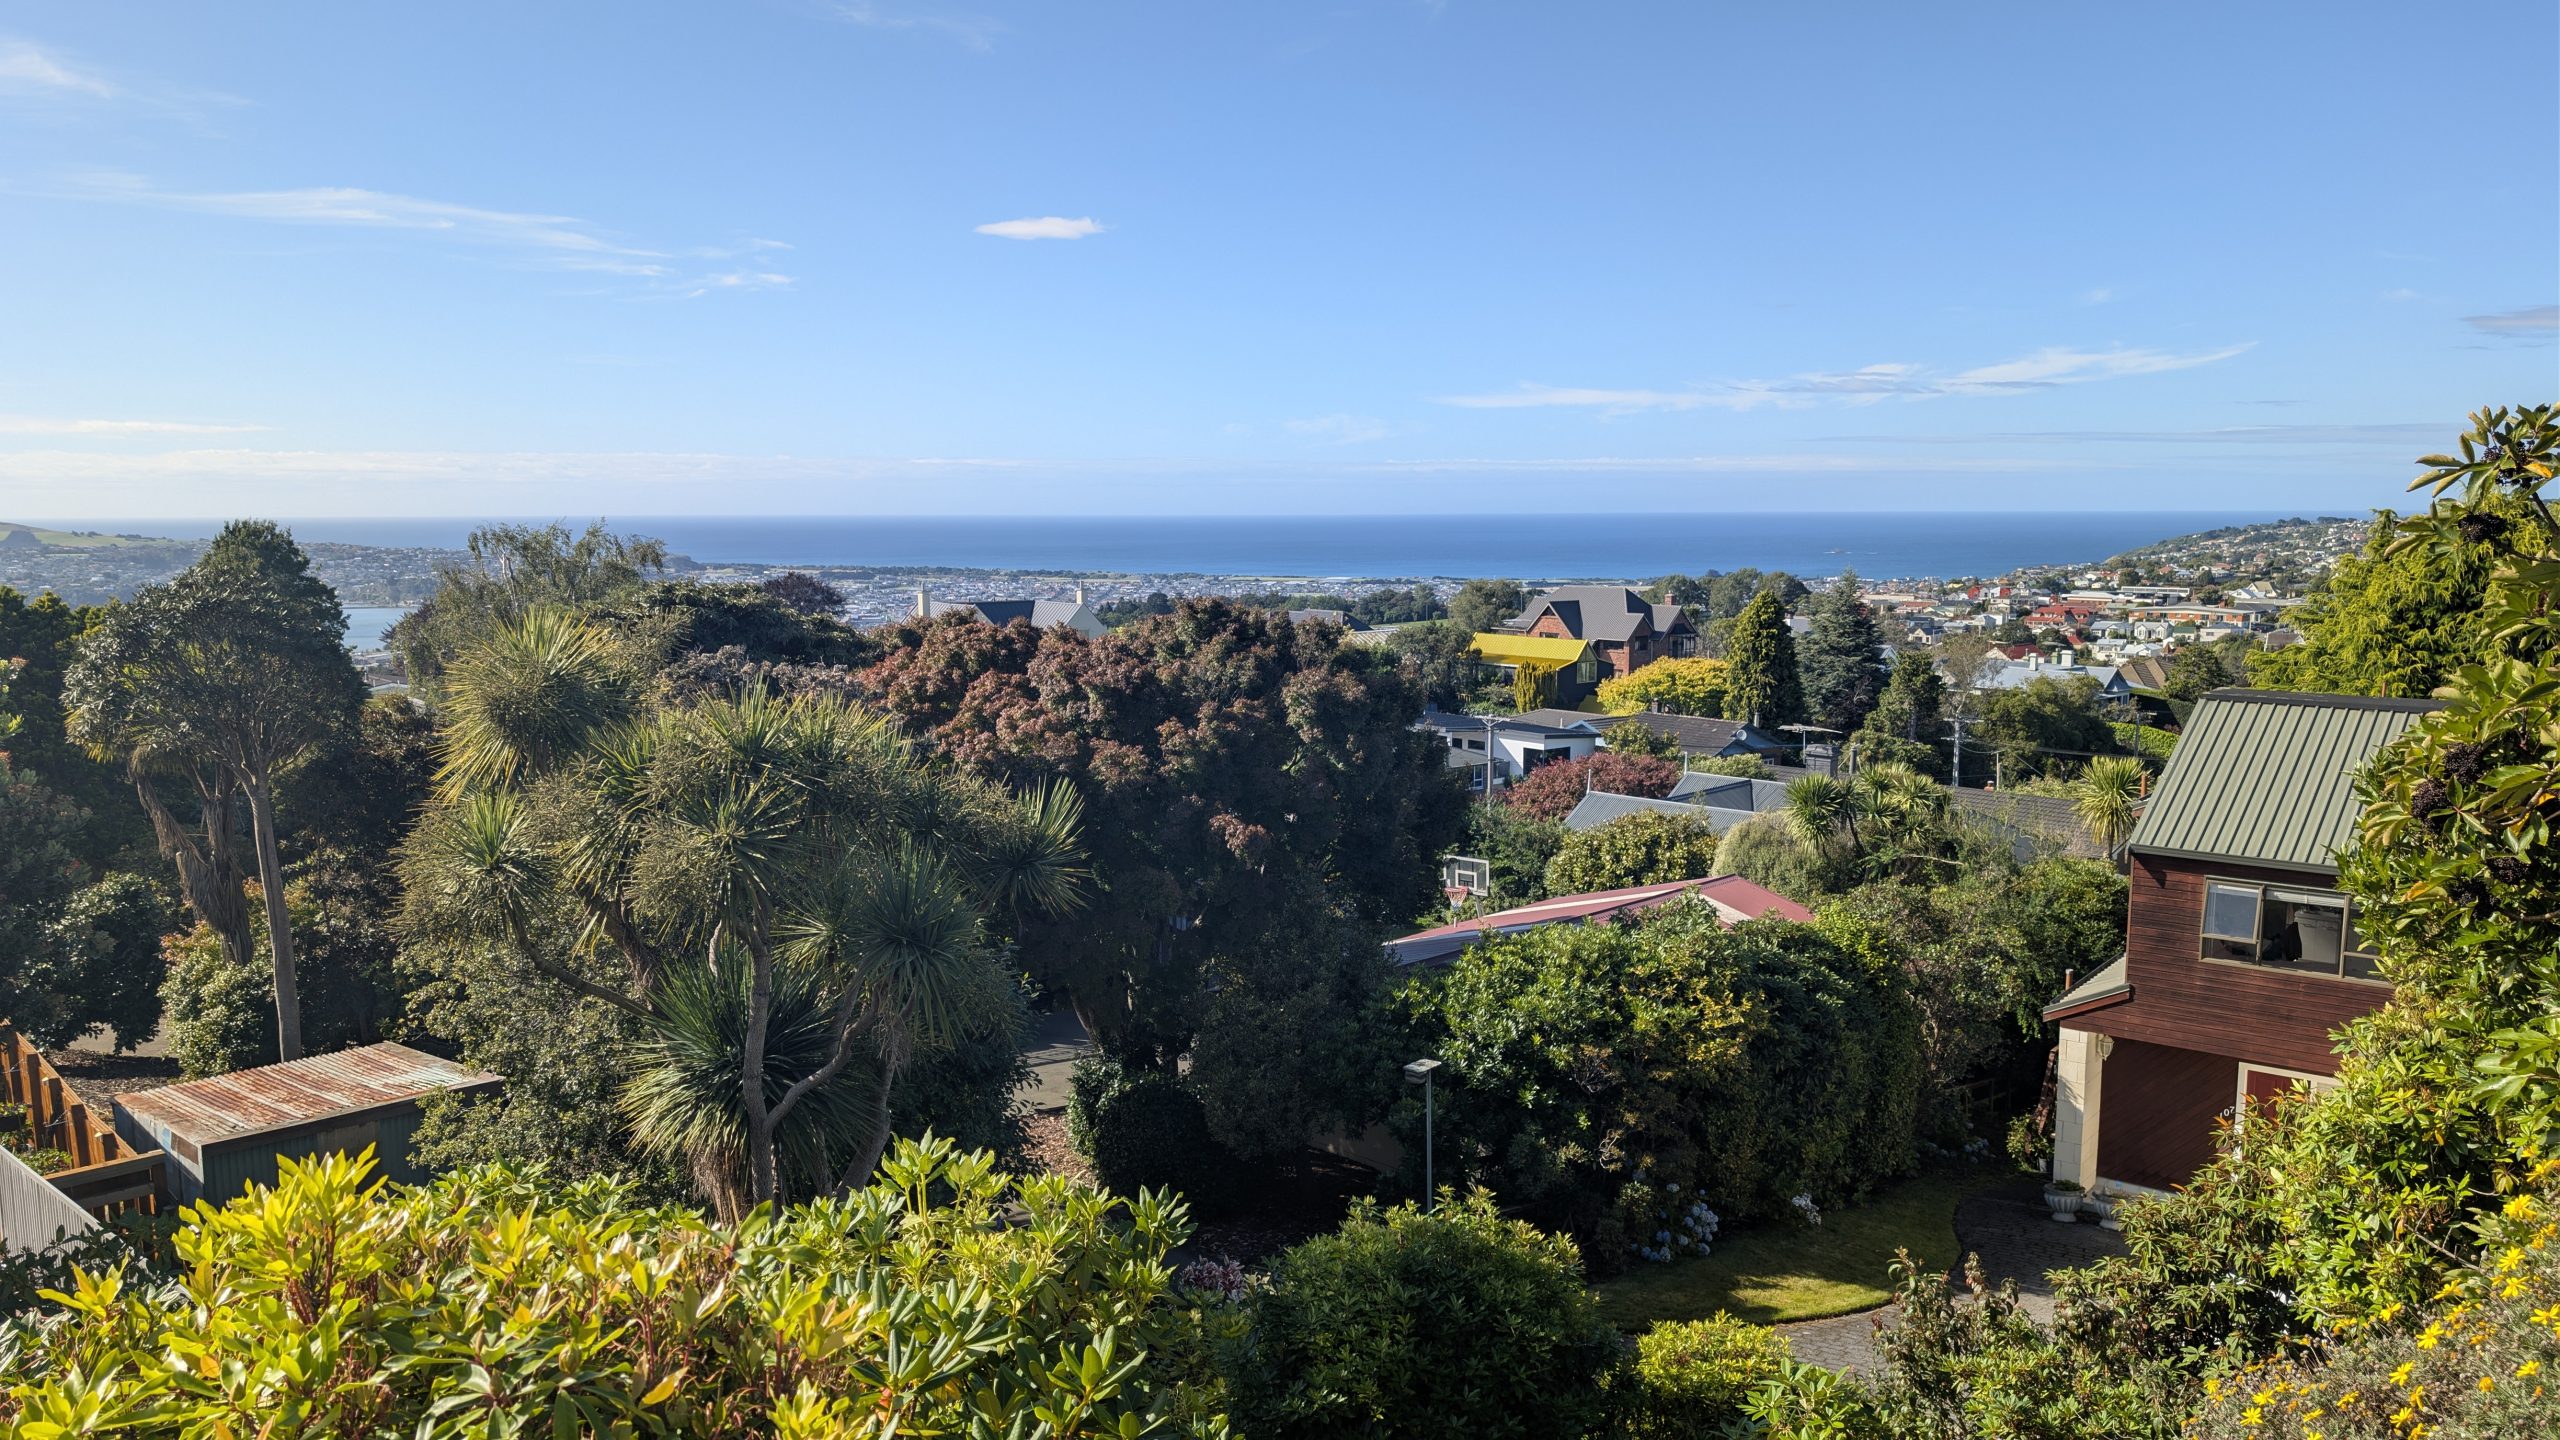
It was mostly cloudy when we checked out of the AirBnb in Dunedin to travel south to Curio Bay. We enjoyed our stay at the AirBnb: it had a wonderful view outside and was very quiet and private.
Morning view from the AirBnbView across the driveway
We stopped at a Pak'nSave supermarket on the outskirts of Dunedin to stock up on groceries for the next few days, and then we filled up on gas. Then we drove south into the Catlins area. We had driven that route twice before so had already seen most of the major scenic areas. We decided to make a few stops at places we had not been before.
Our first stop was Papatowai. I hiked a short nature trail: Shank's Bush. It was a short walk through the rain forest and viewed a small estuary.
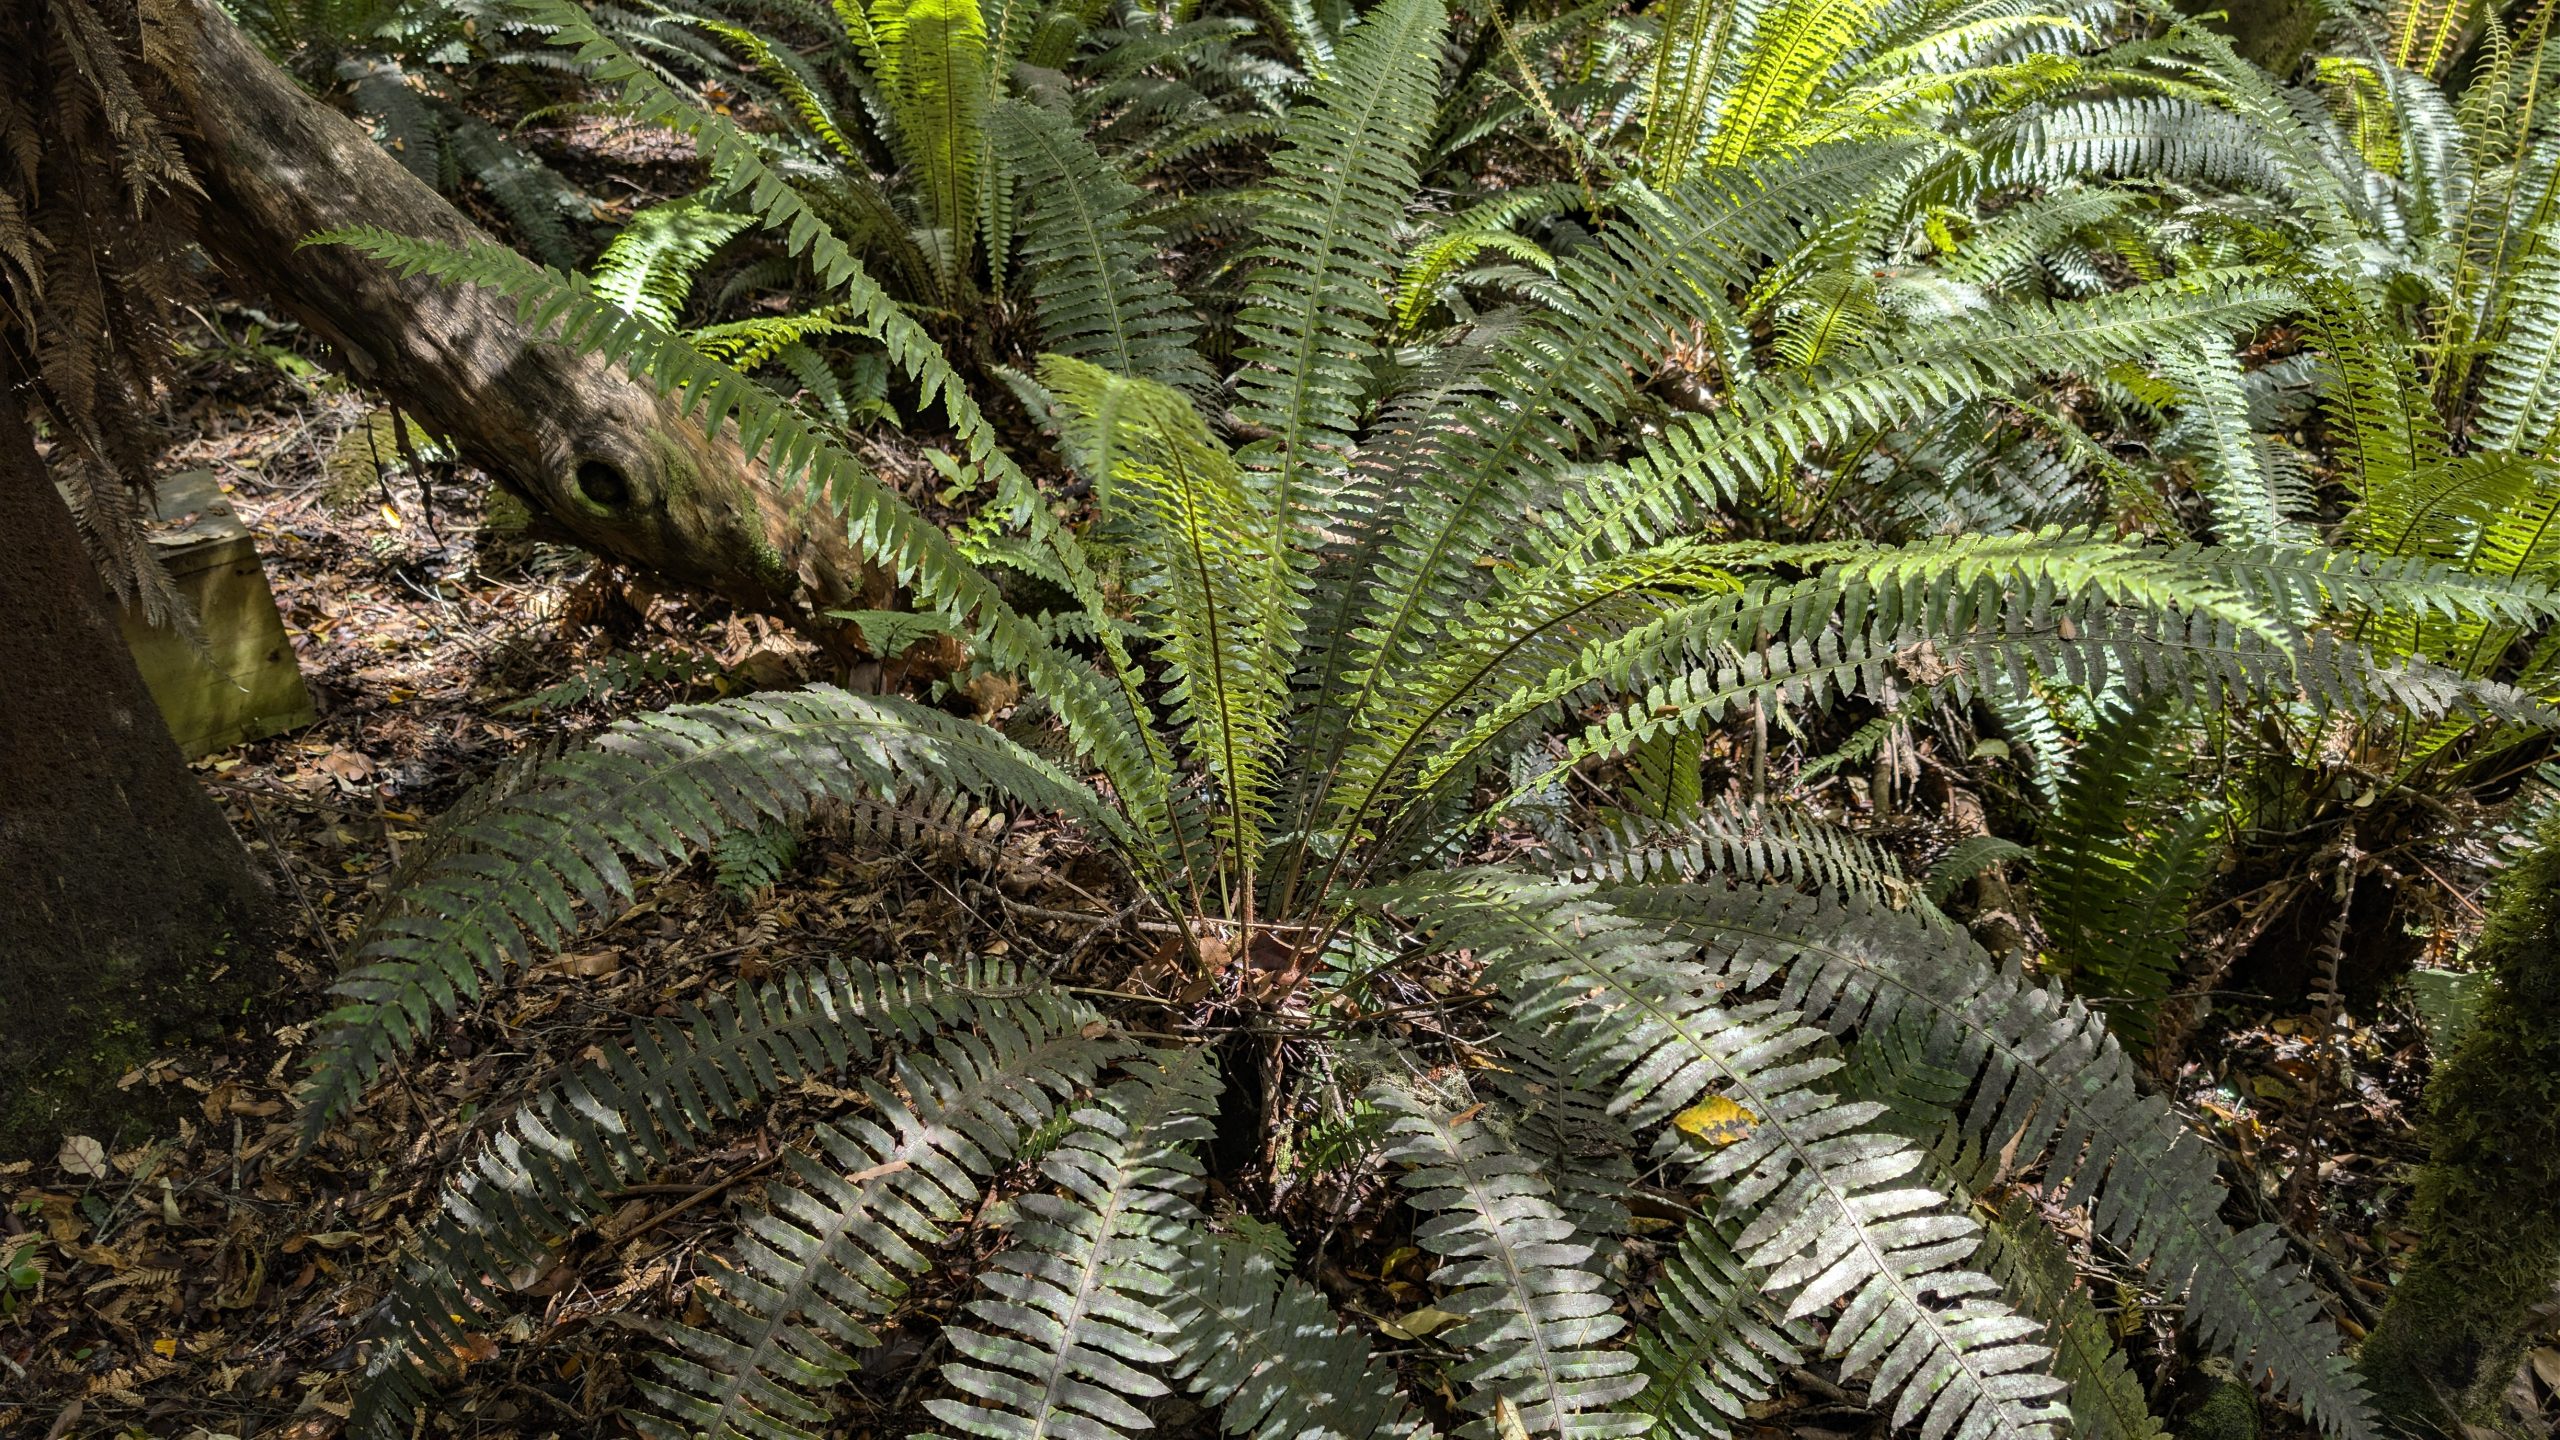
Big tree fern on the Shank's Bush nature trail
Ferns on the Shank's Bush nature trail
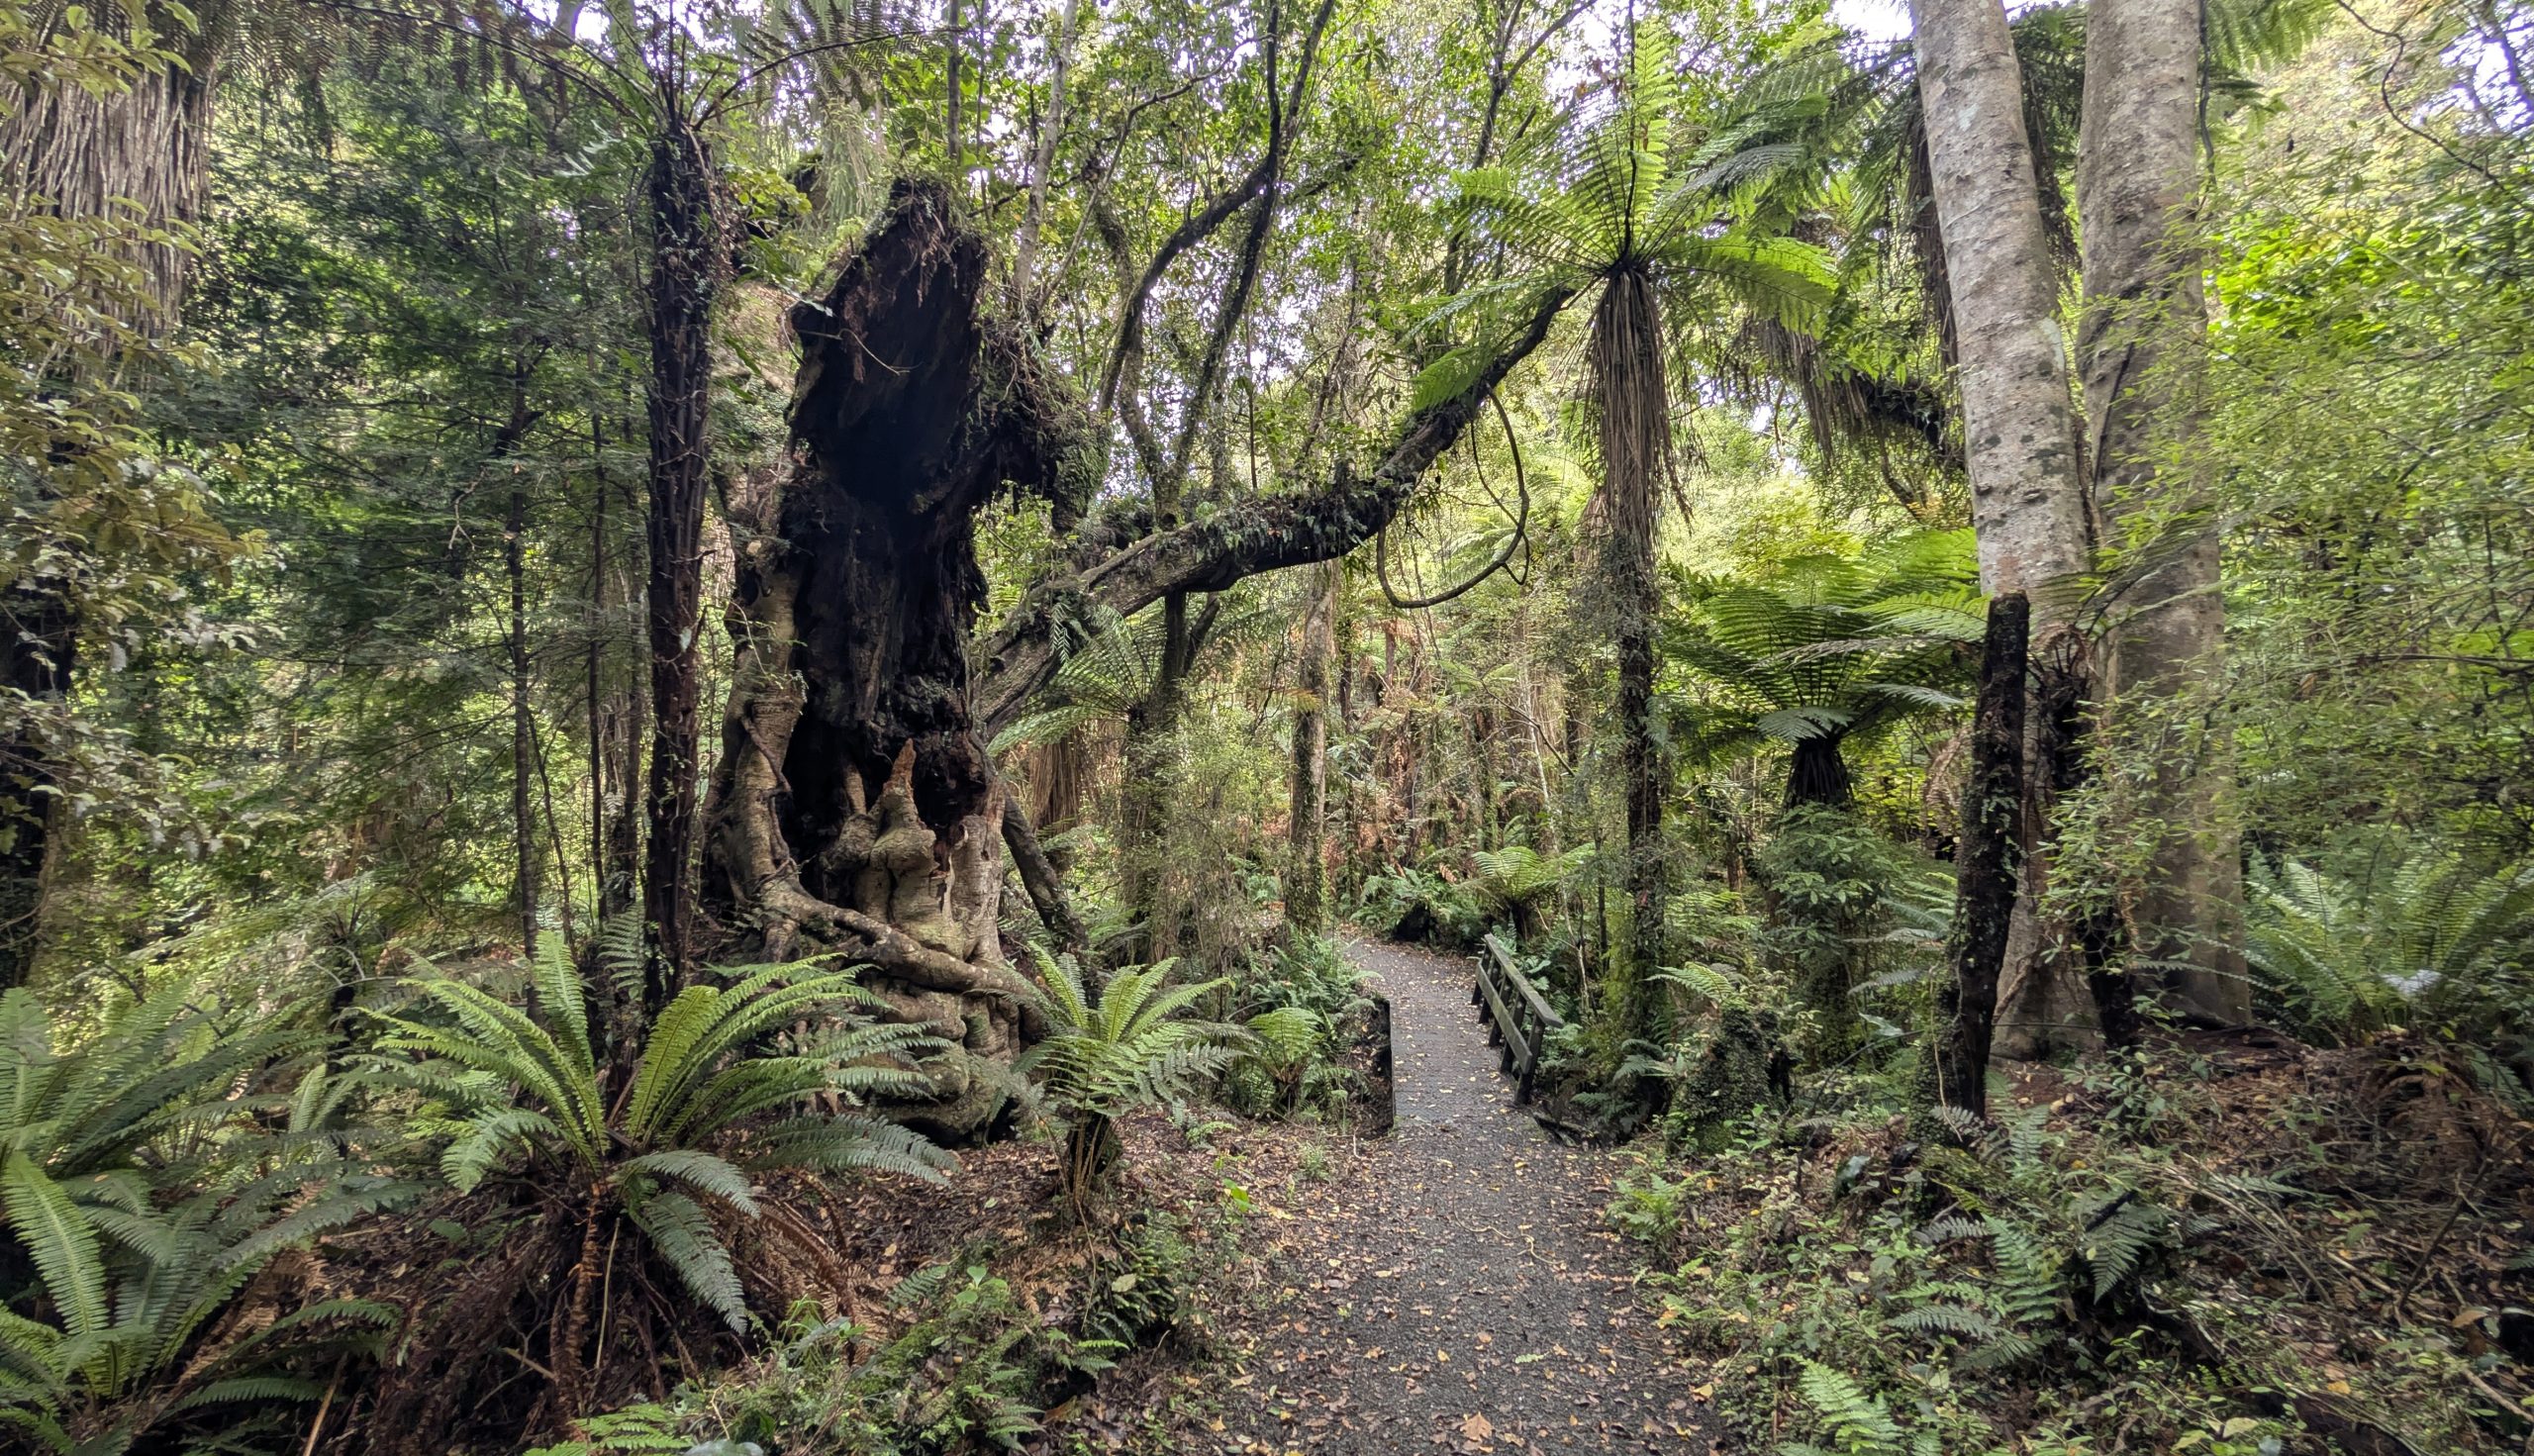
At a second stop in Papatowai, I hiked to Picnic Point. This was another easy walk through an old growth rain forest that led to a small beach where the Tahakopa River emptied into Tahakopa Bay. There were some nice views of the bay.
Old growth rain forest on the trail to Picnic PointPicnic PointPicnic Point: view across Tahakopa BayPicnic Point: view of the small beach and river outlet
We drove on to stop at a couple of nice lookouts: Skeleton Point and Florence Hill, which was one of my favorites from the trip in 2019.
Skeleton Point LookoutFlorence Hill Lookout
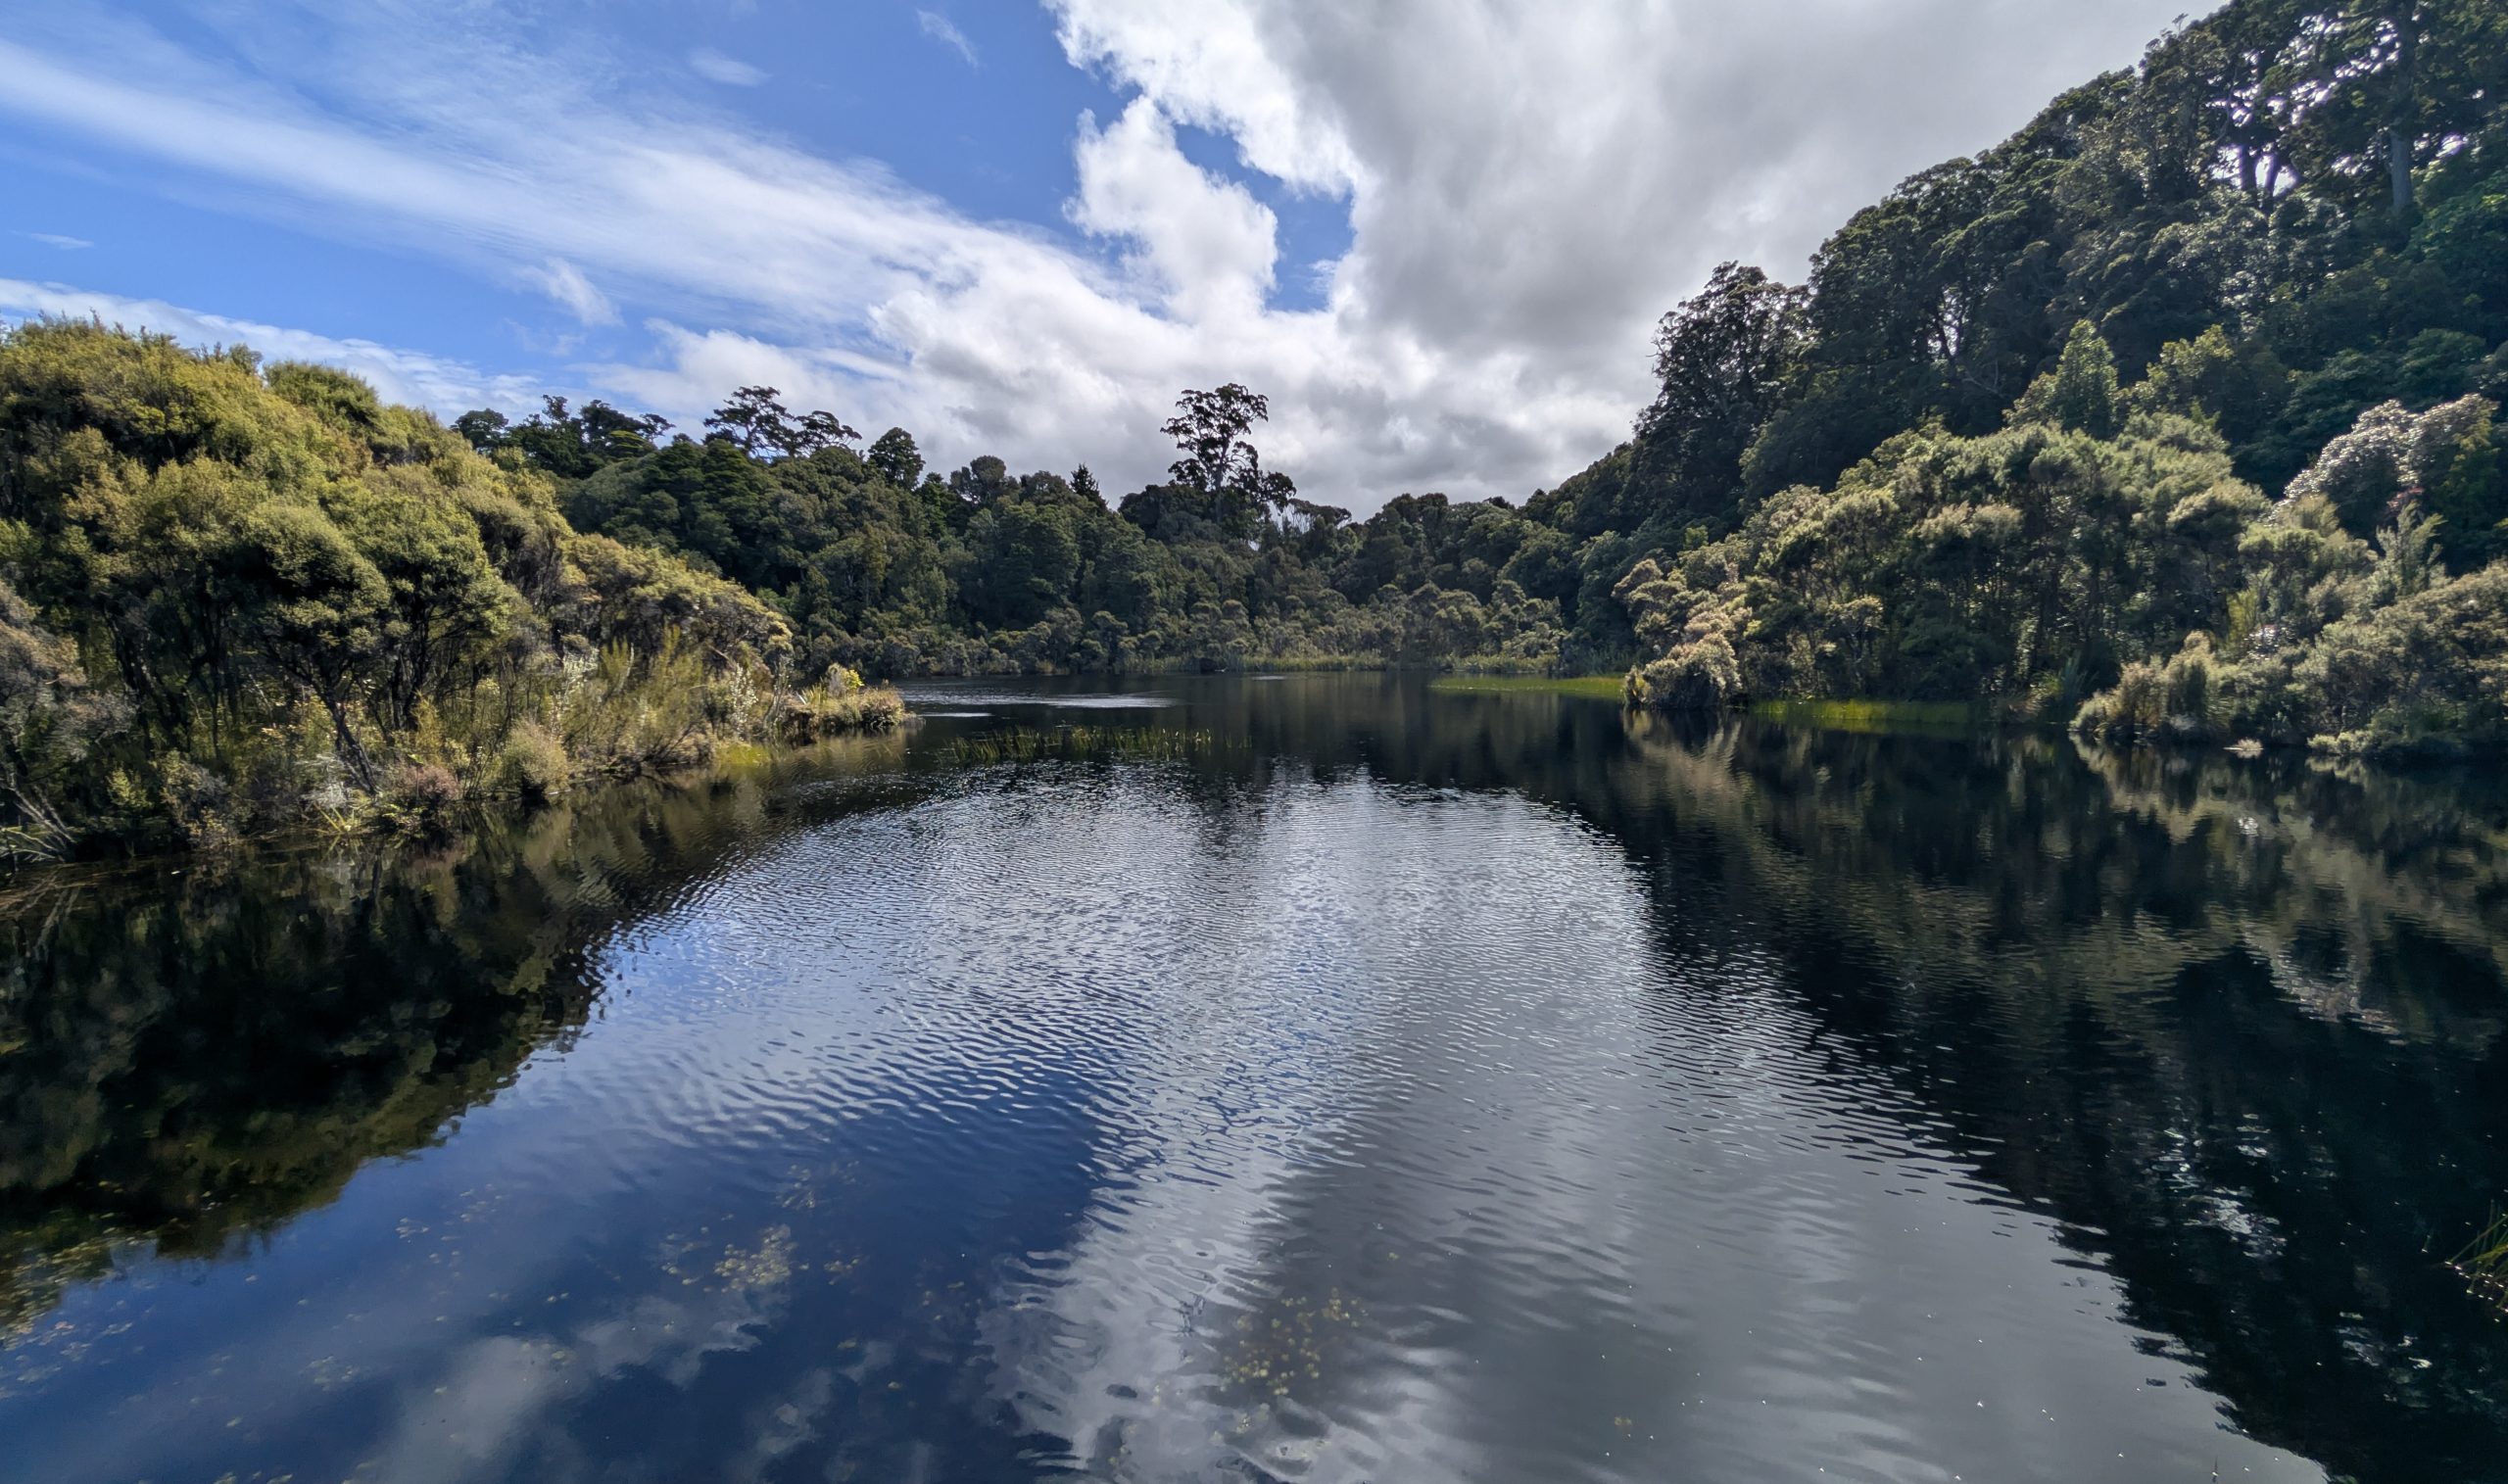
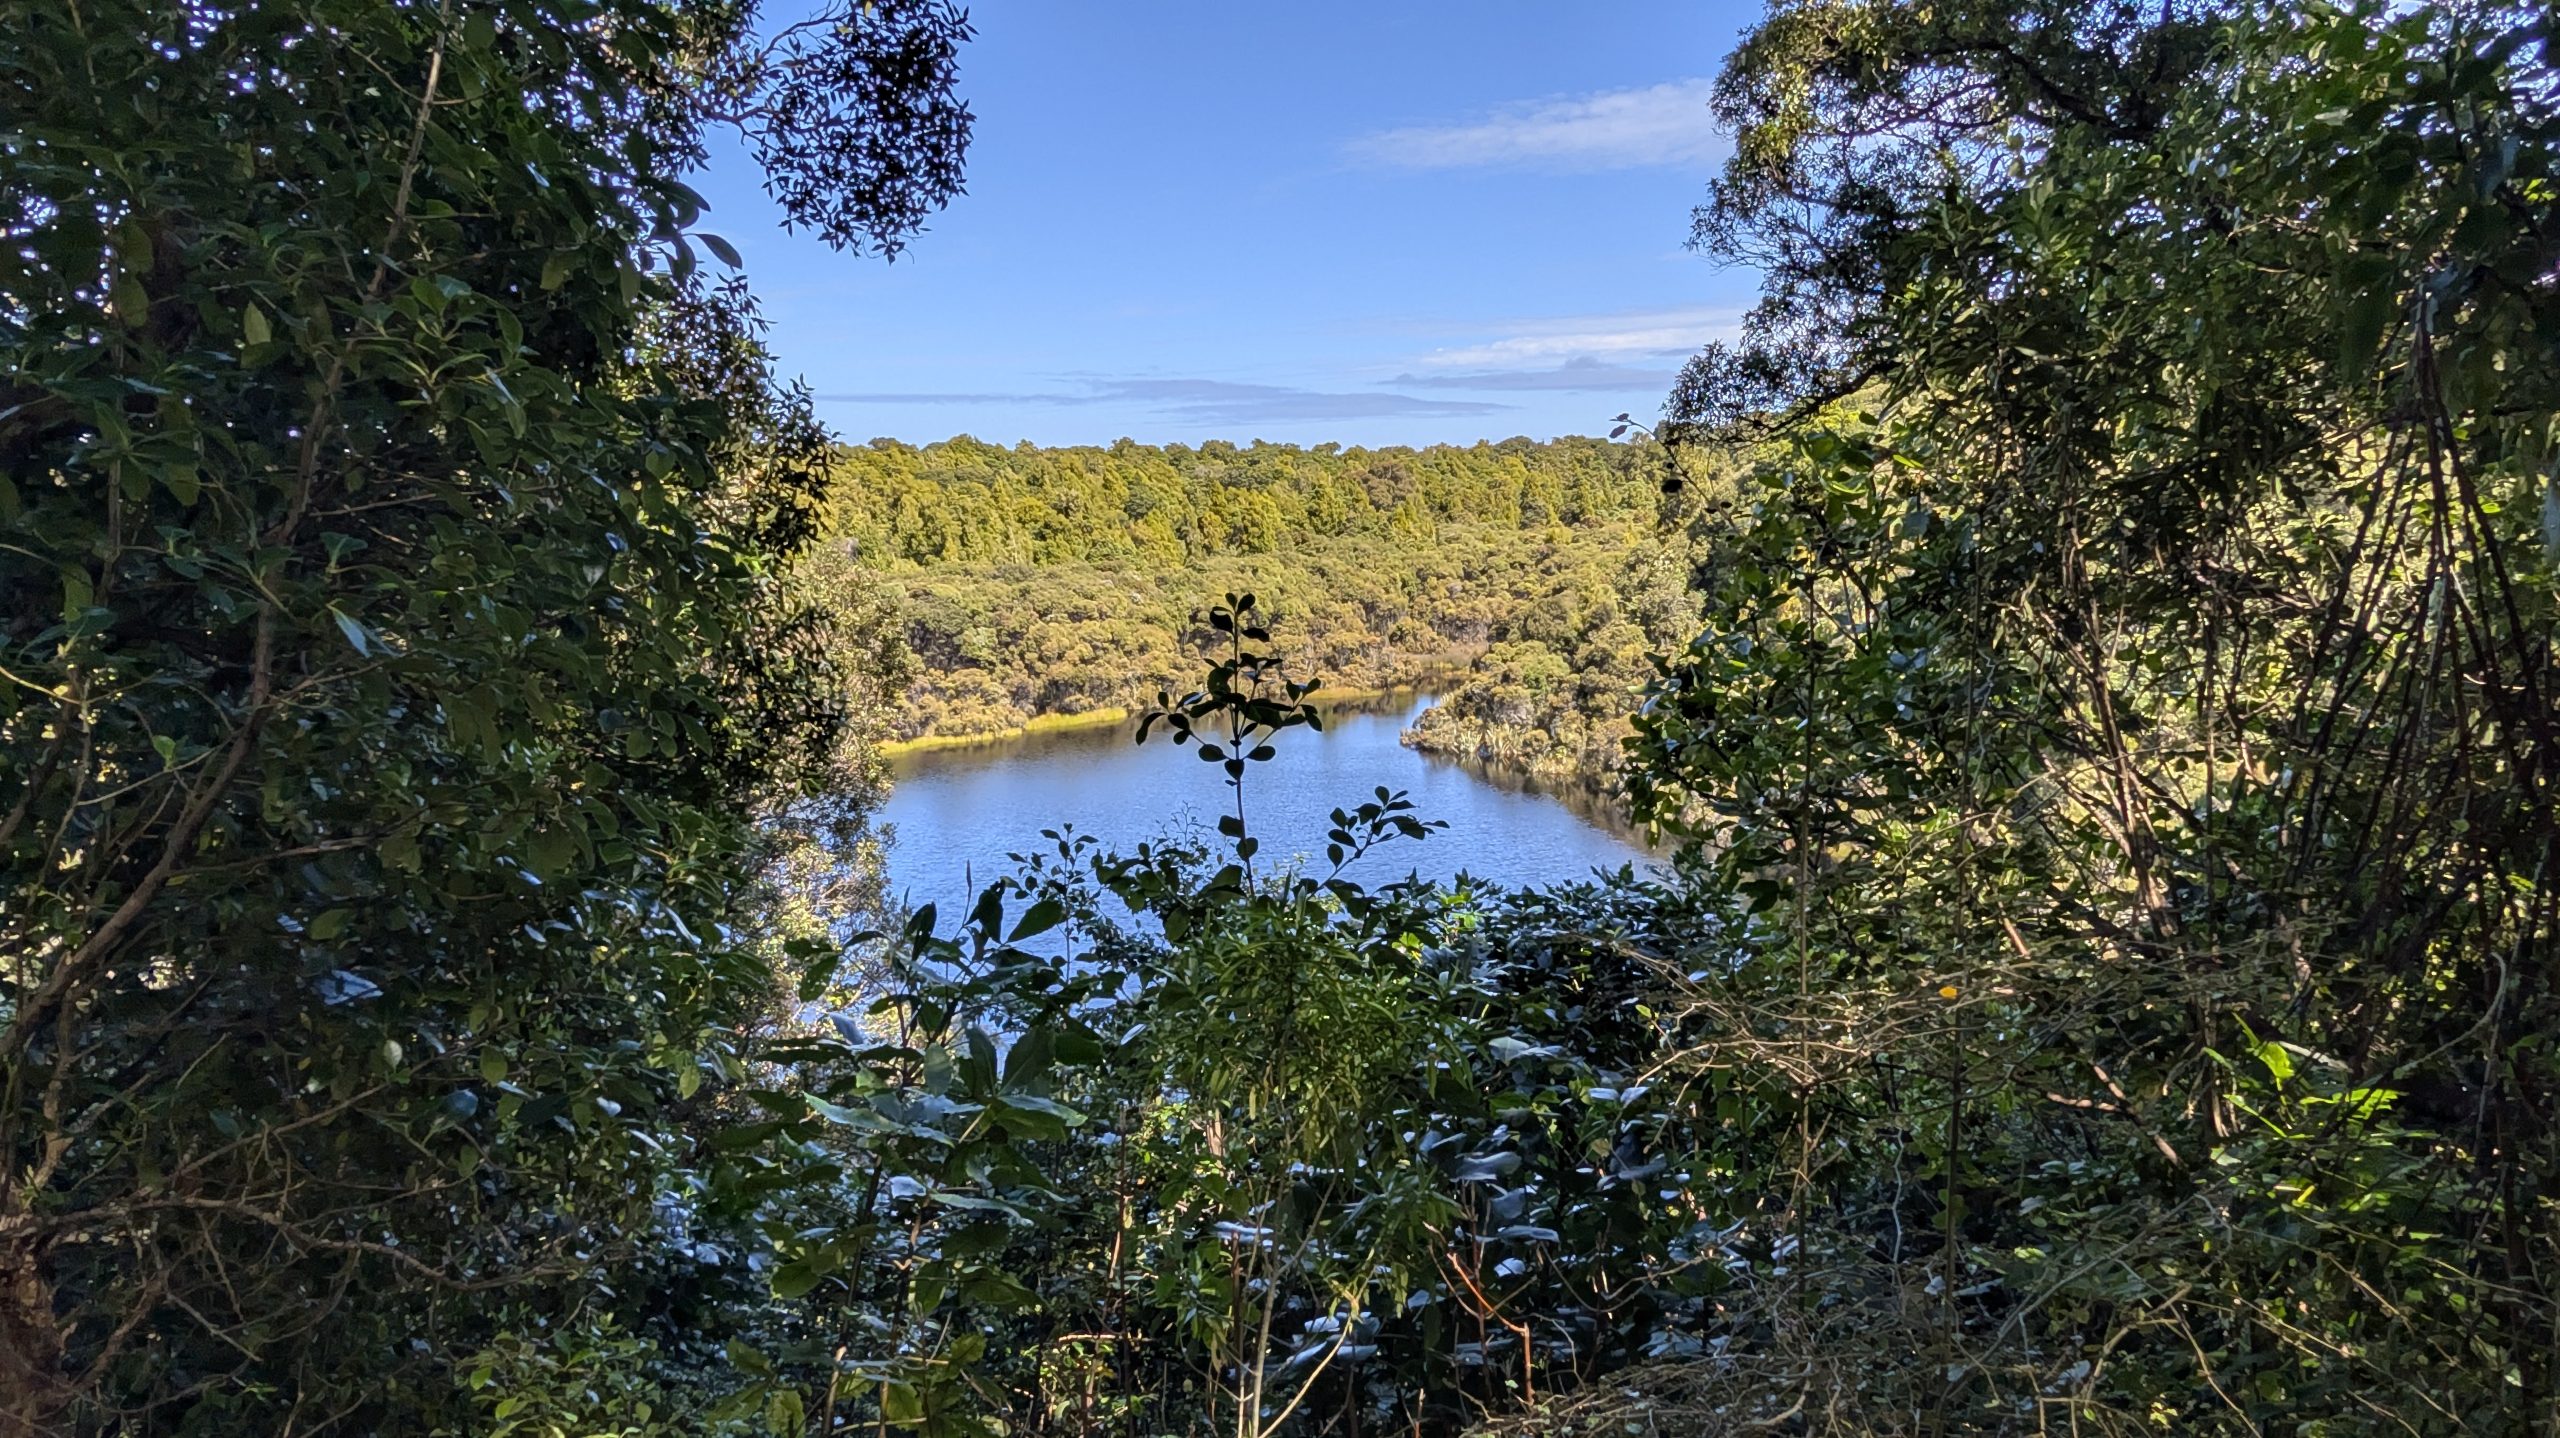
Our next stop was the Lake Wilkie Track. This was a stop that we had missed doing our previous trips due to time constraints. It was a very short hike to a view of Lake Wilkie.
Lake Wilkie: view from the shoreLake Wilkie: view from the trail above
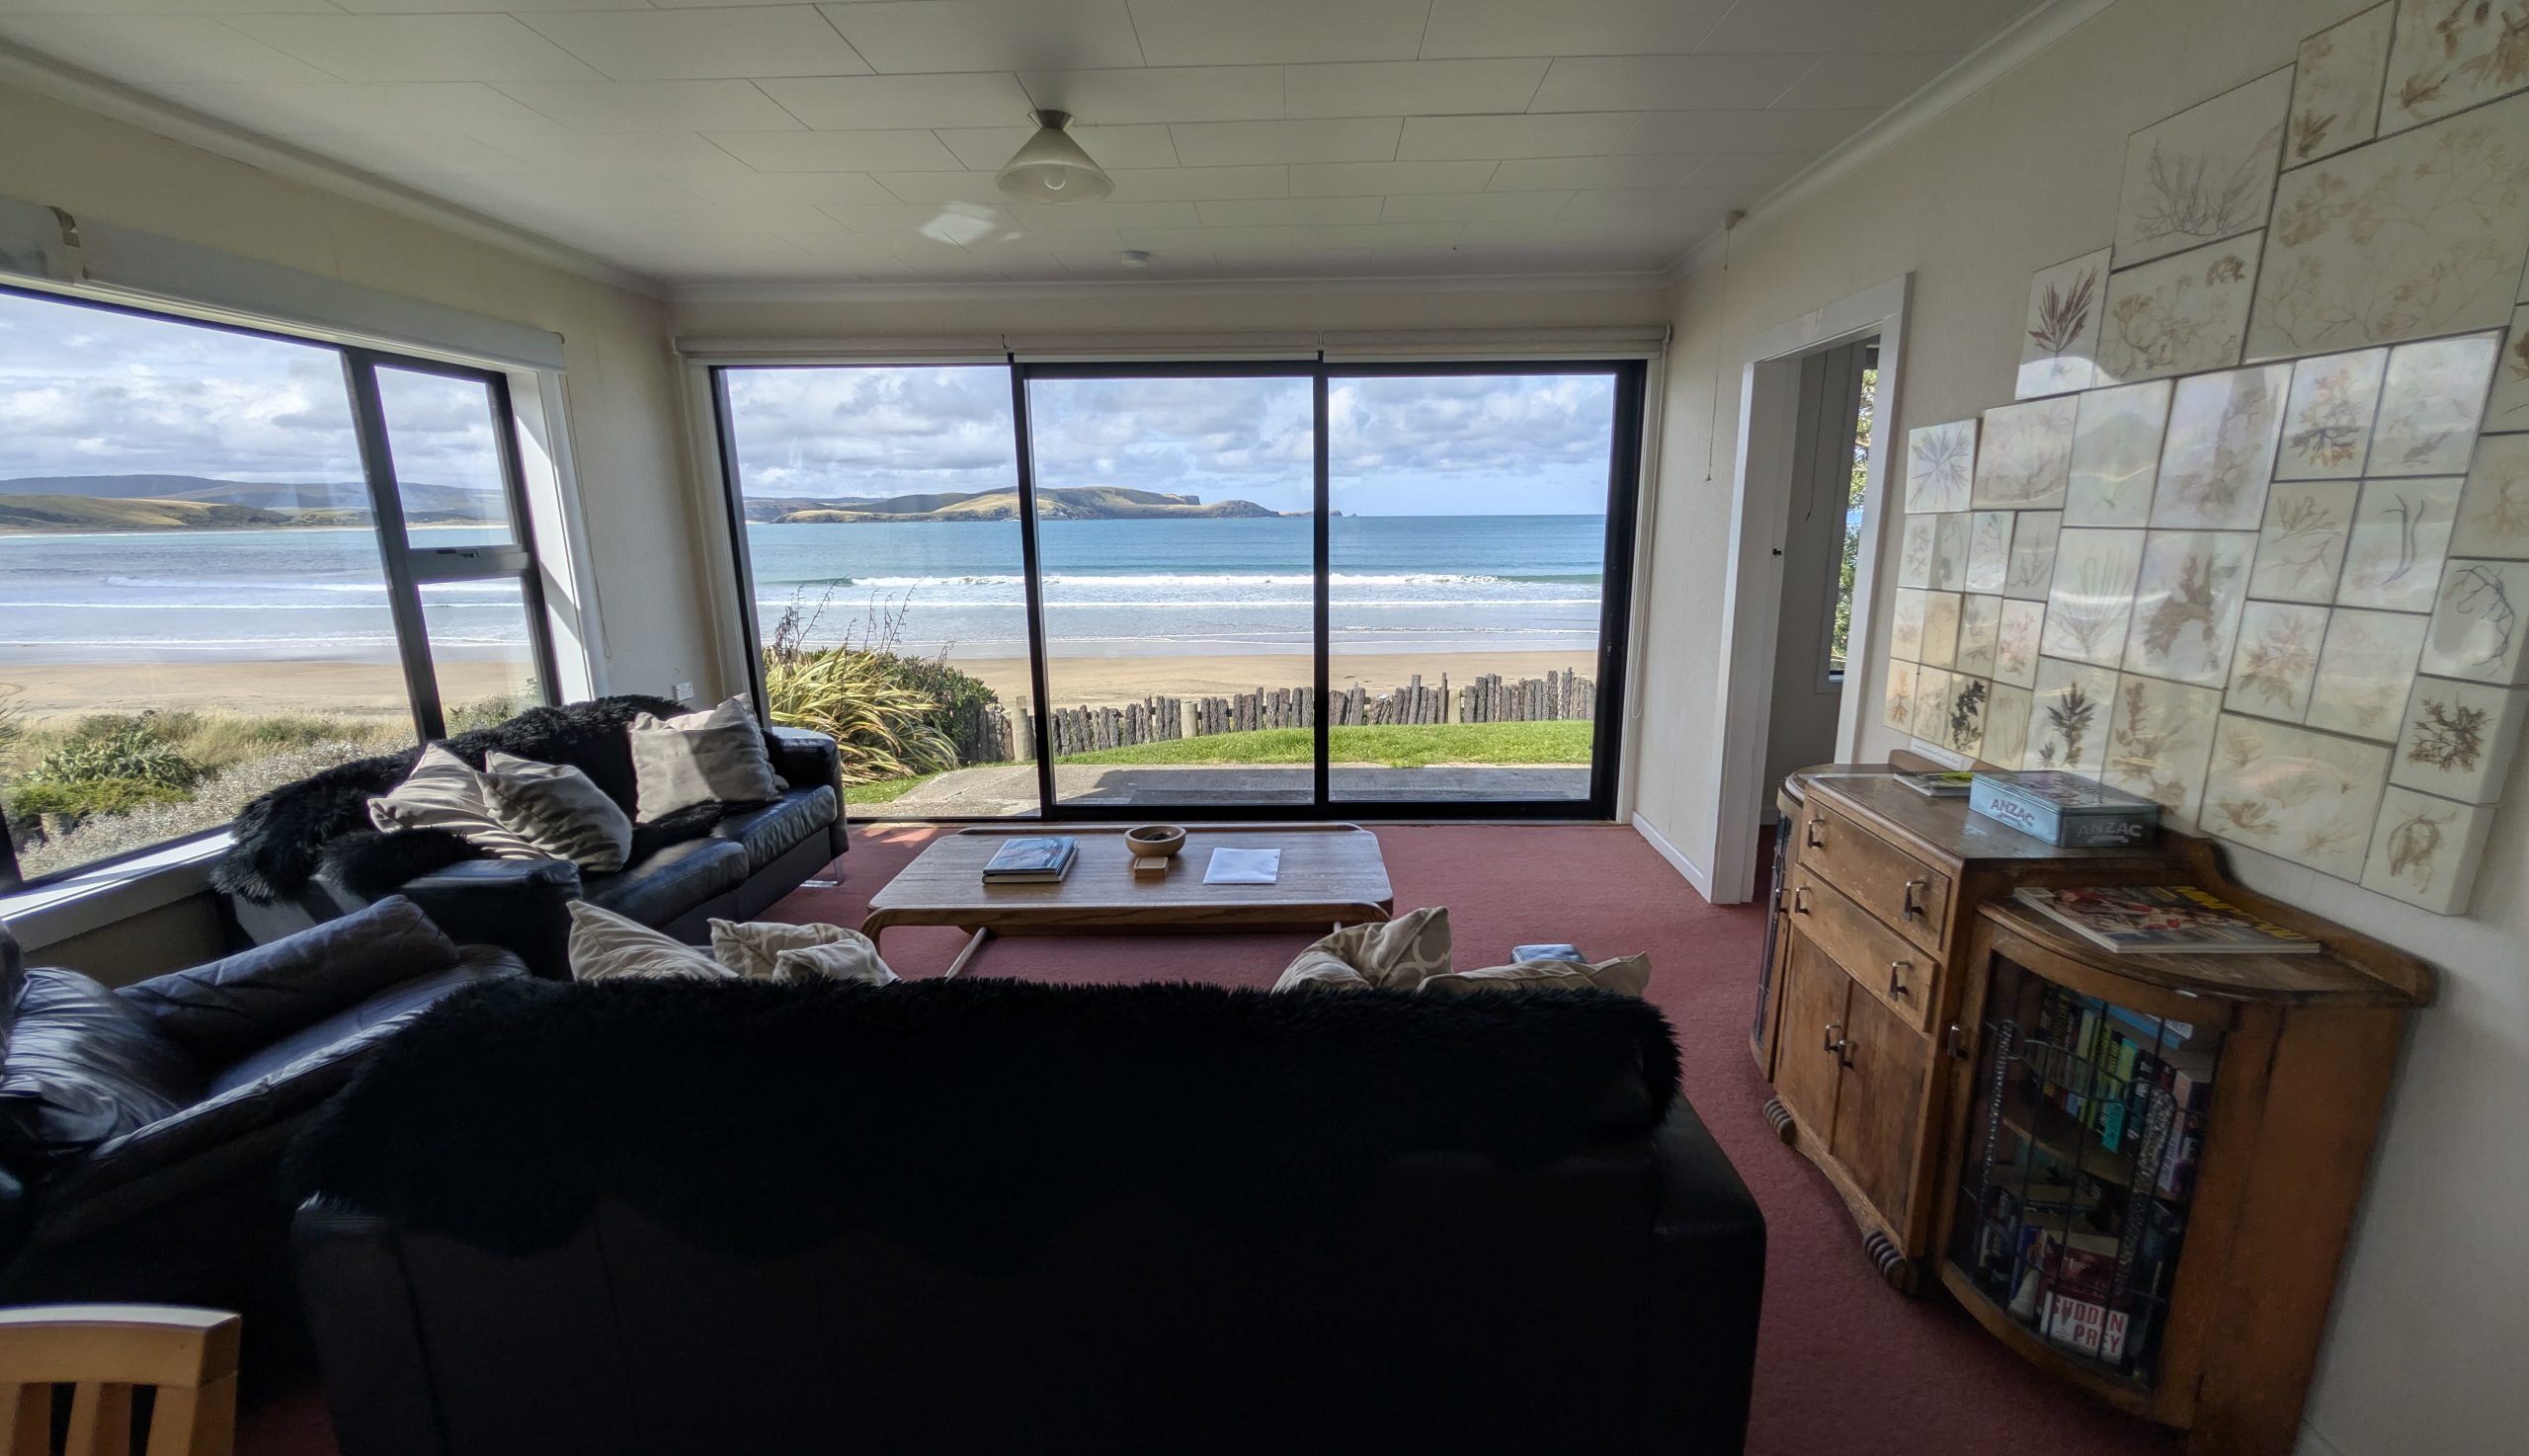
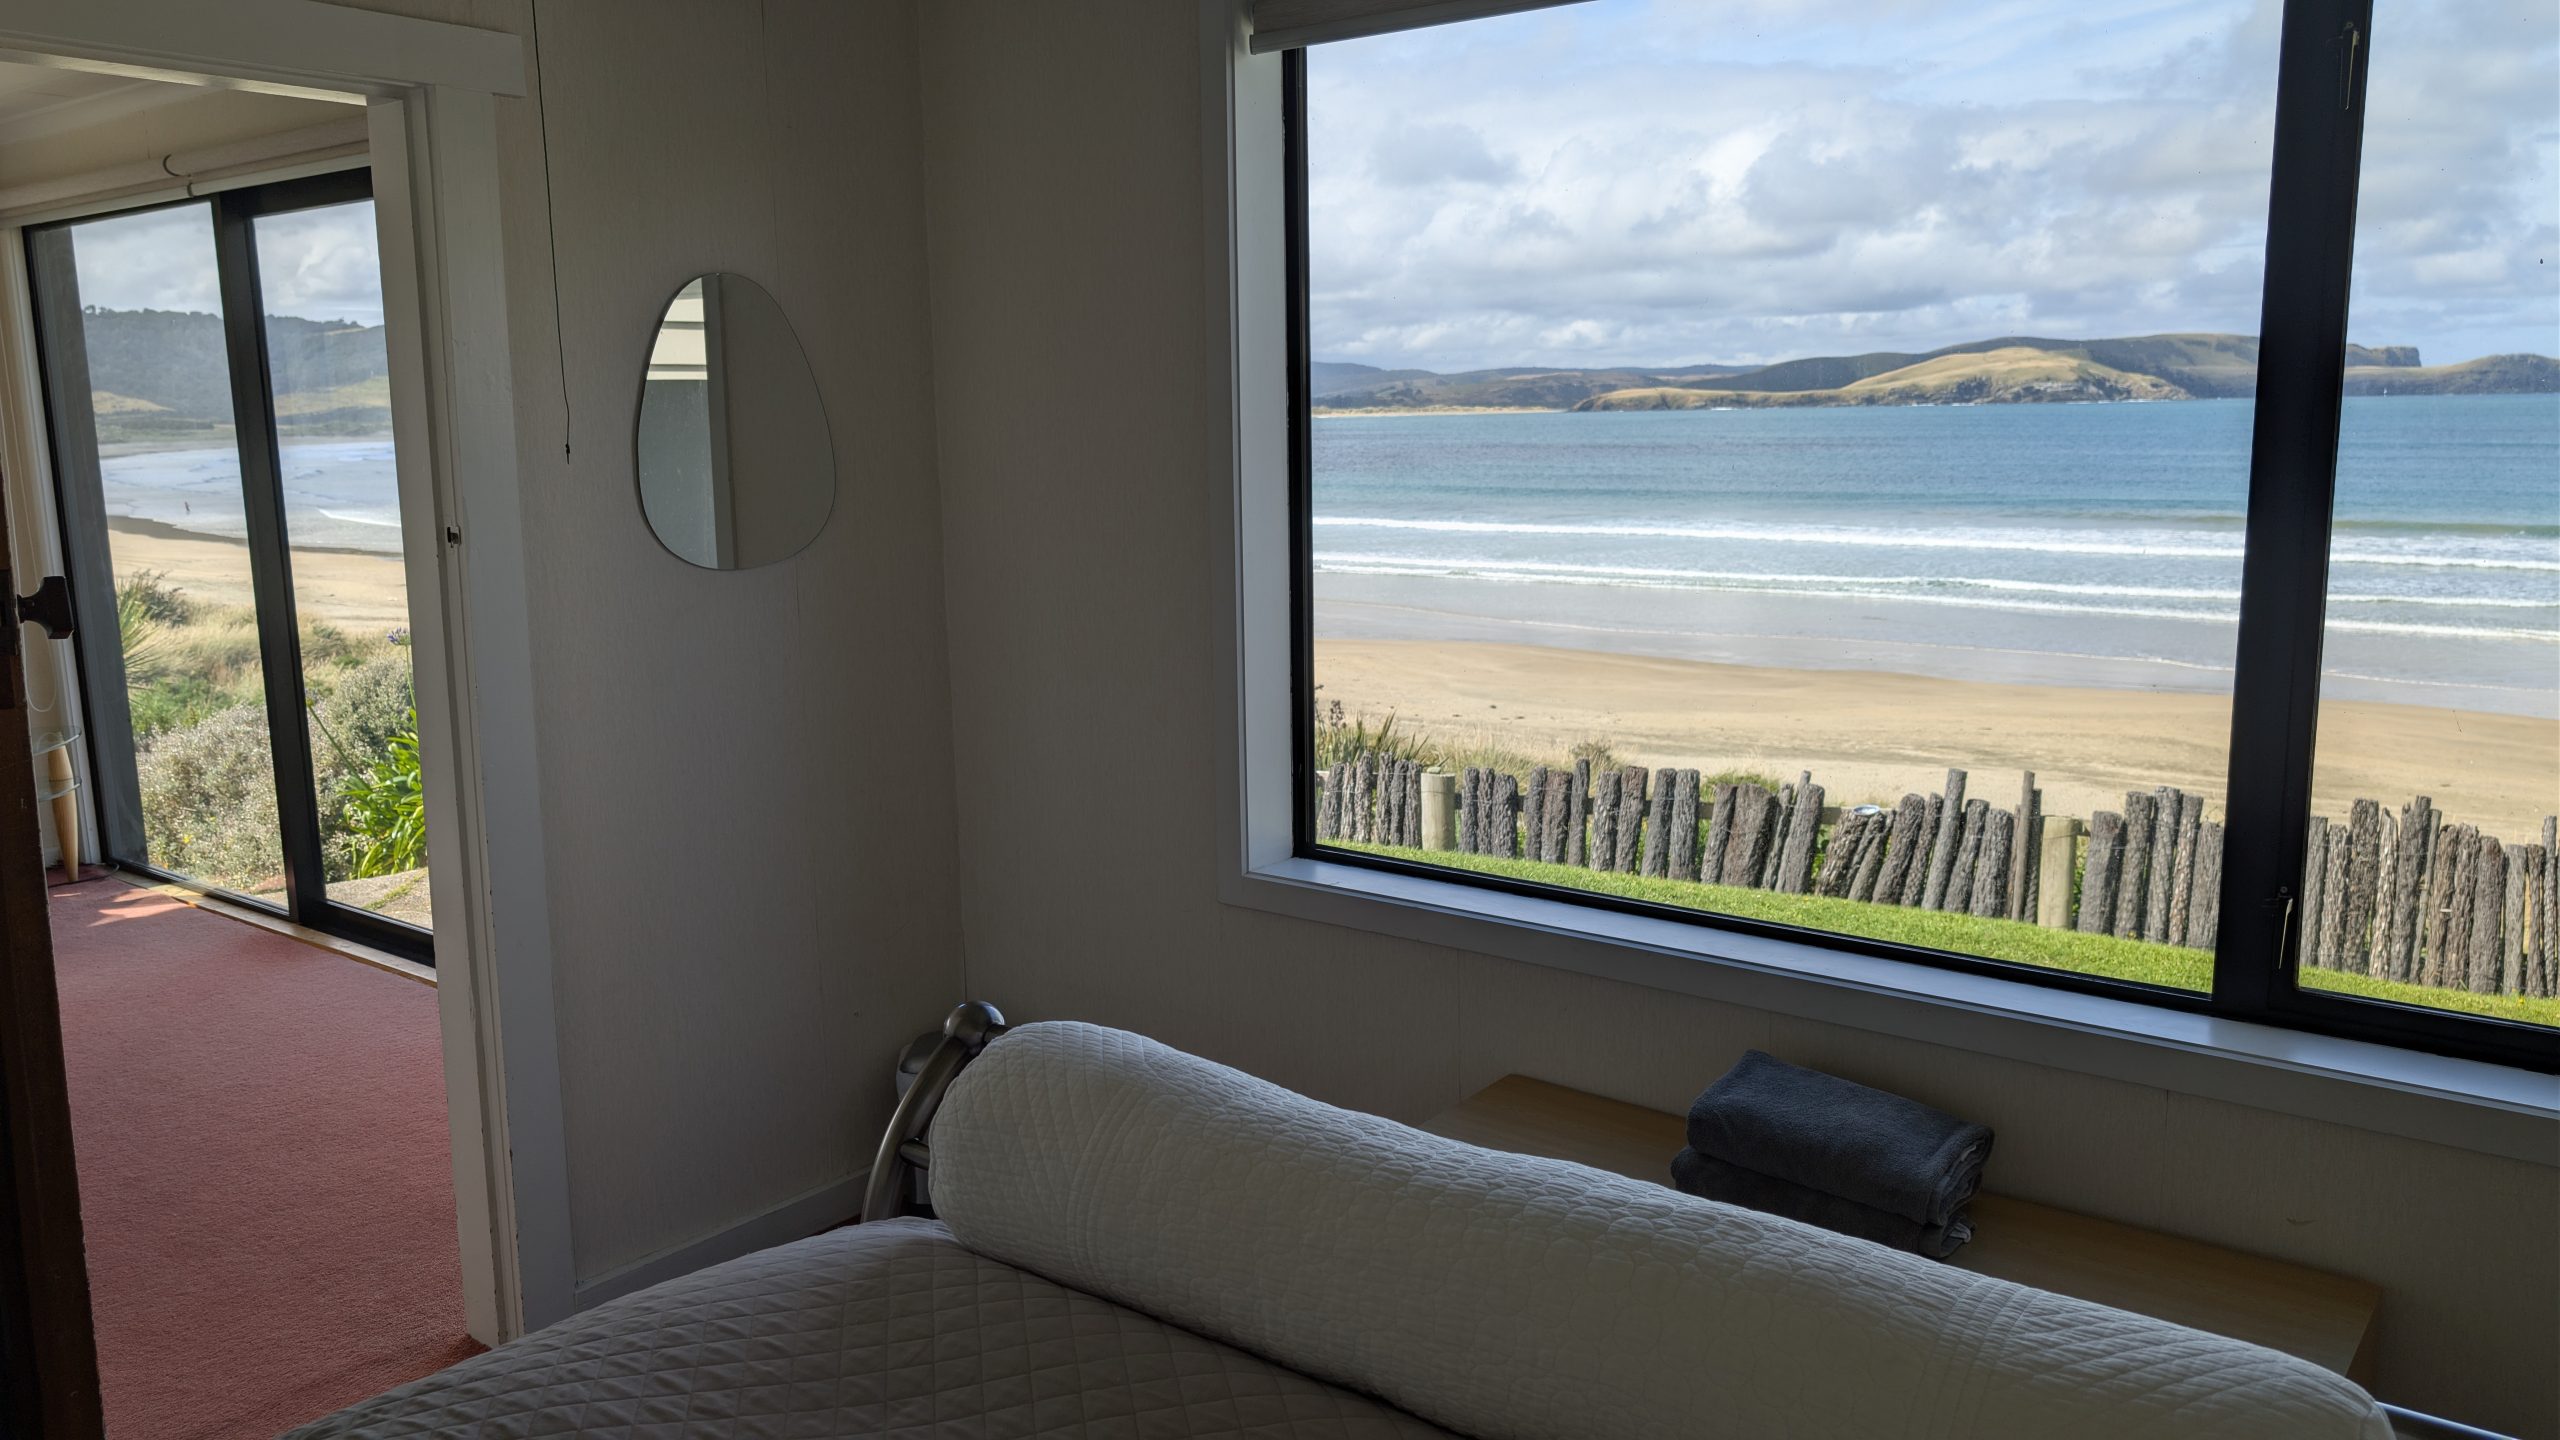
We arrived at Curio Bay and checked into our accommodation for the next two nights: the Cloud 9 vacation rental. We had stayed there before in 2019 and loved it. It had sweeping views of Porpoise Bay from the kitchen, living room, and bedroom. It was also the place where little blue penguins nested underneath the house, and we had heard their loud calls in the middle of the night in 2023. We were hoping to hear them and possibly see them again.
Cloud 9 view from the living roomCloud 9 fire stoveCloud 9 view from the bedroomCloud 9 view from the back deck
We drove up the road to the visitor center to ask about penguin sightings. In 2019 we saw one Hoiho penguin at Curio Bay: he put in a regular appearance almost daily just before dusk as he waddled in from the ocean, across the beach and to his nest in the bush. We did not see the penguin in 2023. This year there had been many sightings: the guest book inside our rental house mentioned sightings just a few days ago. The lady at the desk advised us to wait for the penguin between 7 and 8 pm.
We drove back to the house and fixed dinner. We enjoyed the views from the living room until it was time to drive back to try to see the penguin.
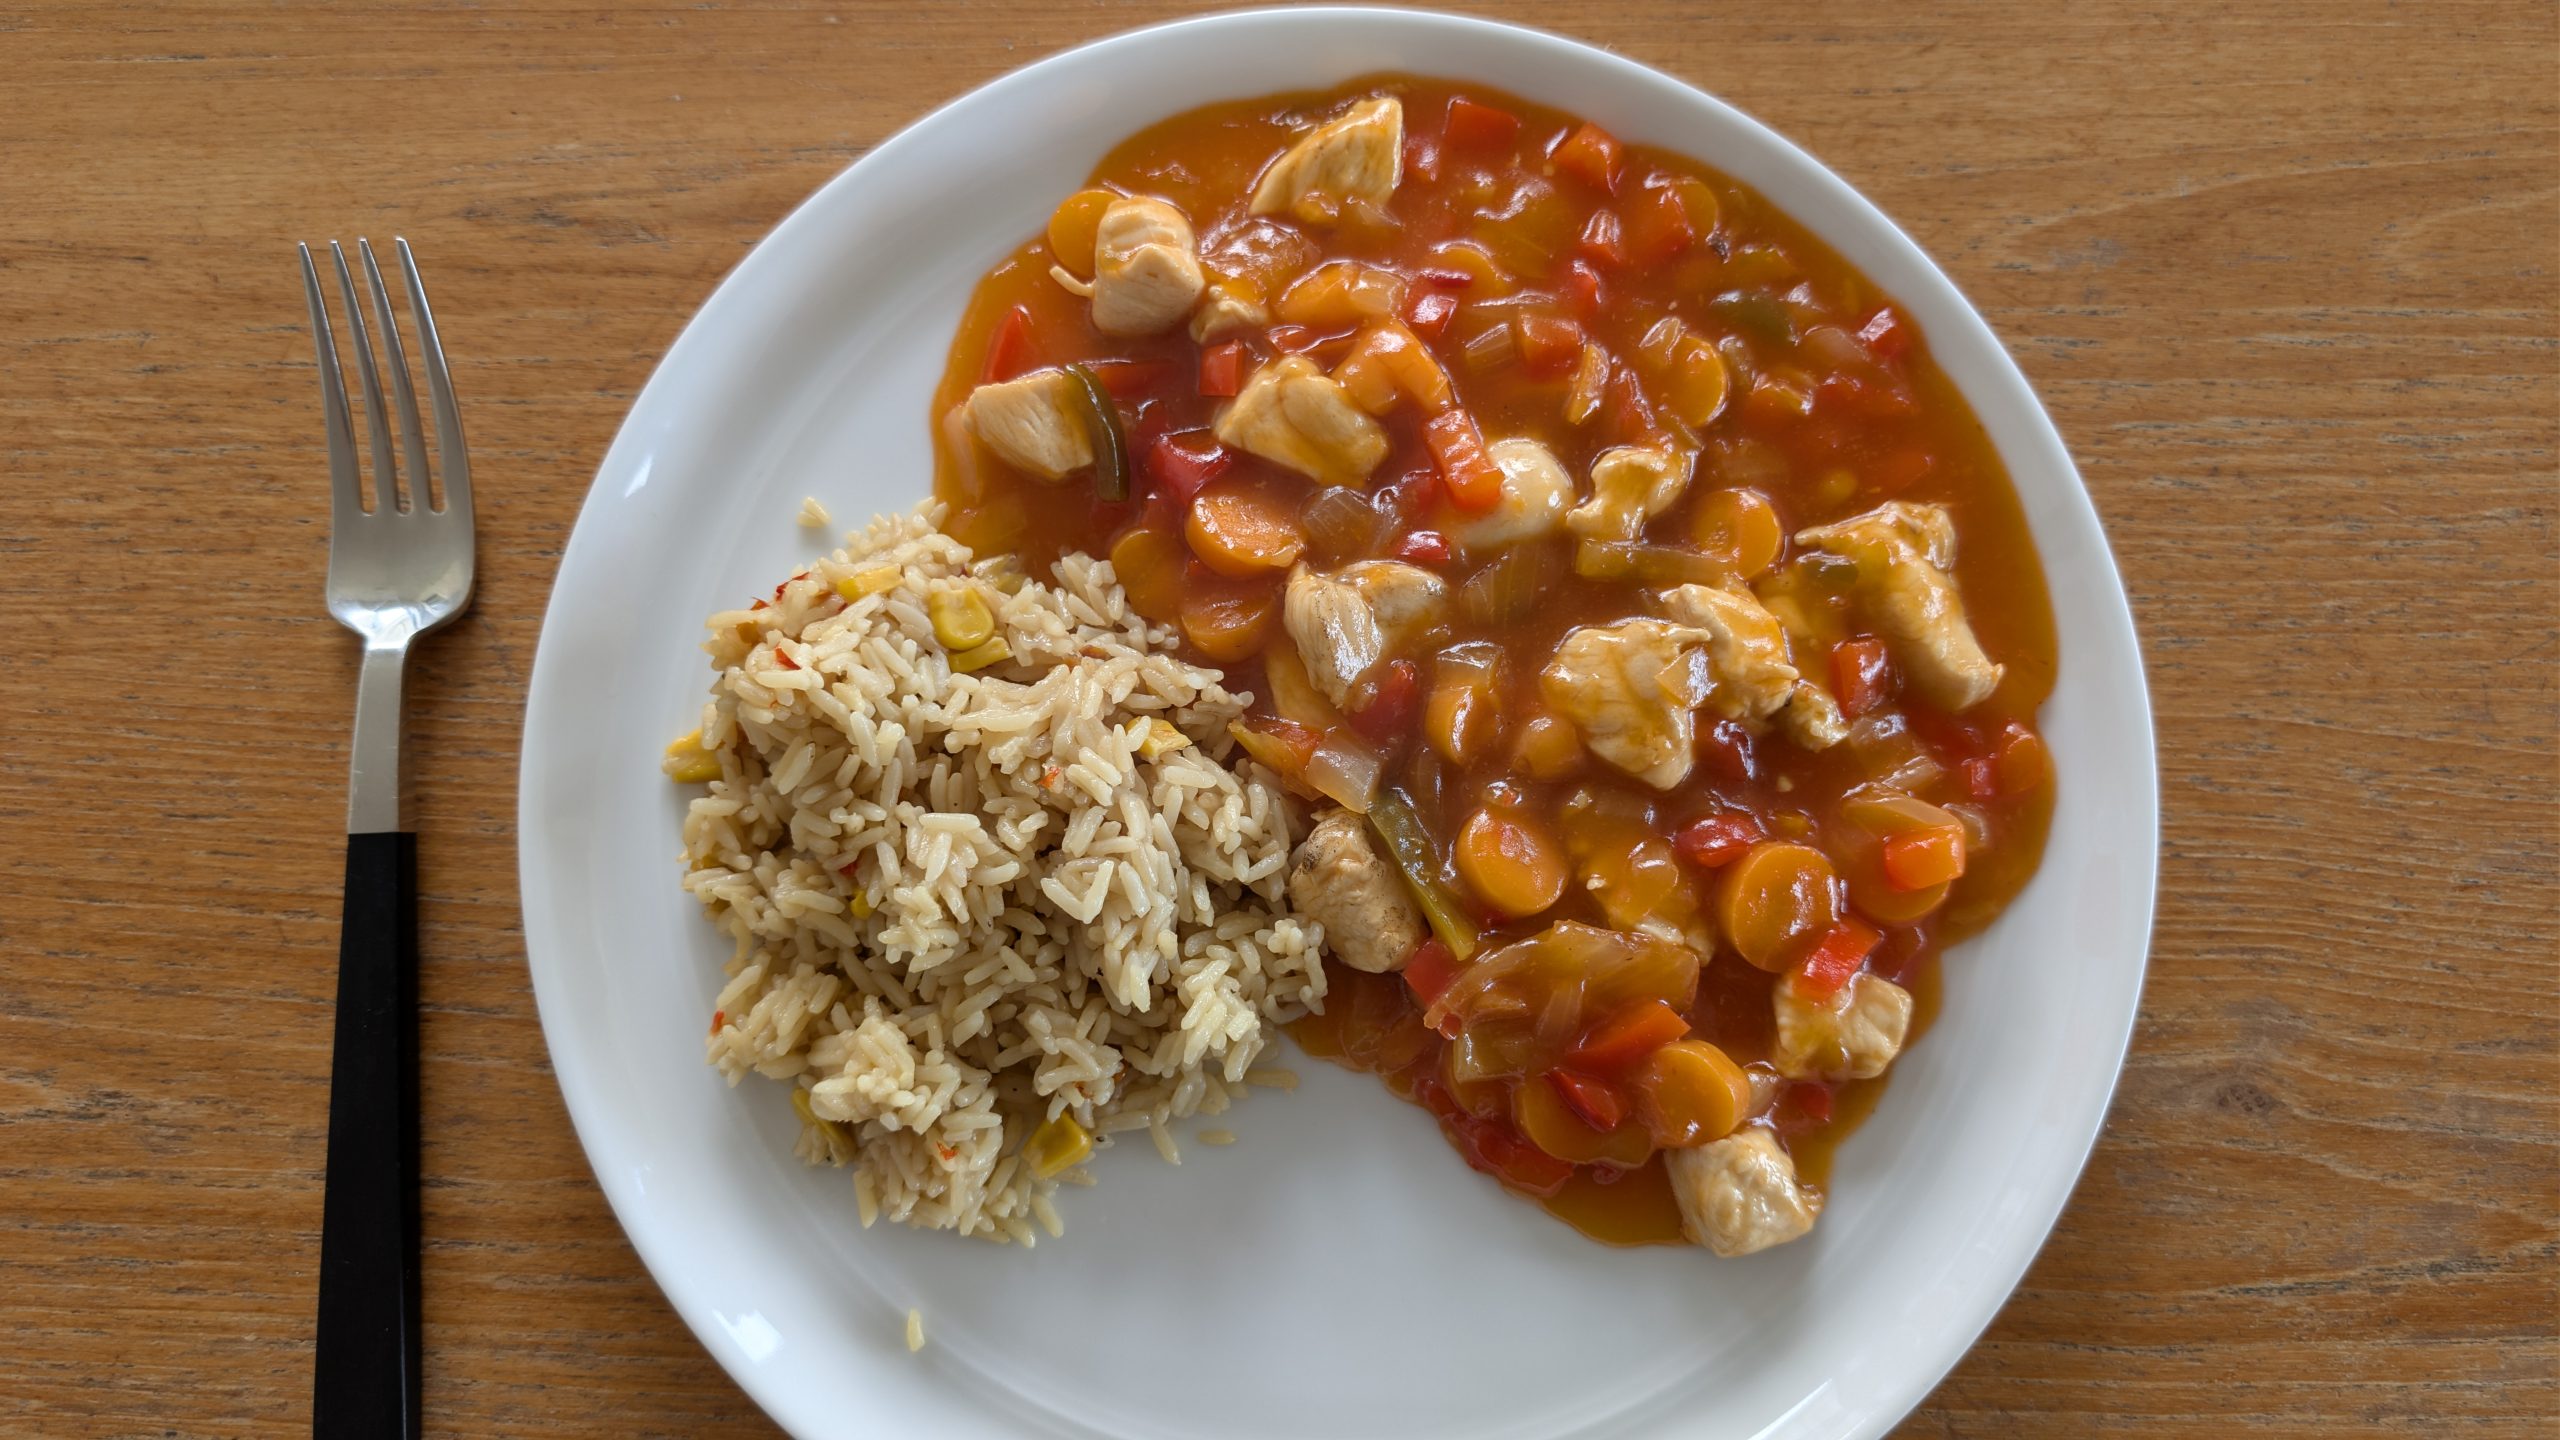
Dinner: sweet and sour chicken and rice
Our efforts to see the penguin were unsuccessful. We waited for two hours until 9 PM, and the only sightings were a few birds. The weather had deteriorated, and it was cold, damp and windy.
We drove back to the house and started a fire. The heat from the stove kept us nice and warm. We waited for the little blue penguin to appear, but we did not see or hear anything before we went to bed for the night.
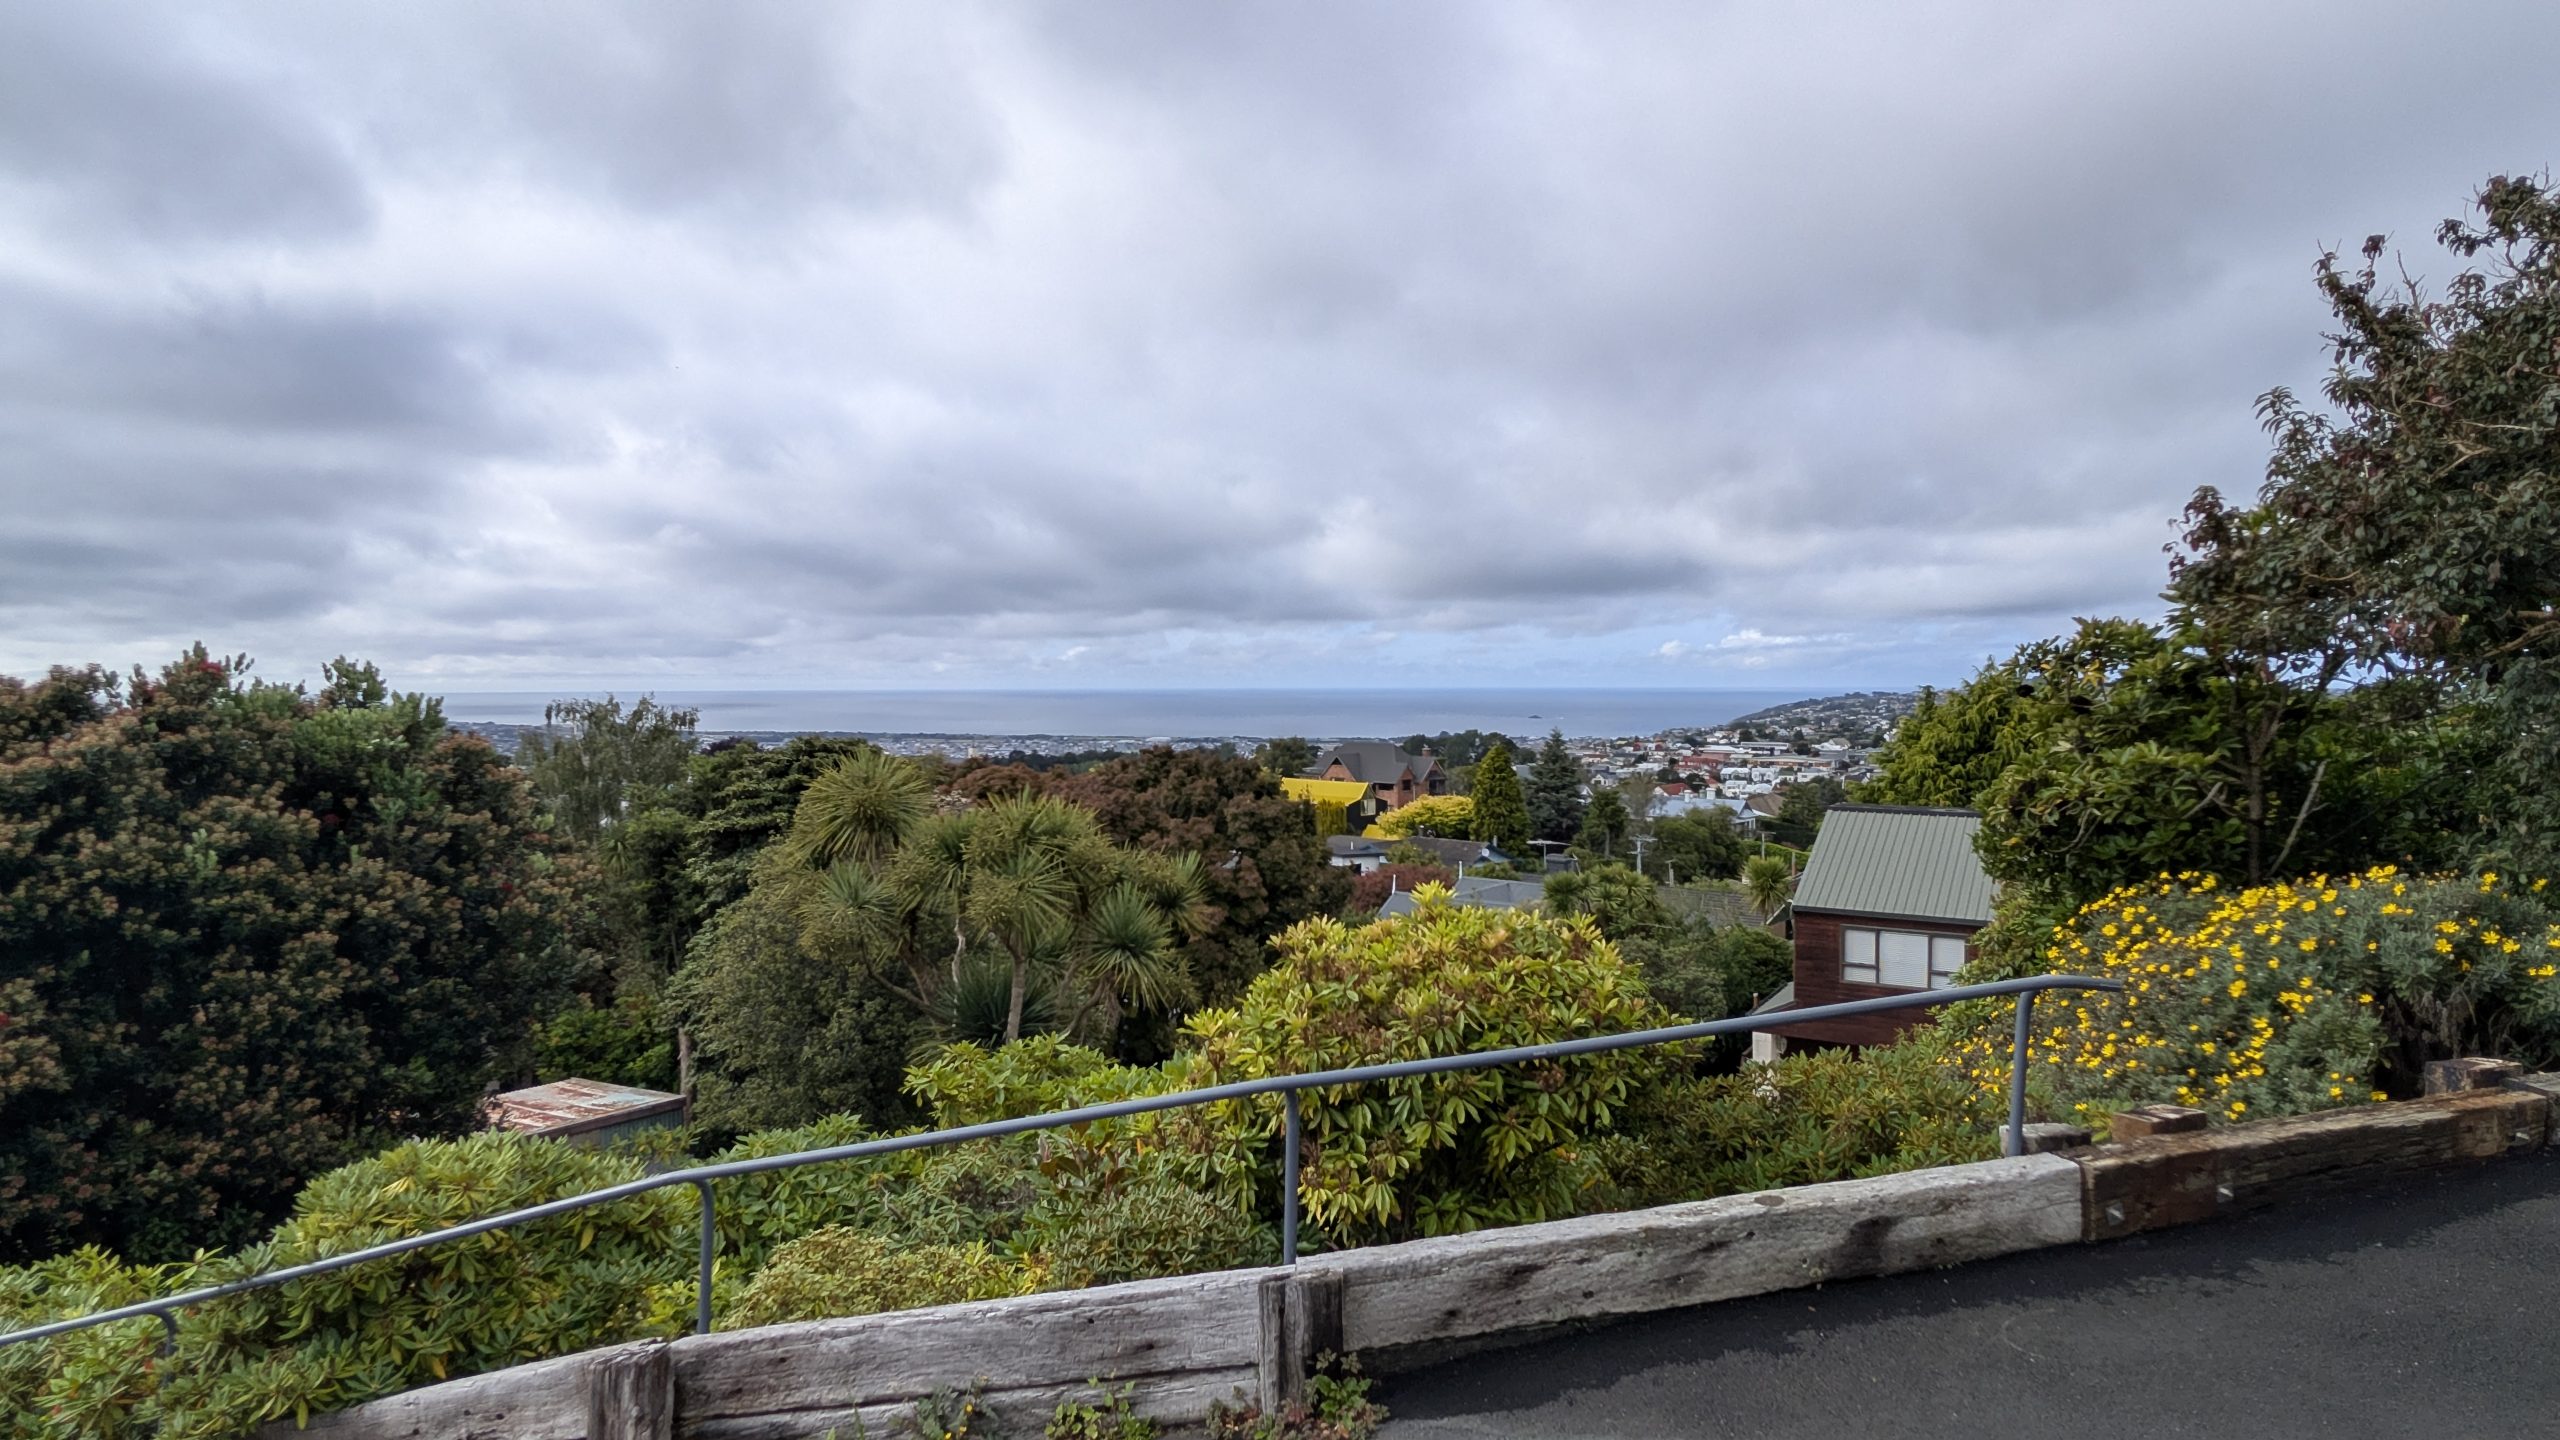
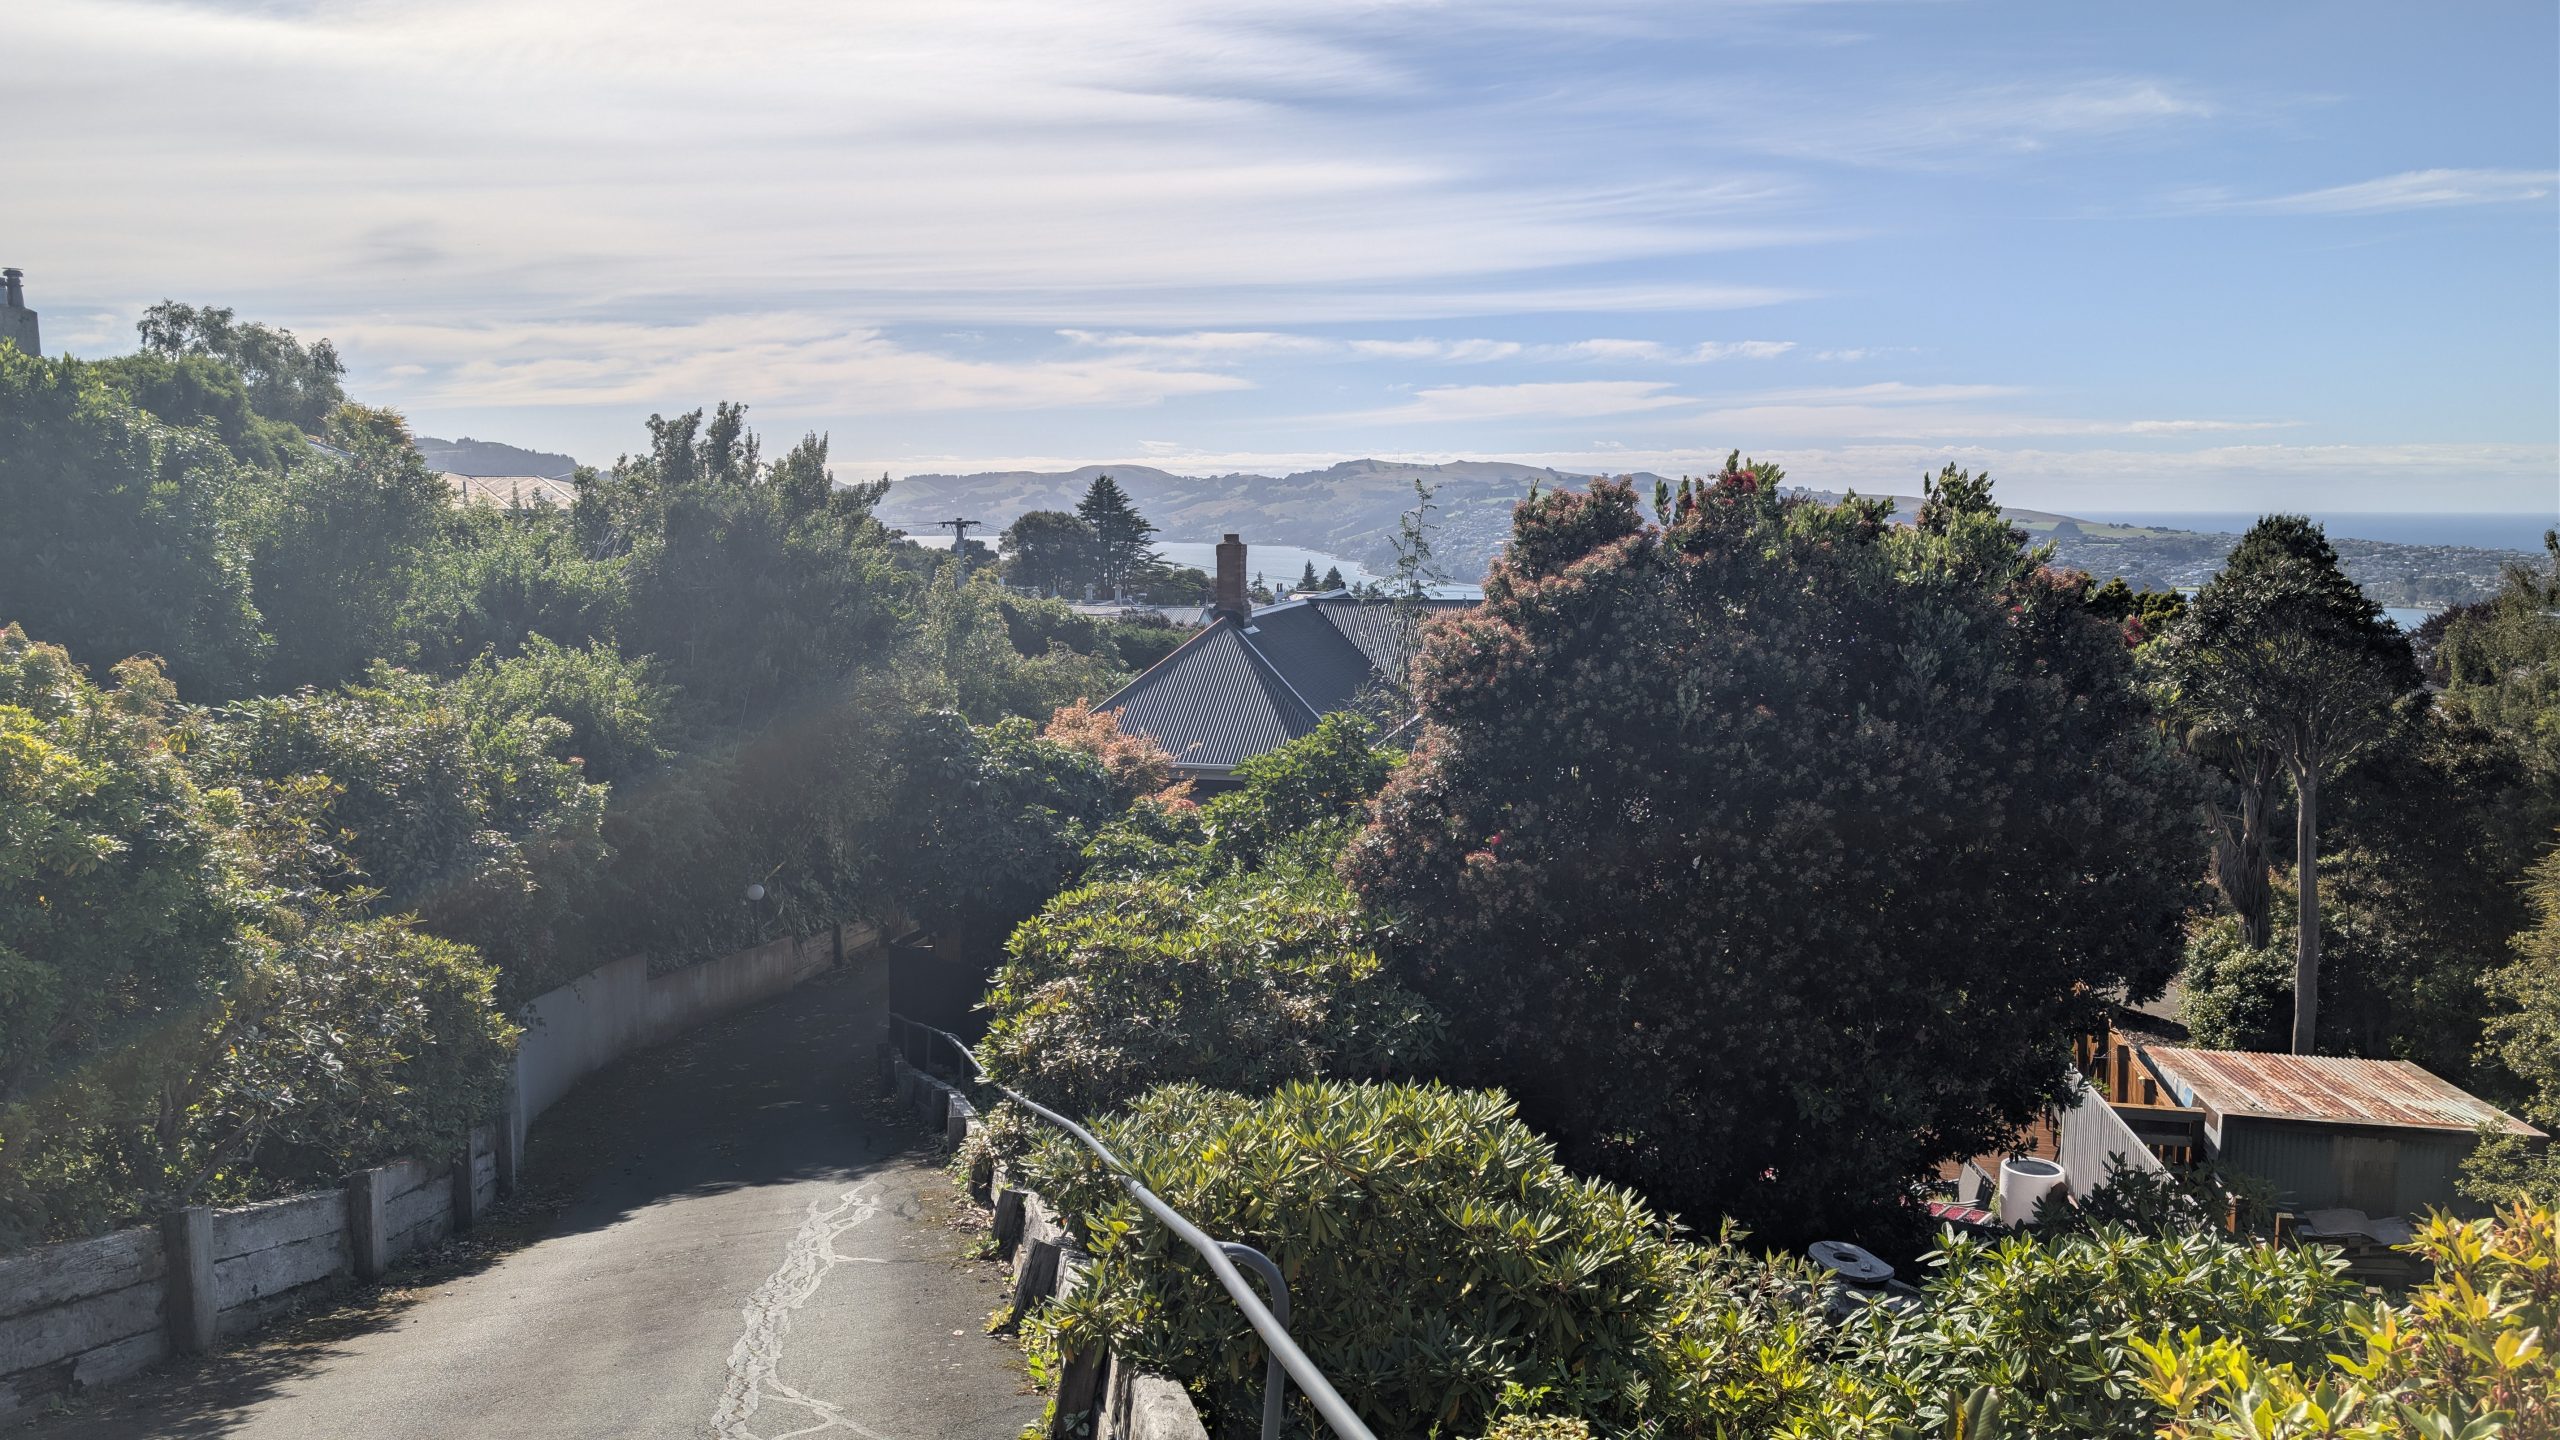
We spent a relaxing morning after being out very late the night before with the blue penguins tour. It was a lovely weather day with partly cloudy skies.
Morning view from the AirBnbView from the top of the driveway
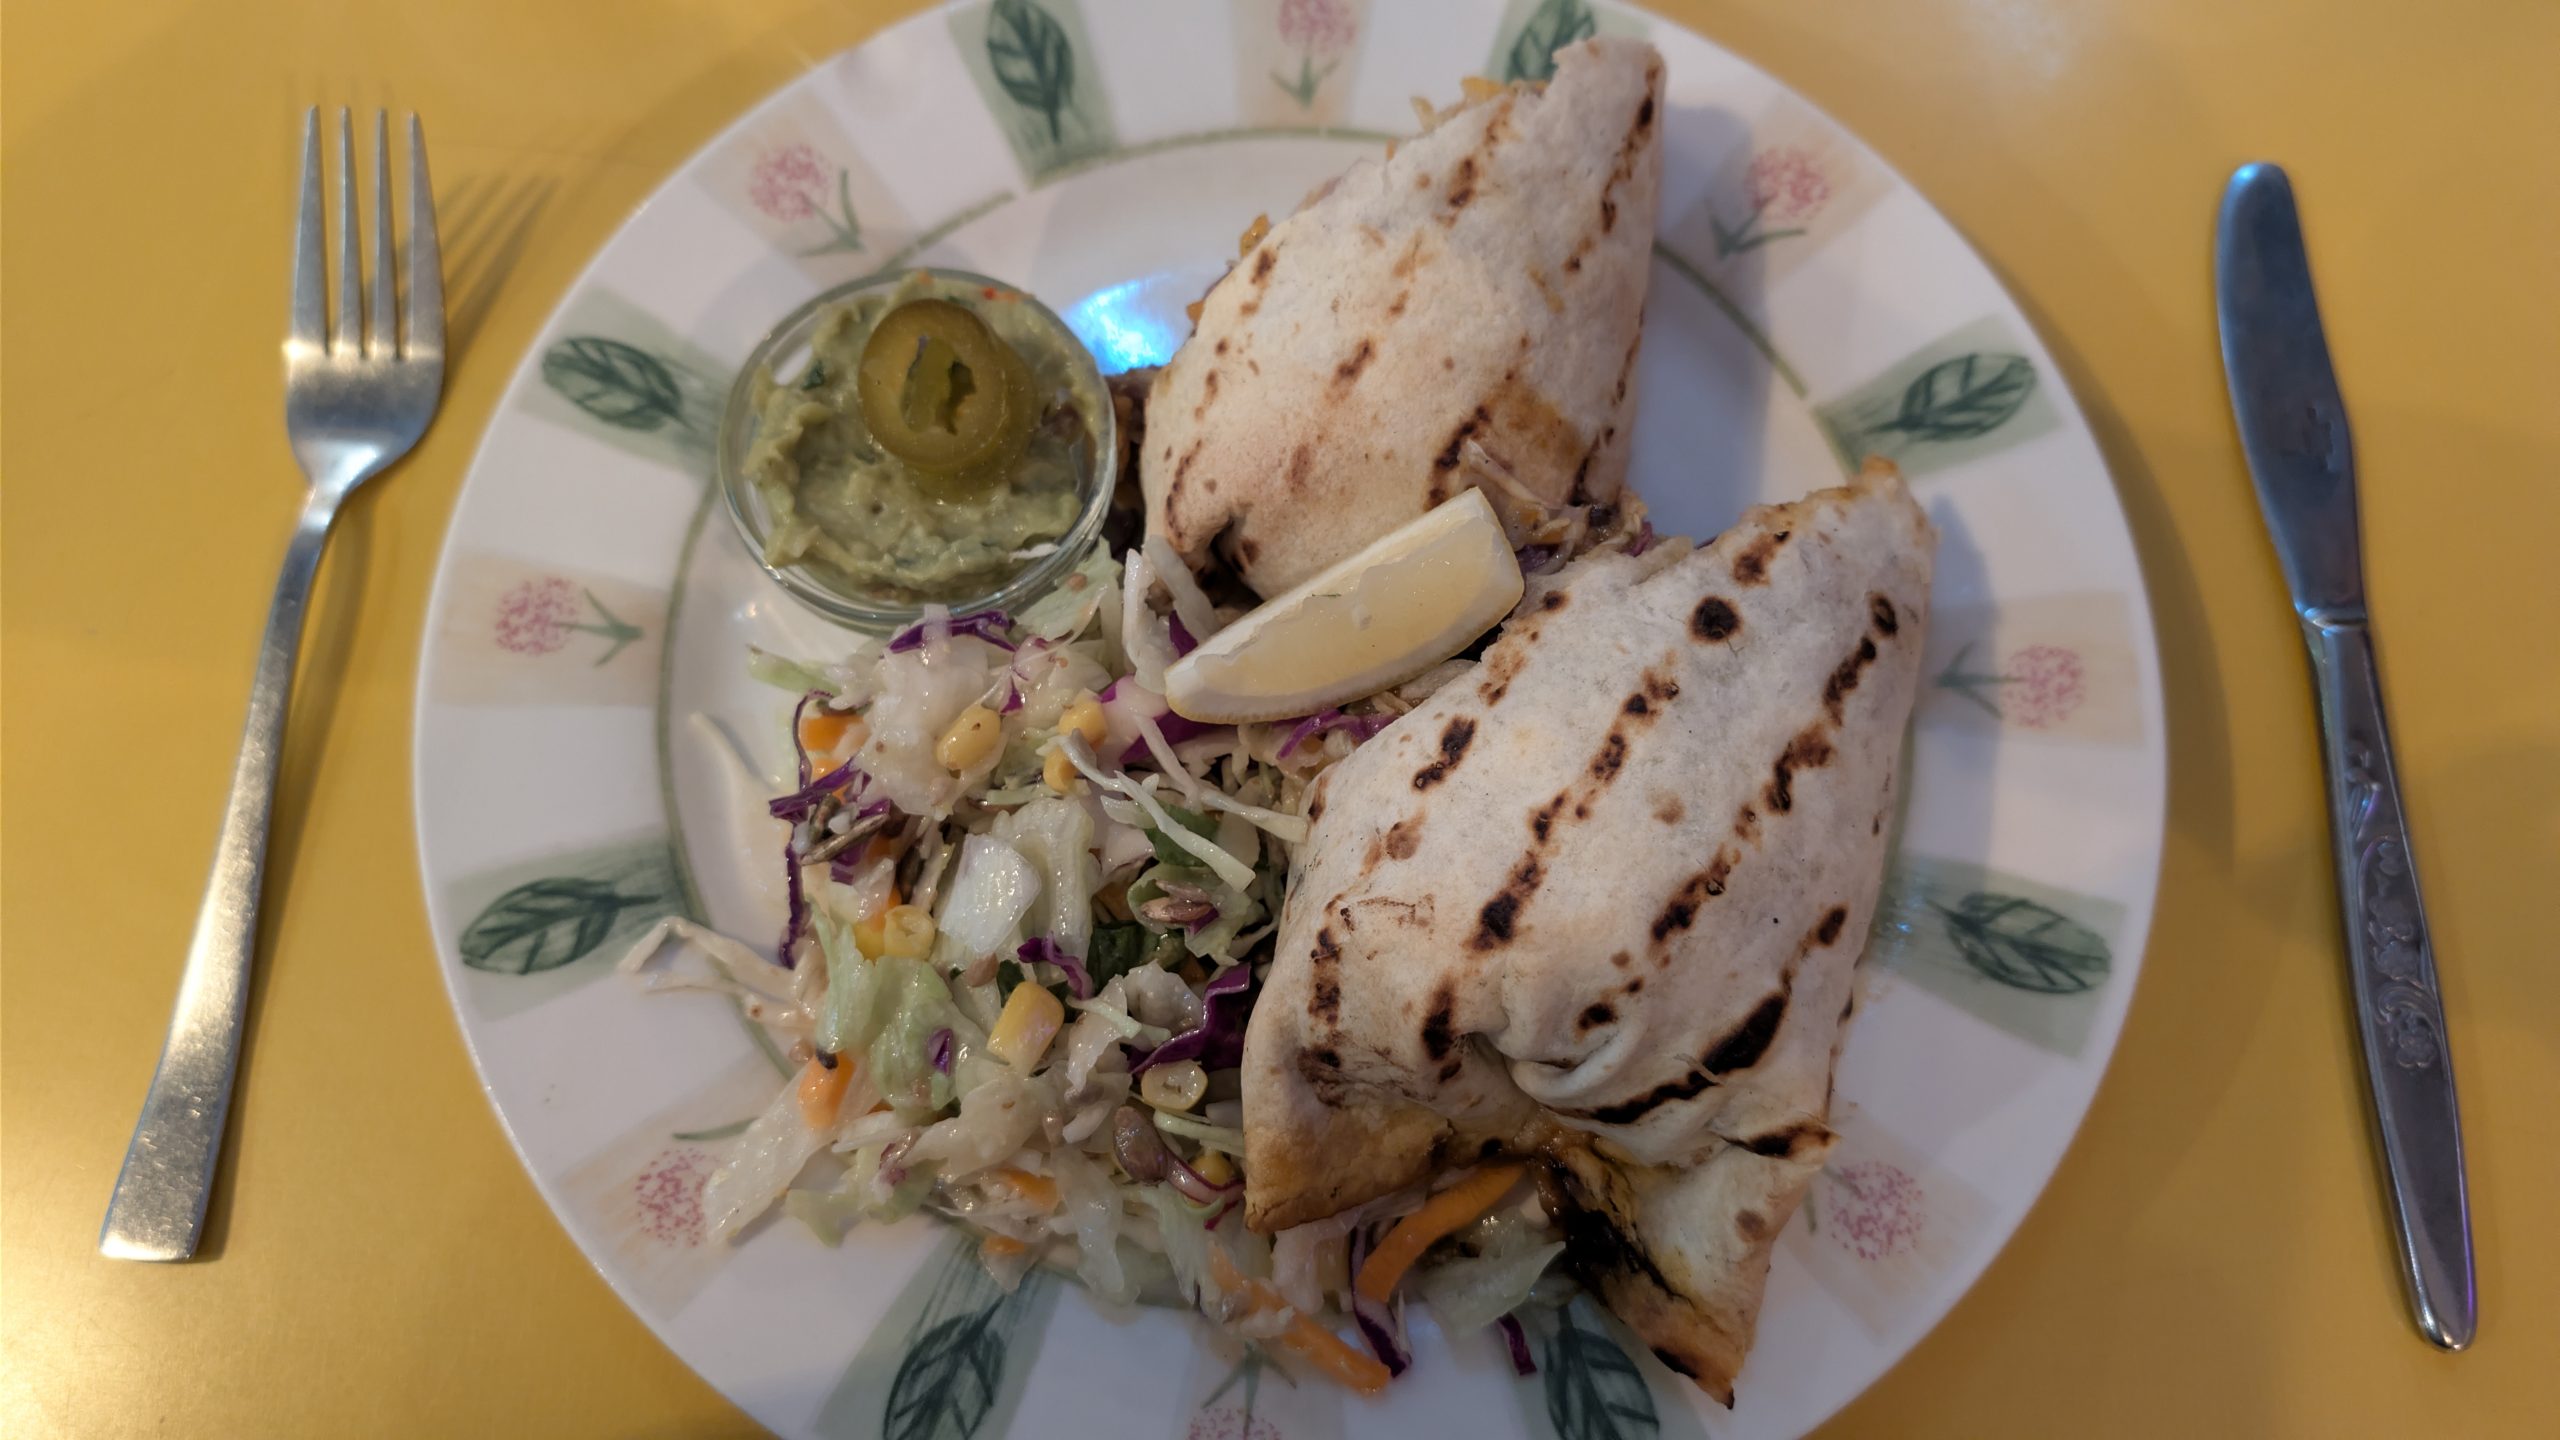
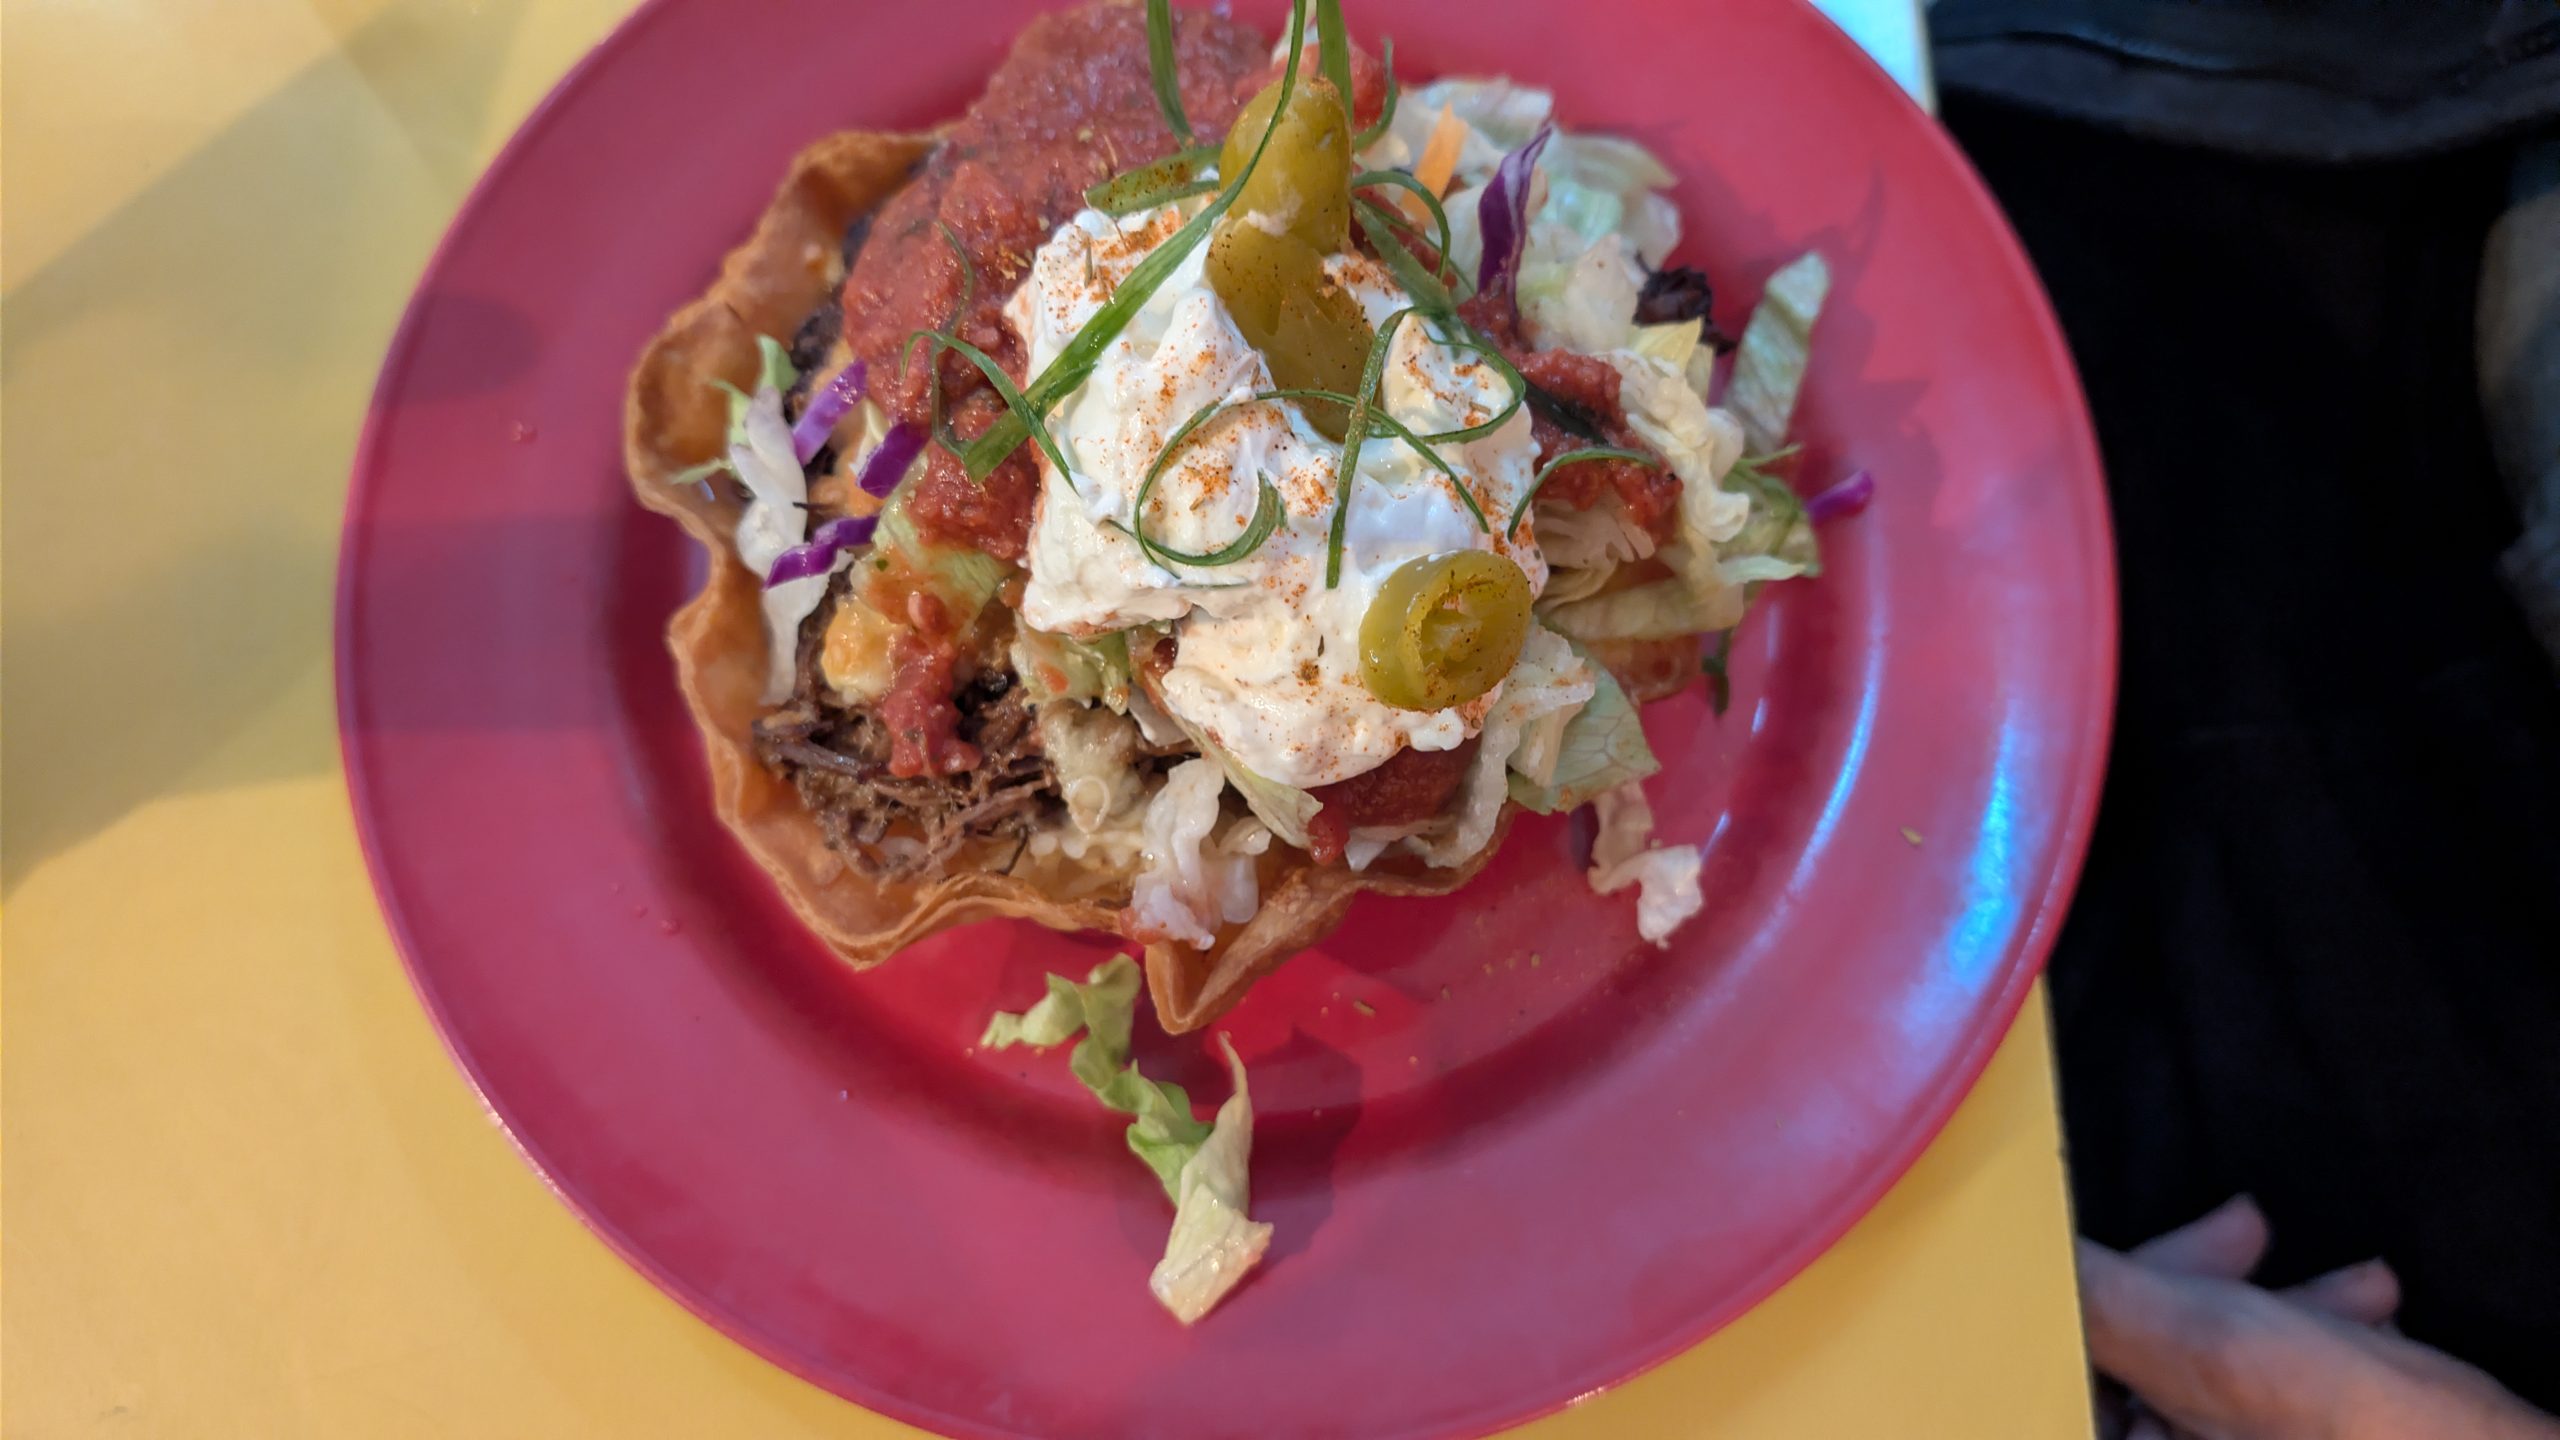
We had scheduled the late afternoon tour with Clearwater Wildlife Tours which departed from The Octagon. We drove downtown a few hours in advance to walk around and have an early dinner. Heinrich decided he wanted to try the New Zealand version of Mexican food, so we ate at Amigos. It was very good.
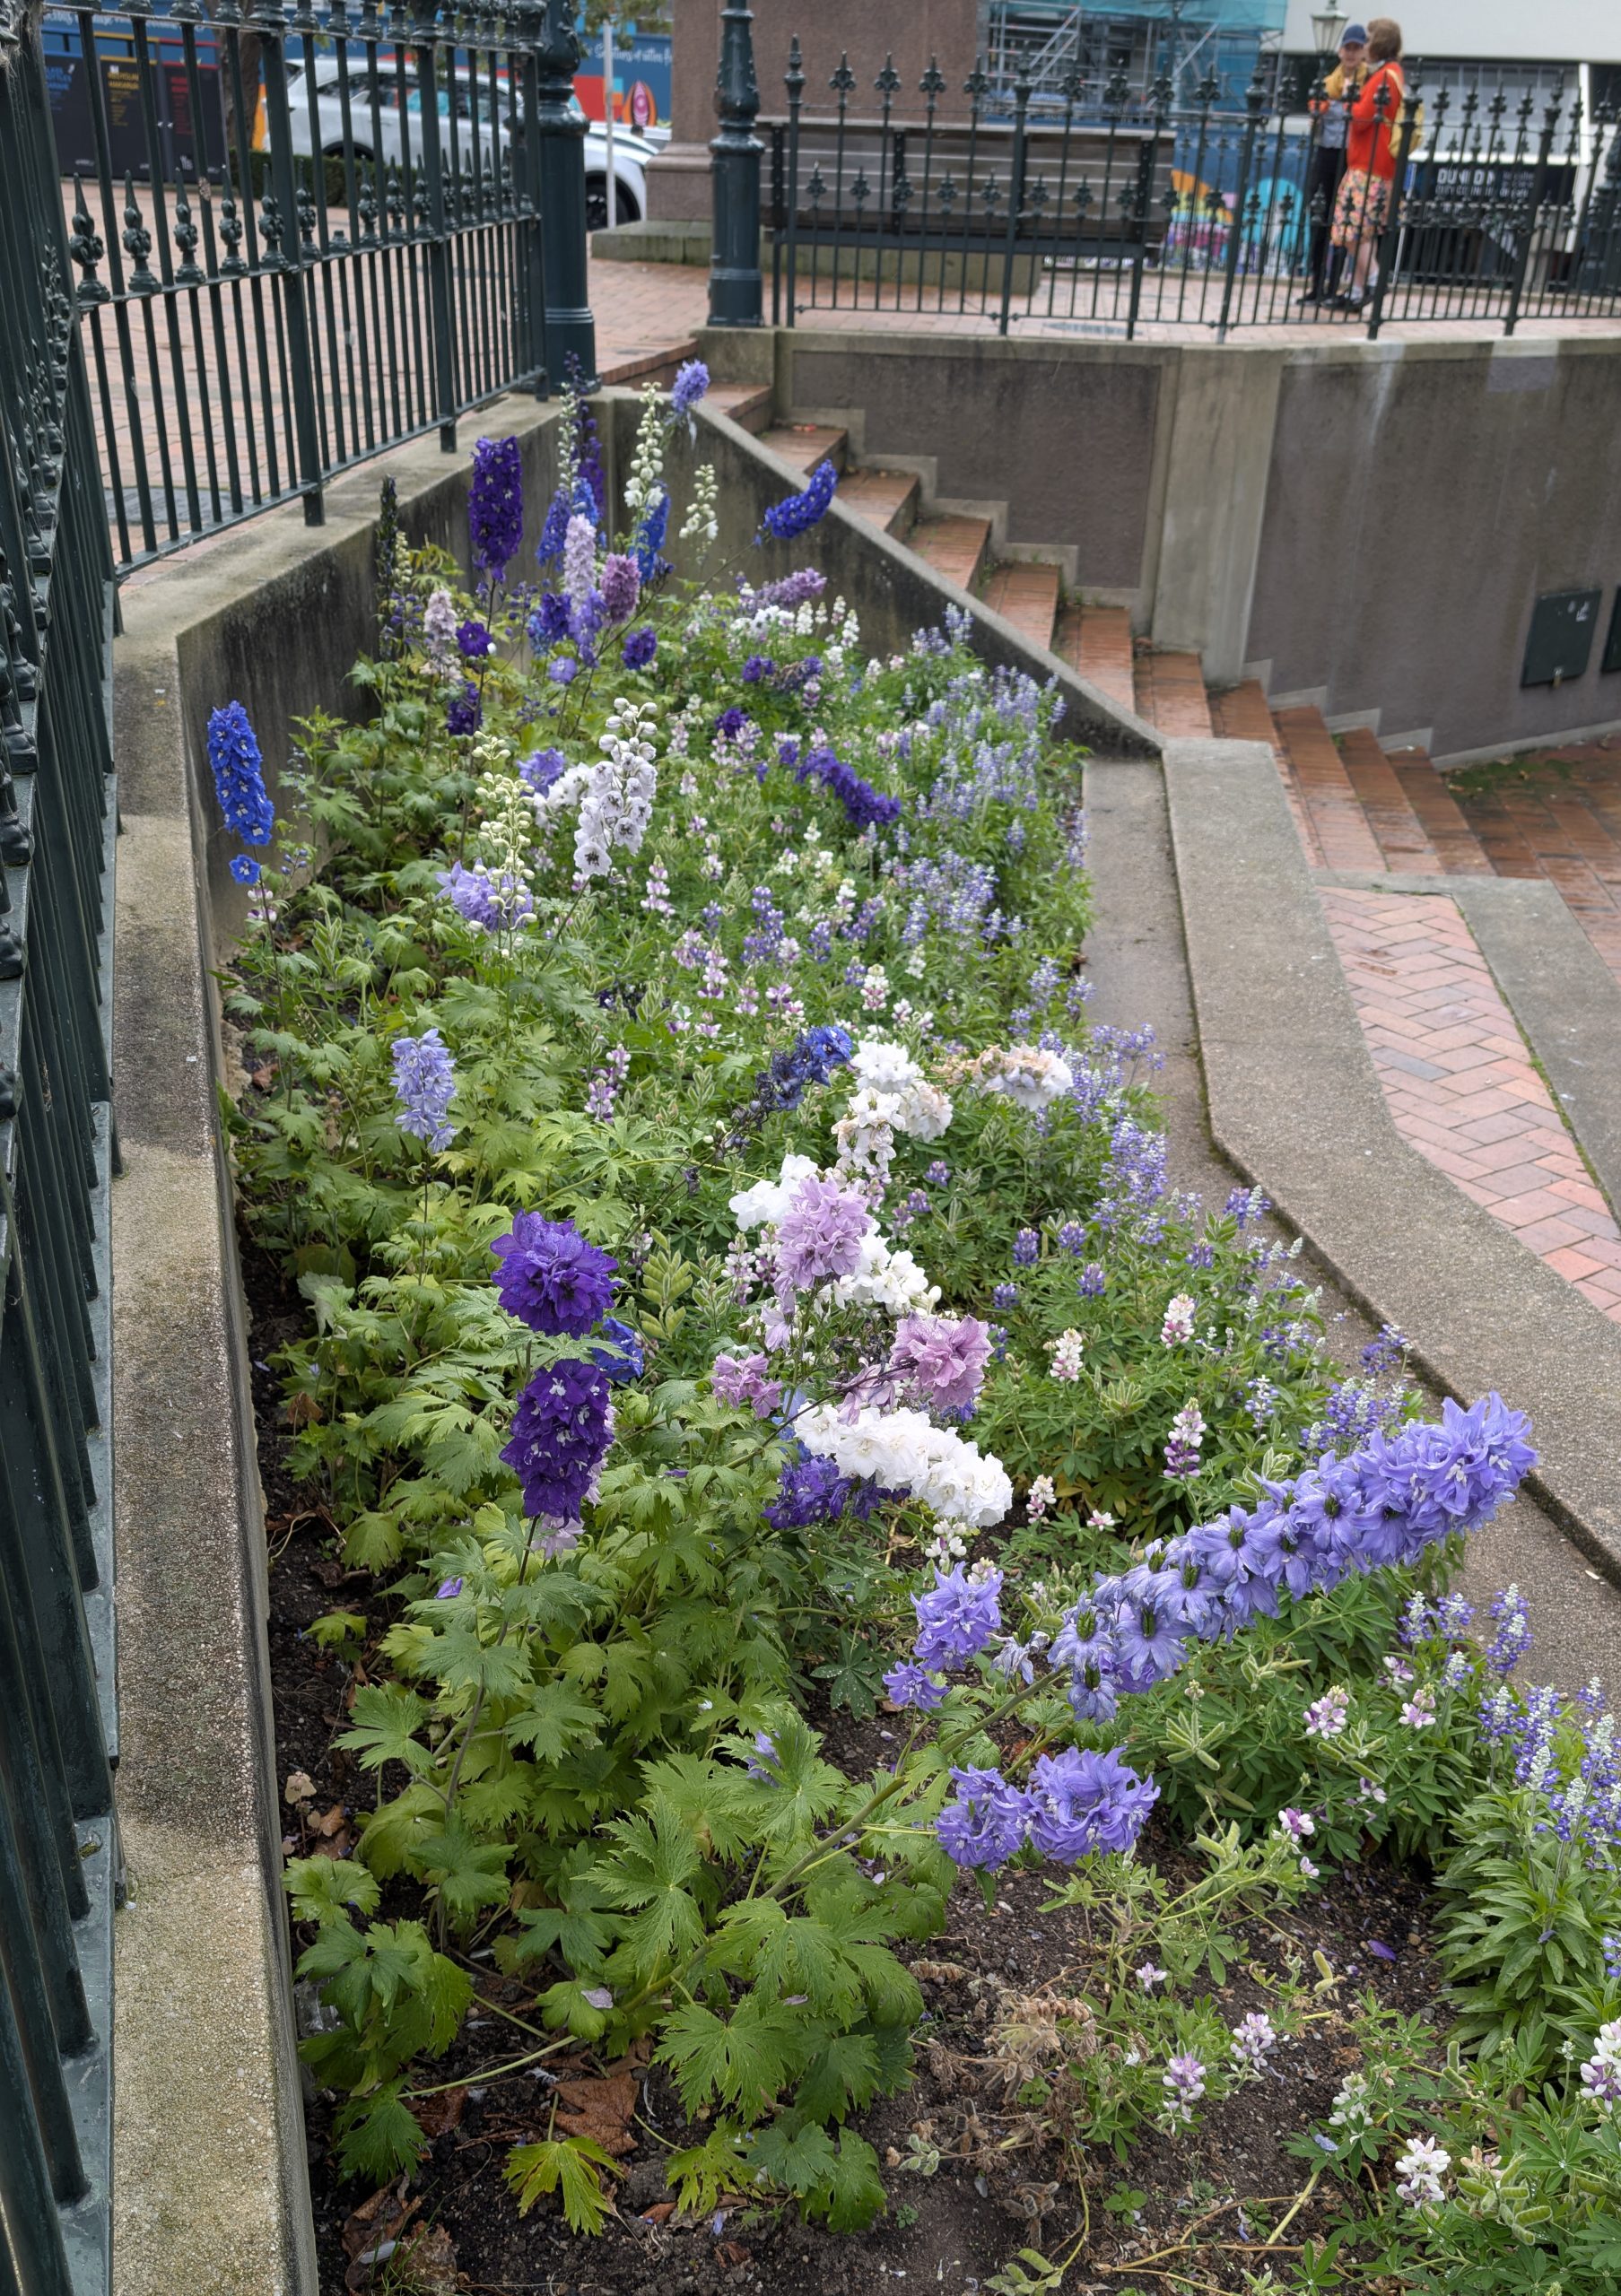
After dinner we walked around The Octagon and did some sightseeing.
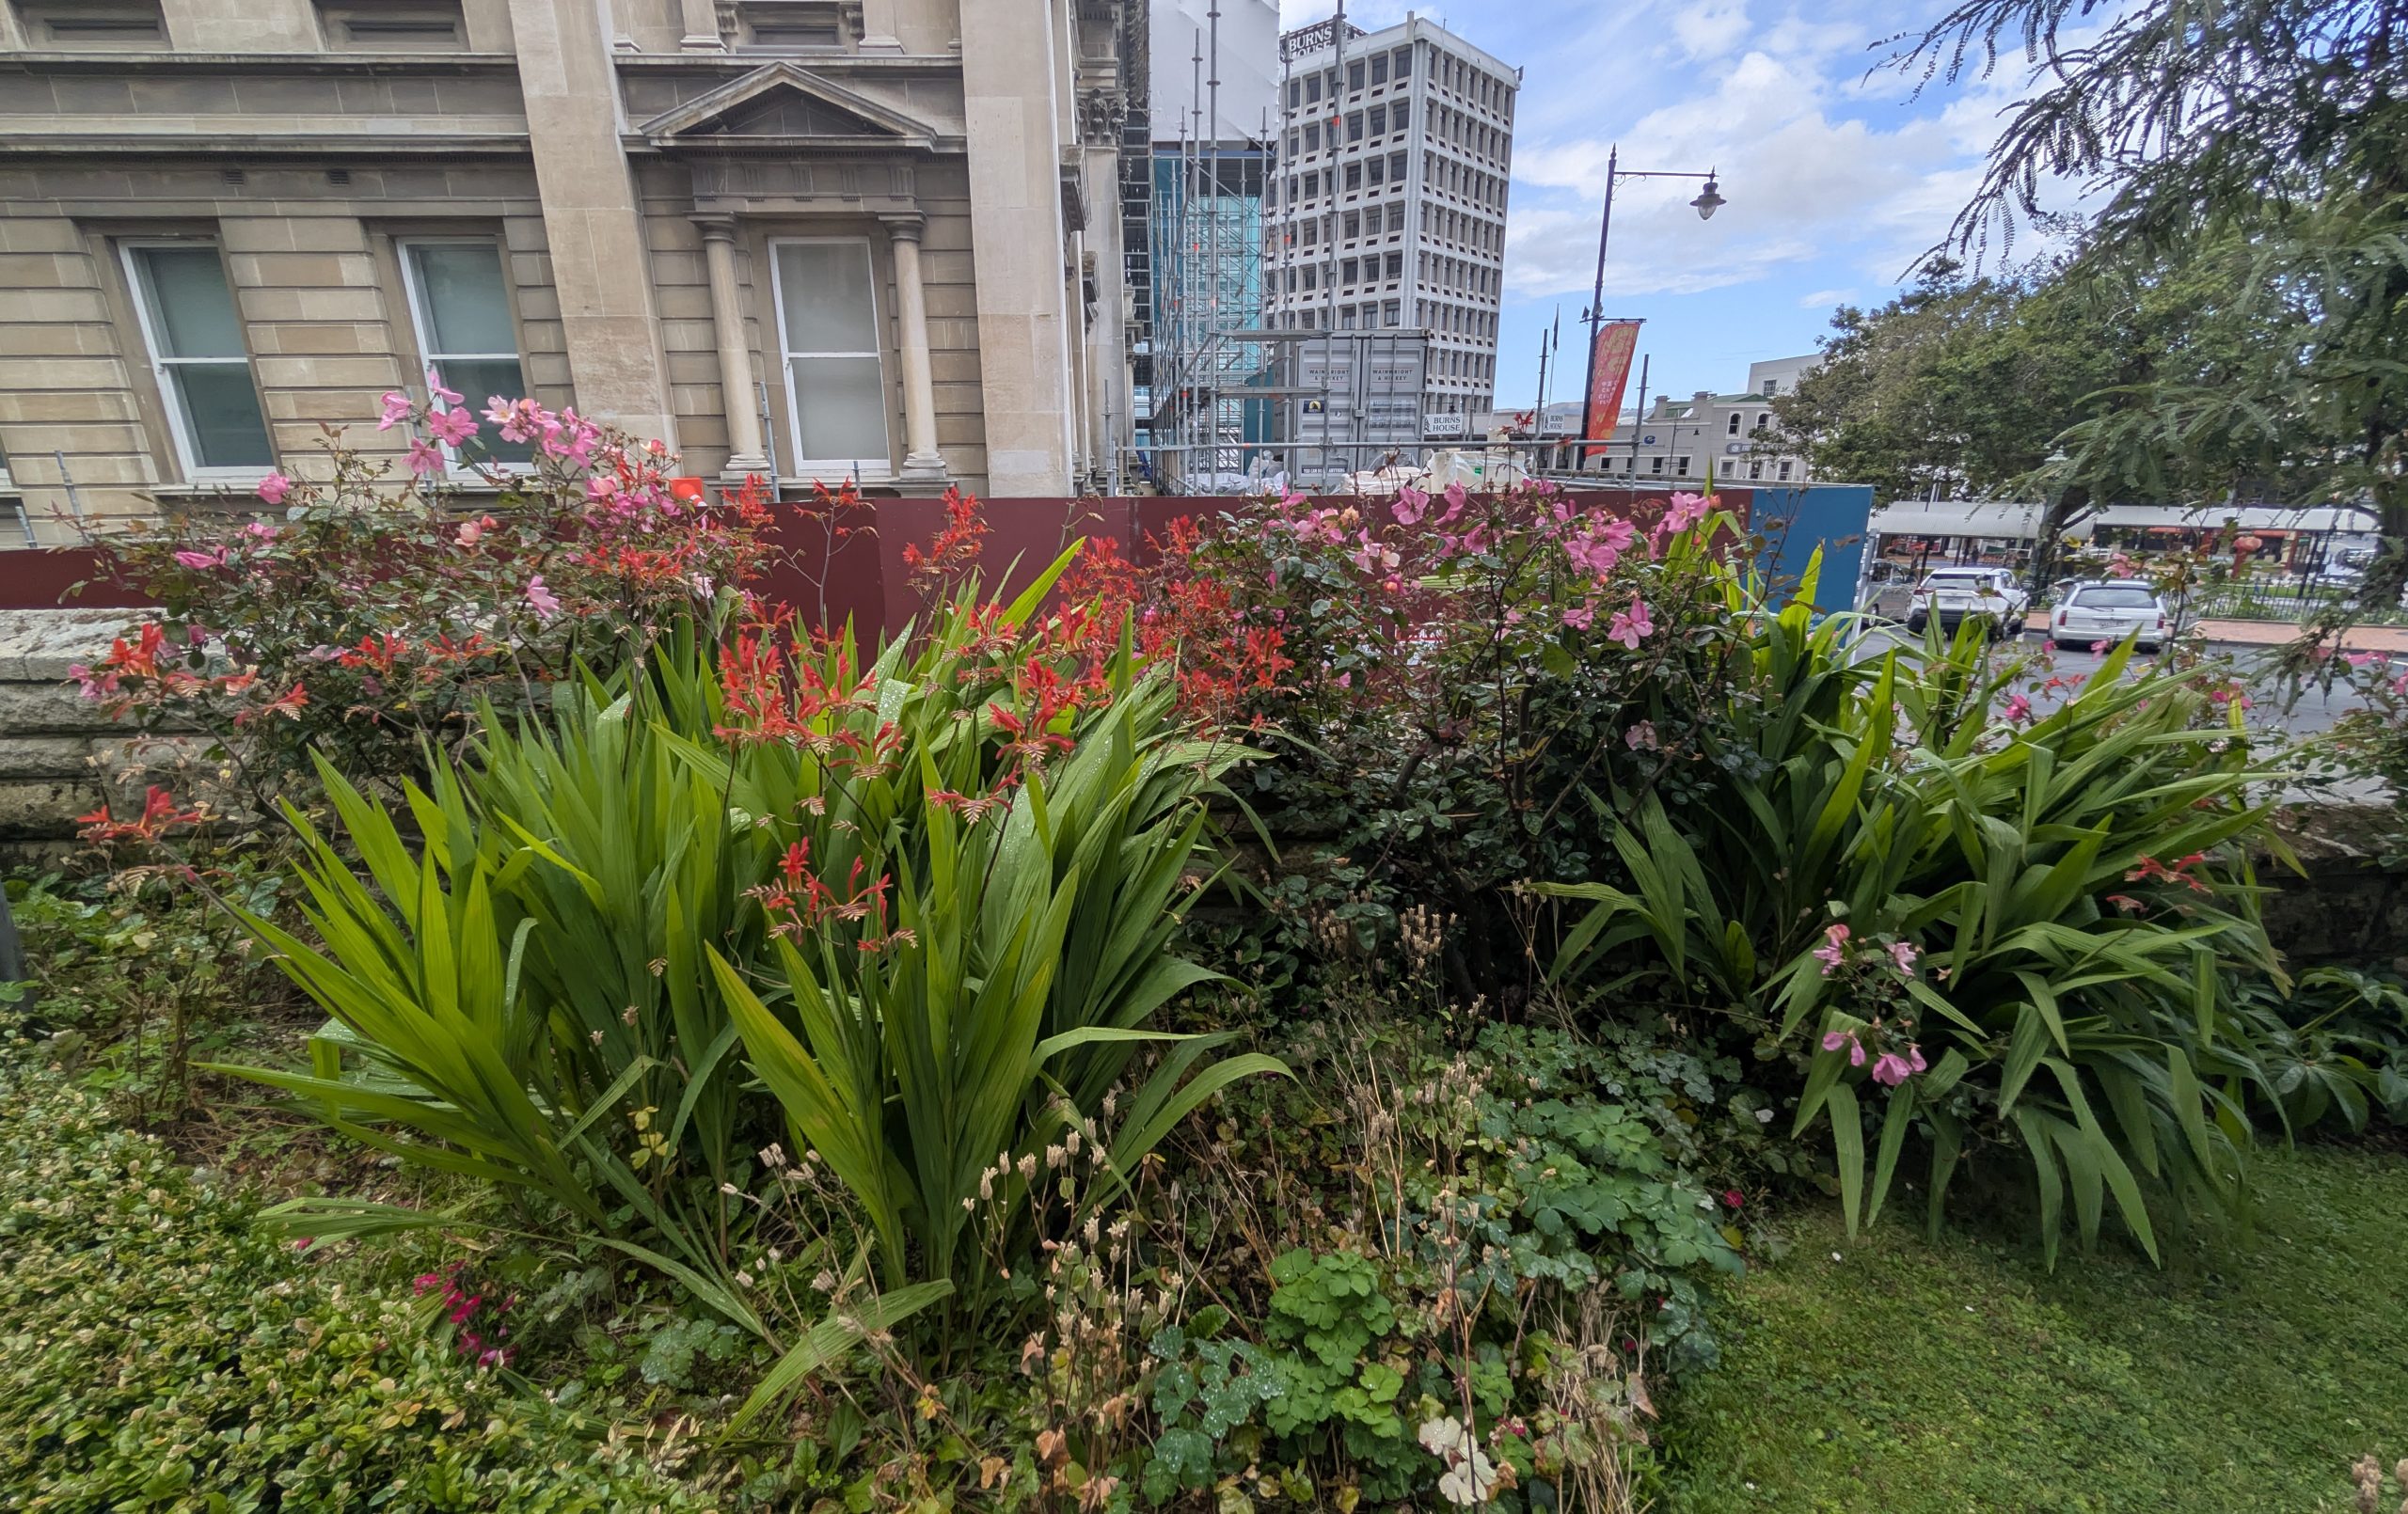
Pretty flower bed in The Octagon
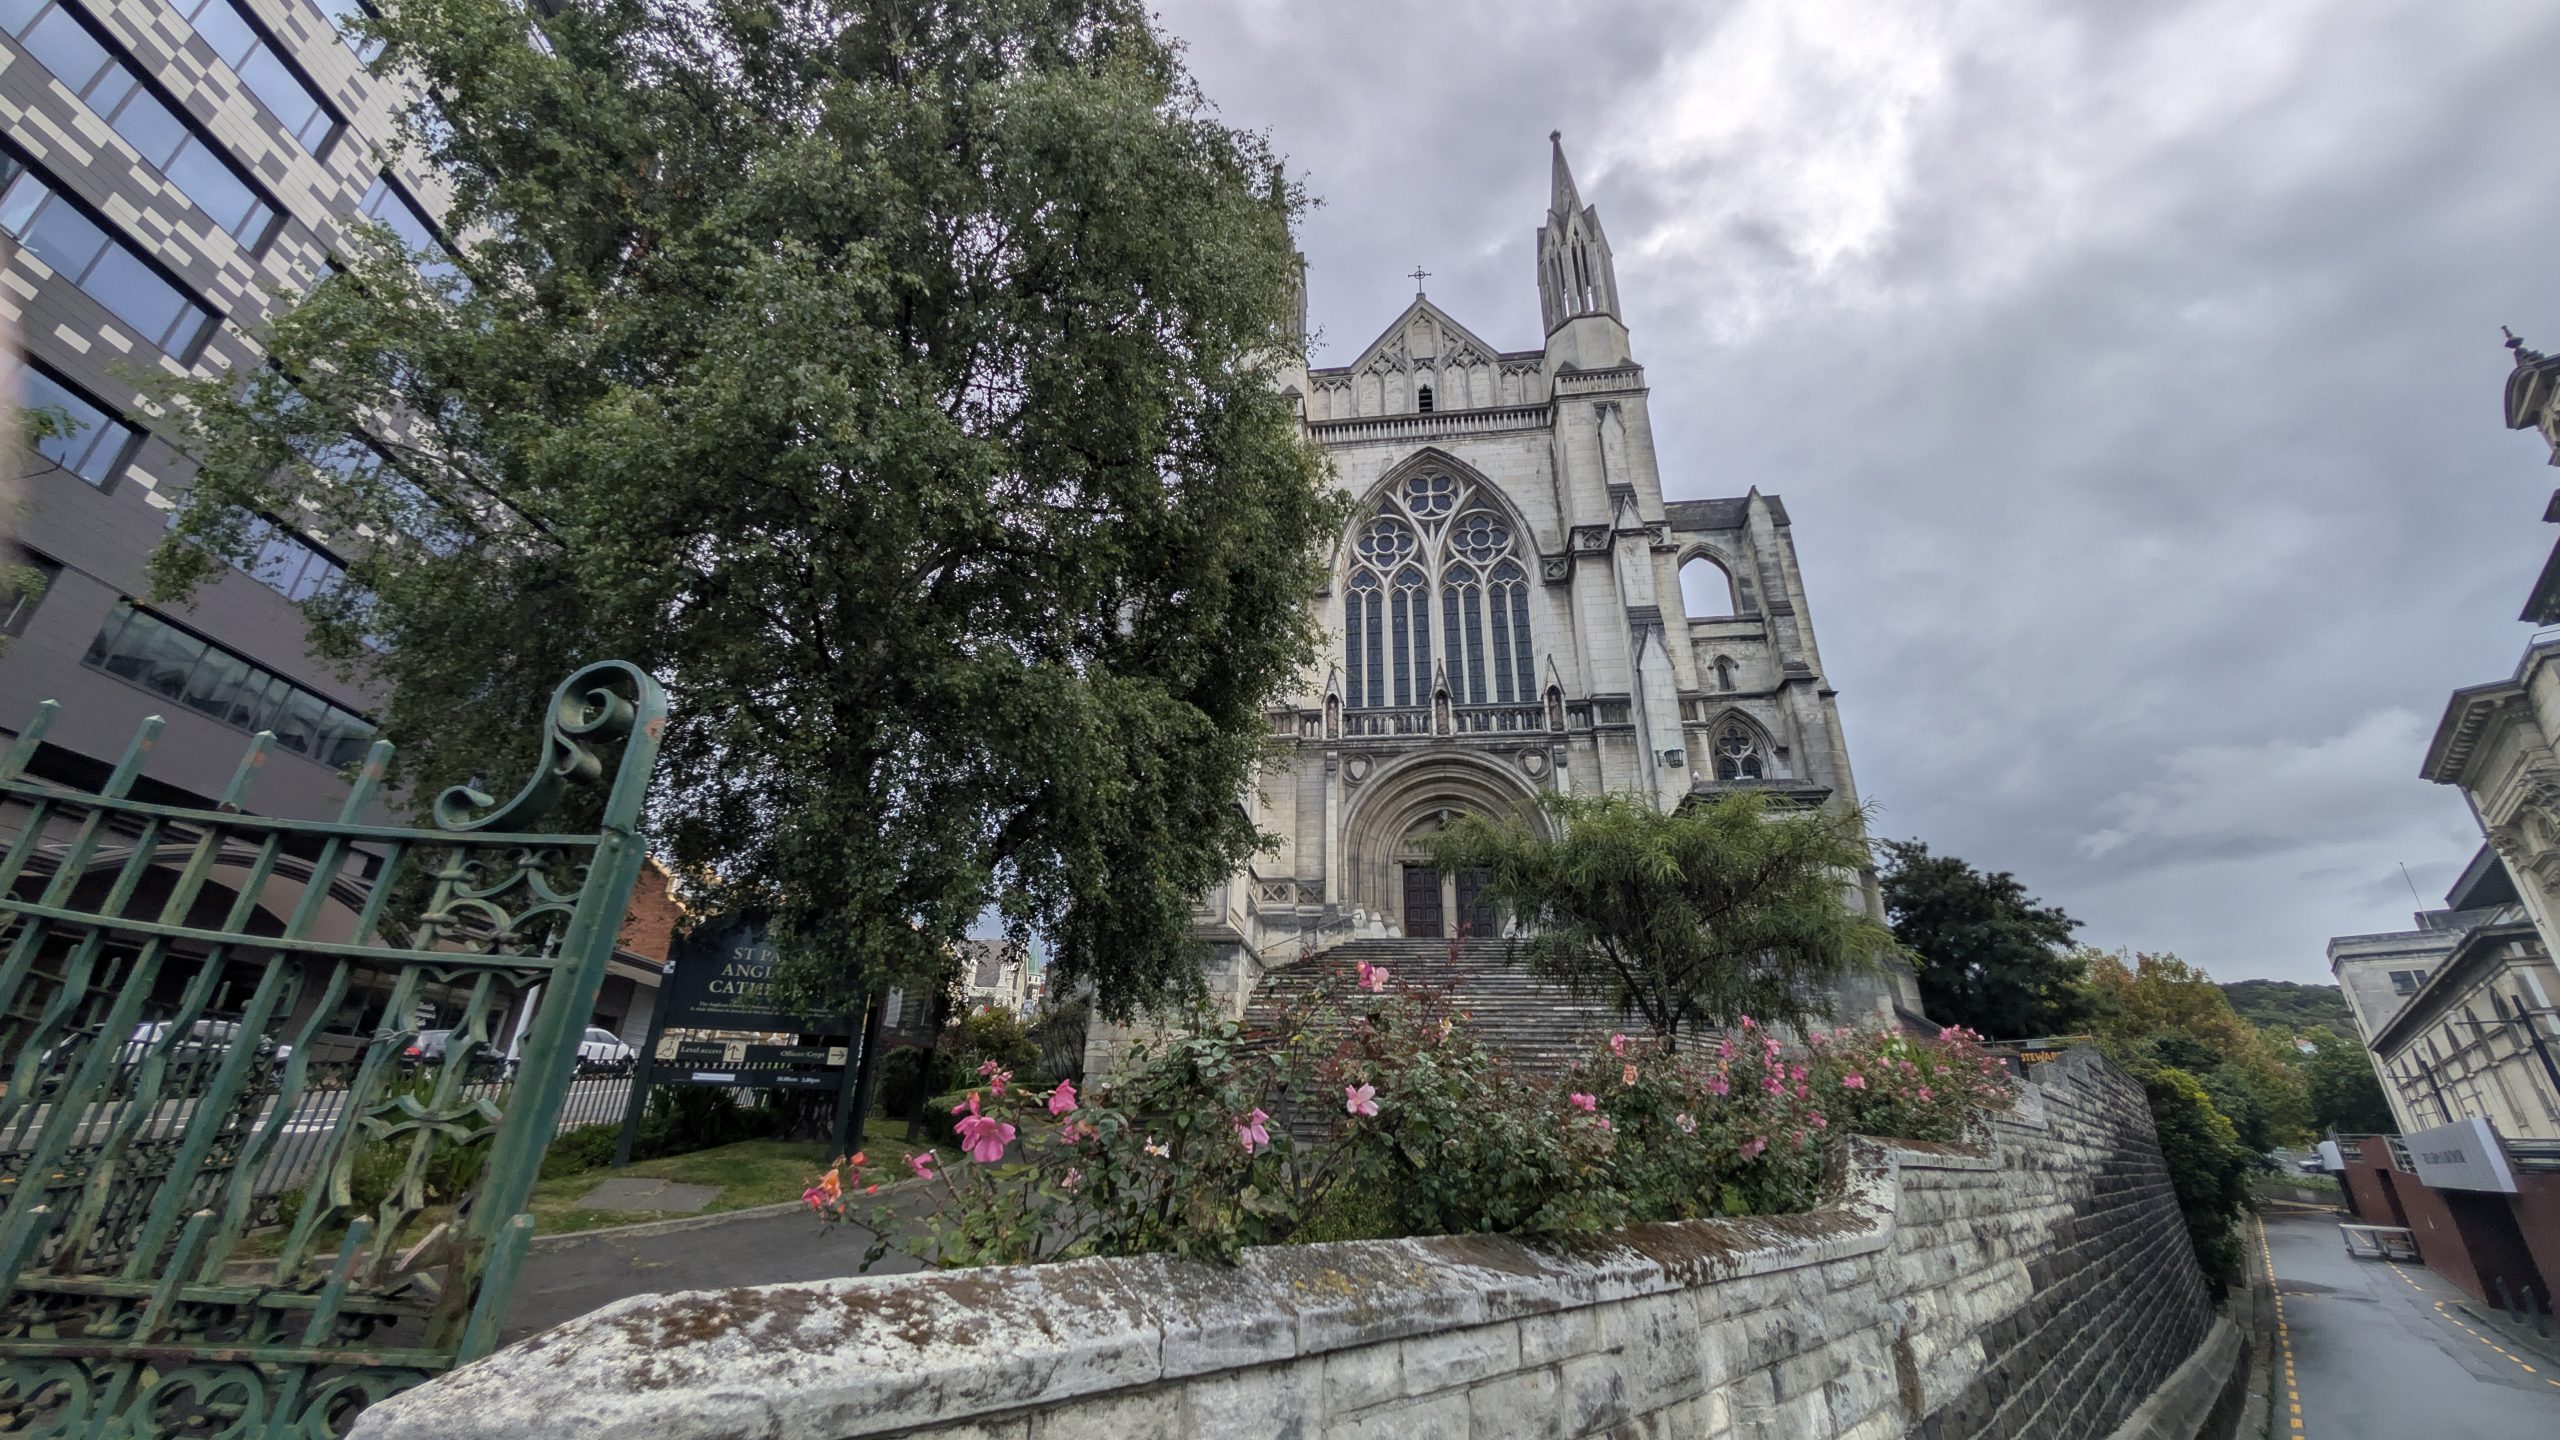
St. Paul's Anglican CathedralMore pretty flowers
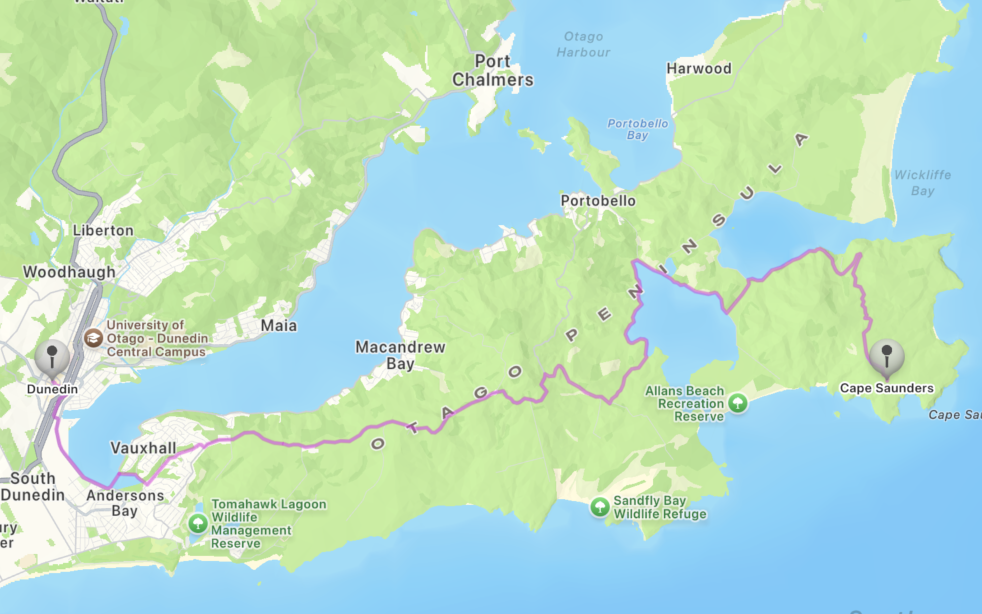
The Clearwater Wildlife Tours van picked us up promptly at 4:30 PM. It was a small group tour with only 10 people. For the first part of the tour, we drove into the Otago Peninsula and stopped for some nice views.
Otago Peninsula, looking northOtago Peninsula, looking south toward the city of DunedinLooking toward Allan's Beach
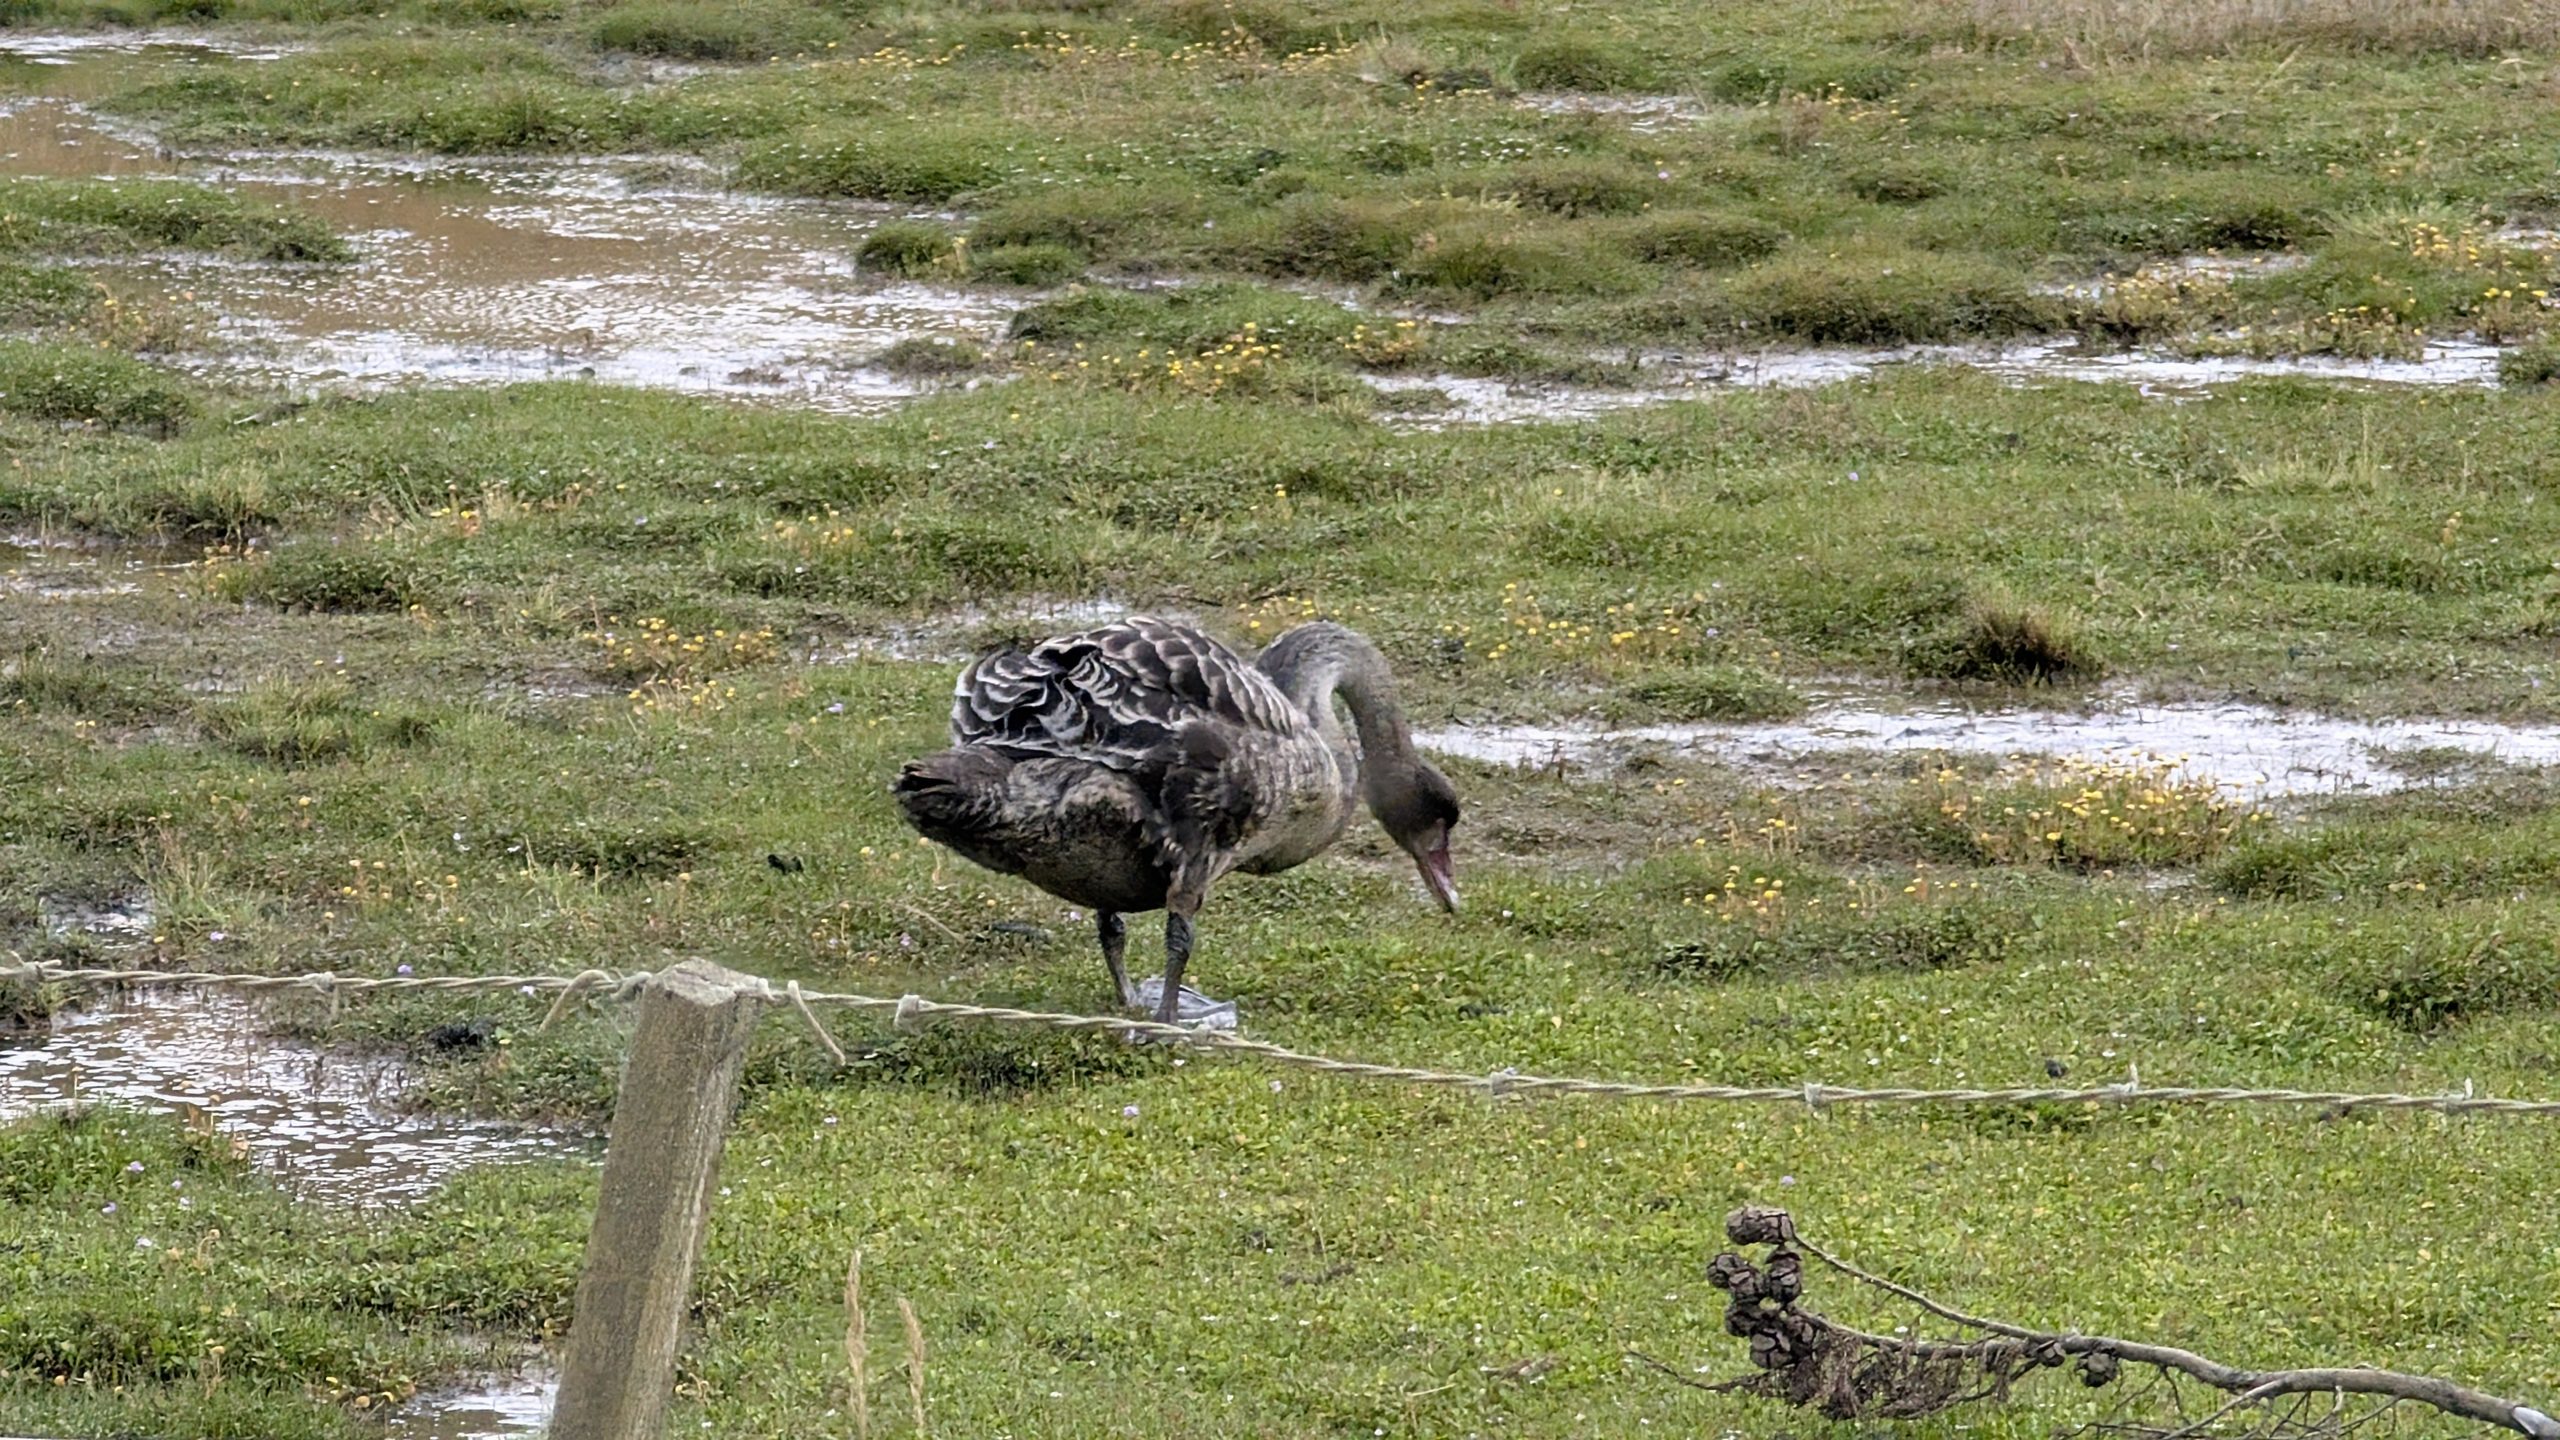
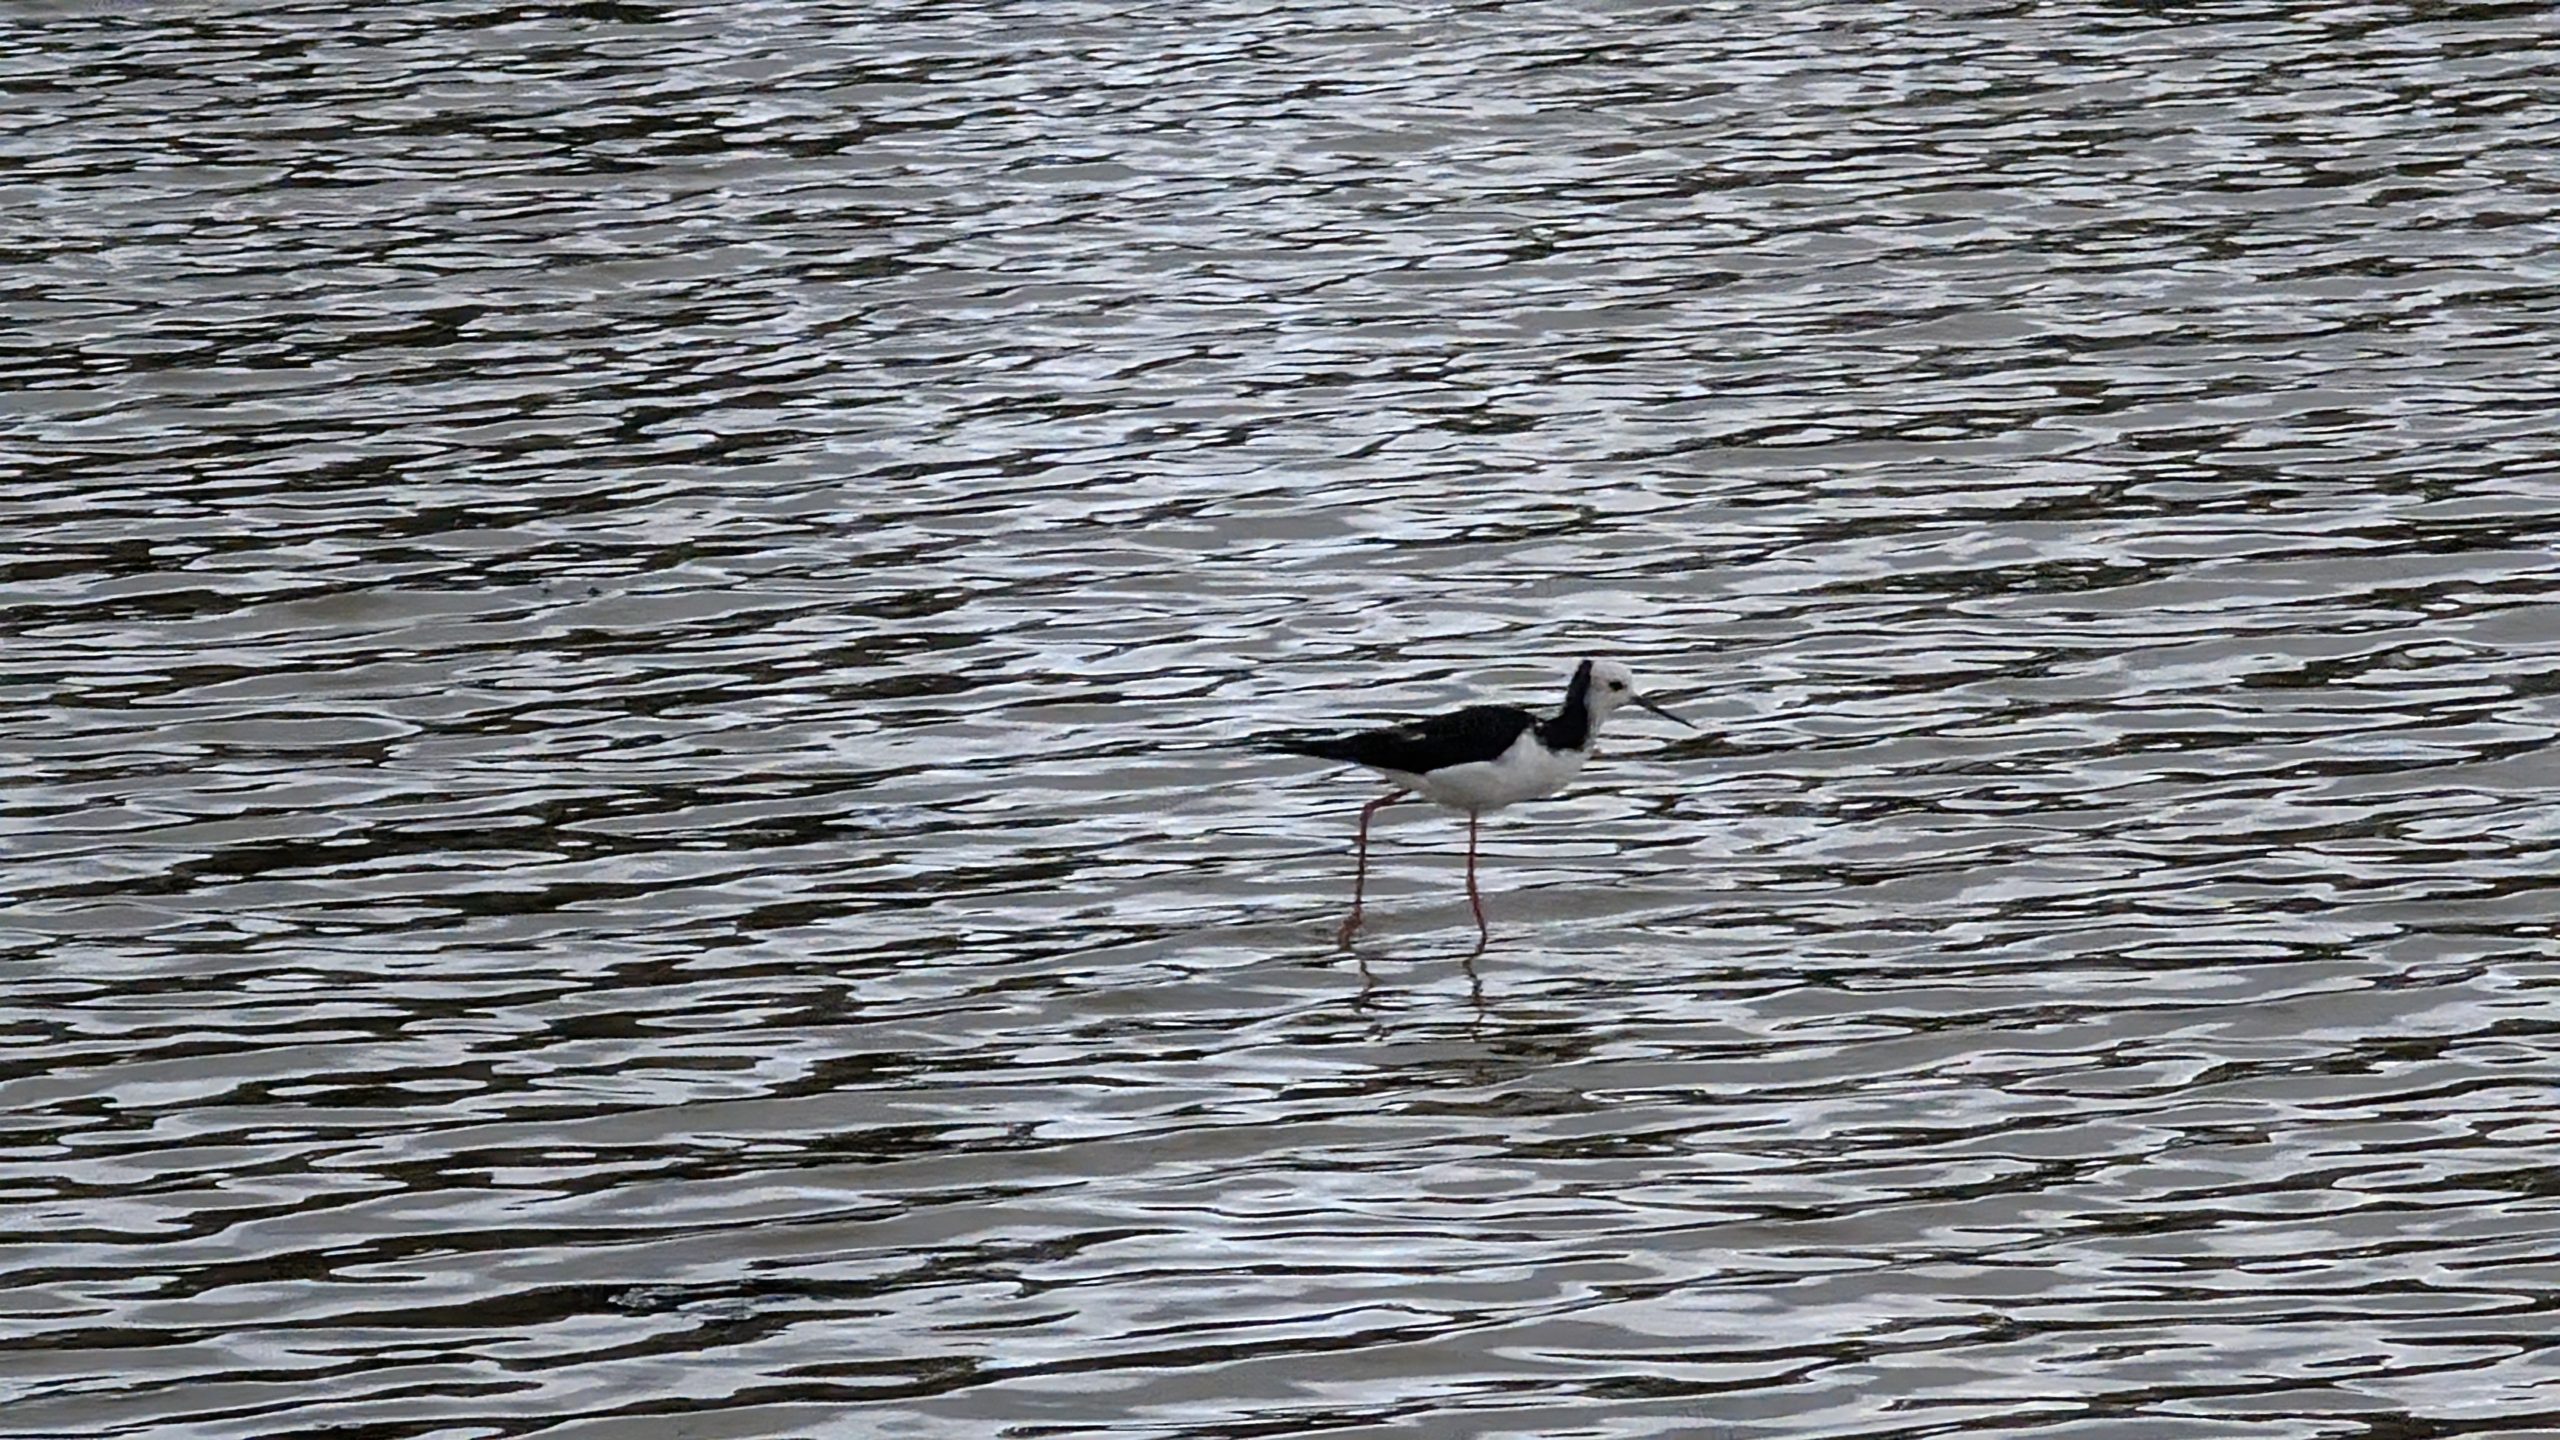
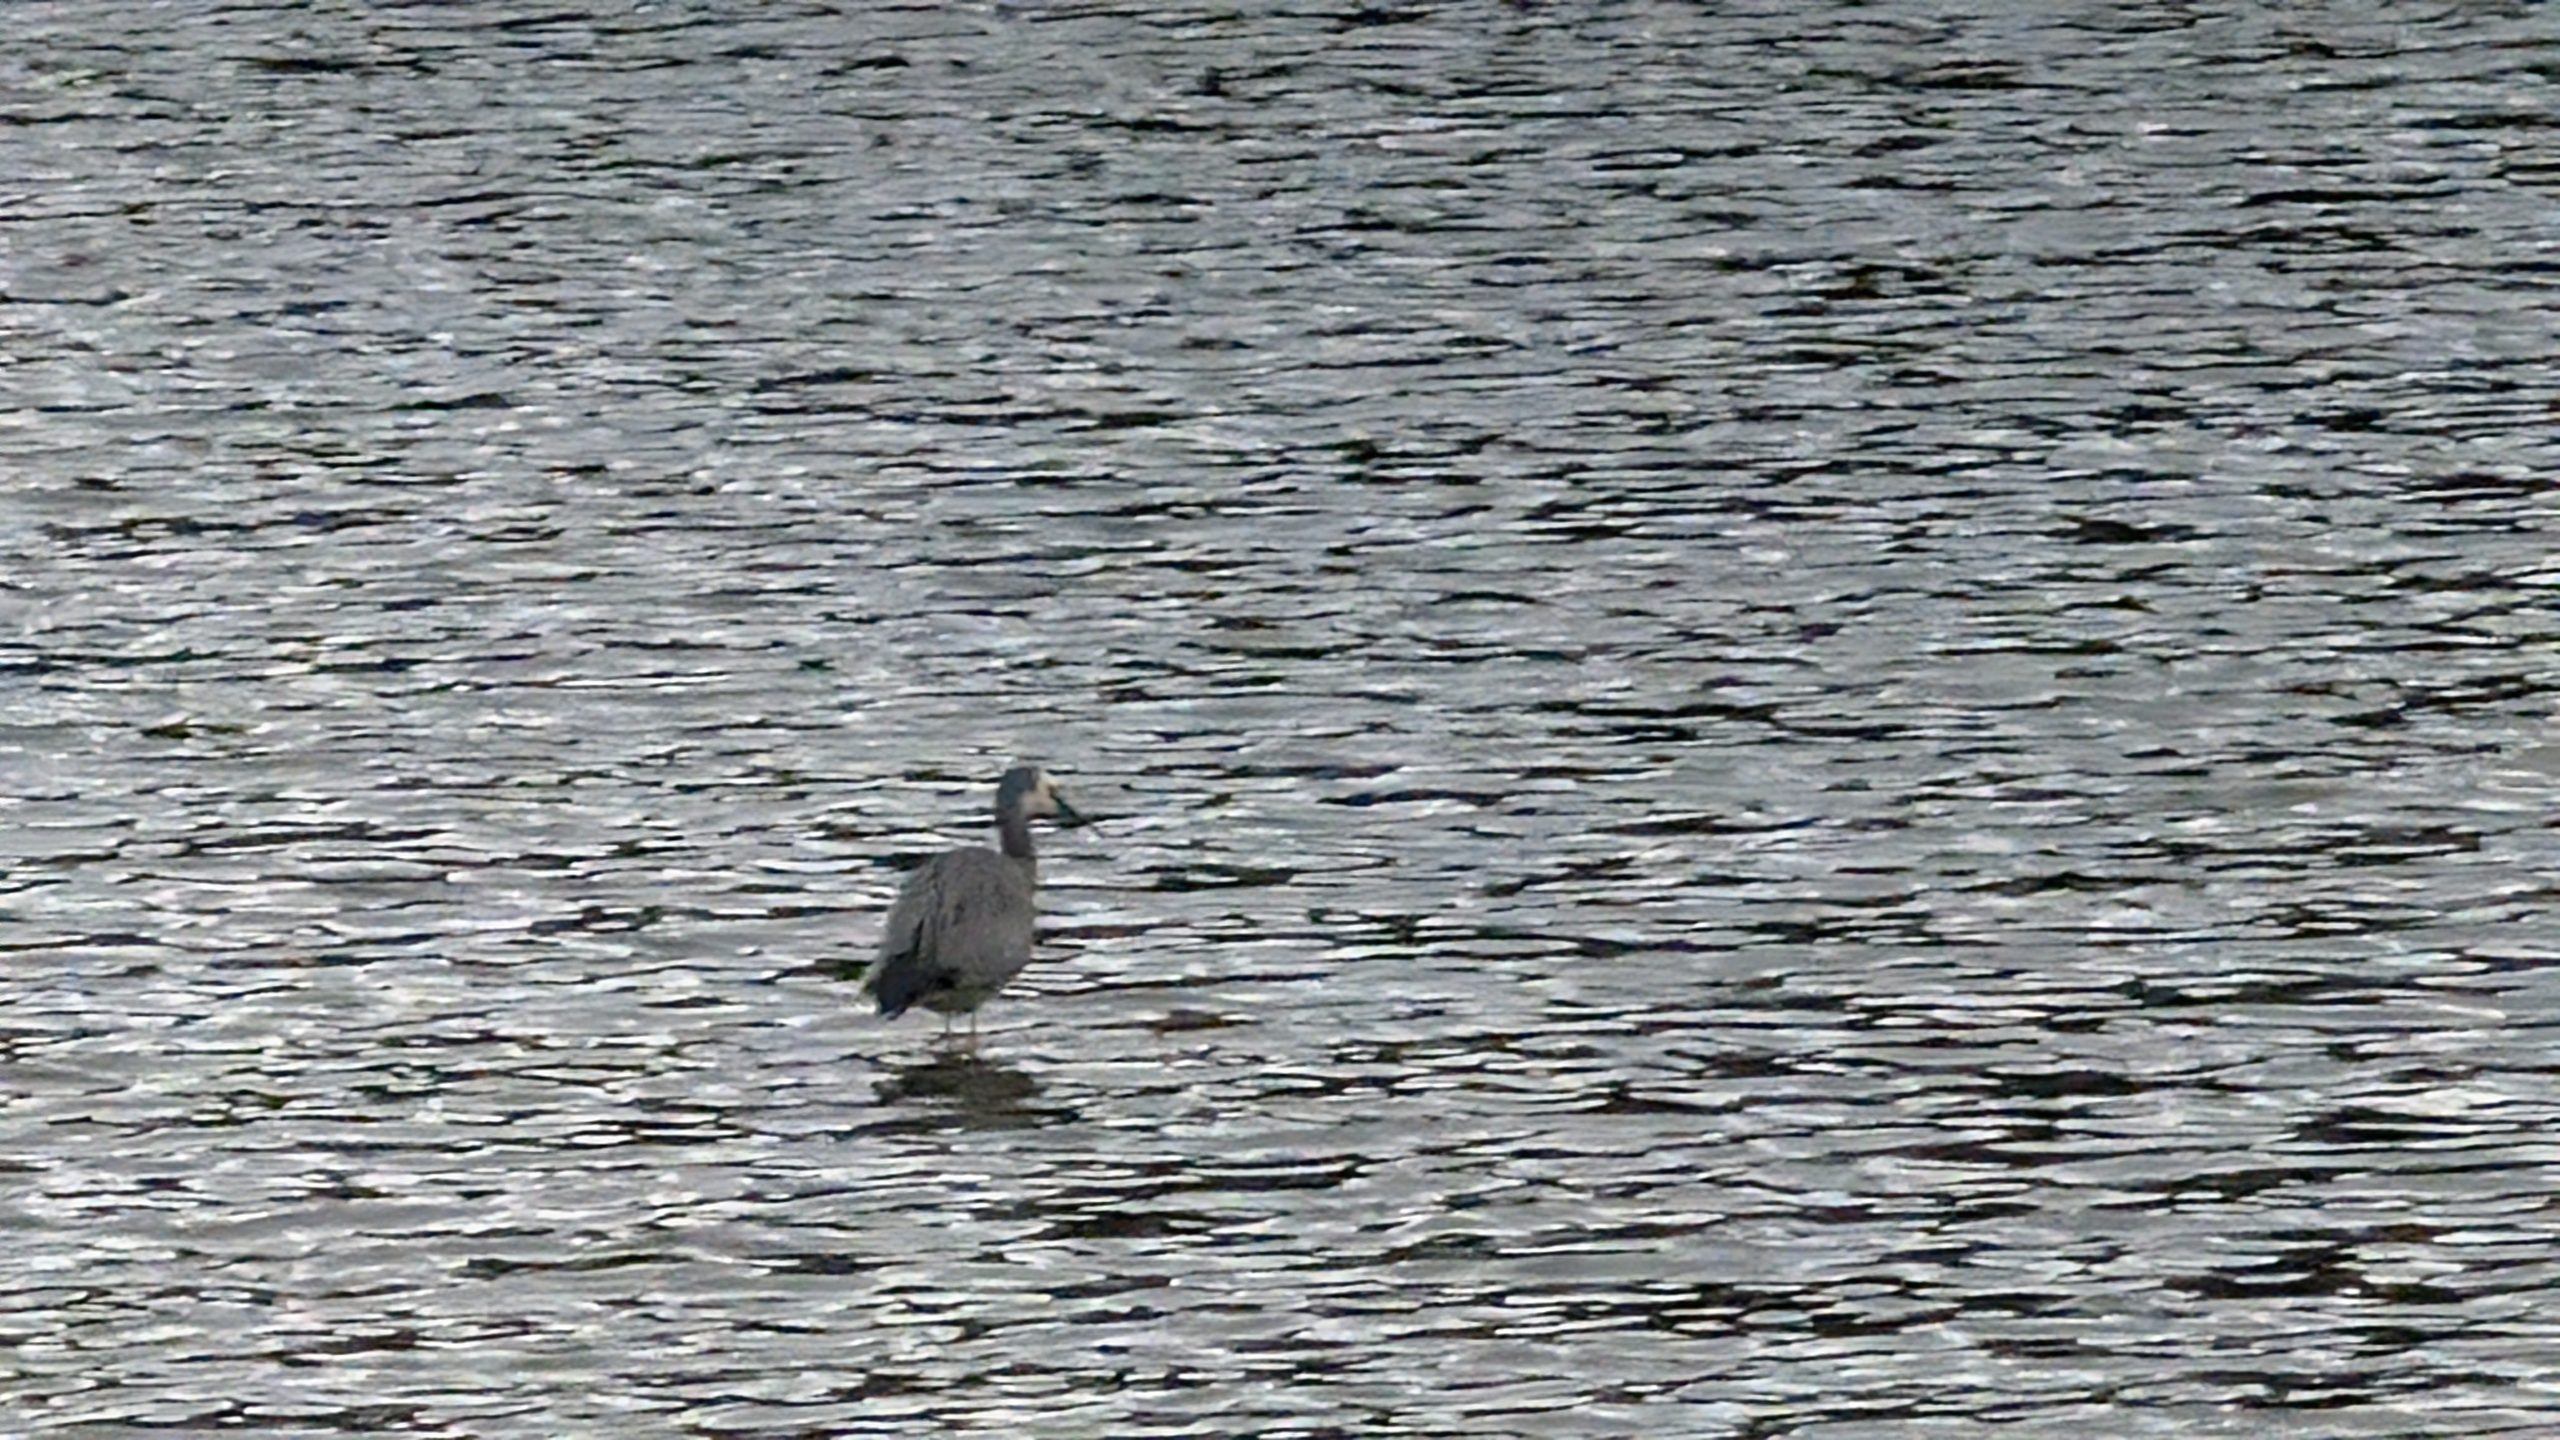
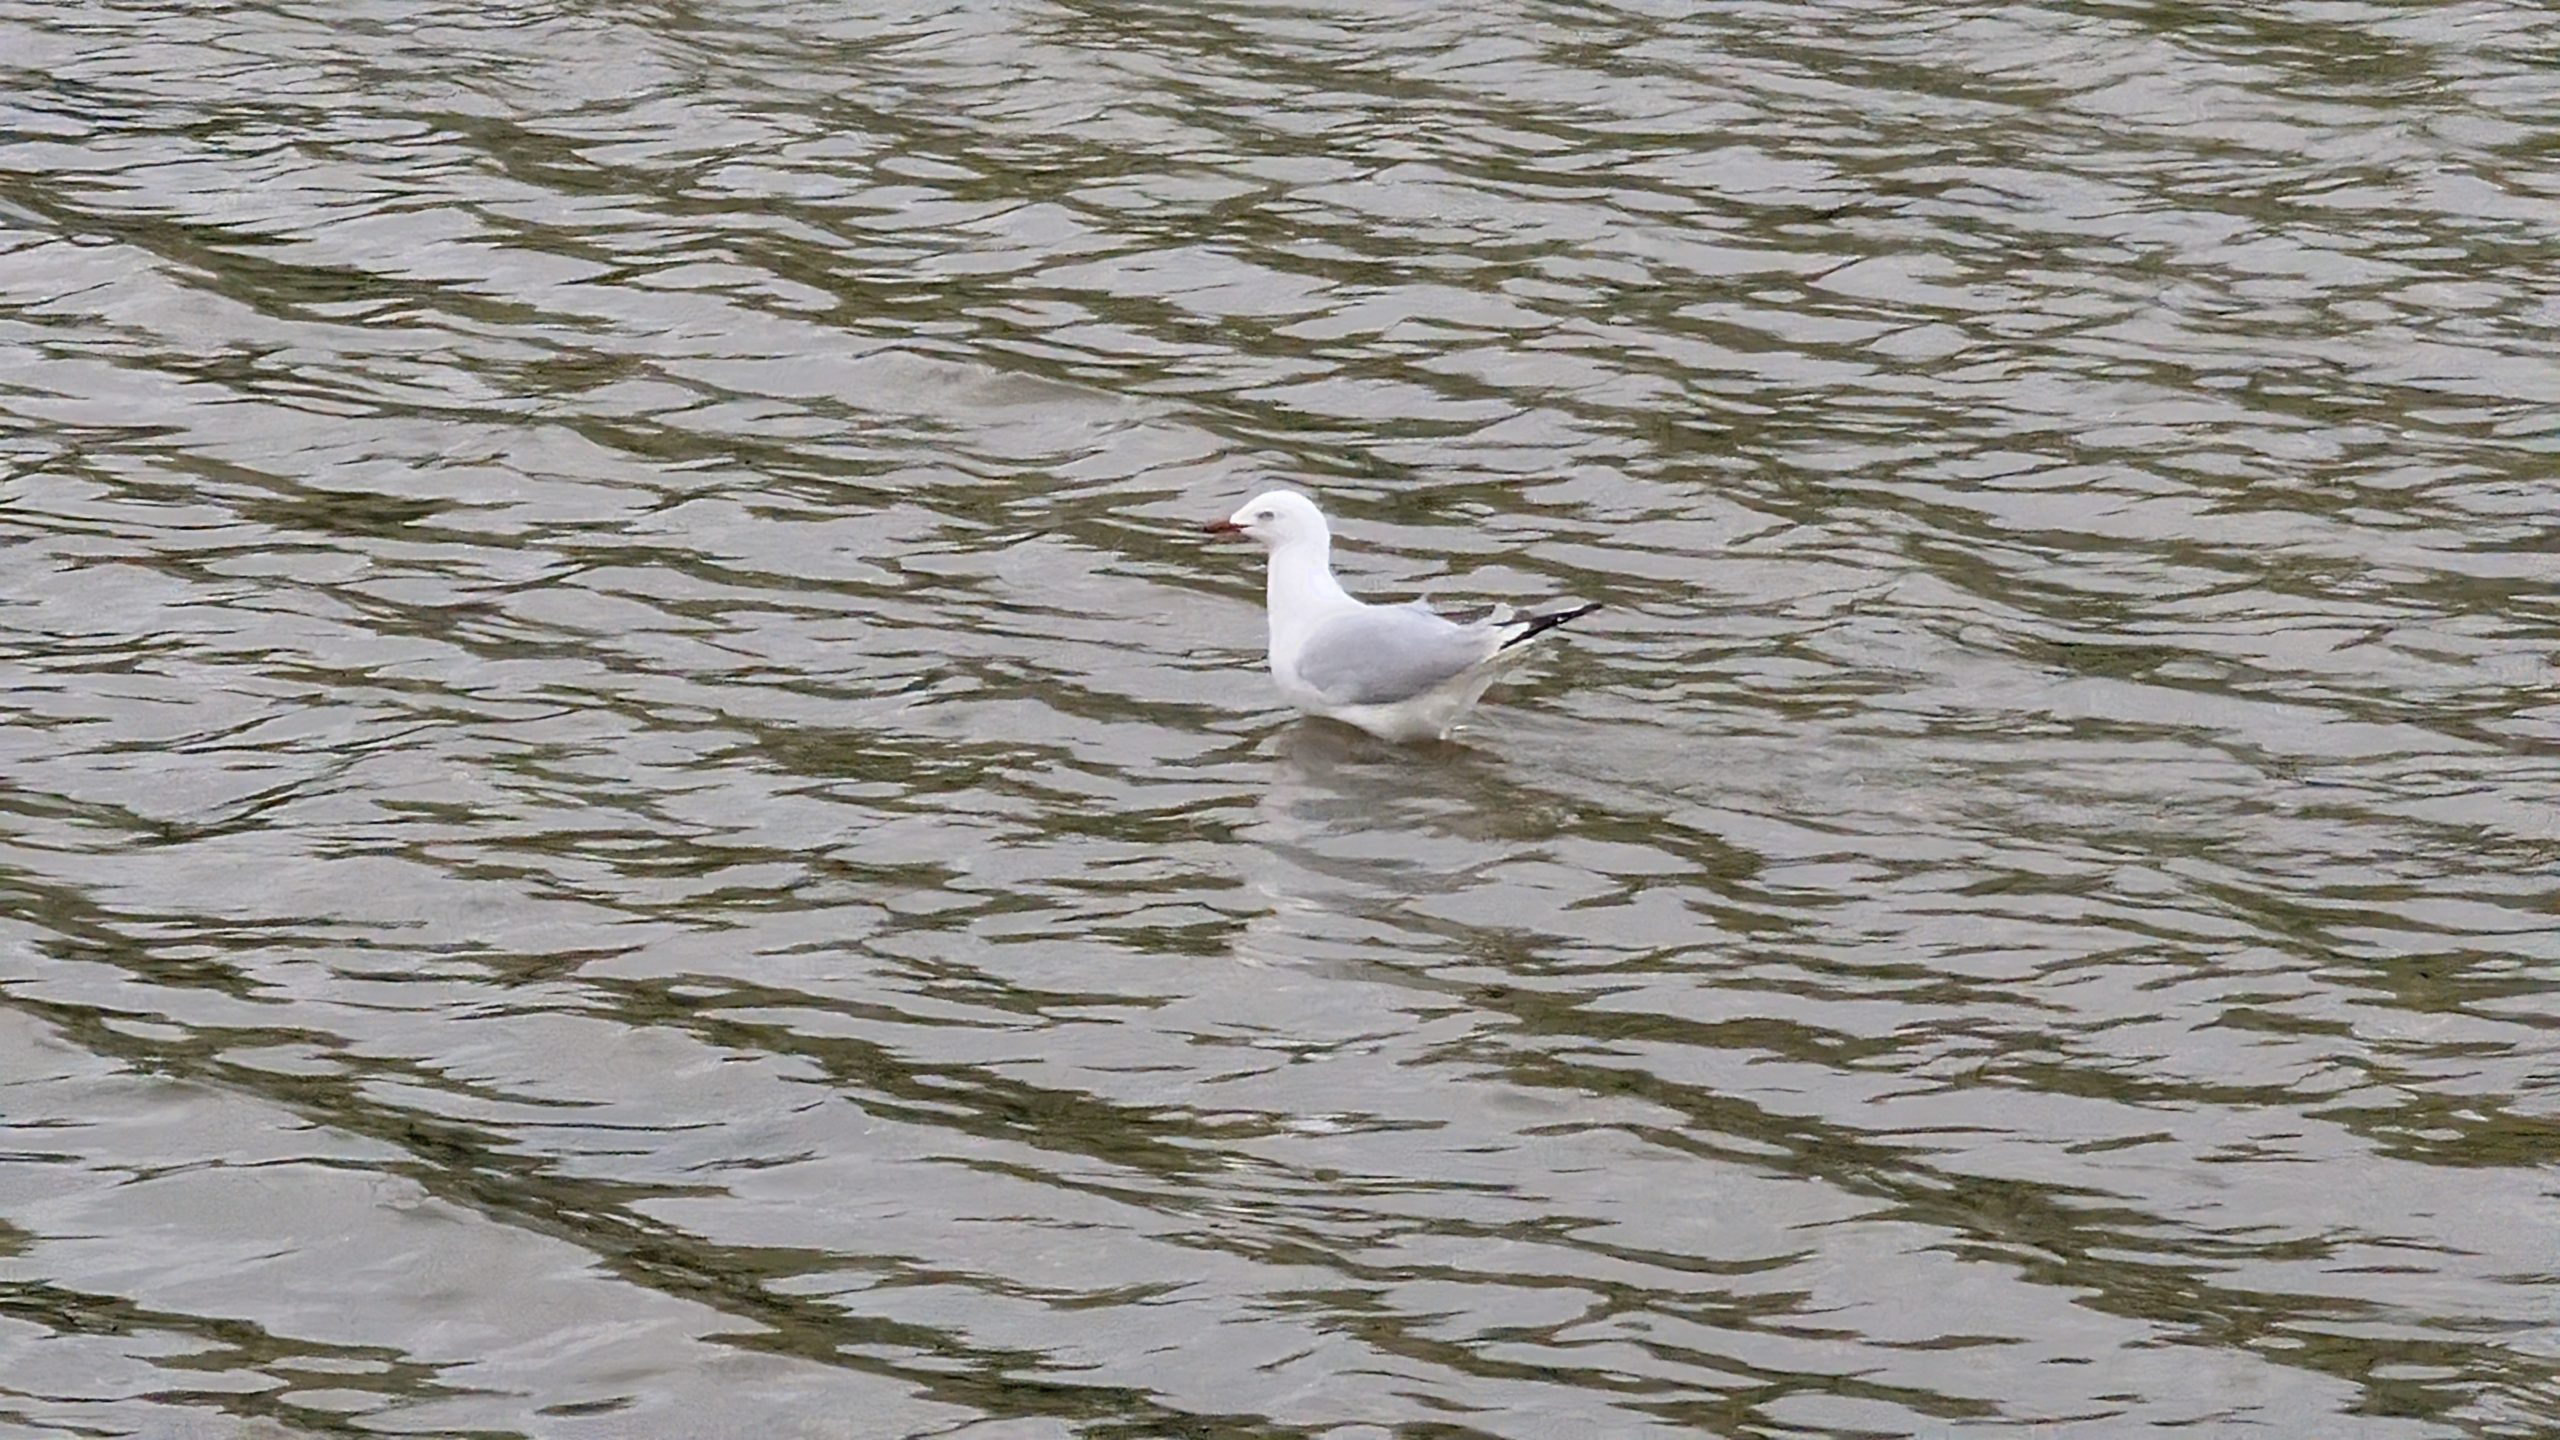
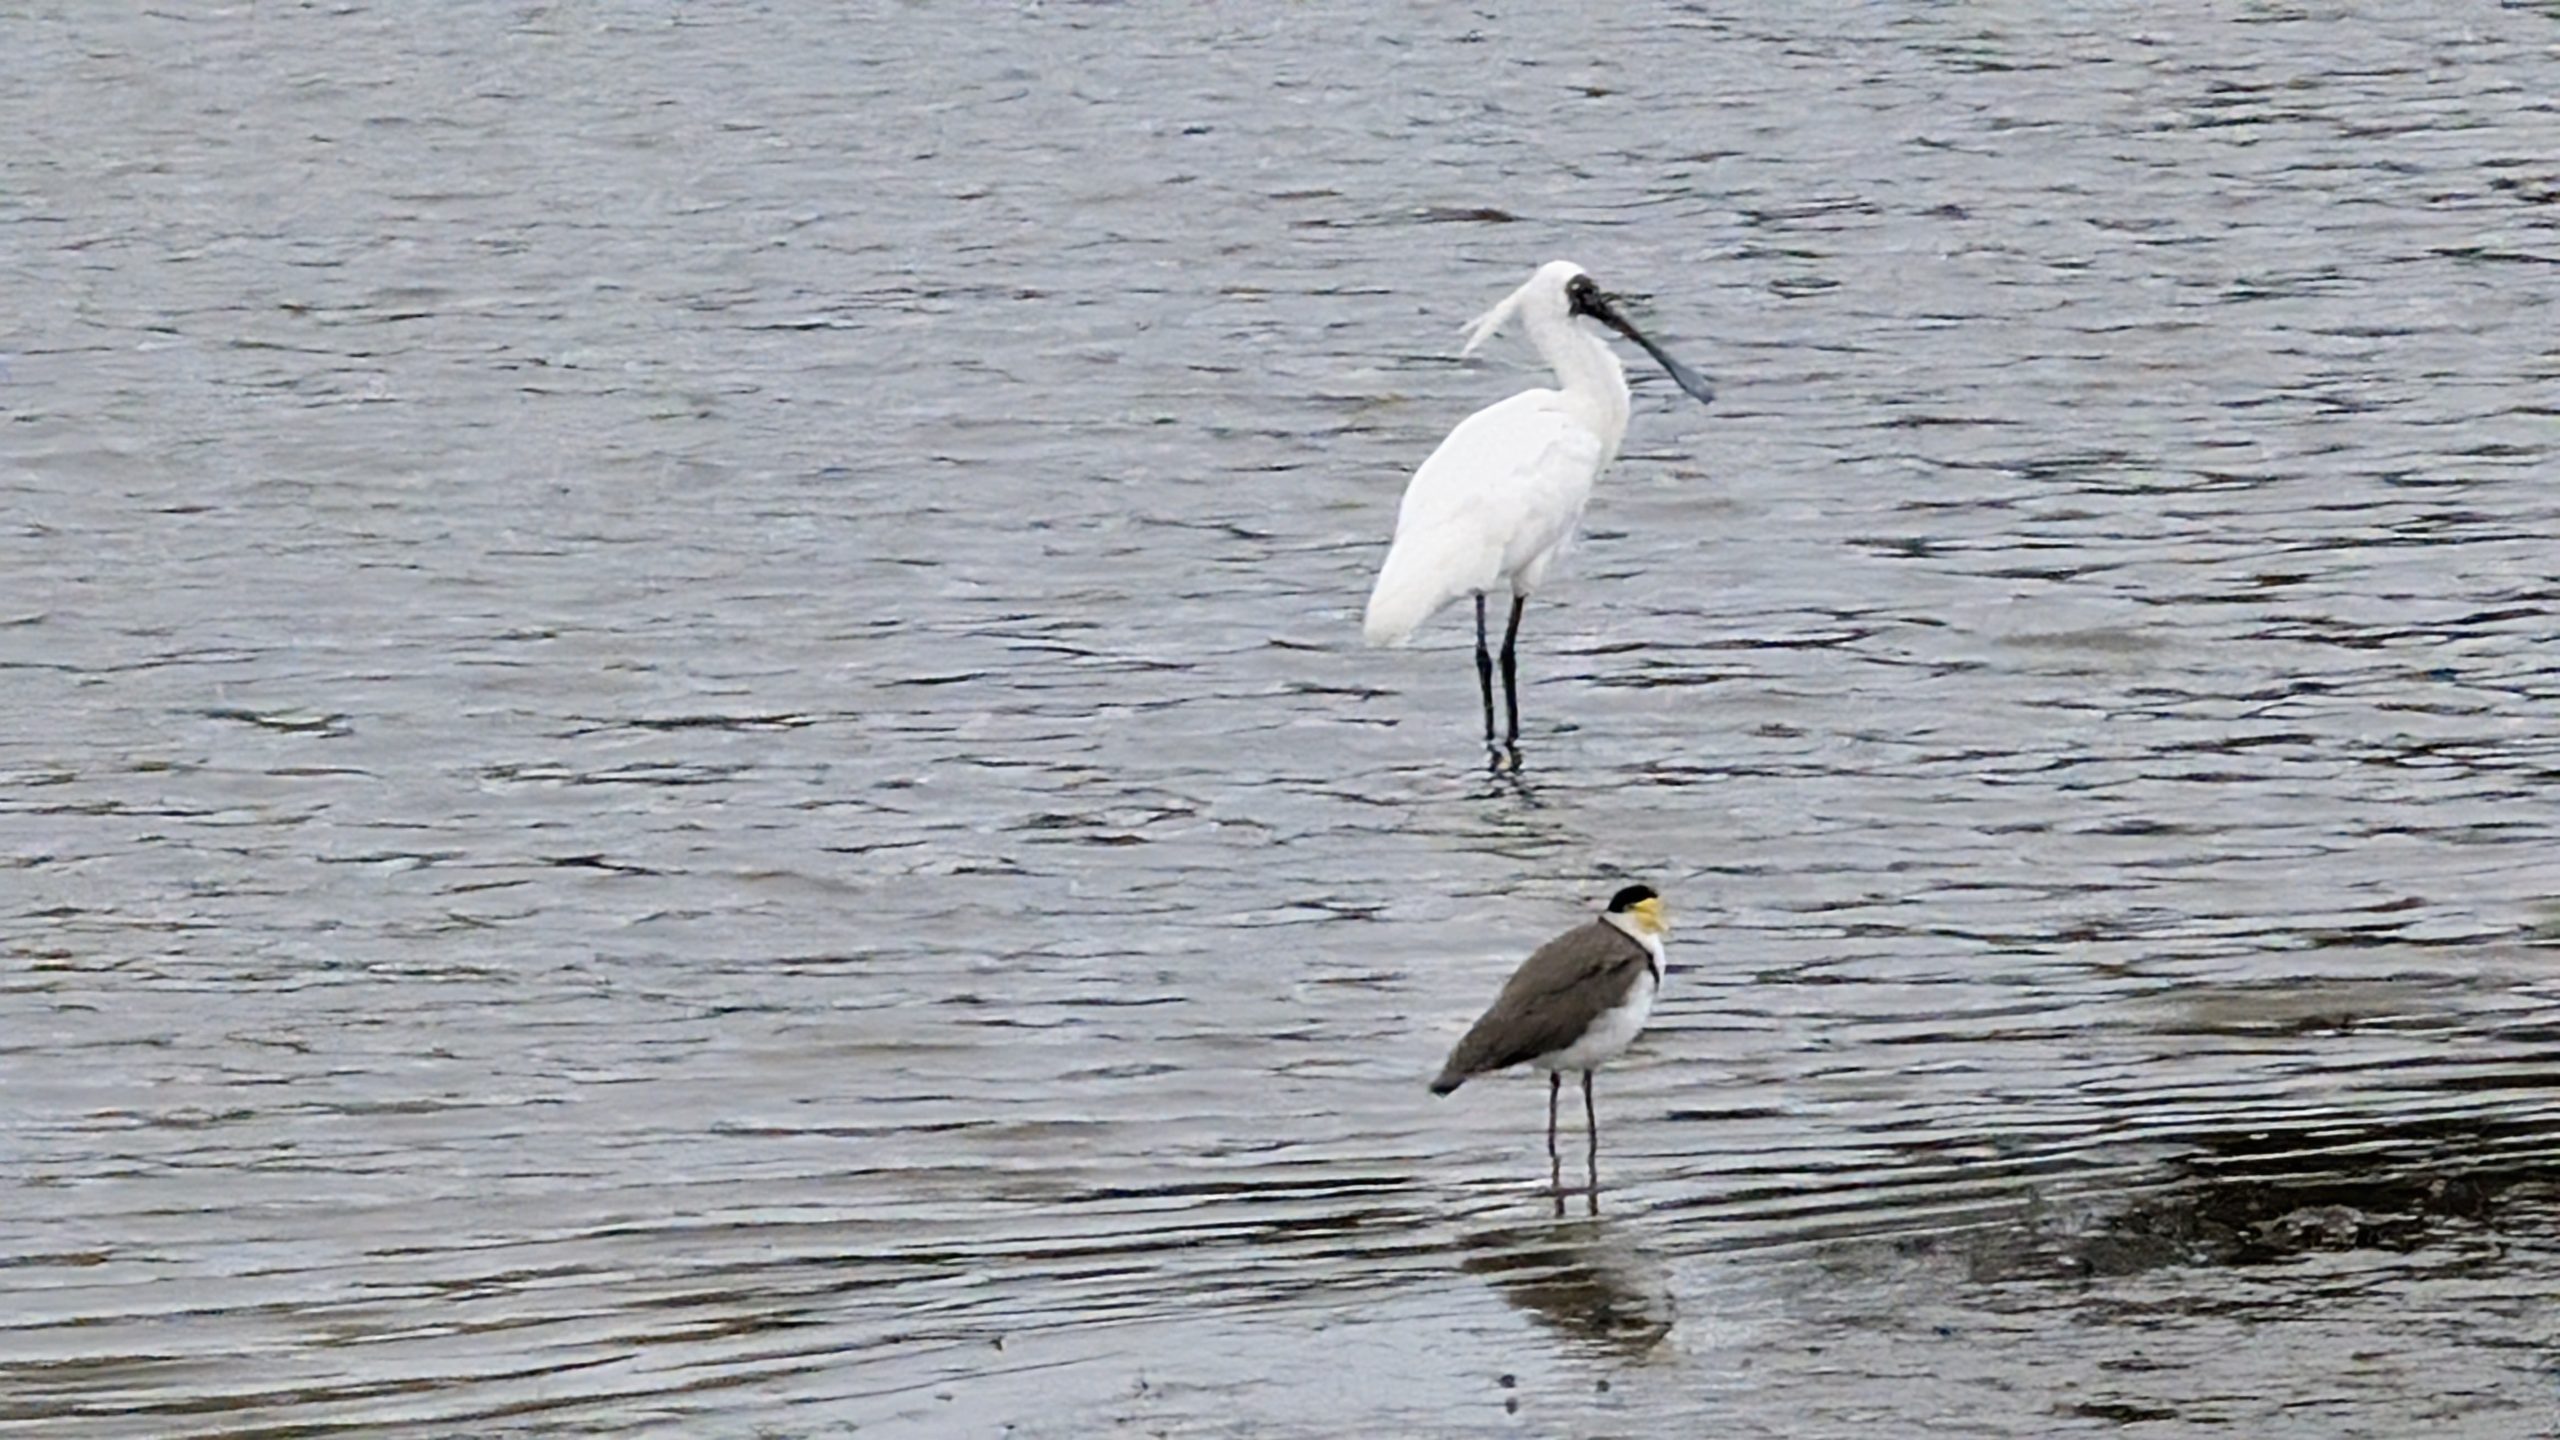
For the next hour of the tour we drove around two wildlife refuges at Hoopers Inlet and Papanui Inlet and saw many different varieties of birds.
Black swan (Kakianau)Pied stilt (Poaka)White-faced heron (Matuku Moana)Red-billed gull (Tarapunga)Royal spoonbill (Kotuku-ngutupapa) on top and spur-winged plover on bottom
Next we drove to Cape Saunders. That area of the peninsula was on private land, so the only access was via the tours run by the owners. Our first stop was to view a very active fur seal colony. Many pups were swimming in the water. They were fun to watch.
Our van parked at the fur seal viewing spot
Fur seals and their pups playing in the water
Pups on the moveOthers were resting
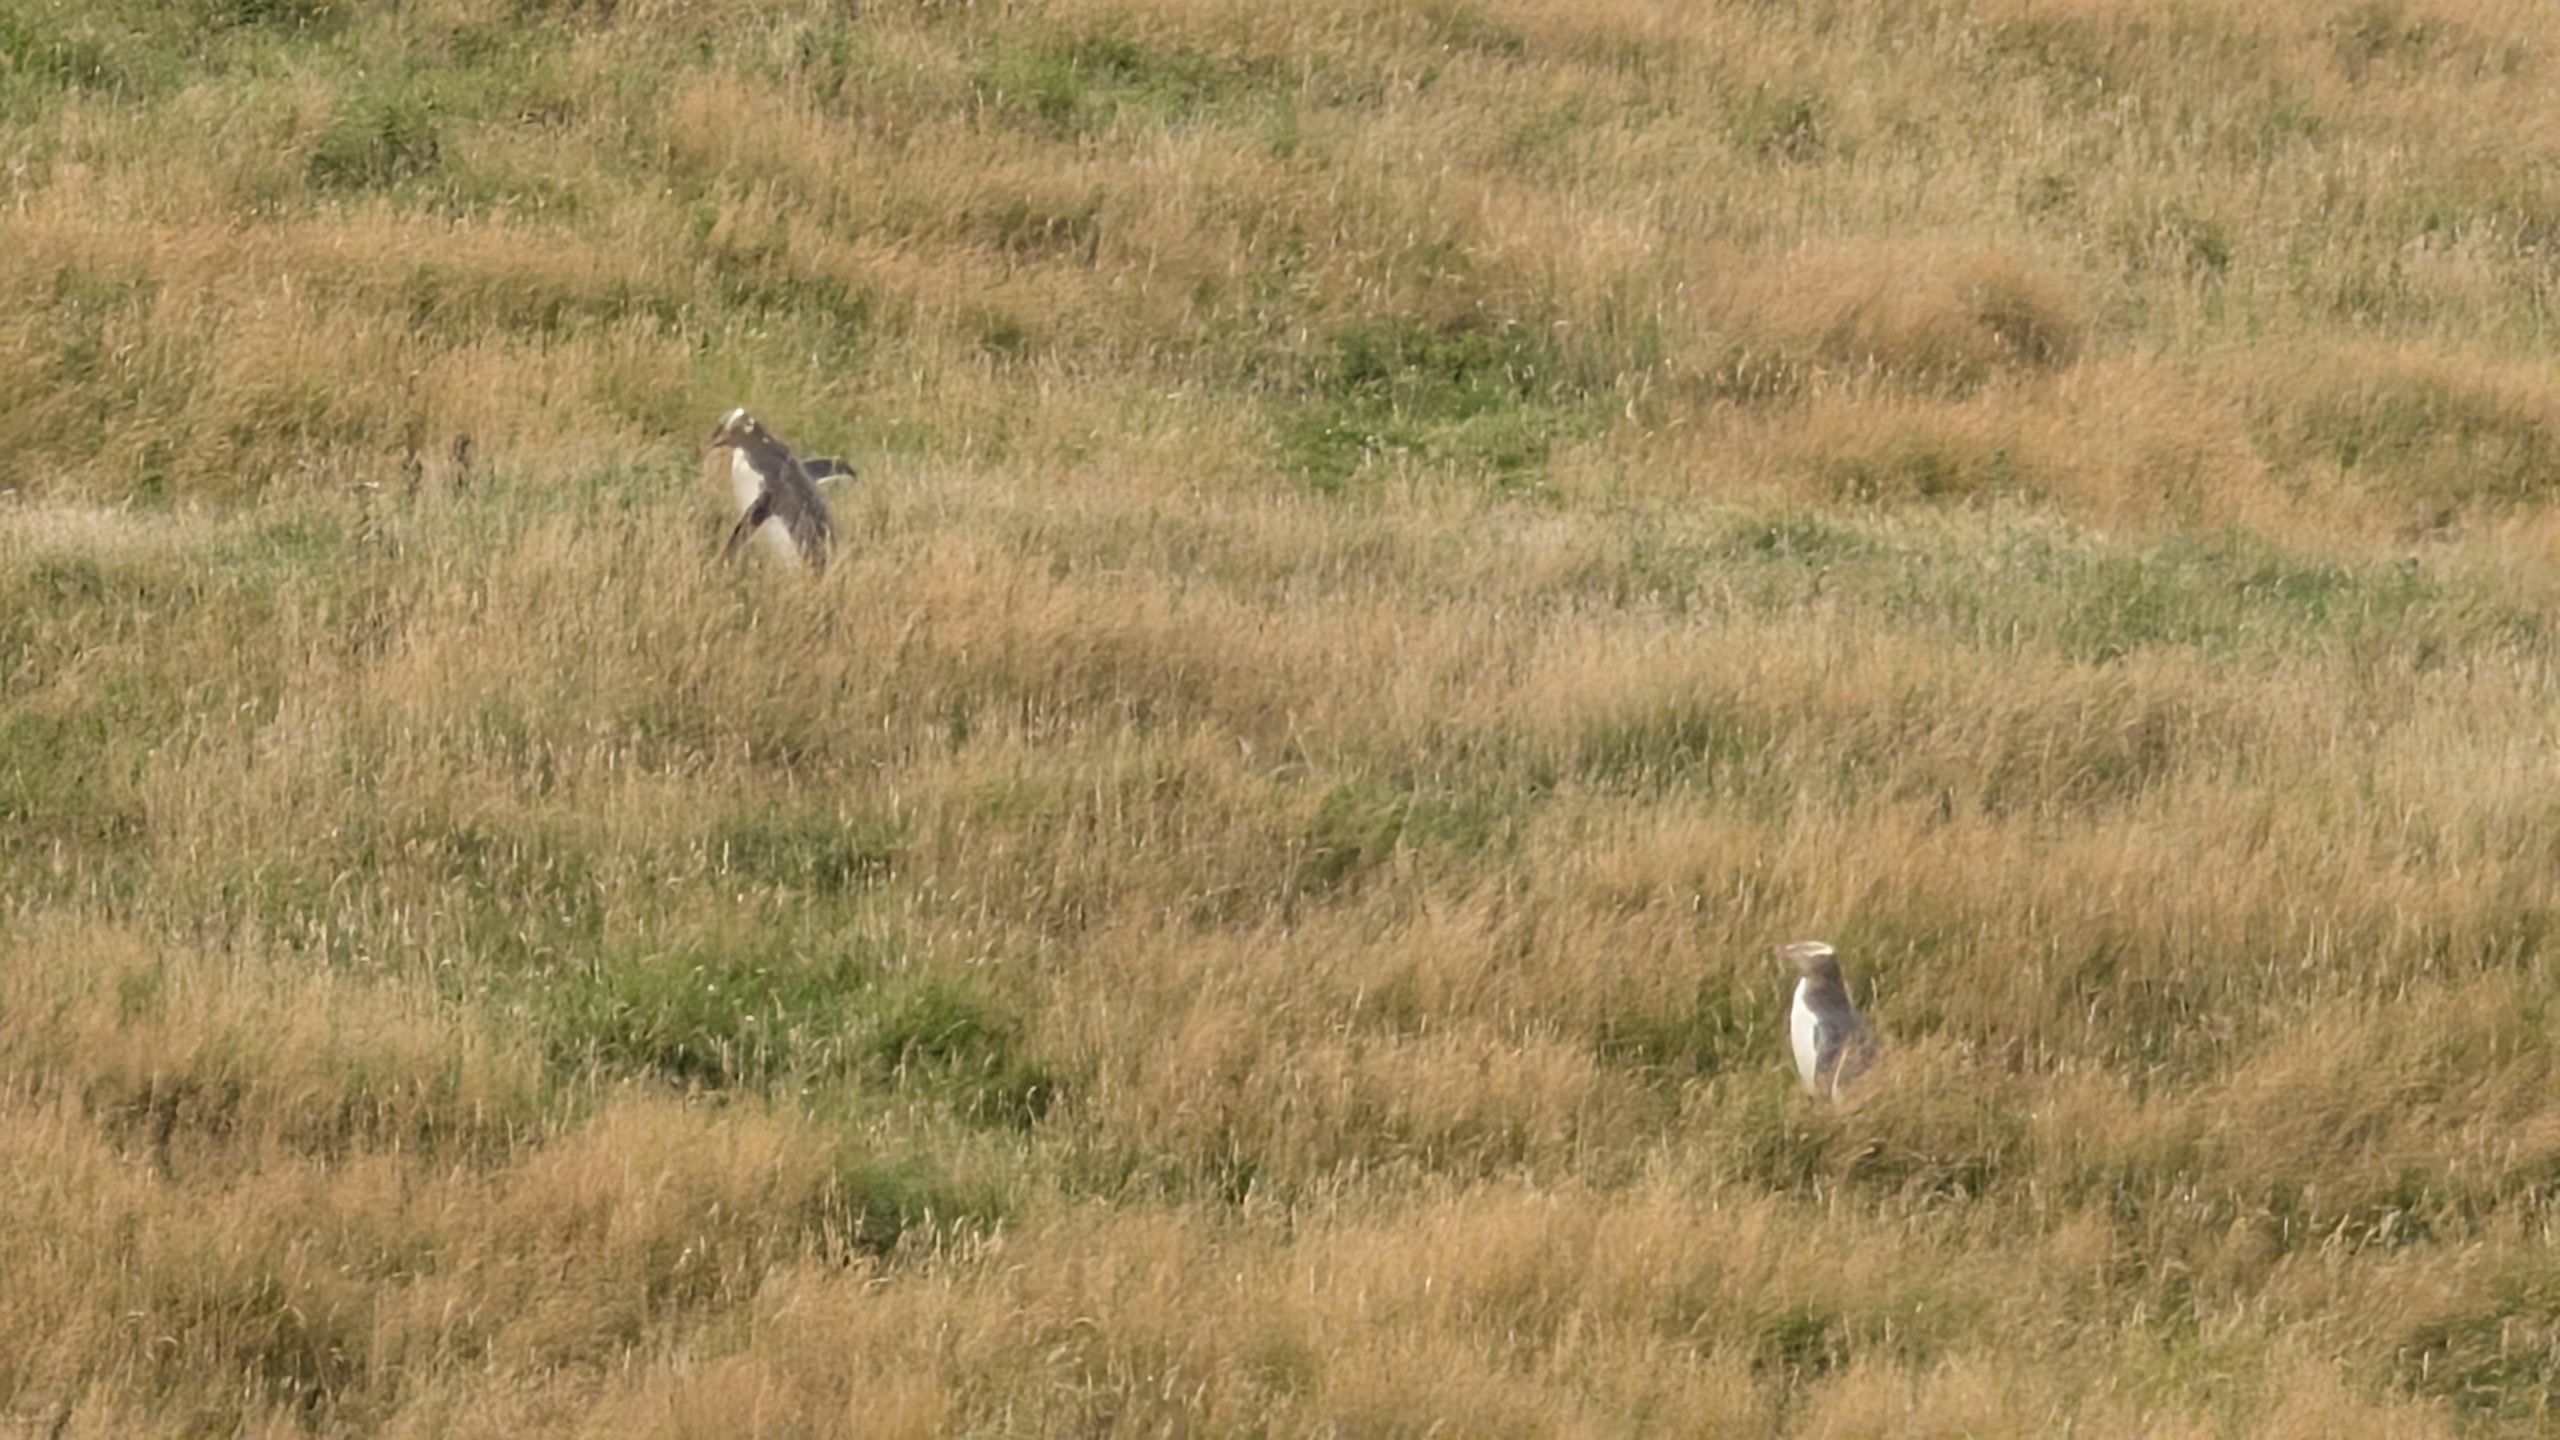
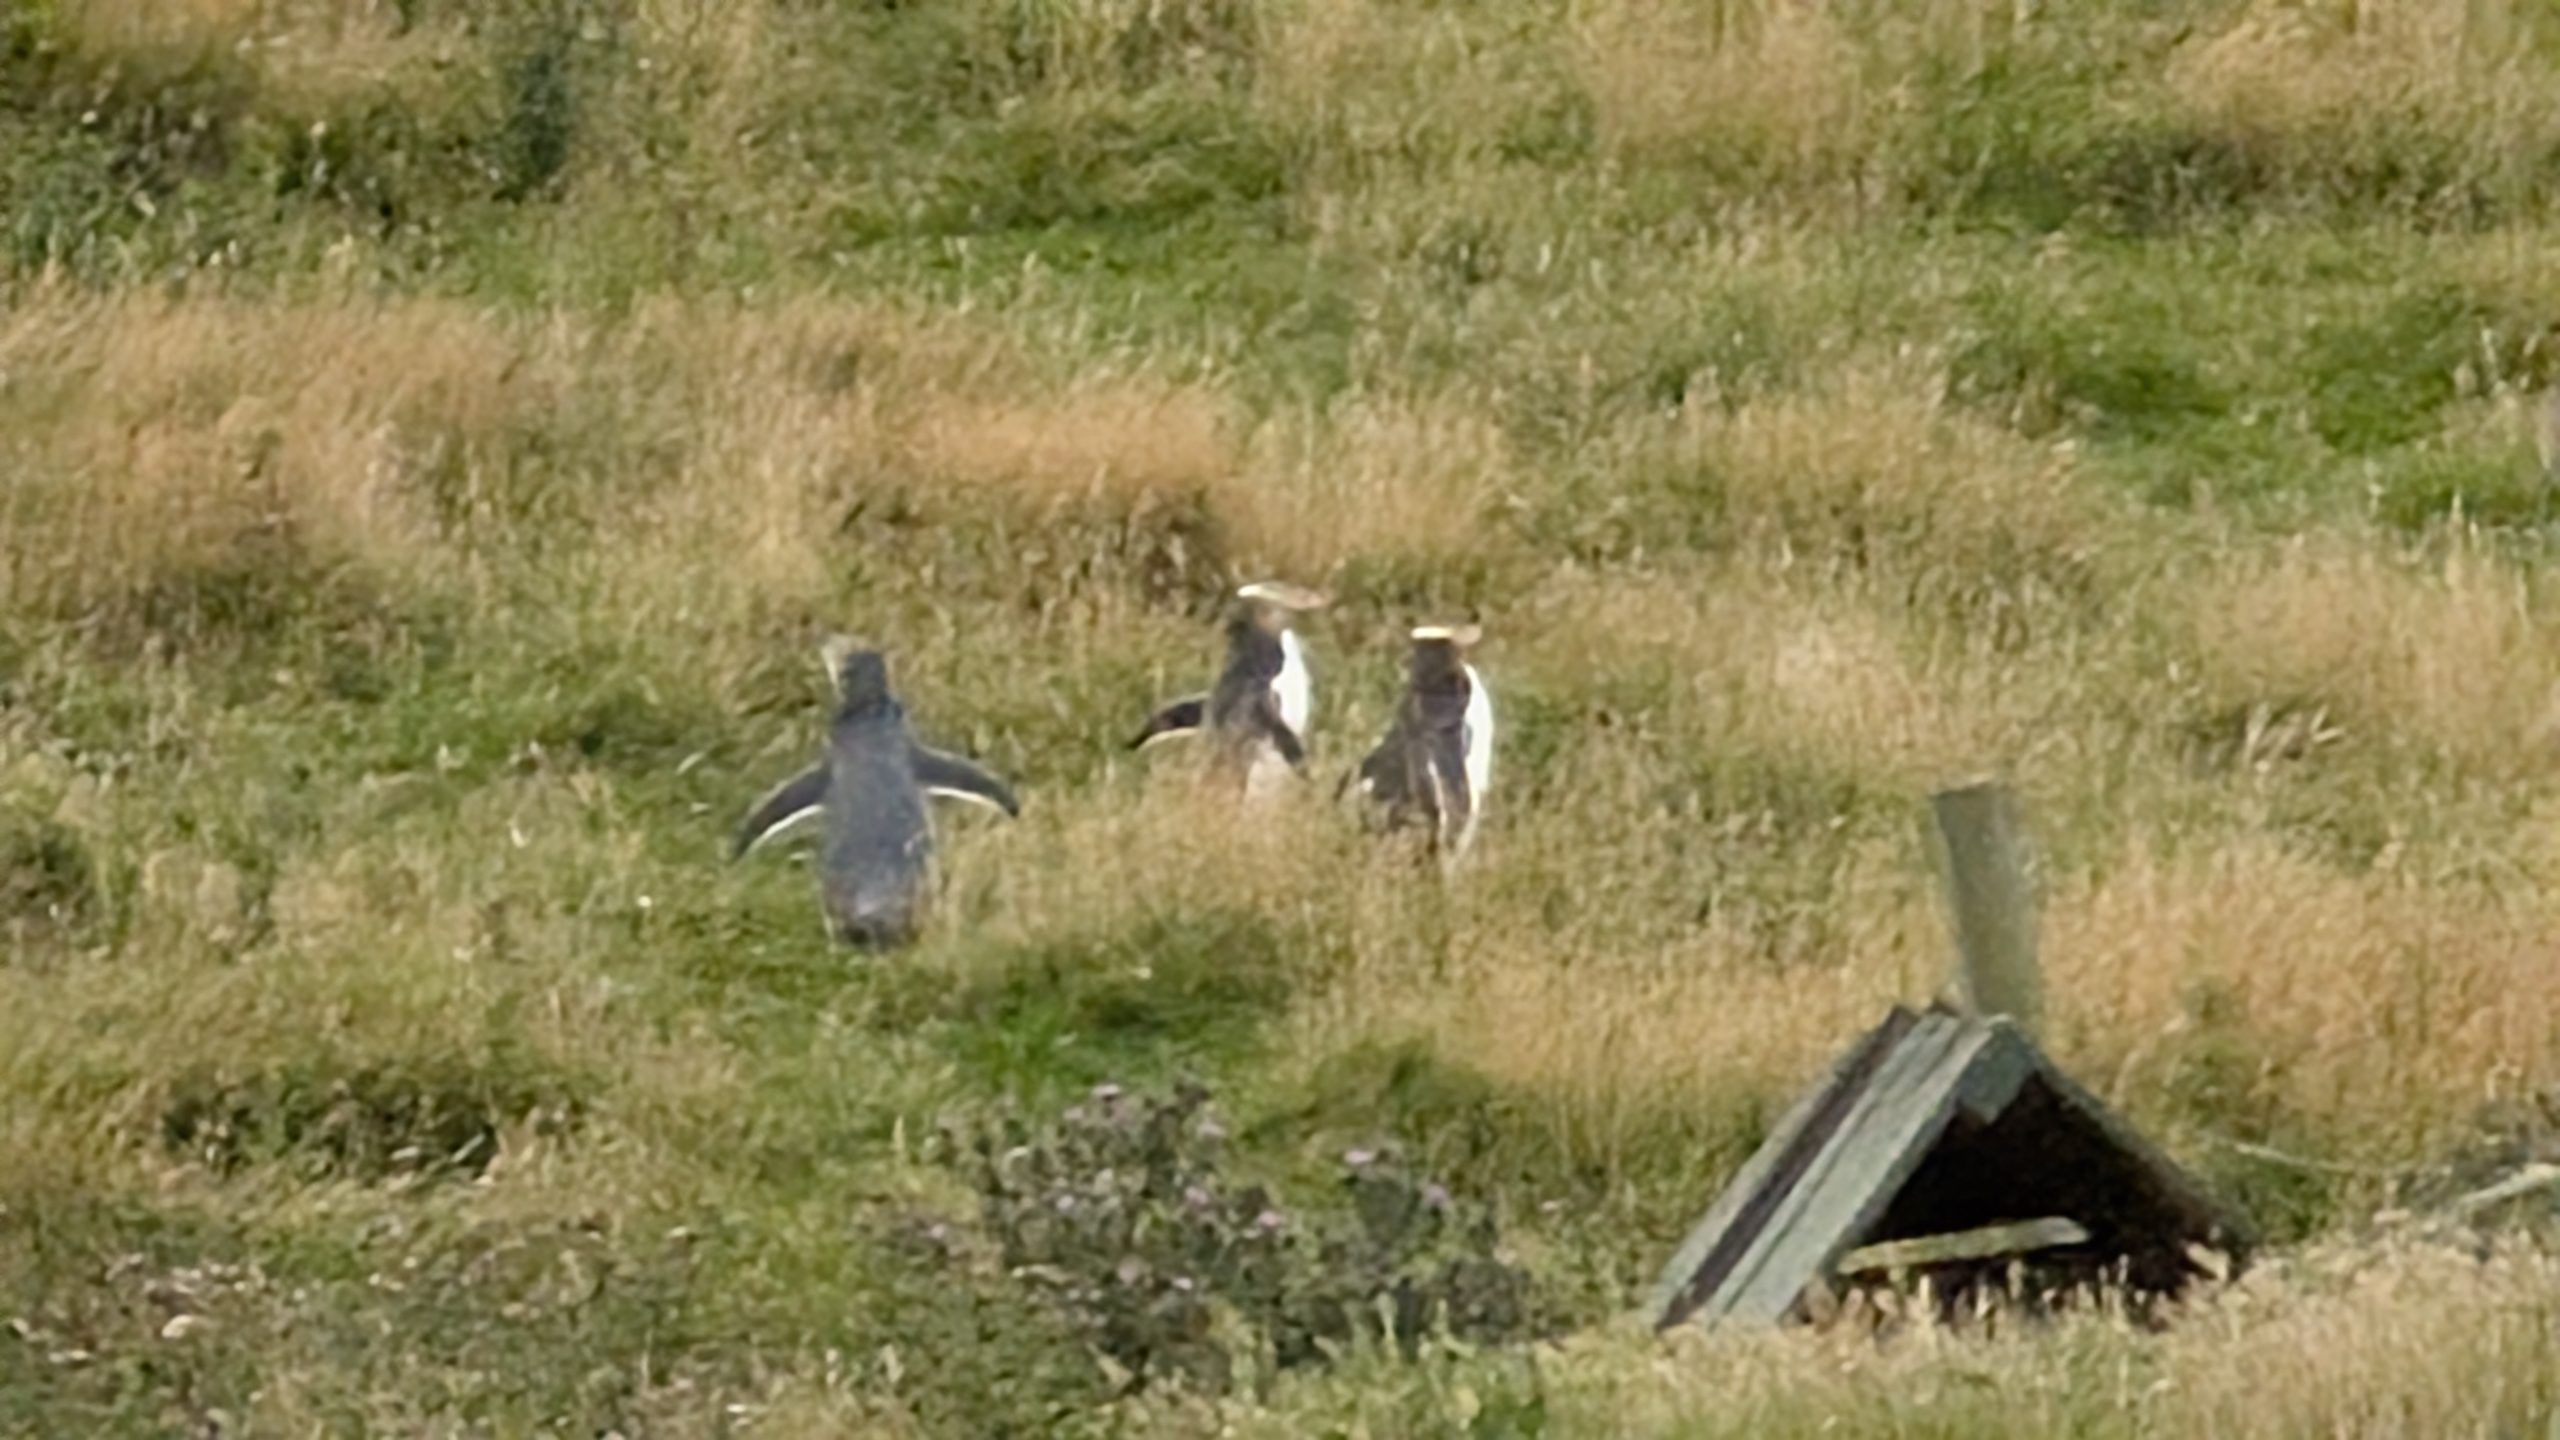
Our next stop was where the fun really began. Penguin viewing time! We were lucky enough to spot 8 yellow-eyed penguins (Hoiho) on the beach and near their nests.
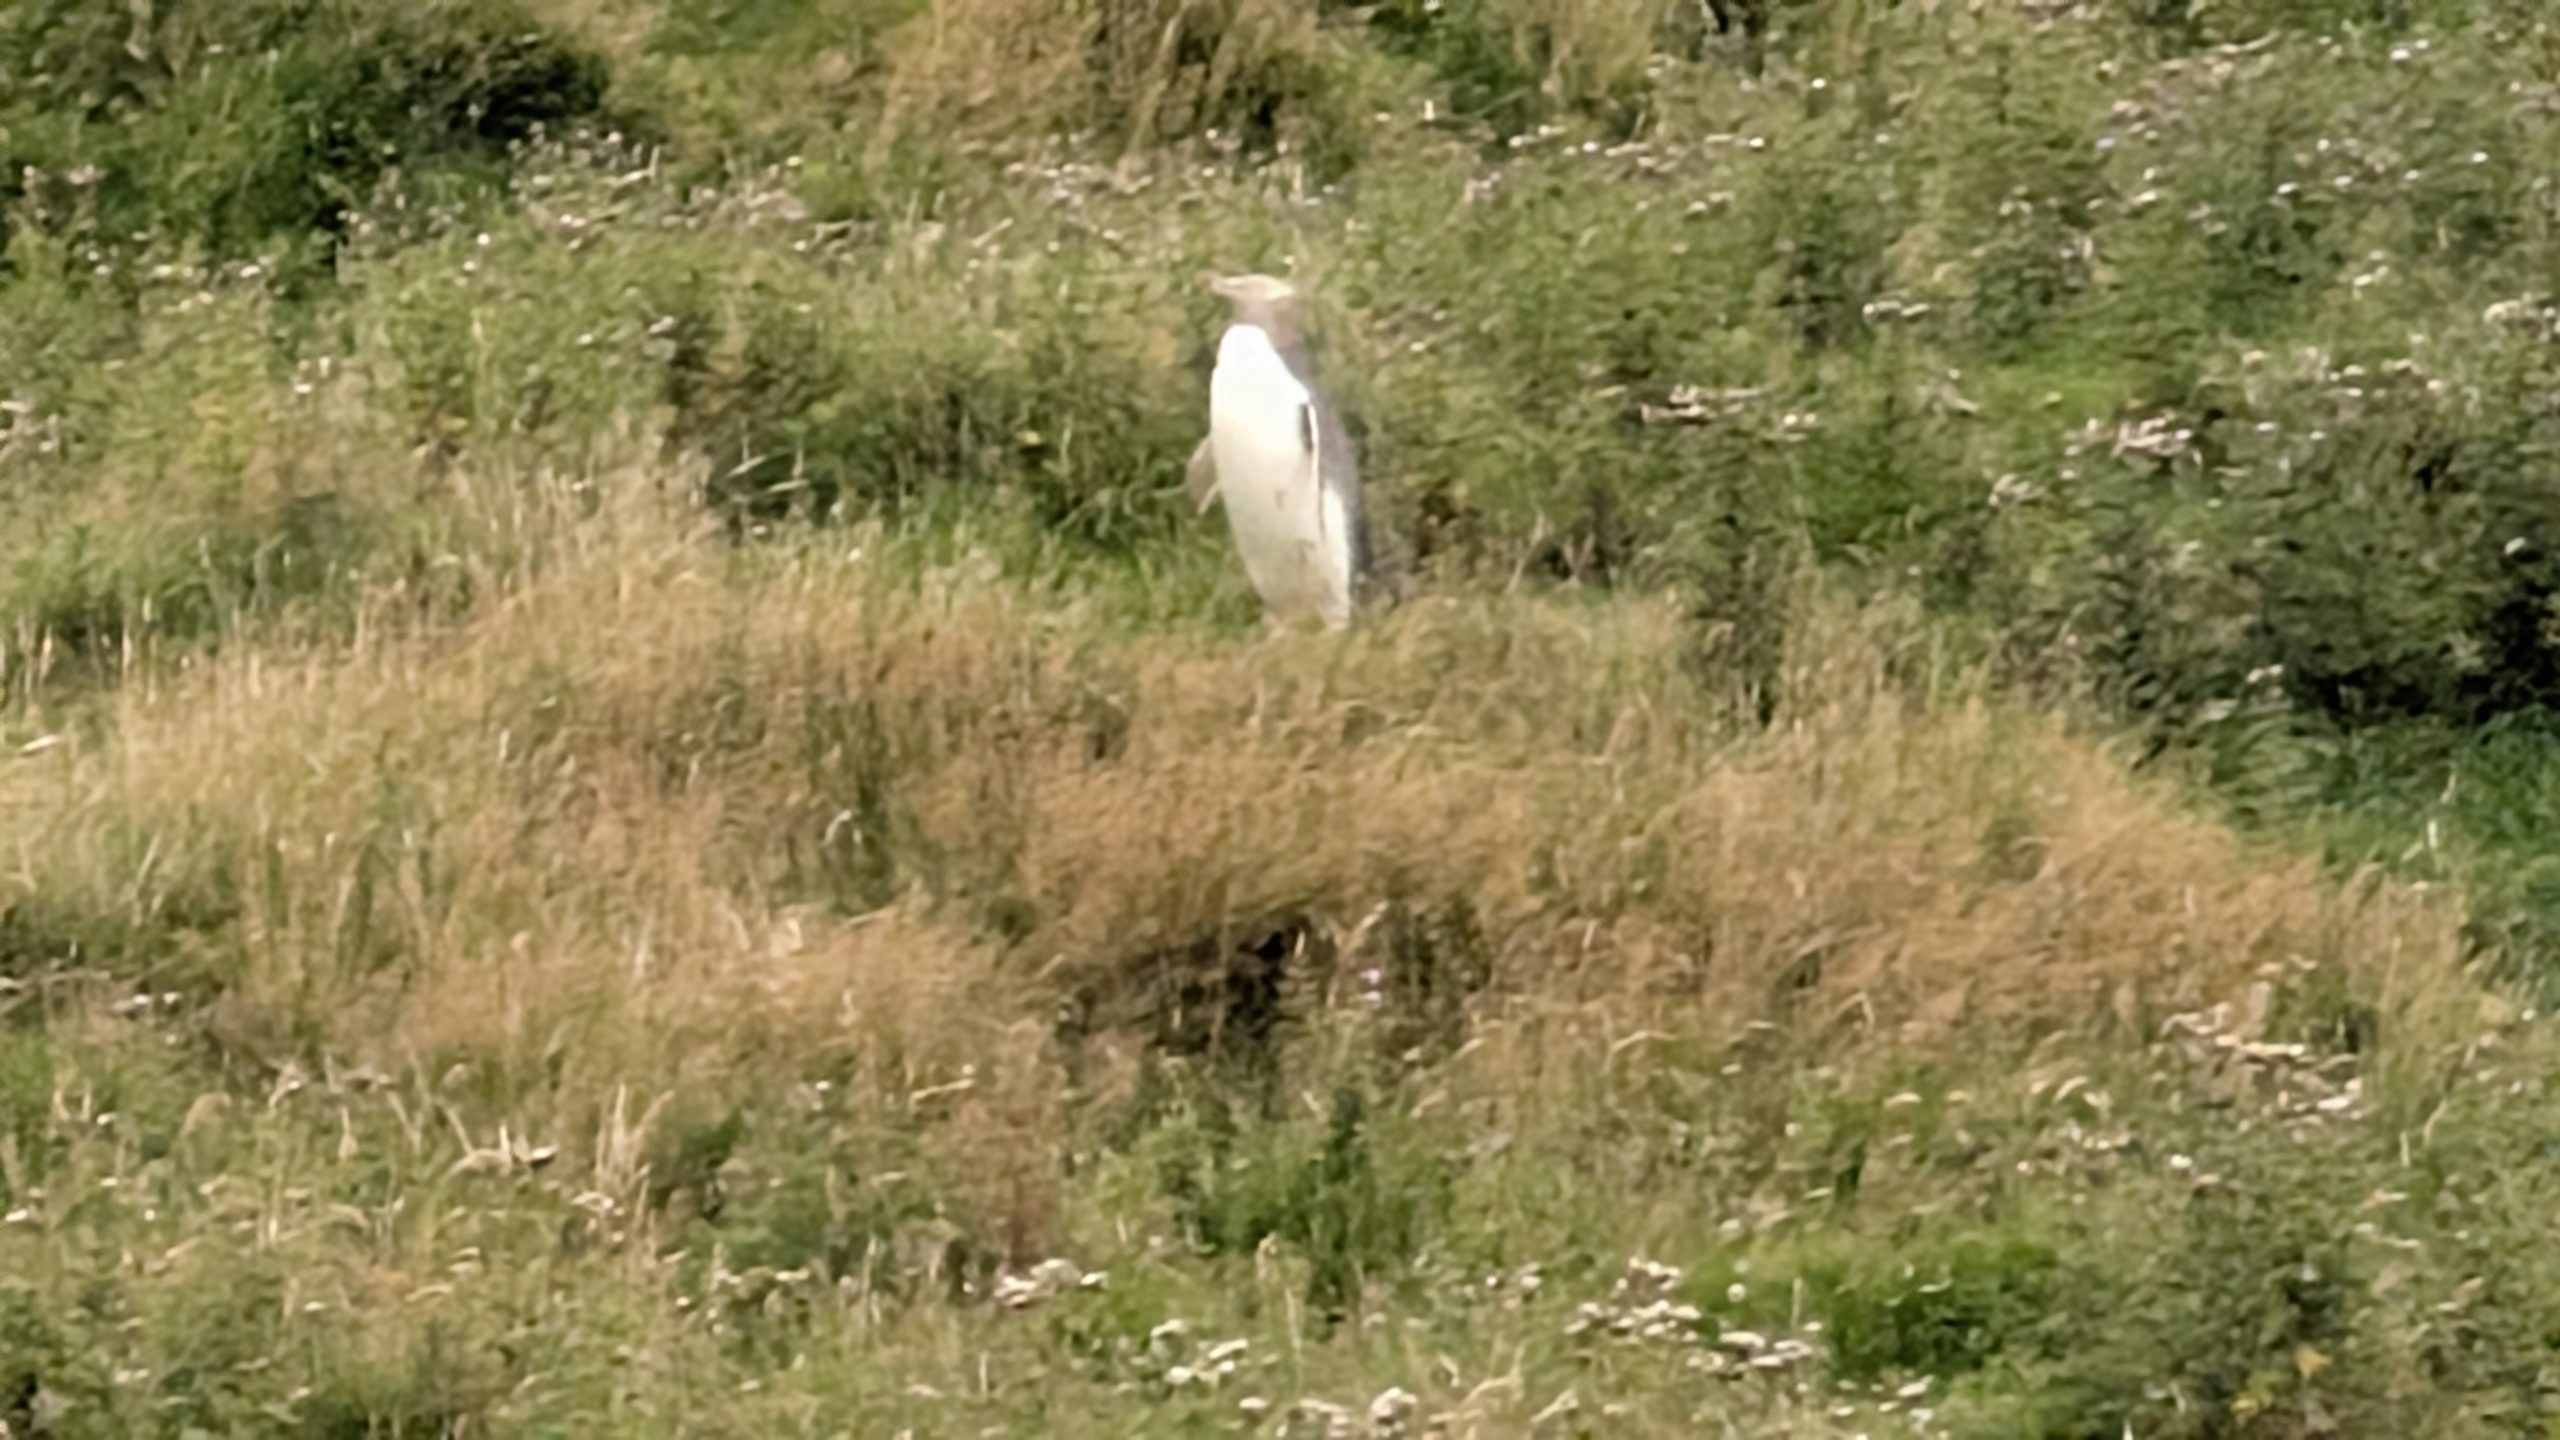
Adult Hoiho on the beachTwo juvenile penguins wandering around in the open grassy area above the beach A second adult penguin wandering around near its nest
We watched another adult penguin waddle up from the beach. The 2 juveniles got noisy wanting to be fed. And then the adult waddled over to one of the juveniles and fed it!
The kids were hungry
Mom or dad coming in from the beach
Hopping uphill
Feeding time!Parent penguin with the two juveniles
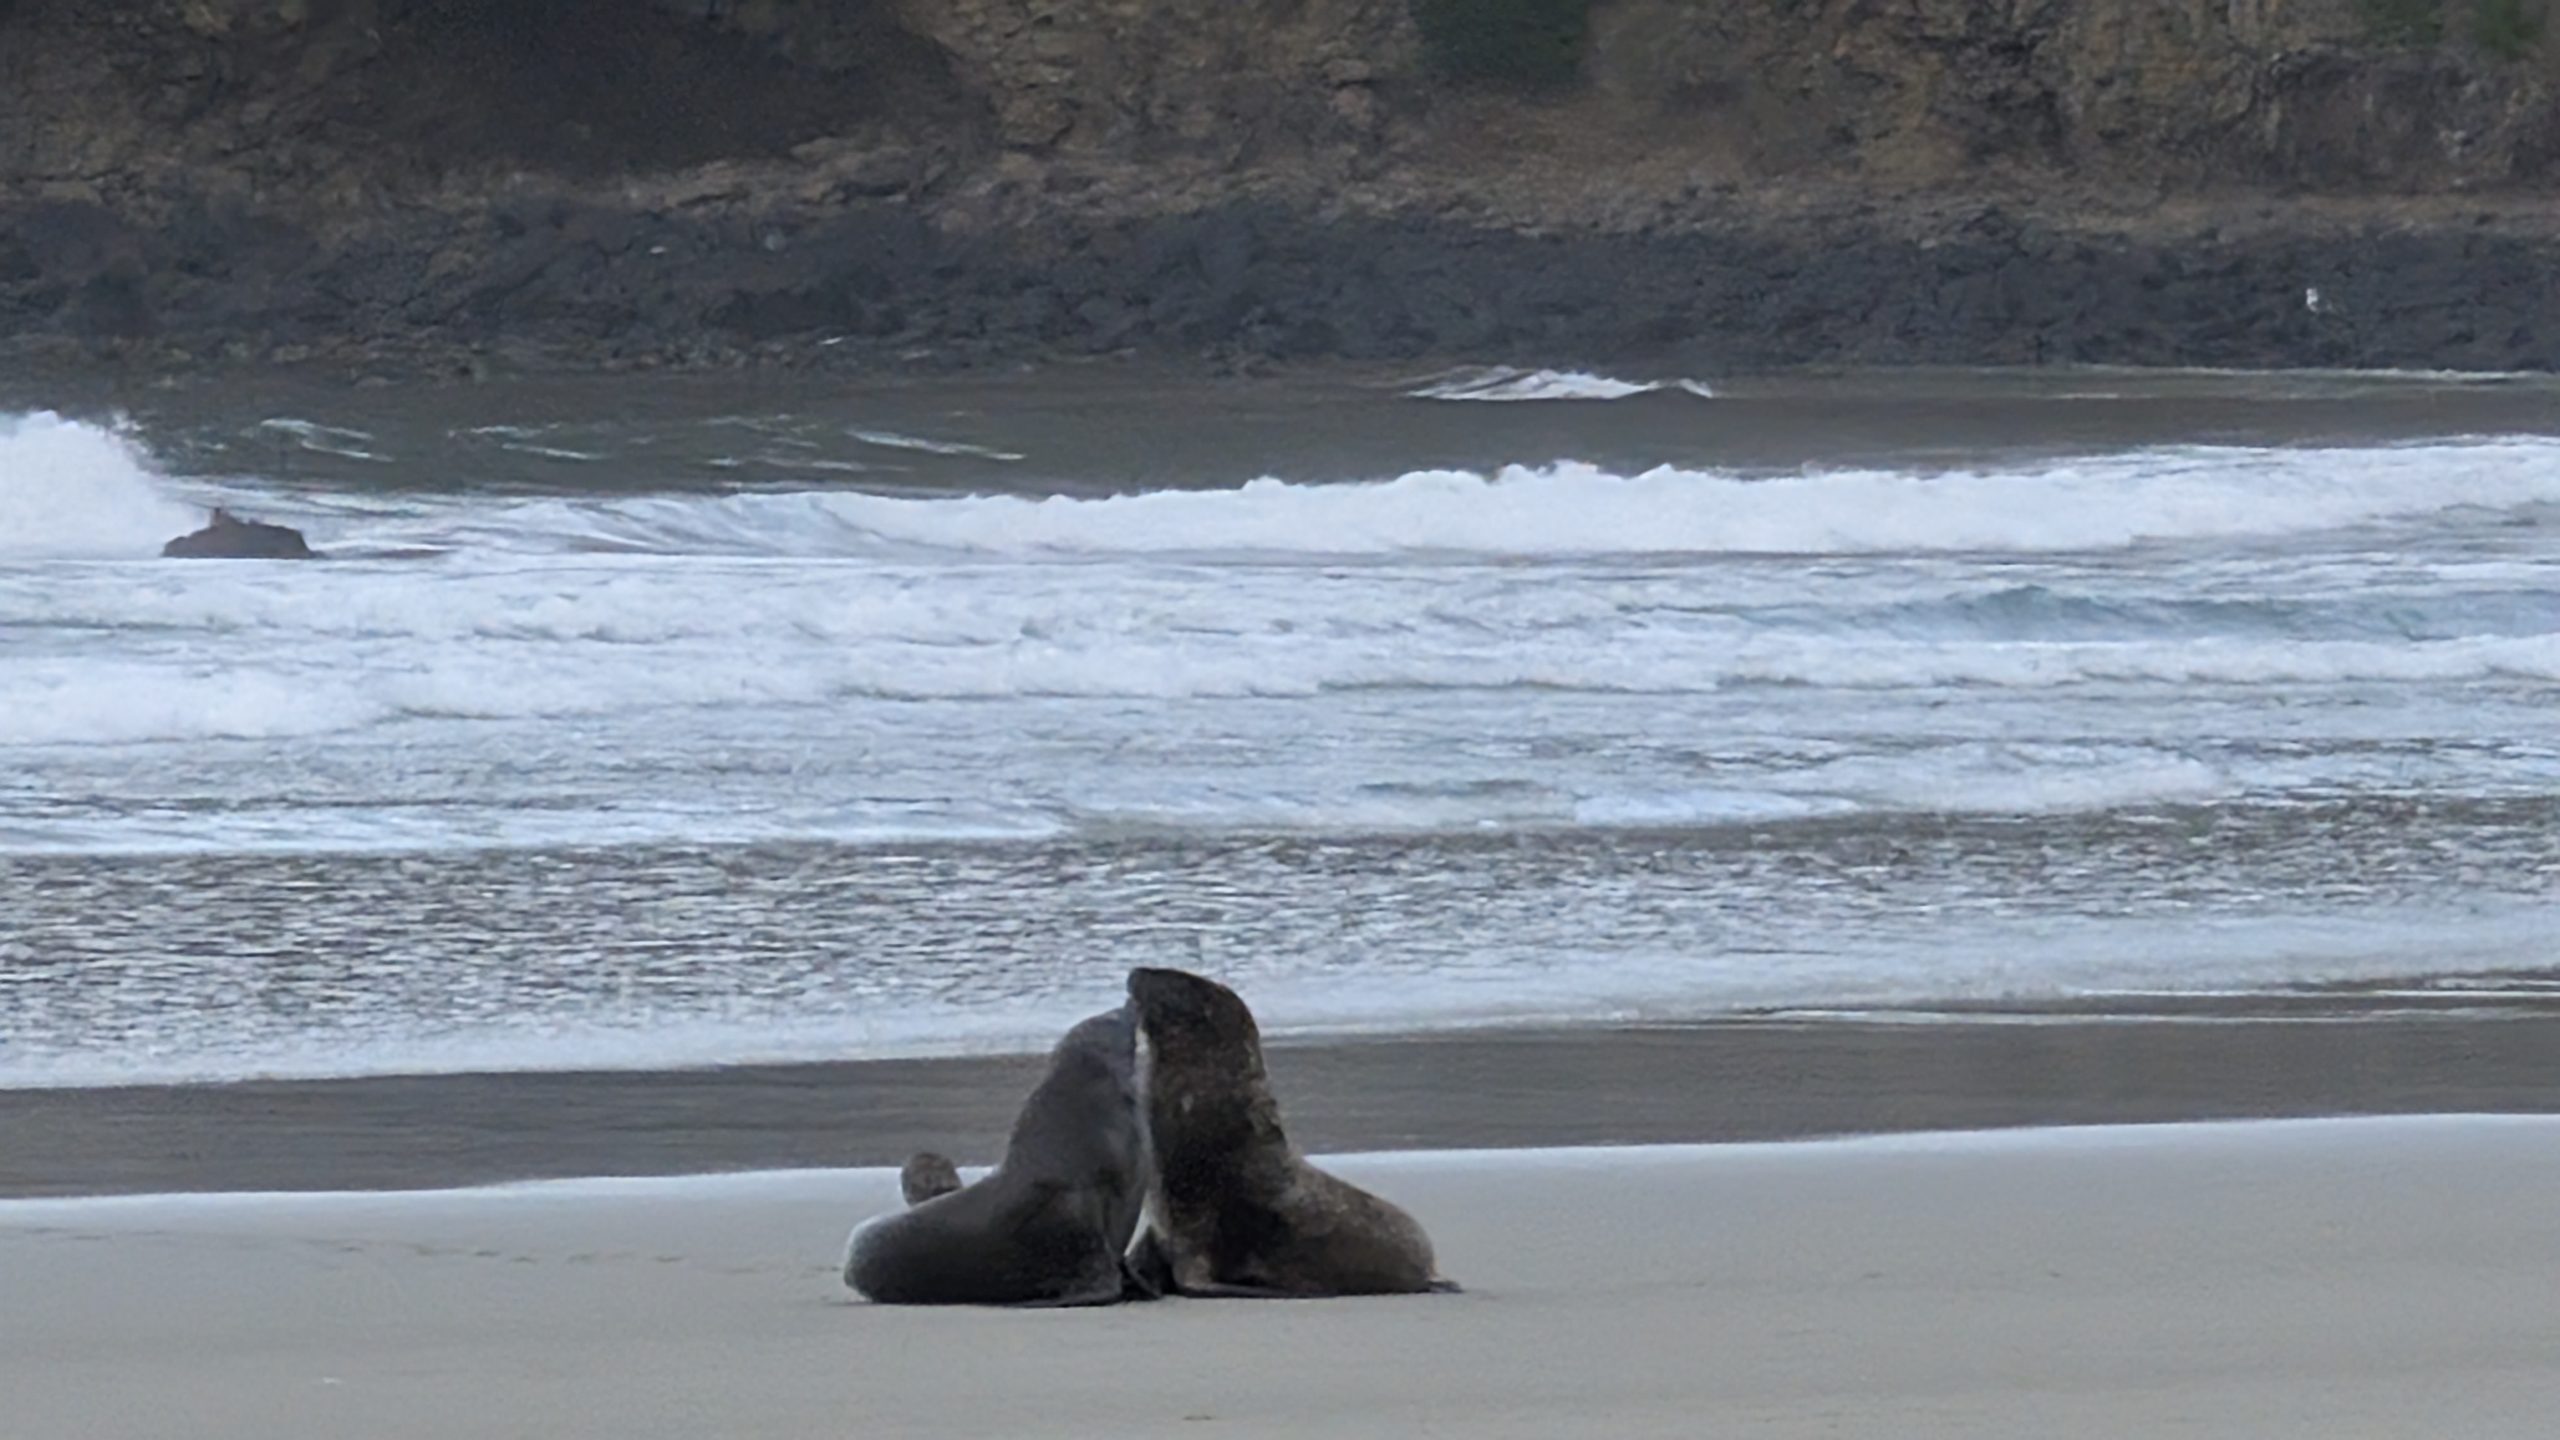
After that fun display, we walked down to the beach to view a group of sea lions. Some were resting and others were moving around and got a bit playful.
Playful sea lionsGreeting each other
While we were on the beach, we spotted 3 more Hoiho penguins standing in the bush, but they were too far away for me to get any good pictures.
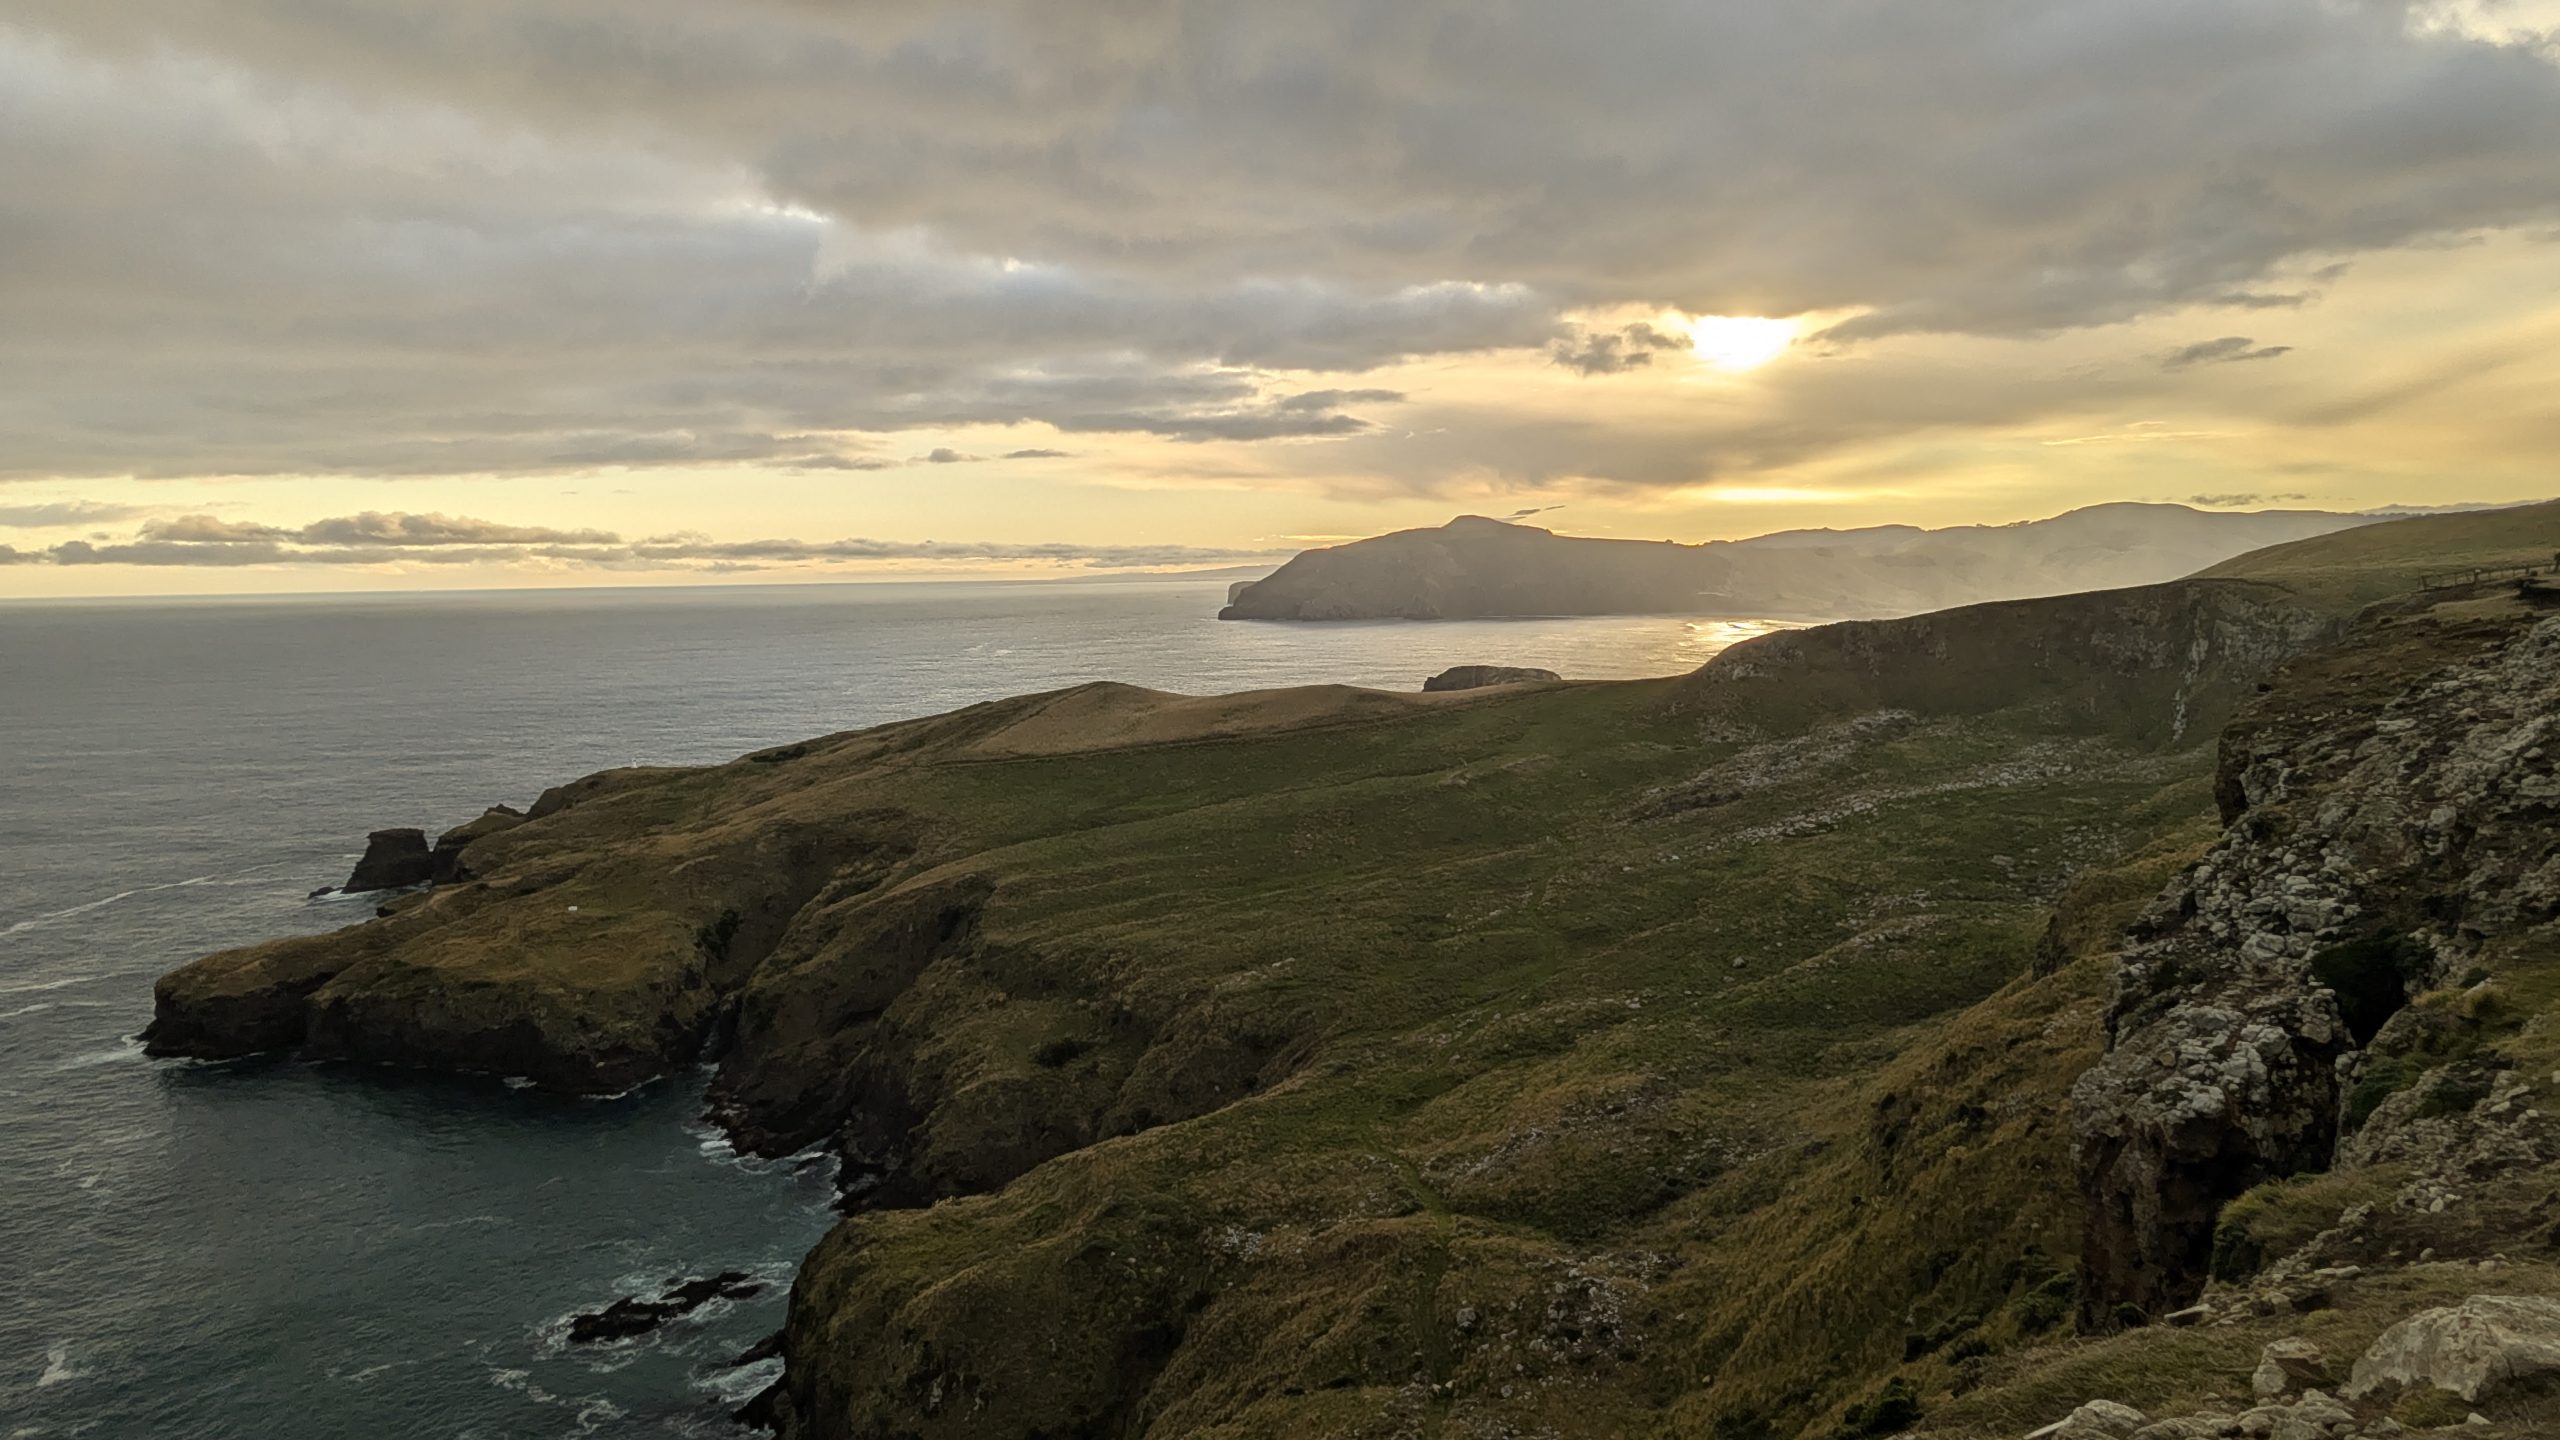
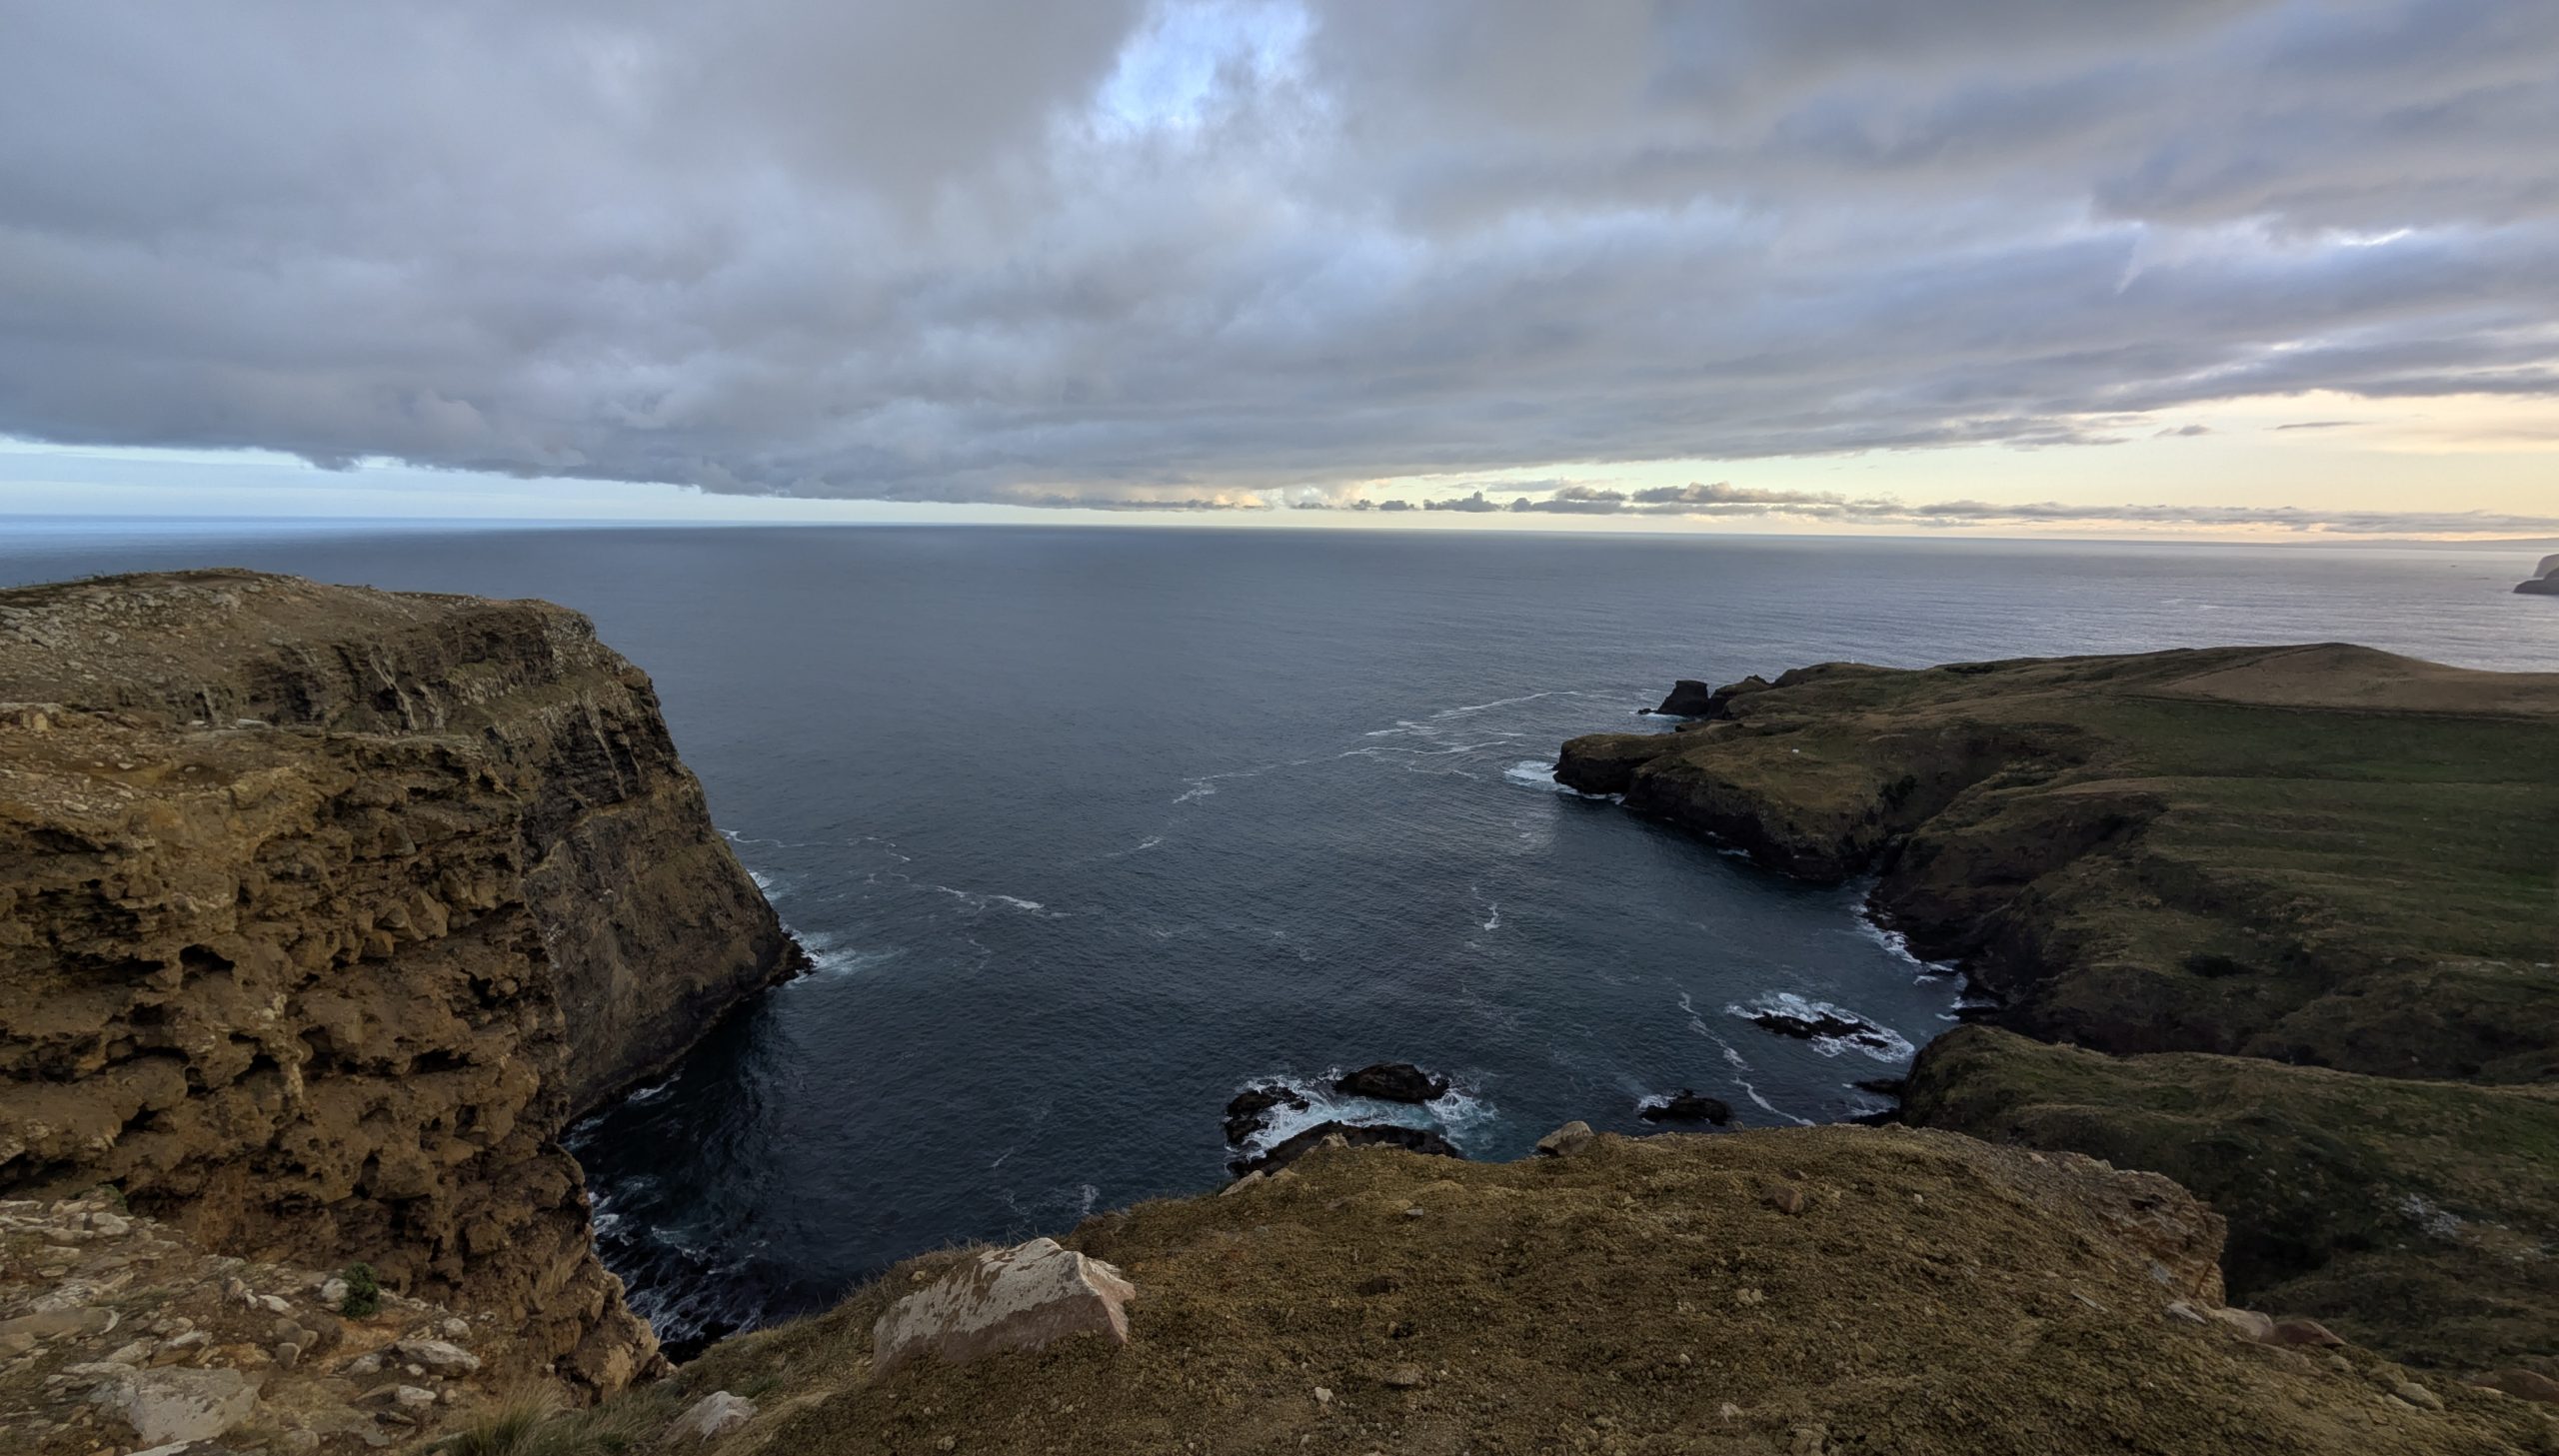
On the drive back to Dunedin we made a final stop at a volcanic crater and had some nice views before sunset.
Pretty view from the volcanic craterLooking down into the craterHappy me after a wonderful tour
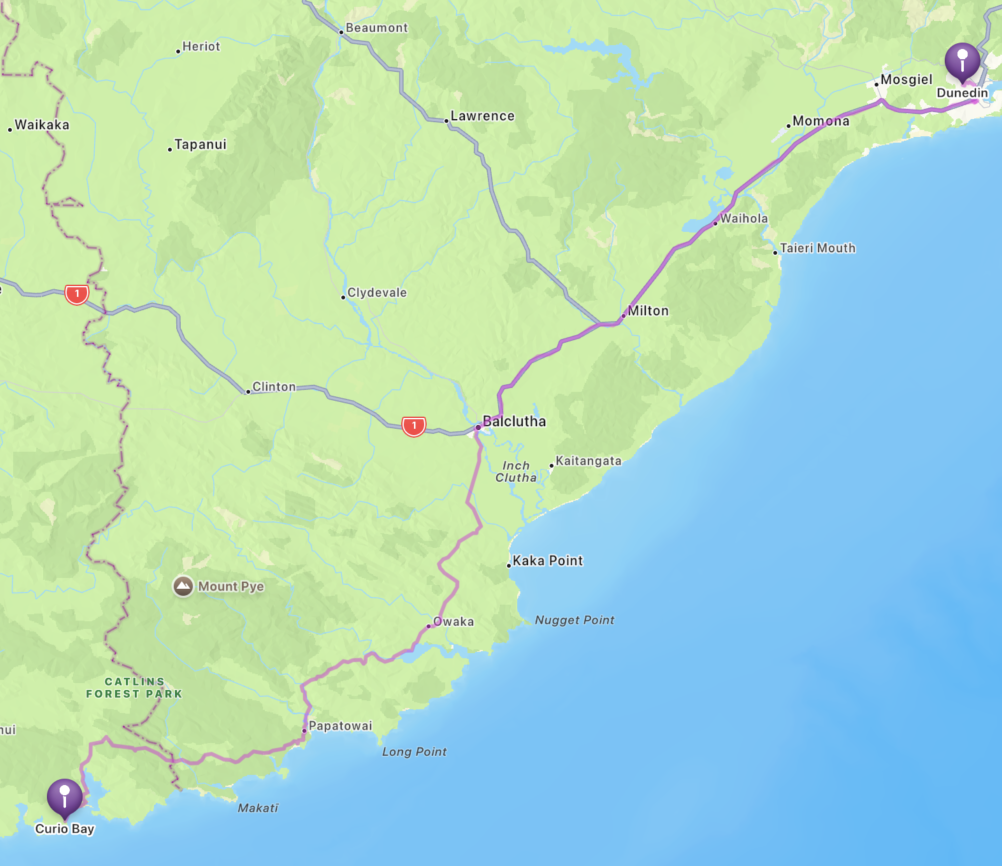
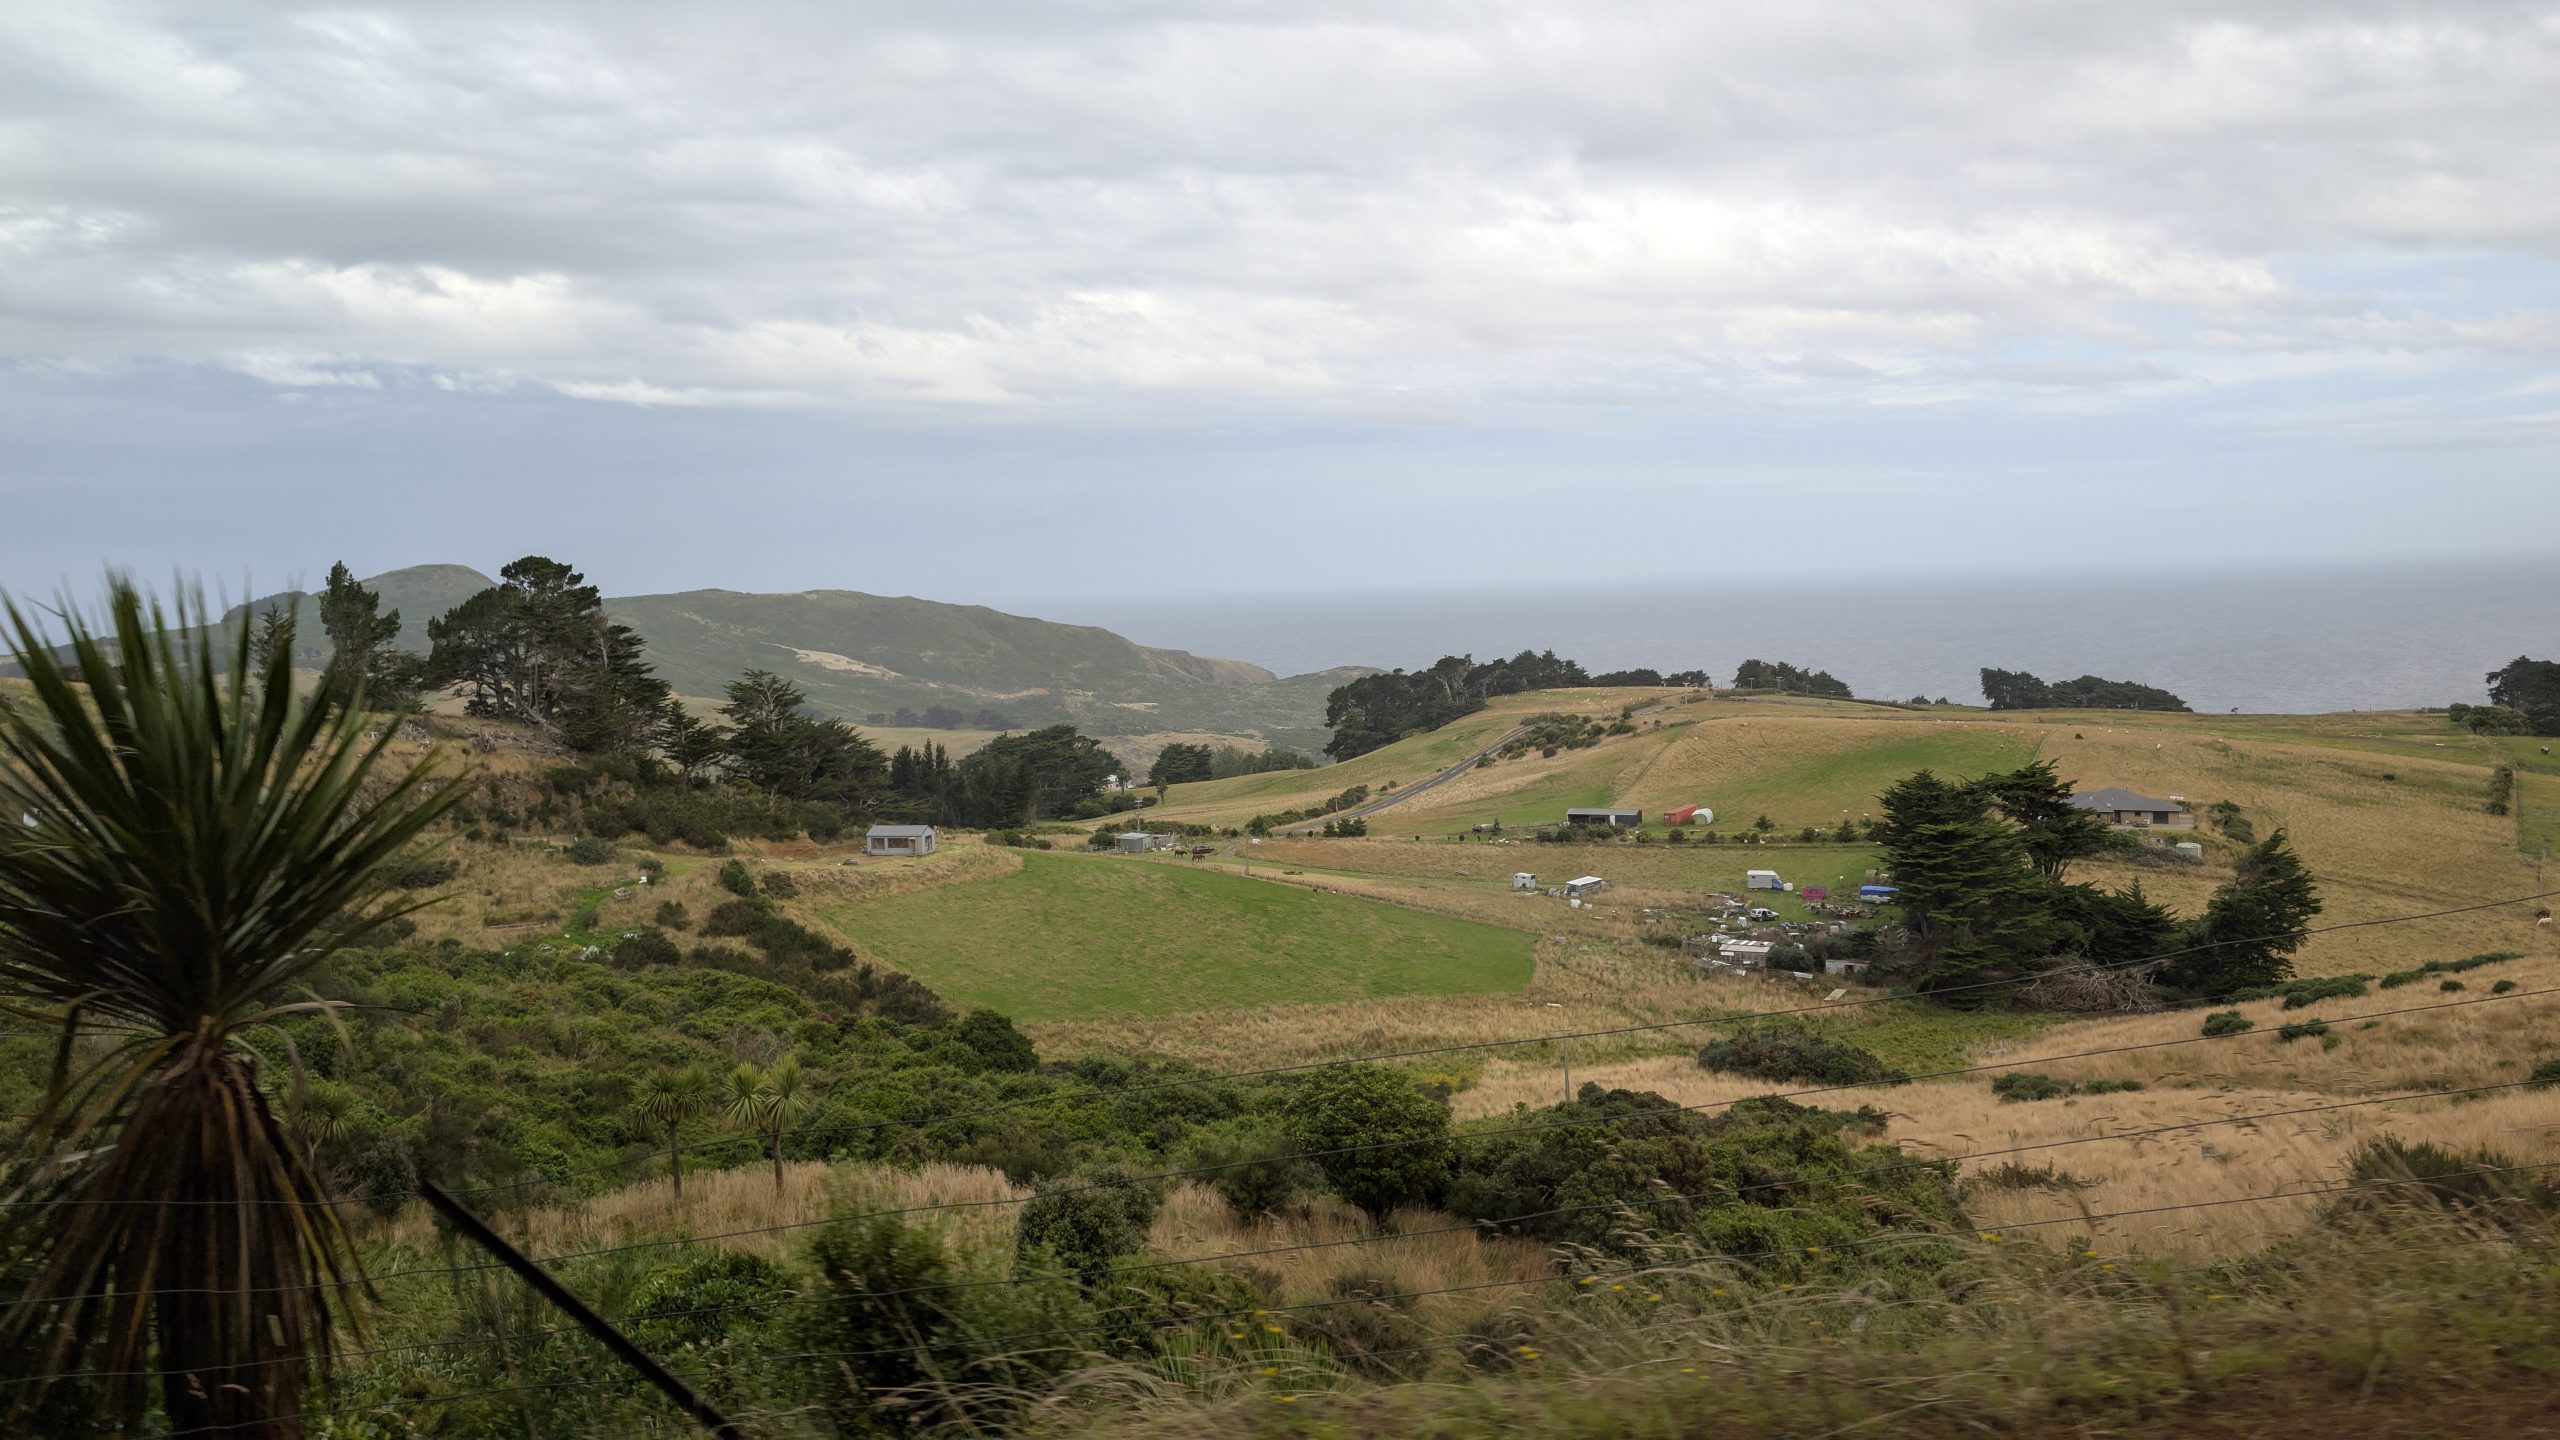
We woke up to a cloudy day with some intermittent rain. It was a 3-hour and 40-minute drive to our next destination, Dunedin, via the route through Raes Junction which we had not driven before. I had planned to do some short hikes at Gabriel's Gully, a gold minng area, but when we arrived the weather was still very wet and cloudy, so we skipped the sightseeing and drove on to our AirBnb in Dunedin.
We had booked the Otago Peninsula In-Depth Tour which started at 6 PM and departed from The Octagon area in downtown Dunedin. It was only about a 10-minute drive from the AirBnb. We left a few hours early to allow us time to find parking and get an early dinner at one of the restaurants. It was a good thing we left when we did, because finding parking proved to be difficult. The first two lots we drove to were full, and then we finally found a parking garage at Lower Moray Place that was just a short walk away from The Octagon.
All of the driving around gave us less than an hour to eat. We found the Pizza Bar that could serve us each a slice of pizza quickly, and we managed to arrive at our meeting place with about 10 minutes to spare.
The tour was 5 hours and drove us in vans up to the tip of the Otago Peninsula to the Royal Albatross Centre where we would join the Blue Penguins Pukekura Experience. This was the tour that allowed us to view the little blue penguins as they came ashore after dark each night and returned to their nests. I had wanted to book just that tour which was a lot cheaper since it didn't include the transportation from central Dunedin, but that tour had been completely sold out several months before. Booking the in-depth tour was the only way we could get access to see the little blue penguins. It did have the big advantage that we did not have to do any driving on the peninsula after dark on very hilly and twisty roads.
The tour made a few stops along the peninsula for some views and to see birds.
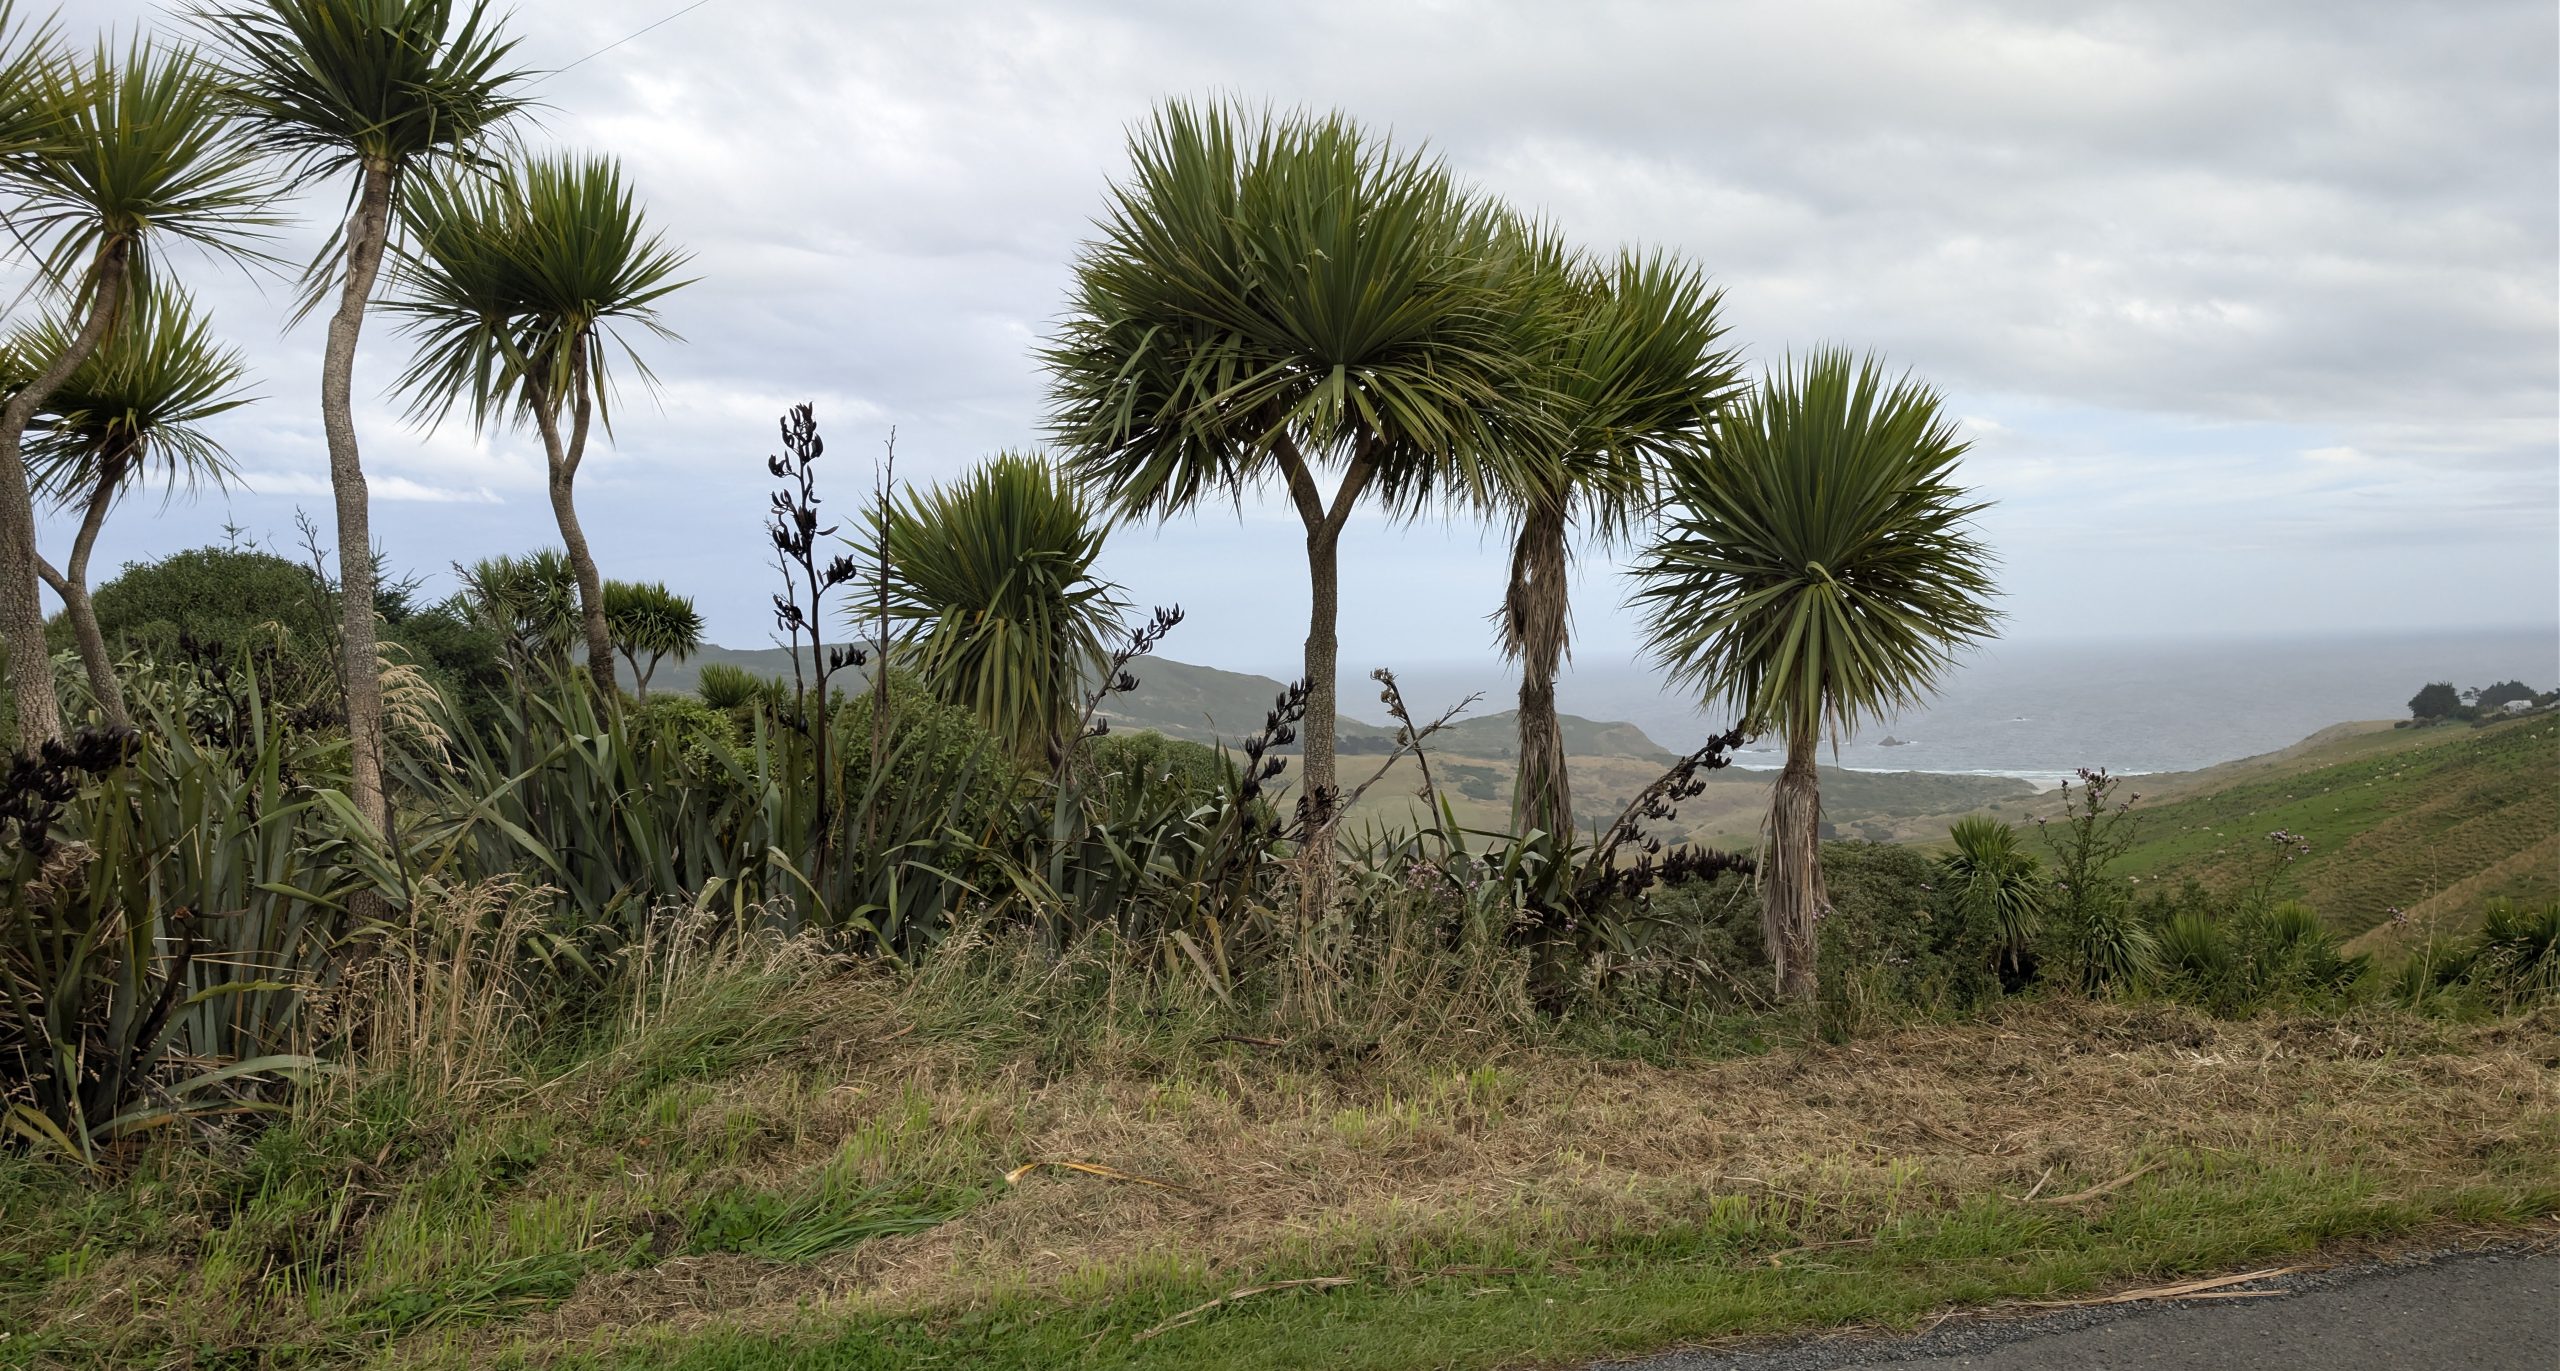
Otago Peninsula viewRolling hills and pretty farmlandCabbage trees in the foreground are one of the few native trees in the area
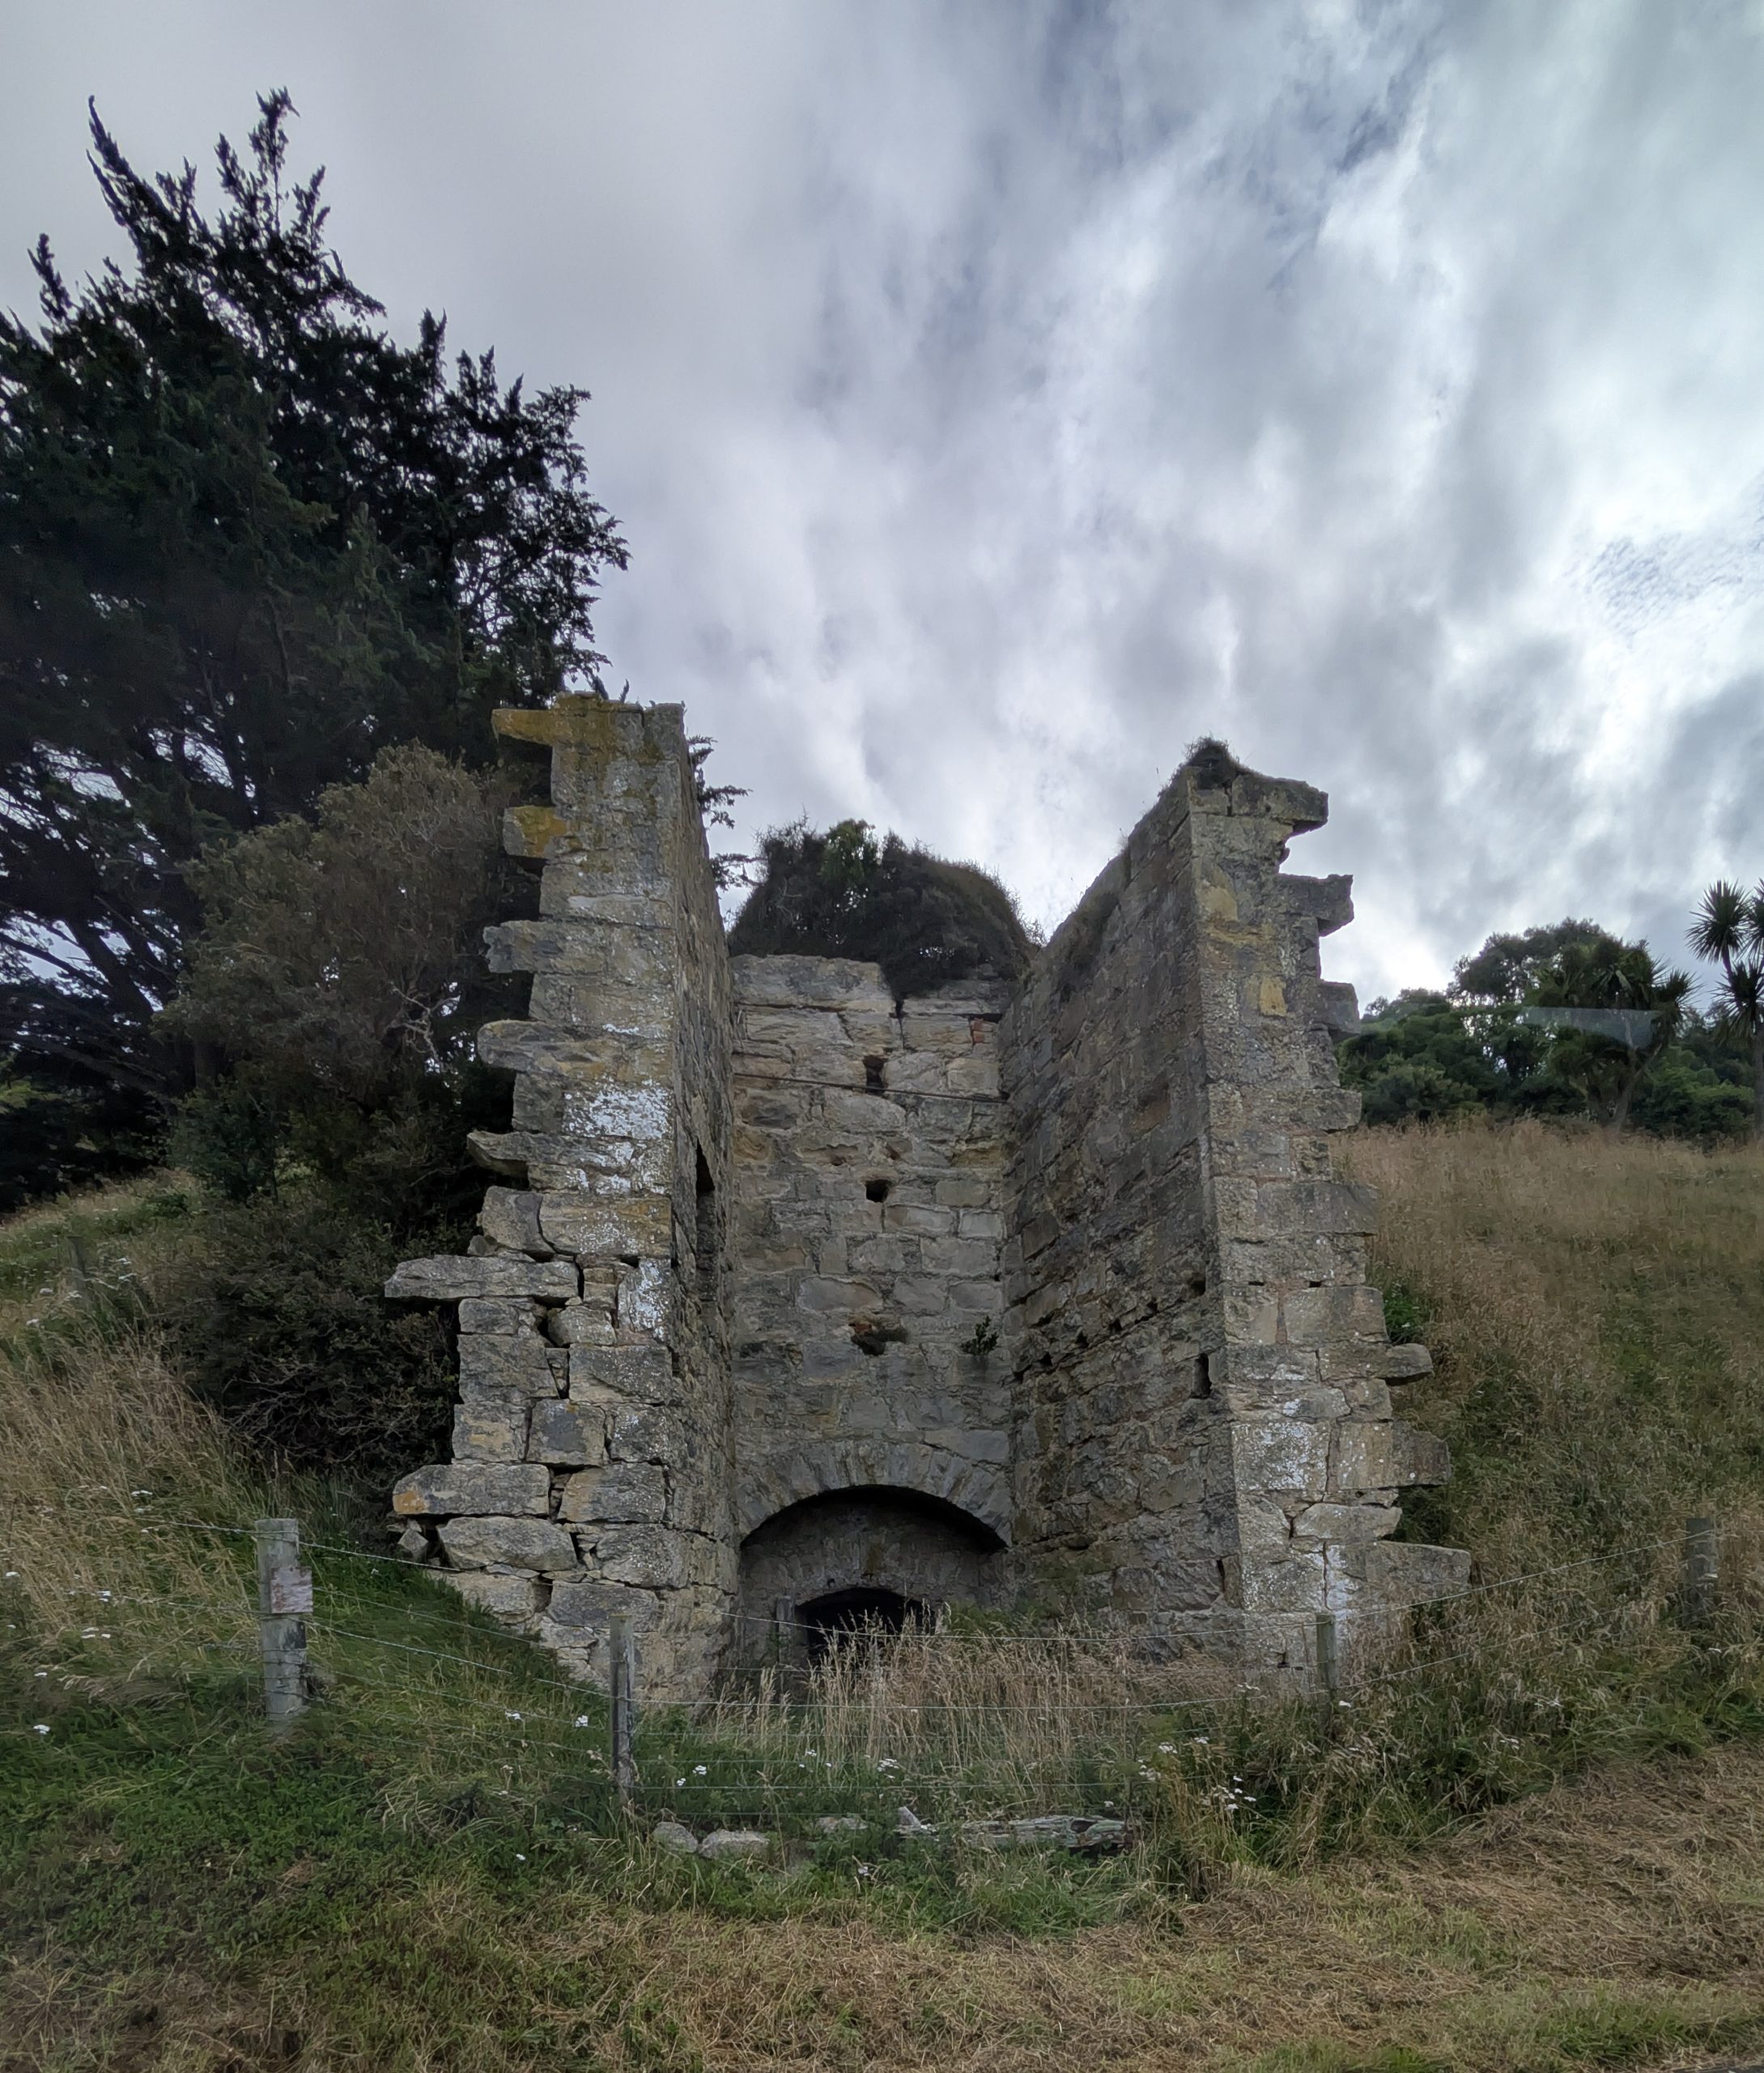
Lime Kiln in the Sandymount area
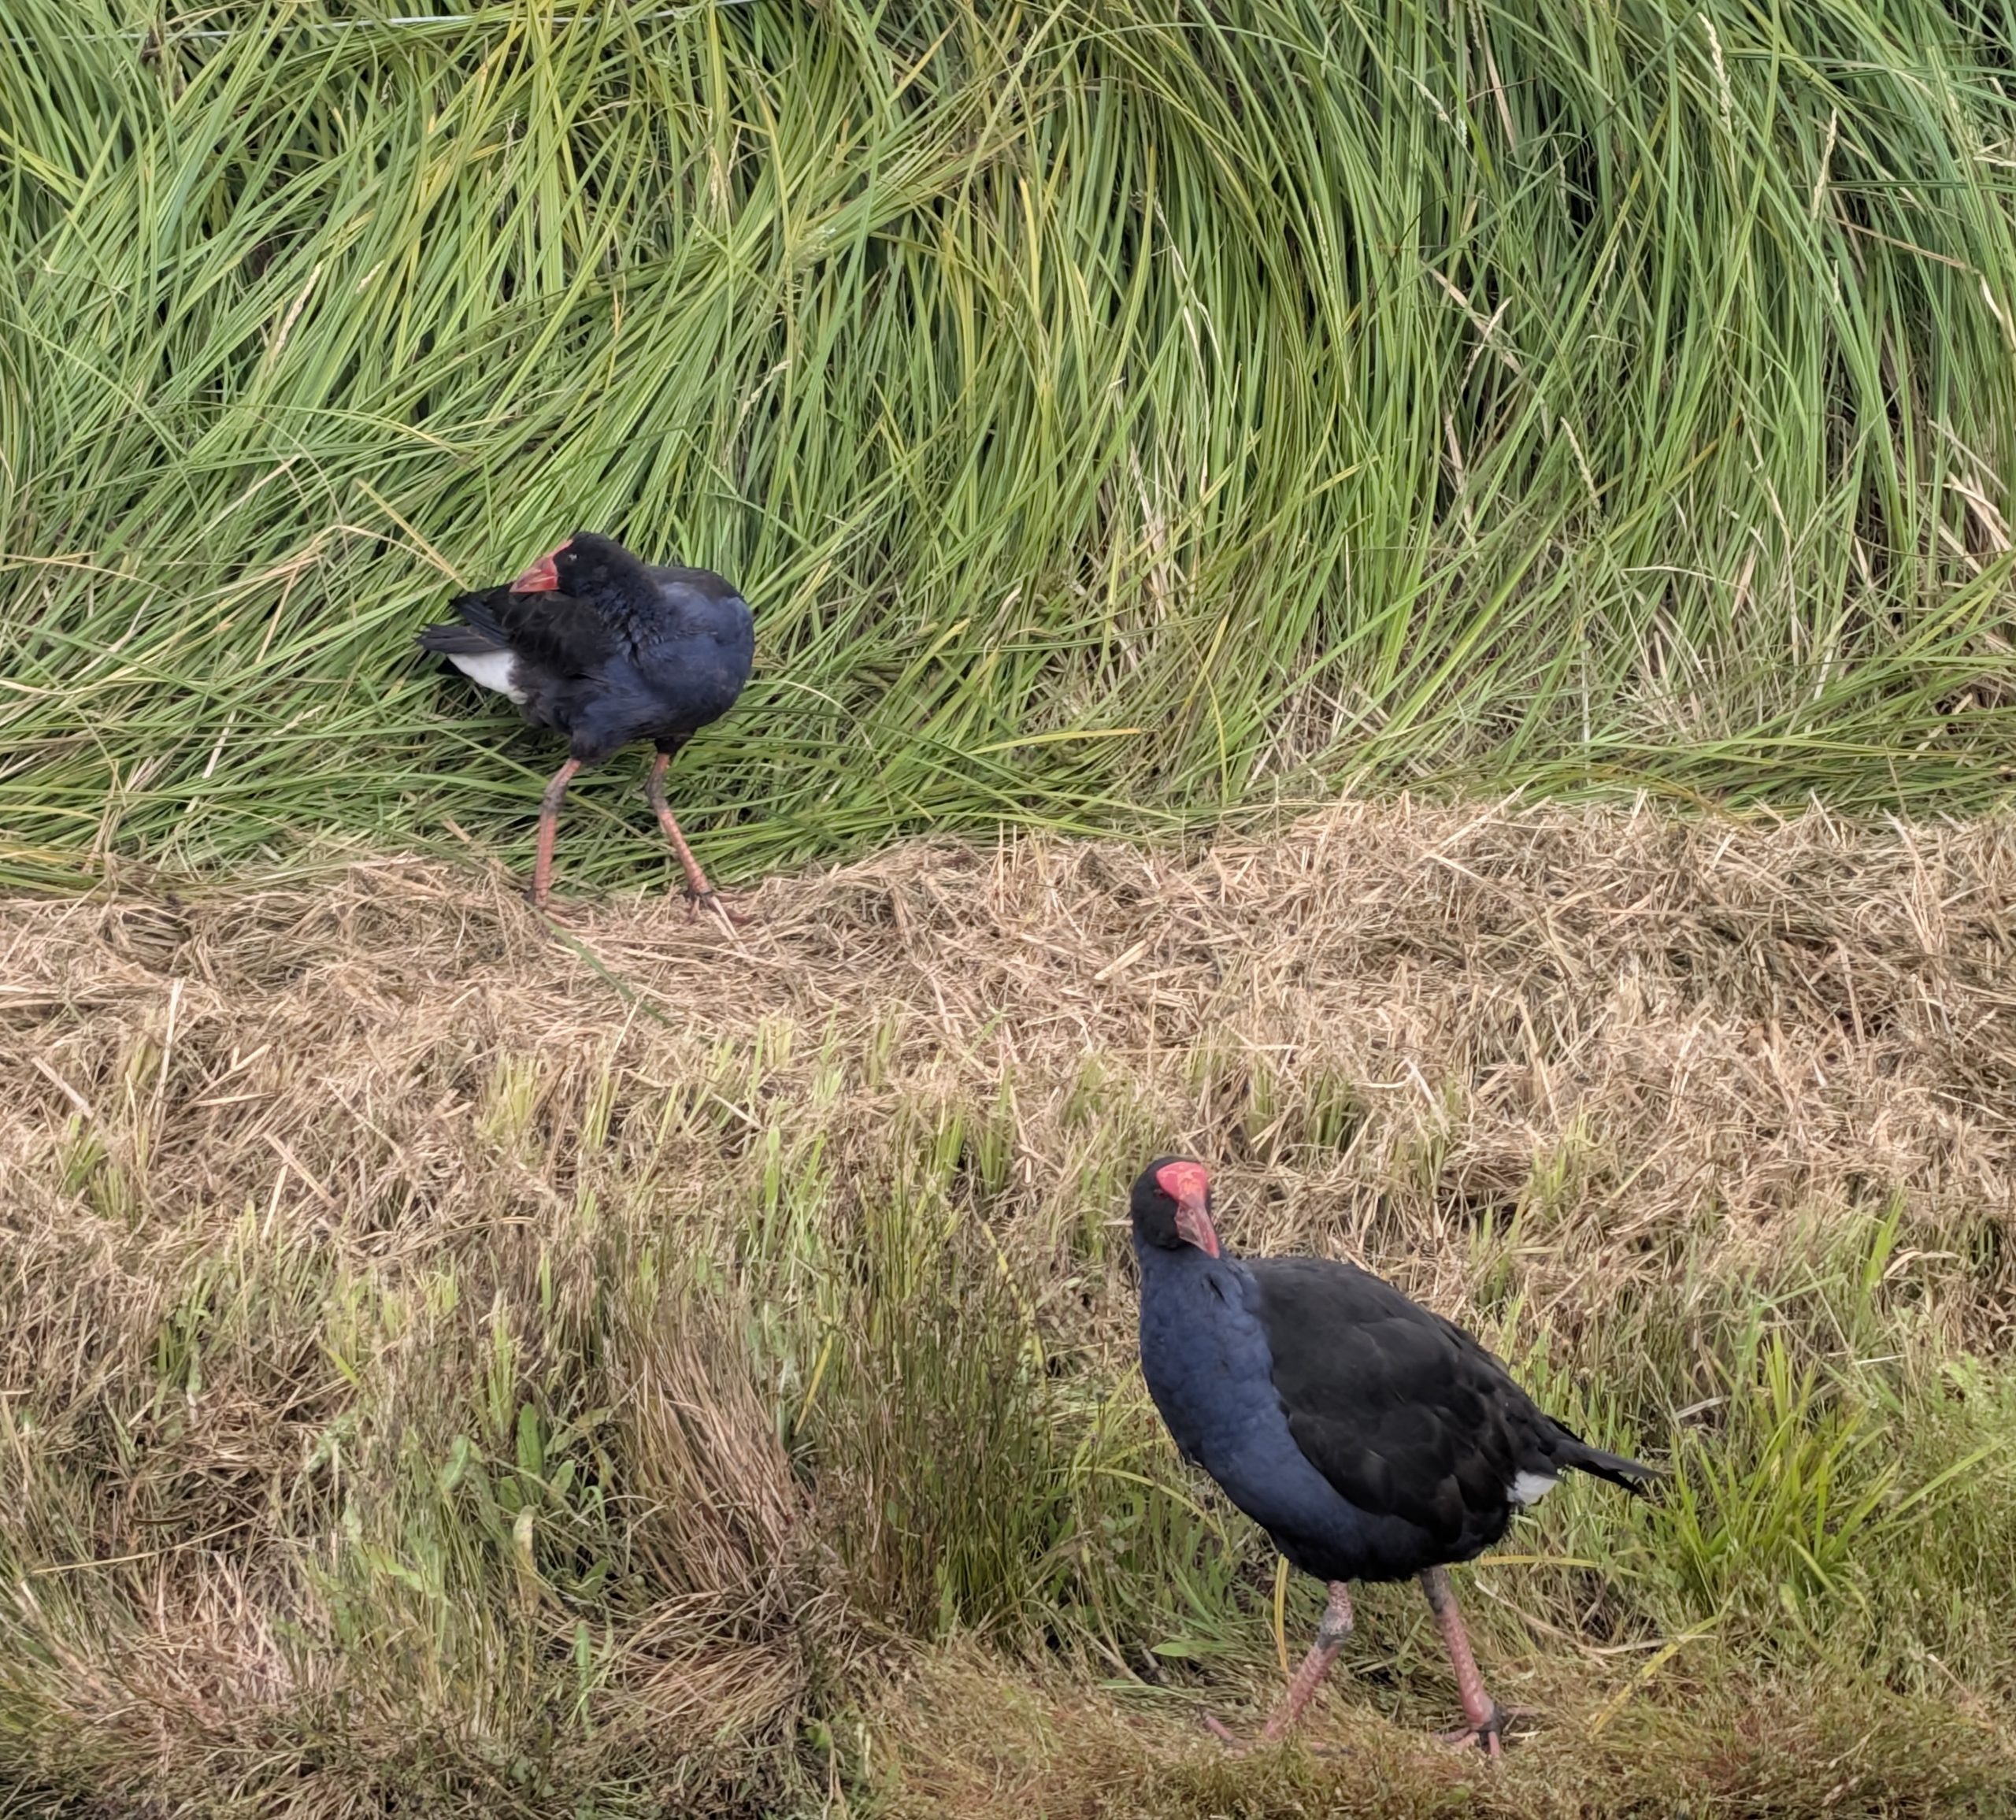
Pūkeko birds
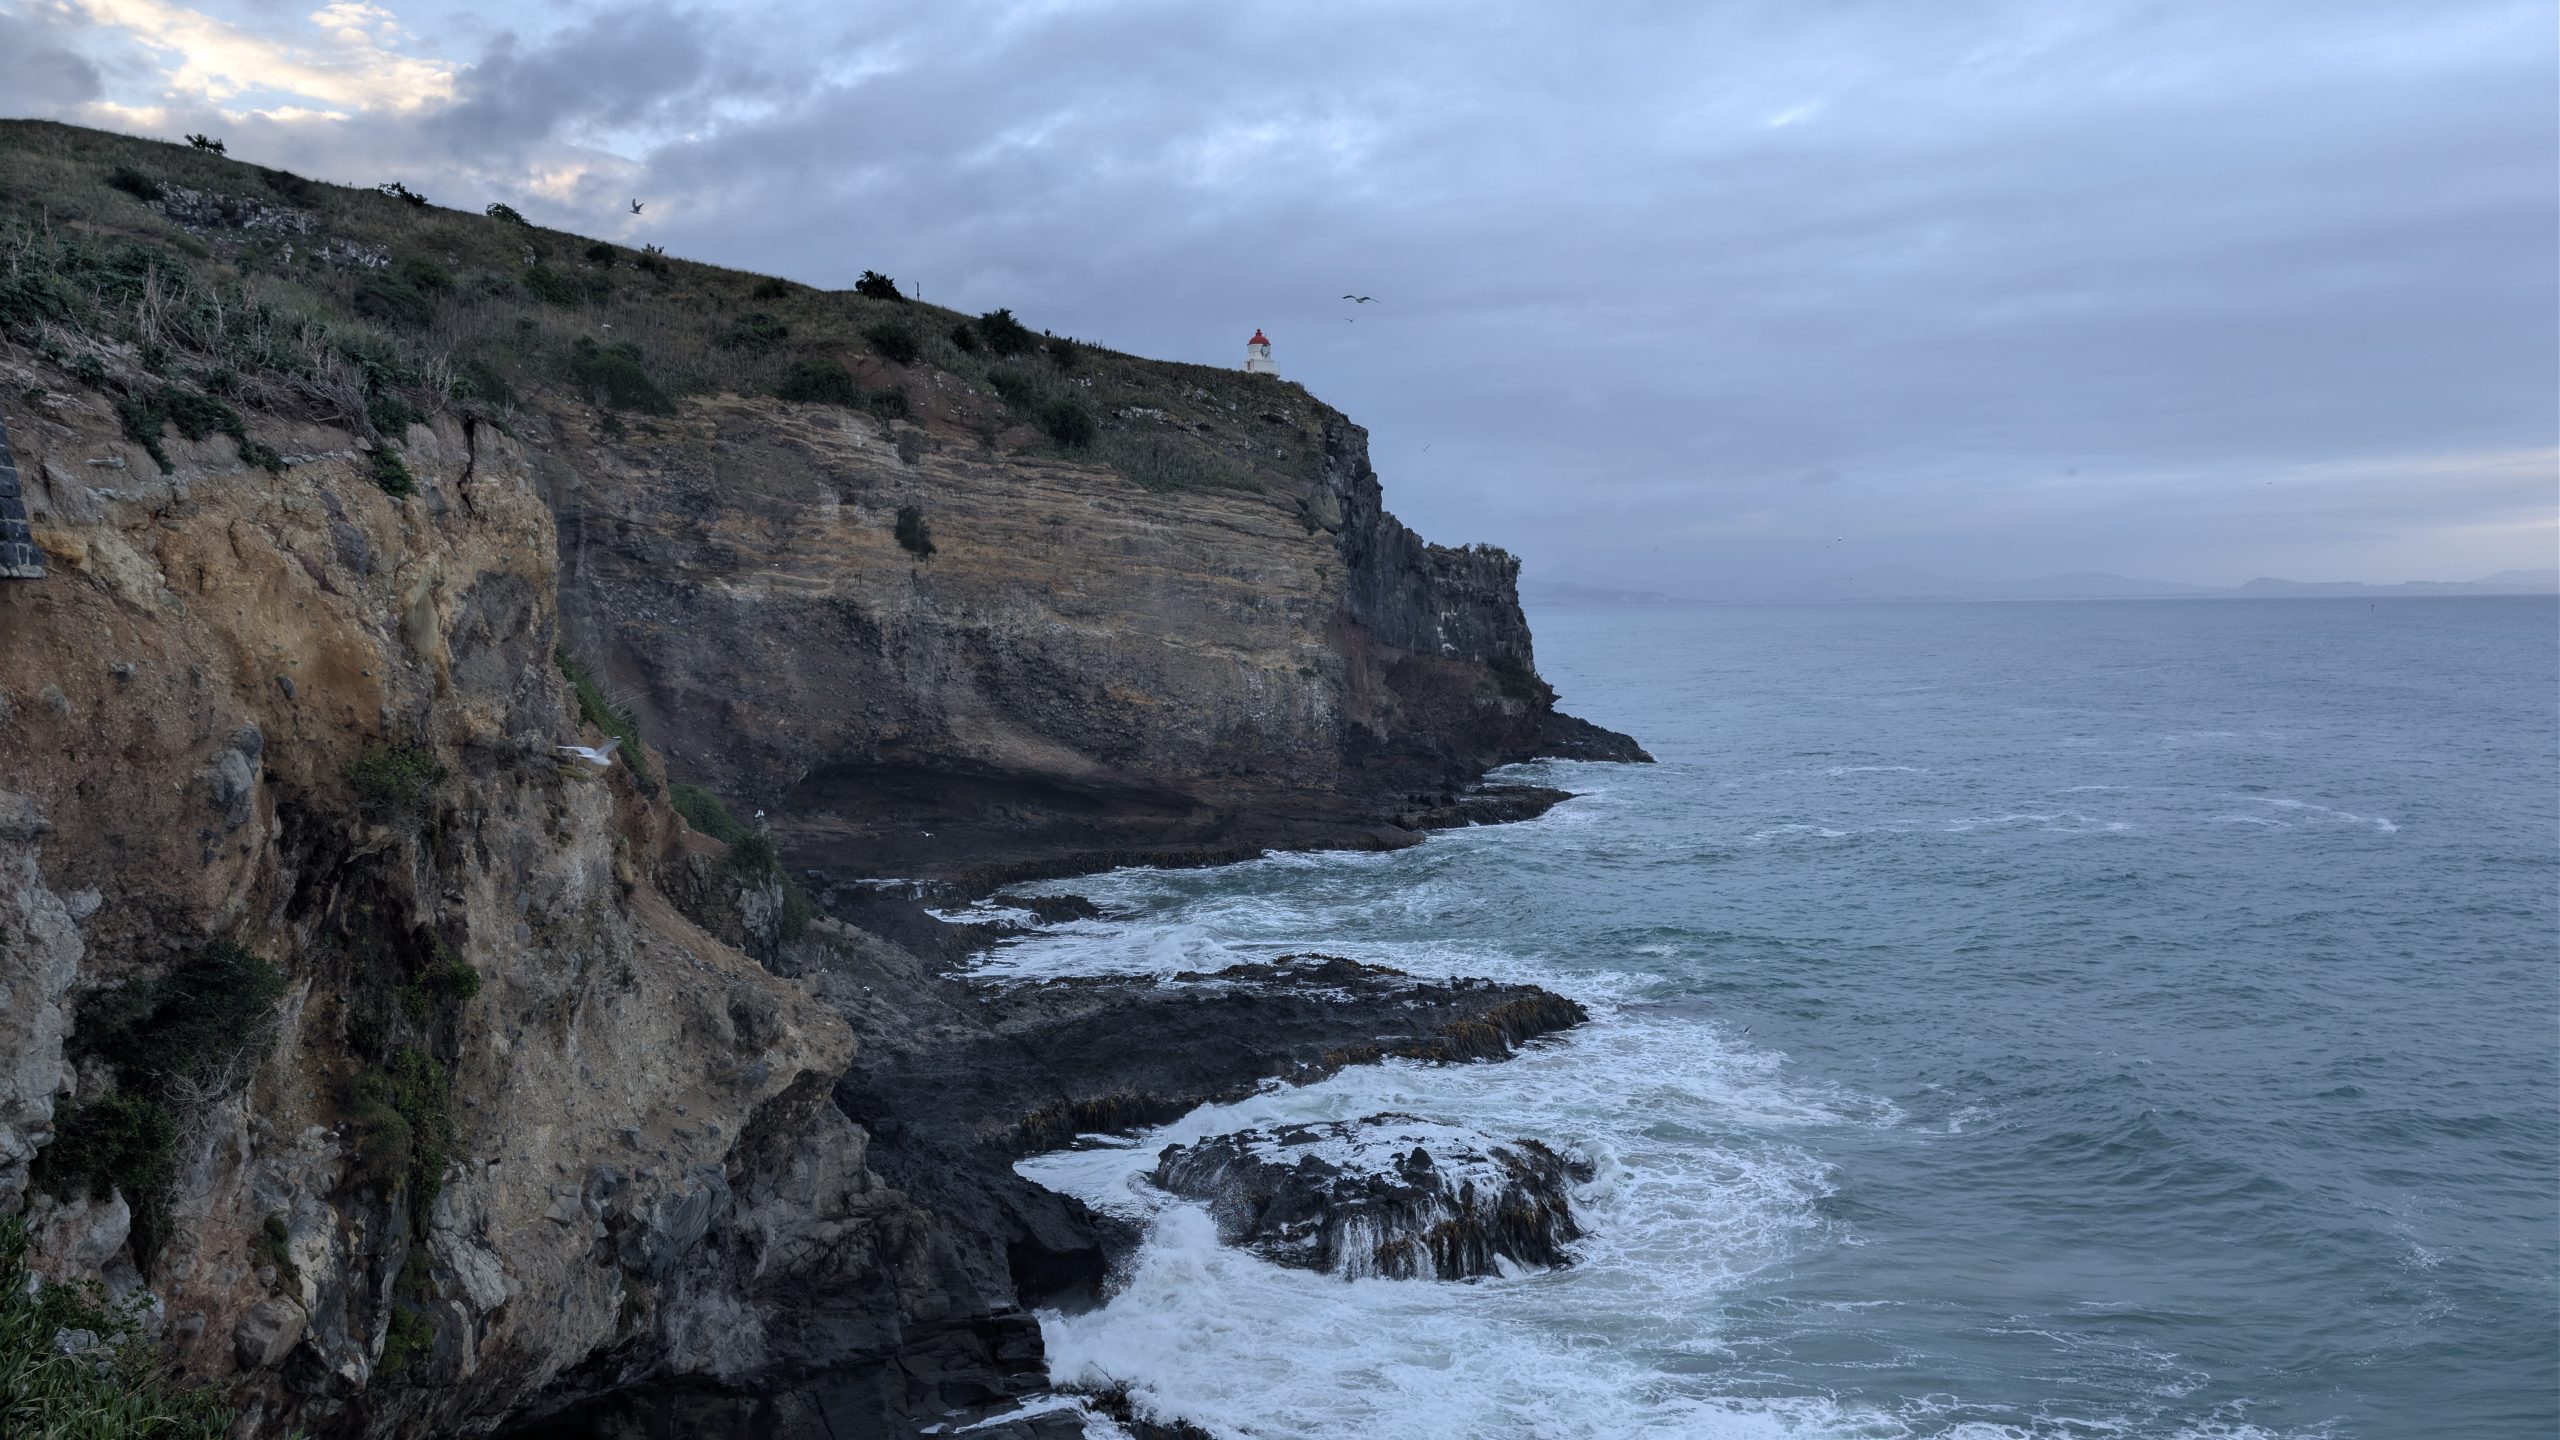
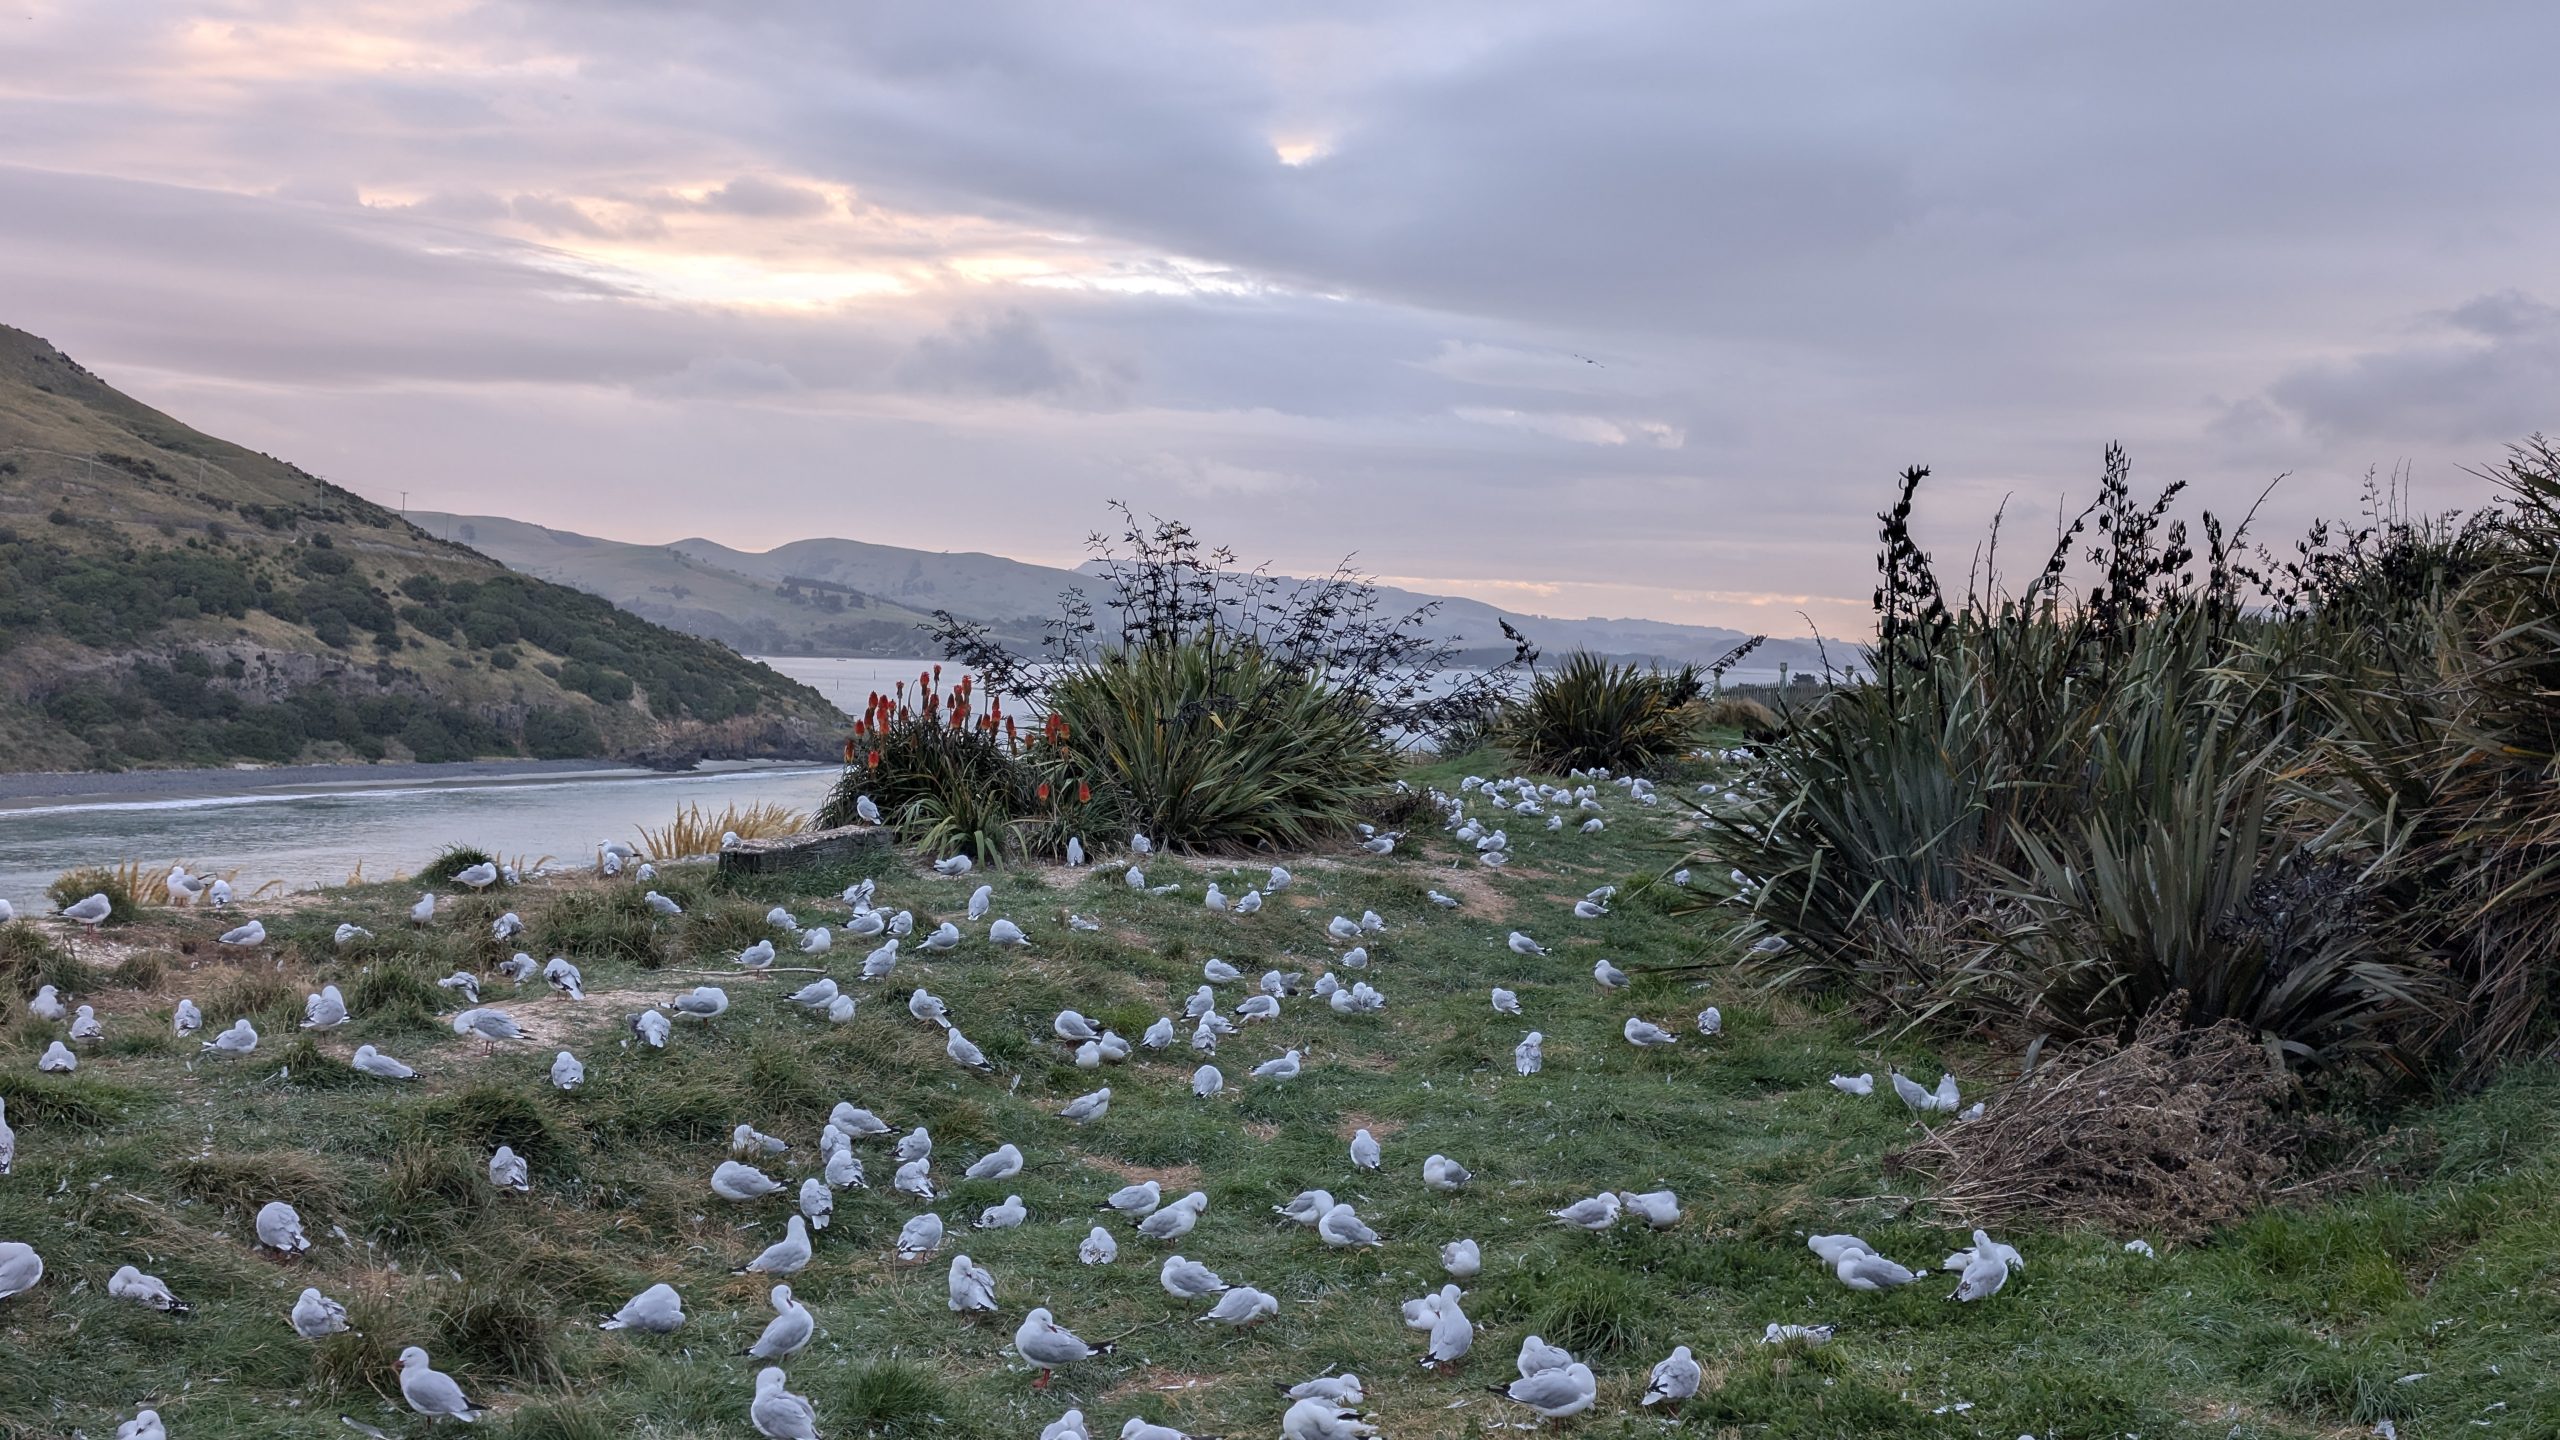
We had time before sunset to explore the area around the Royal Albatross Centre. The winds were calm, so we did not see any albatross (they liked wind). But we saw plenty of gulls. They were noisy and we saw gull poop everywhere
The cliff where we looked for albatrossMany gulls
More gulls
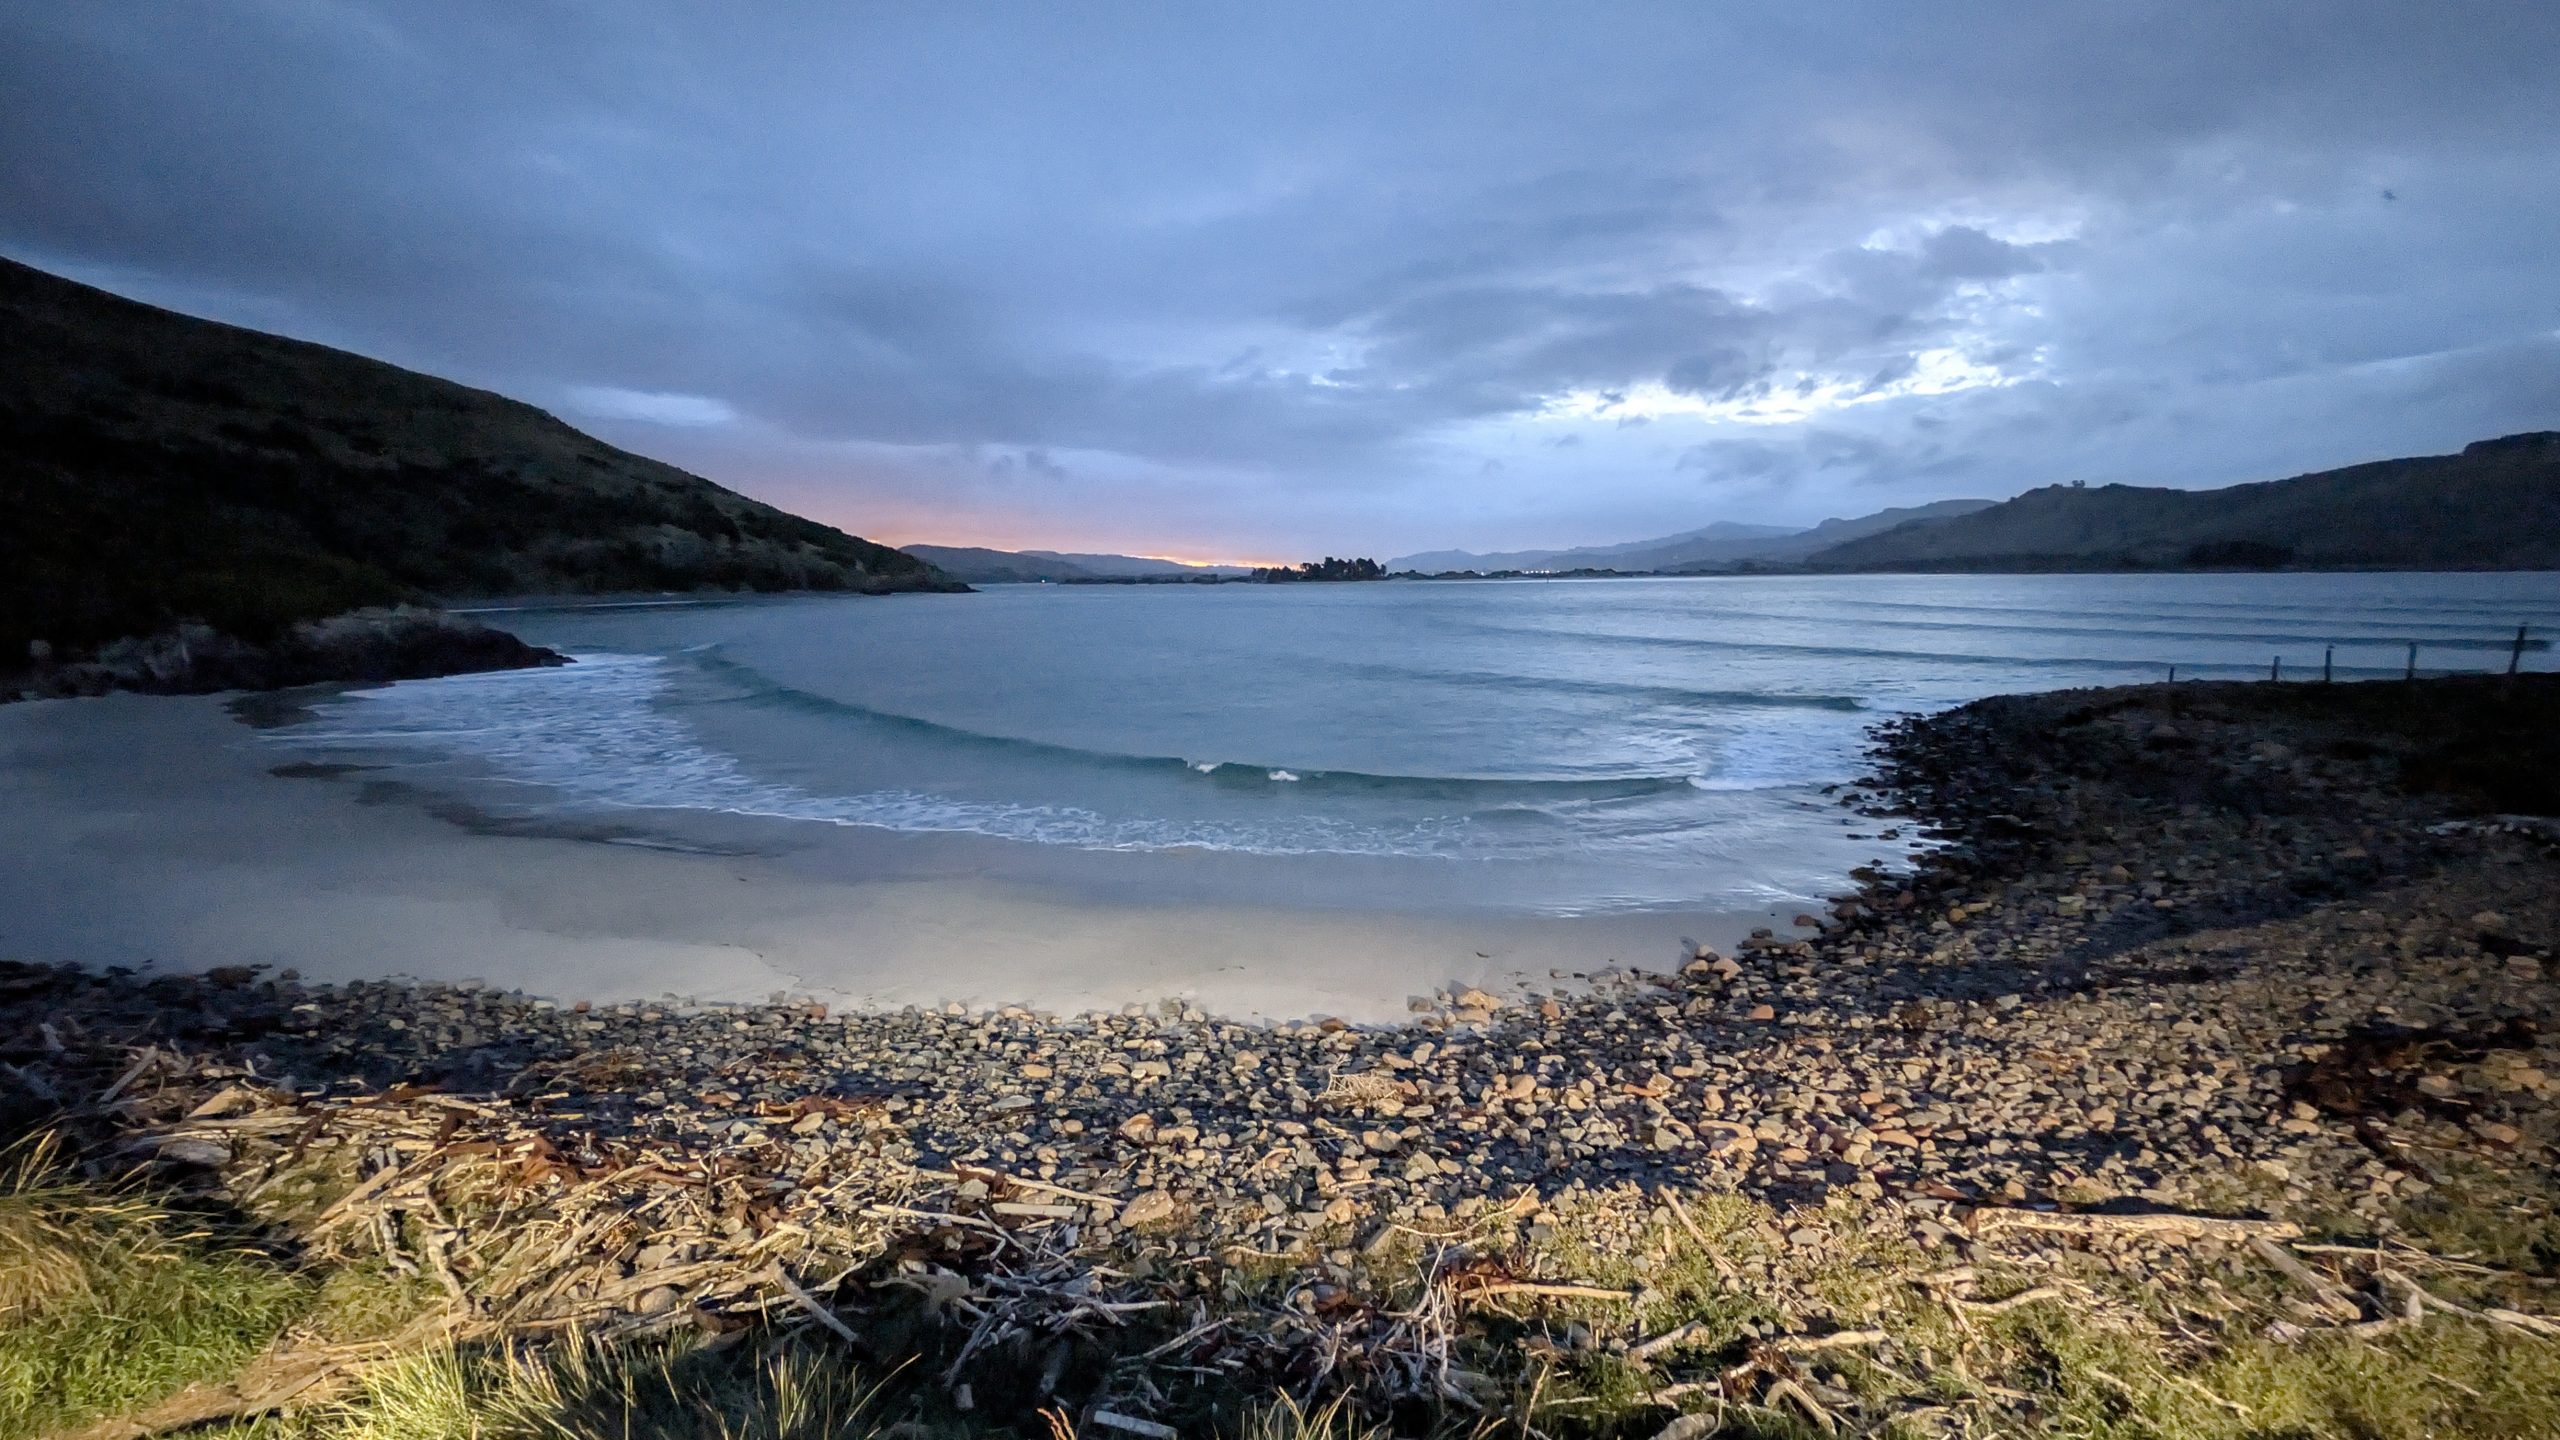
We gathered inside the albatross centre for the start of the penguin experience. First there was a presentation on the penguins, their behavior and what to expect. Then we all walked to the viewing platforms near the beach.
Sunset on the penguin beach
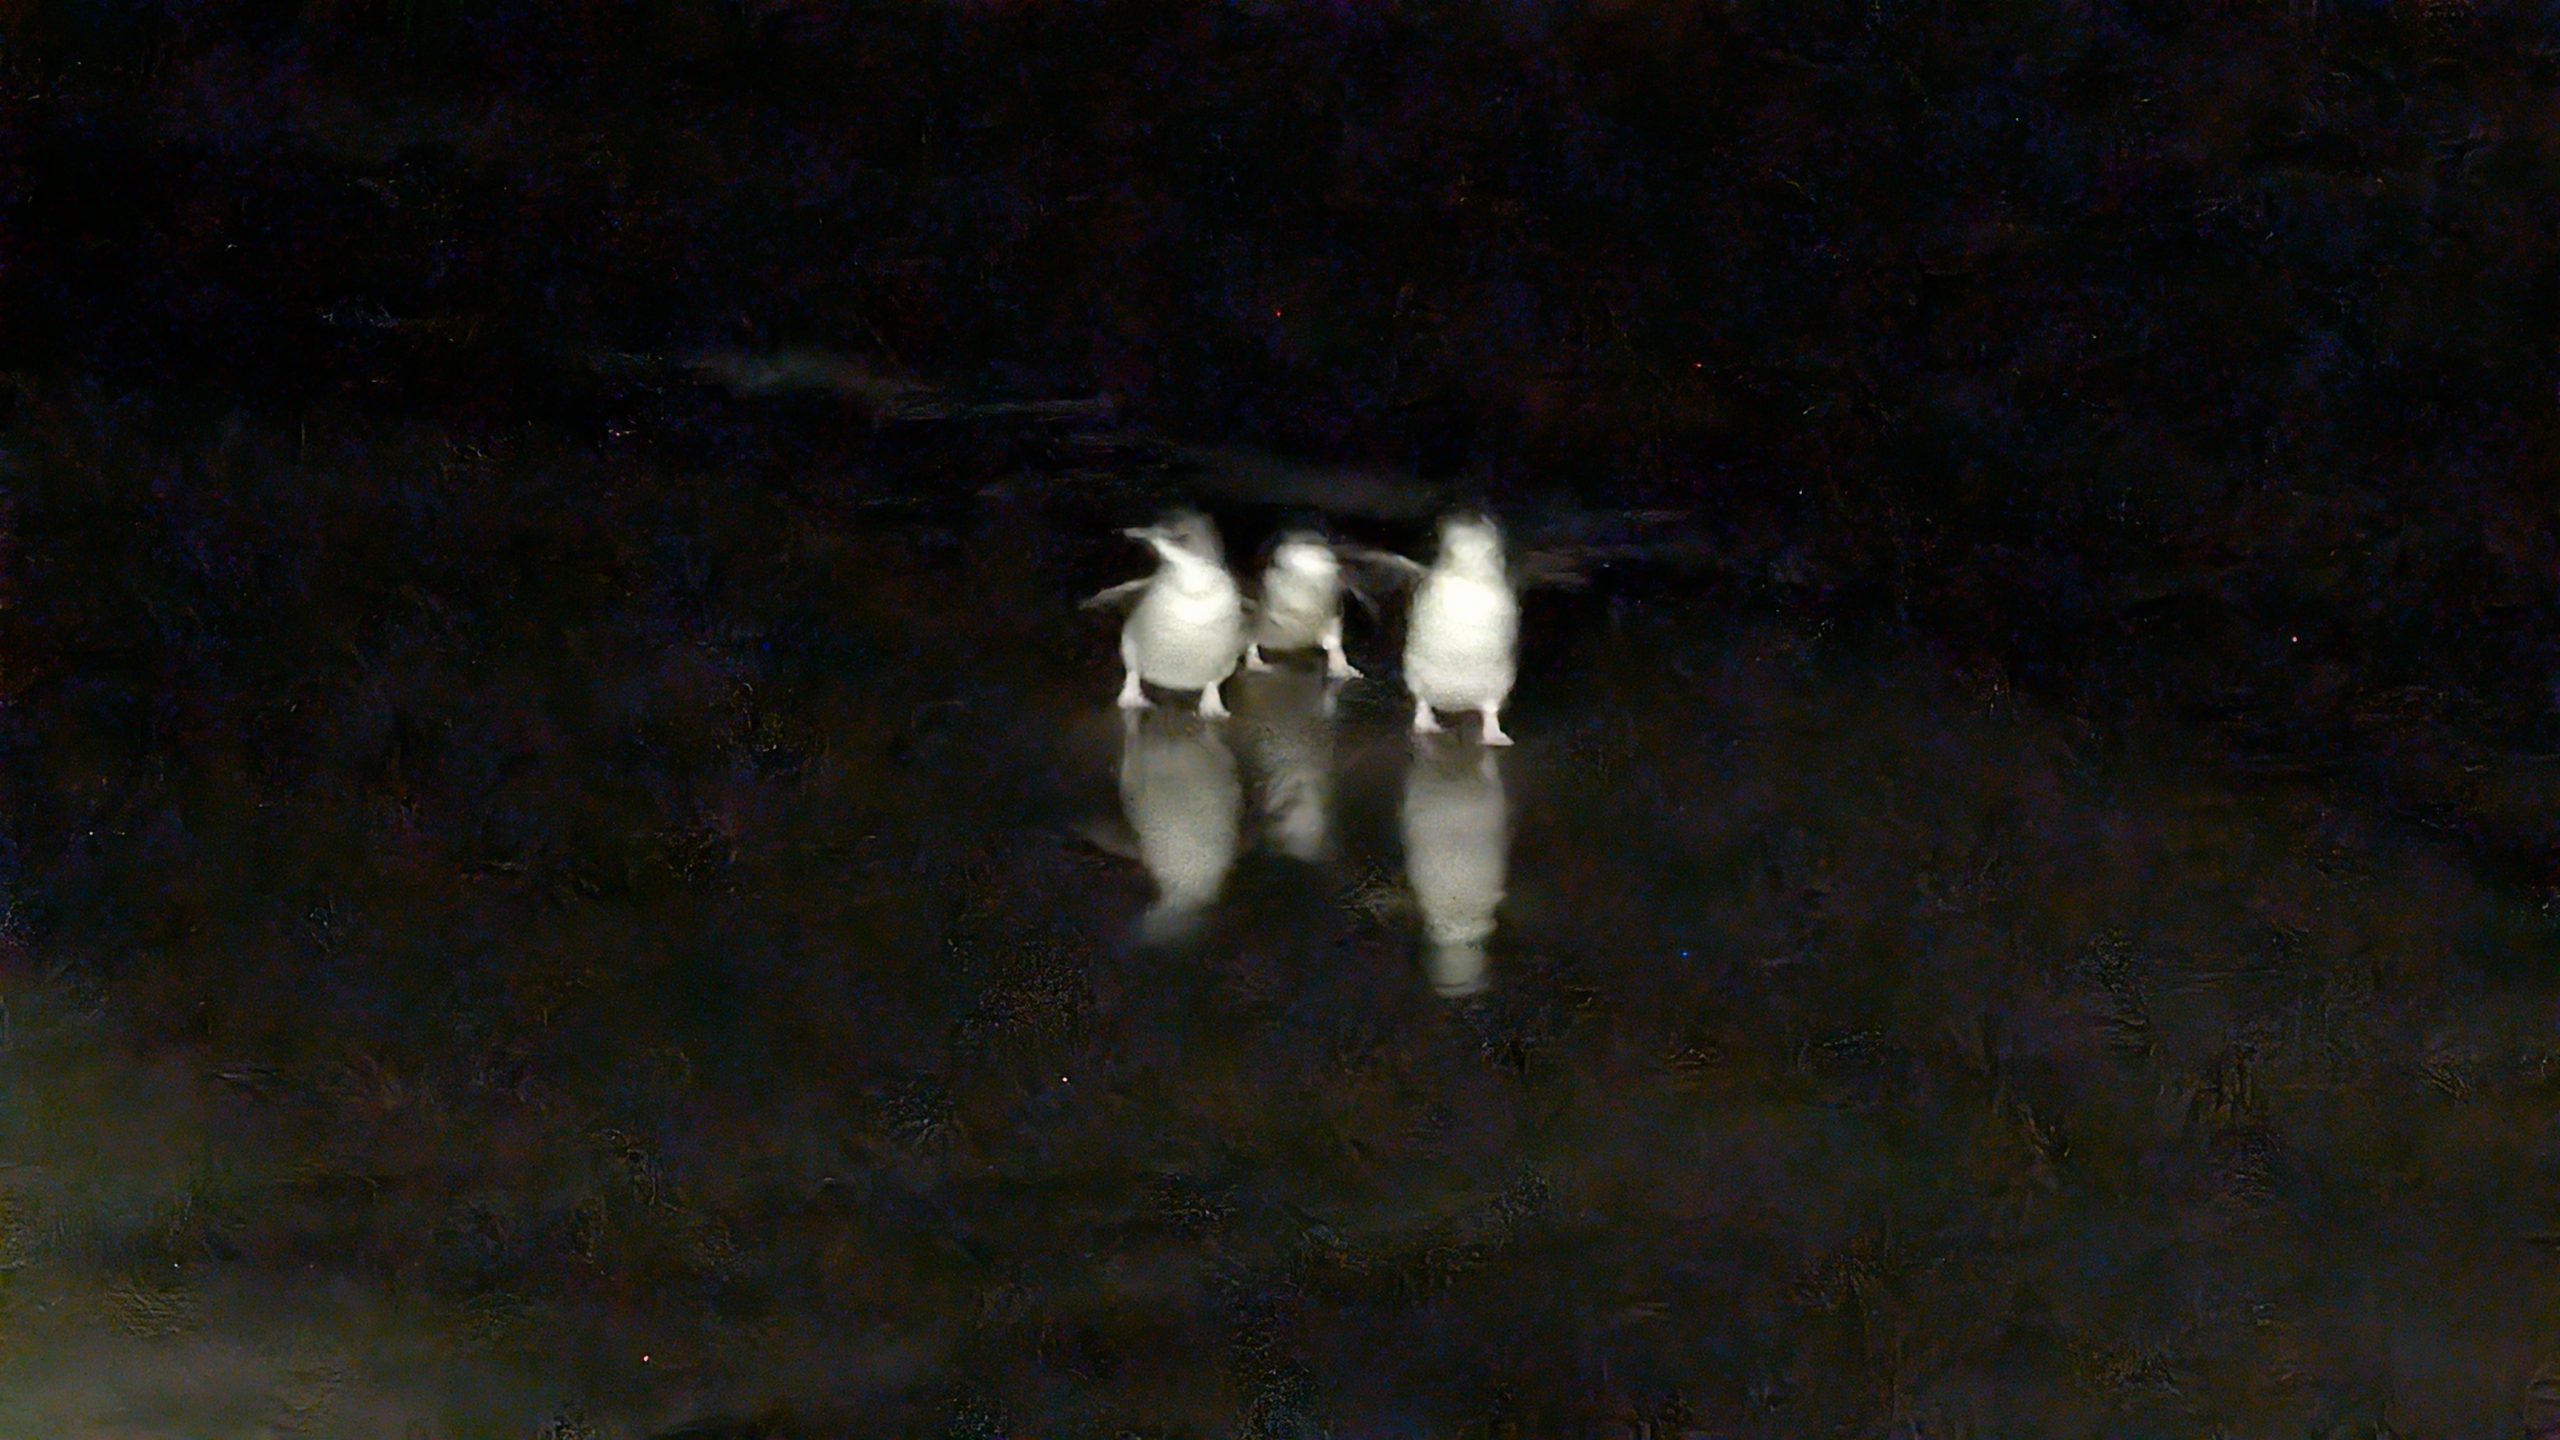
I barely had time to get the camera set up when I spotted the first group of penguins. Their behavior was to gather in a group out at sea close to shore, forming a "raft." Then as a group they swam to shore, forming a "waddle" as they ran across the beach. Then they slowly picked their way up the rocks onto a path that led to their nests.
The guide was suprised that the first group came in so early. After that, we only had to wait a few minutes before another group came in, and another.... and the later groups got quite large. Occasionally we would see a straggler penguin make a go of the shore run by itself. These were referred to as the hero penguins.
The first waddle of penguins
Viewing conditions were very good. Periodically the guide had us switch sides to allow everyone a chance to see the penguins run from the beach as well as waddle up to their nests.
A larger group, viewed from the left side of the platform
Another large group viewed from the right sideA smaller group later in the evening
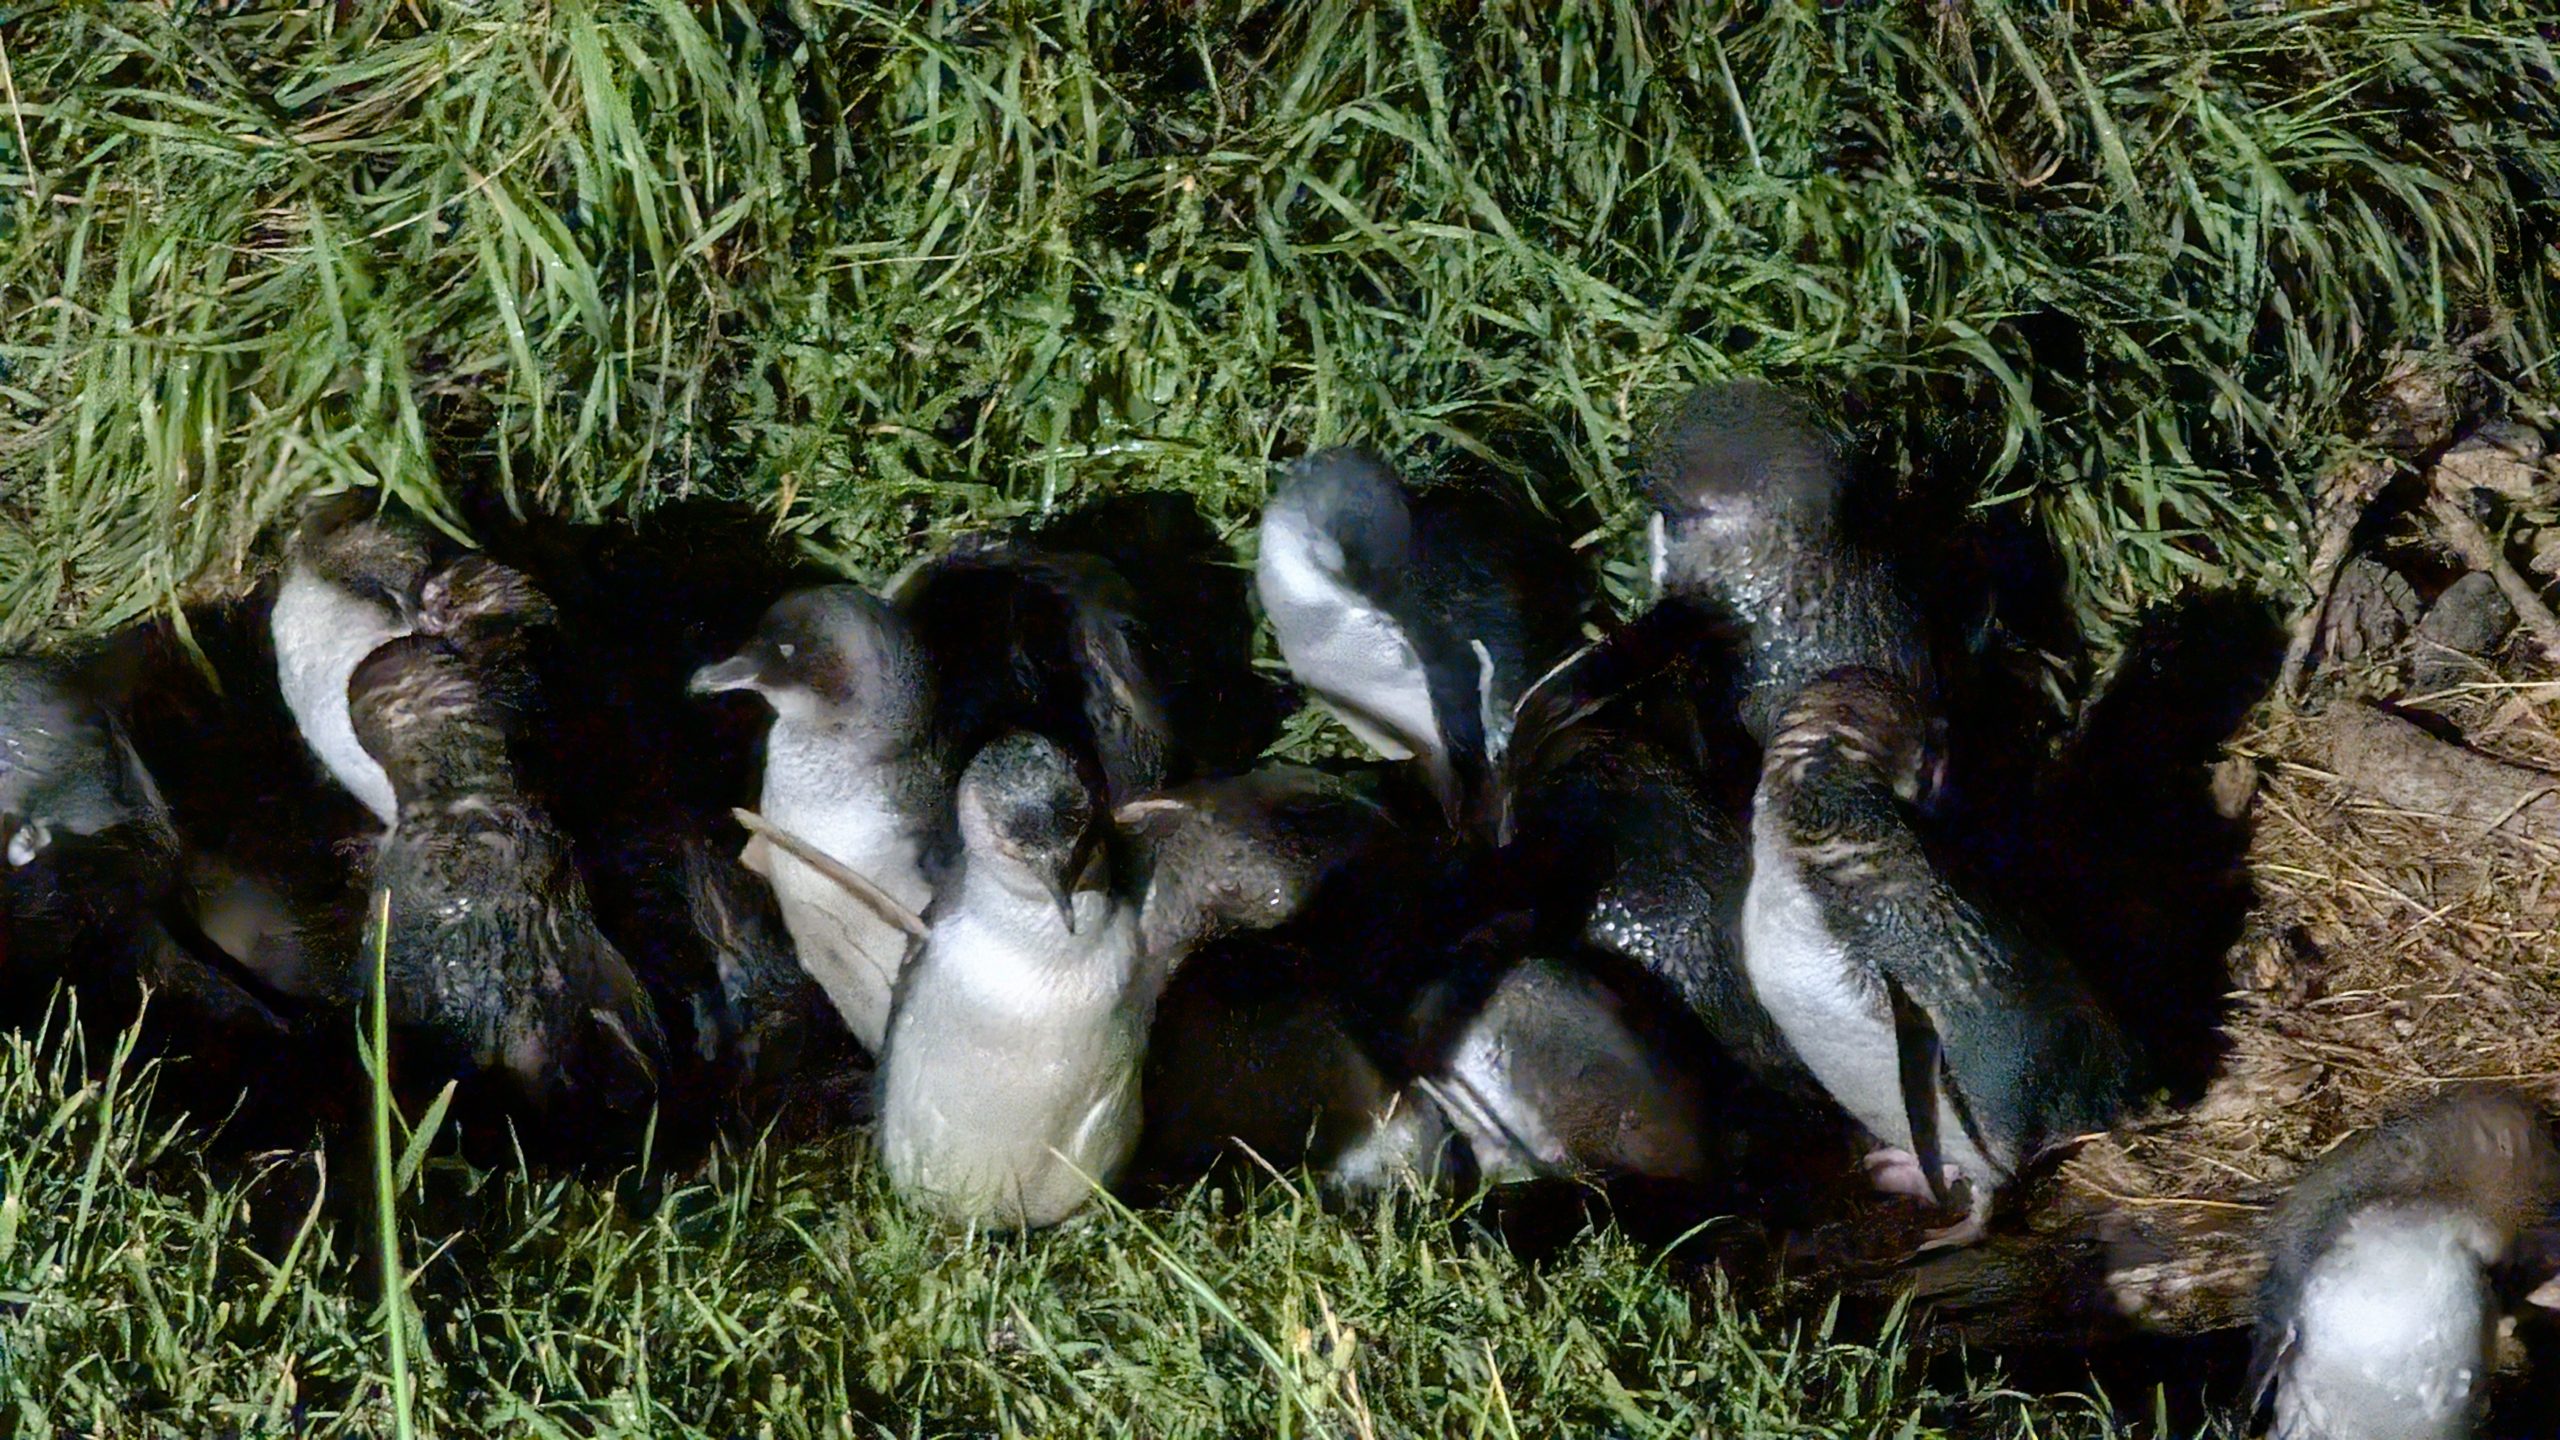
One more groupMaking their way up the pathLounging near their nests
Penguins were still hanging around the area when the lights were turned off. The guide counted over 115 penguins for the evening. This was a very enjoyable experience: the penguins were just so darn cute!
This was a rest day in Te Anau. We were both exhausted from the past few days of non-stop go on the Milford Track where we had to follow the group schedule and had little free time. Heinrich had developed a couple of blisters on his feet during the last couple of miles on the track, so we did not want to do anything to aggravate them. The next day would start another round of get up and get going early with a few short hikes scheduled on tours of the Dunedin area: yet another reason to take it easy.
Weather-wise, it was a very nice day: mostly clear in the morning, and more clouds in the afternoon. The temperature was in the low 70's, a bit humid but otherwise pleasant.
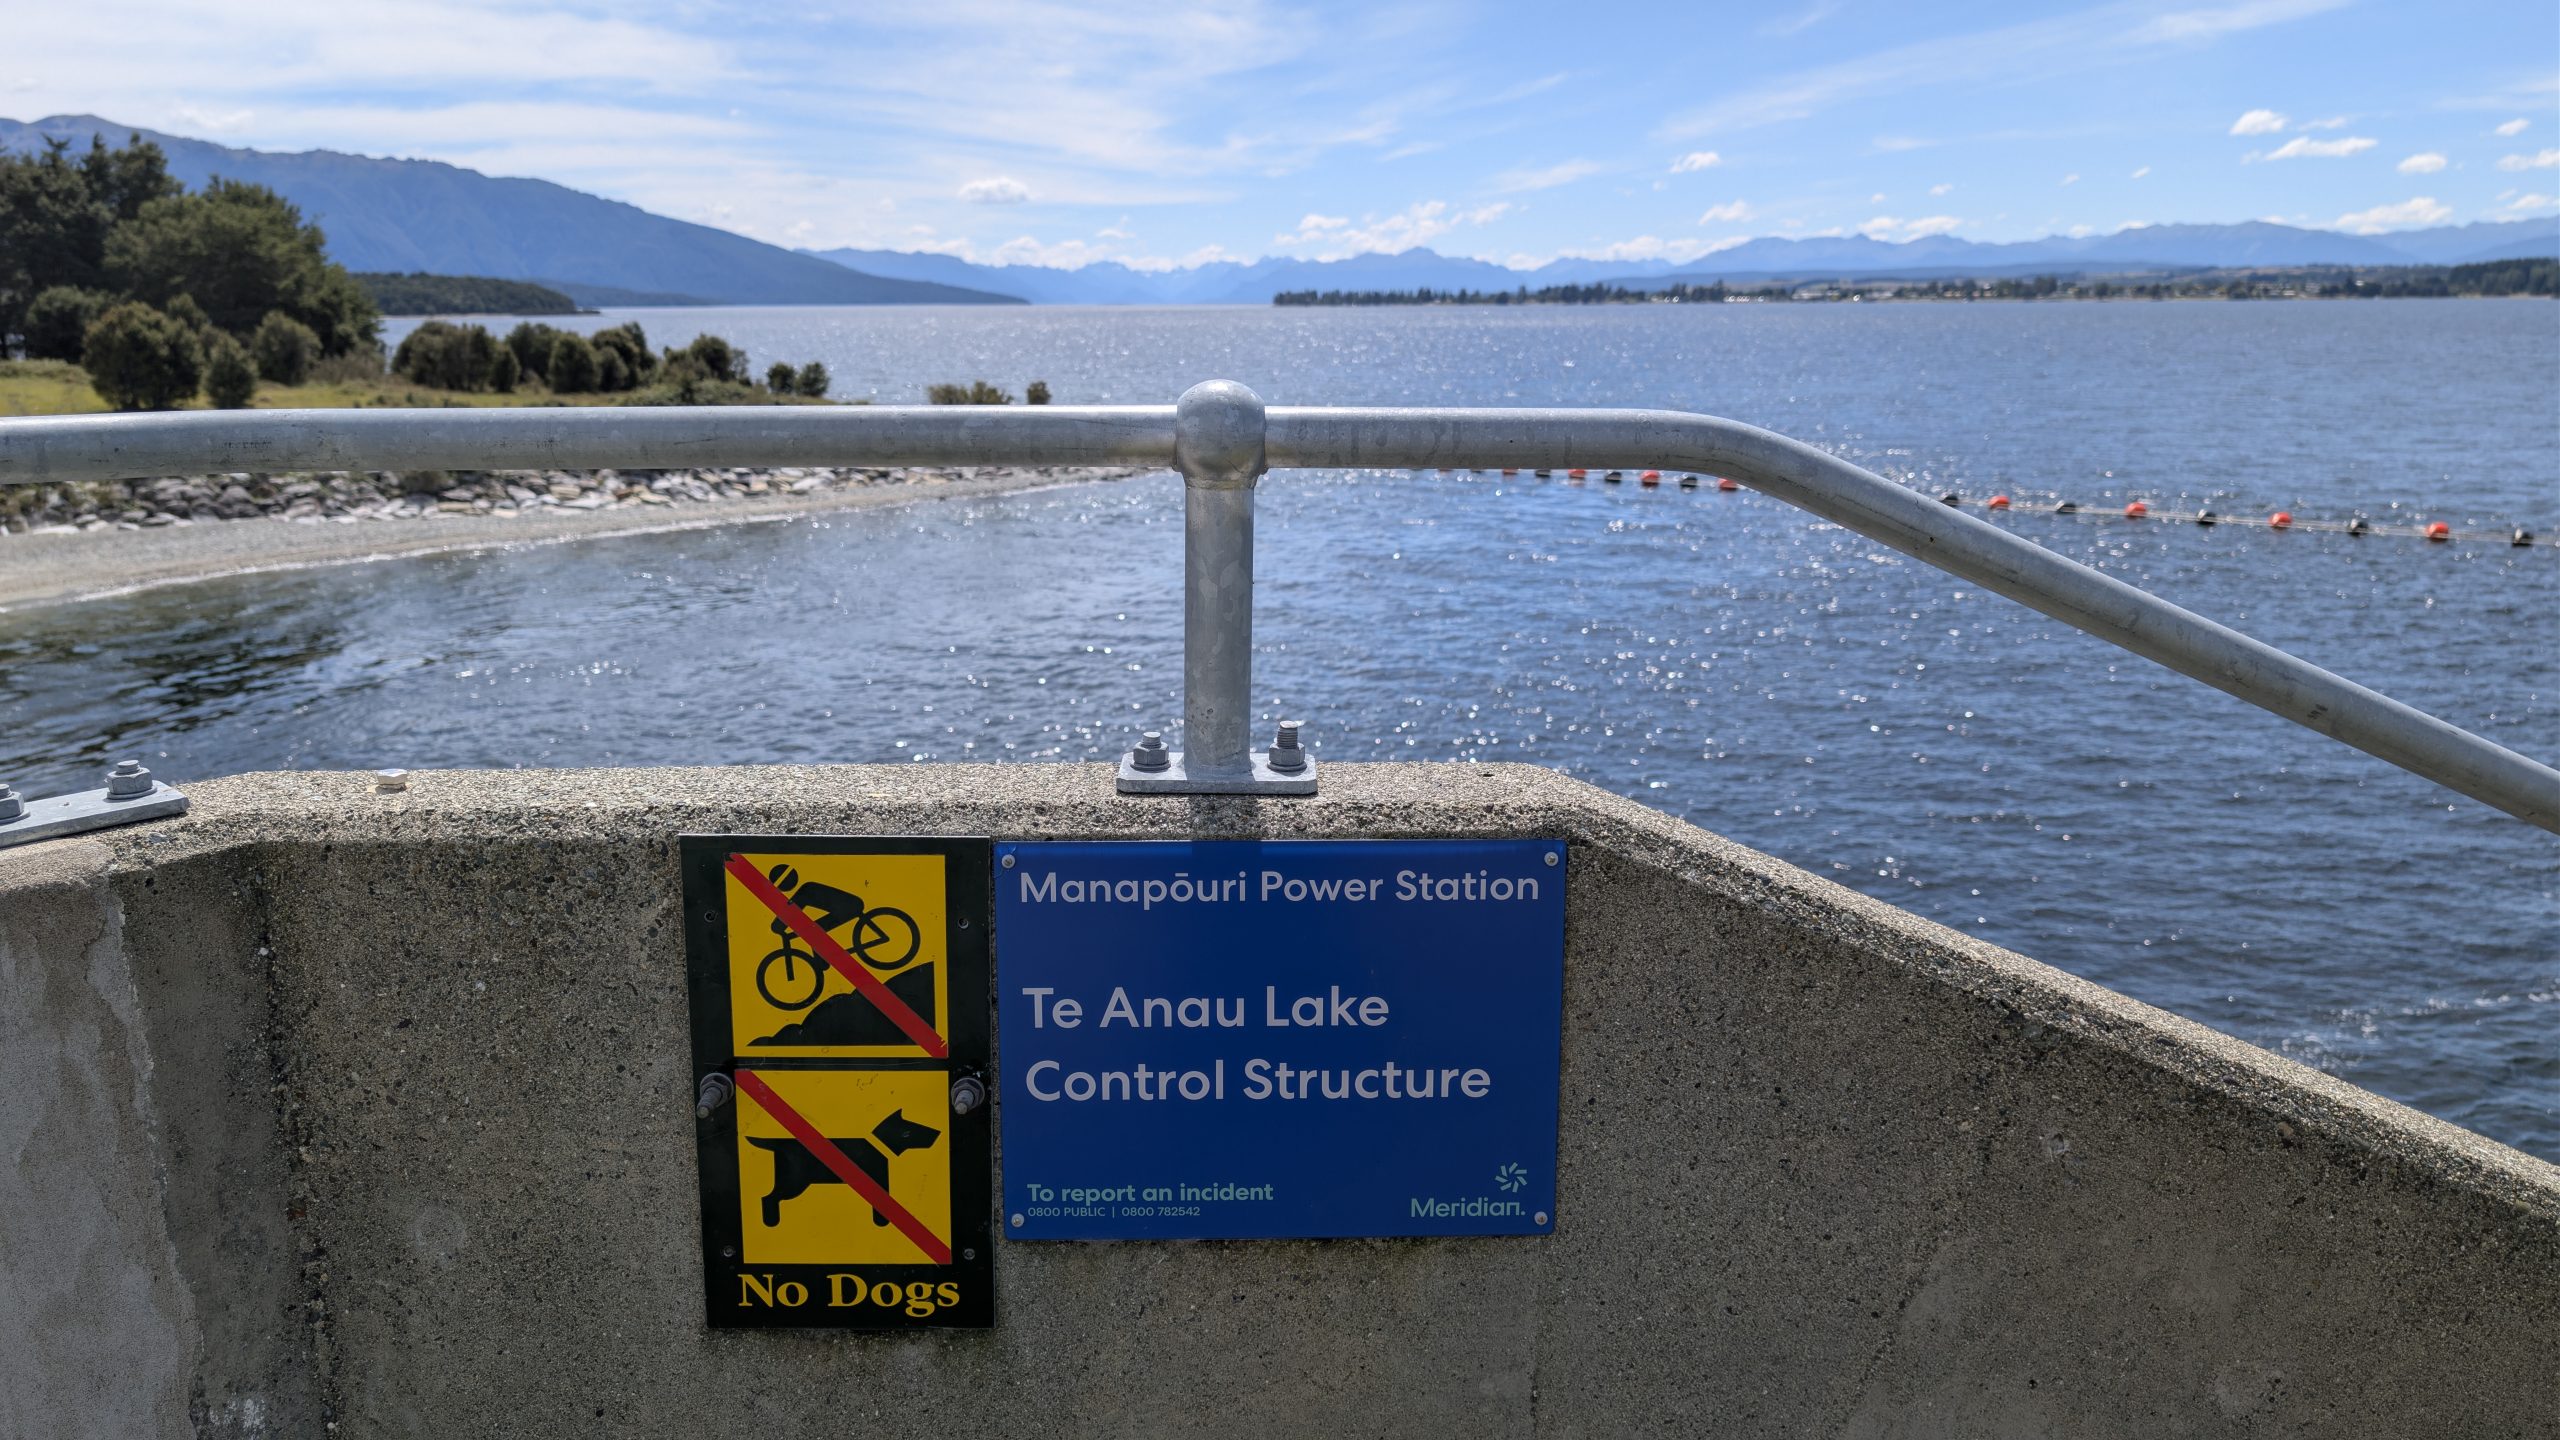
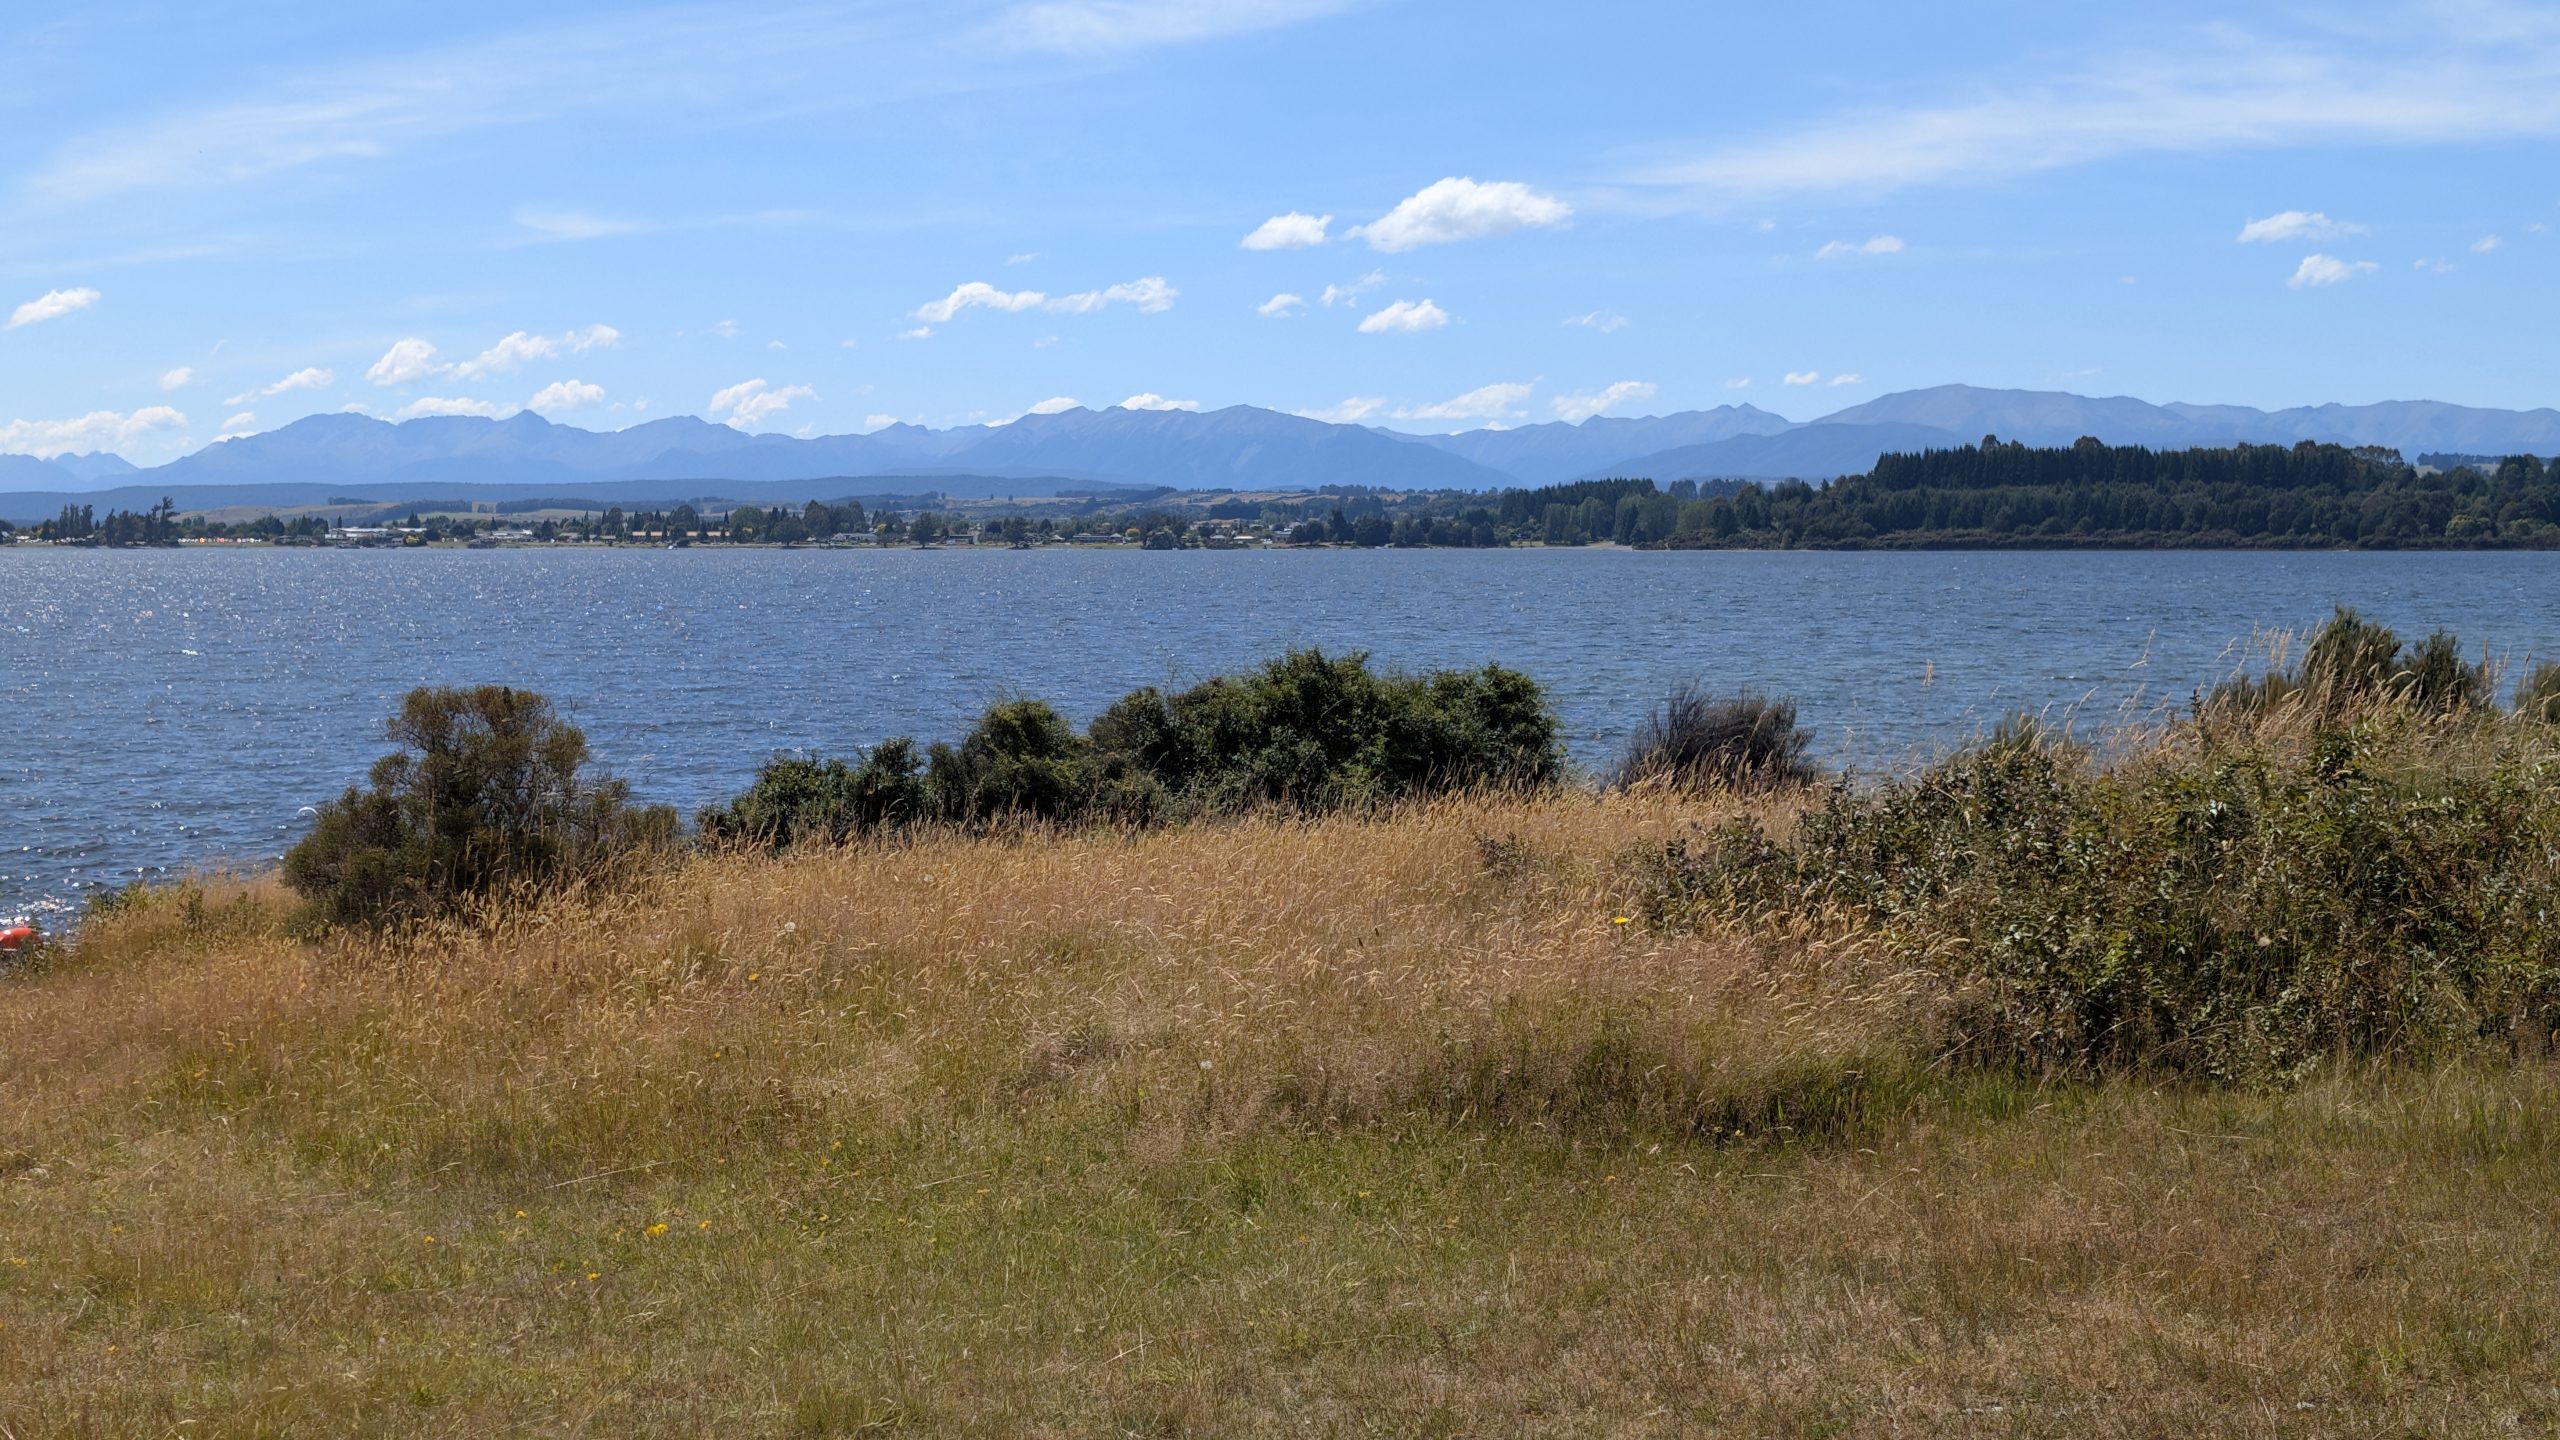
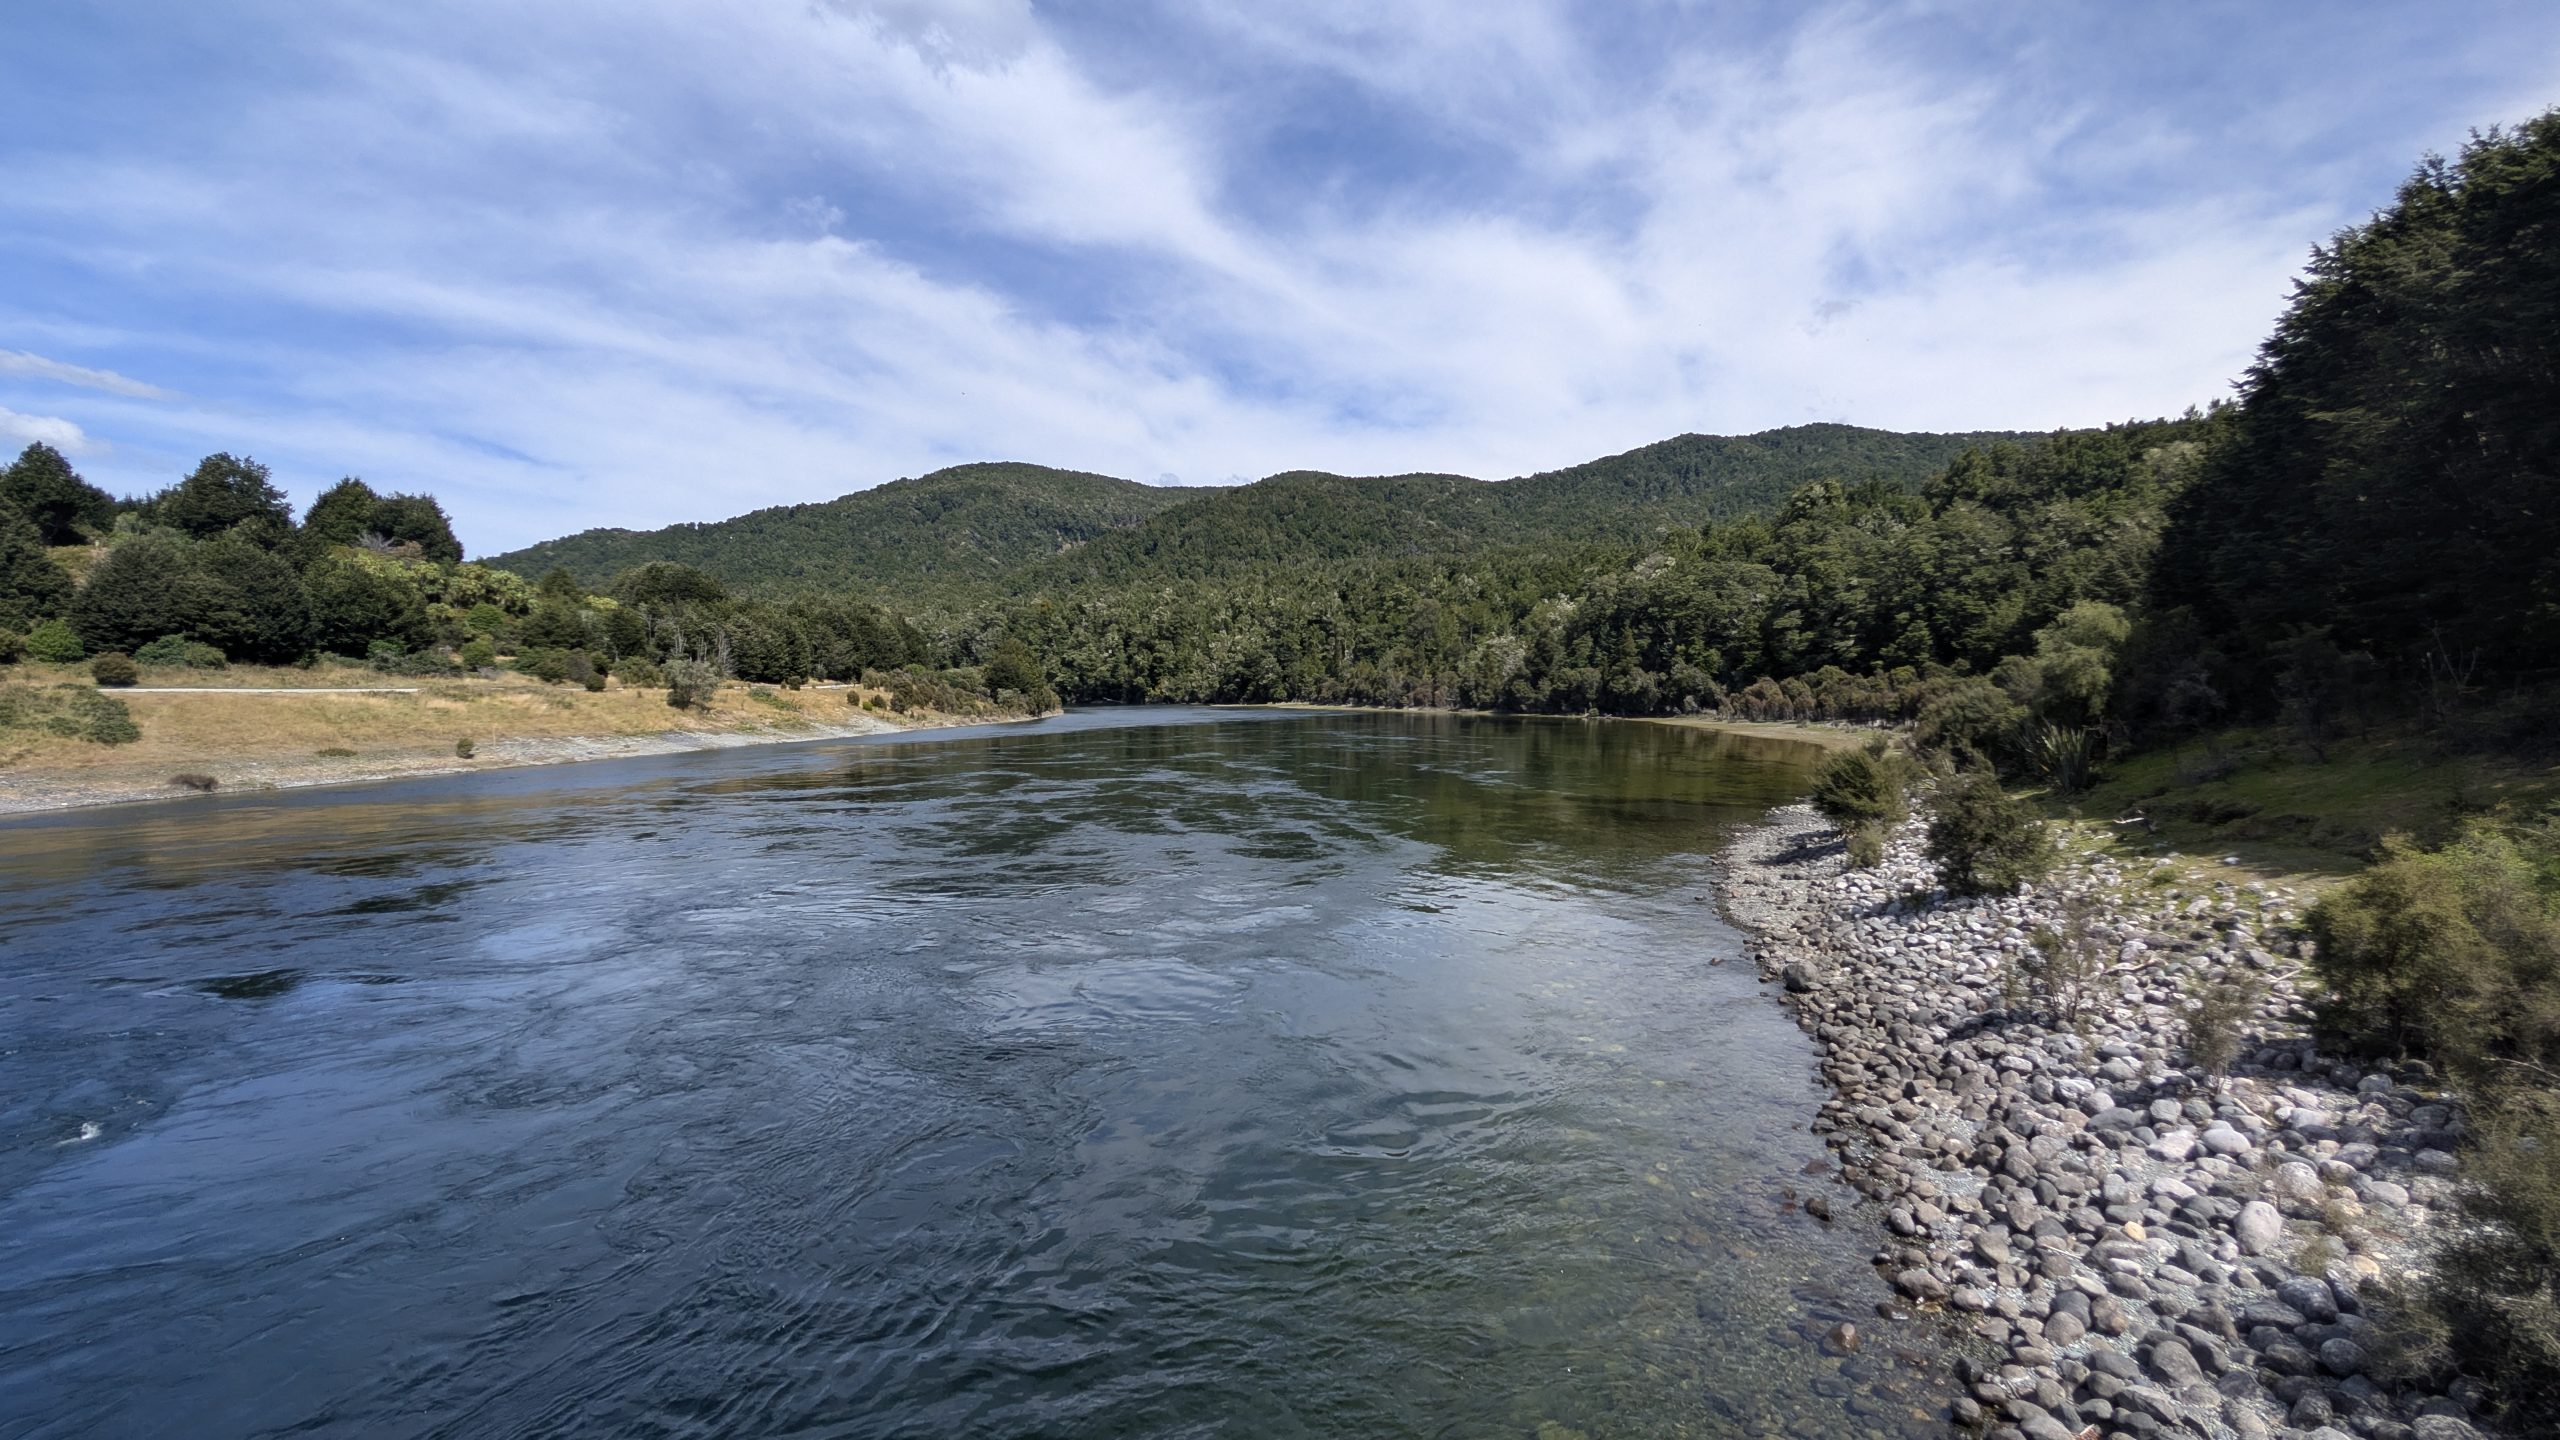
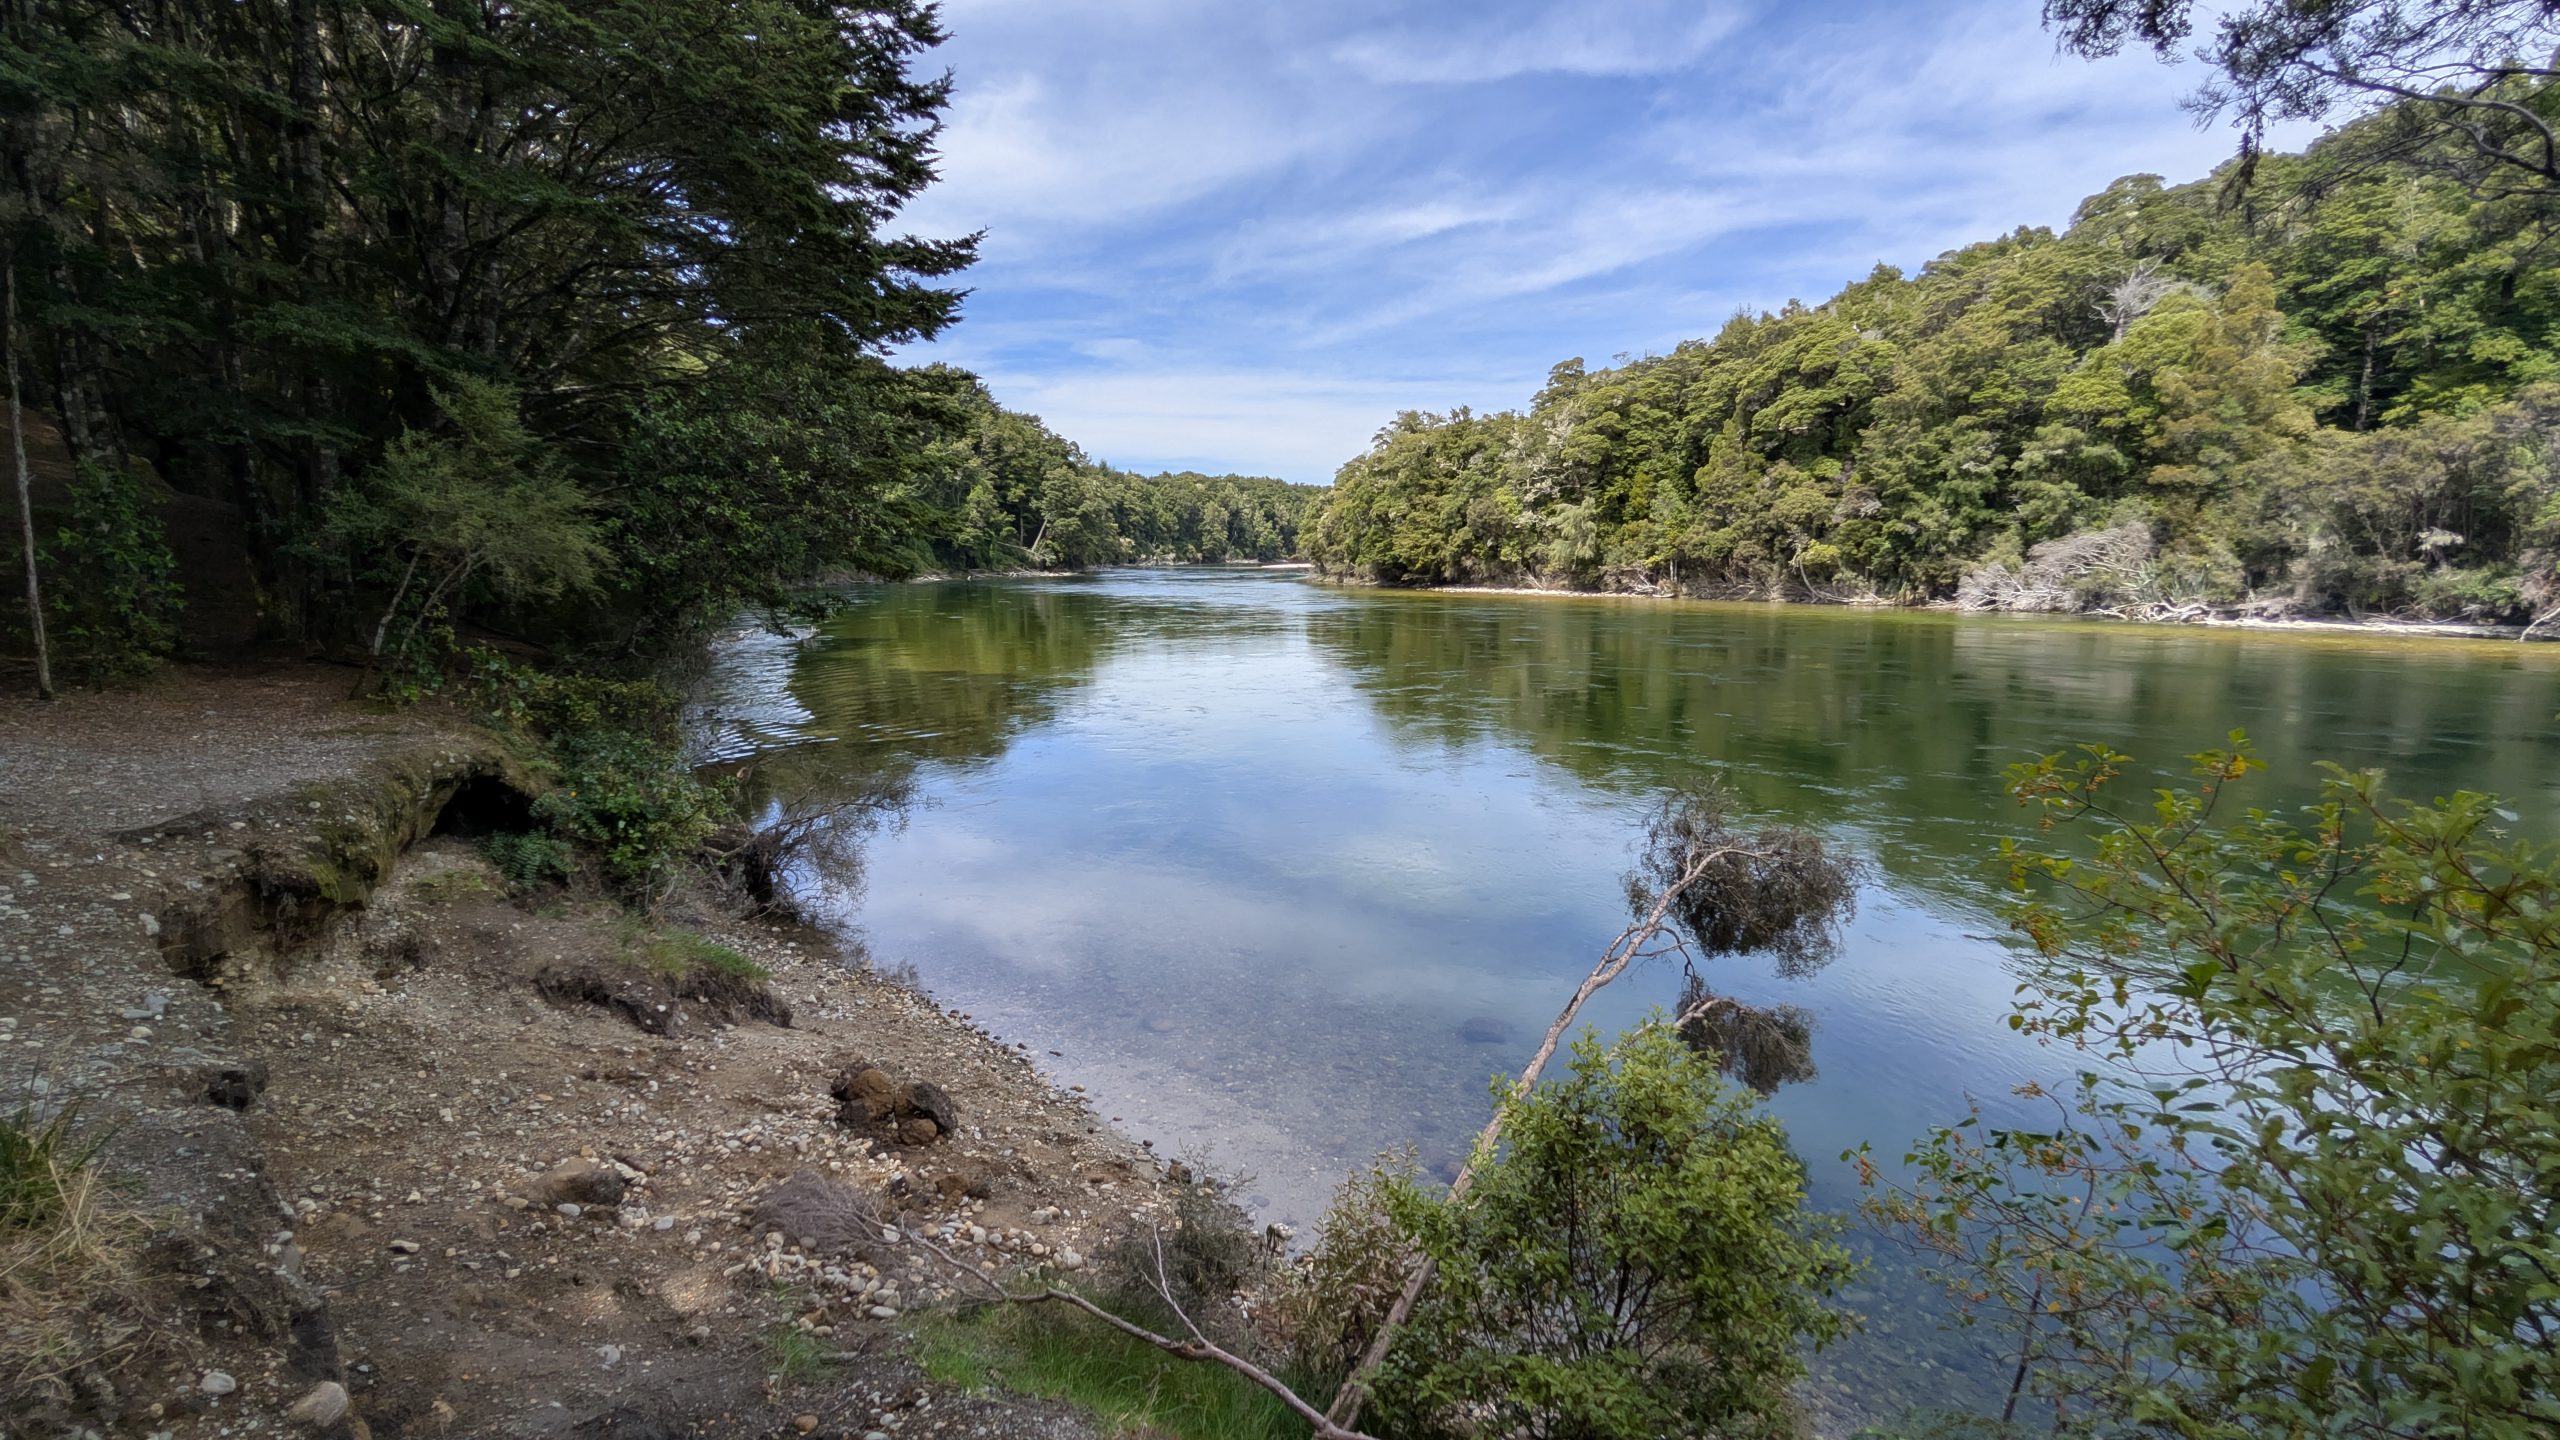
We enjoyed the luxury of sleeping in and then cooked an egg and potato breakfast. In the afternoon we took a short drive to the Te Anau Lake control structure, where the water from Lake Te Anau emptied into the Waiau River. This was also an access point for the Kepler Track, another one of the great walks in New Zealand.
Lake Te Anau view from the control structureView toward the town of Te AnauLake Te Anau and the mouth of the Waiau RiverWaiau River, looking downstream
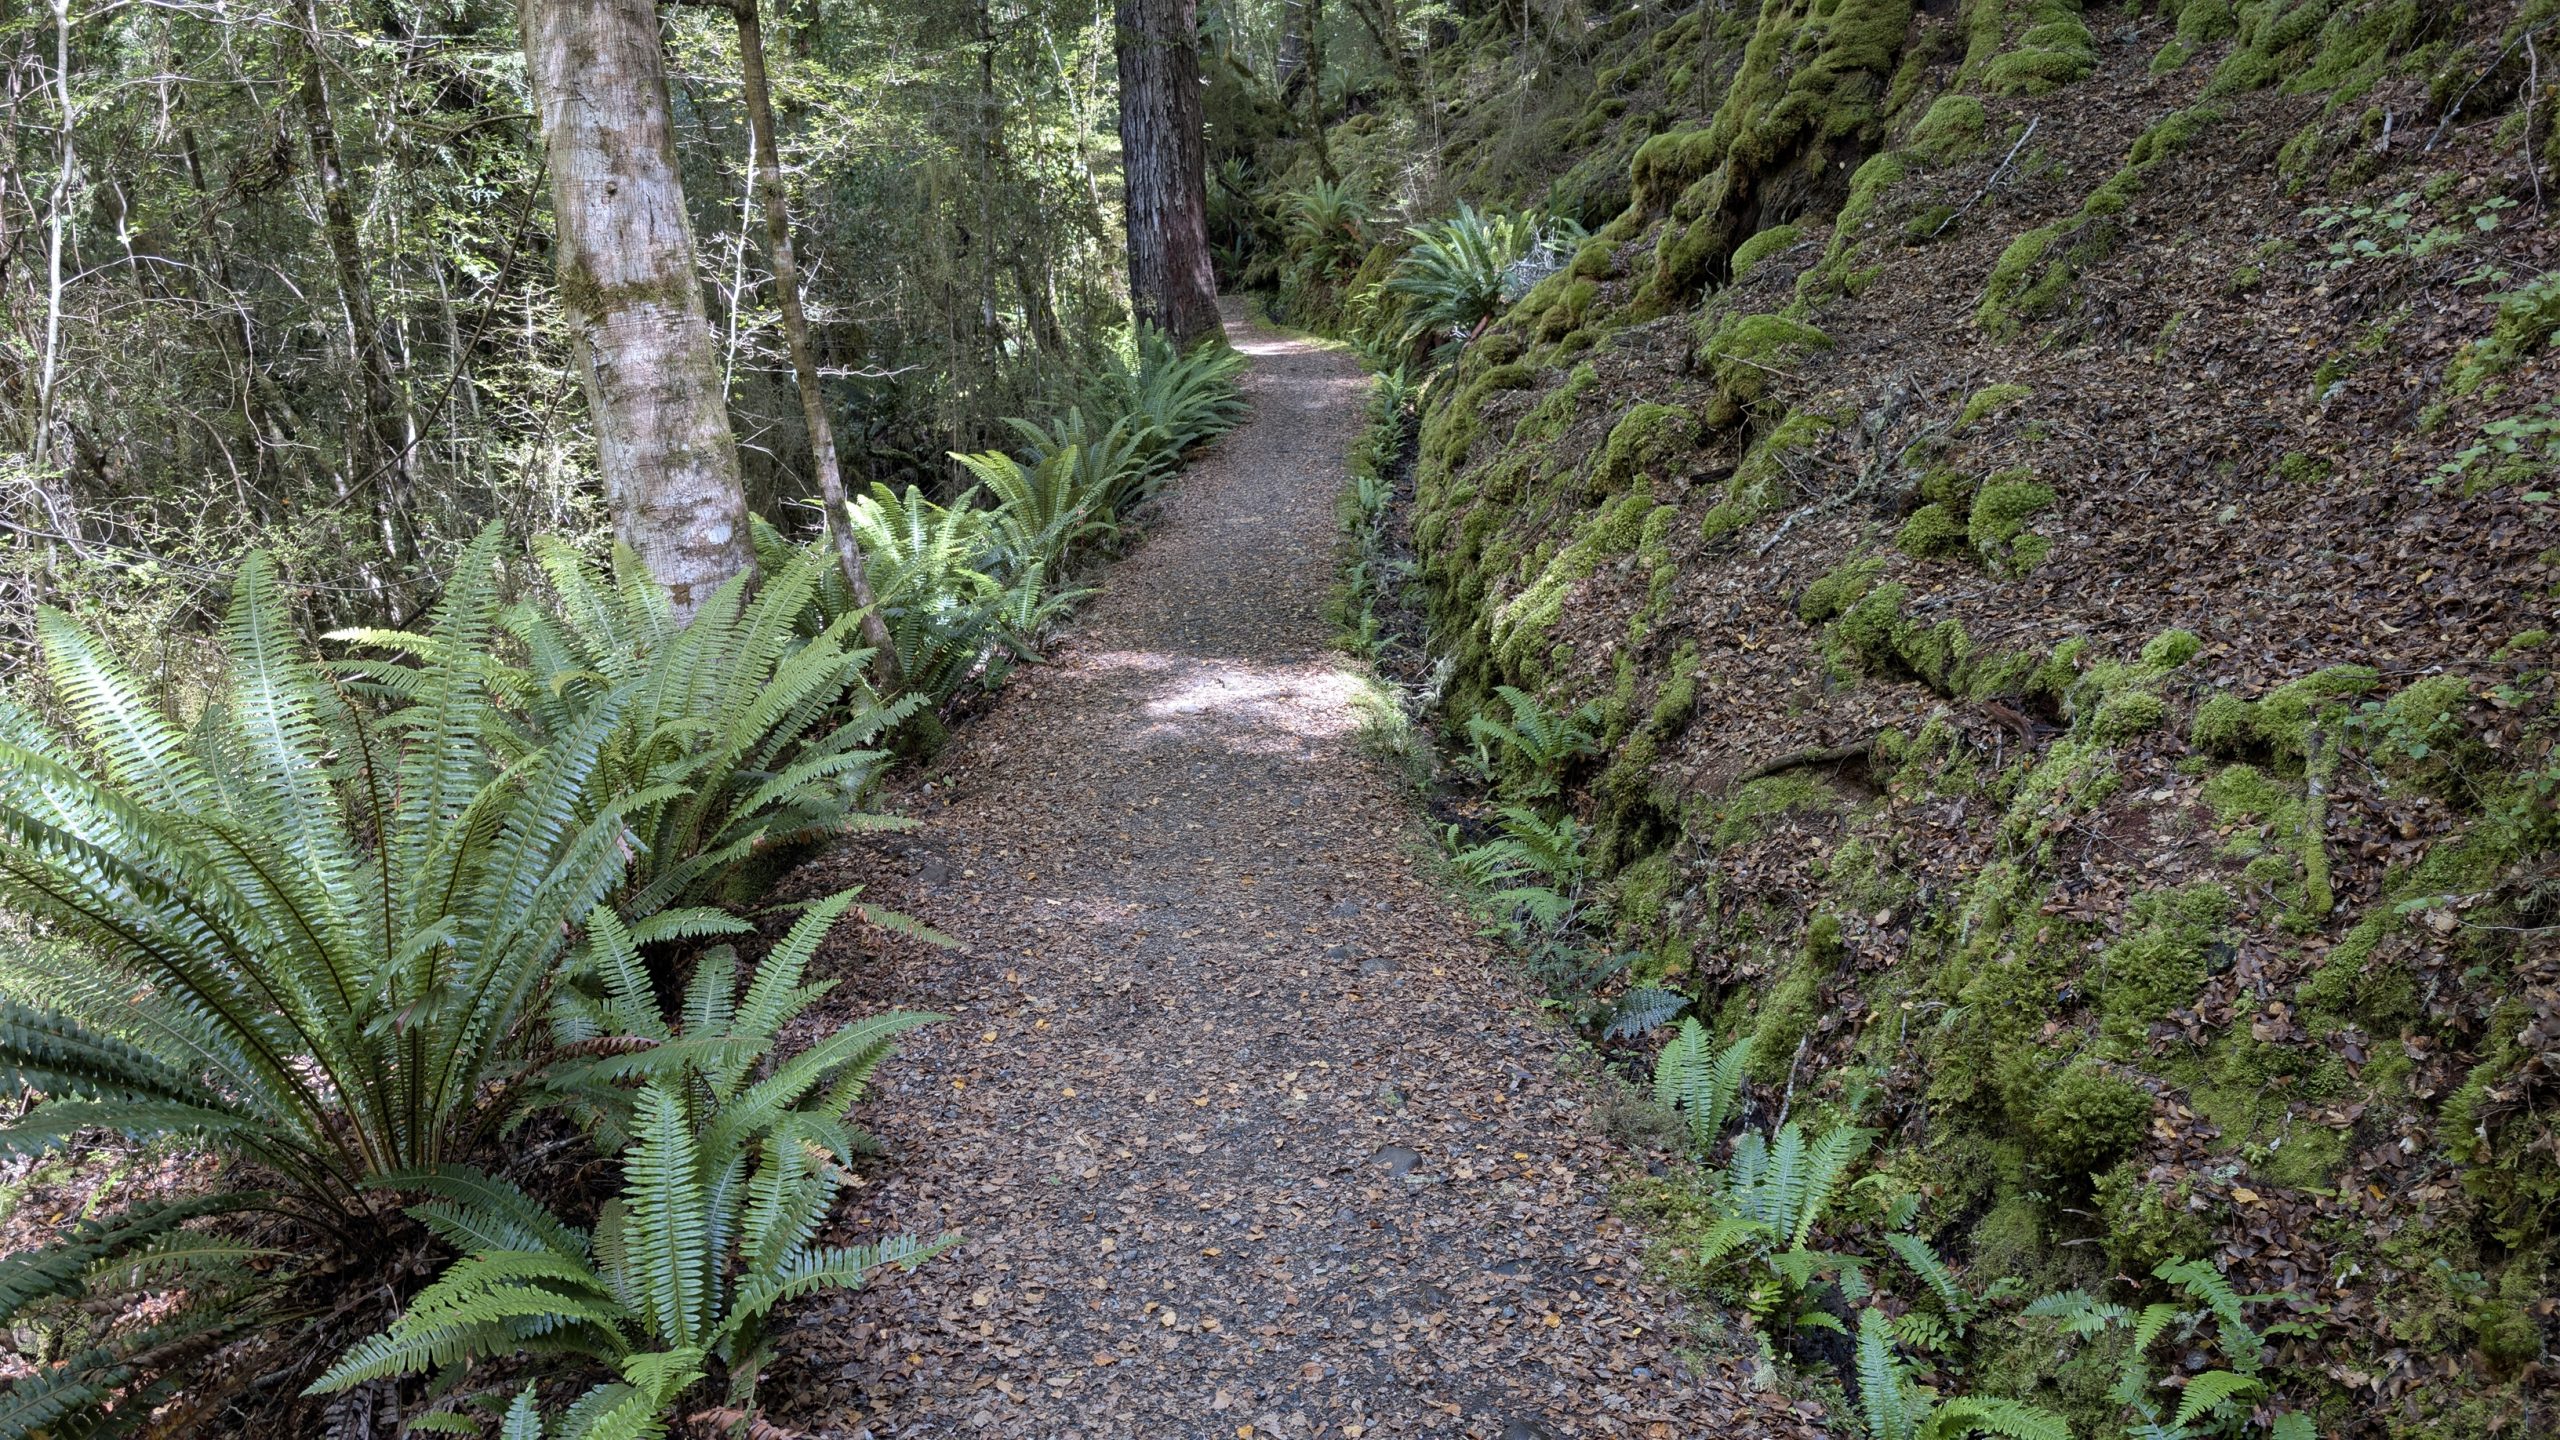
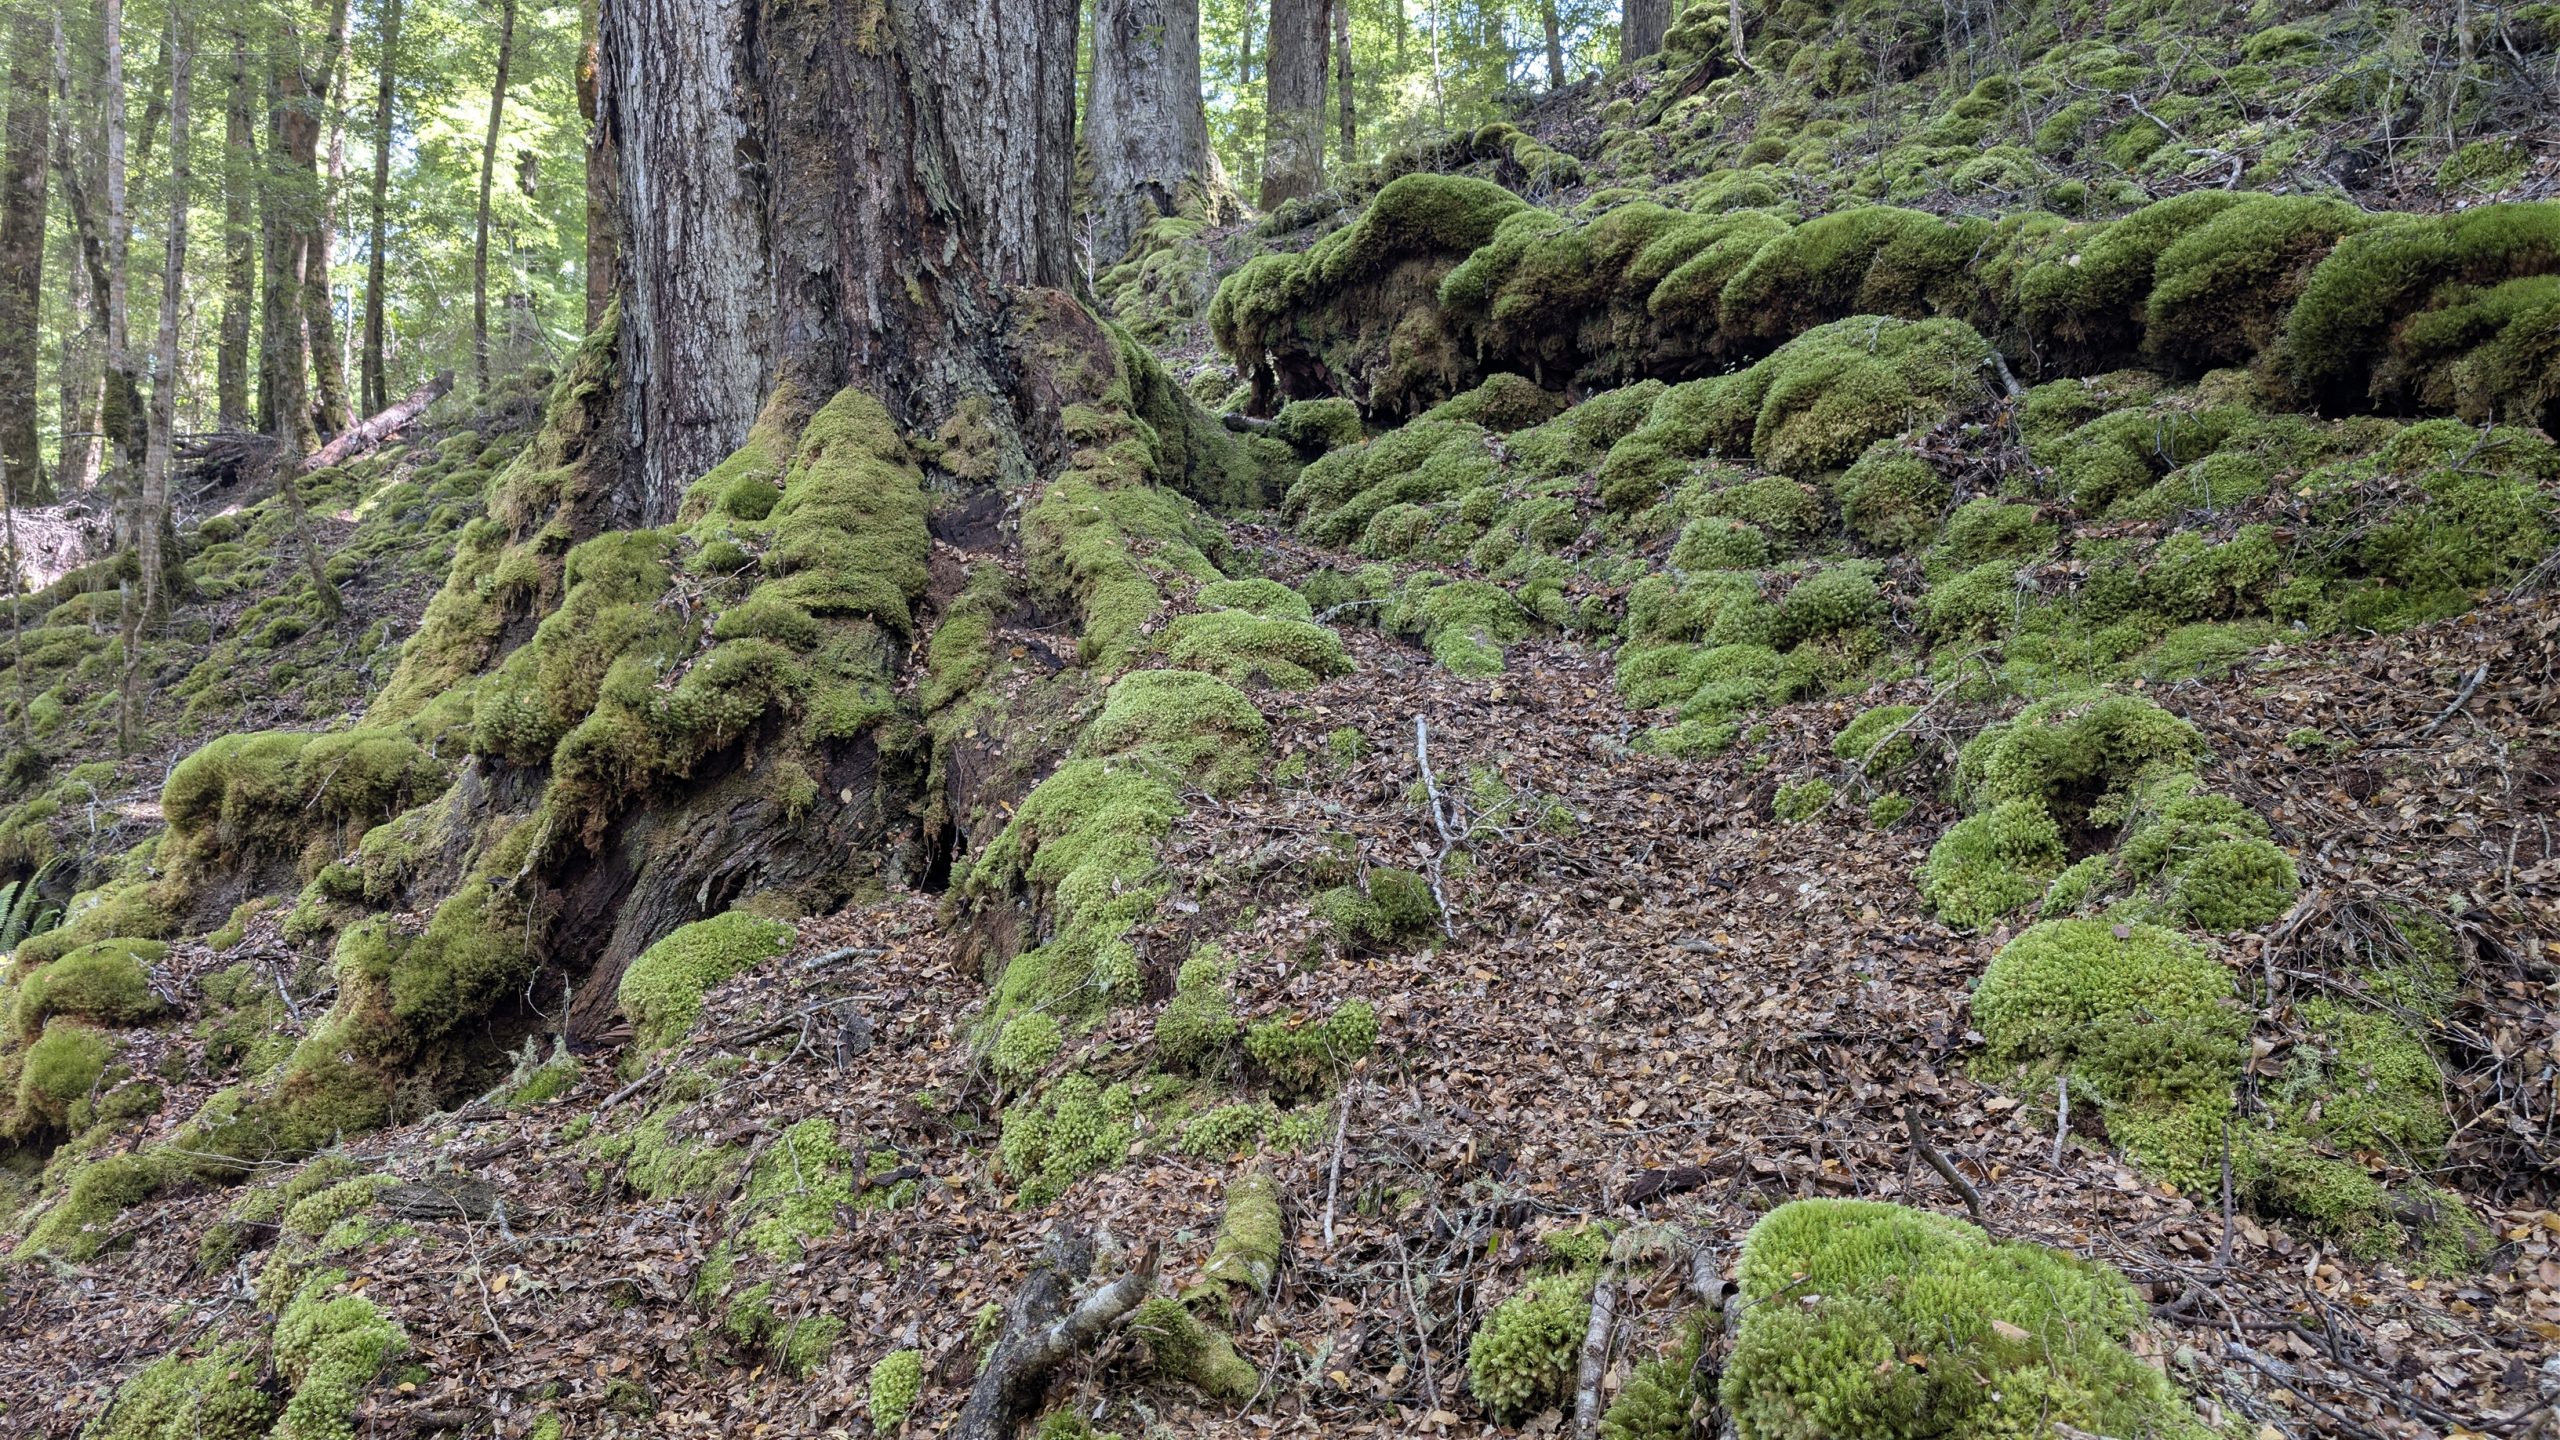
Heinrich found a bench with a nice view of the lake to rest his feet, and I took a short hike on the Kepler Track on the section that followed the Waiau River. The forest along the trail was different from what we had seen on the Milford Track. It was still lush with moss and ferns, but there was not as much undergrowth.
Kepler TrackMossy areas along the trailMany ferns lined the trail
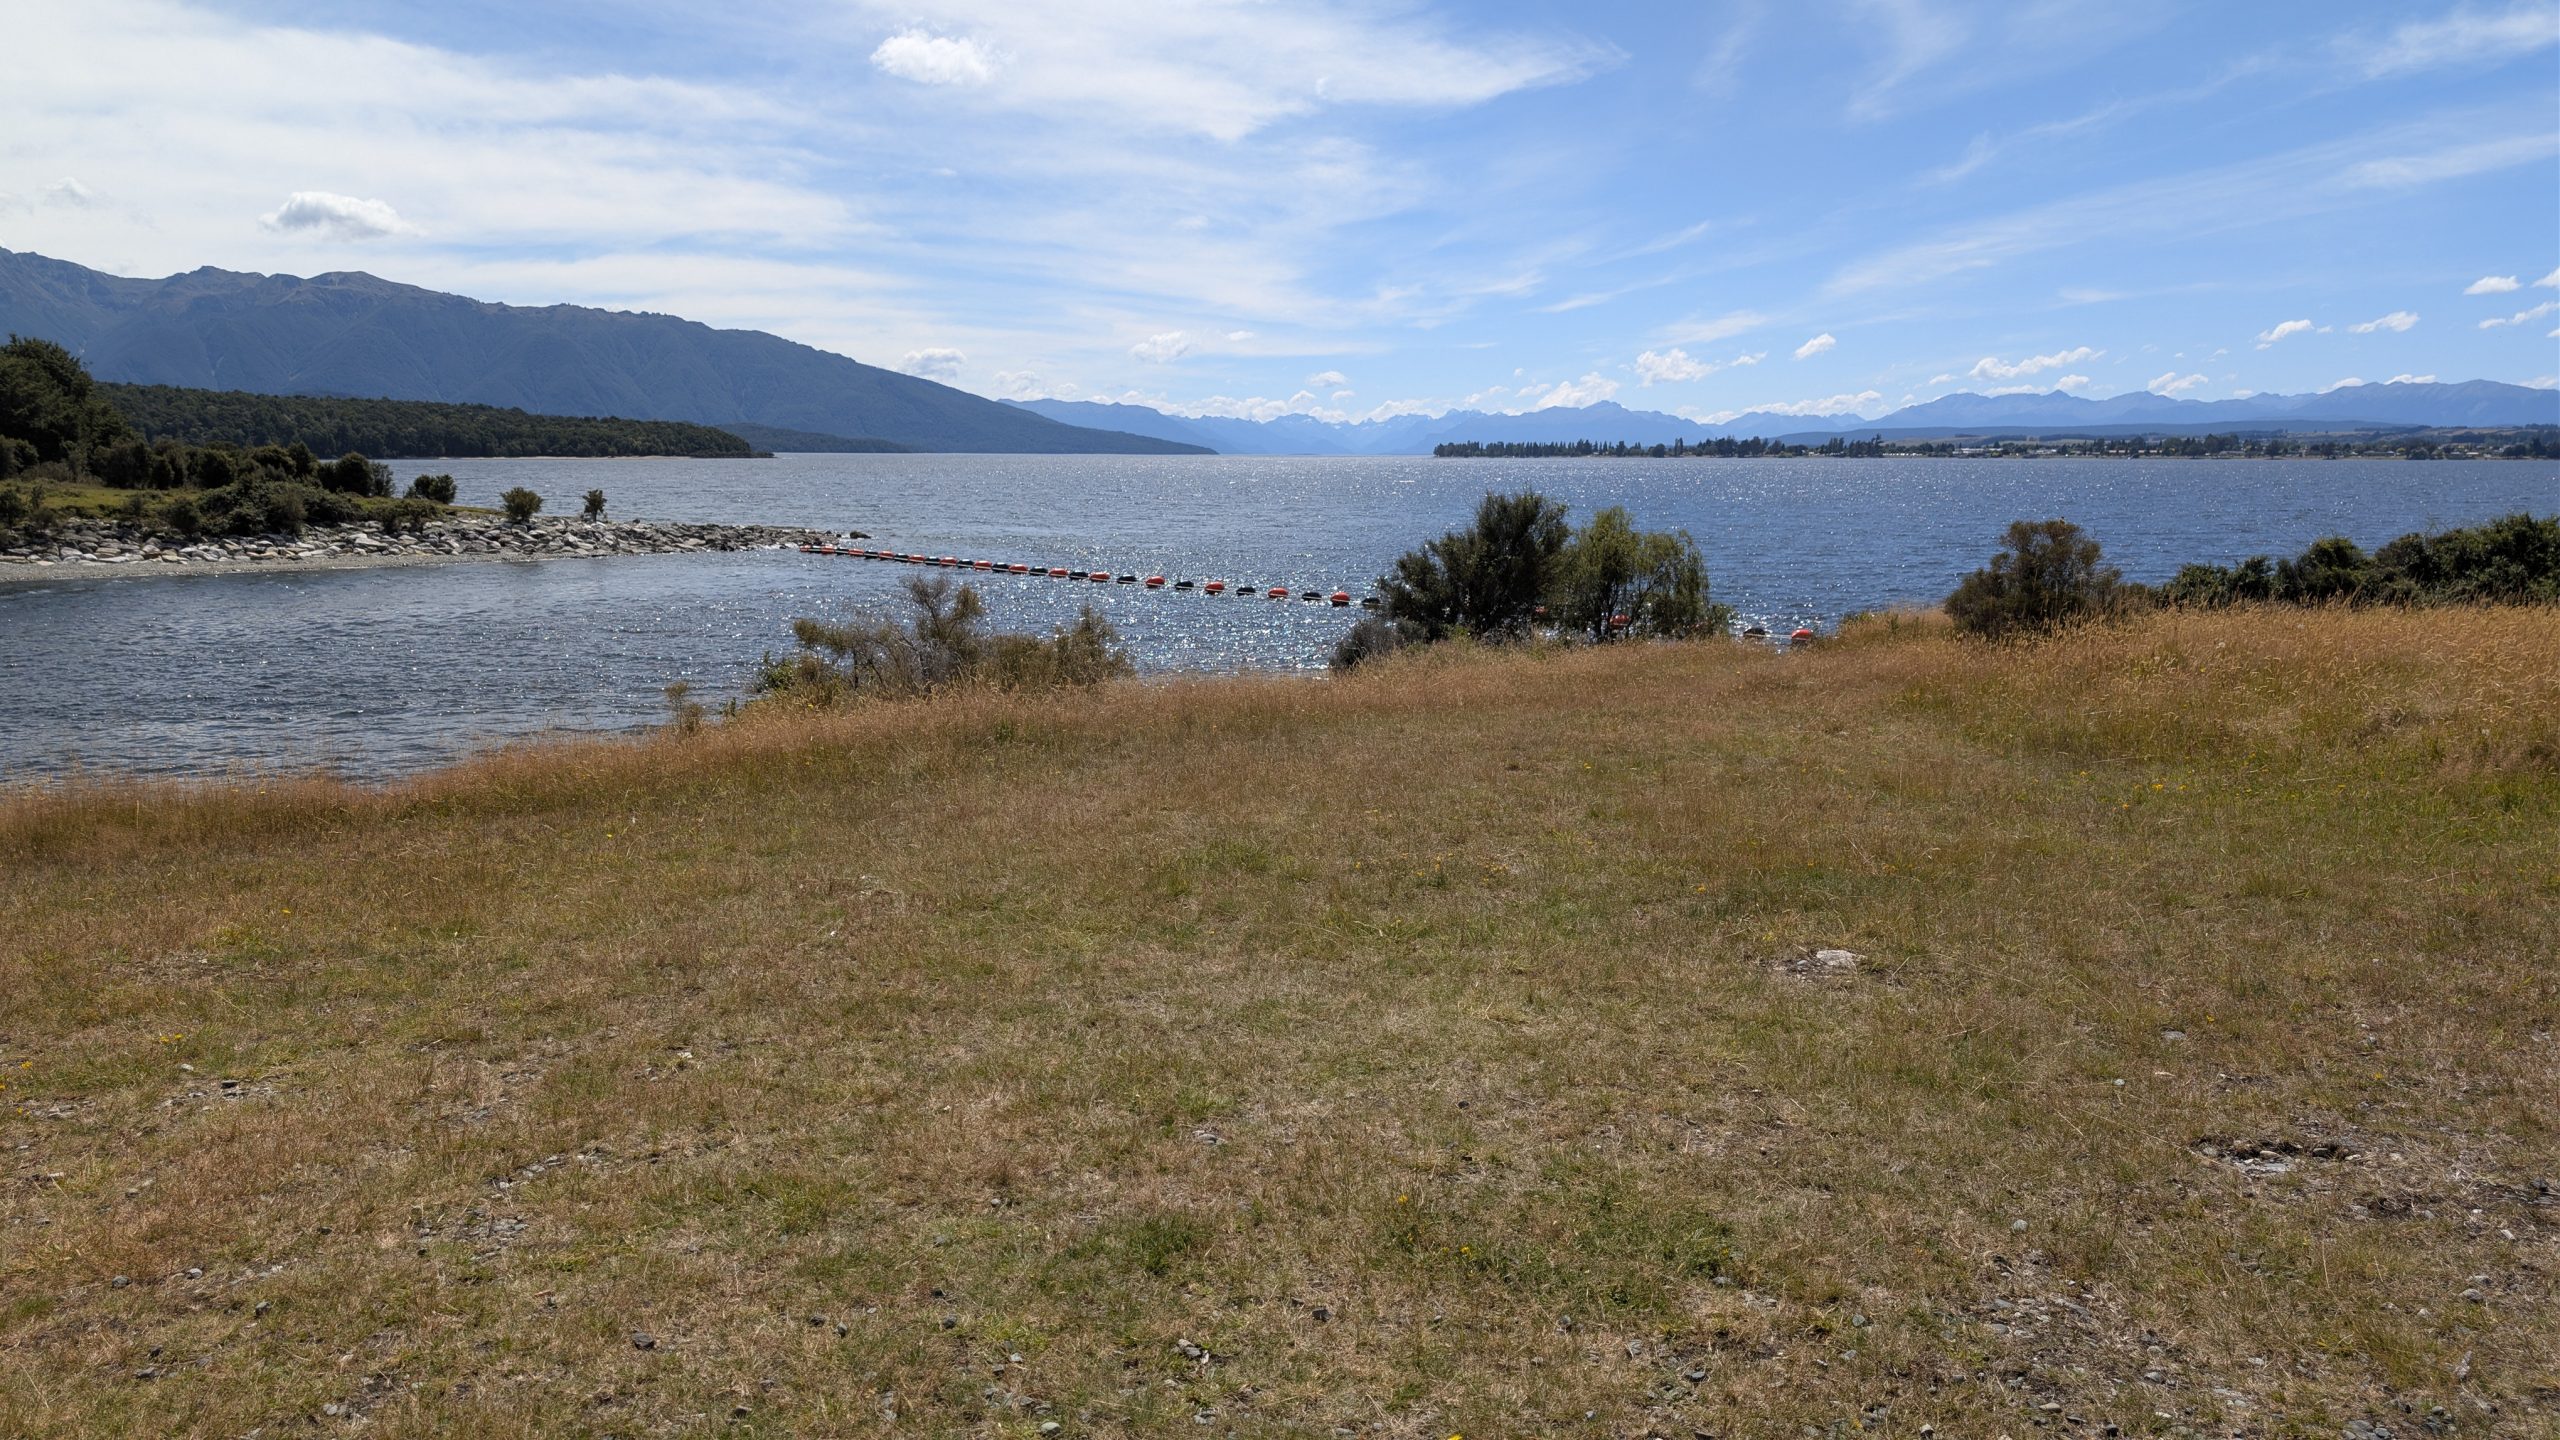
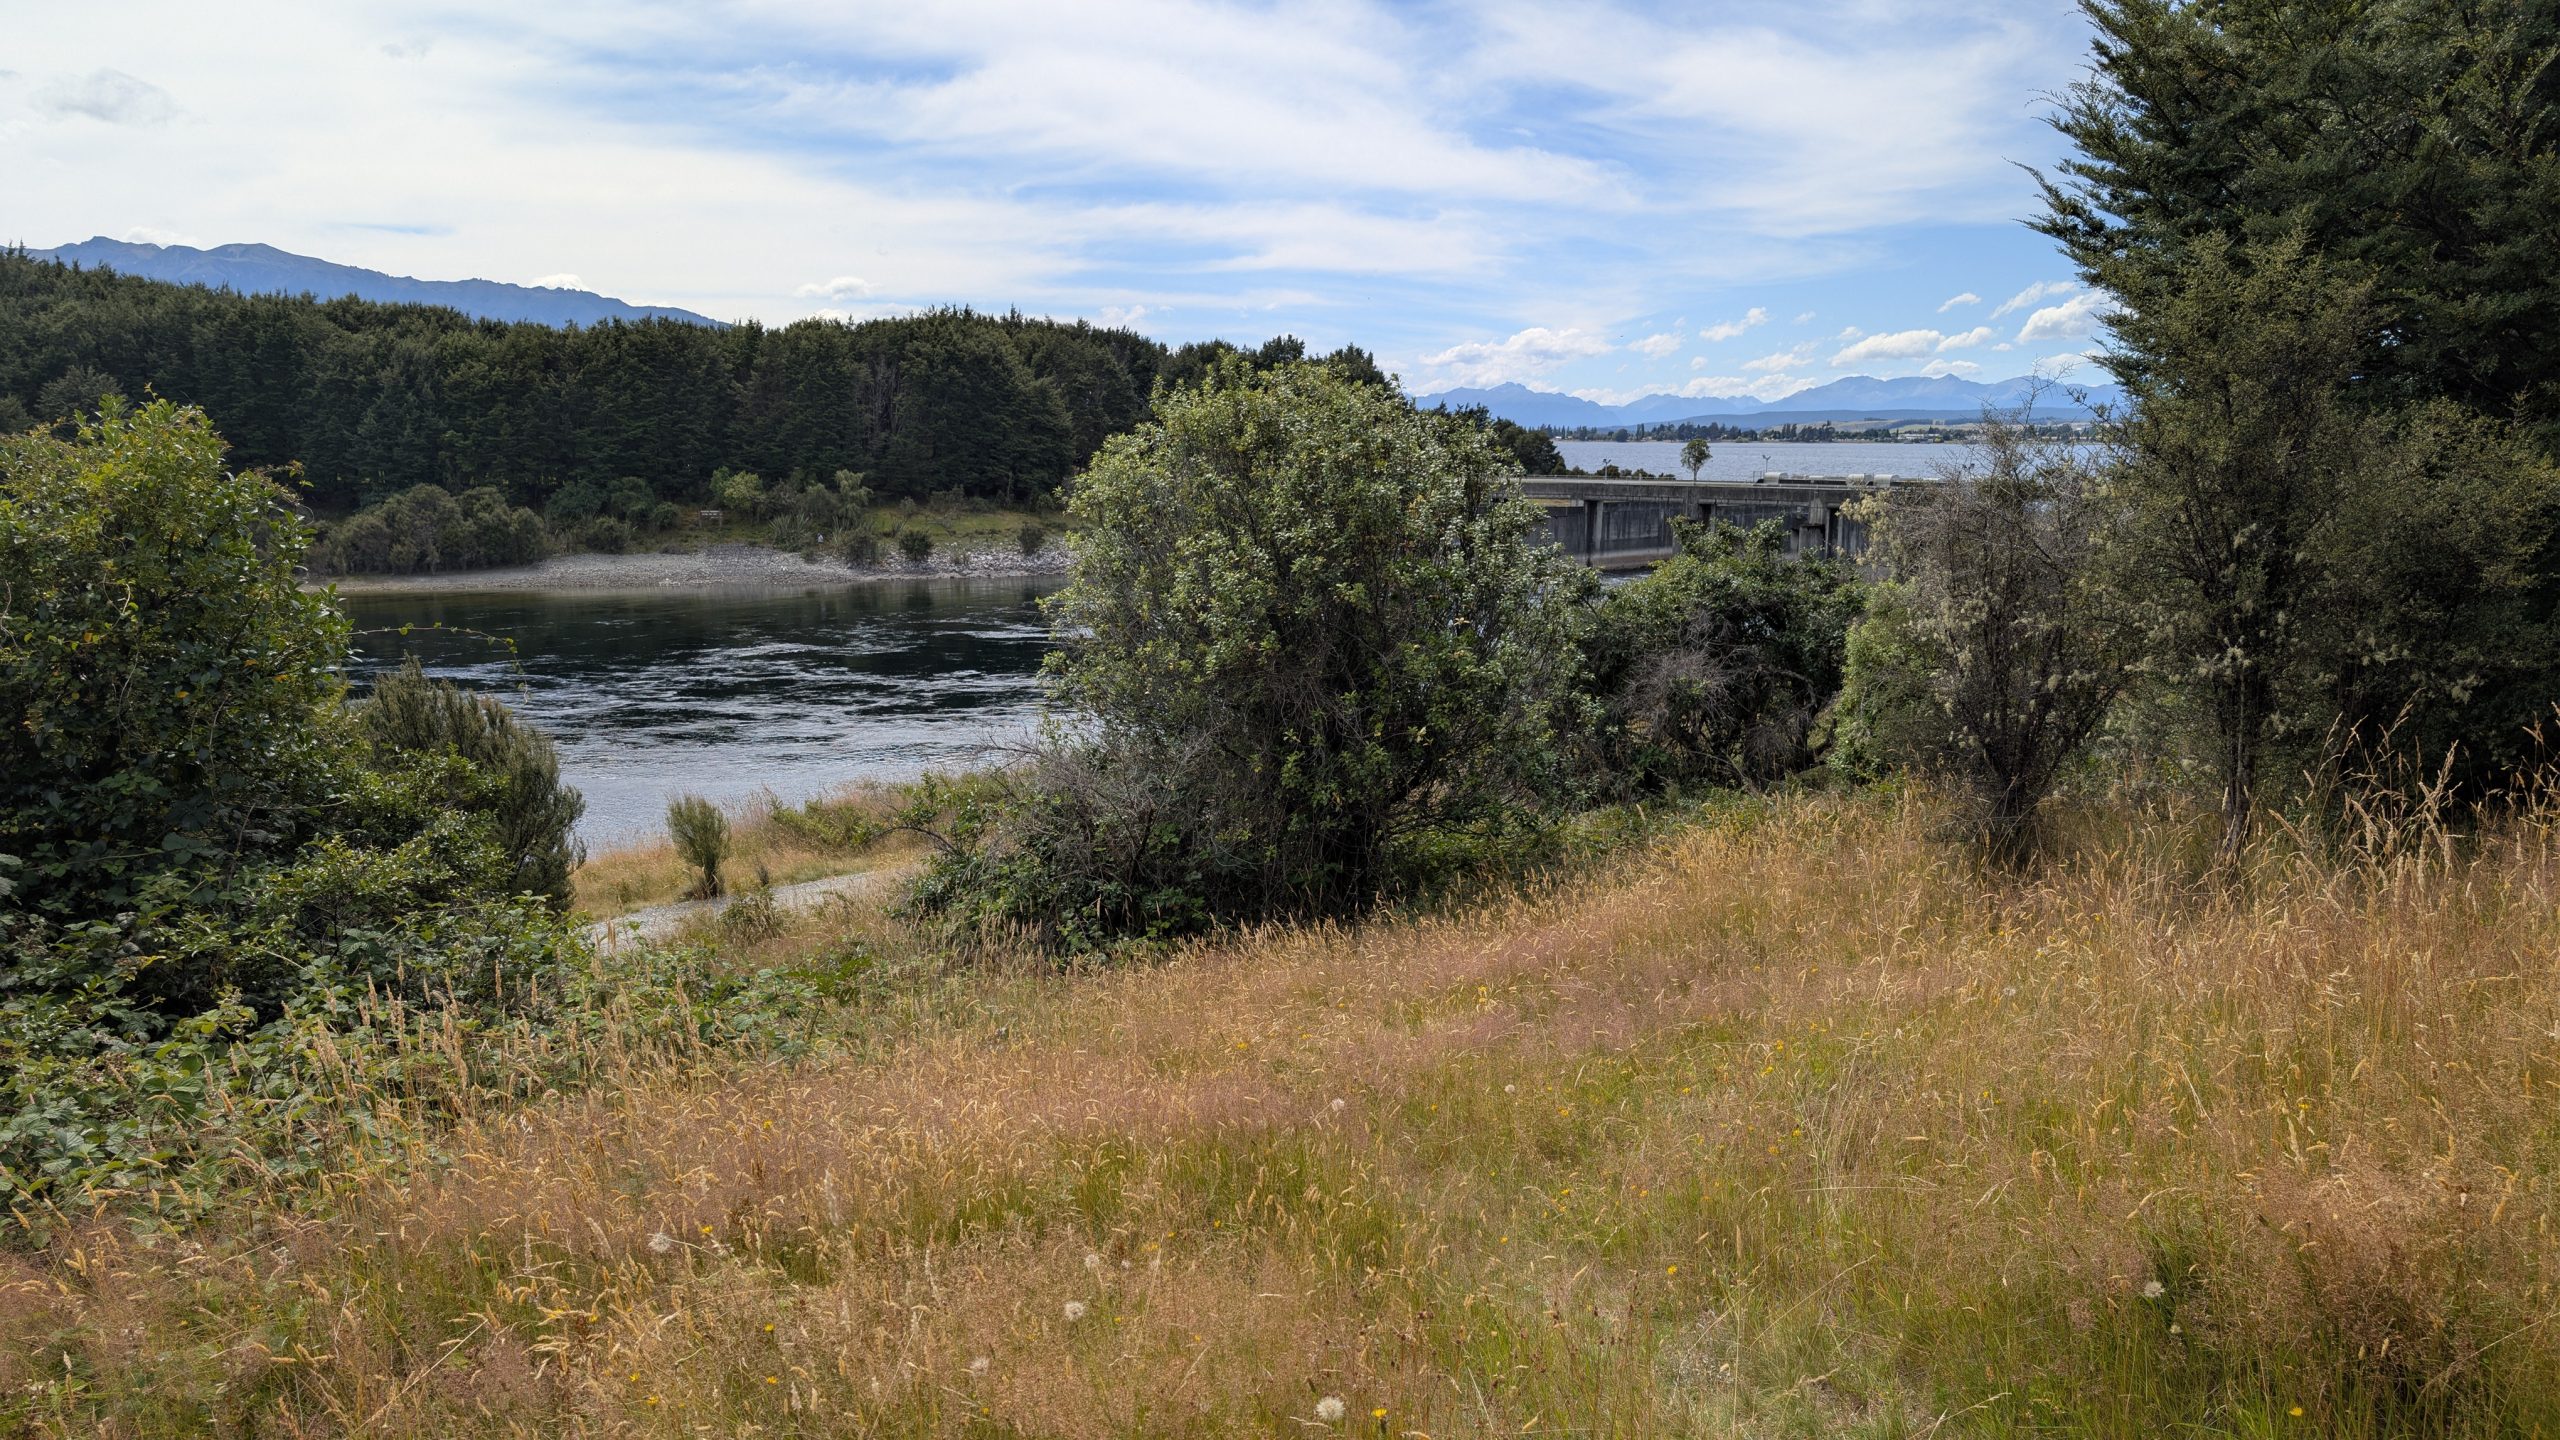
We returned to where we had parked the car, and I took another short walk to a bike trail access on the other side of the Waiau River. I found a good spot to view the river and the control structure in the distance.
Control structure viewed from the Waiau RiverWaiau River, looking downstream
Afterwards we stopped briefly at the Fiordlands National Park Visitor Centre to look around.
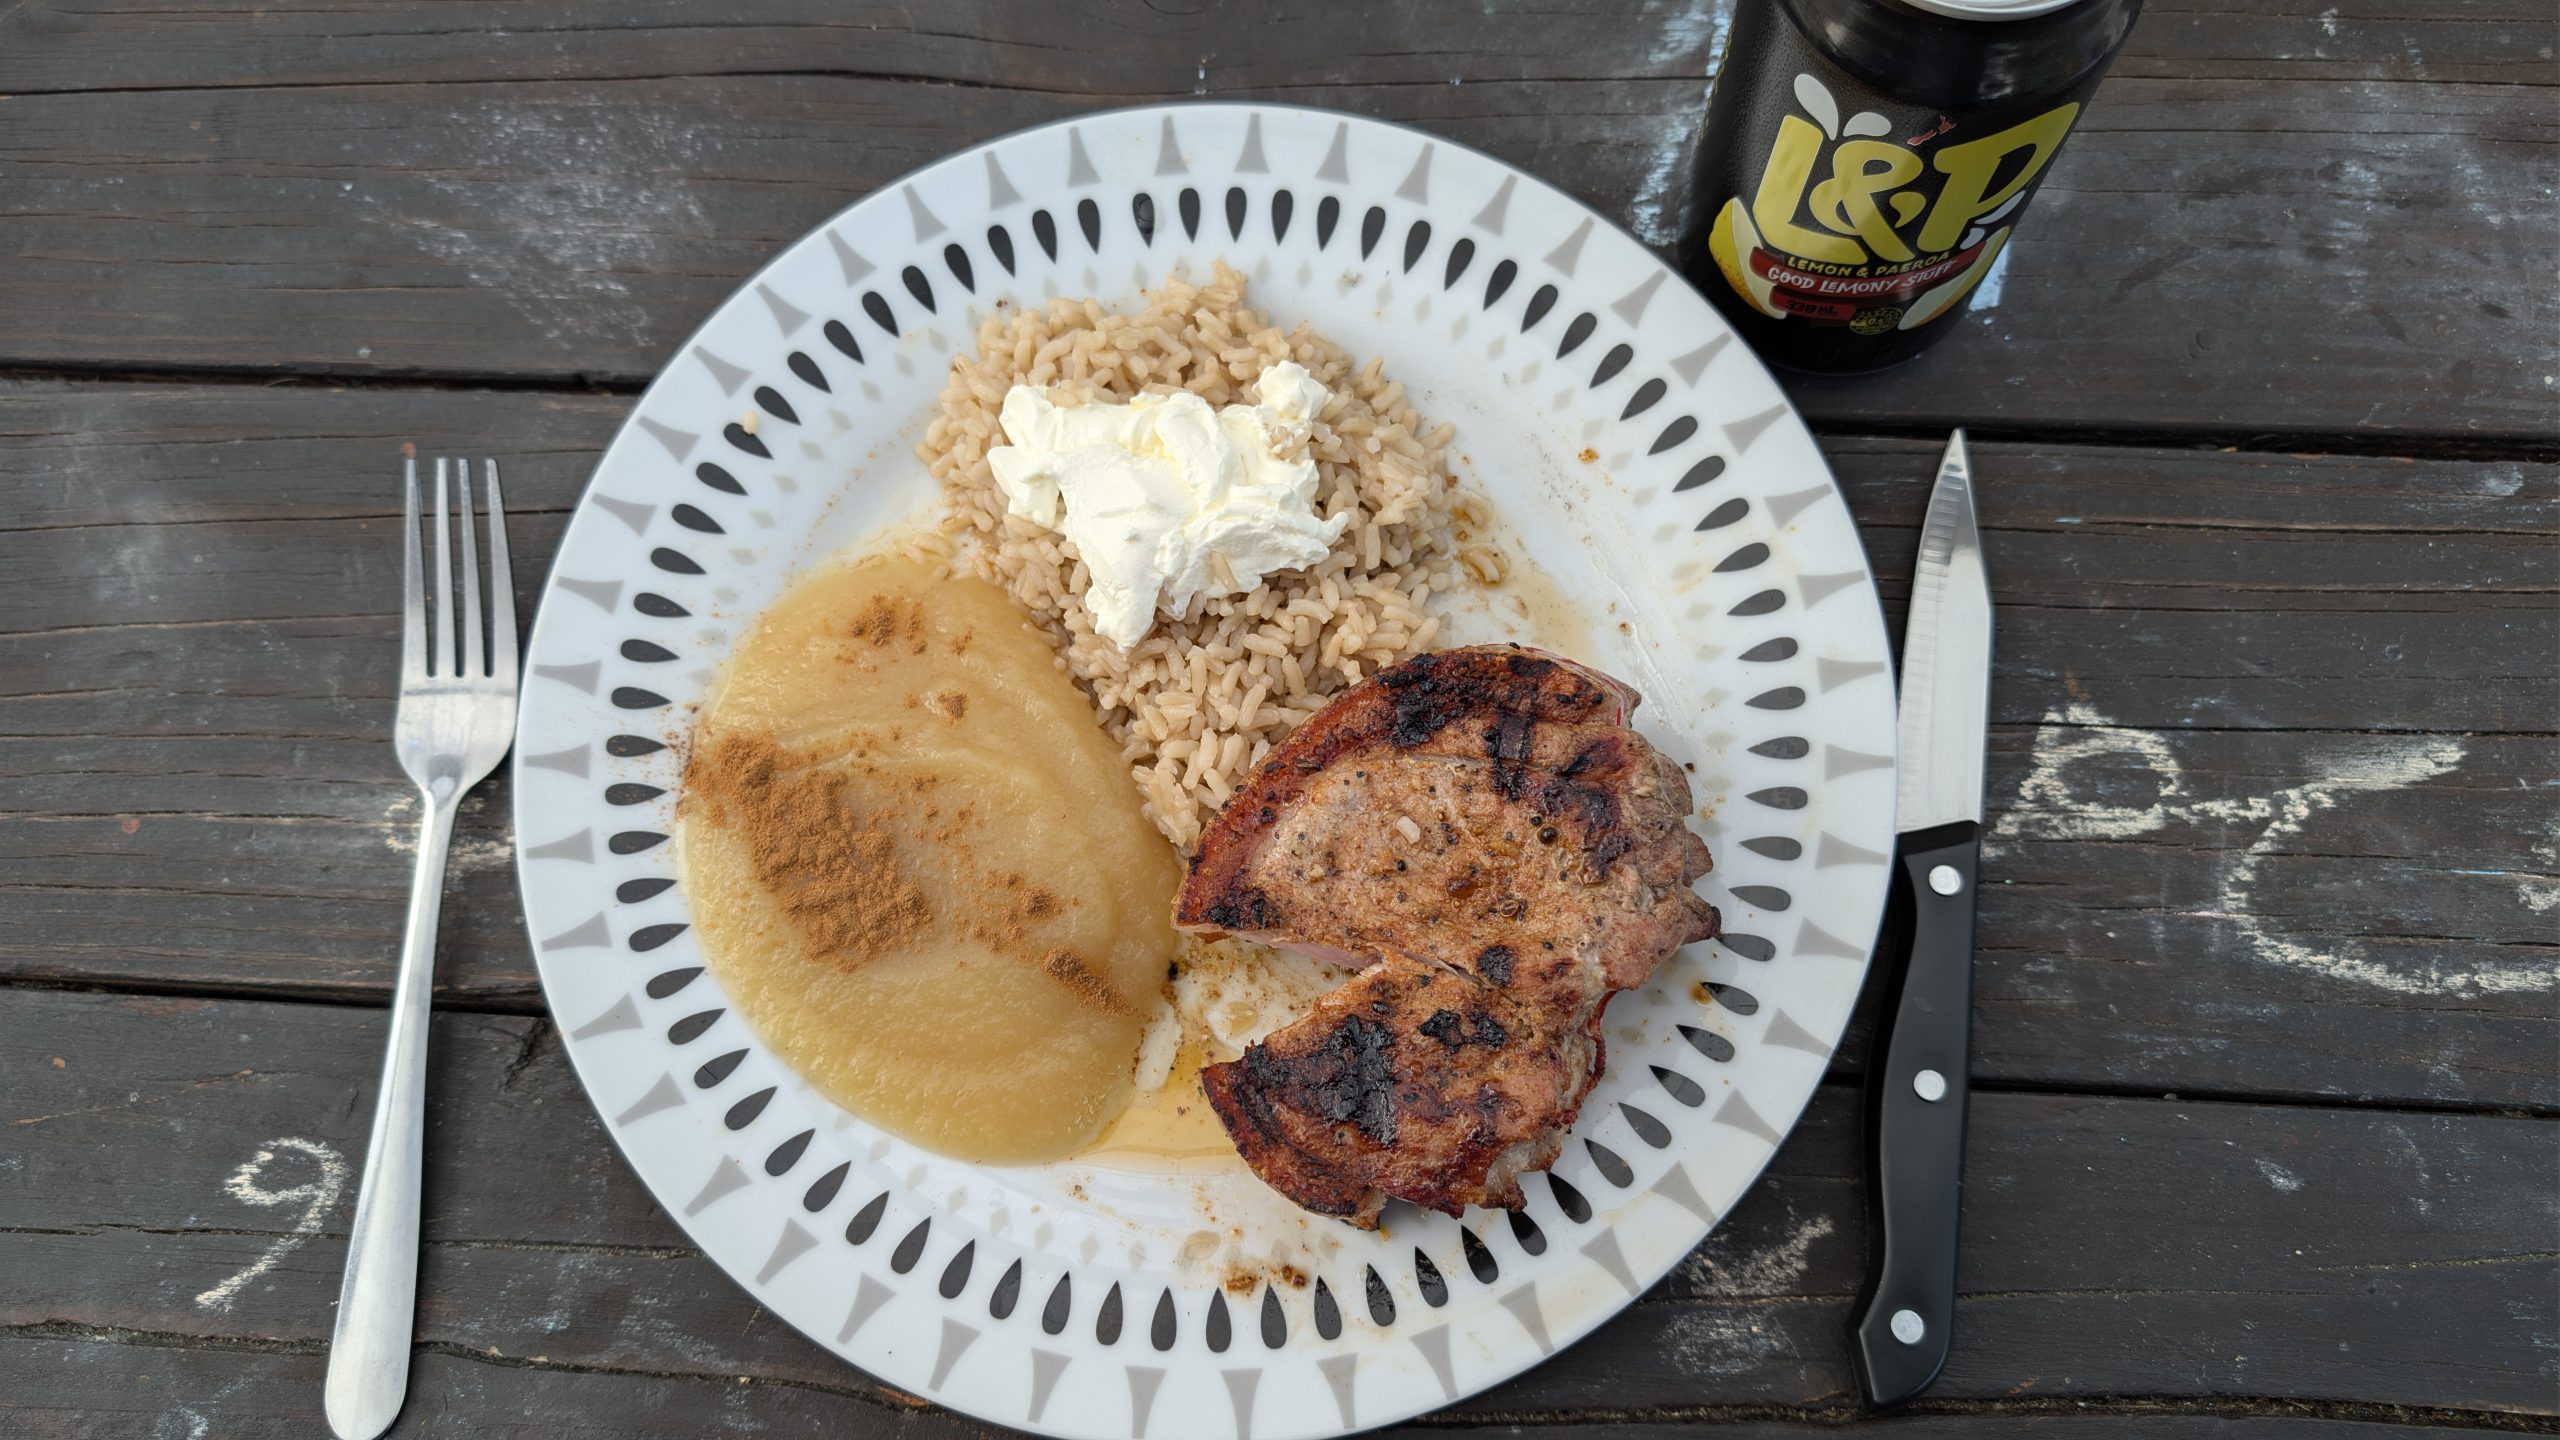
We drove back to the room and used the outside grill again for dinner. We had pork noisettes, rice and apple sauce. Delicious!
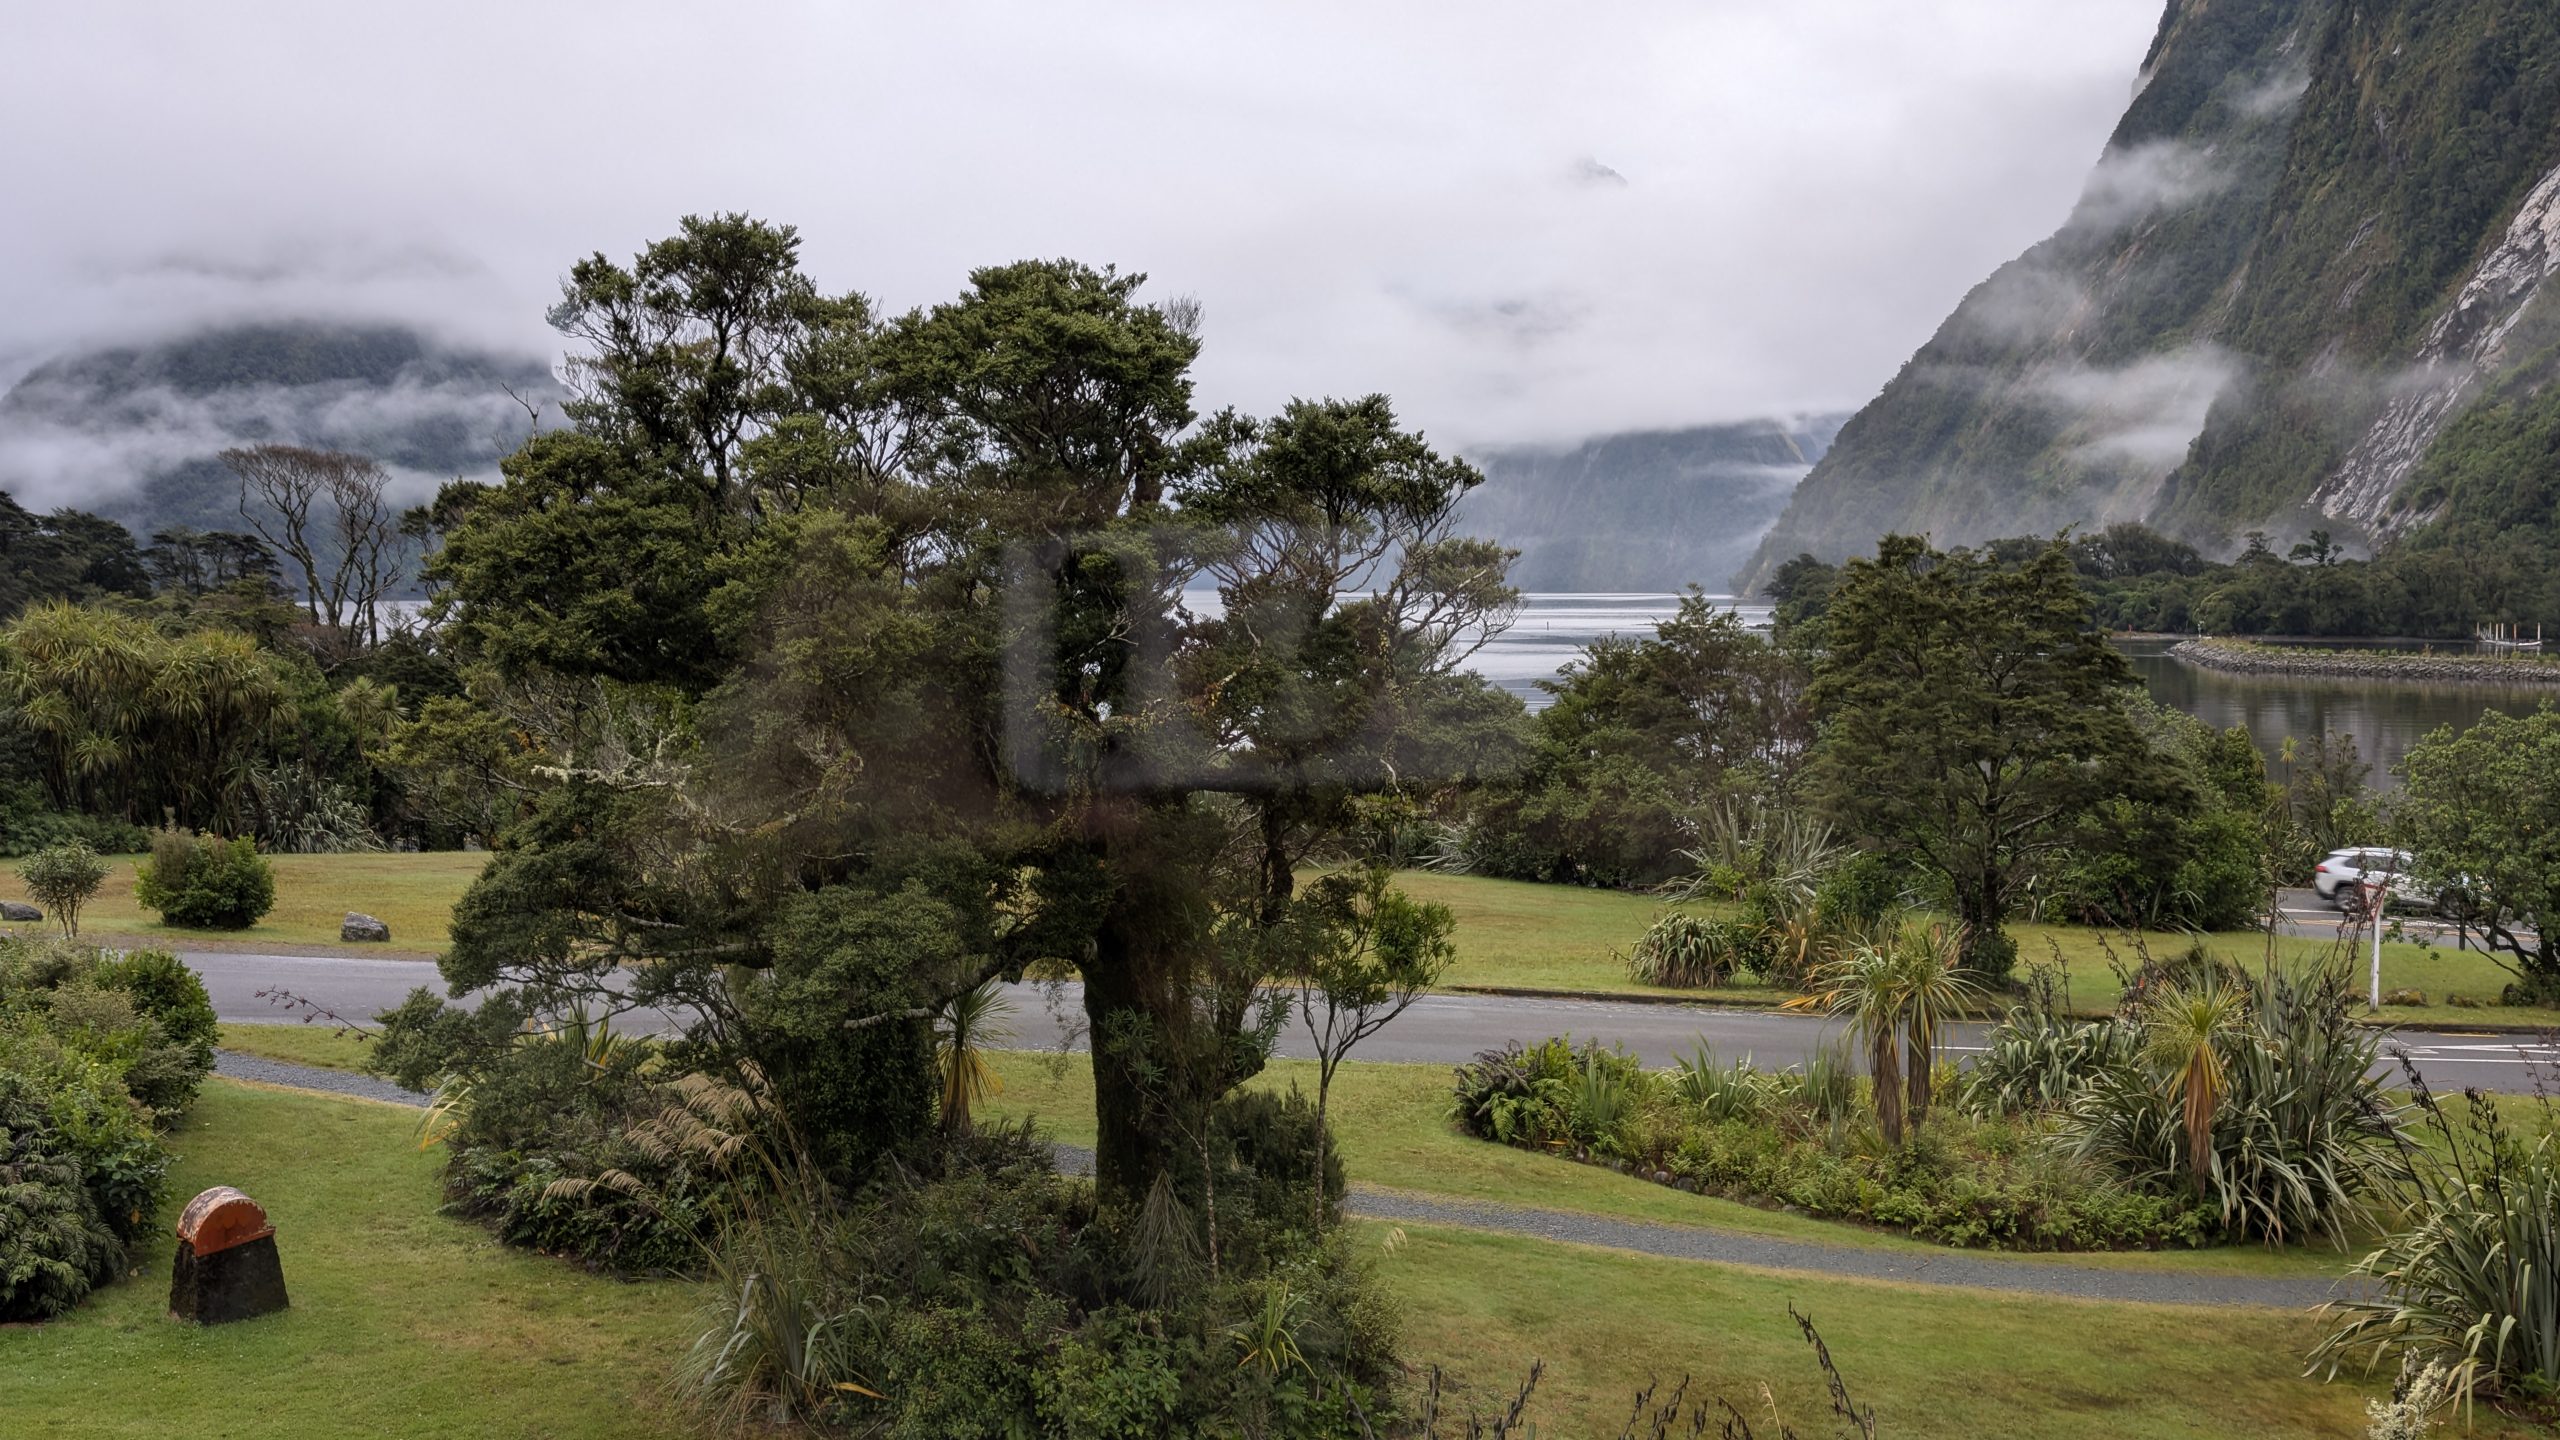
The final day of our tour included a morning boat ride in Milford Sound followed by a bus ride back to Te Anau. In the early morning it was still dripping rain and the clouds had not cleared. For a brief moment I managed to see one tiny spot at the top of Mitre Peak uncovered by clouds.
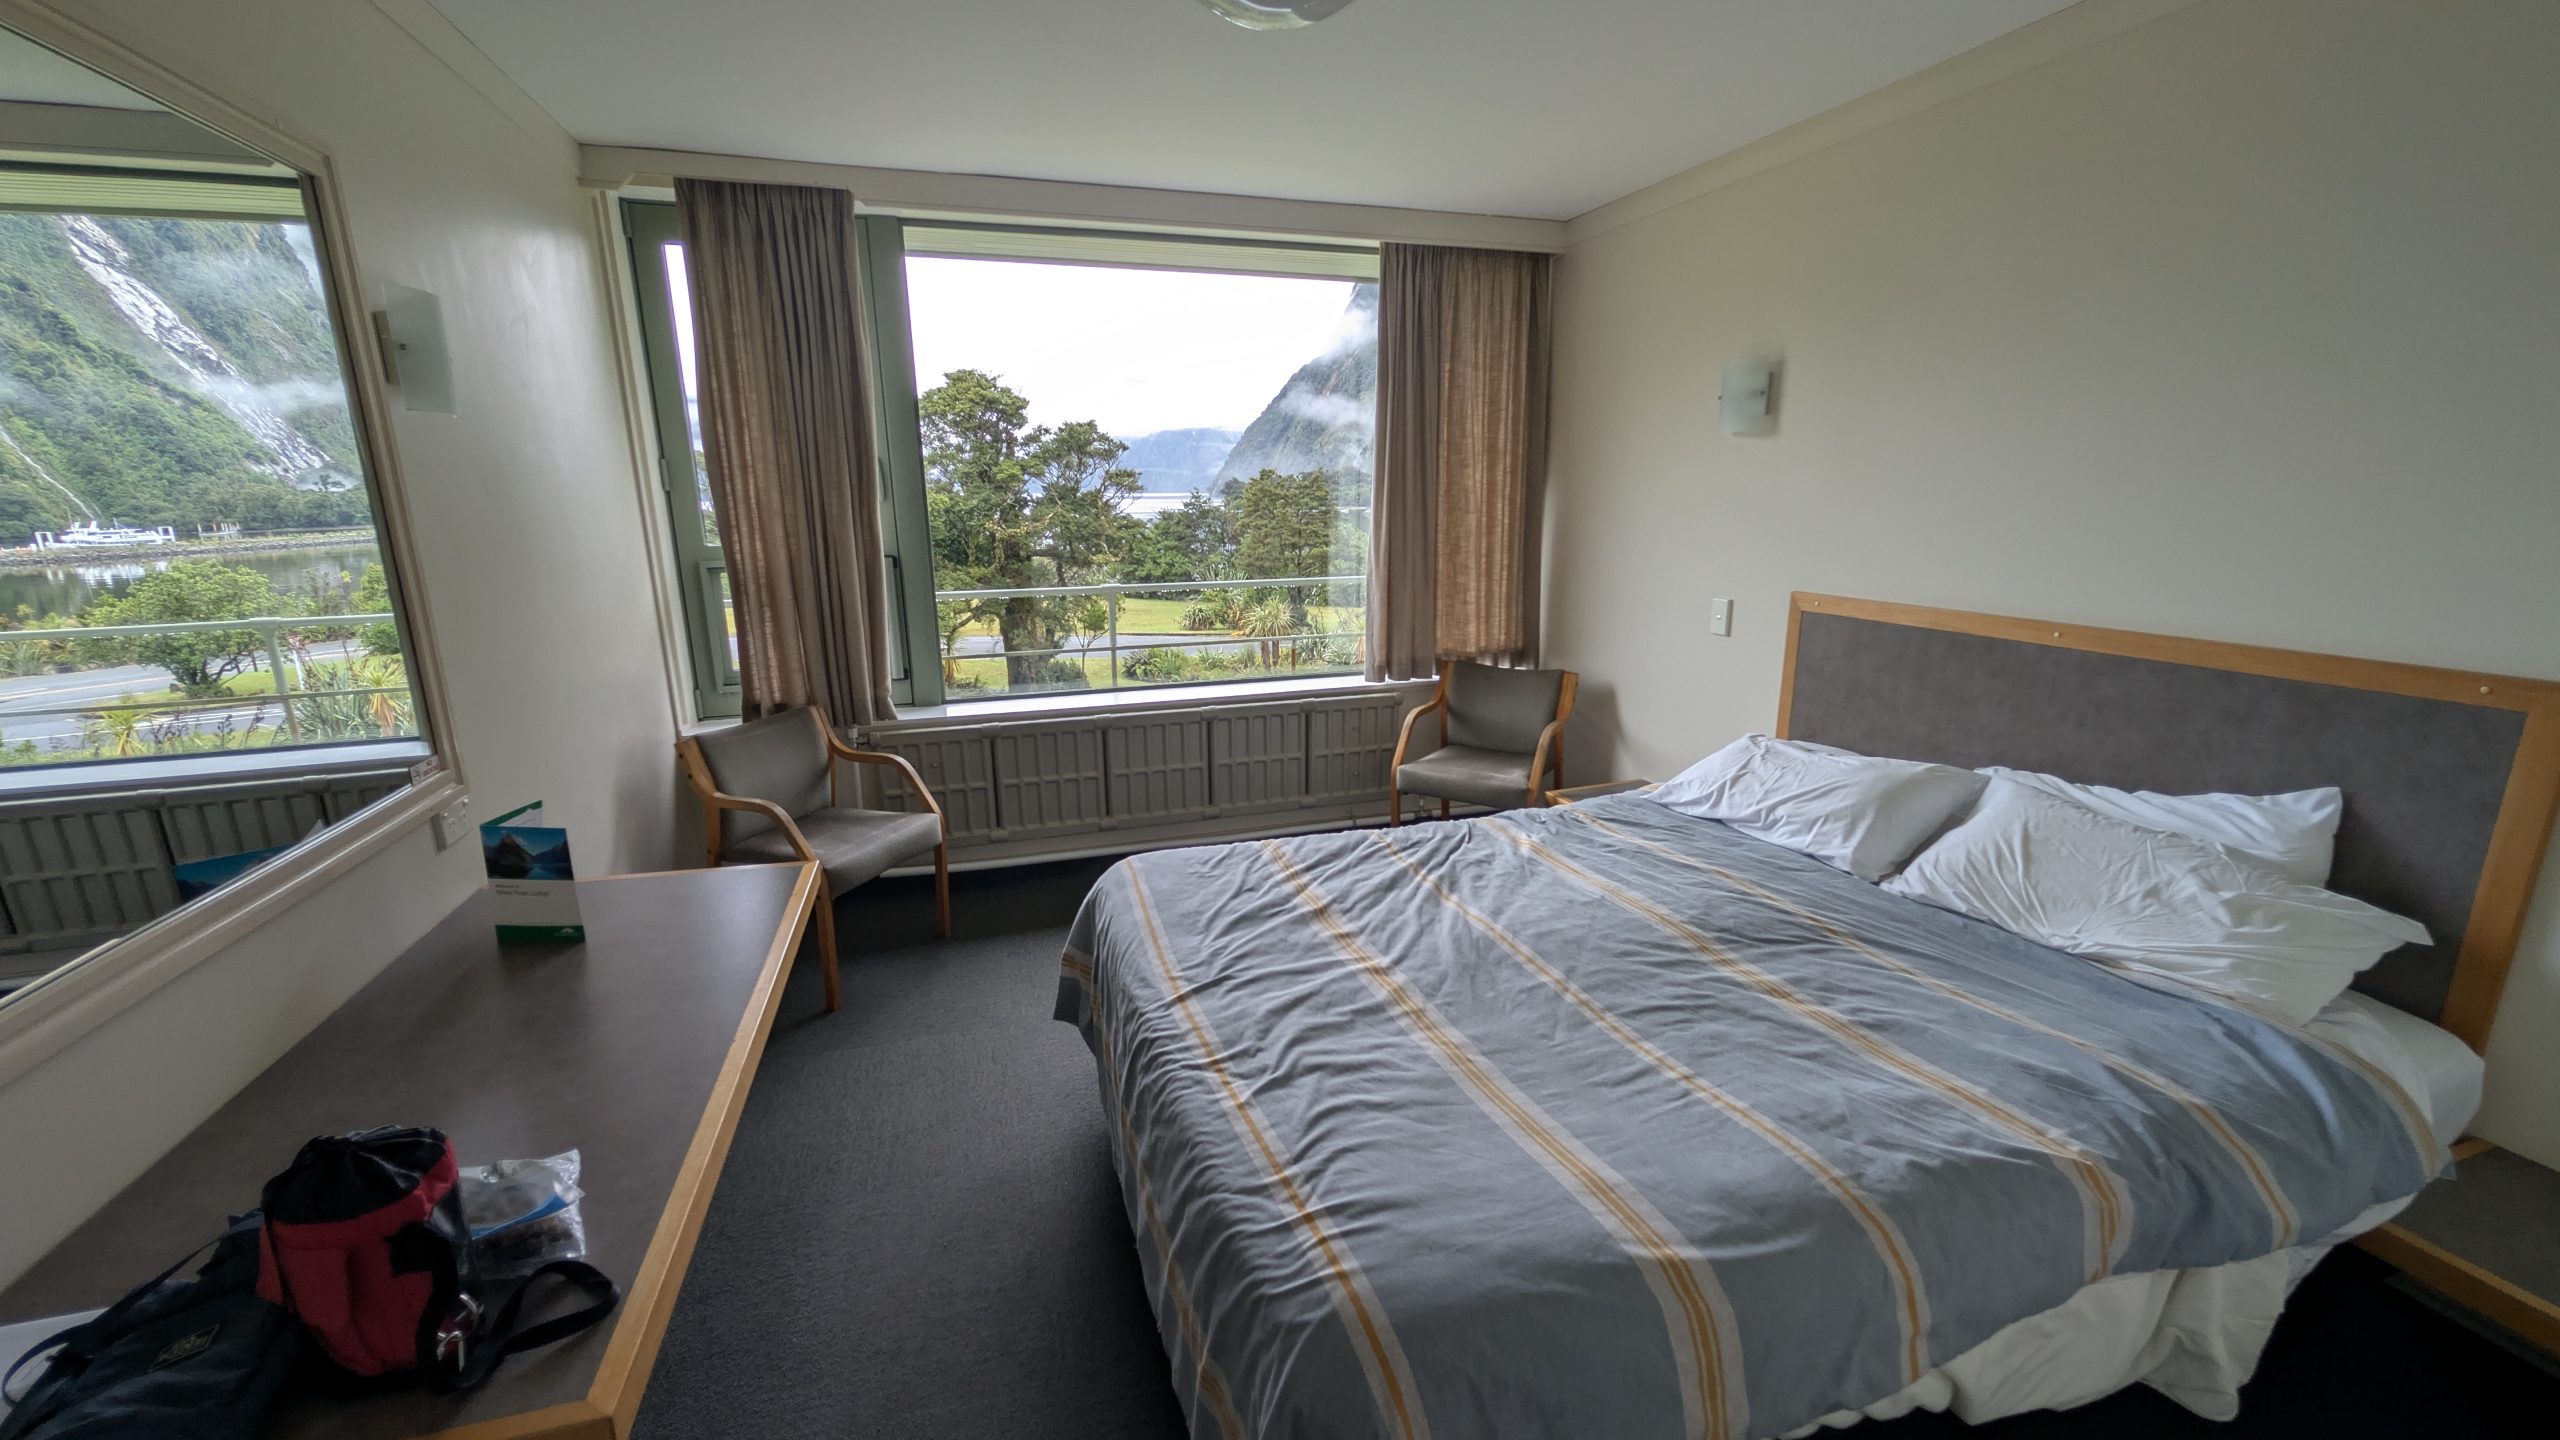
Our view room at Mitre Peak LodgeView from our room, with a brief glimpse of the top of Mitre Peak
We had a final breakfast with the group and also made another round of sandwiches to take with us on the bus for lunch. Then we checked out of our rooms and took the short bus ride back to the harbor for our boat trip on Milford Sound.
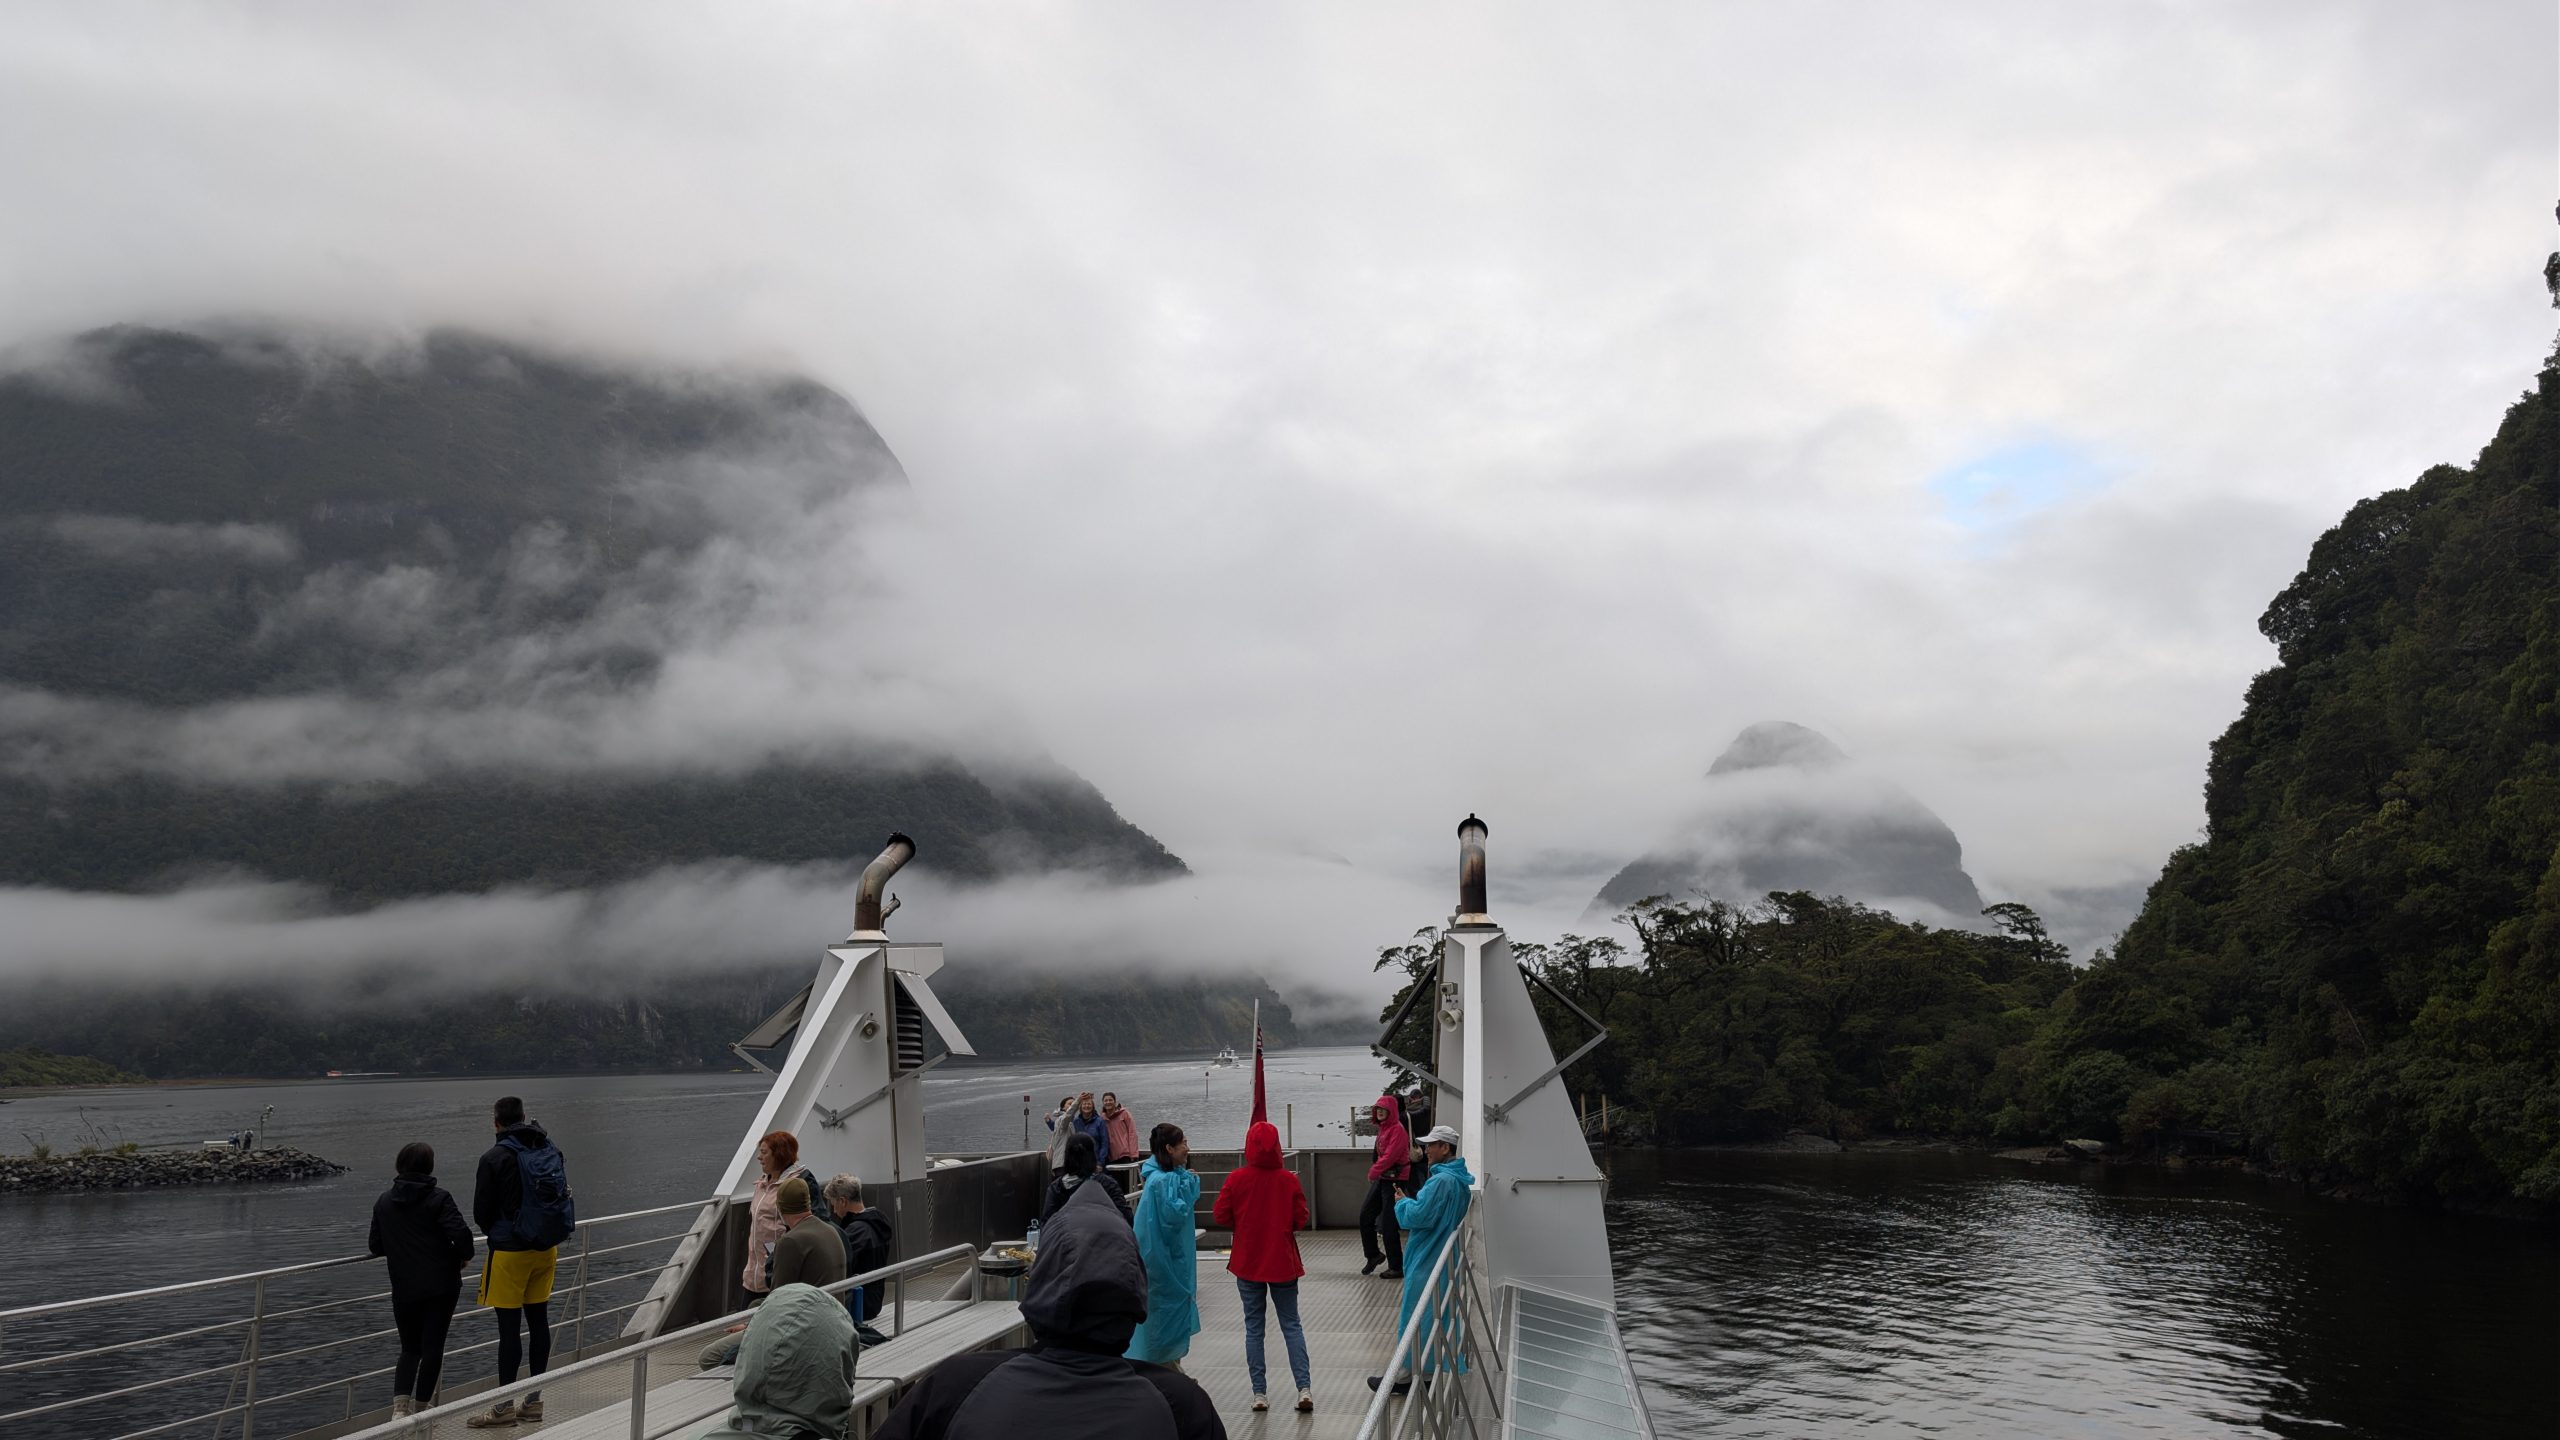
I was first in line to get on the boat, and I headed straight to the top deck to snag a good viewing spot at the front. We were on the large Real NZ boat, so there was plenty of room to move around. At the beginning there were only a few others on the top deck.
Start of the Milford Sound CruiseLeaving the harbor. The building in the distance is Mitre Peak Lodge.
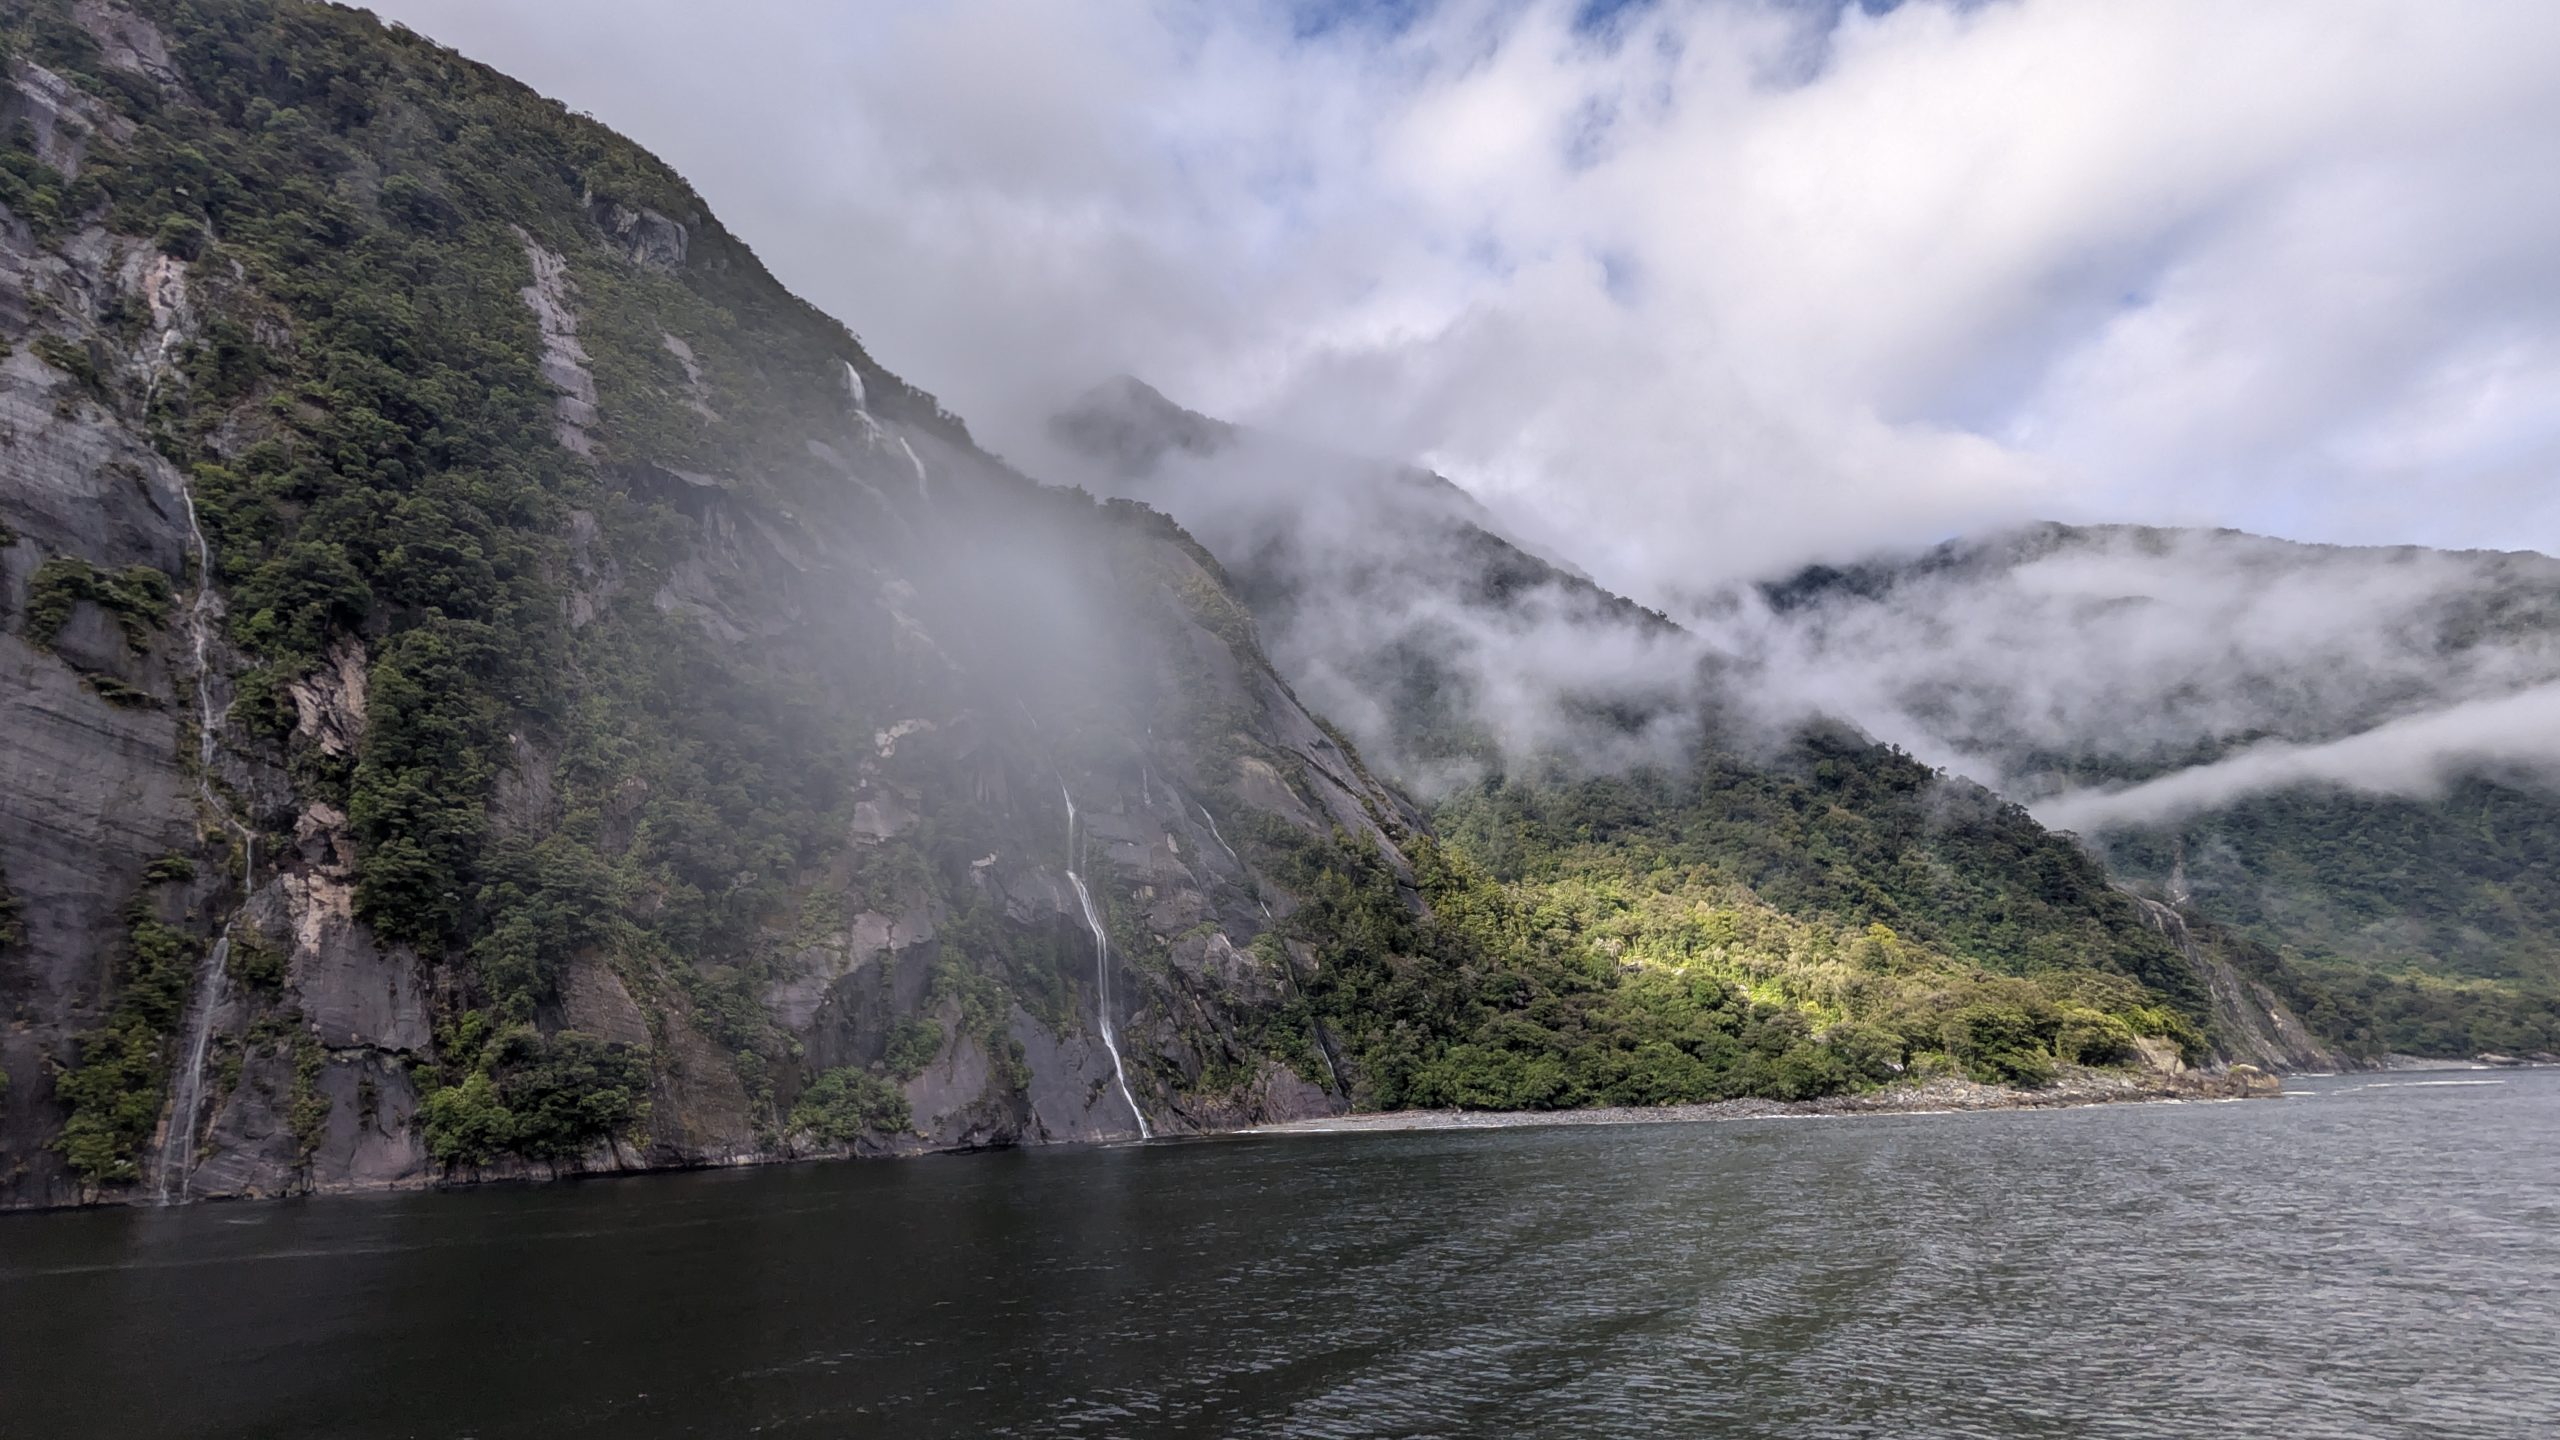
We had a nice view of Bowen Falls and many other intermittent waterfalls on the journey.
Bowen Falls and panoramaEntering the sound. Stirling Falls is in the distance.
A few of the many intermitent waterfalls
More waterfalls
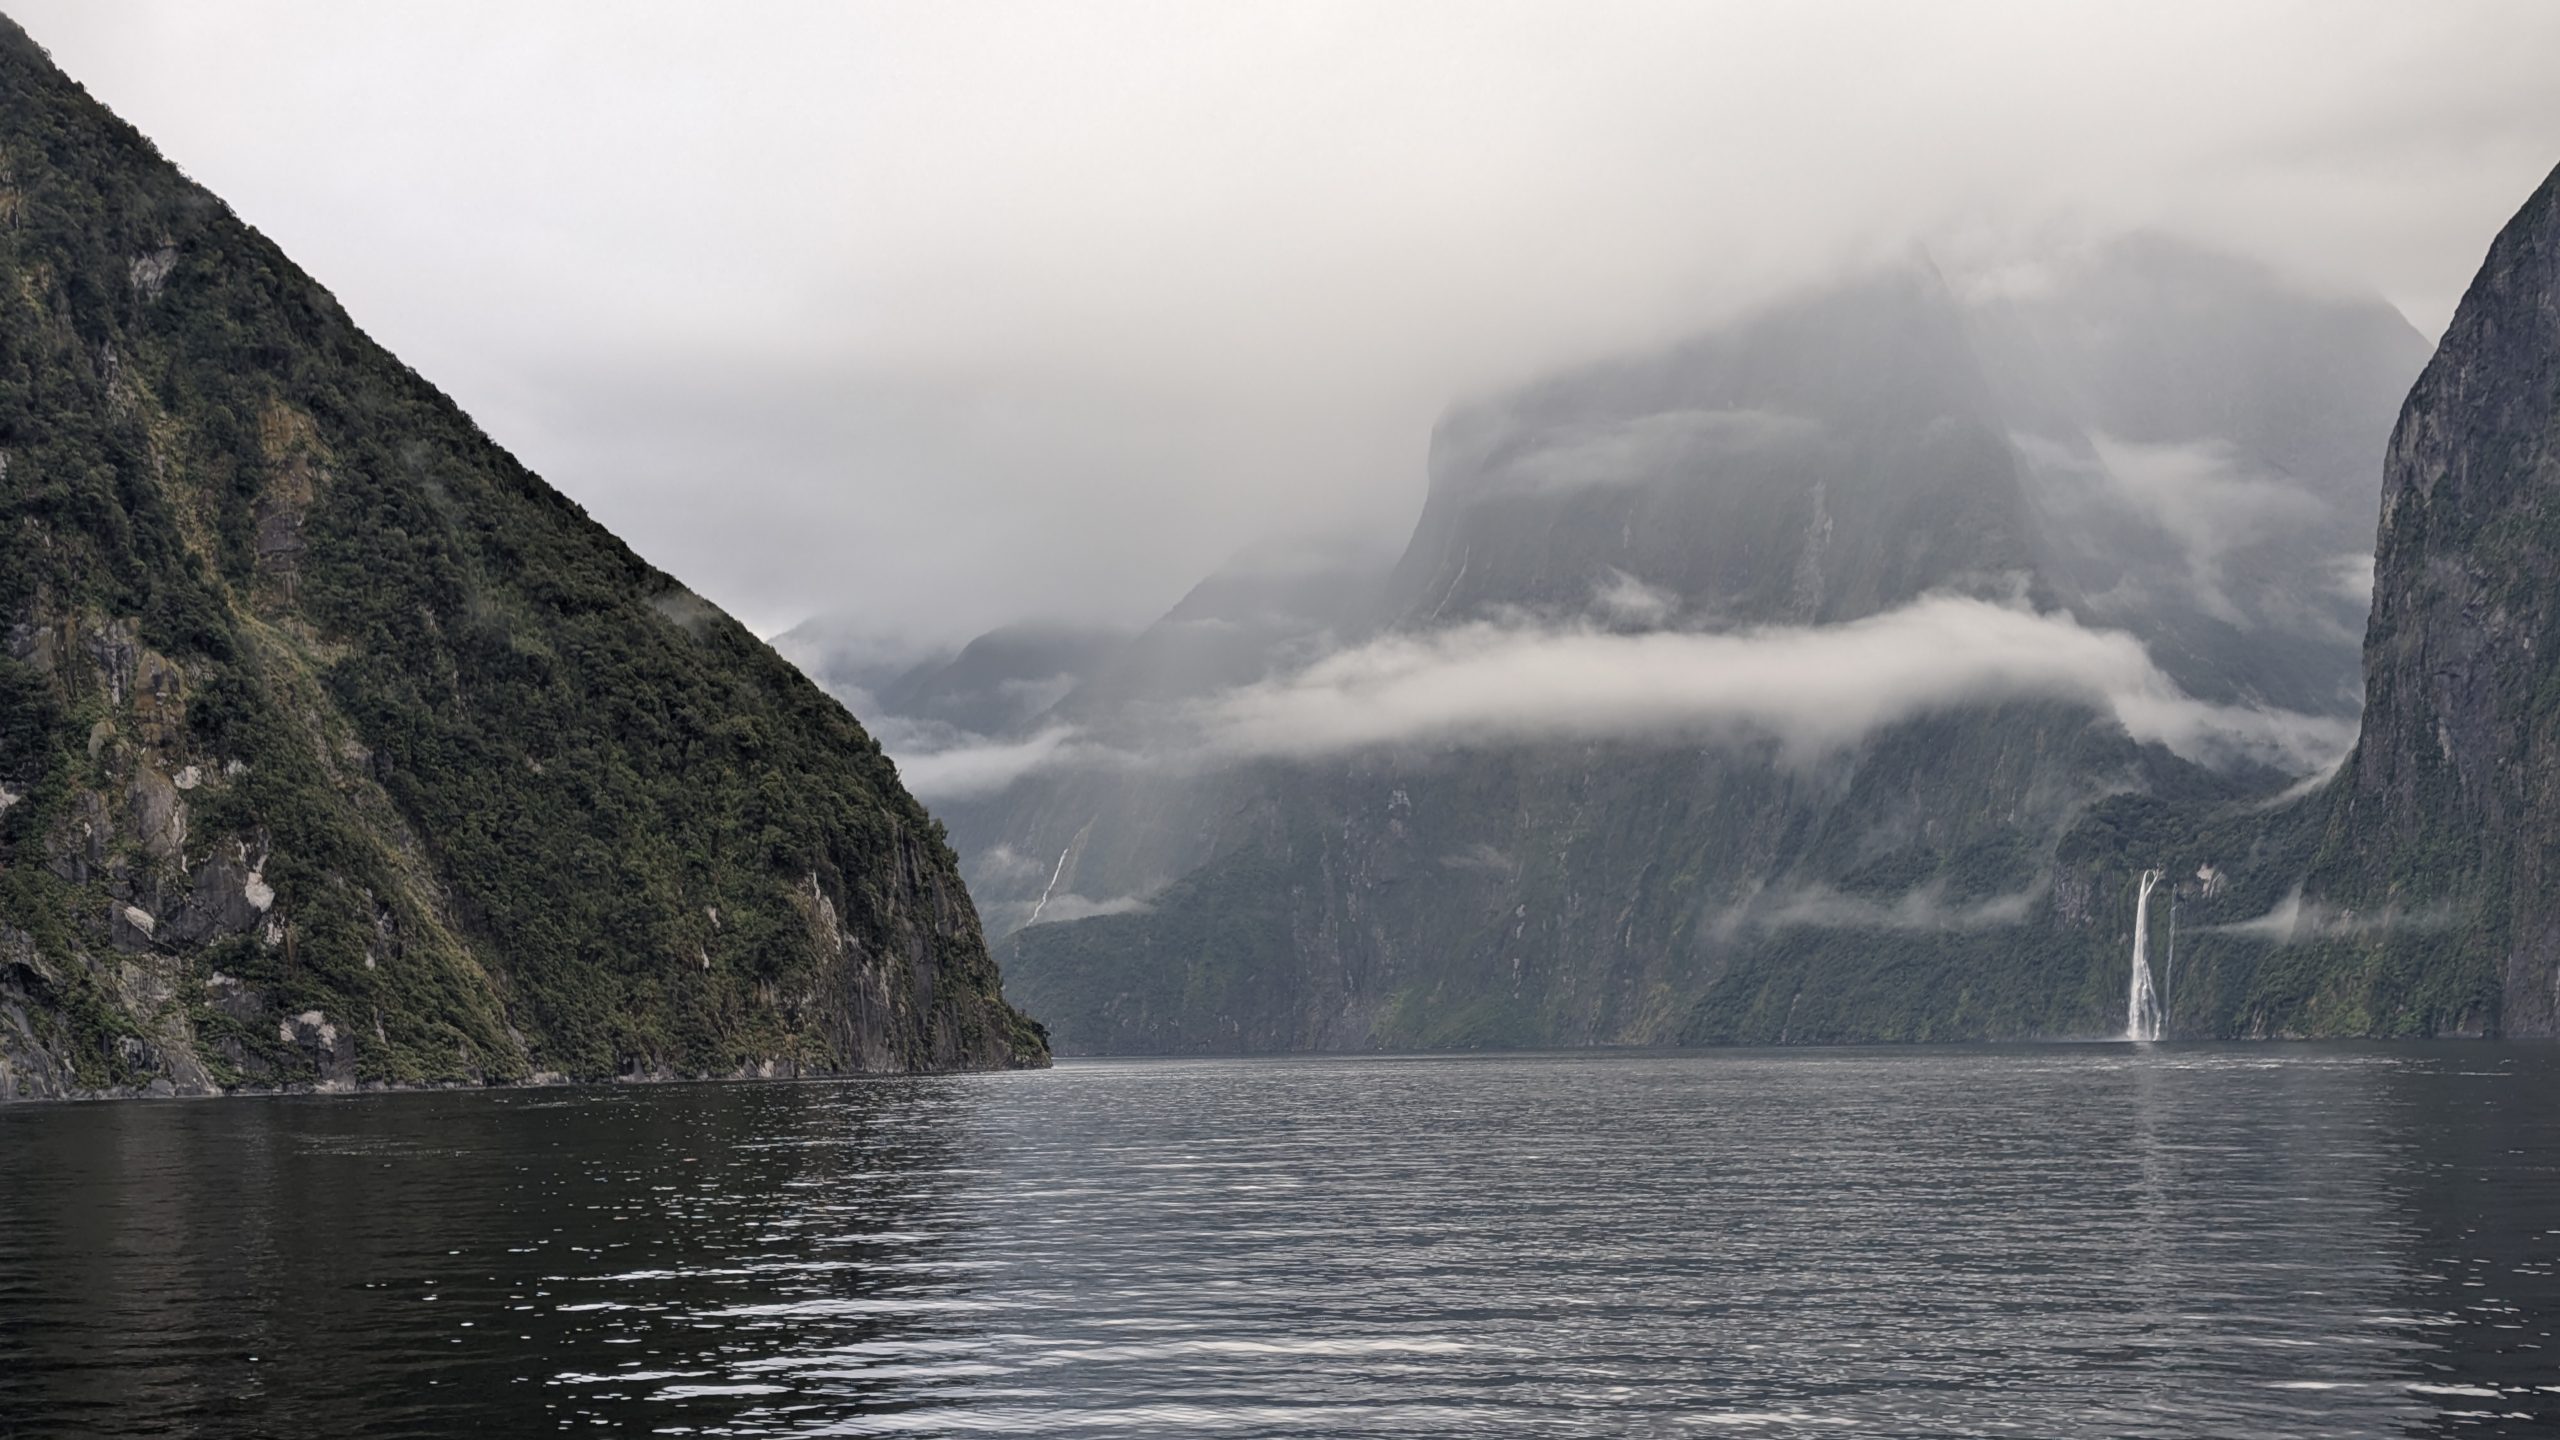
The weather was still very drippy with rain. We reached Seal Point, and it started to rain harder just as I was trying to take a video of the one fur seal that we saw. So far my wildlife score for the entire New Zealand trip was 1: for this fur seal.
A fur seal at Seal Point
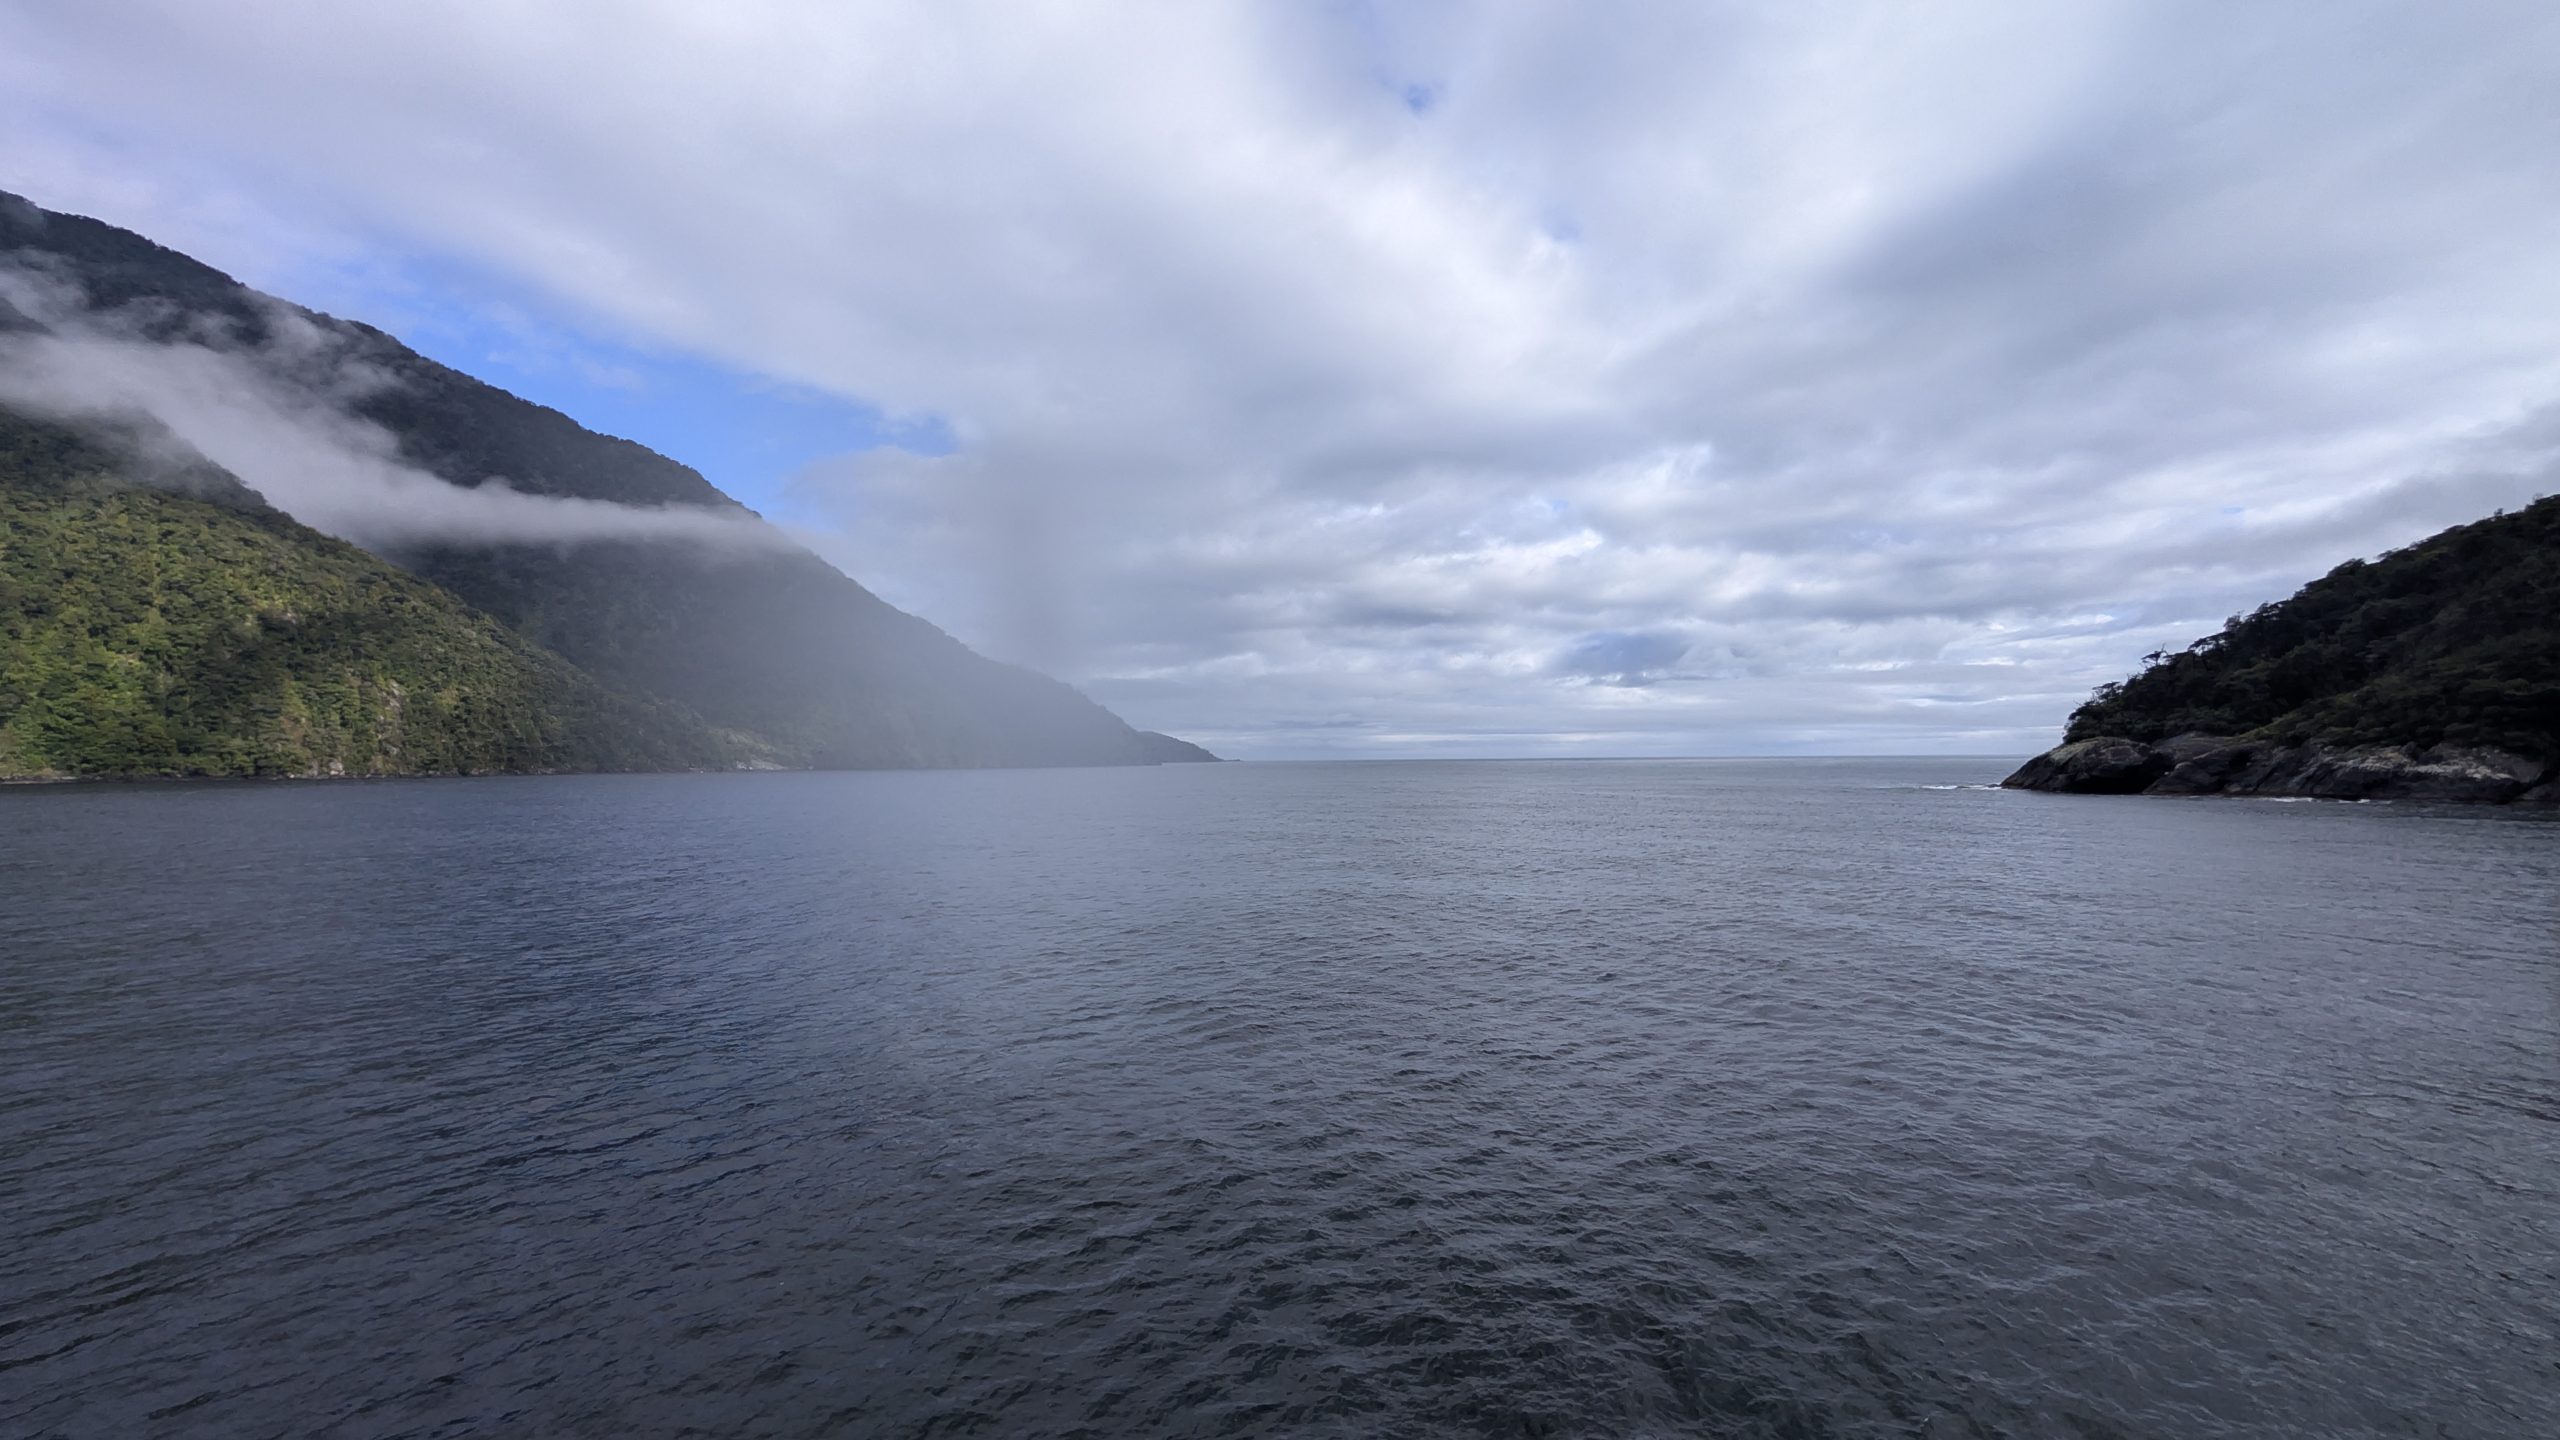
The rain finally stopped after we passed Seal Point, and the weather progressively got nicer.
A patch of sunlight
The boat turned around for the return trip as it approached the opening to the Tasman Sea. We experienced some rocking with the waves coming in from the sea.
Turn around point at the opening to the Tasman Sea
We had some interesting lighting as the sun tried to break through the clouds.
Start of the return trip back into the sound
More nice waterfalls
And even more
We stopped at Stirling Falls, where the boat came as close as possible to the falls and let people get wet from the spray if they desired. I was already wet but chose to stay on the top deck for photos and videos.
Stirling Falls
Stirling Falls close up
After we left the falls, the weather improved rapidly and we finally had large patches of blue sky.
Stirling Falls, and lots of blue sky
Clearing clouds
We passed close to Bowen falls before returning to the harbor.
Bowen Falls, mountains, and pretty blue sky
Bowen Falls
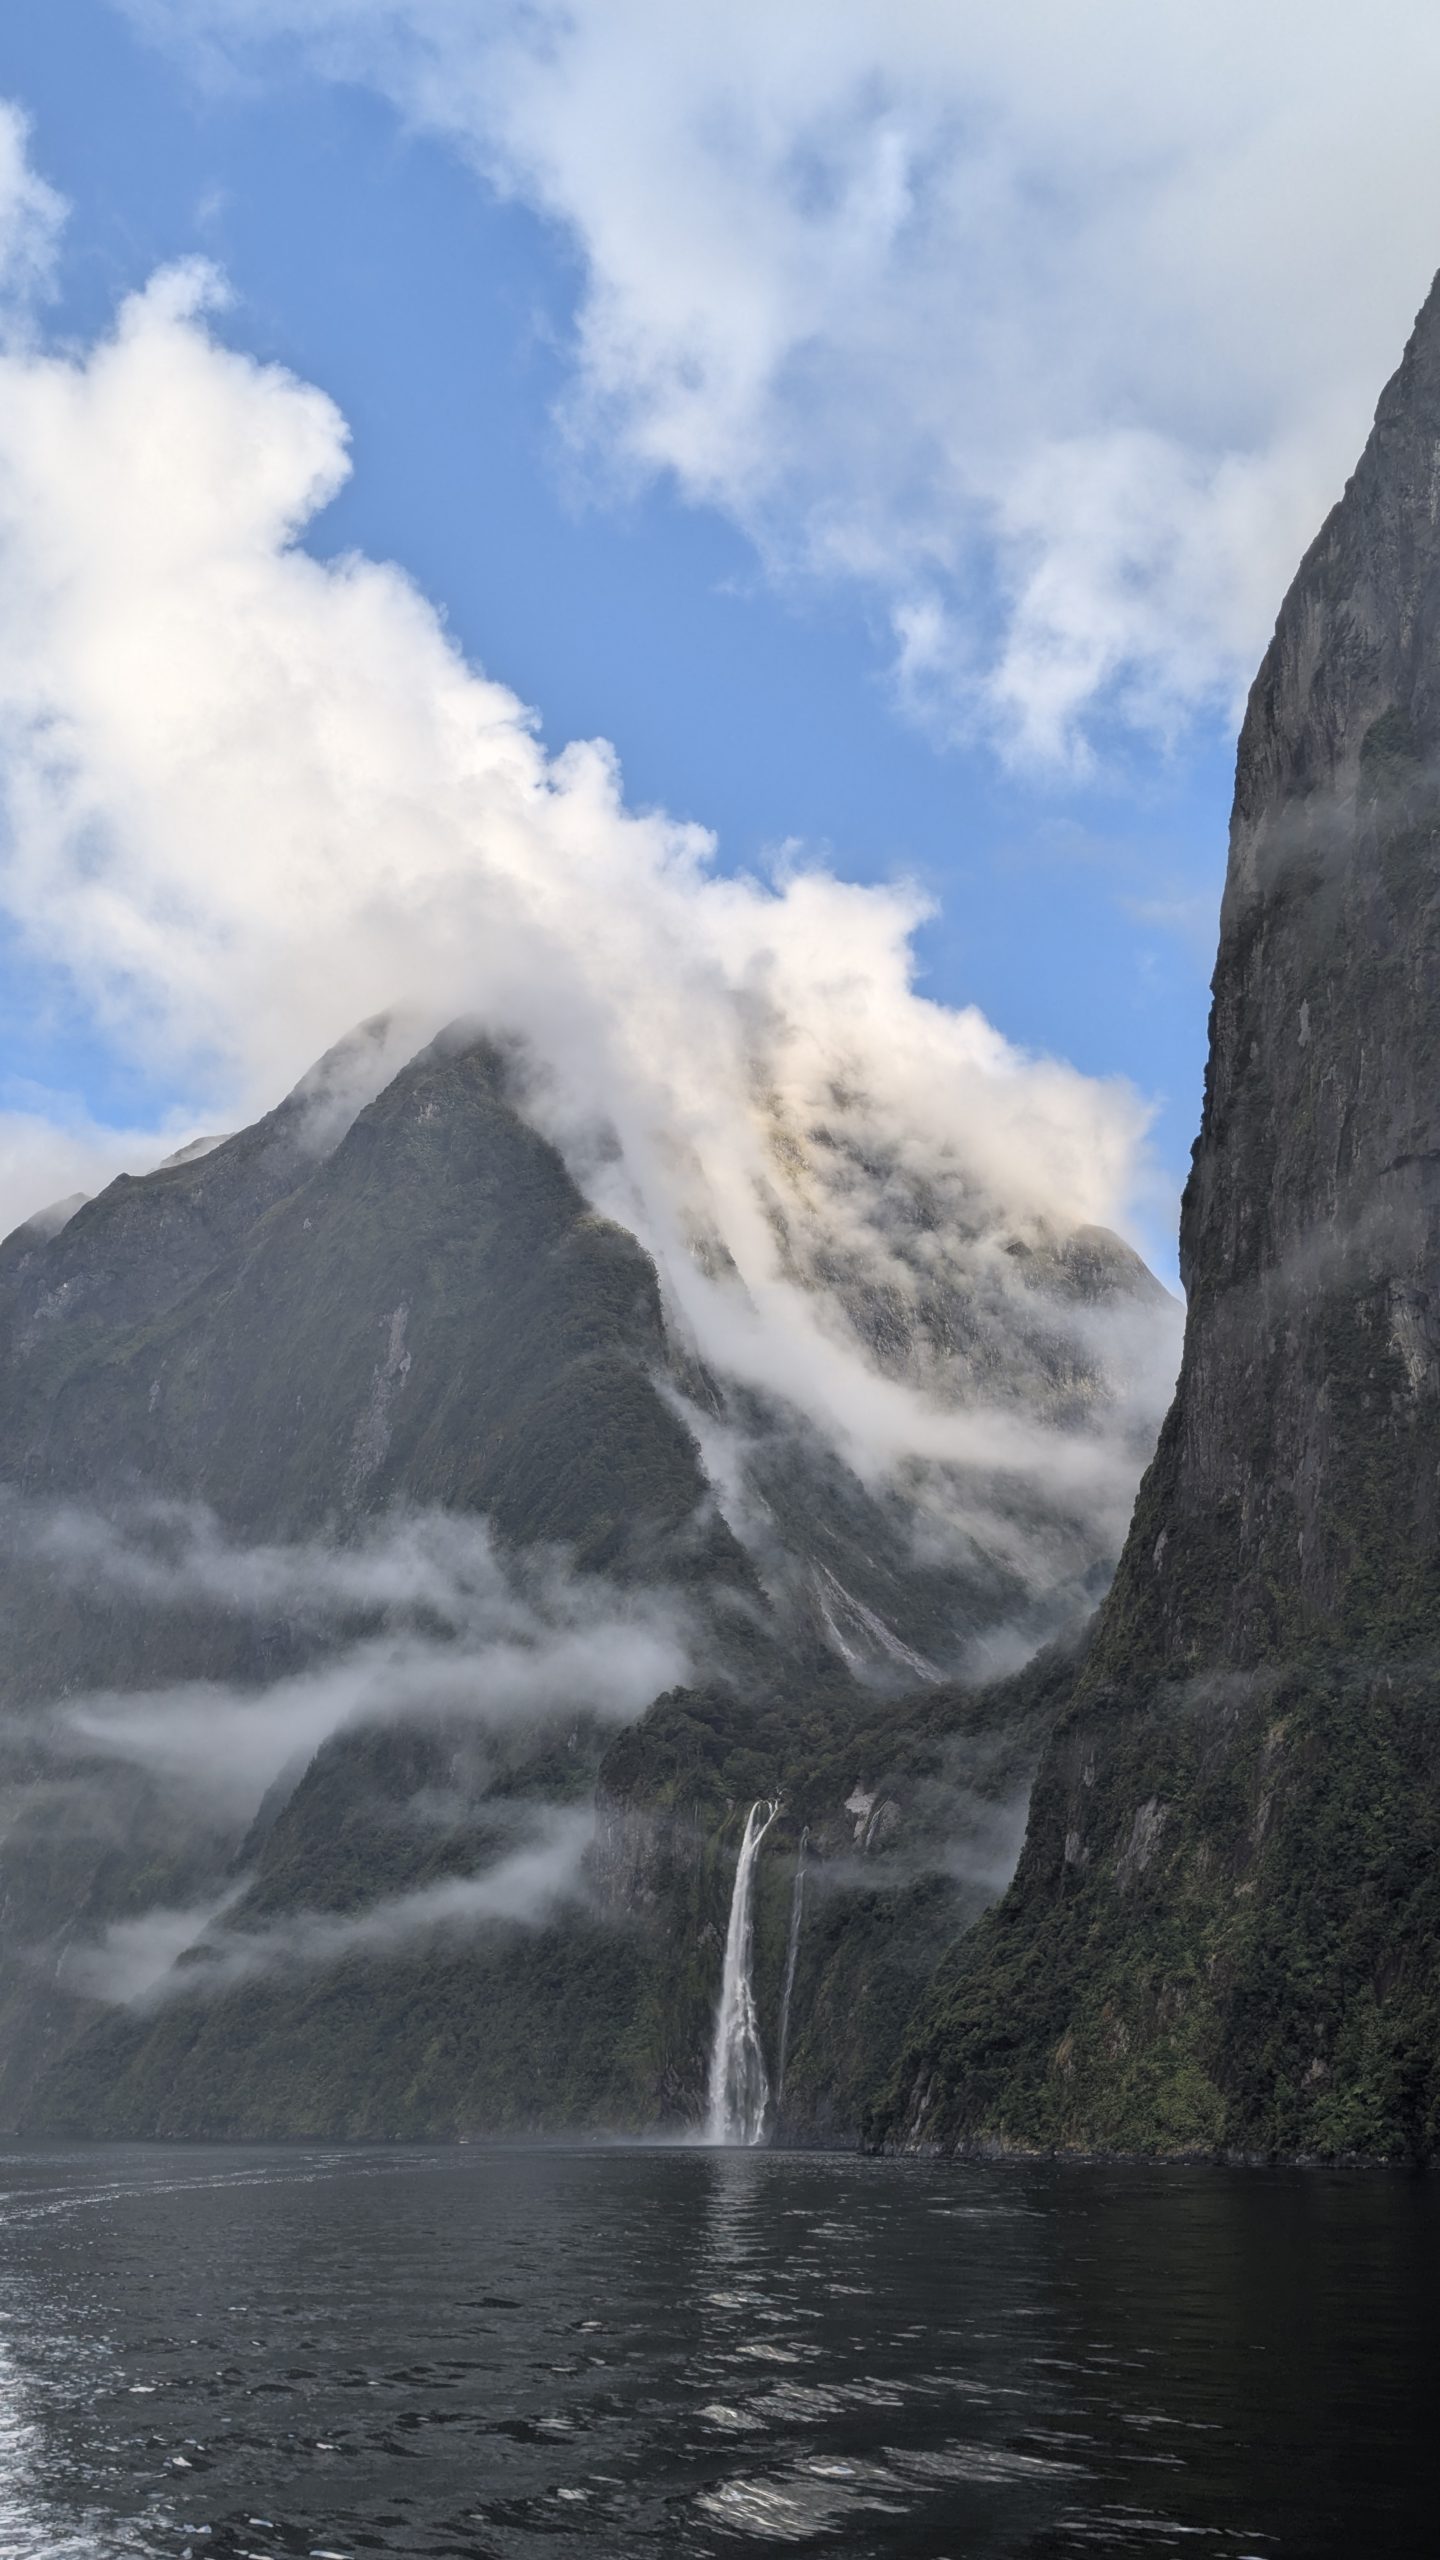
And at the very end we had a pretty good, but not perfect, view of Mitre Peak.
Mitre Peak view on our return to the harbor
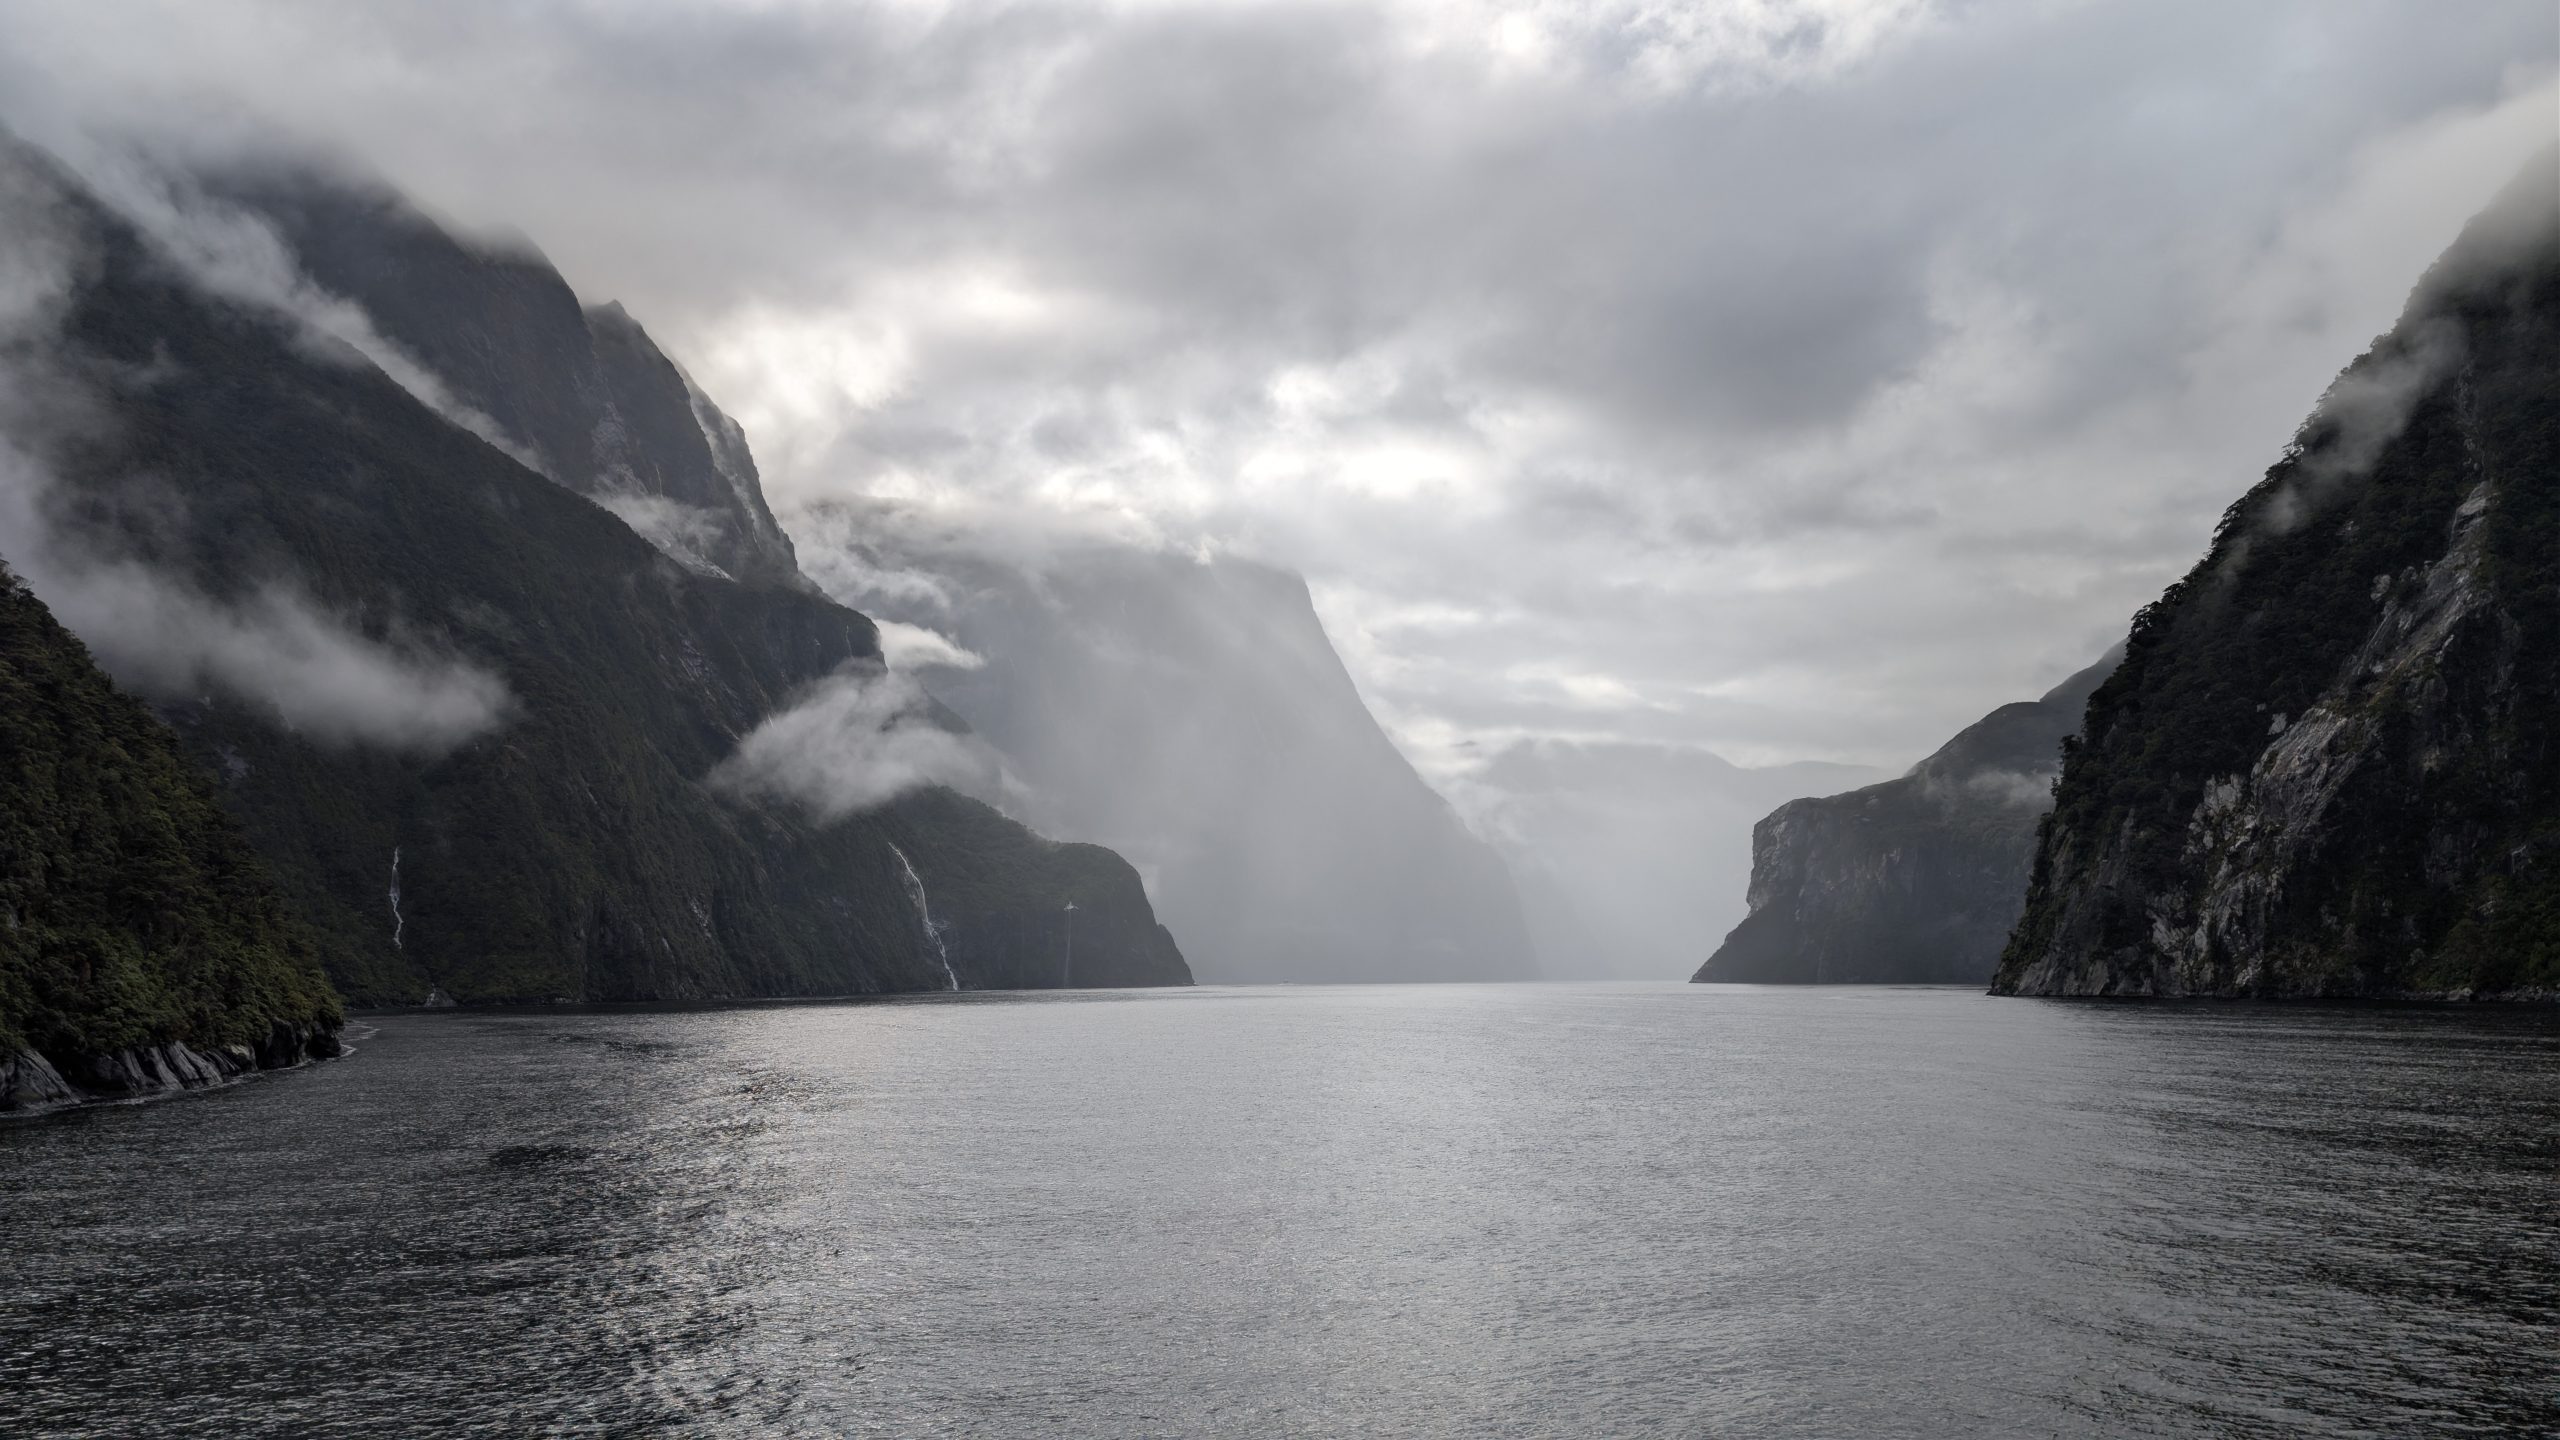
This was our third boat ride on Milford Sound, and all three were different: the first trip in 2019 was cloudy with no rain and very few waterfalls due to little previous rain. The second trip in 2023 we had clear blue sky with very few clouds, great views of the peaks, but again few waterfalls due to little previous rain. On this third trip we had the entire mix of weather conditions starting with drizzle, then rain, and then clearing with blue sky at the end. And this trip won the prize for the most waterfalls.
End of the Milford Sound cruise
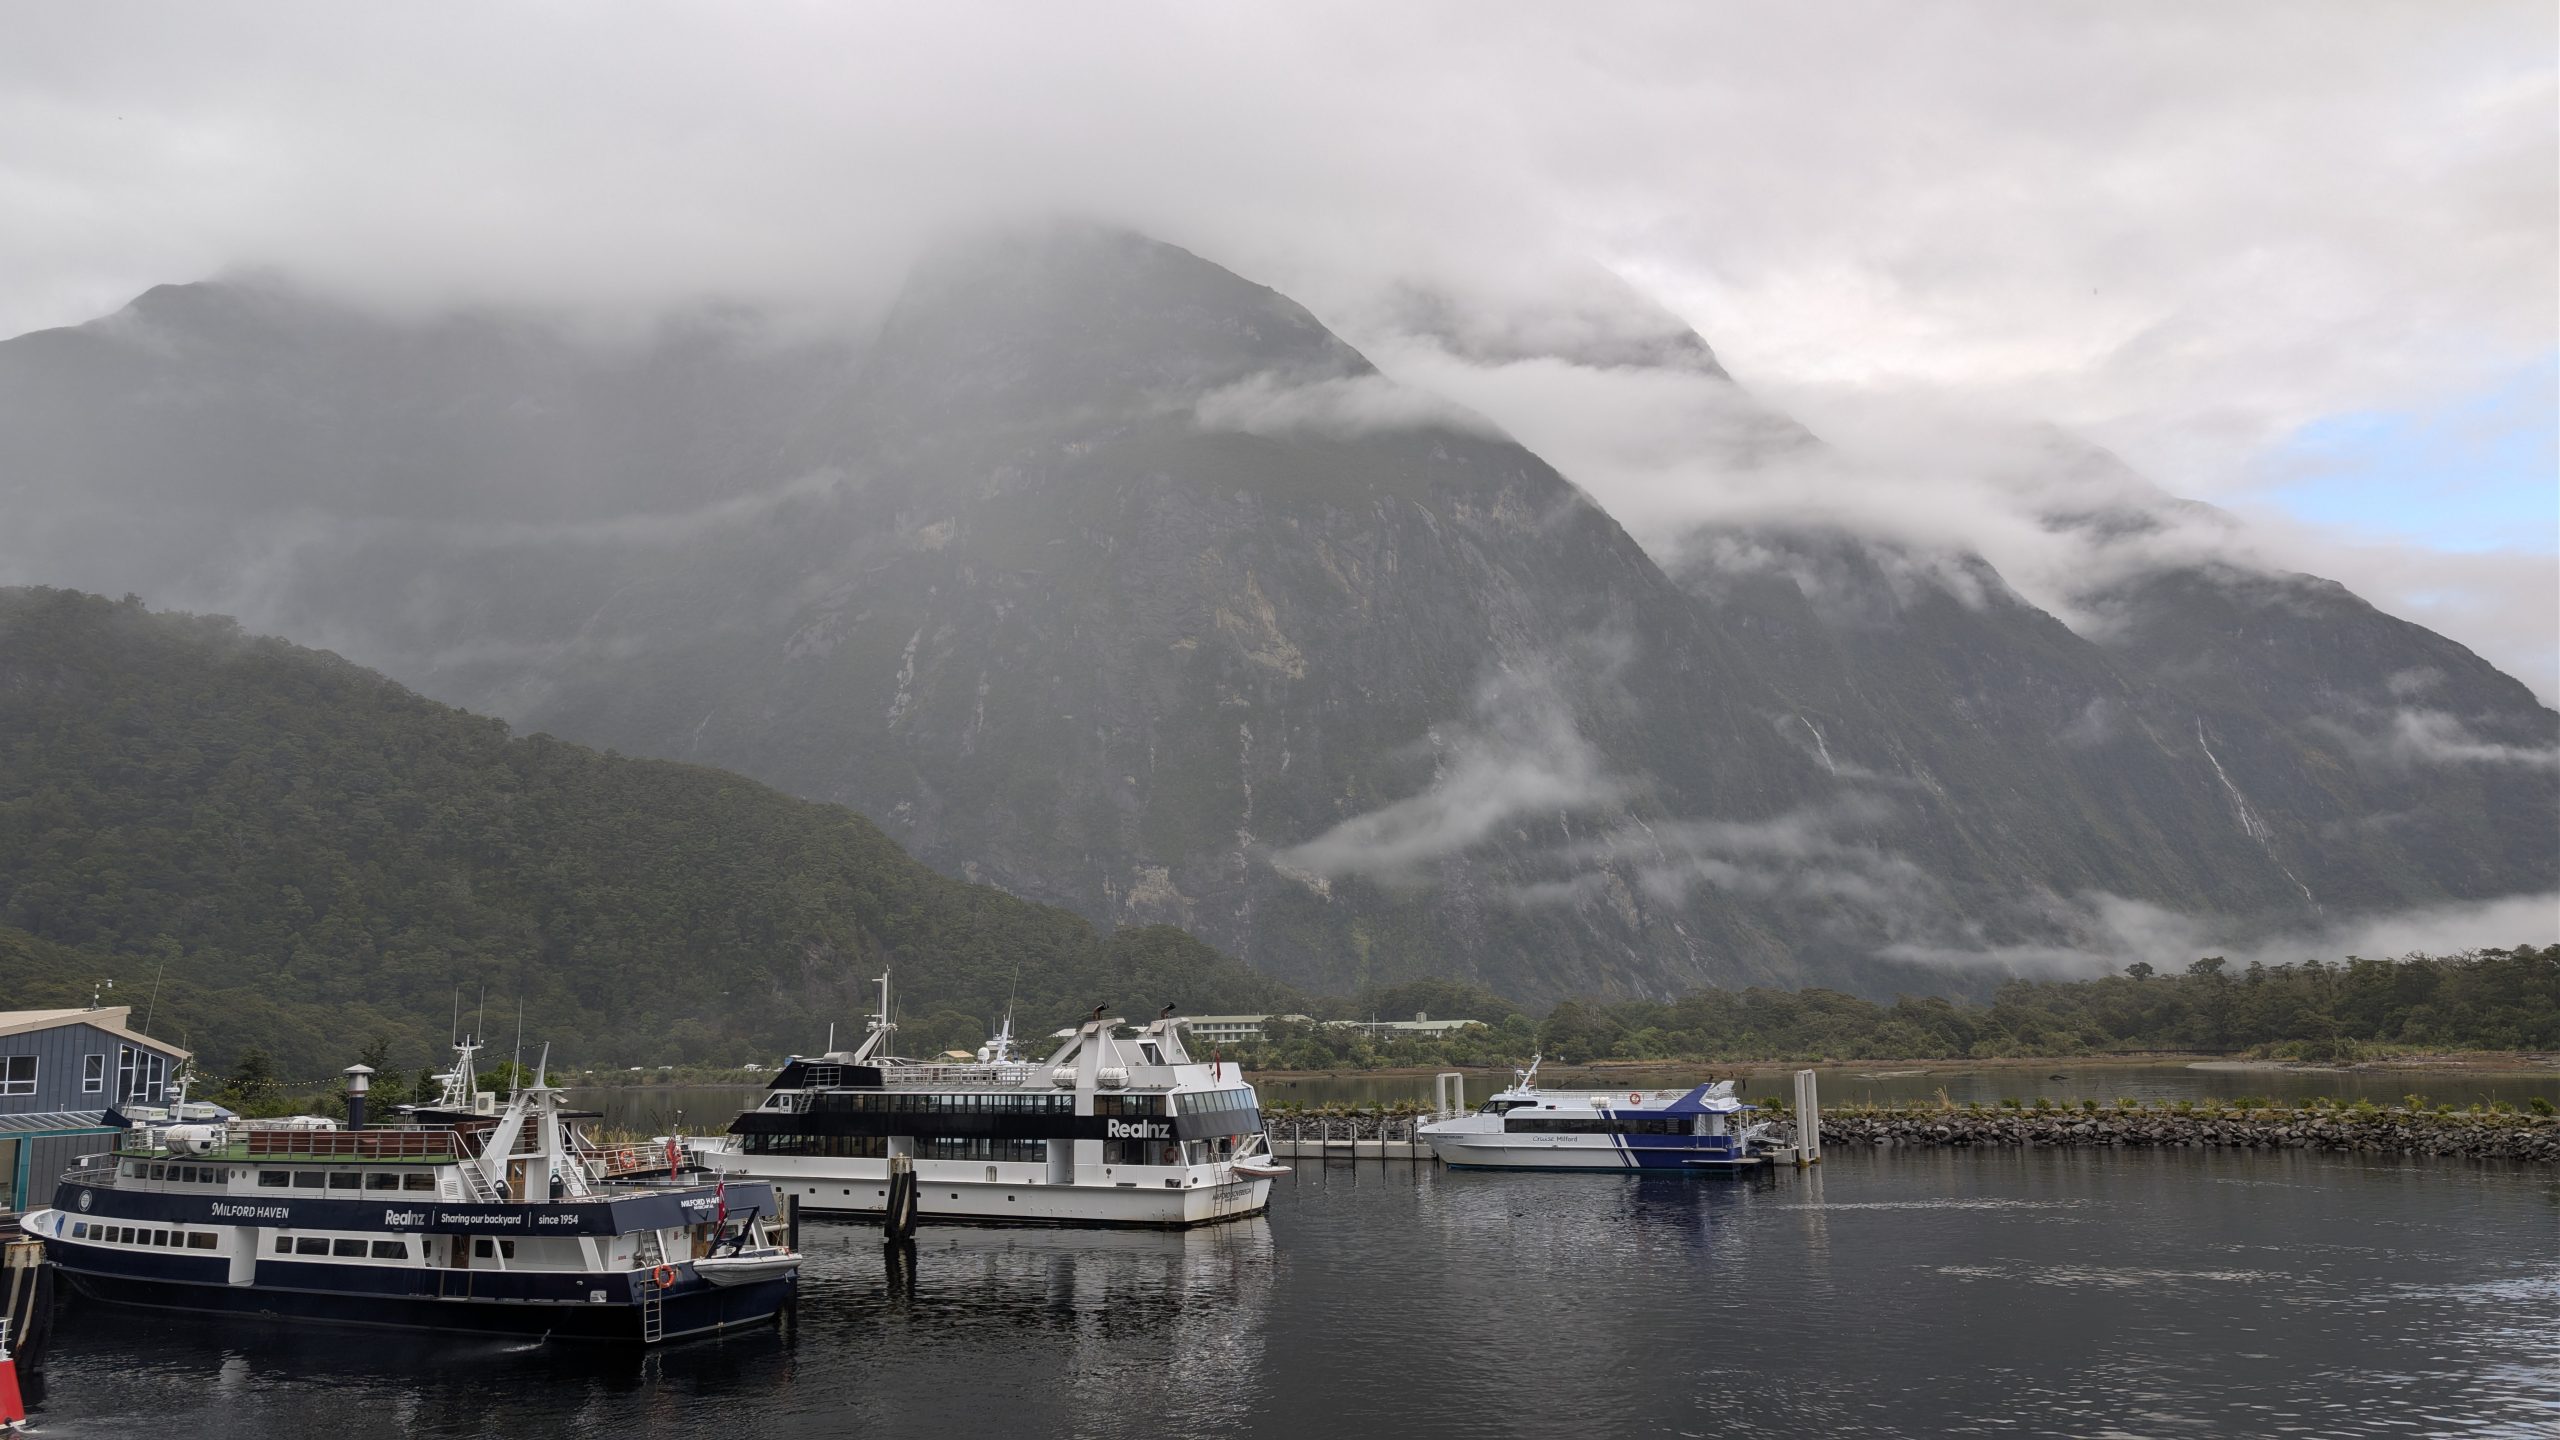
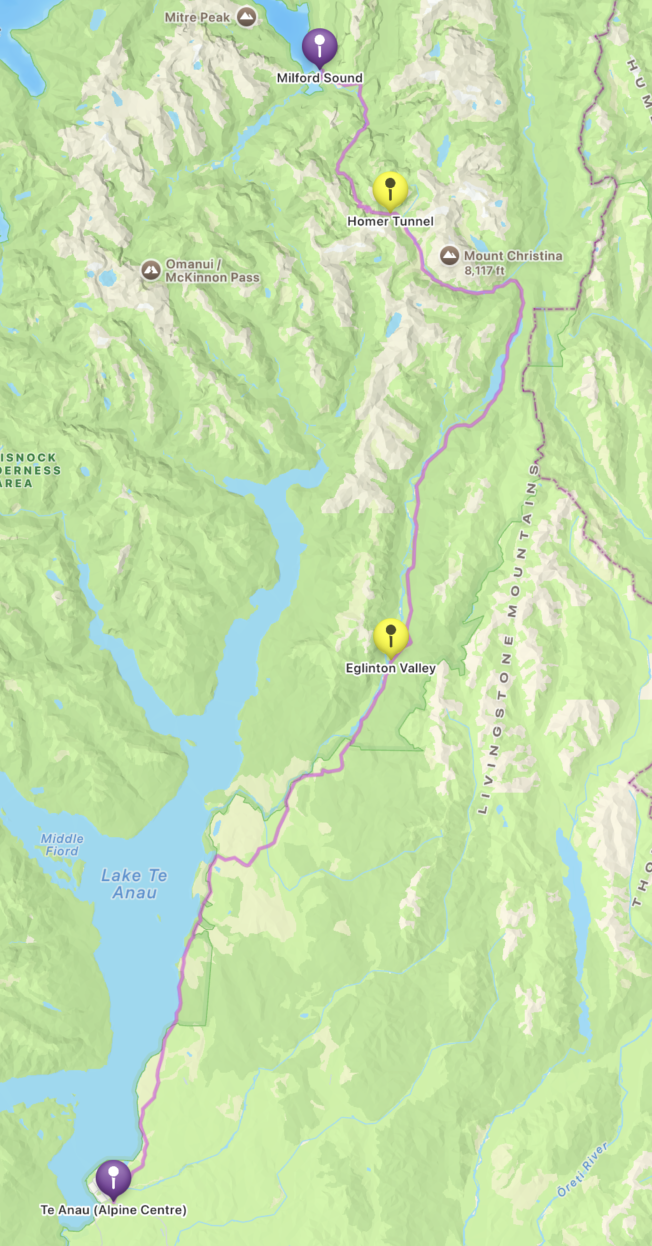
After the cruise we boarded the bus for the 90-minute trip back to Te Anau.
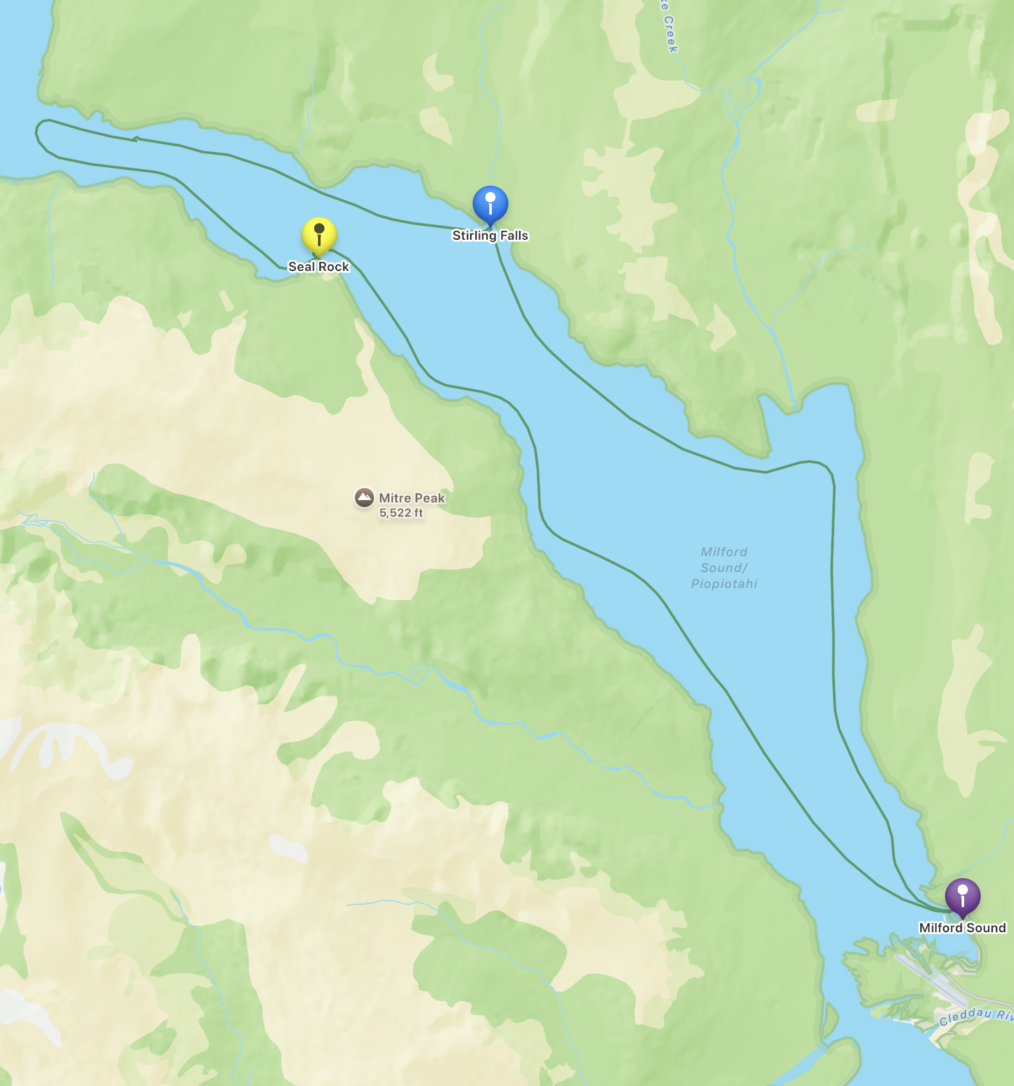
Map: Day 20 (Back to Te Anau)
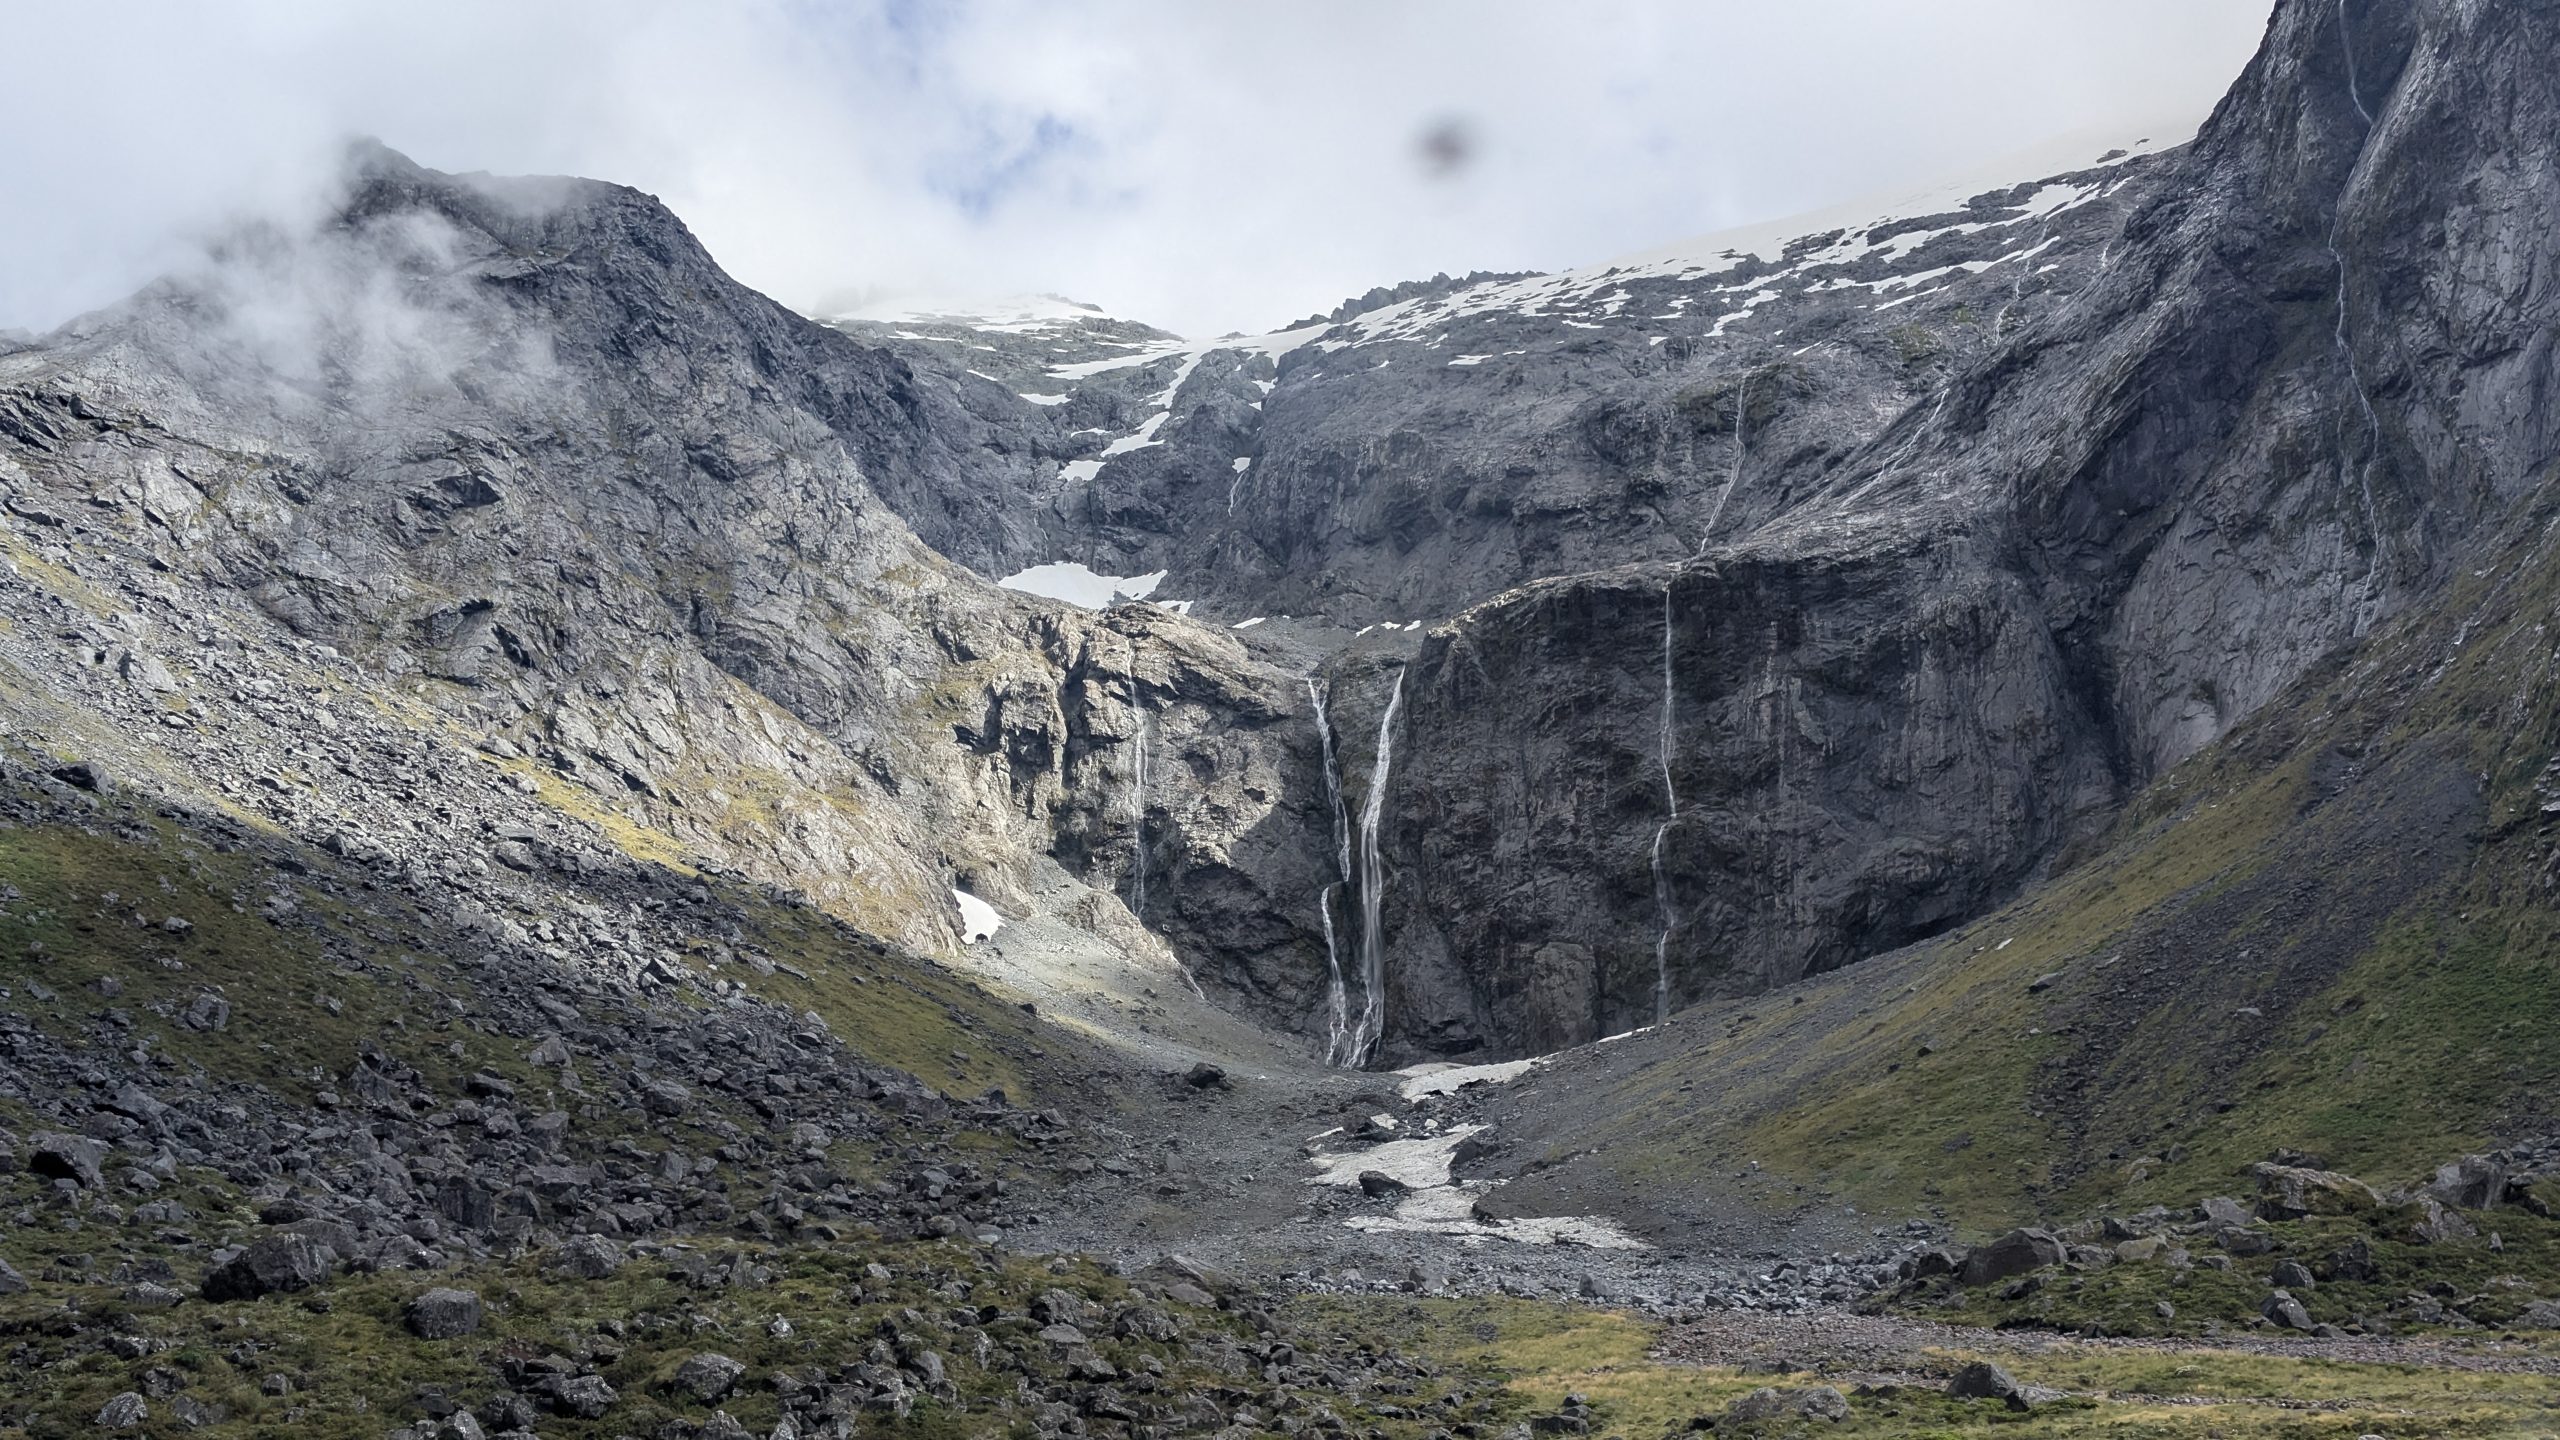
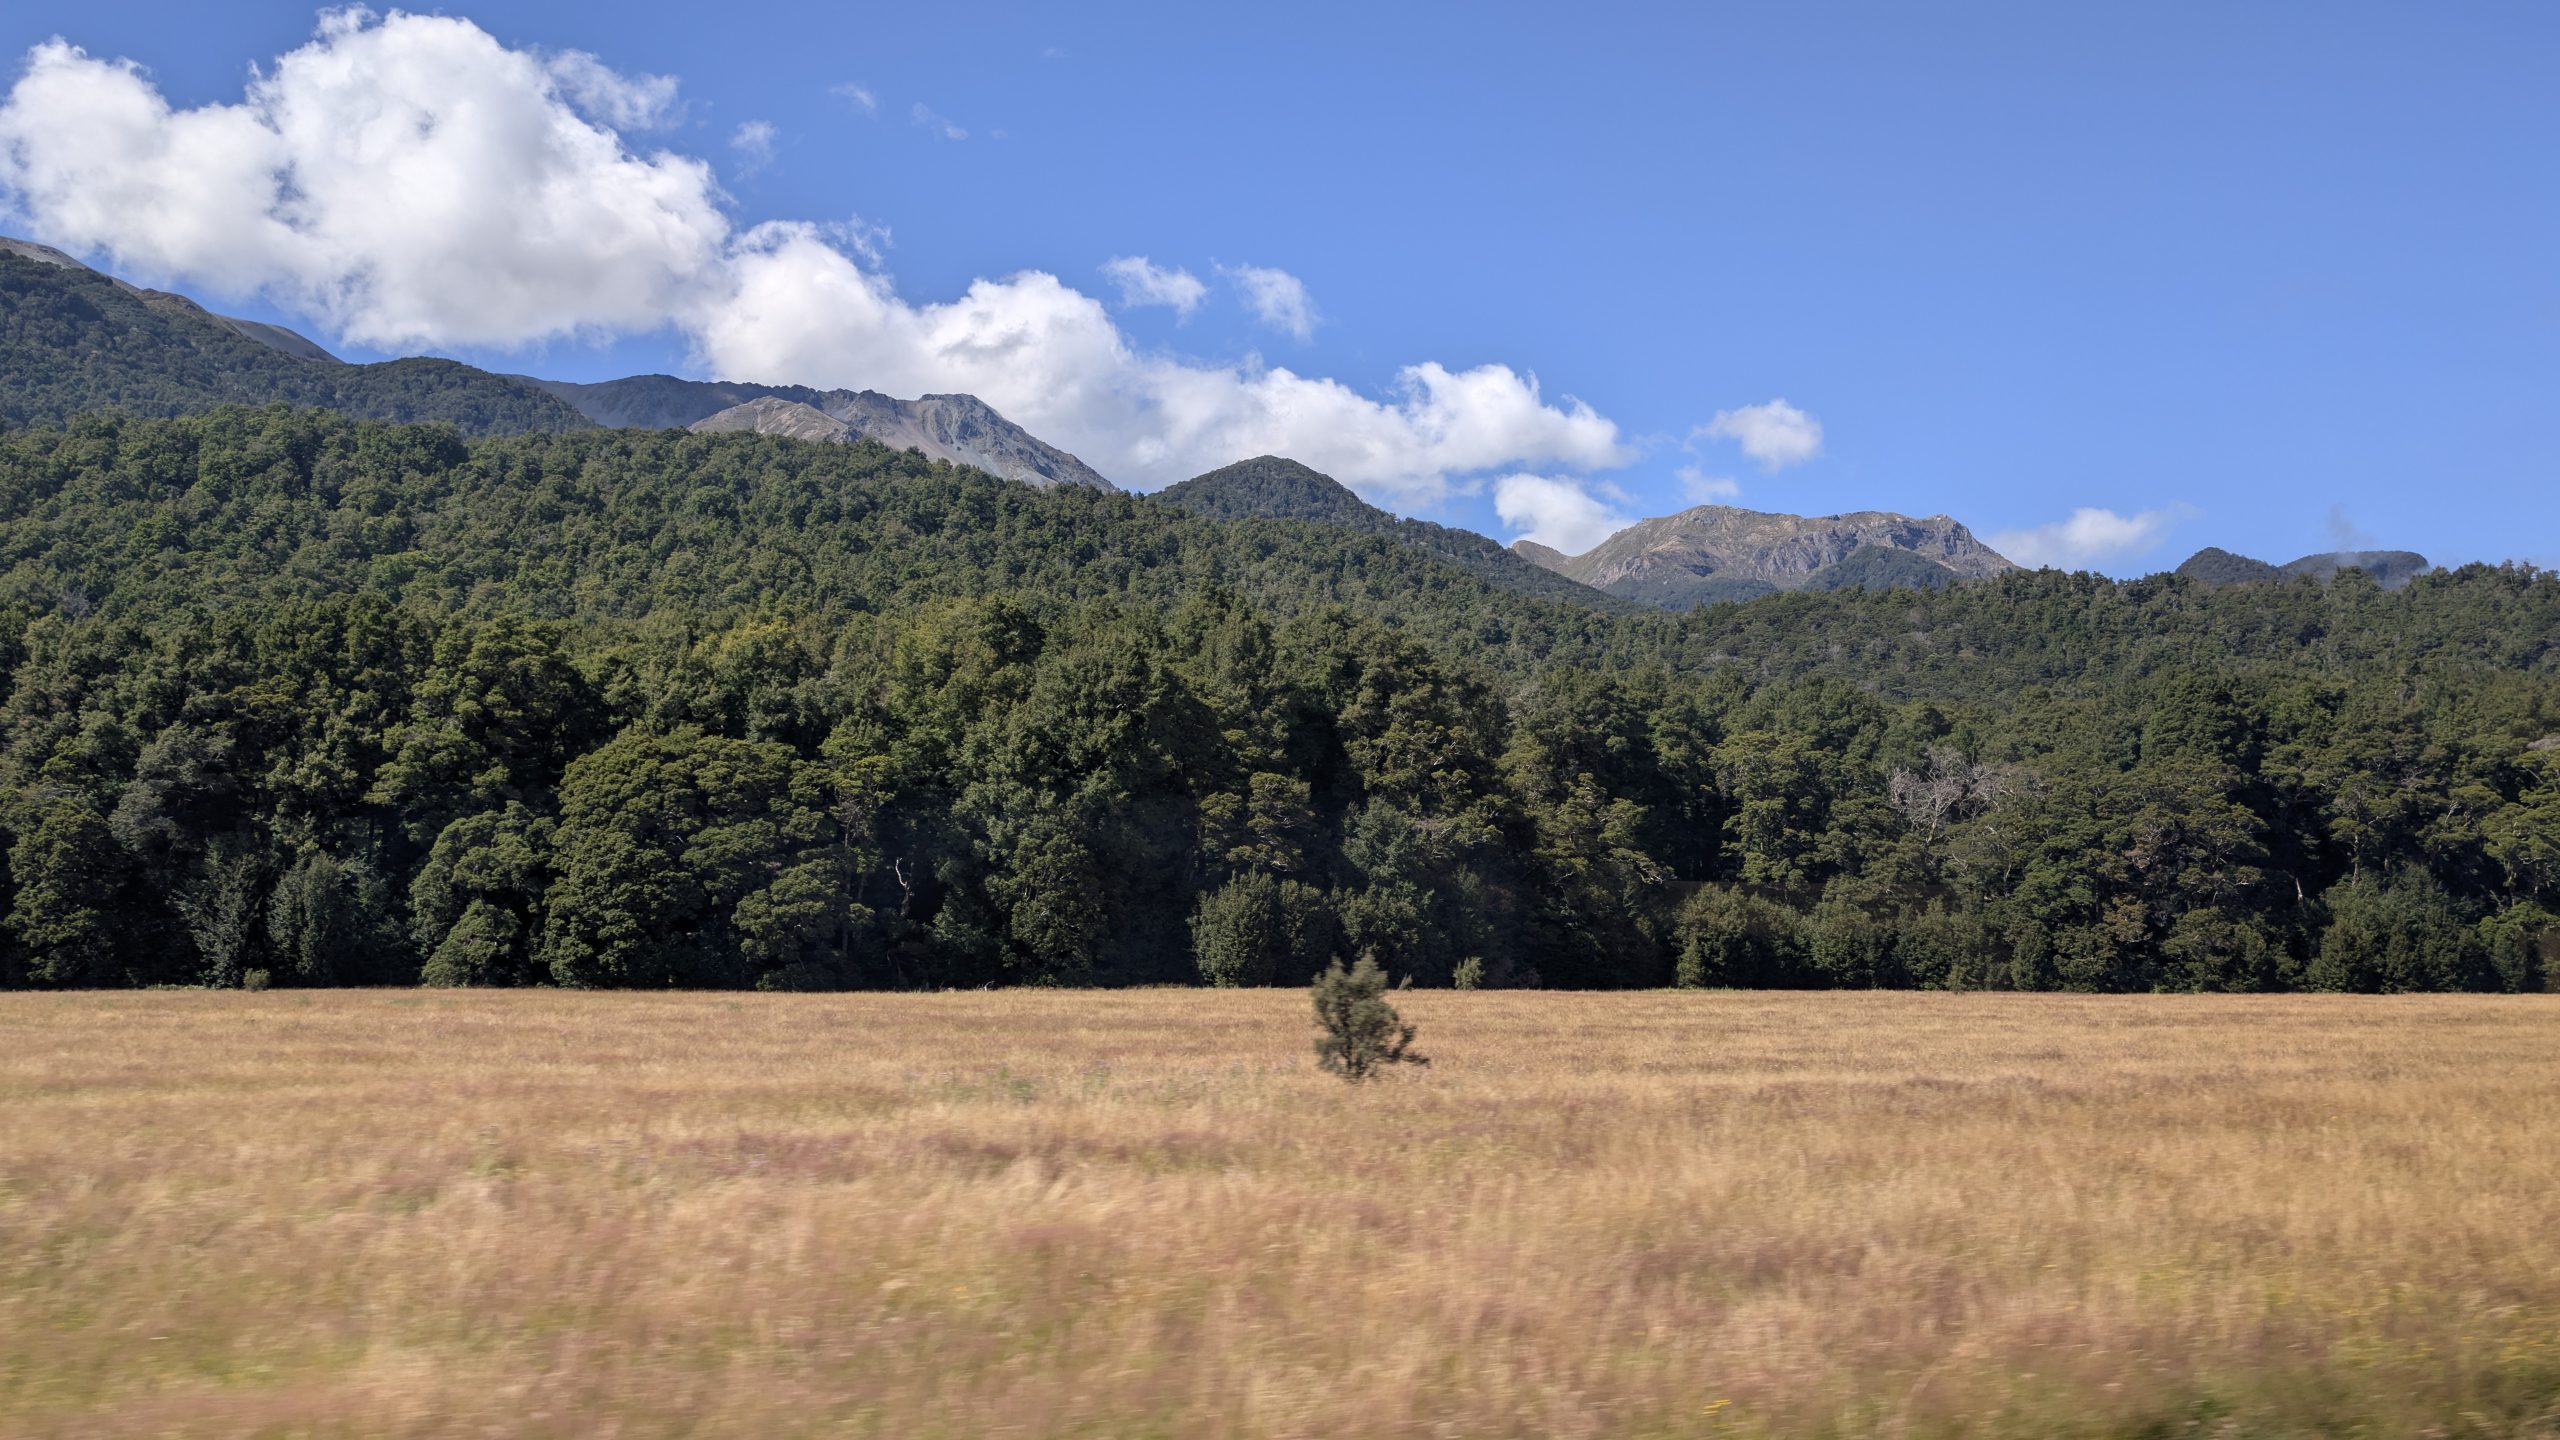
I took many photos from the bus window, but most are very good due to the reflection of my phone on the window. Below are a couple of the good ones.
Waterfalls from the east entrance of the Homer TunnelEglinton Valley
Shortly before 1 PM, we returned to the Alpine Centre at Te Anau, where we said goodbye to our guides and the others that were continuing on the bus to Queenstown. Graham drove us back to the Te Anau Lakeview Holiday Park where we picked up our stored car and luggage. And then we bid farewell to Graham as our trip plans diverged at that point. We would be meeting him again in March to experience the geysers around Rotorua on the North Island.
Since it was too early to check into our motel, Heinrich and I drove to the Te Anau bird sanctuary, and we found a picnic table to eat our sandwiches for lunch. The table was near the Antipodes Parakeets enclosure, and we watched the workers set up new tree branches inside the enclosure for the parakeets to nibble on the leaves.
Parakeet enjoying a new branch of leaves
One of the workers looked familiar to me, and I called out to her: did you by any chance work here in 2019? She responded yes! It was the same person who had given us a tour of the bird sanctuary, and I had taken an extended video of her feeding the takahē and explaining their behavior. Unfortunately those tours were no longer given due to lack of staffing.
I also asked her how the newborn takahē chick was doing. And sadly we found out that the chick had died shortly after hatching. She was hopeful that the pair would breed again soon.
We finished our lunch and then walked over to see the takahē one more time.
Adult takahē and chick
Afterwards we drove over to the Alpine View Motel to check in. We had a one-bedroom apartment with a kitchenette. The motel was closer to downtown Te Anau and a 2-block walk to the lake.
Next we went shopping at the Fresh Choice supermarket to stock up on a new round of food for a few days.
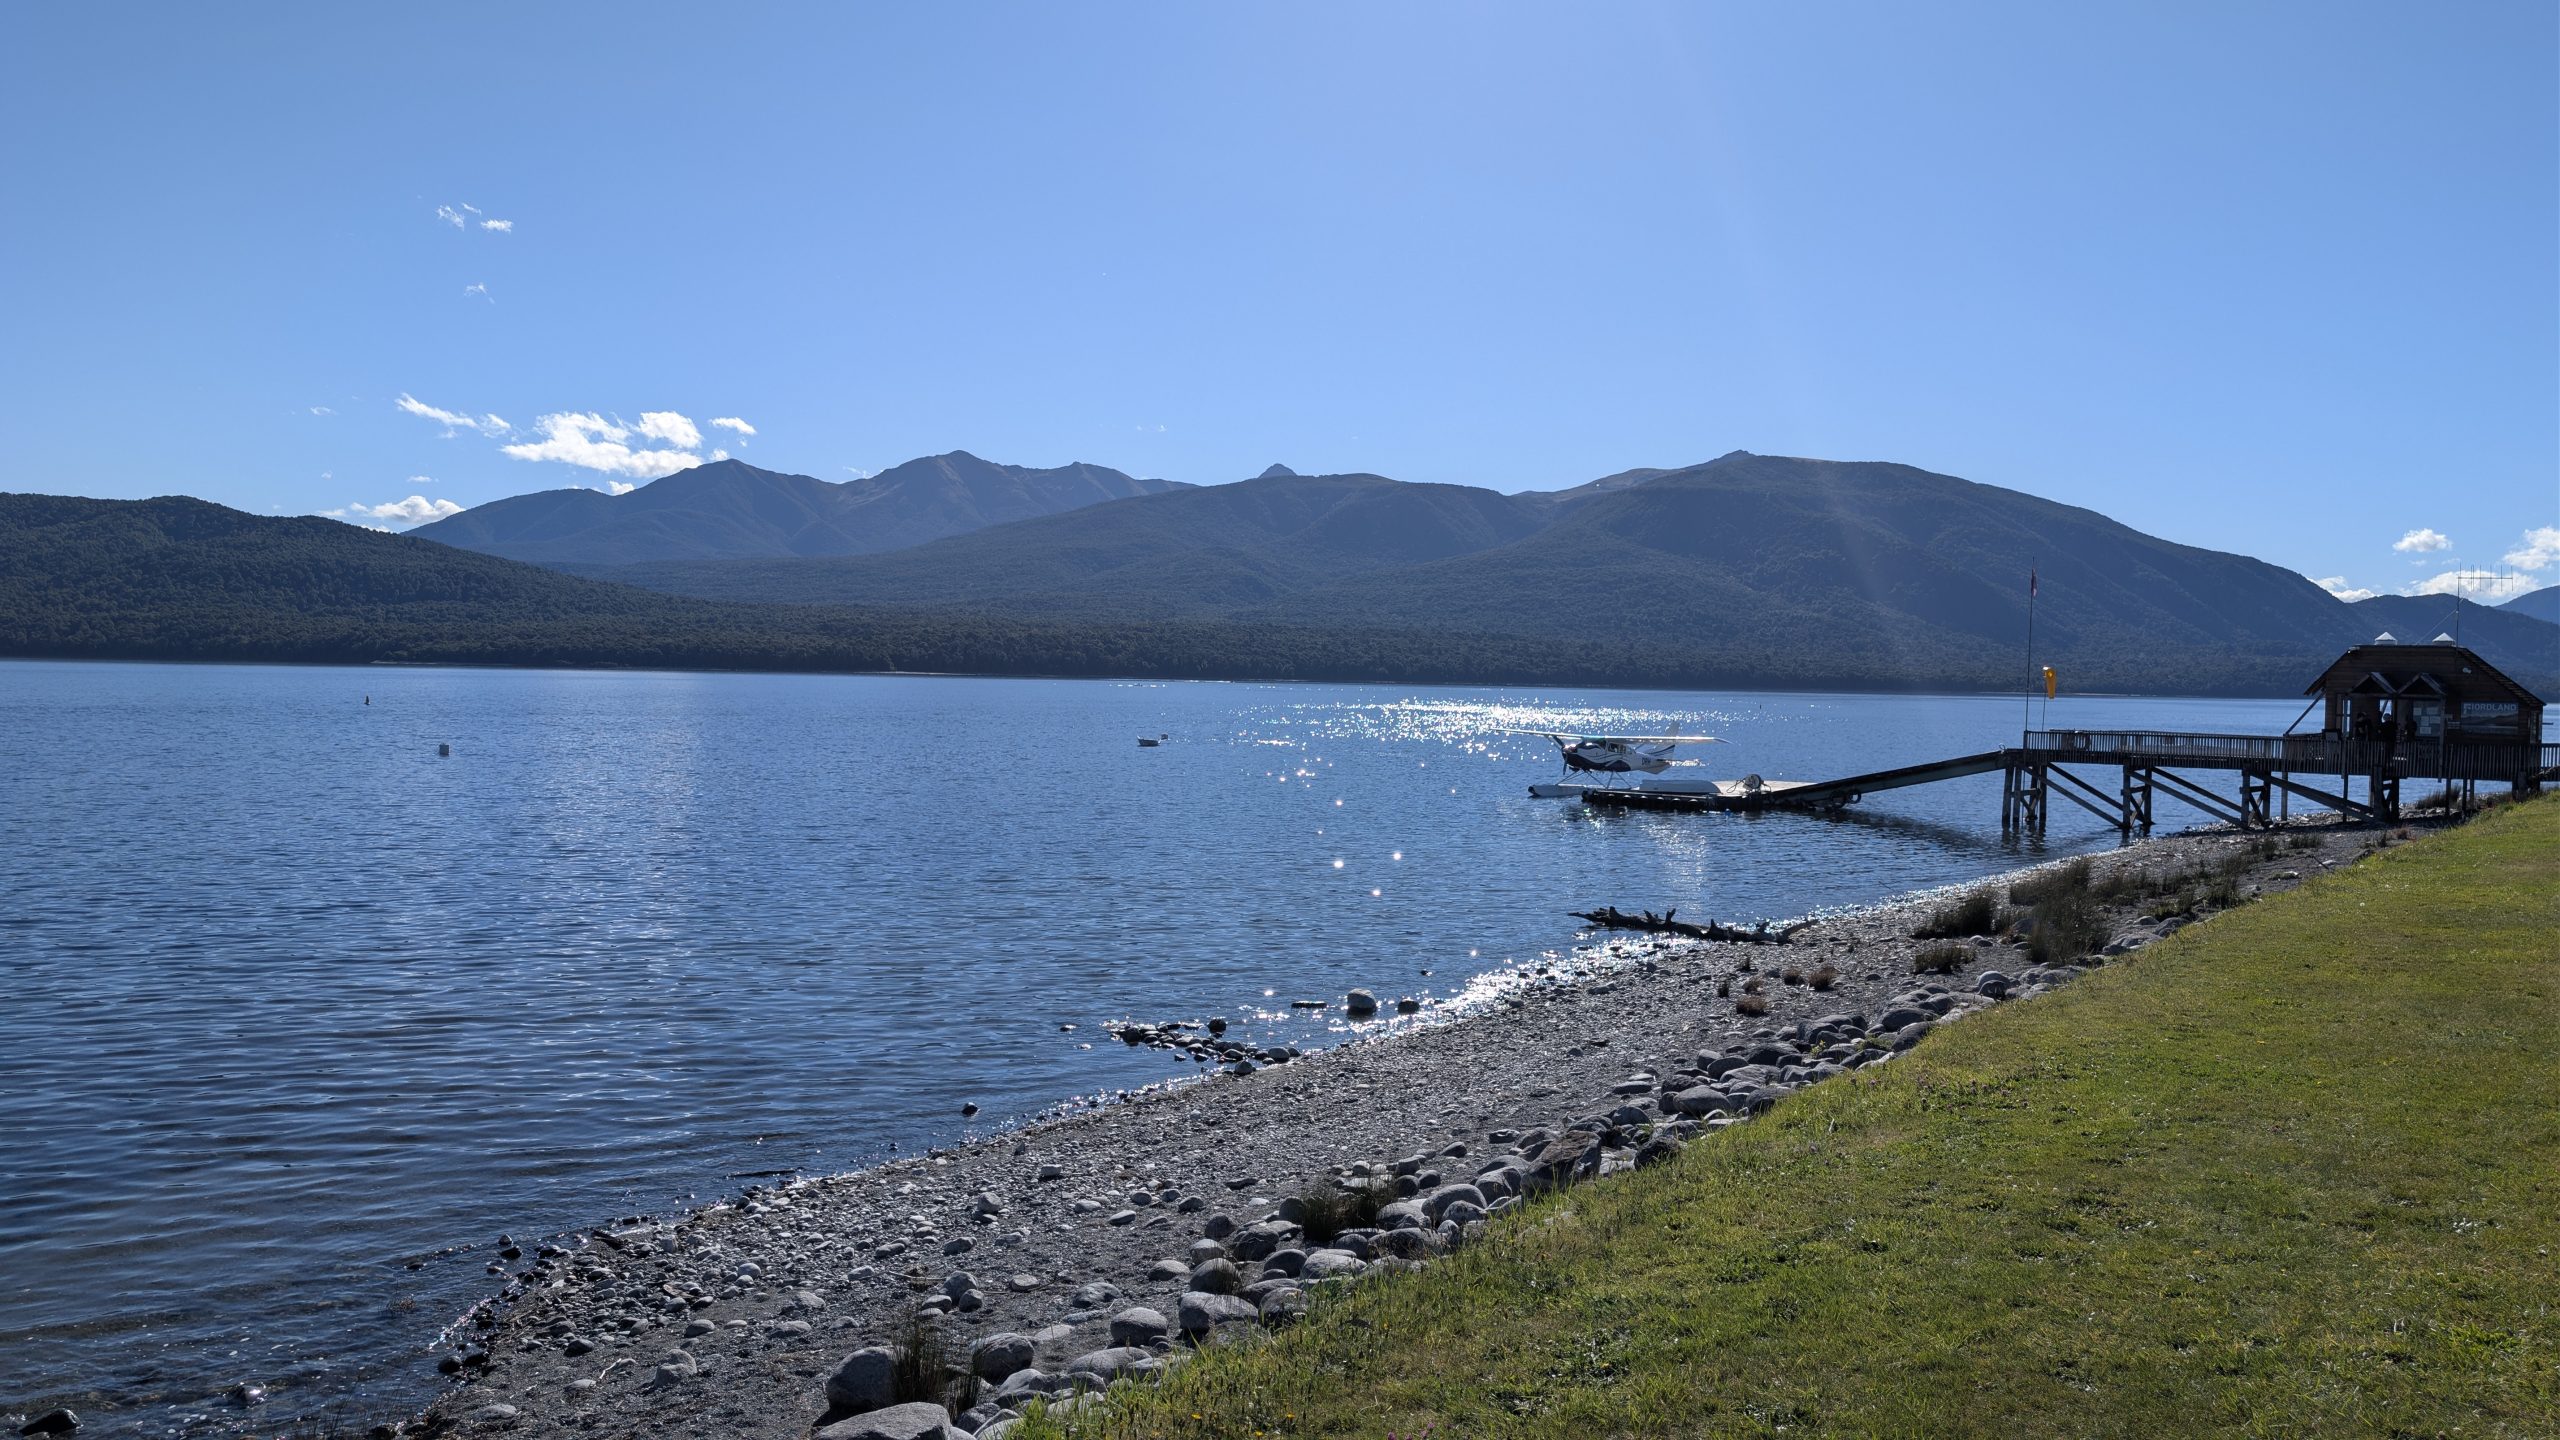
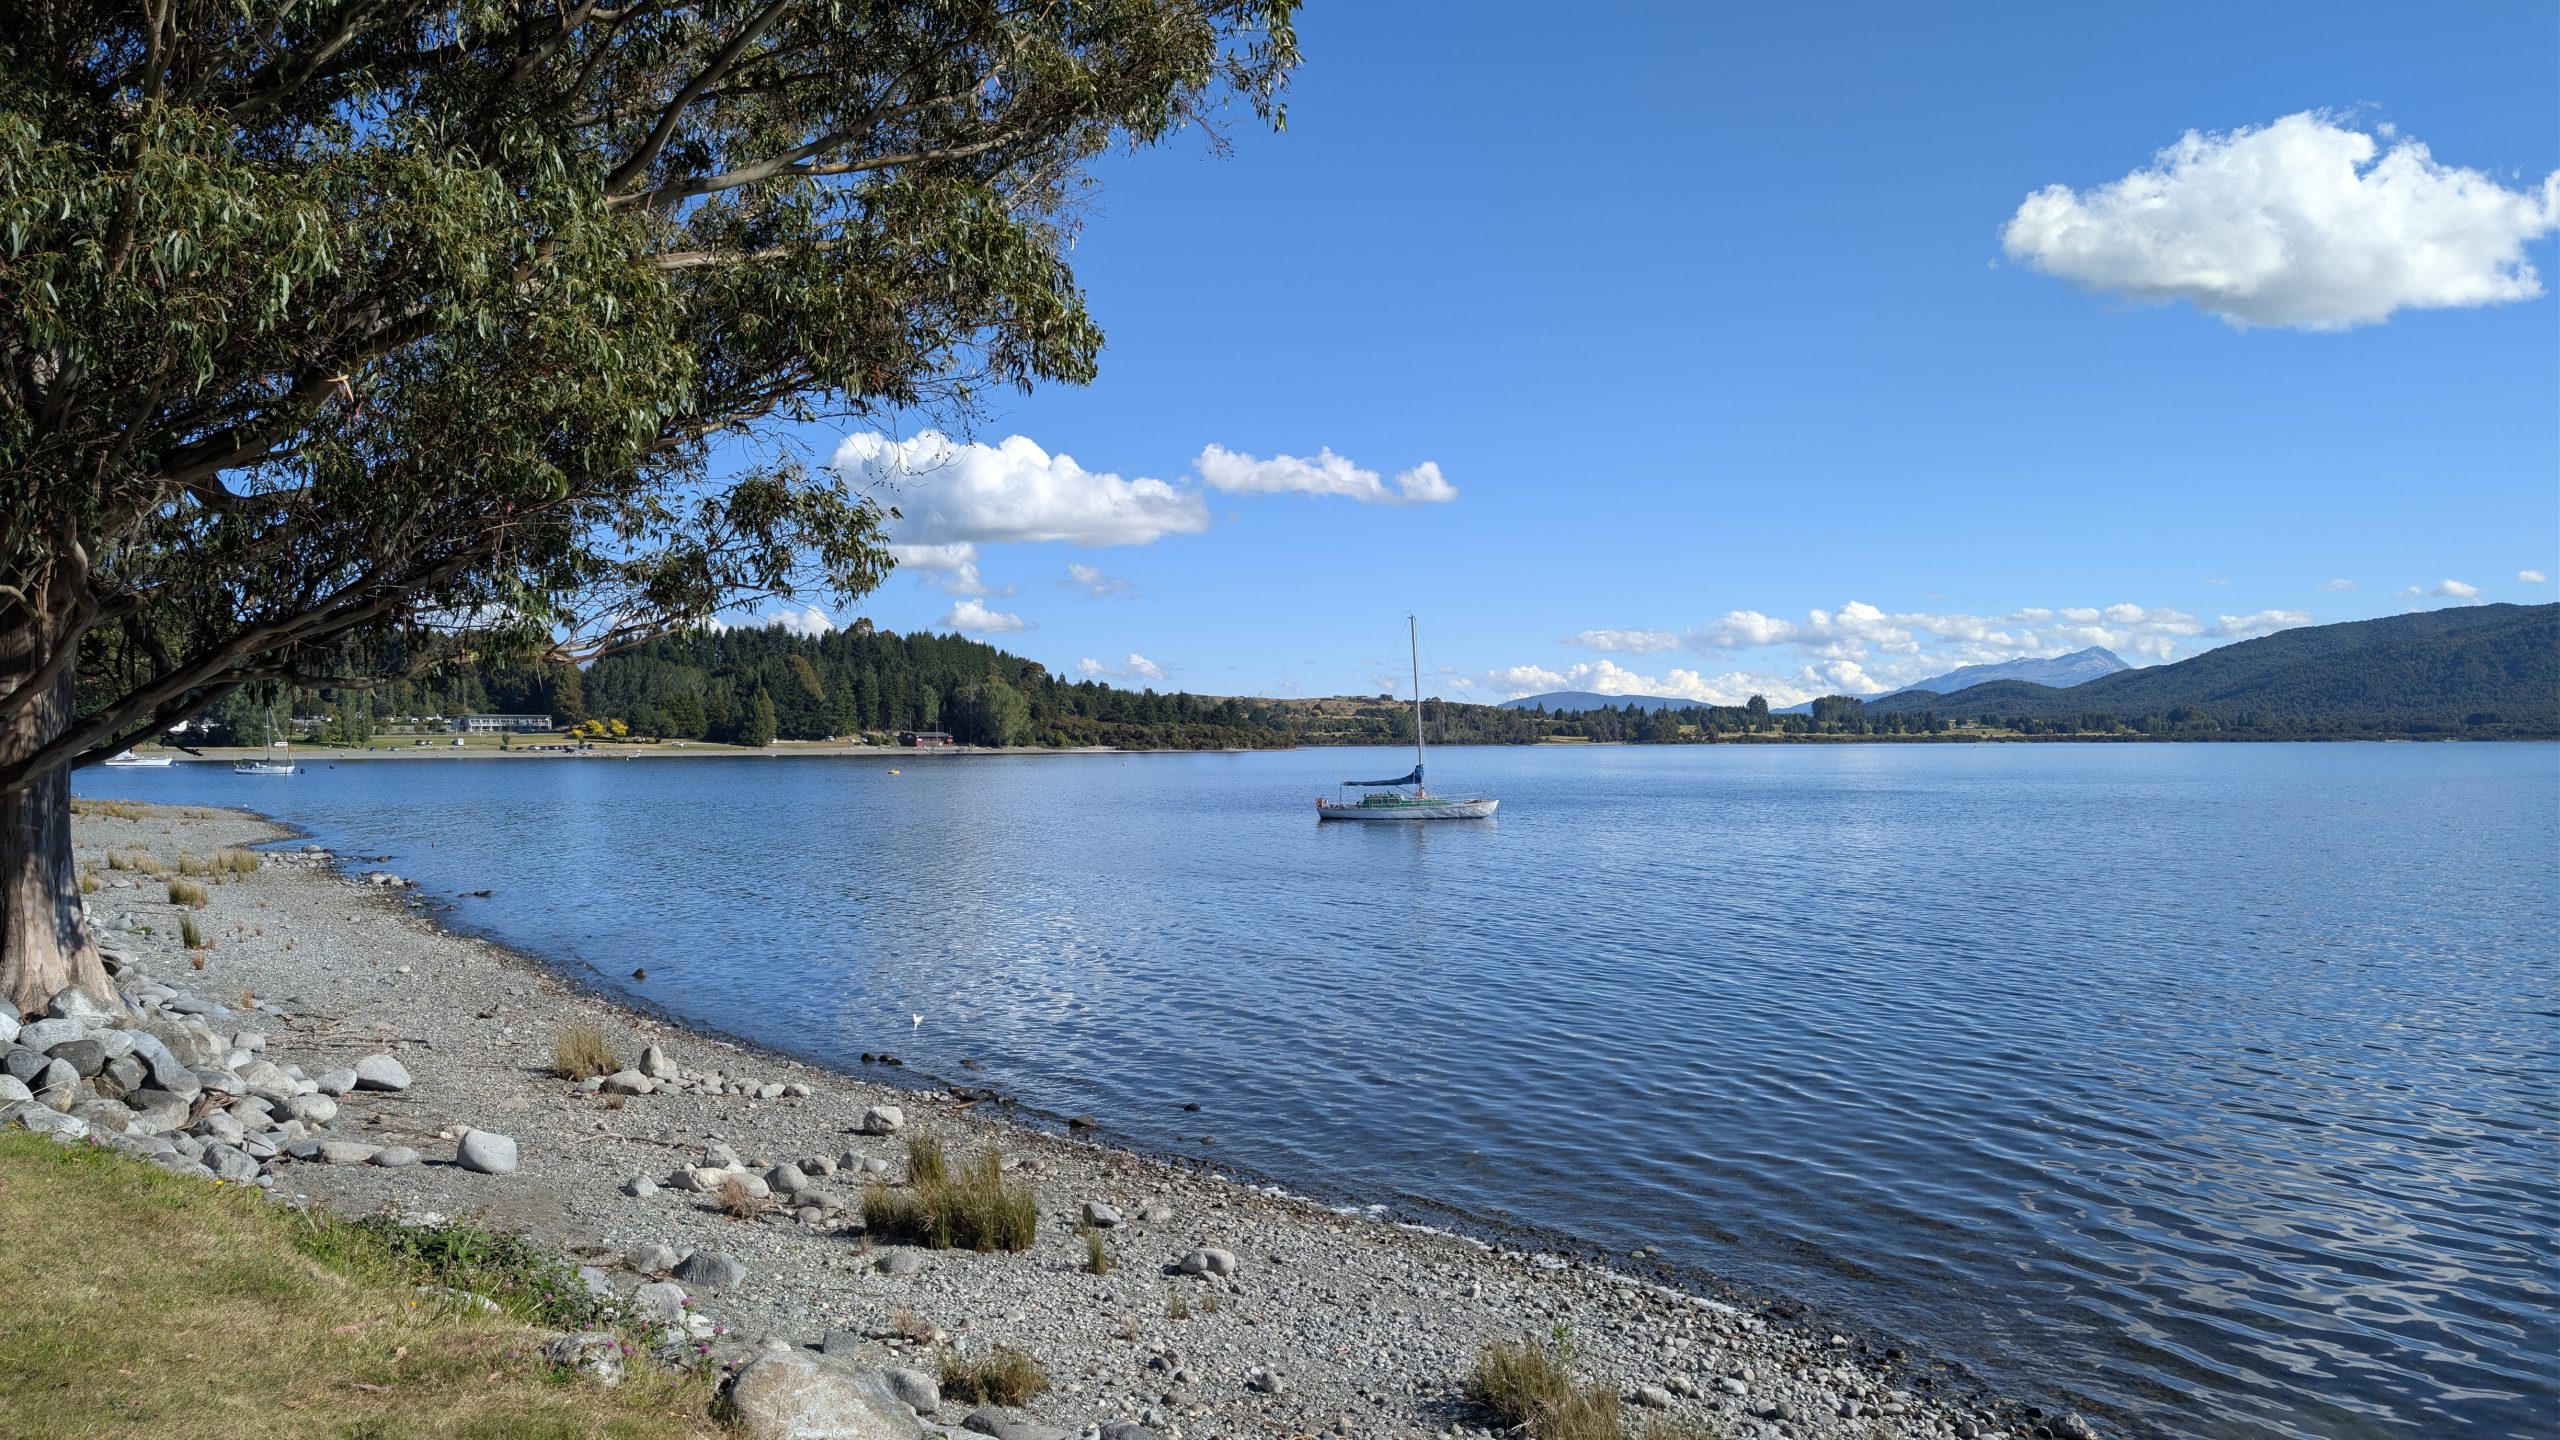
Before dinner I took a short walk around the area. The afternoon weather was sunny, quite warm and not windy. It definitely felt like summer. I had a nice walk near the lakeshore.
Seaplane docked at Lake Te AnauLake Te Anau and Mount Titiroa
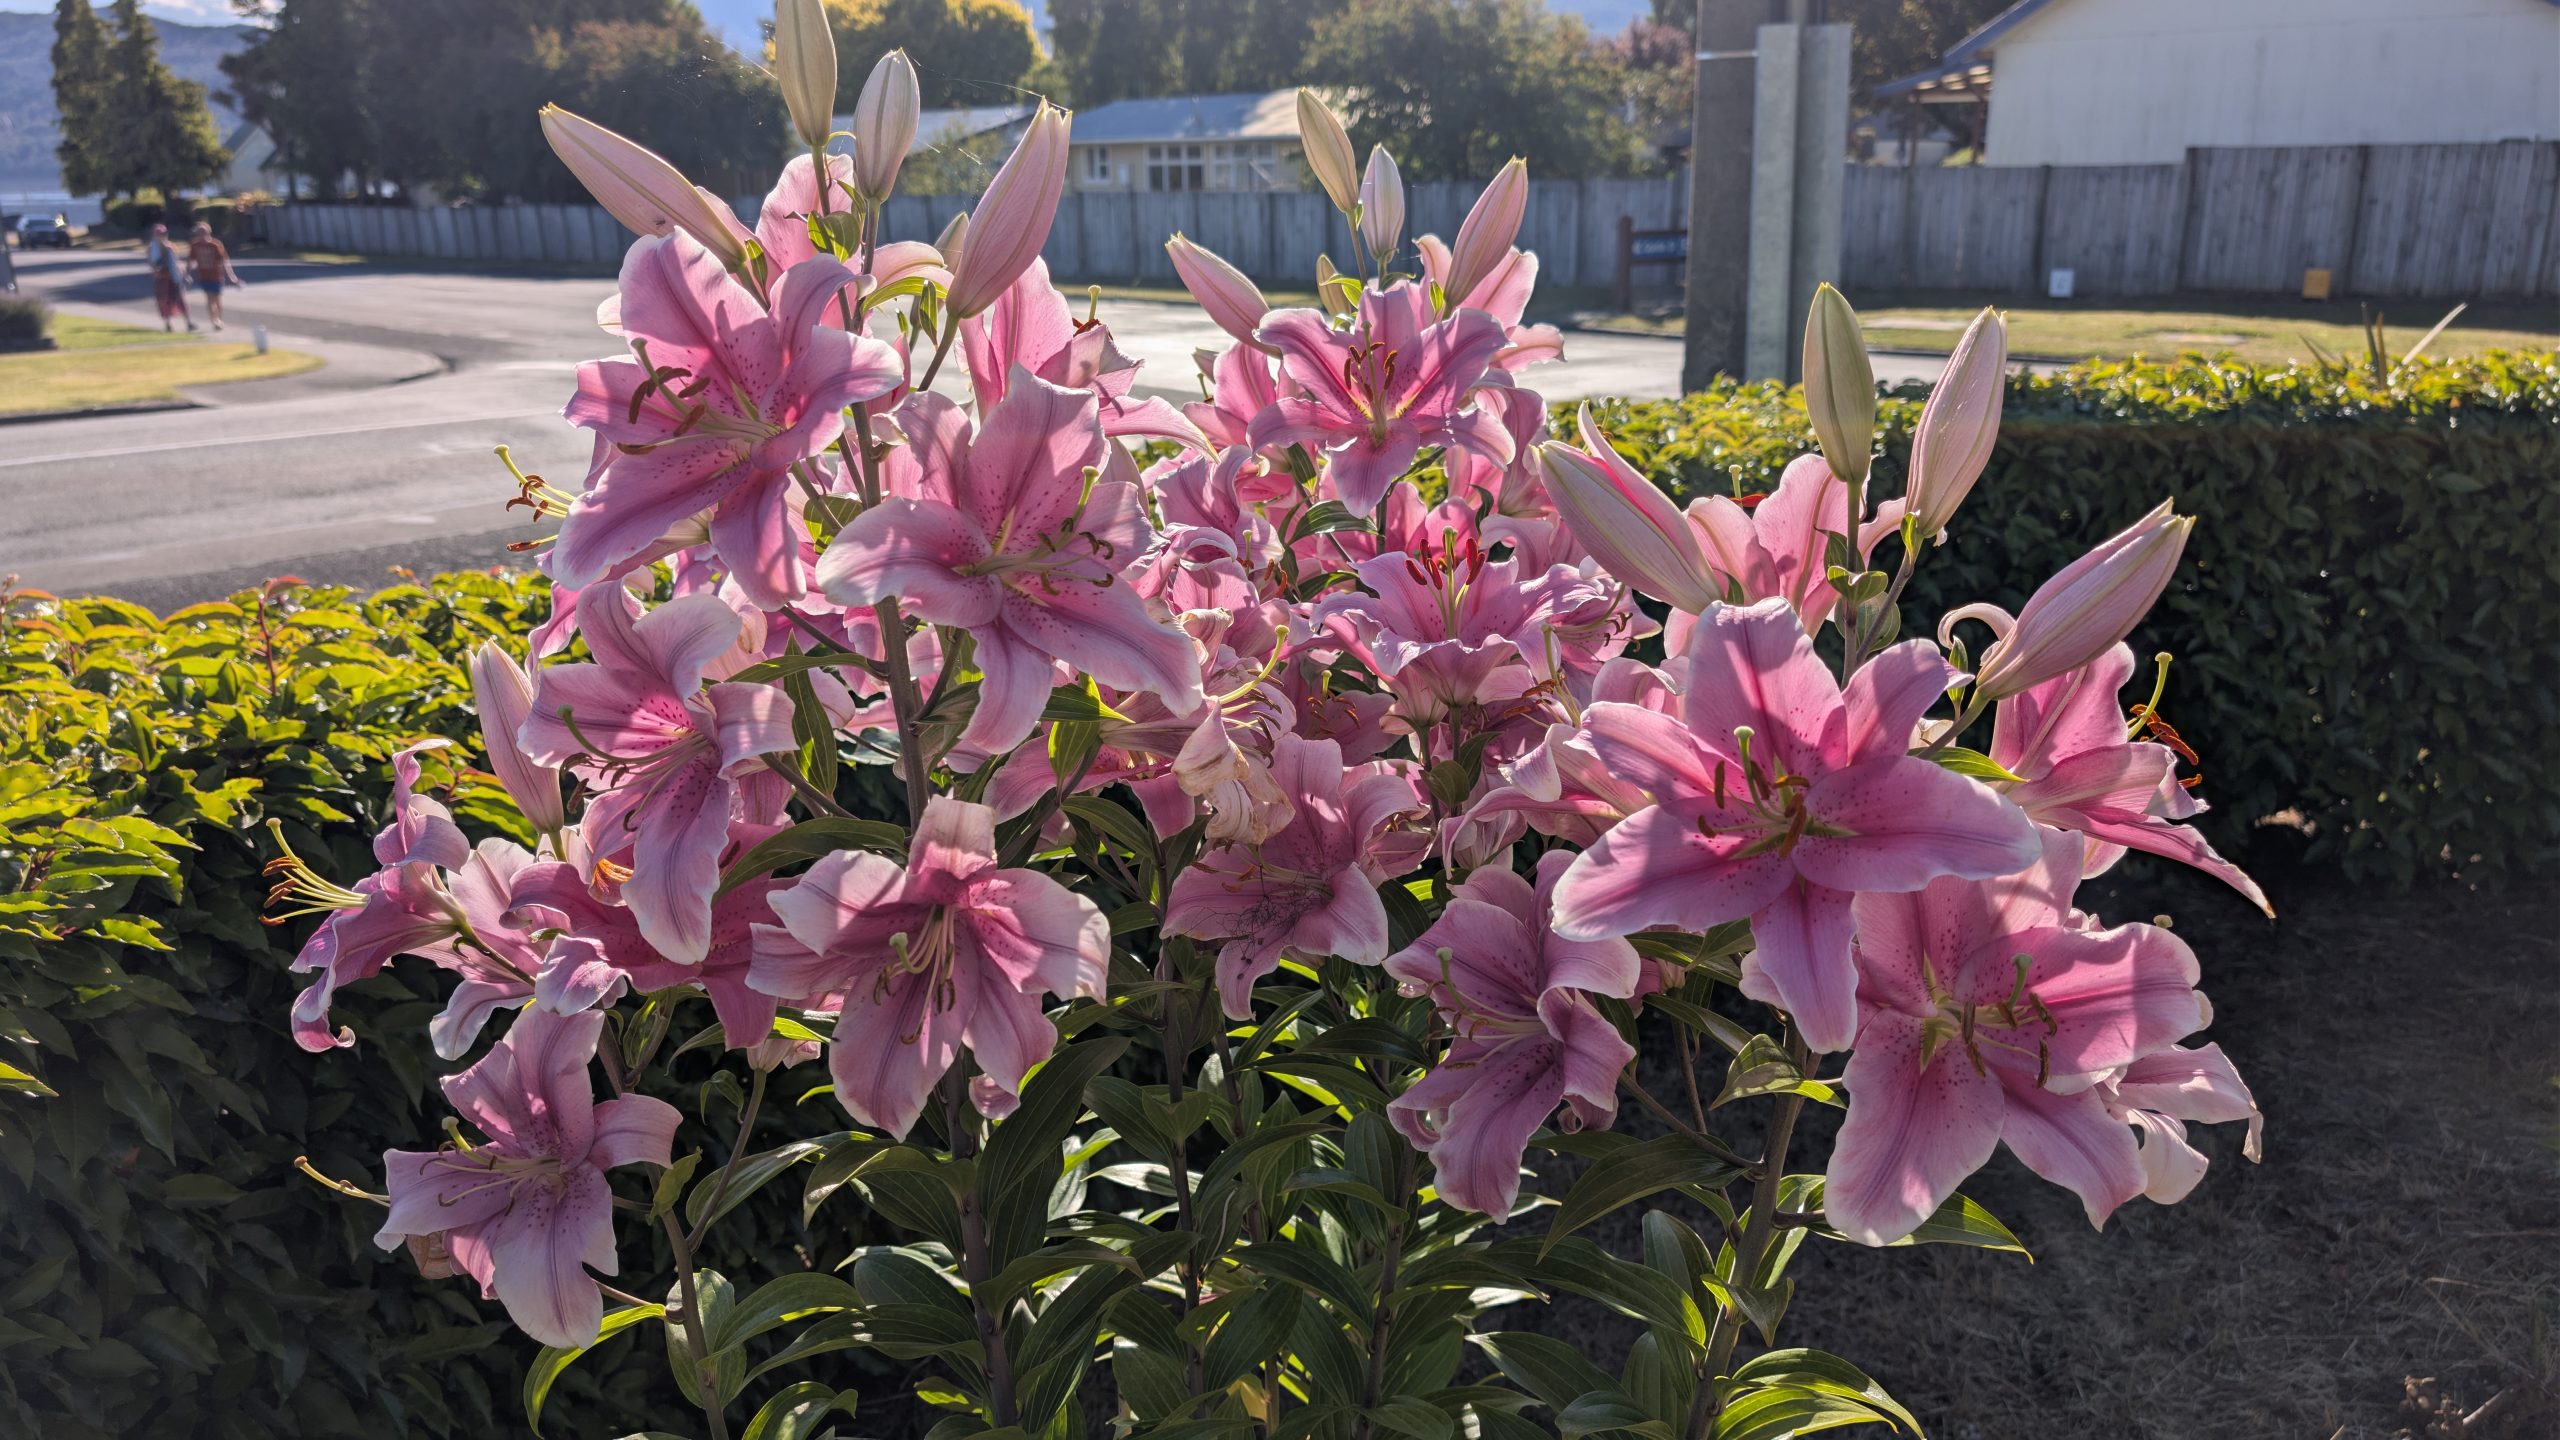
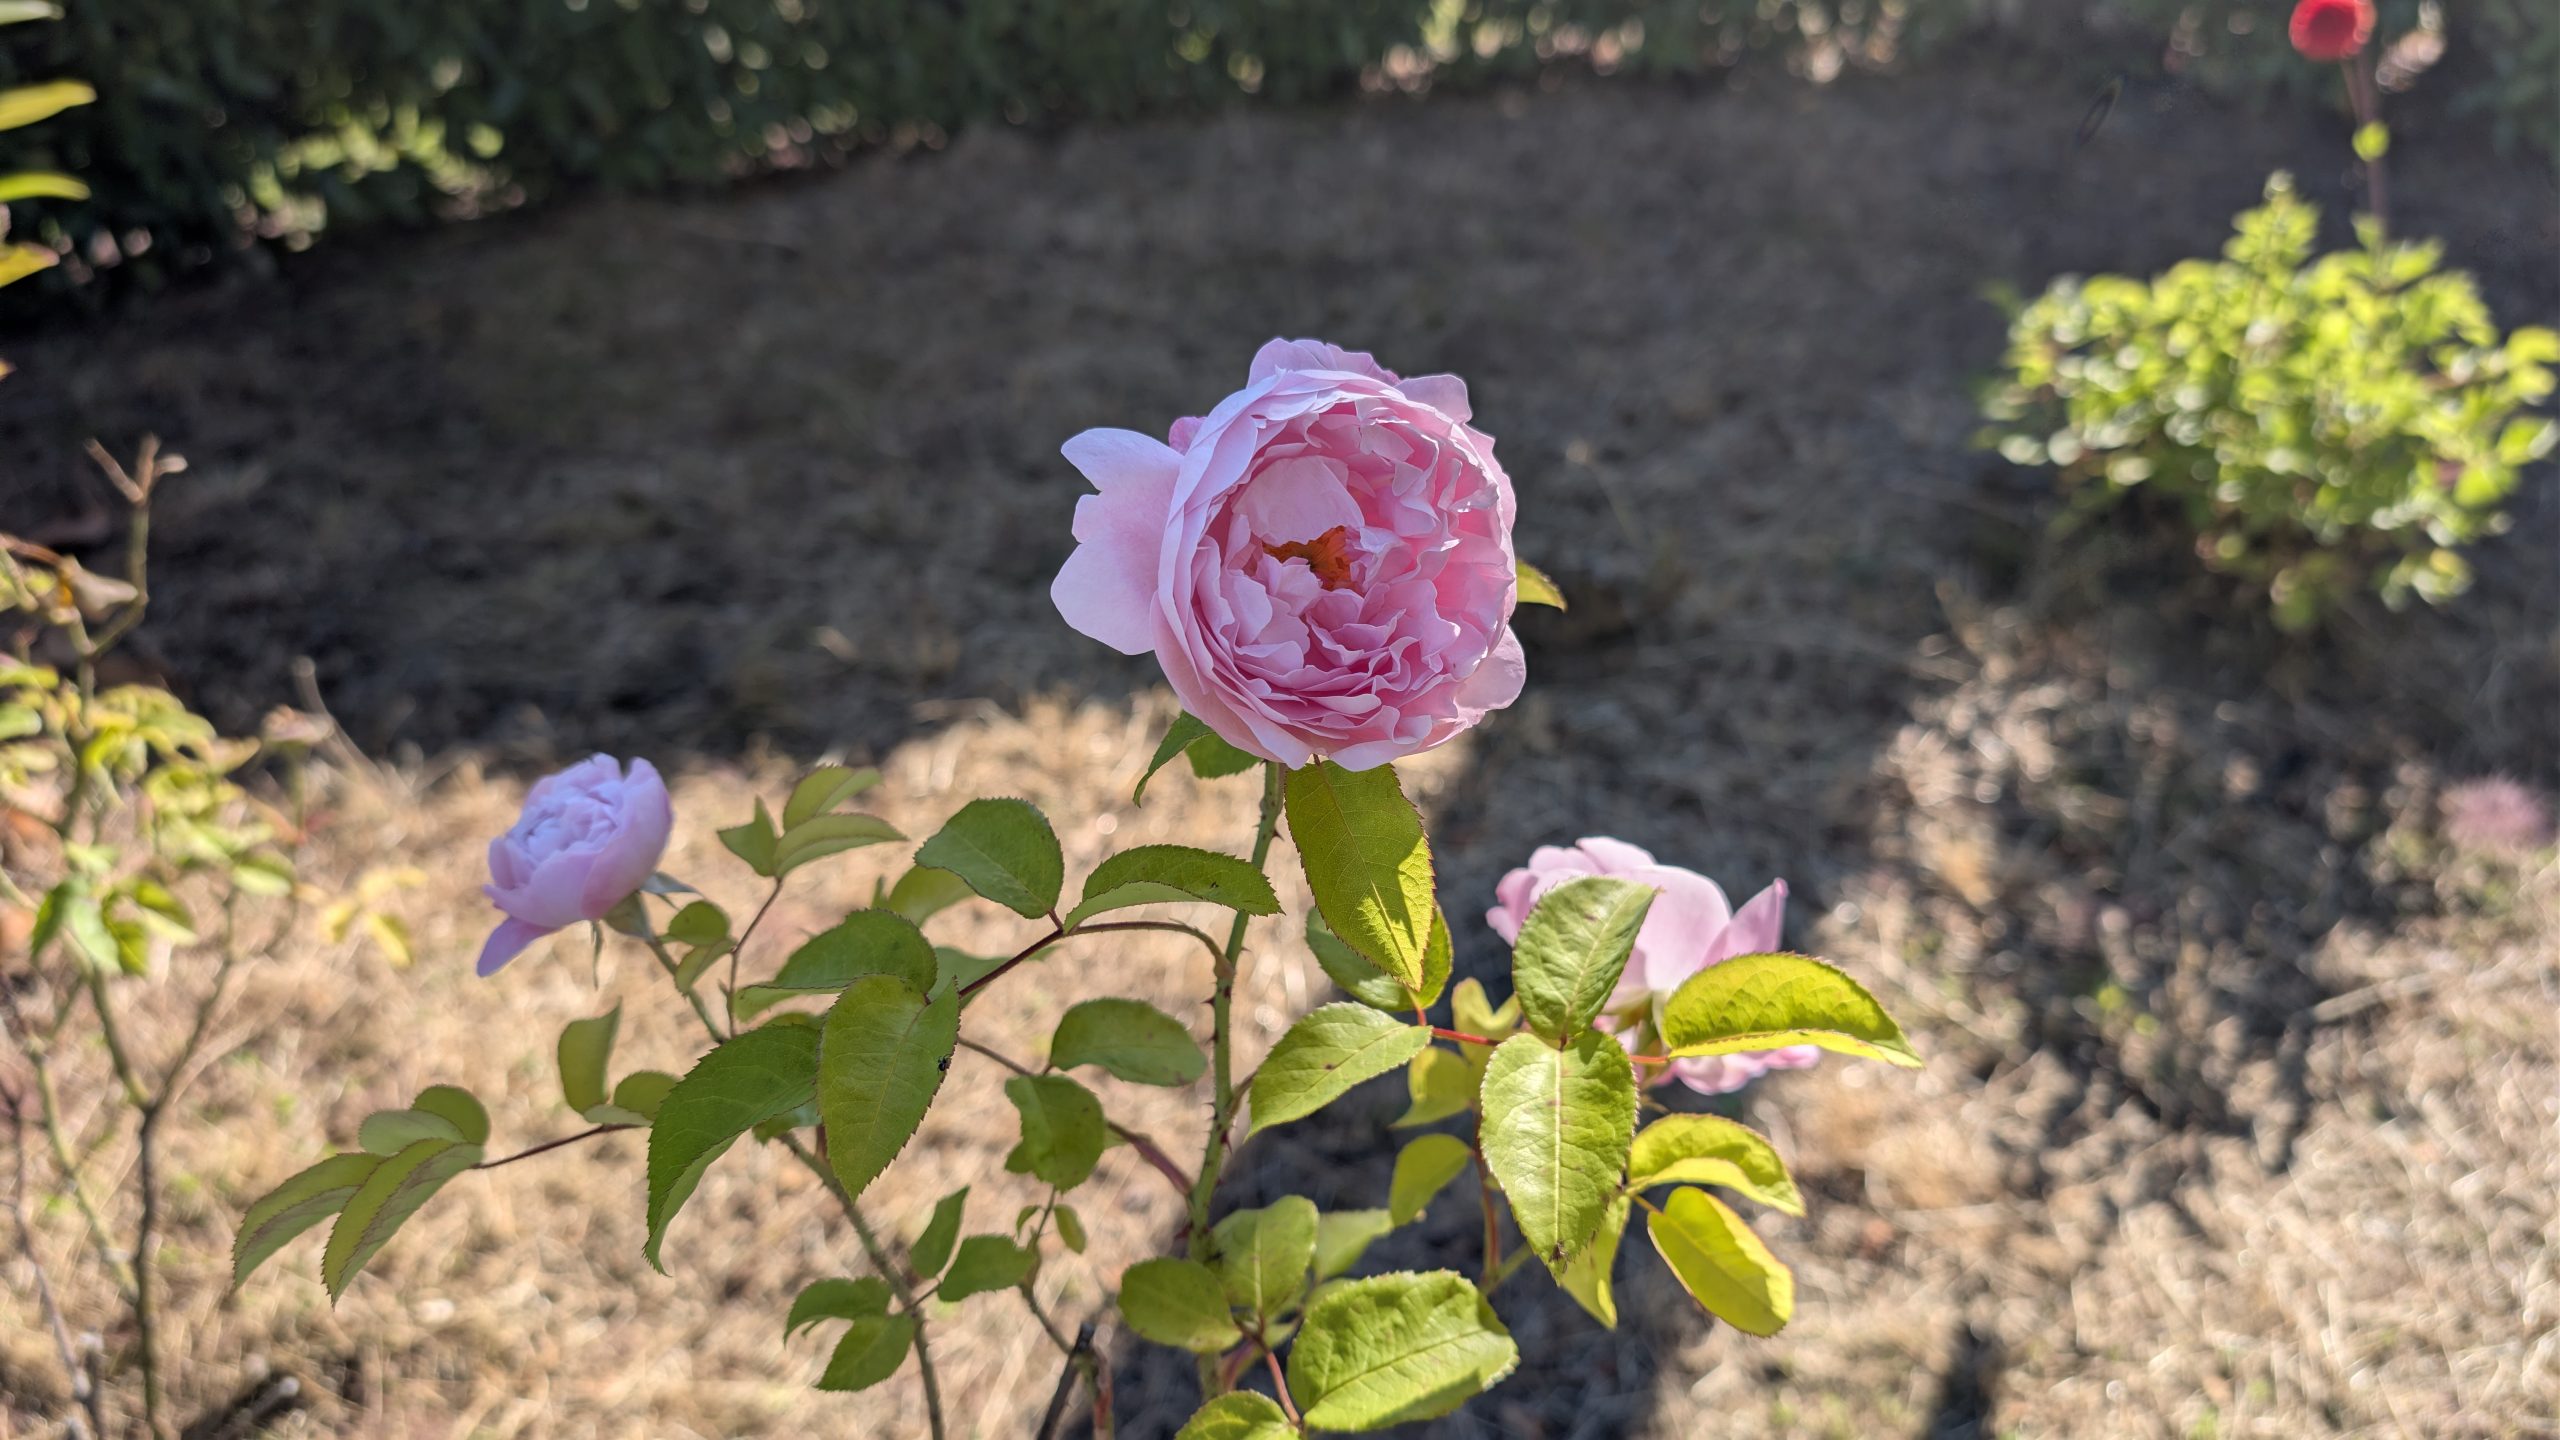
Some pretty flower gardens were on the grounds of the motel.
Orchids on the grounds of Alpine View MotelMore pretty flowersAnd more
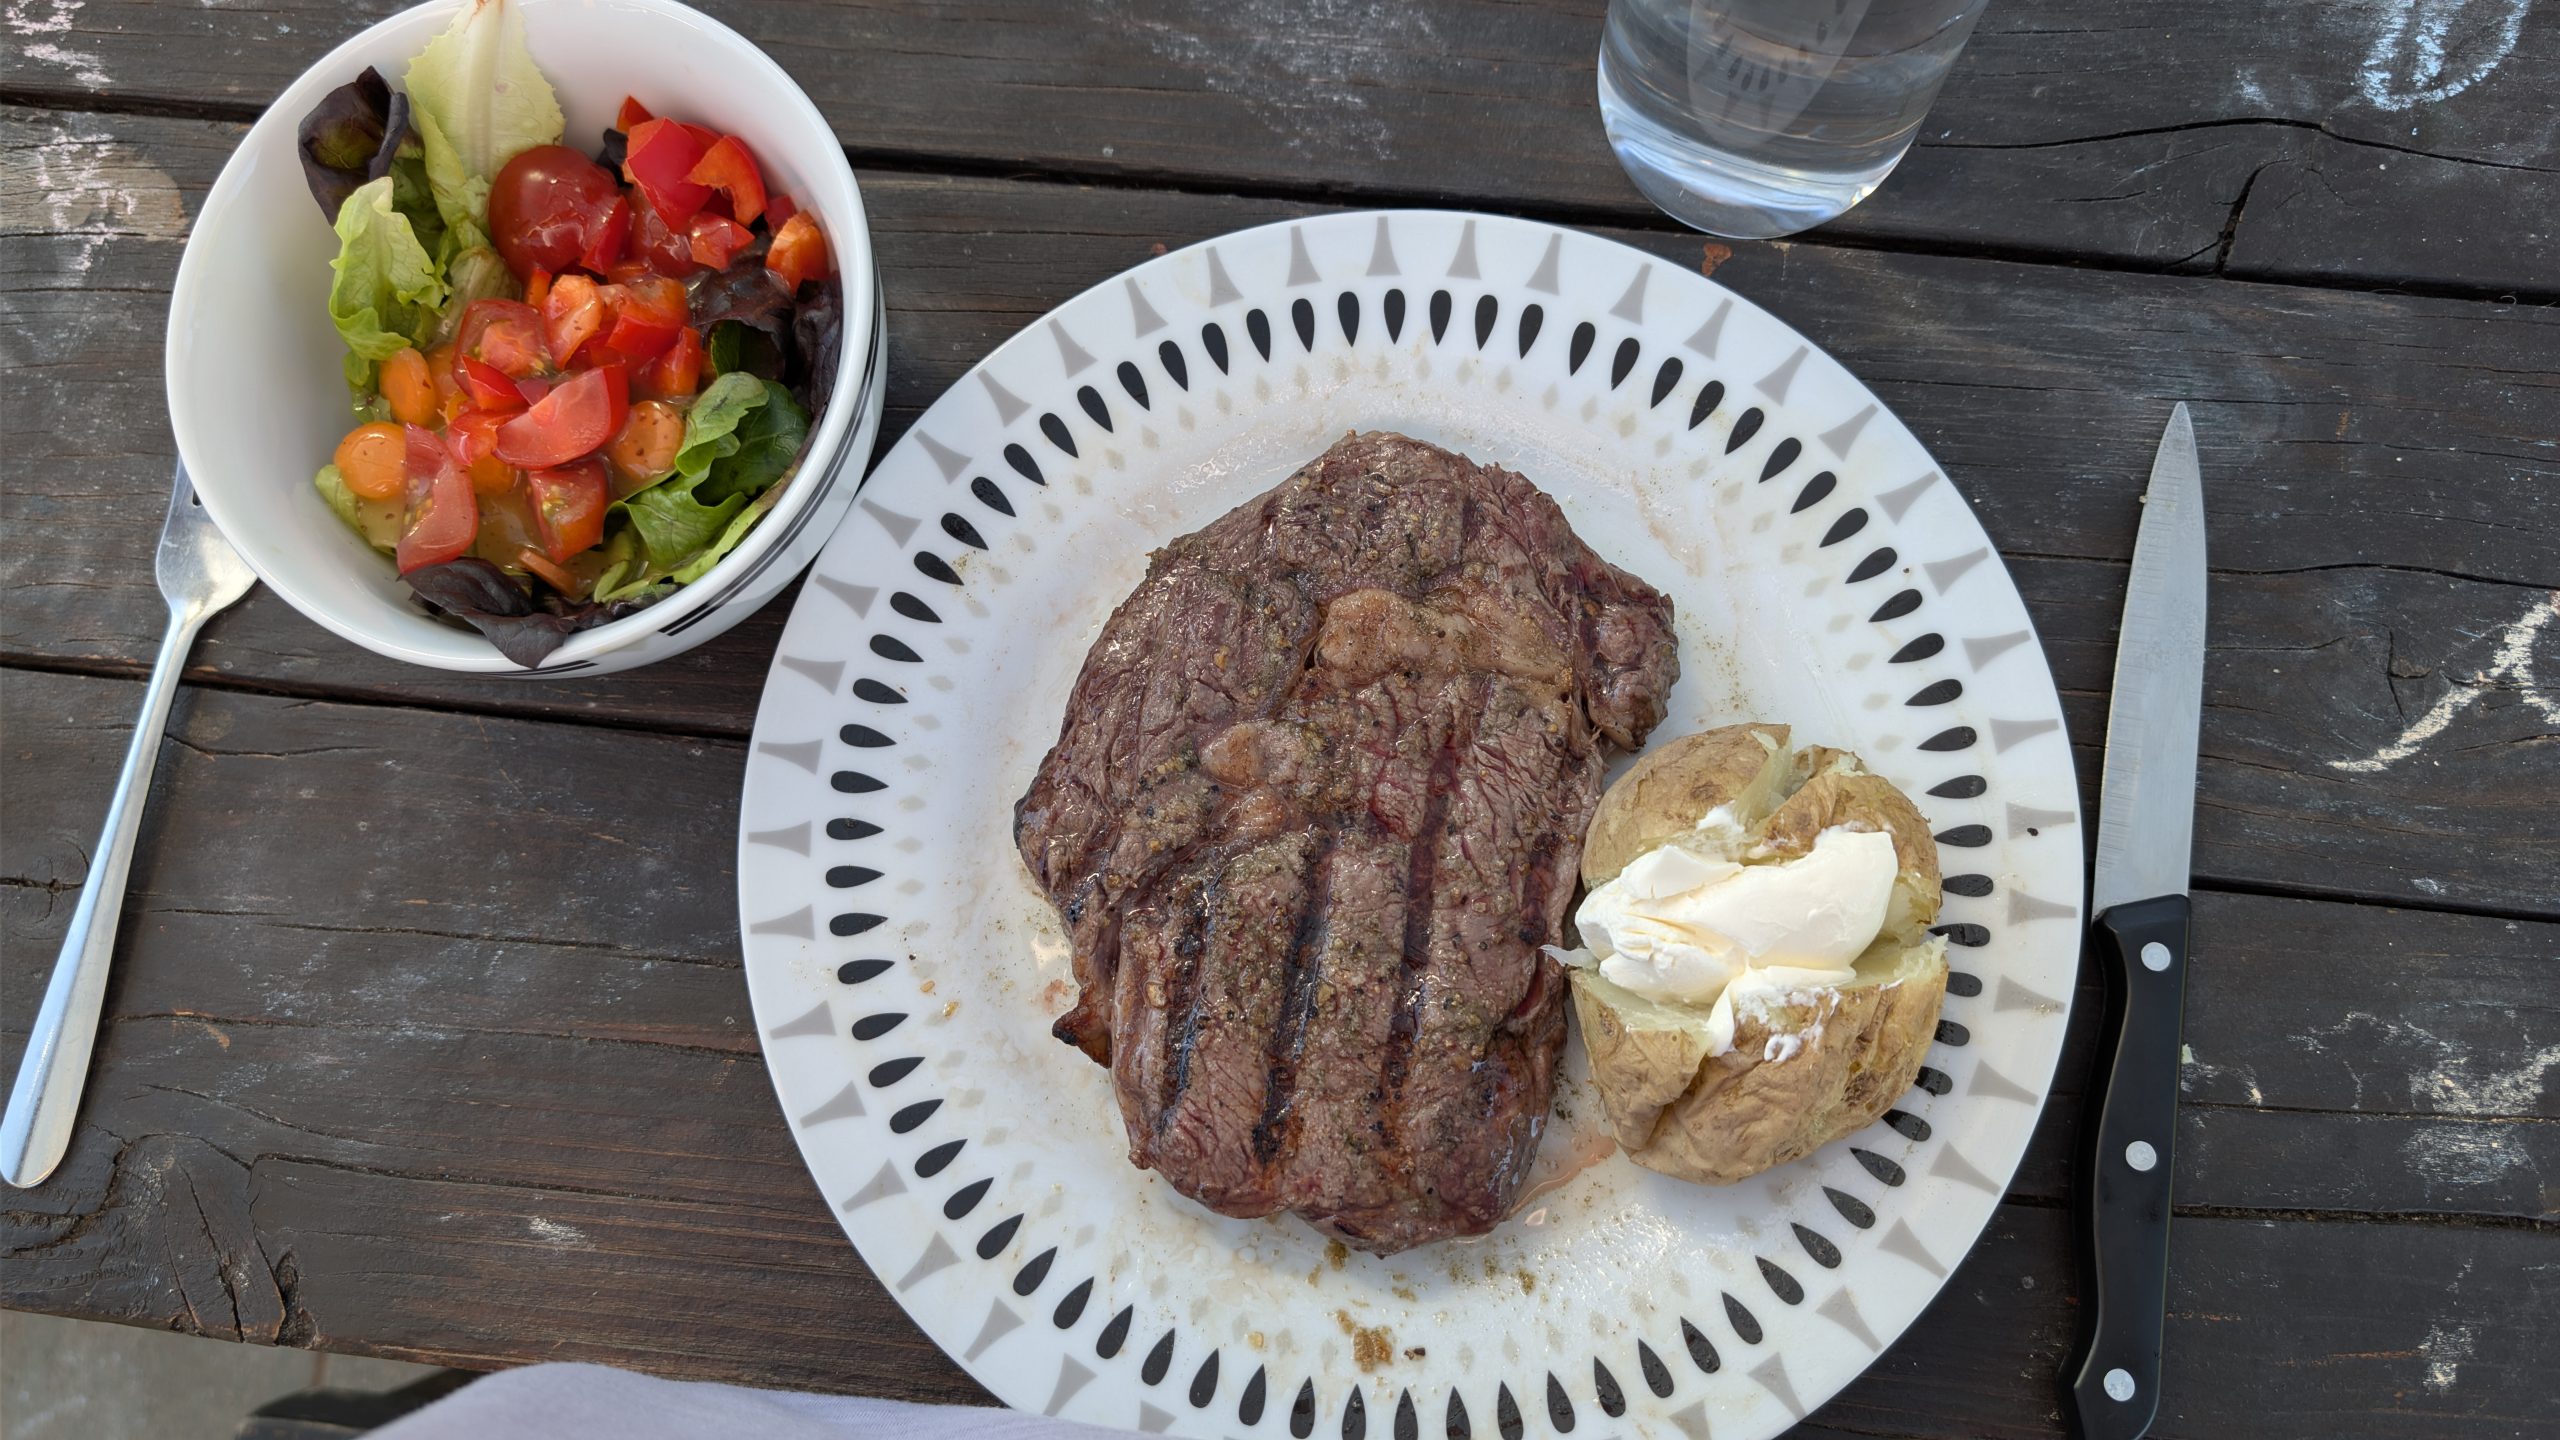
The motel had an outdoor grill, and we made use of it to fix a nice steak dinner.
Dinner: grilled scotch steak, baked potato, and salad