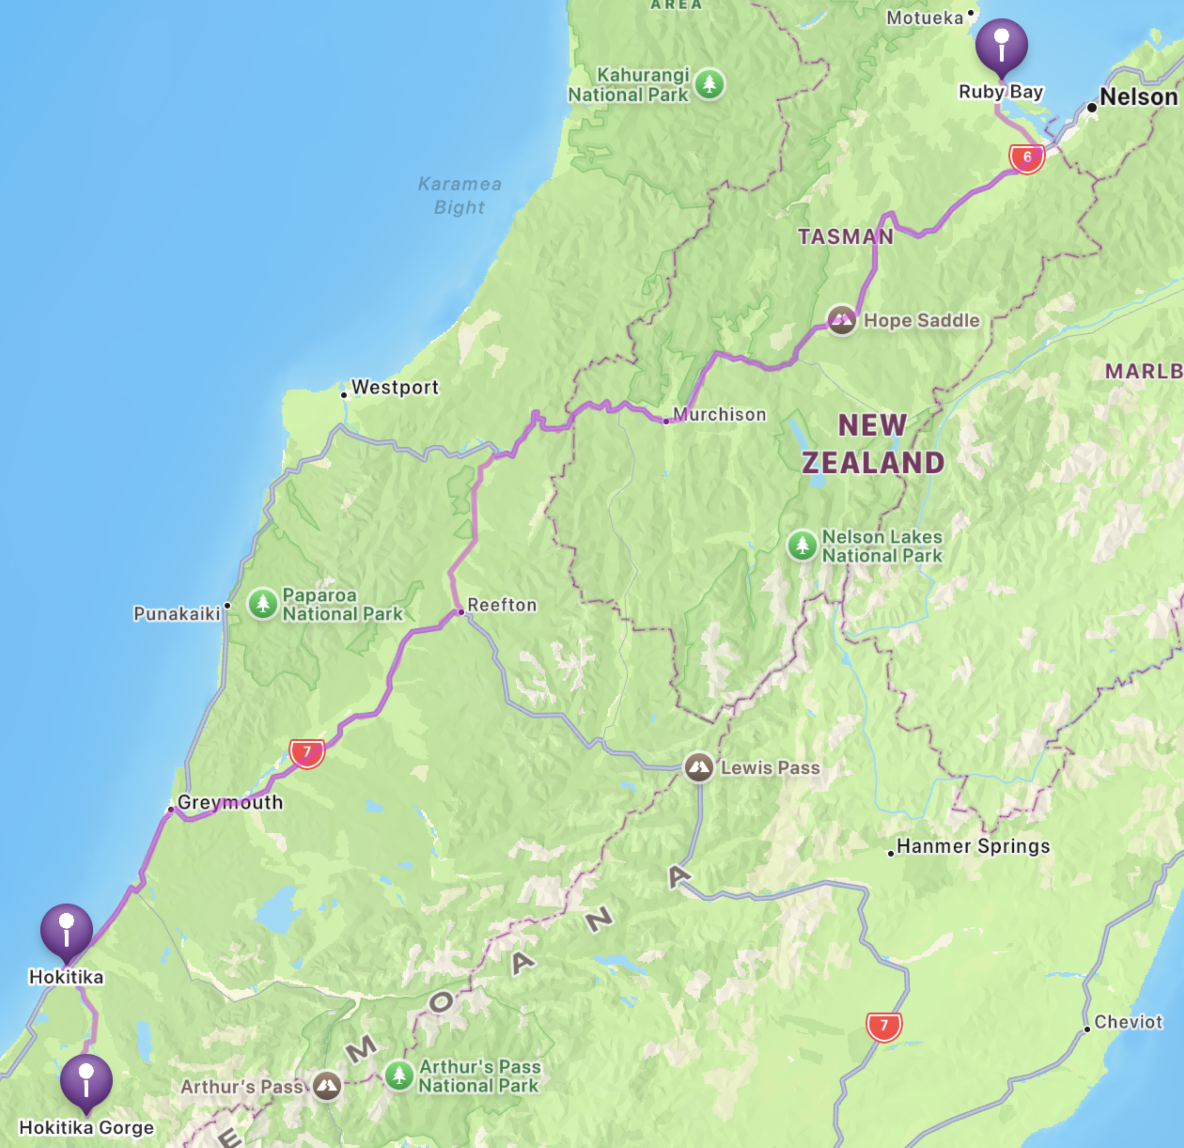
We had a long drive day: 4 hours to Hokitika. I checked the weather forecast, and the next 2 days were supposed to be nice in Hokitika and in Arthur's Pass, but the following day was supposed to rain. If we were to have any chance of seeing Hokitika Gorge in good weather, it would have to be this day, since we would be in Arthur's Pass for the other good weather day. This plan would add another 40 minutes to the drive.
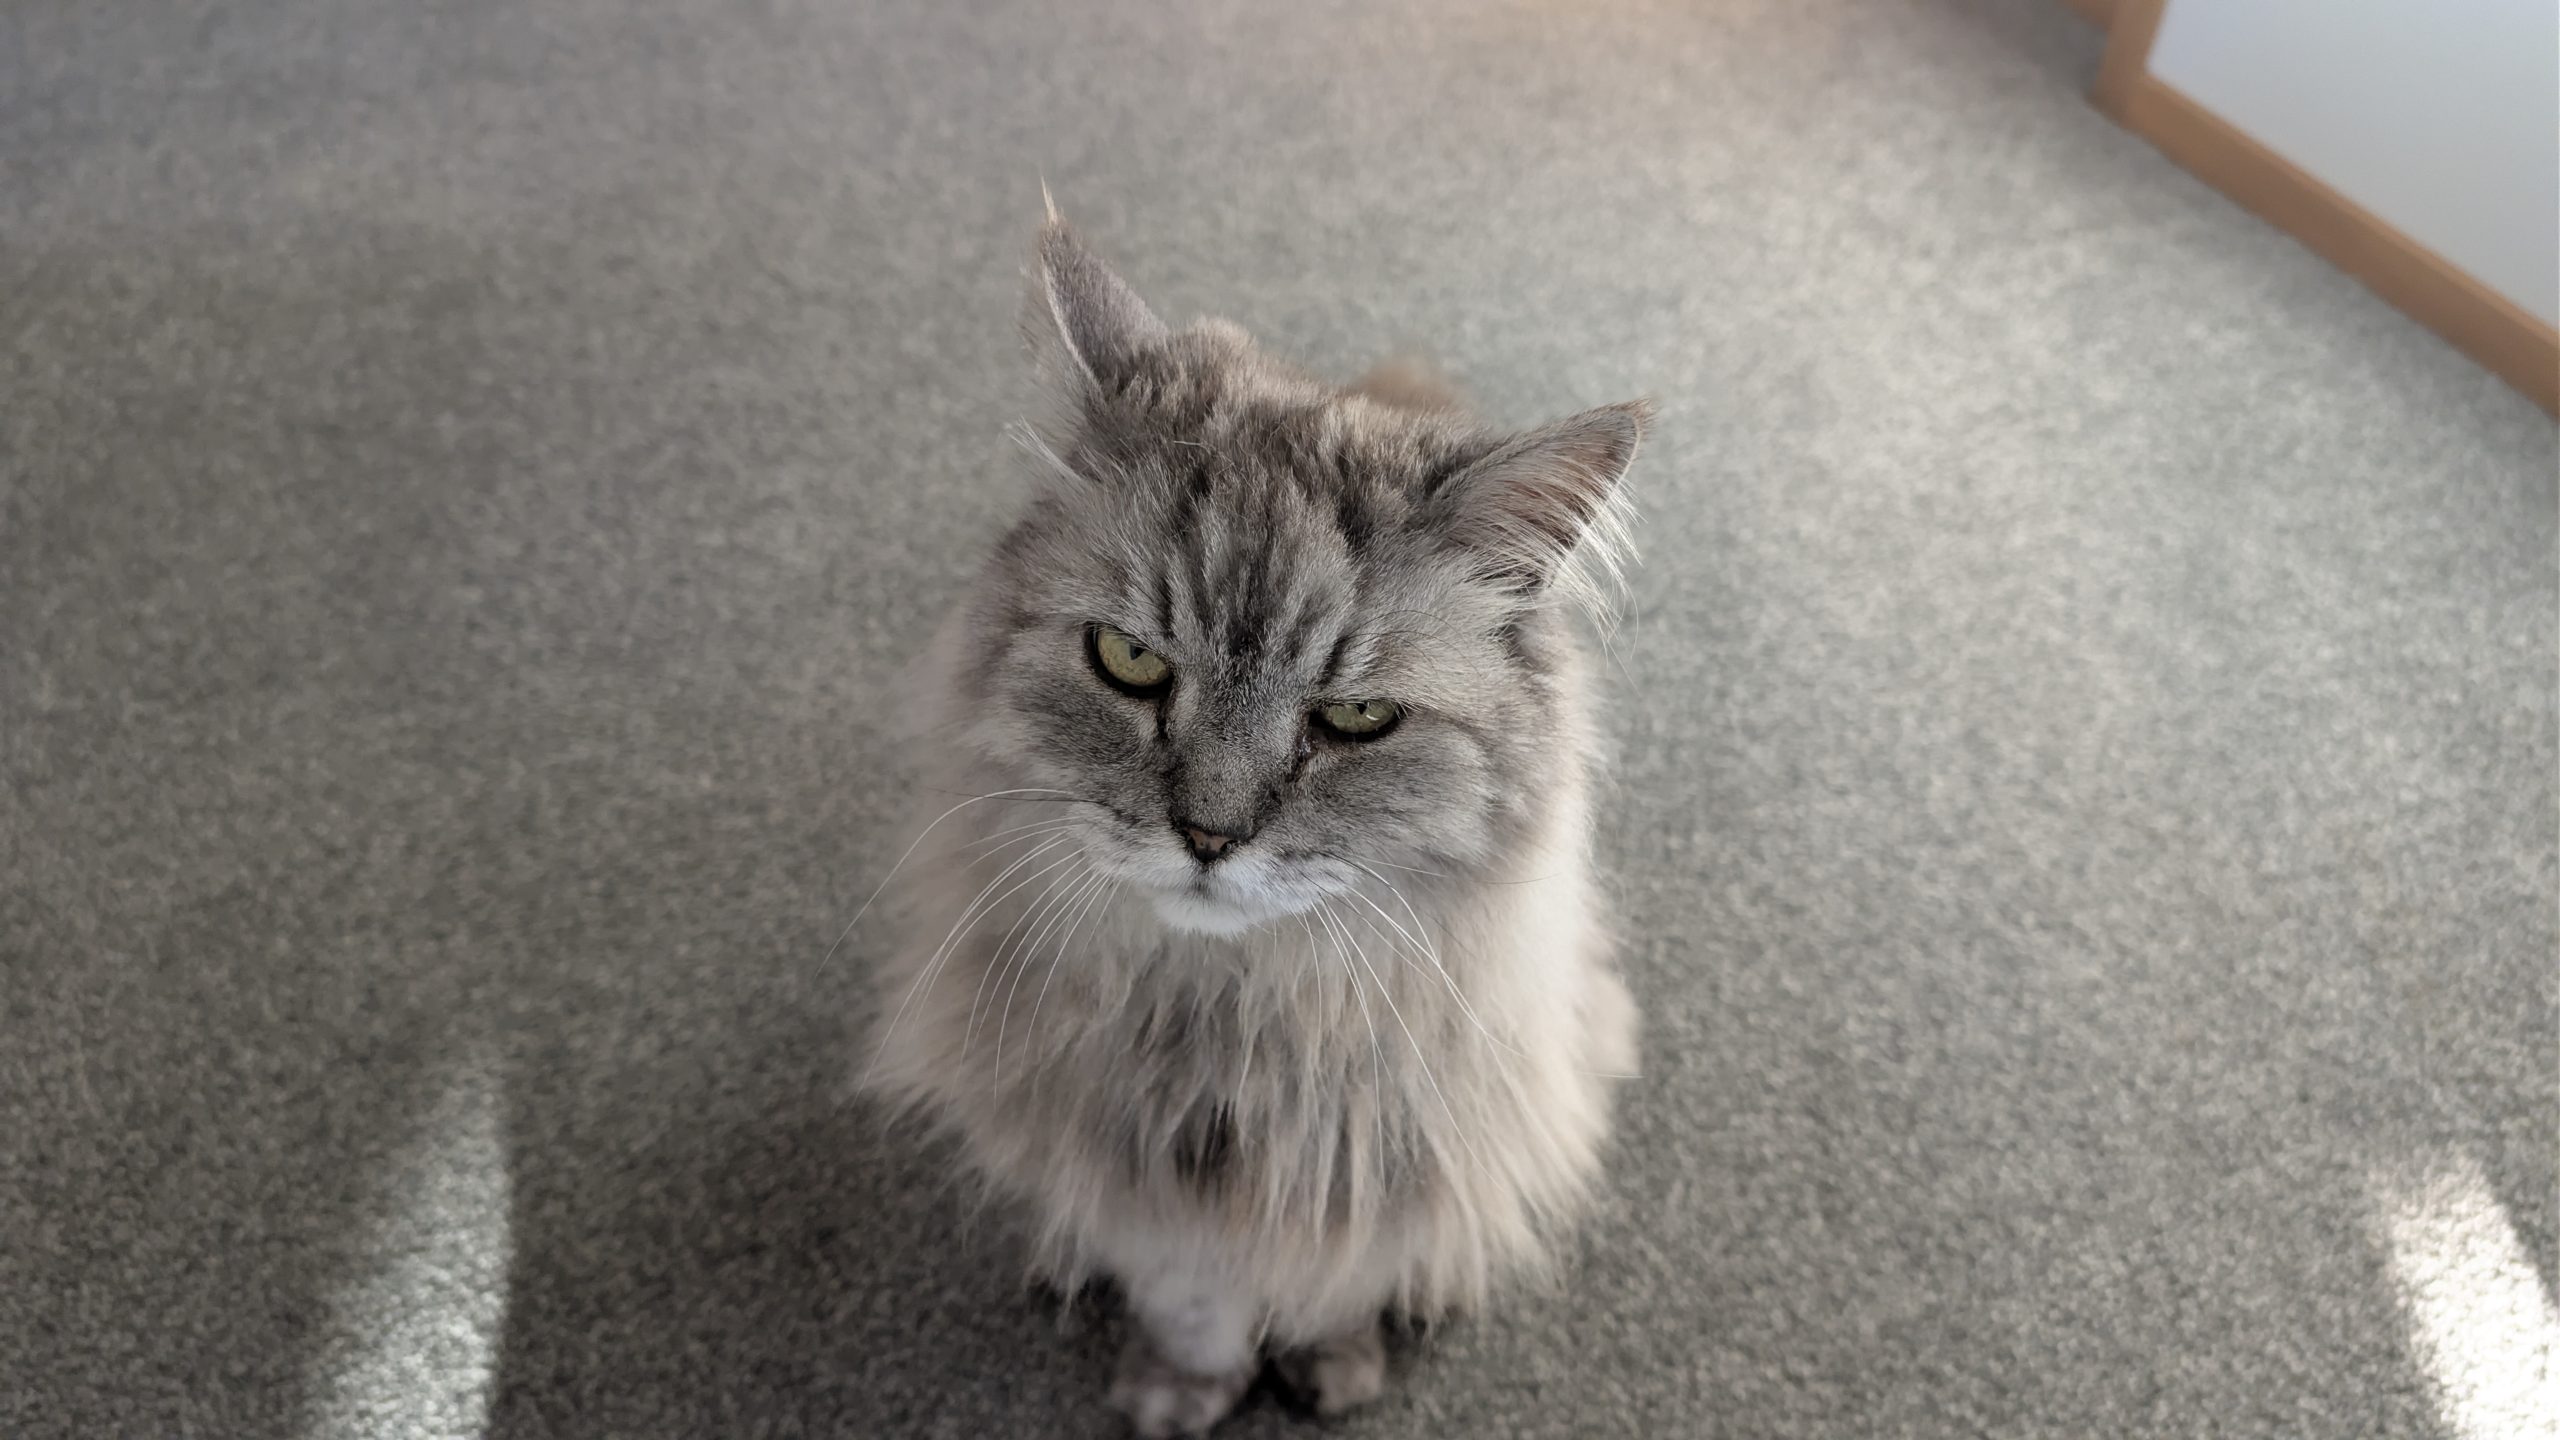
So we got an early start after saying goodbye to Rascal the cat. He had climbed up onto our bed the night before and was sleeping with us.
Goodbye to Rascal
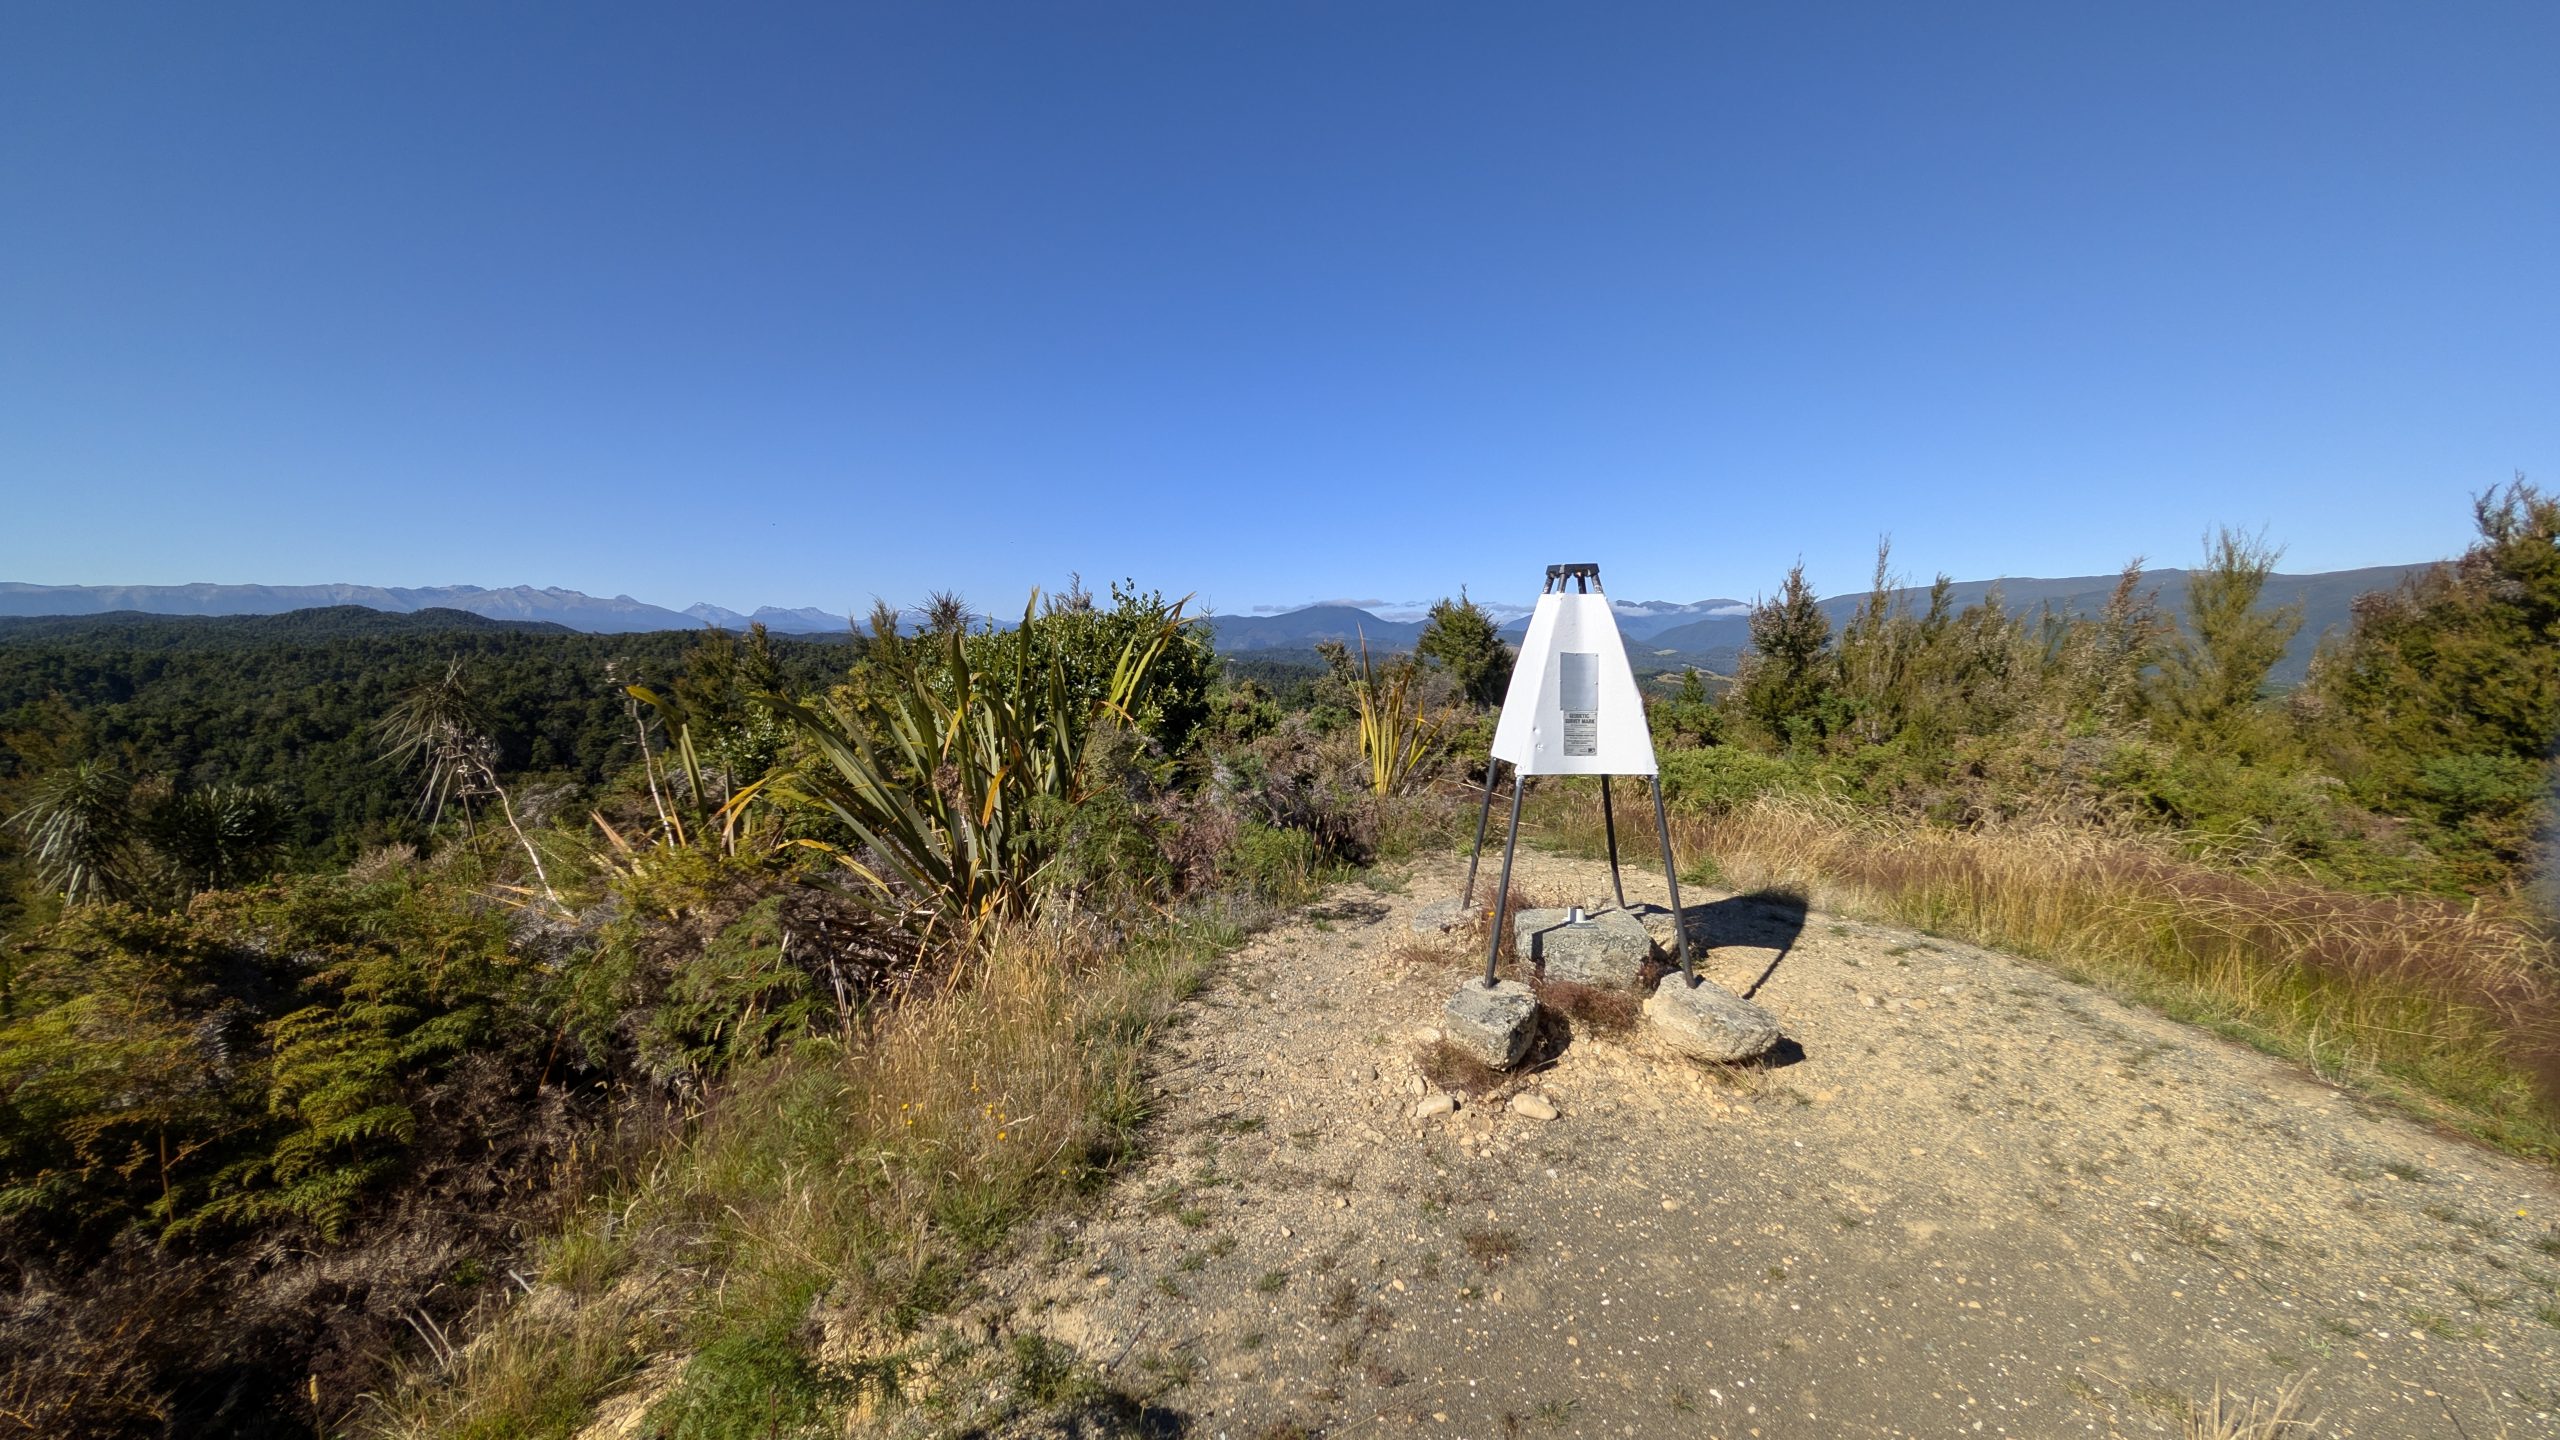
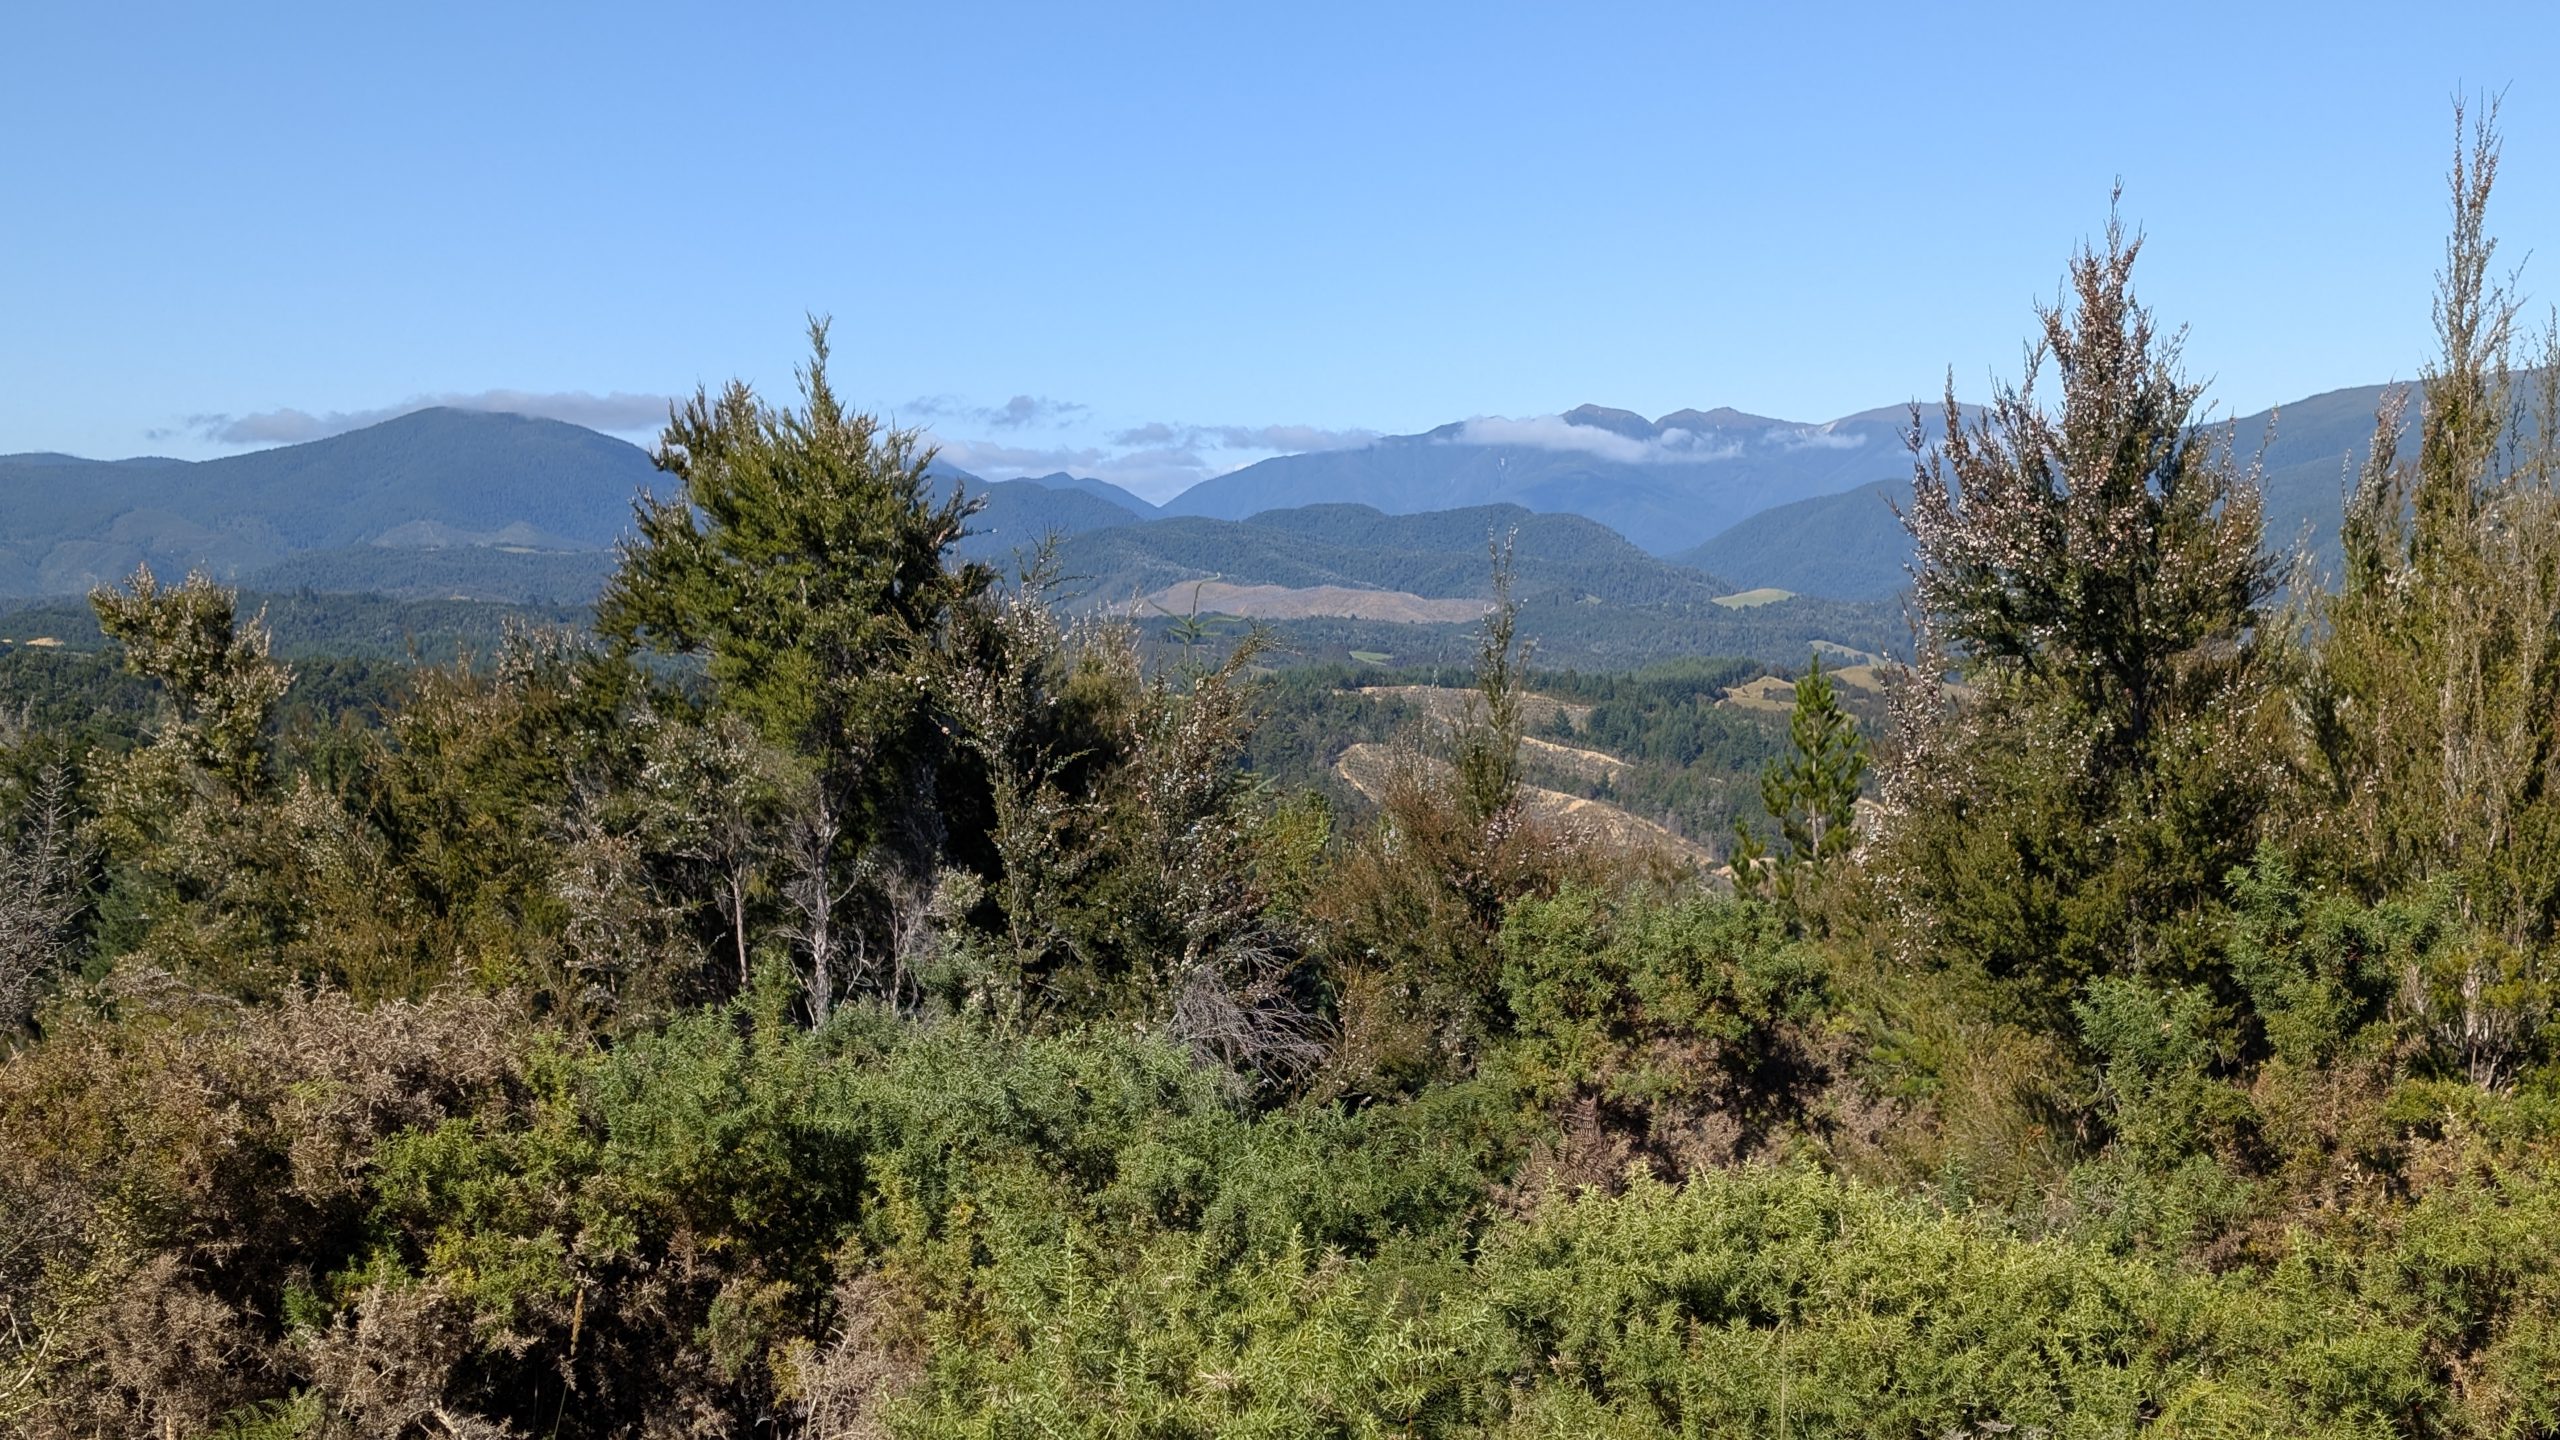
We stopped to fill up on gas and then stopped to buy more treats at The Bakery in Wakefield. Then we drove to the Hope Saddle Lookout. Google Maps had reported this area was closed, but we saw no signs telling us to keep out. It was a short hike to the trig at the top of the hill. The views were quite nice.
Hope Saddle LookoutView at Hope Saddle Lookout
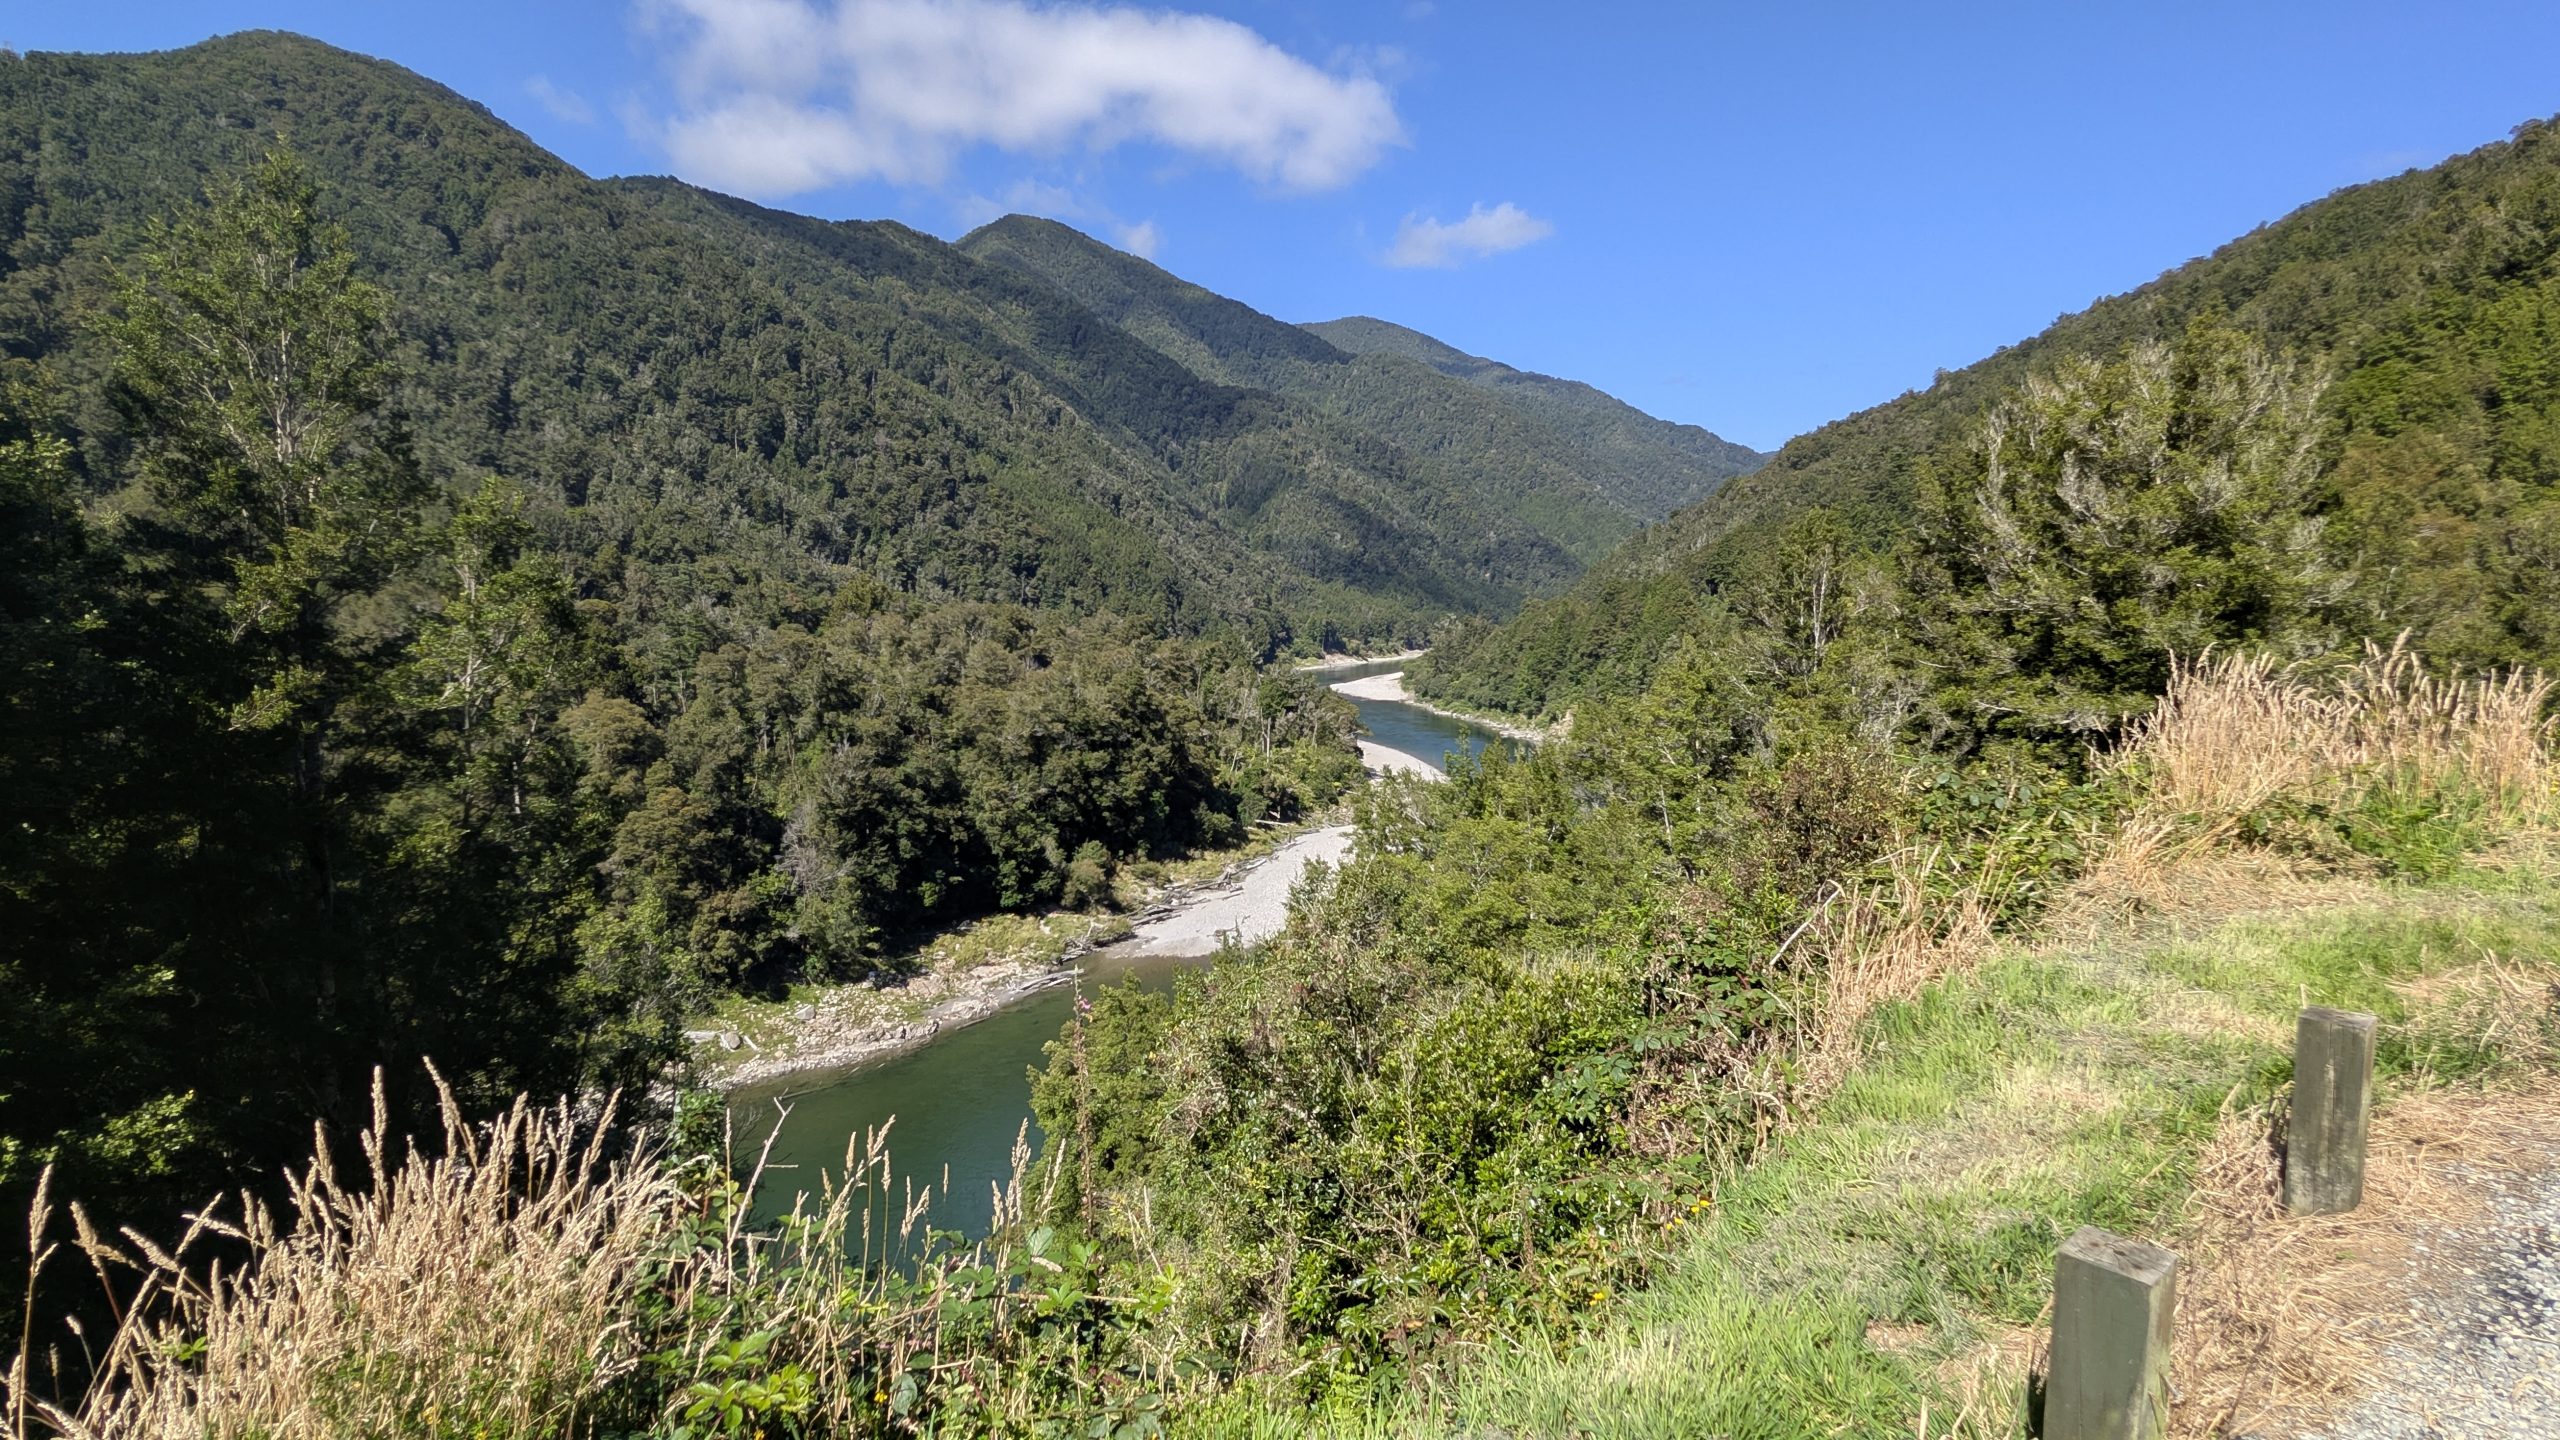
We drove on and had a brief stop to look at the view from the Upper Buller River Gorge on our way to the west coast. Then I took over driving and drove the remaining 2 hours to Hokitika Gorge.
View at Upper Buller River Gorge
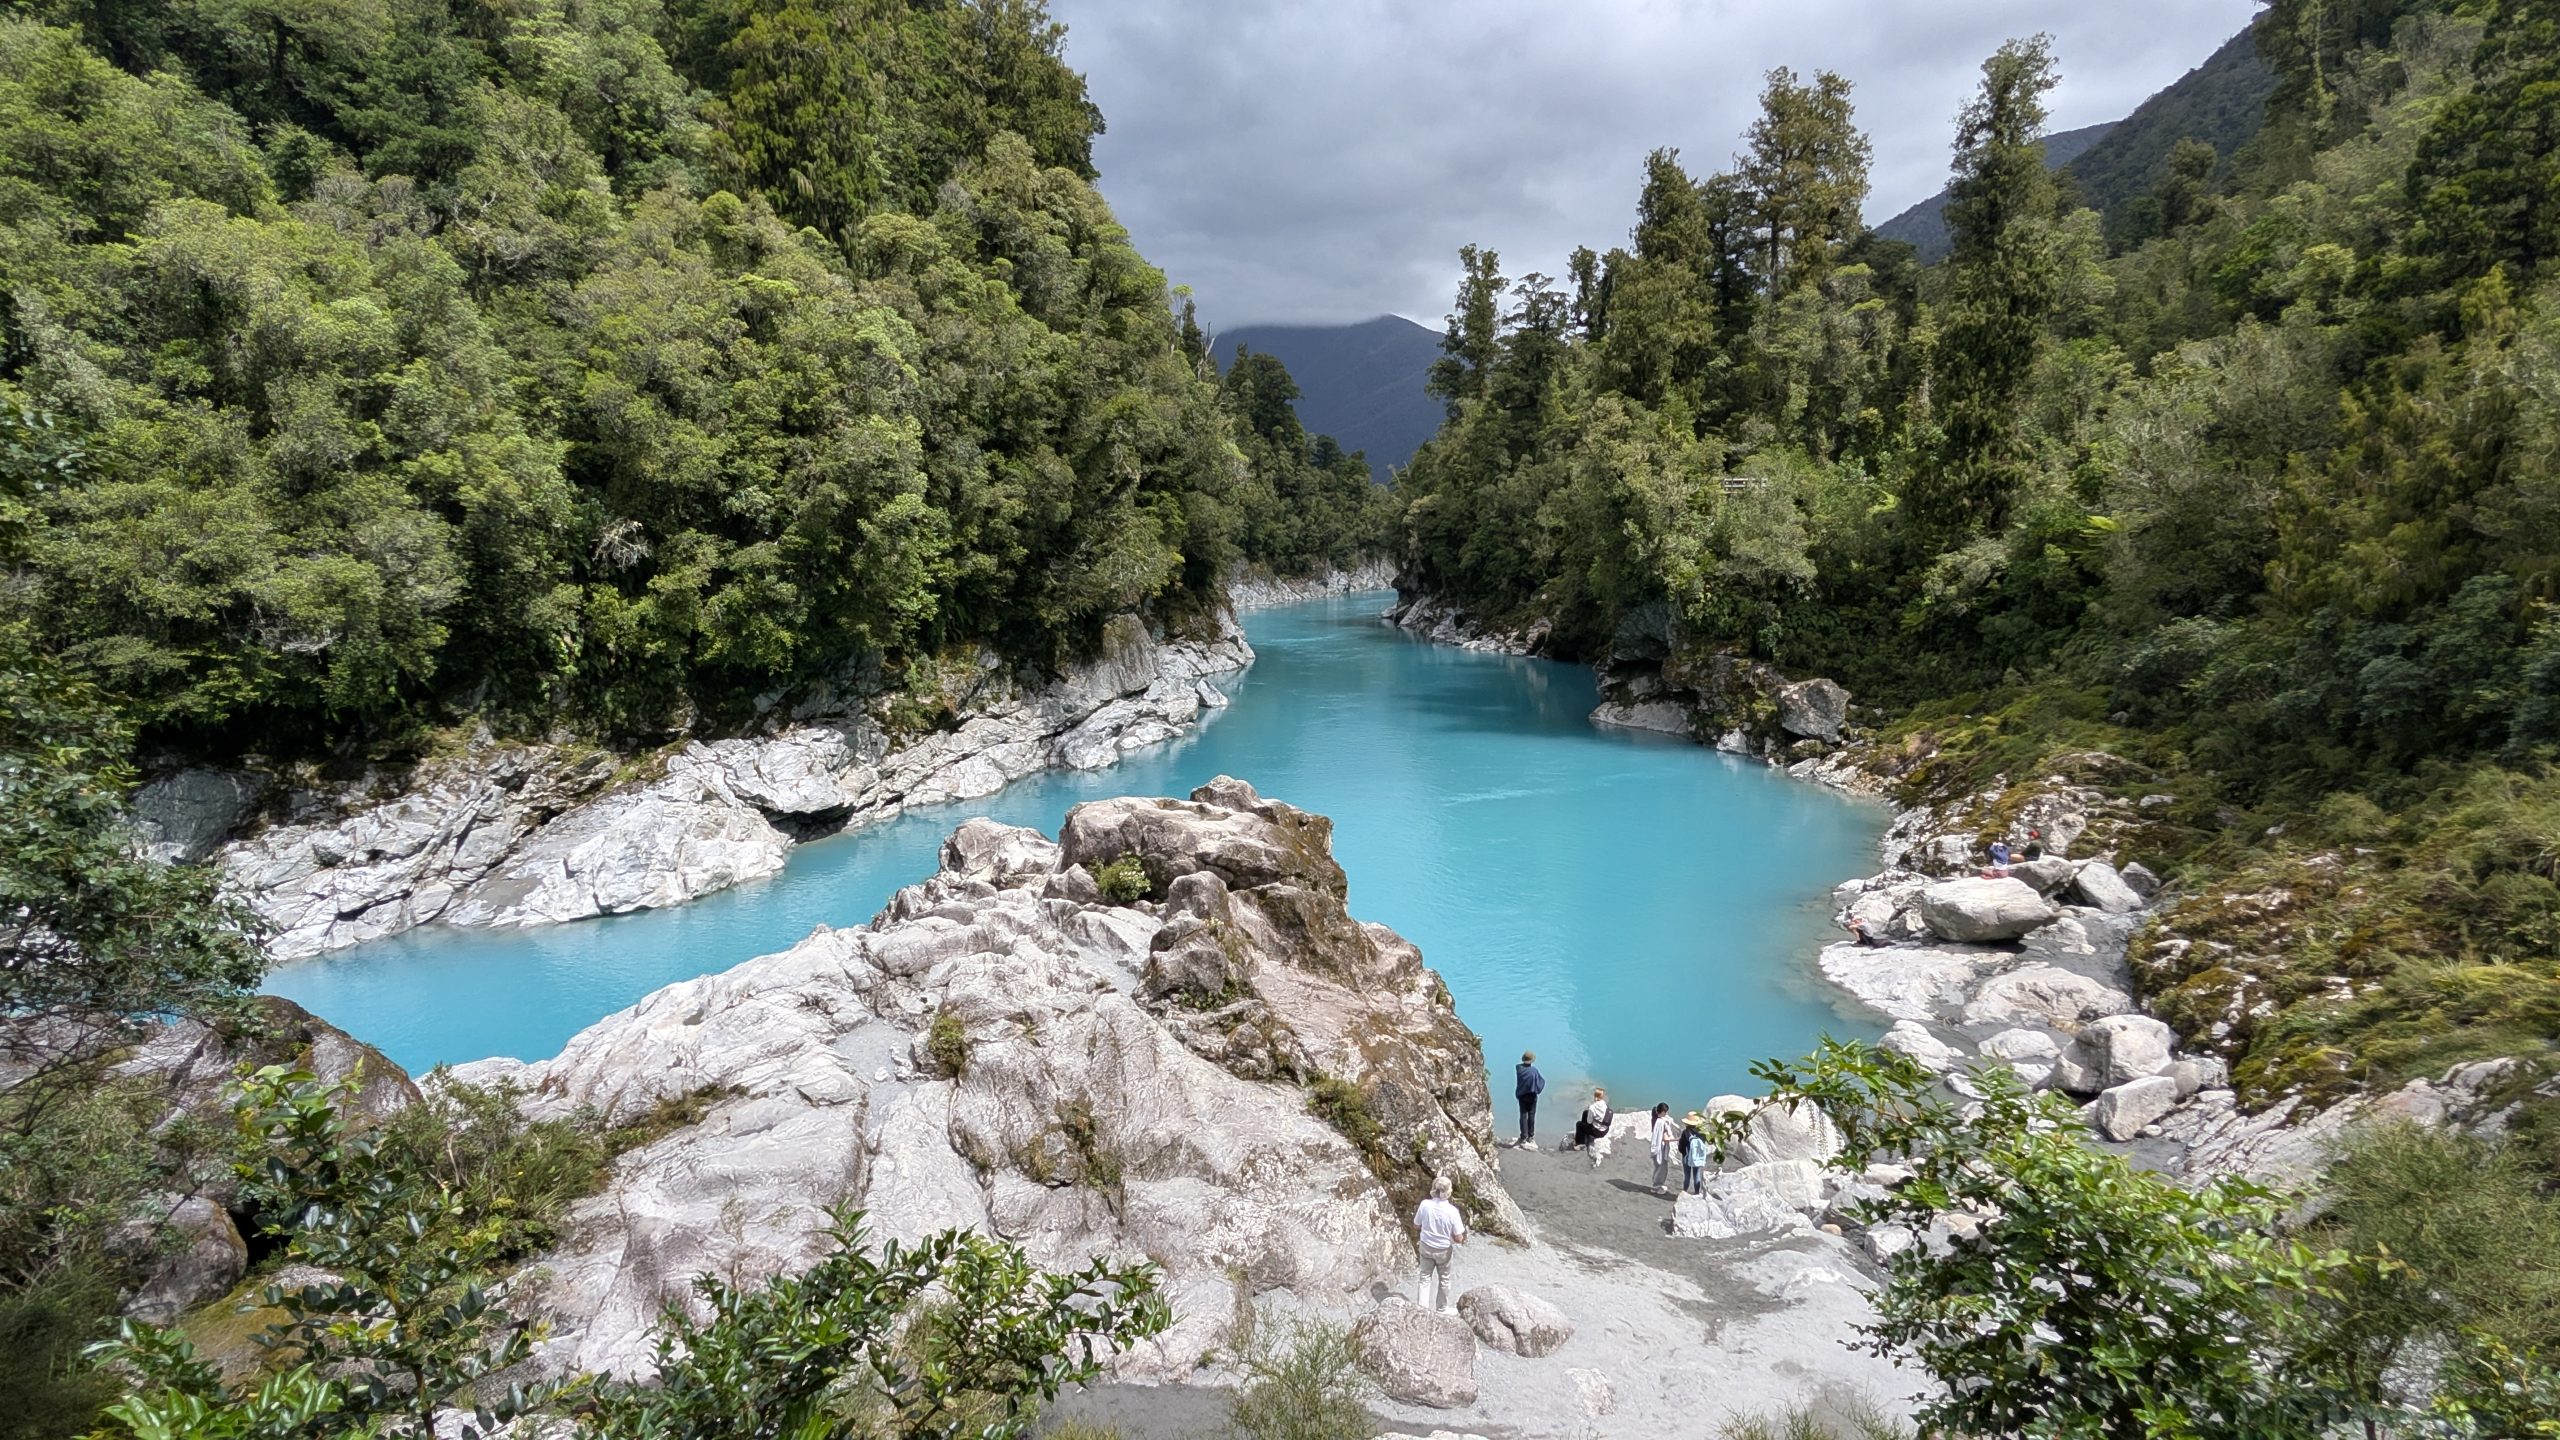
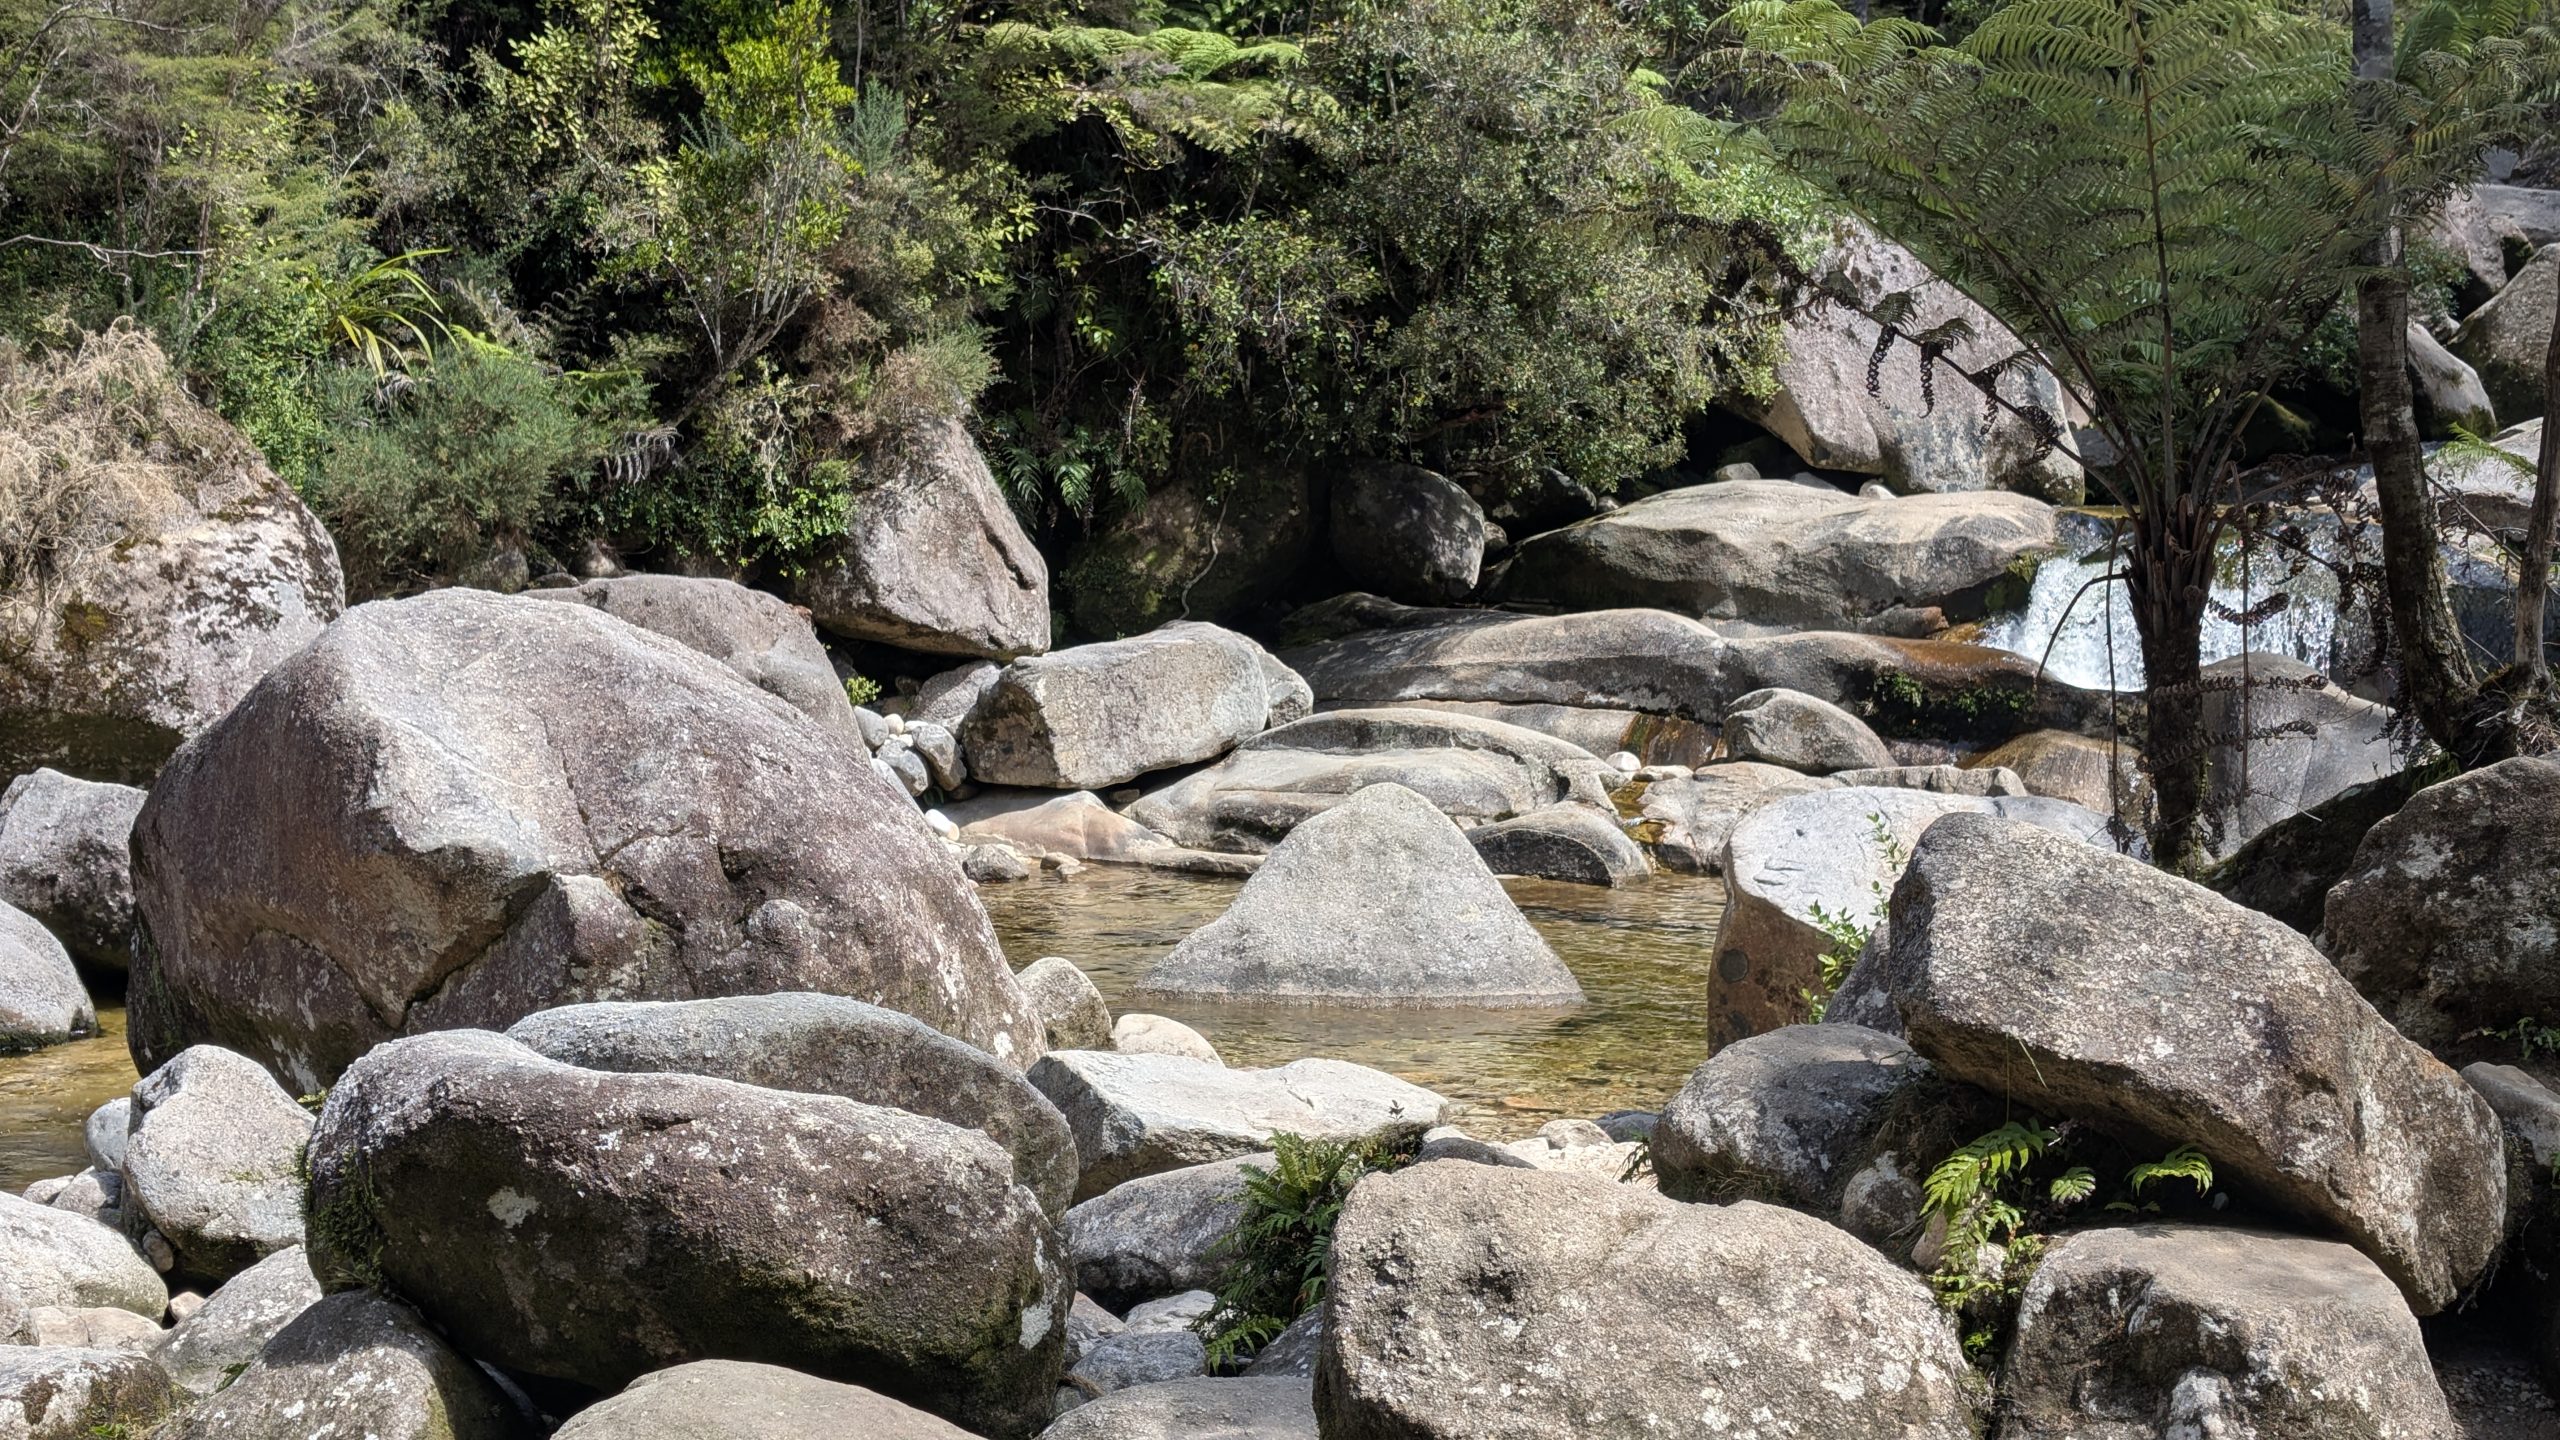
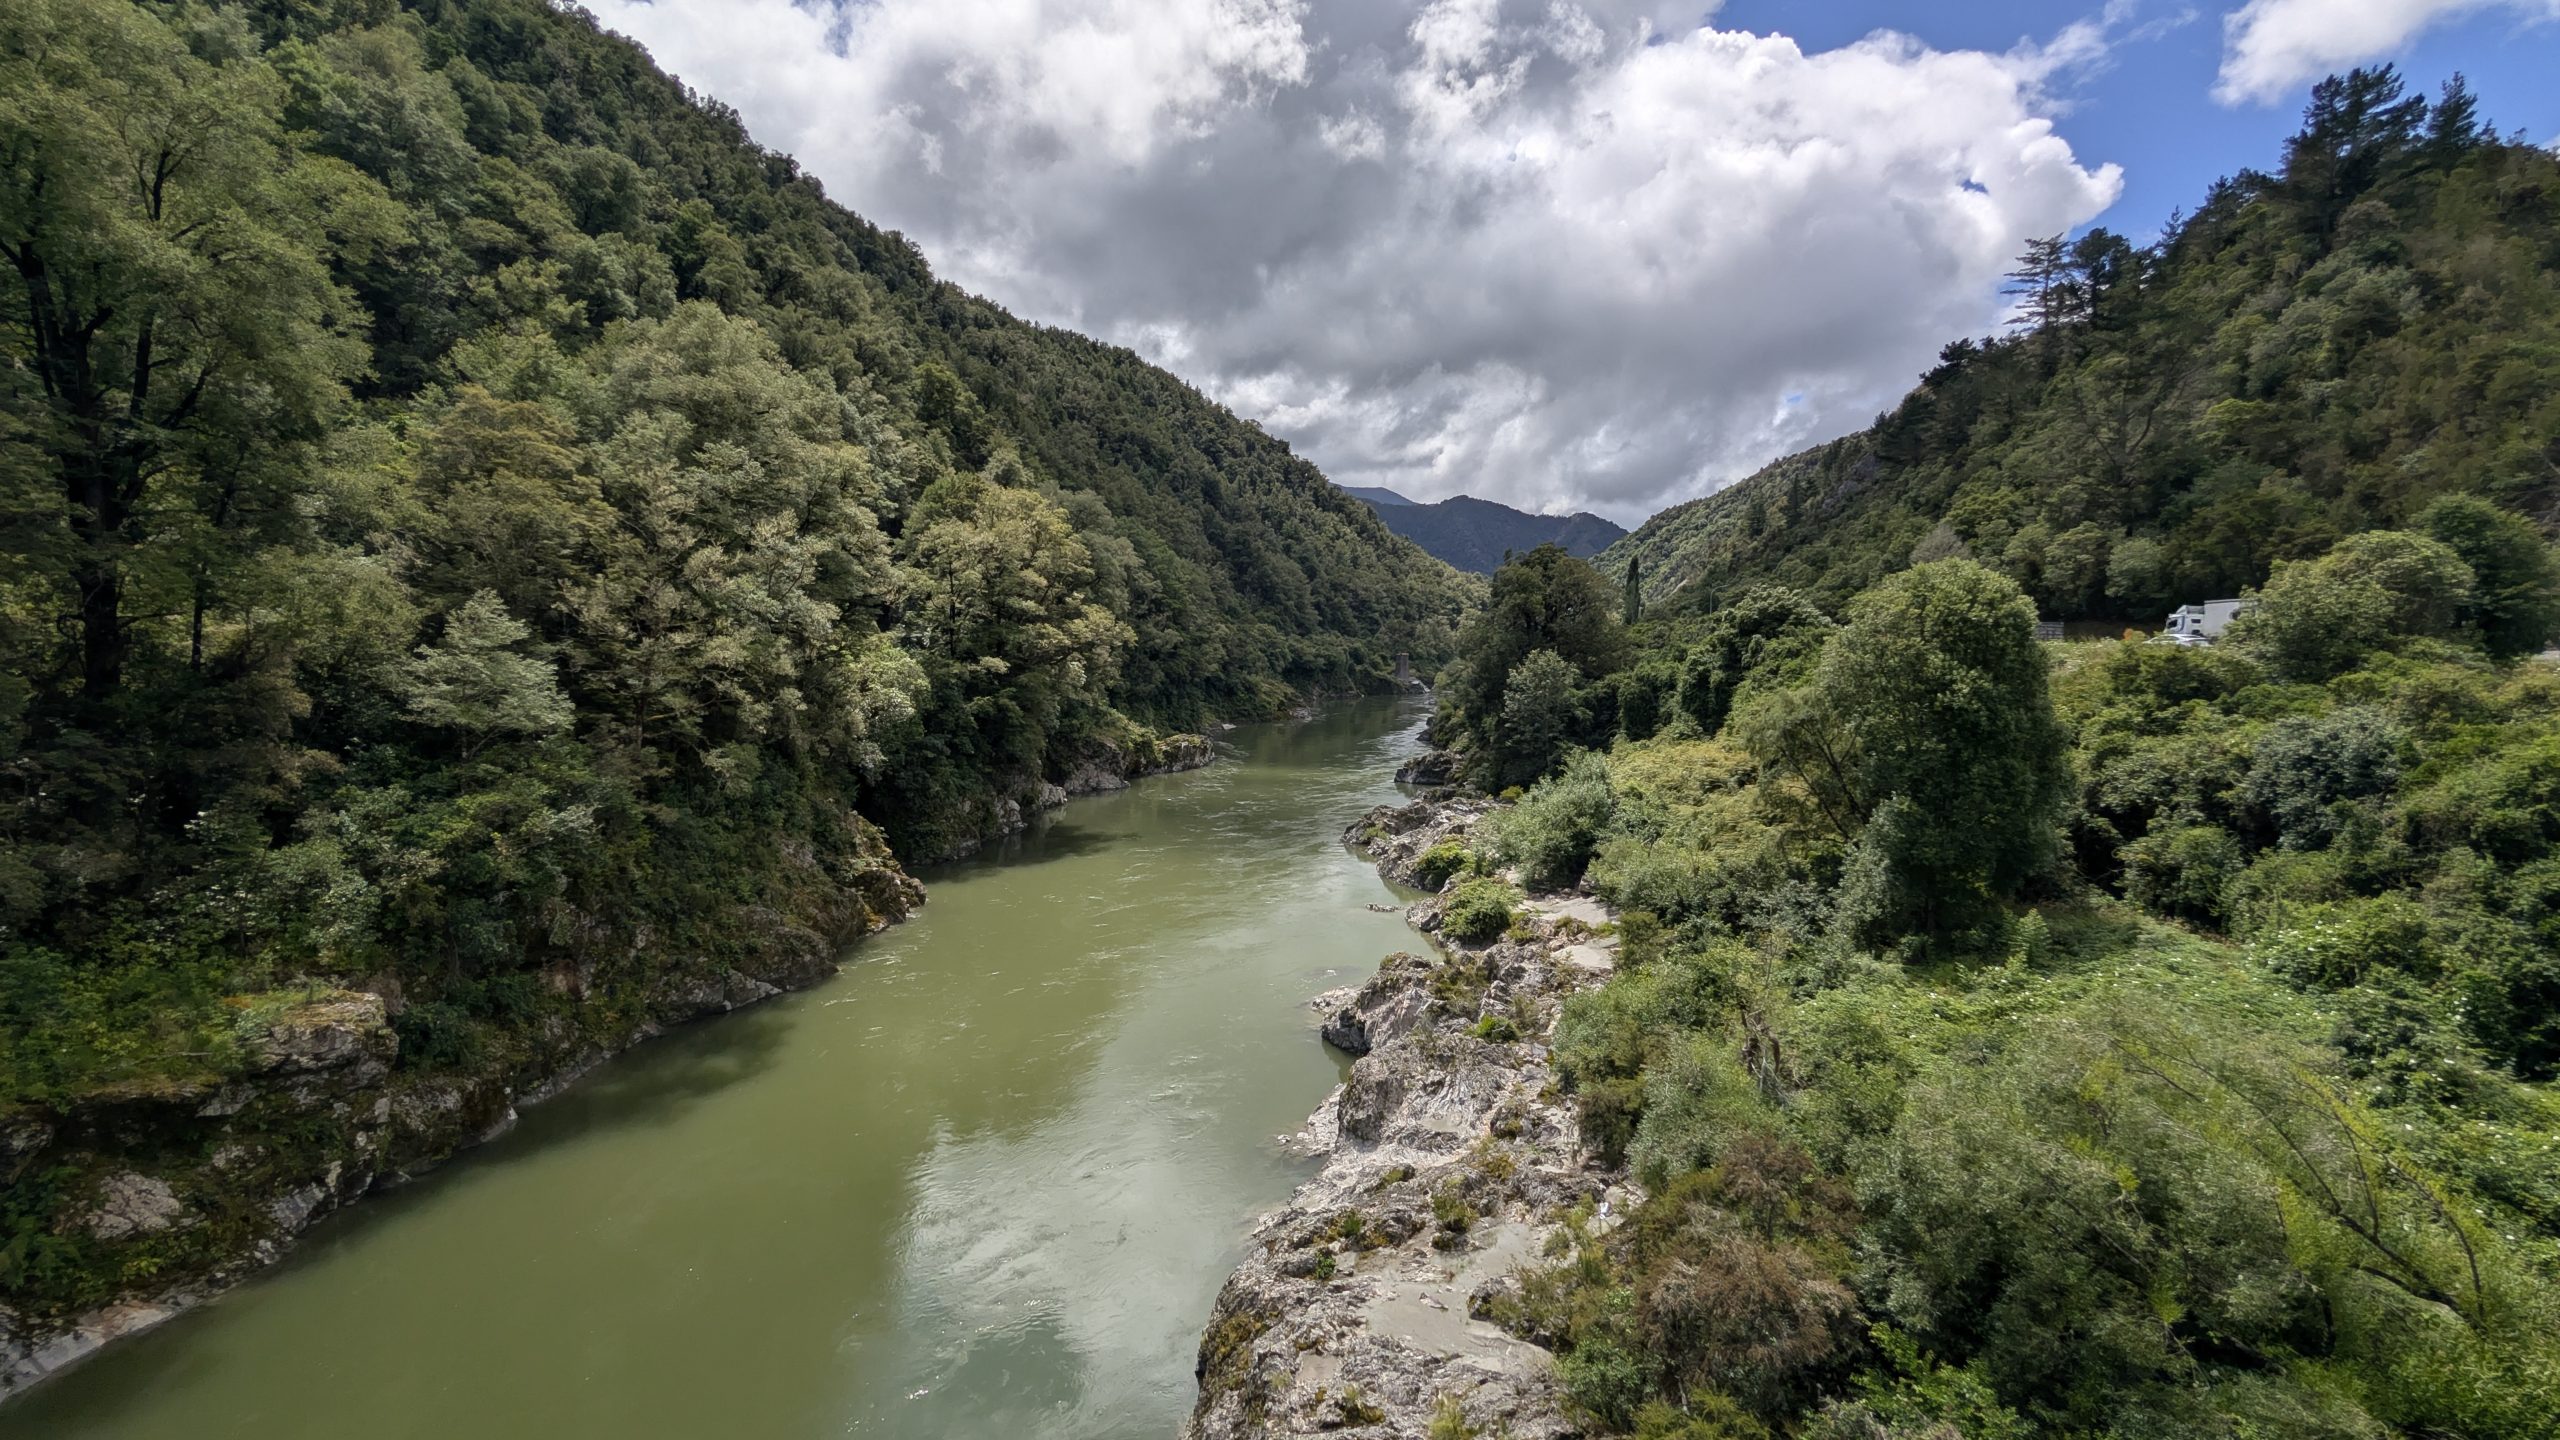
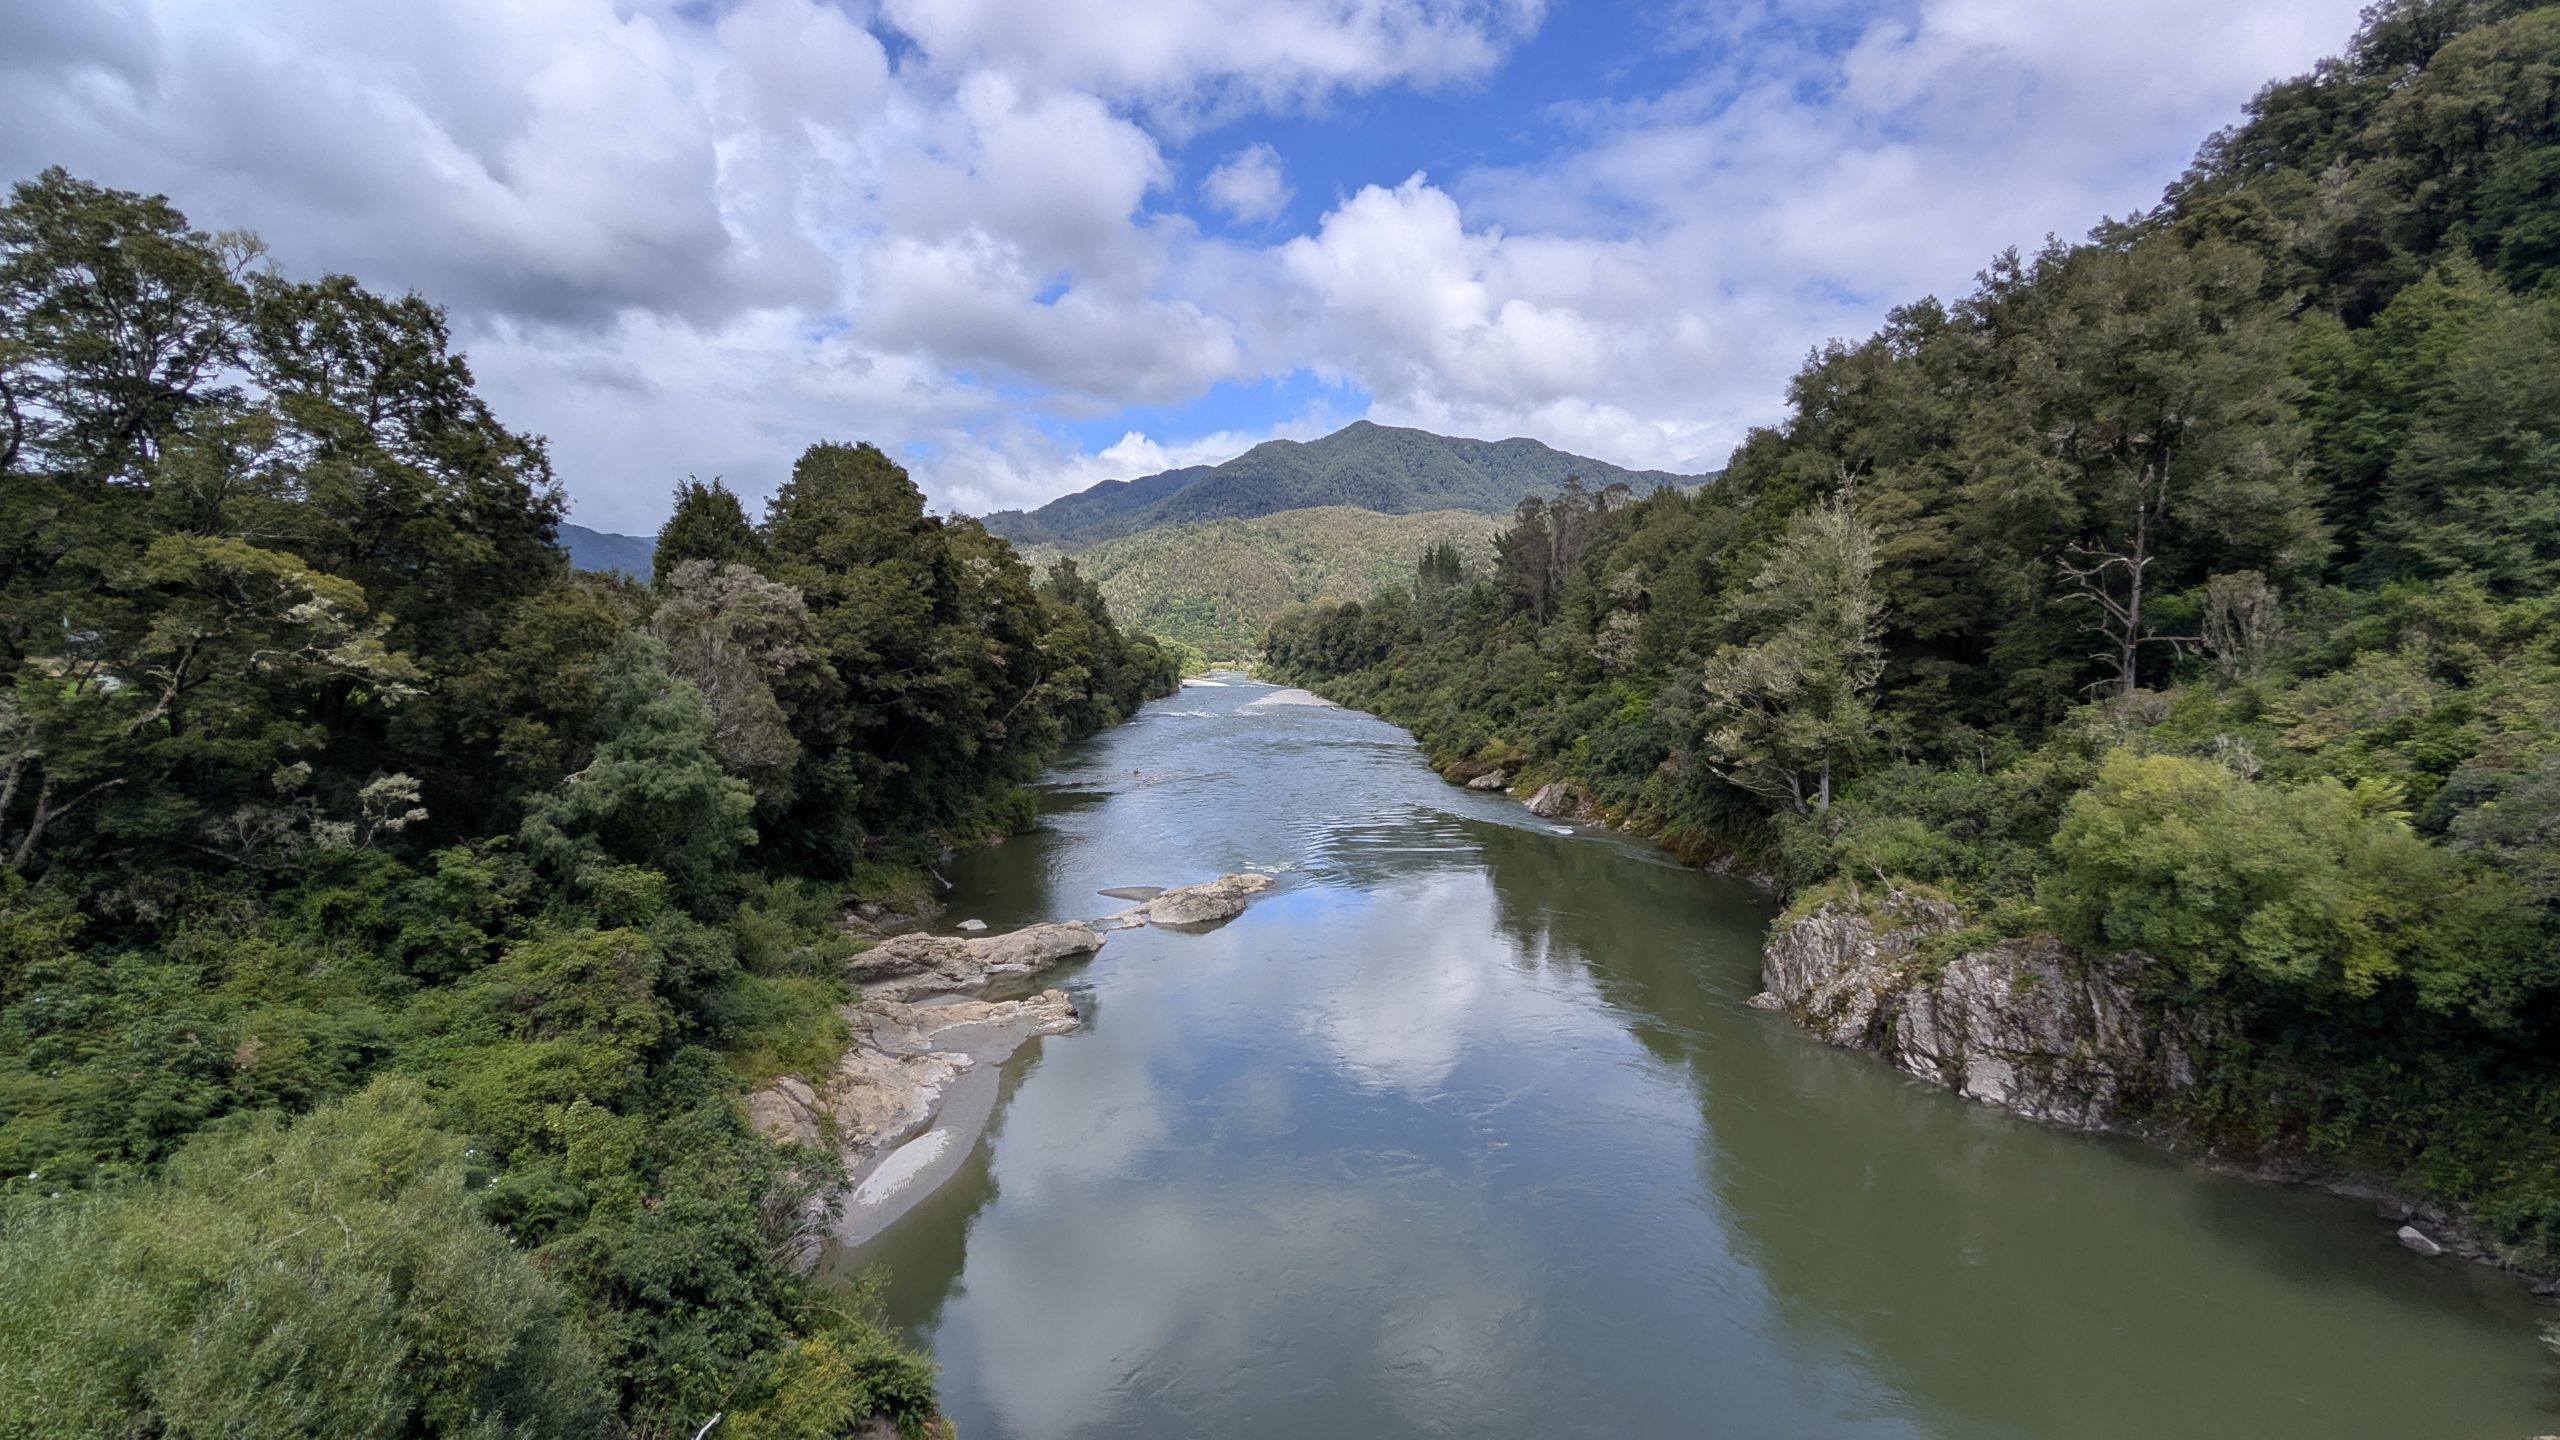
The nice blue sky had disappeared, and it was very cloudy but not raining. I didn't have much hope for seeing any beautiful colors in the gorge. The last time we visited was in February 2019 when the water color was gray. It was such a disappointment. We tried again to see the gorge in 2023, but we ended up turning around before we even got there due to heavy rain.
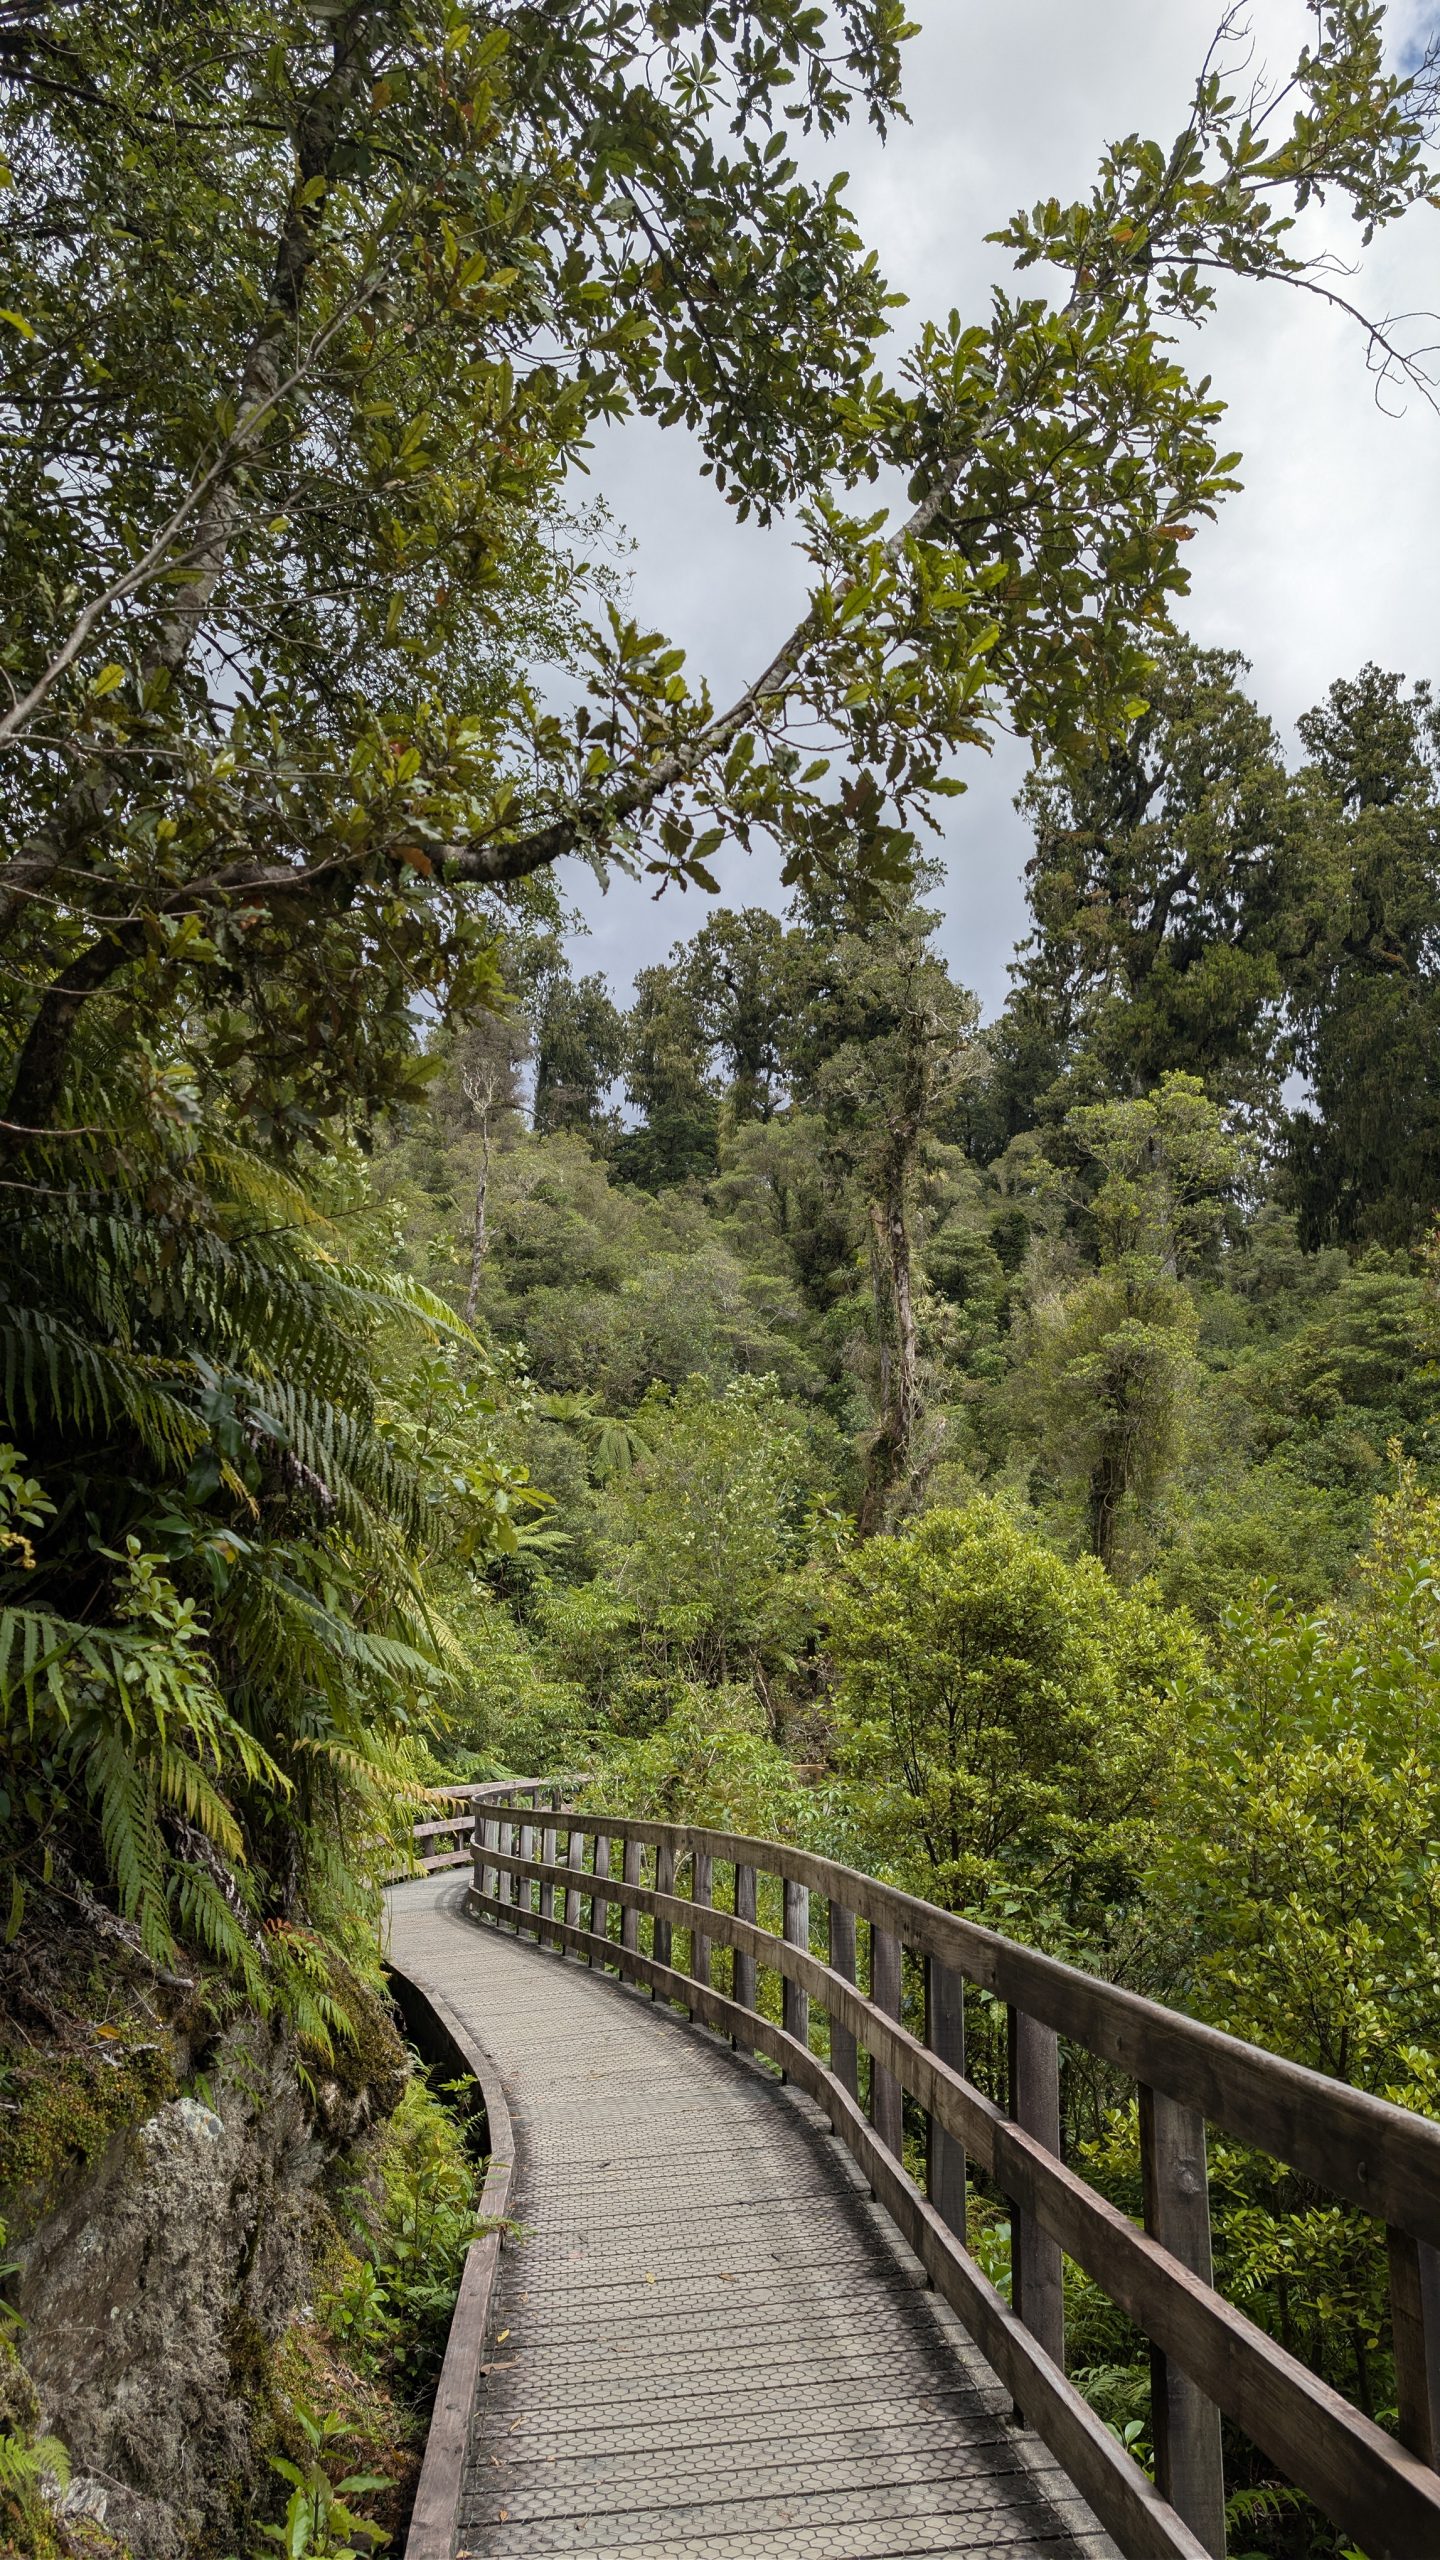
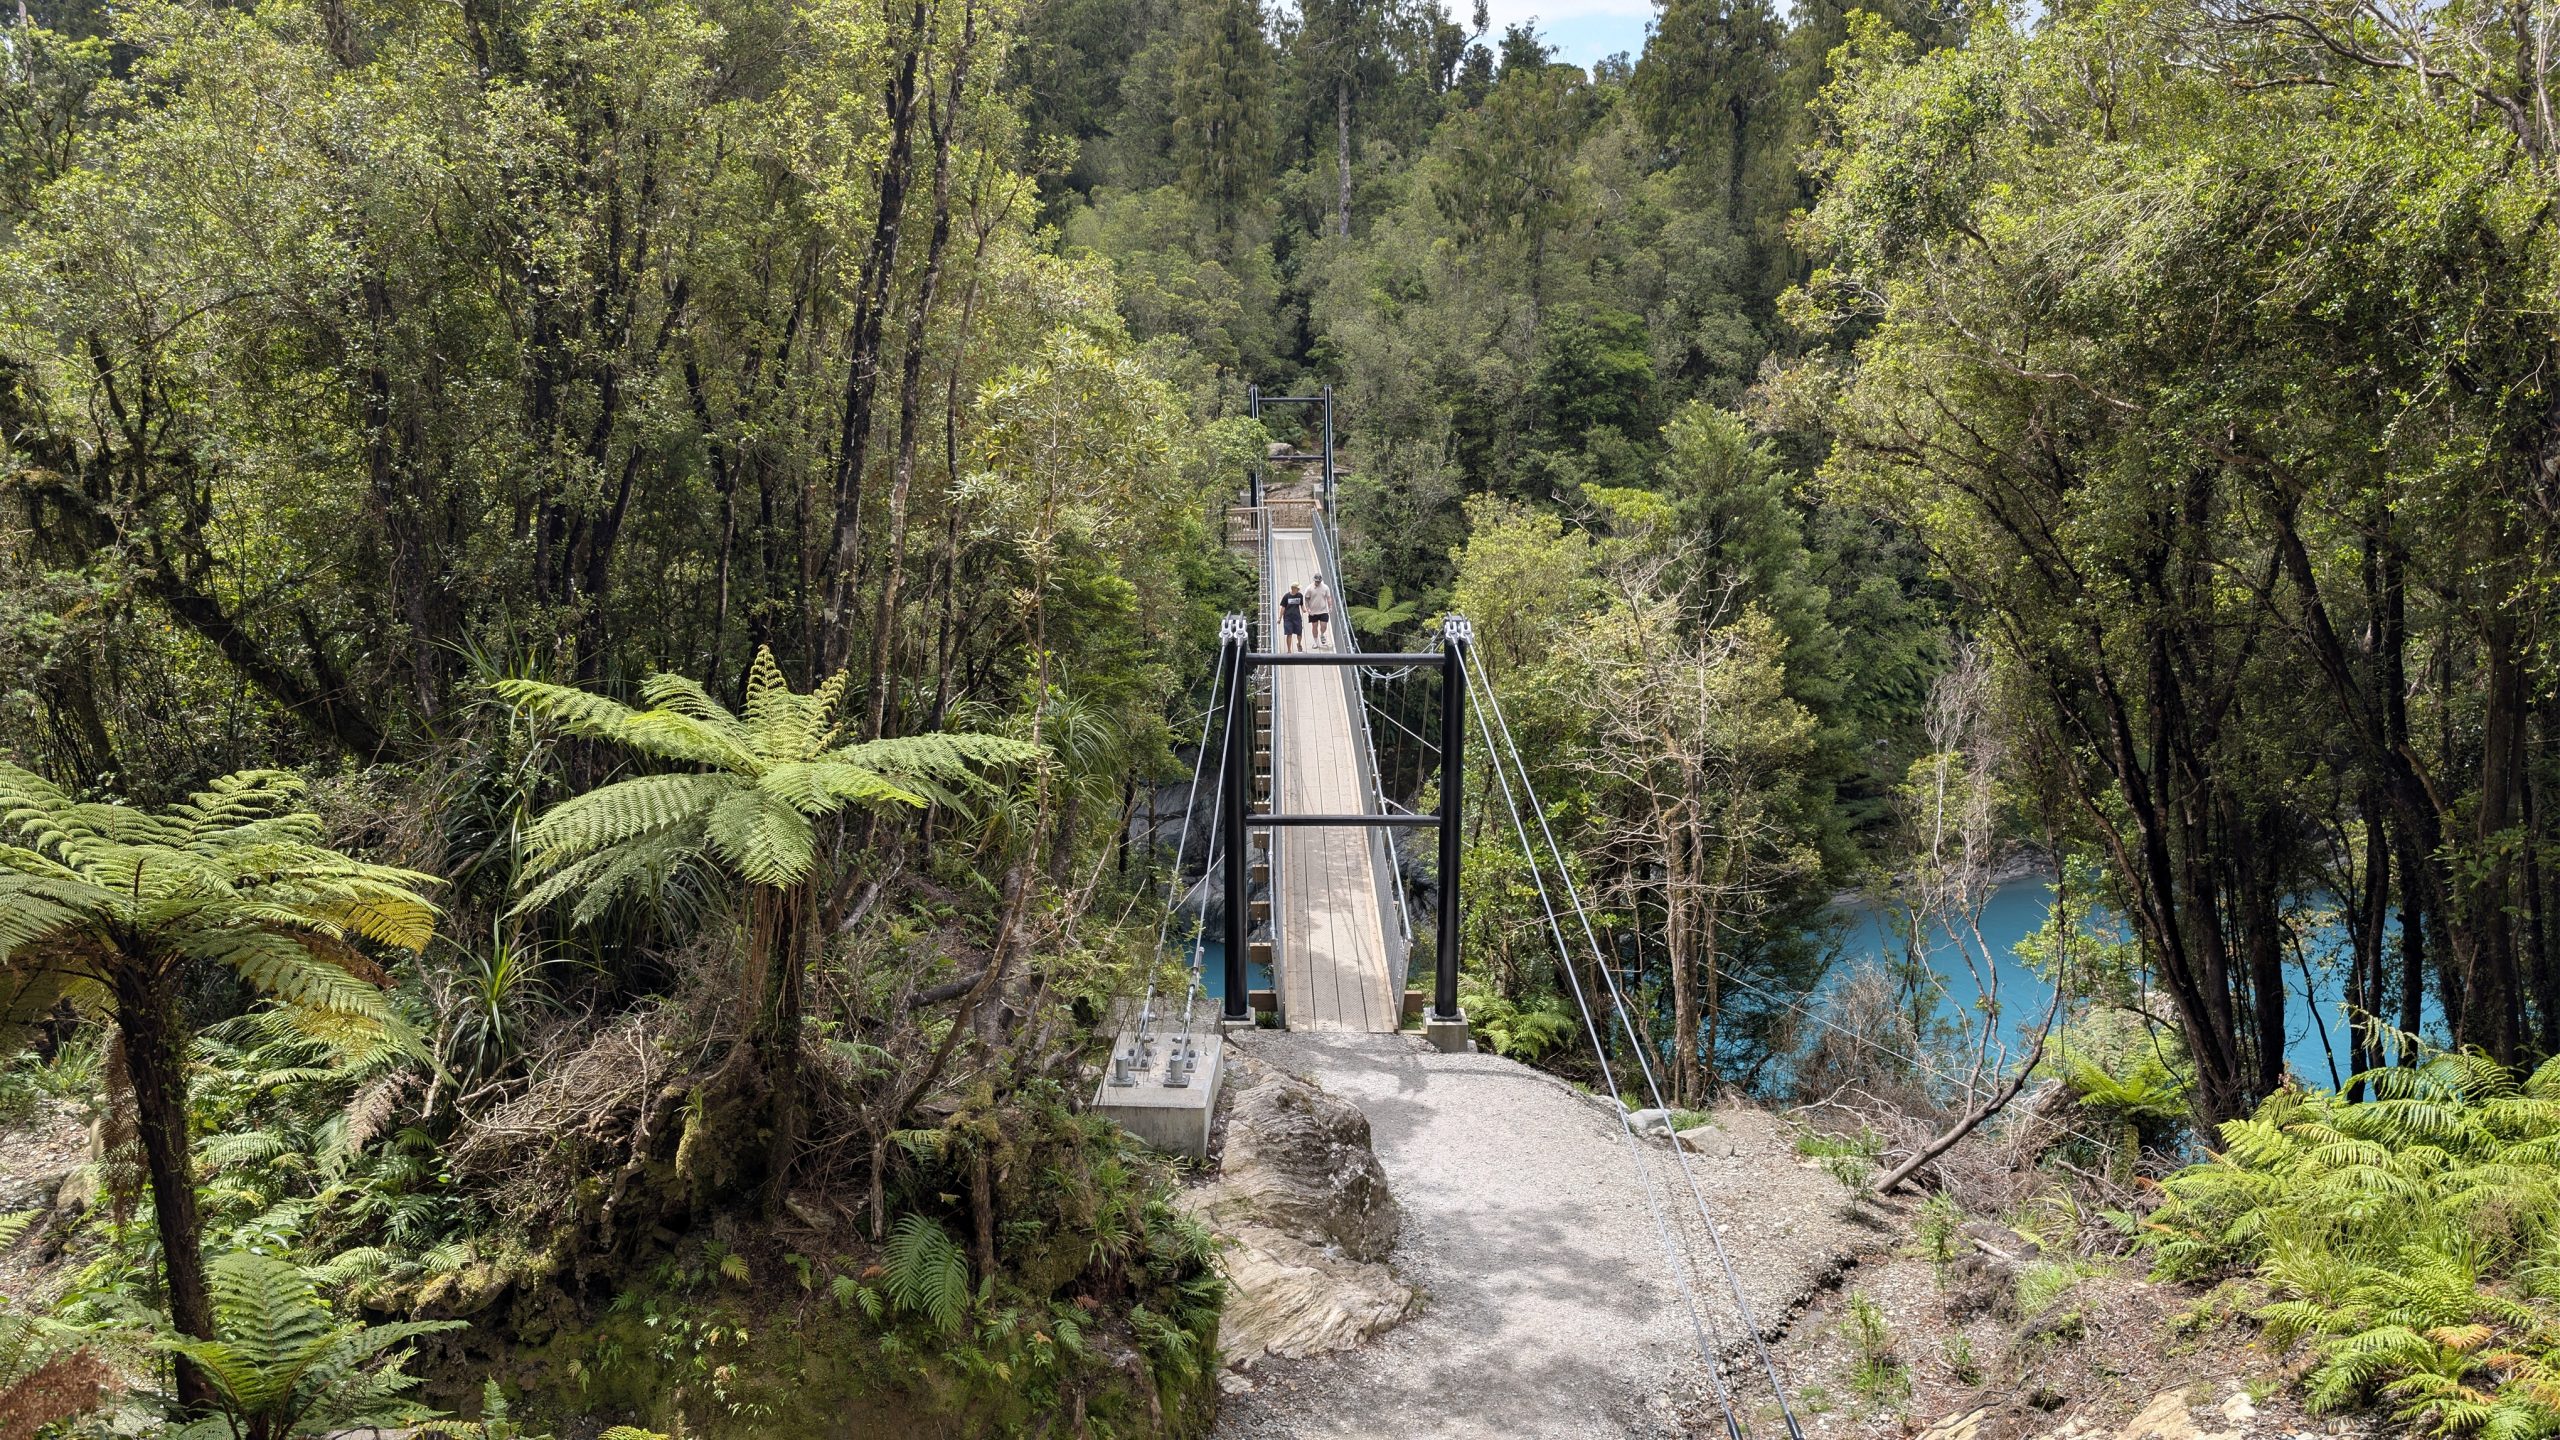
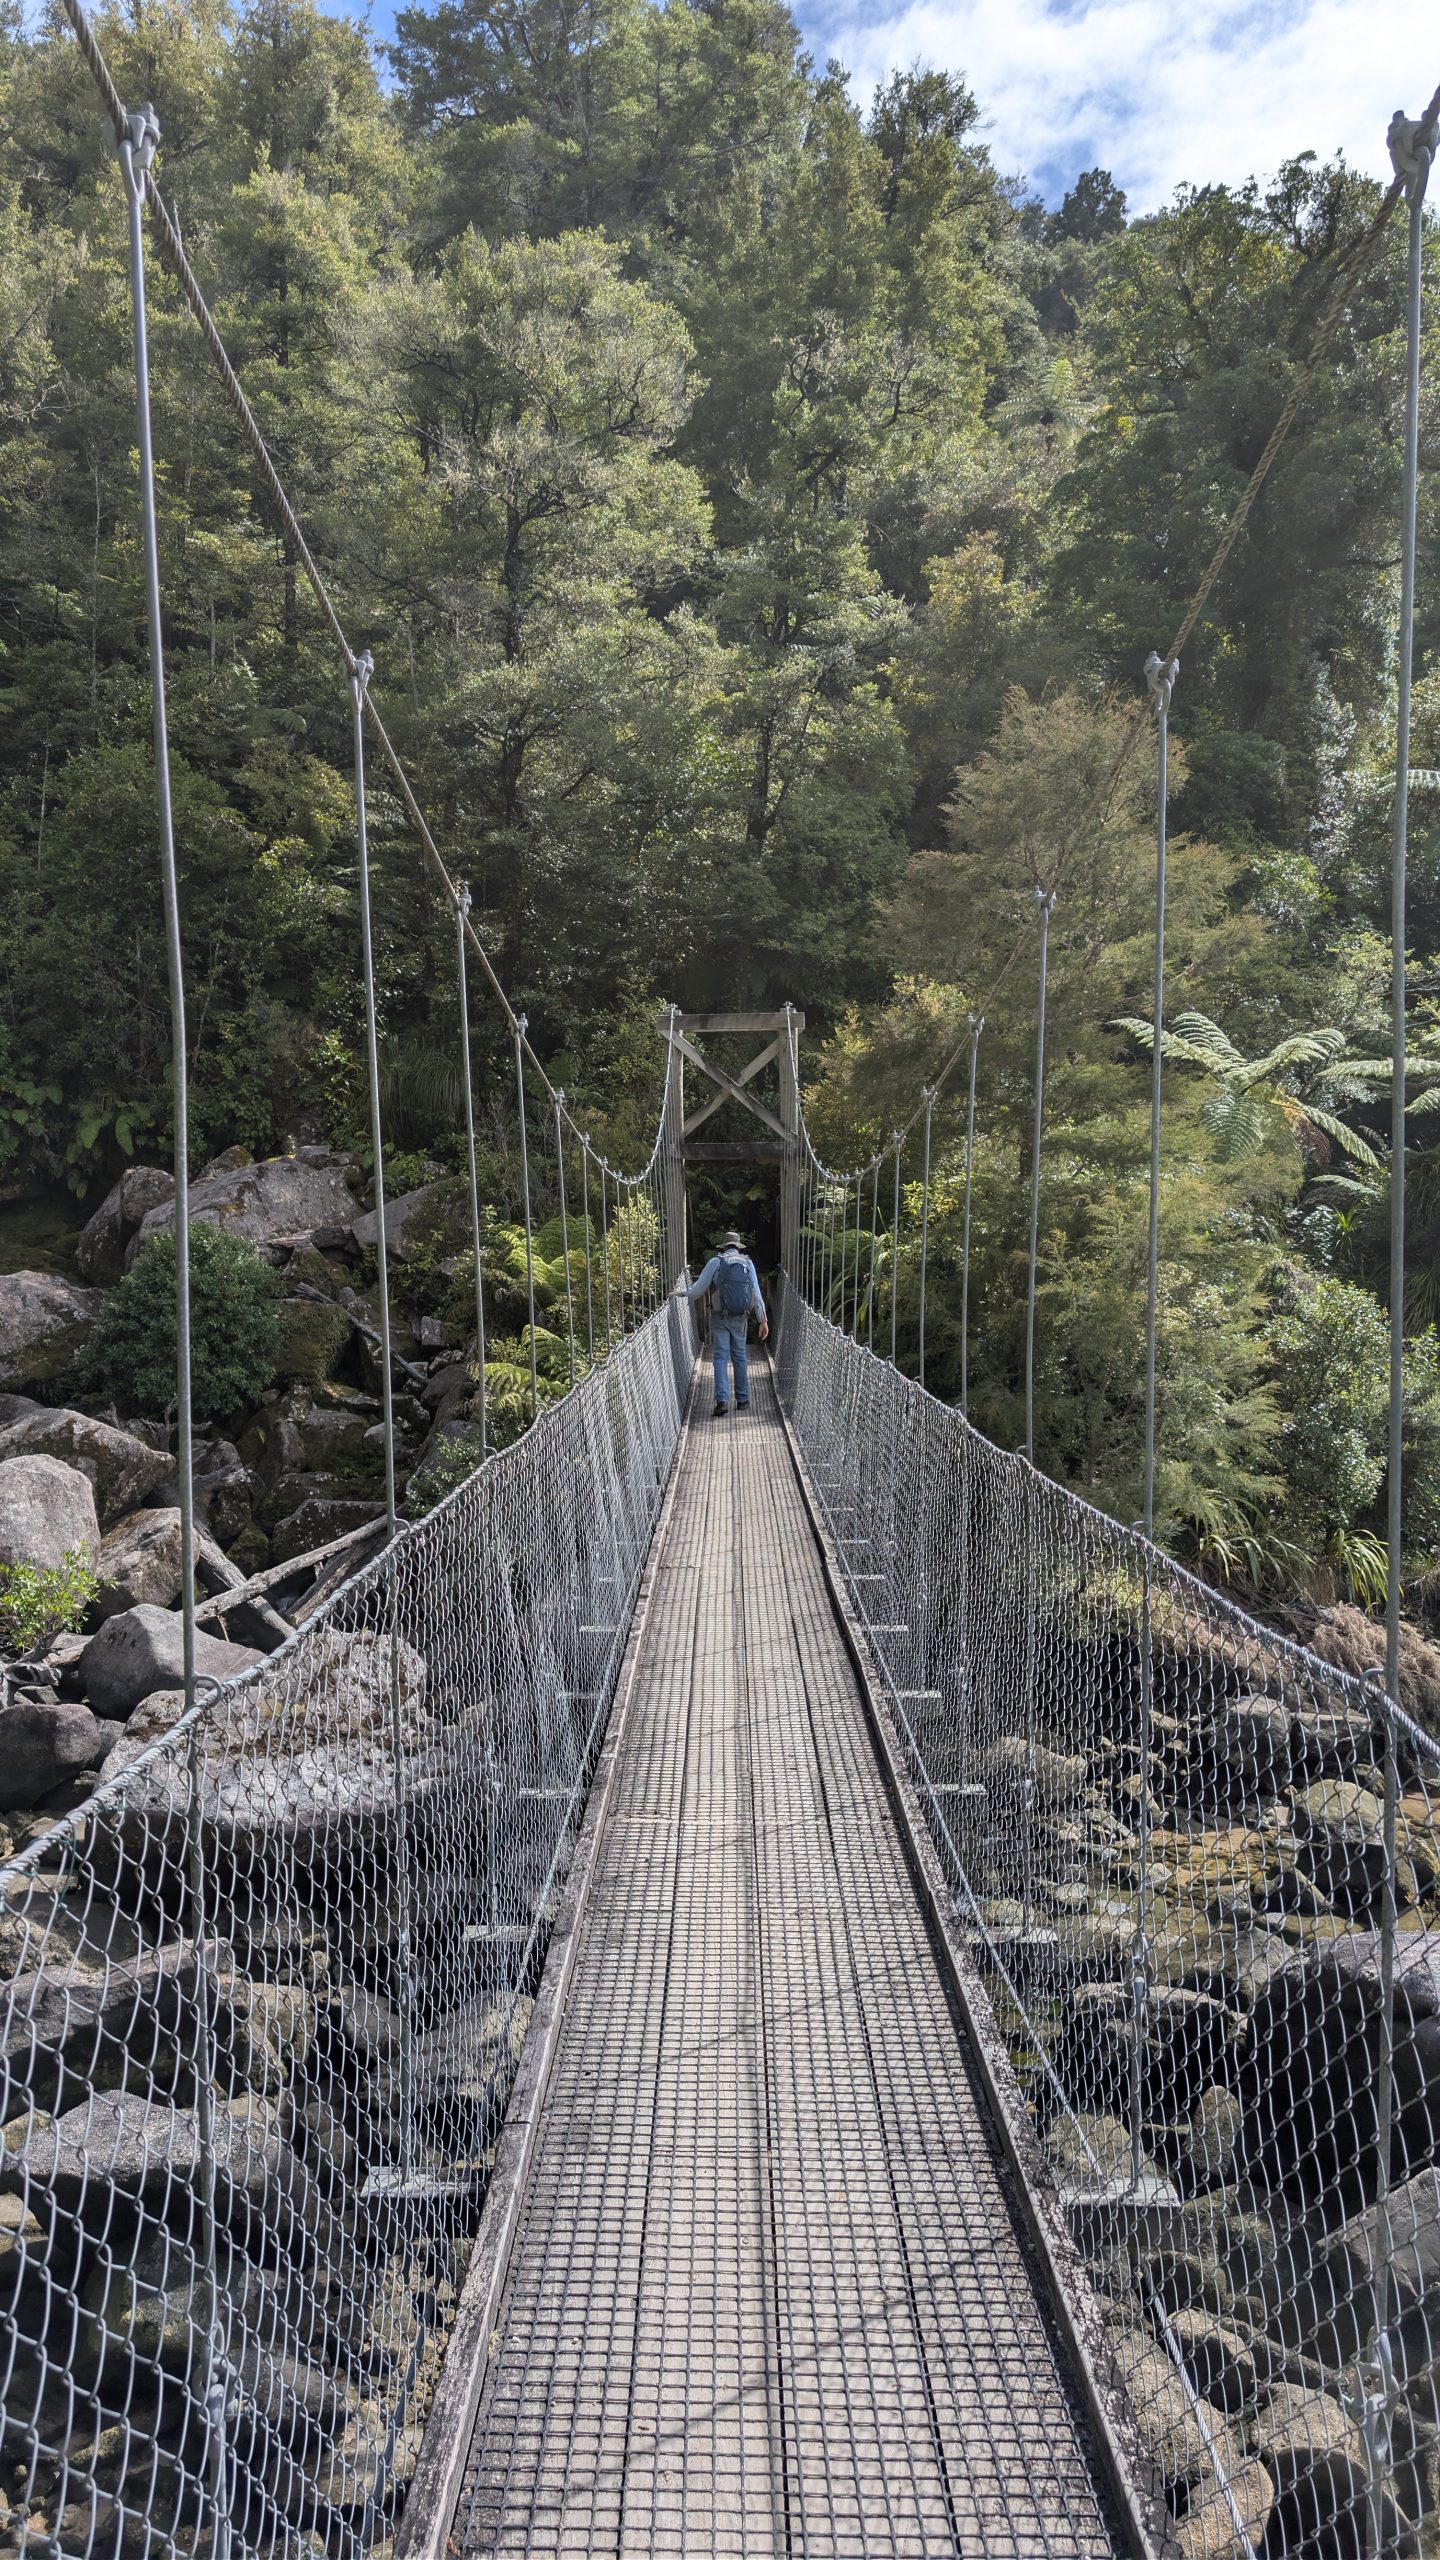
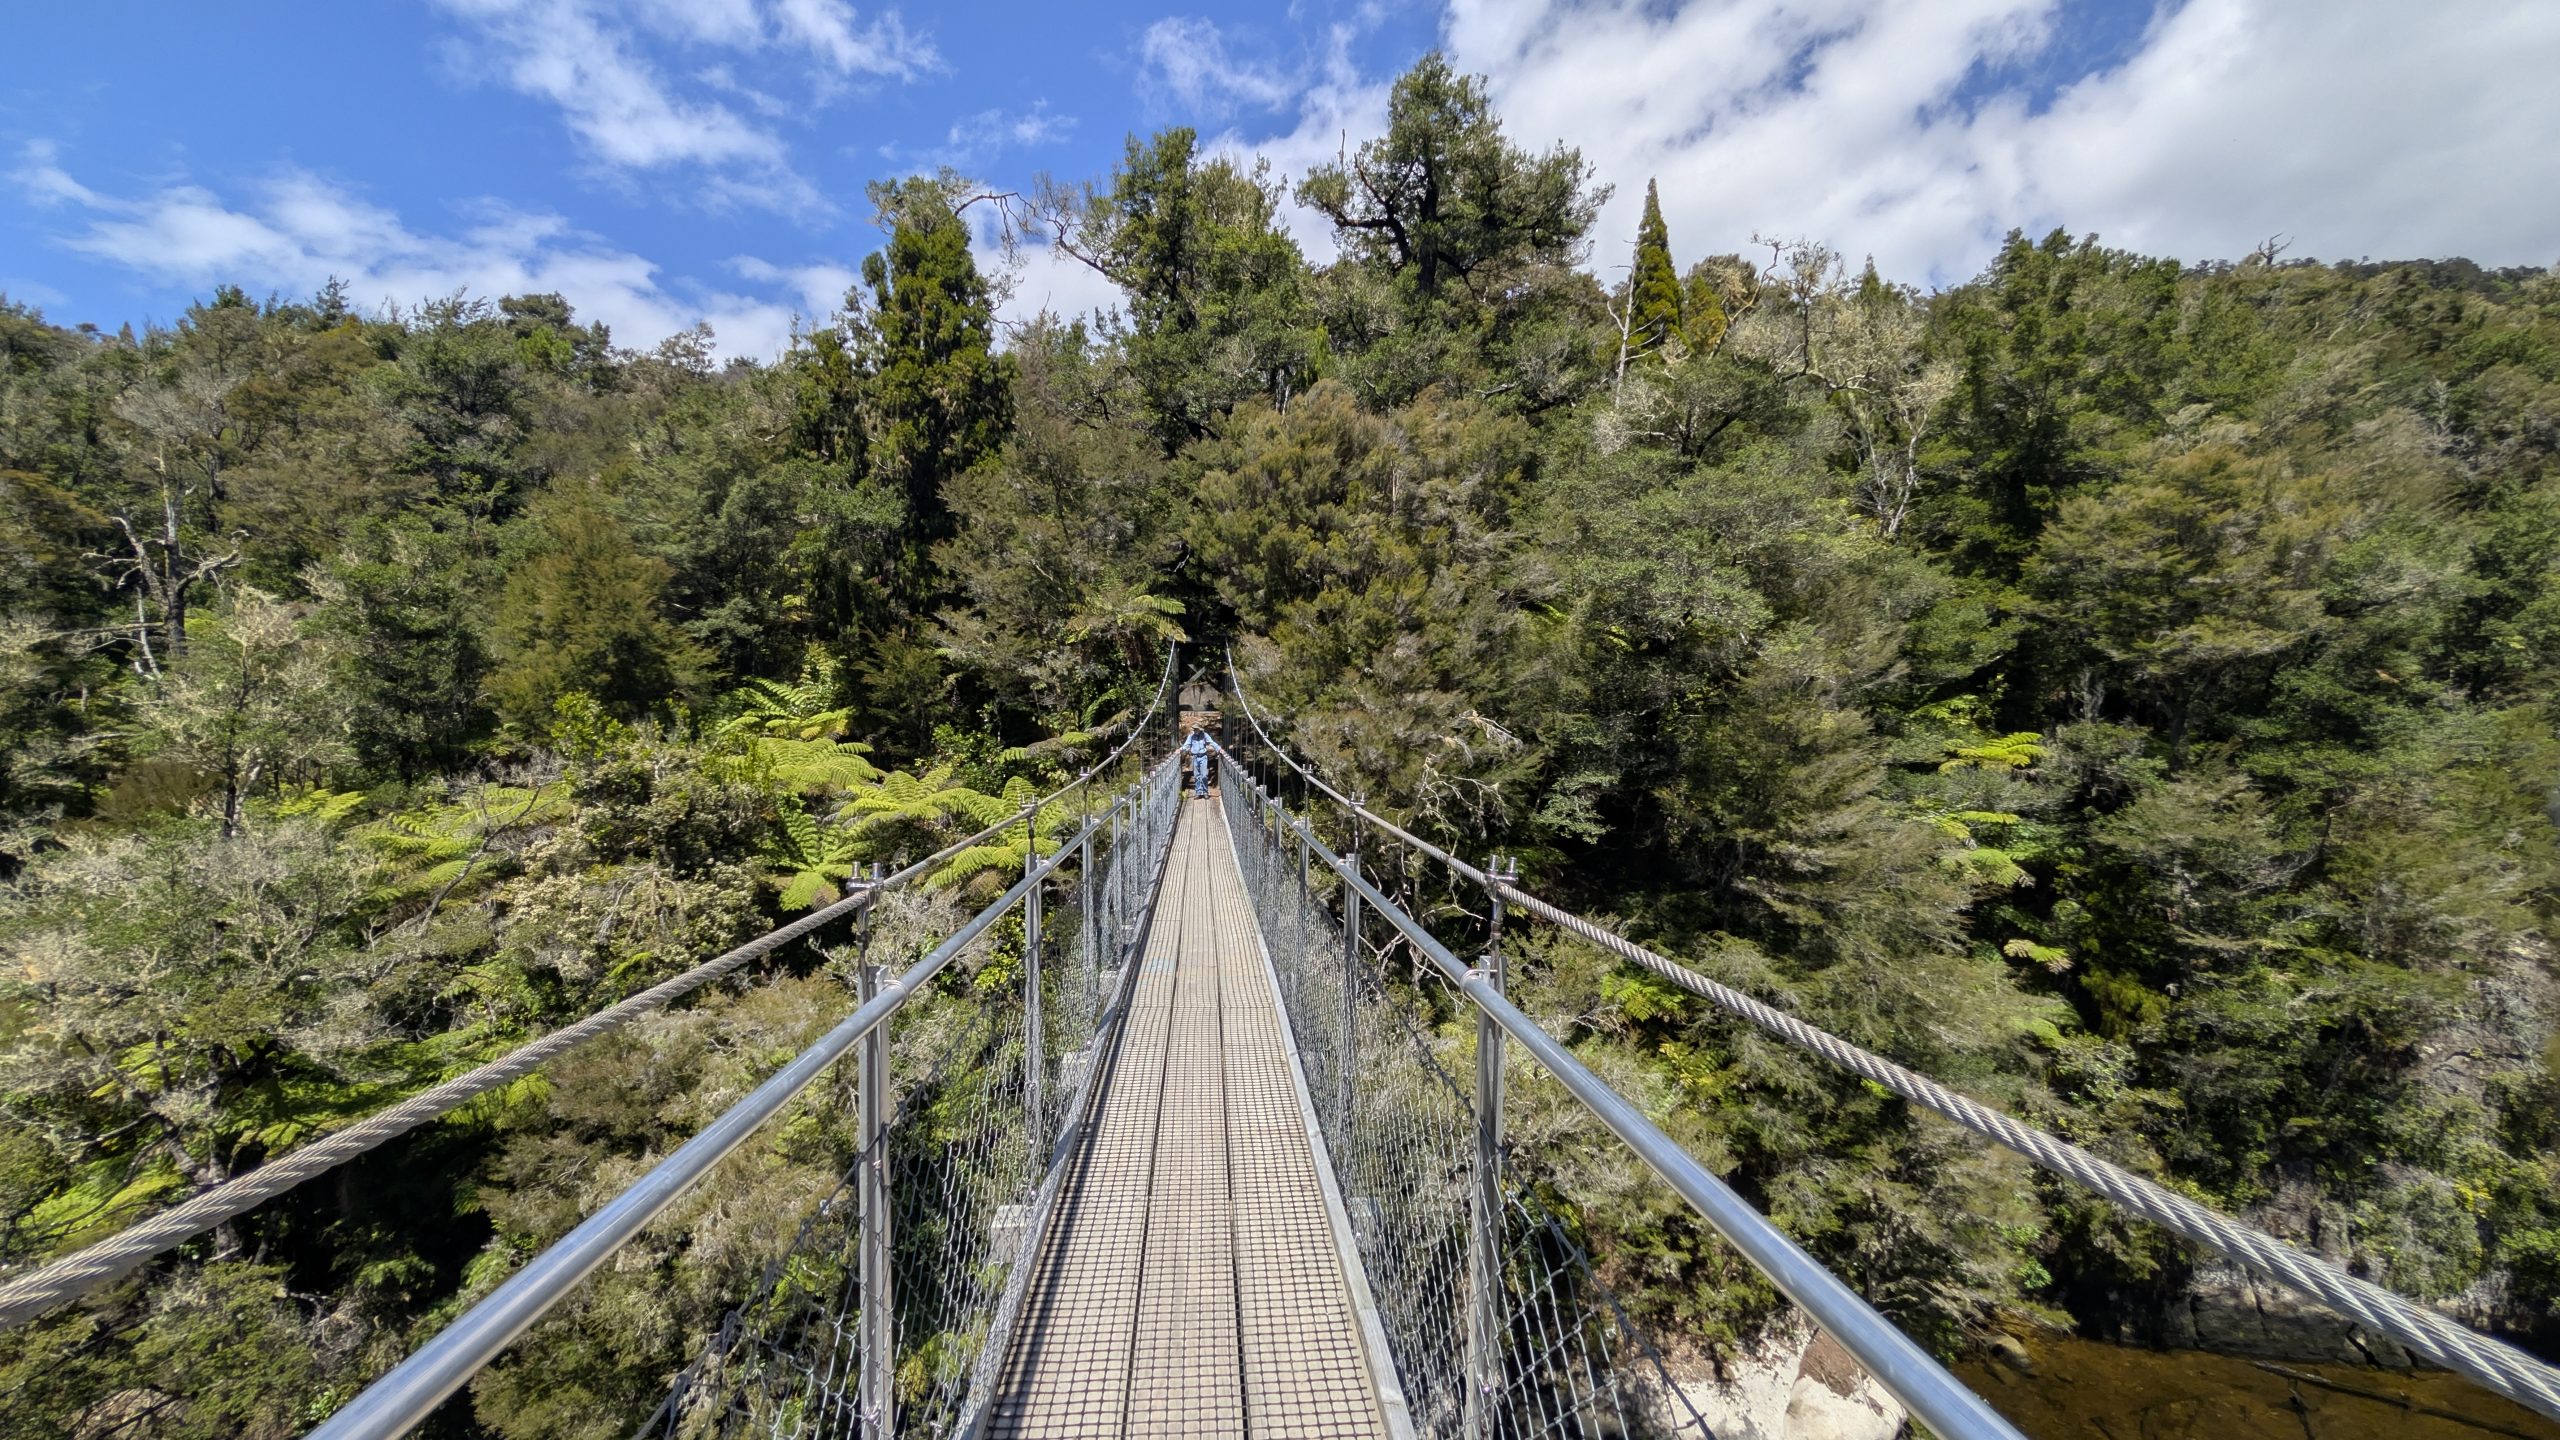
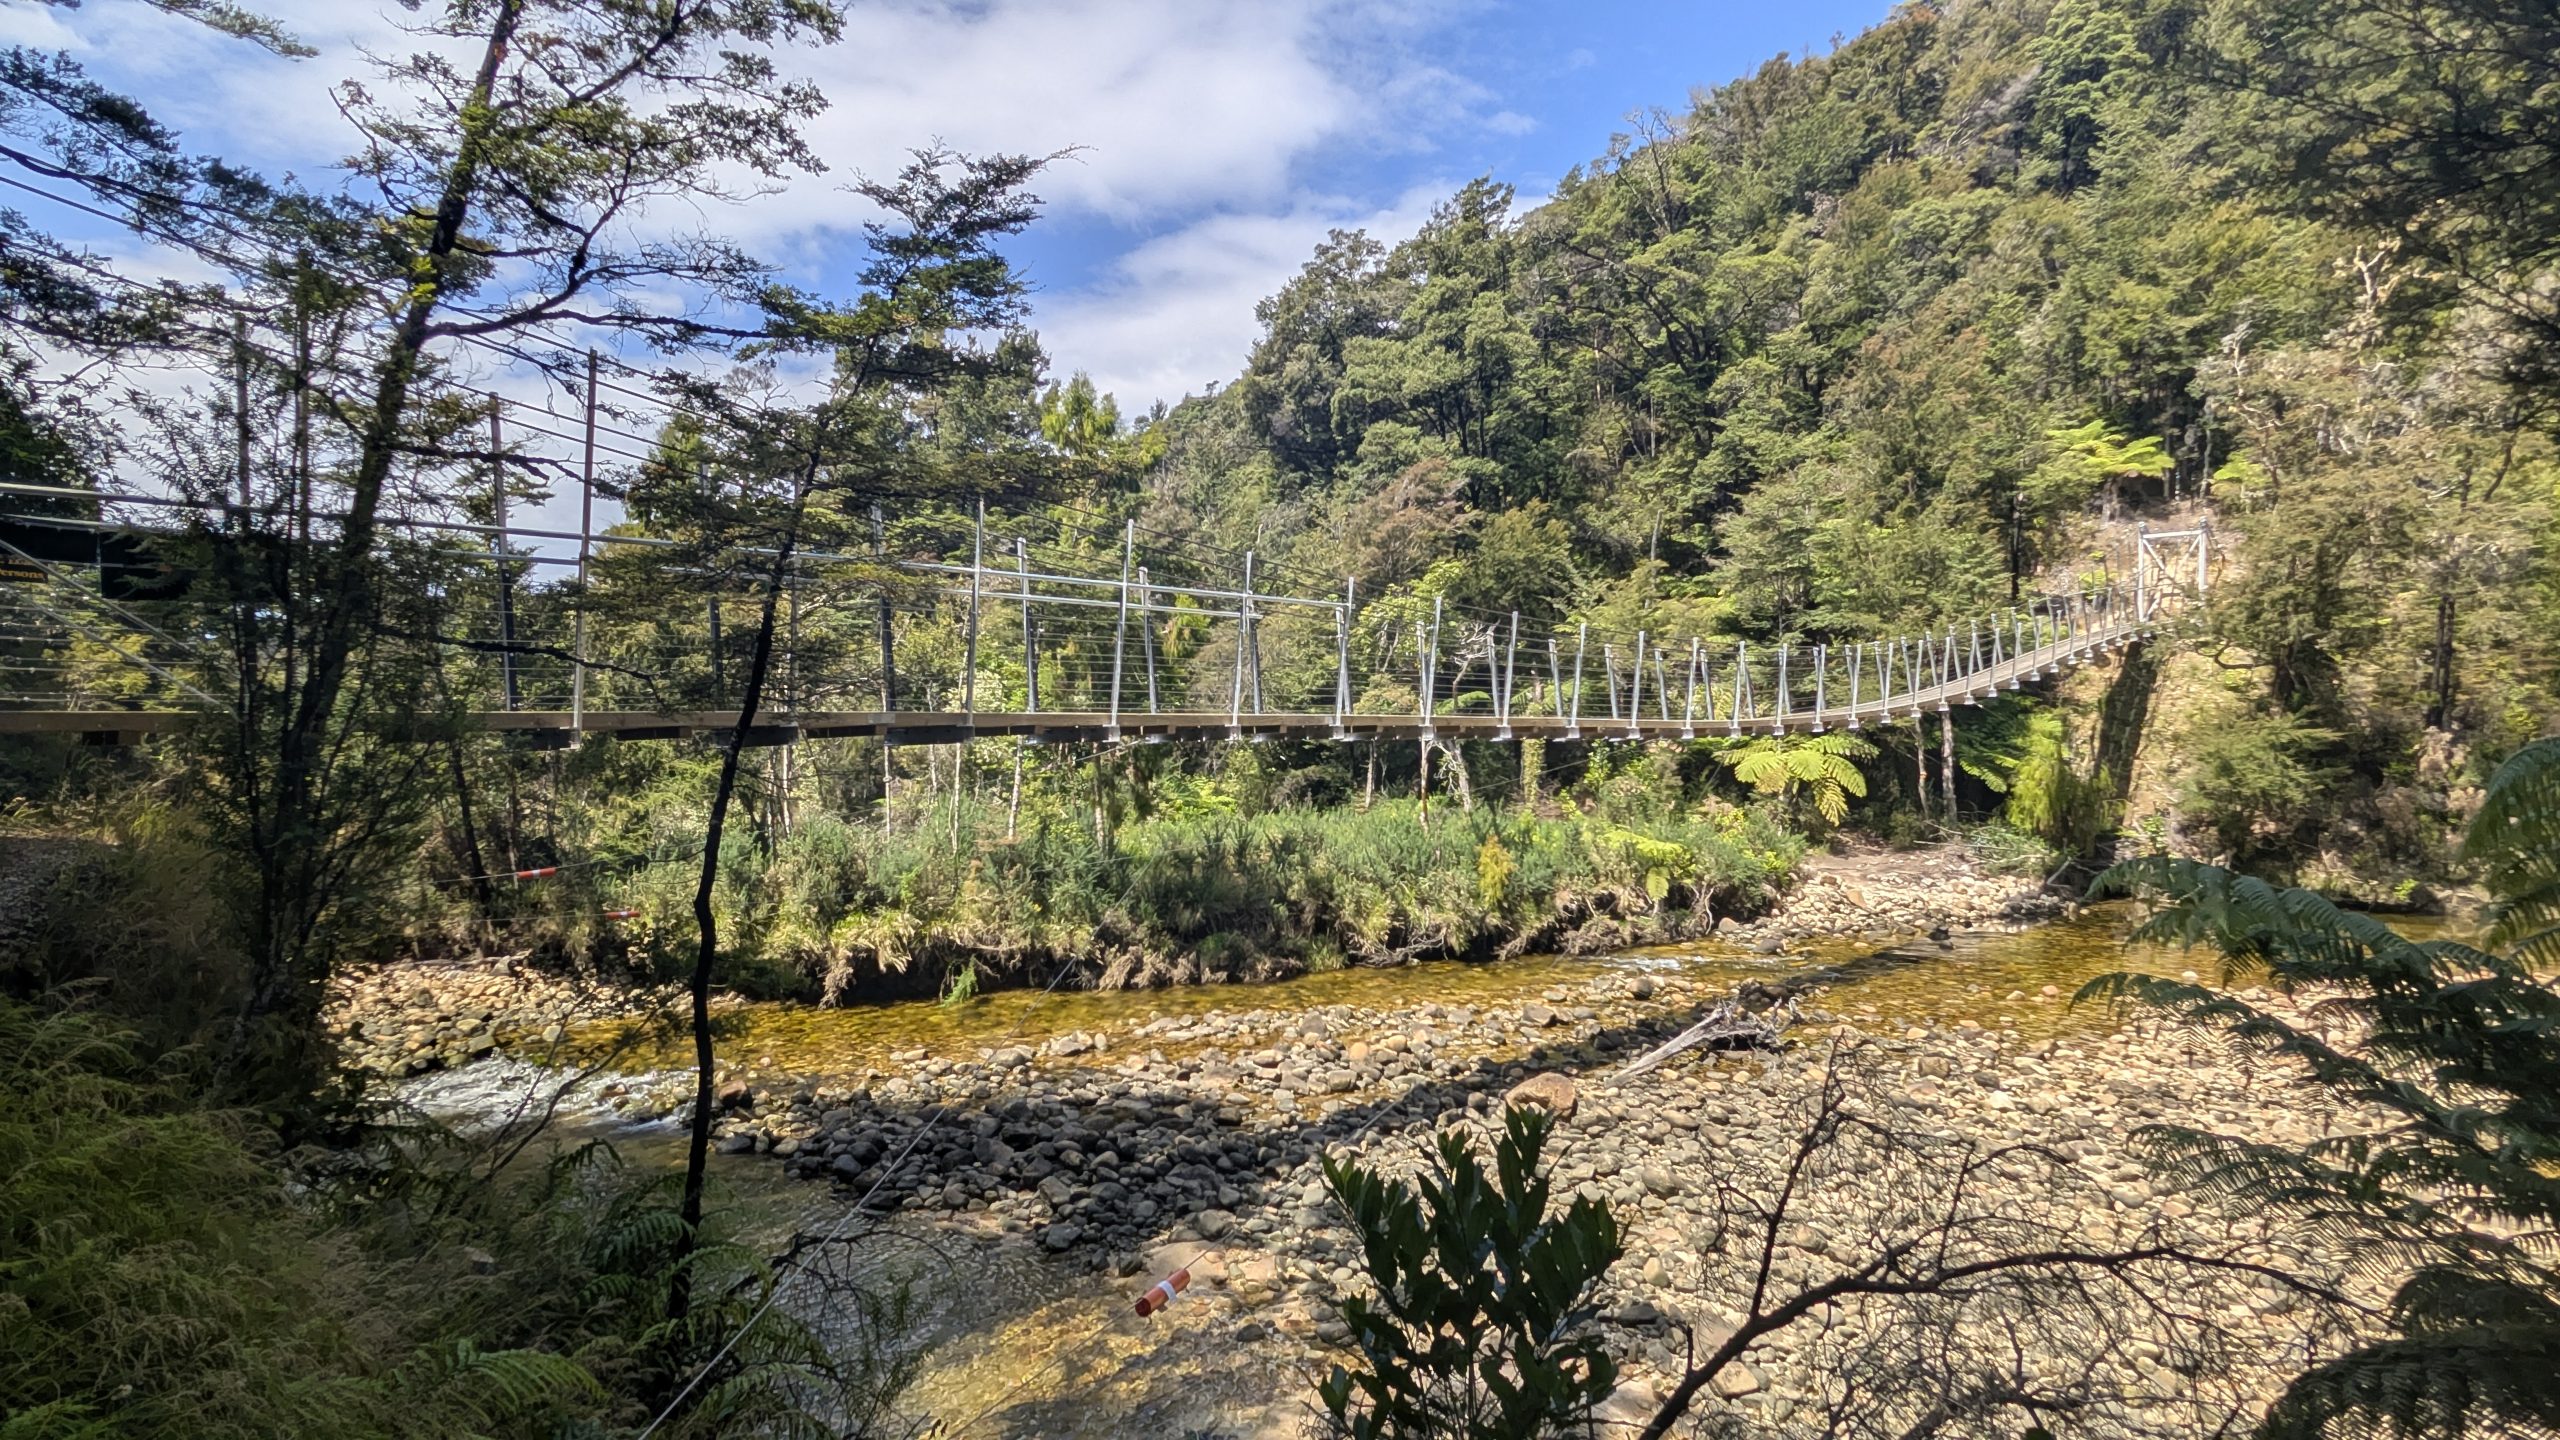
So I had set my expectations to very low. We walked up the beautiful path through the rain forest, turned the bend, and wow! The gorge came into view and it was so blue! We crossed the swinging bridge and walked down to the base of the water, admiring the gorge from various angles. A second very long swinging bridge had been constructed in 2020, the year after we had previously visited, so now there was a loop trail through the area. It was really nice.
Walk through the rain forest at Hokitika Gorge
Swinging bridge at Hokitika GorgeHokitika Gorge
Hokitika Gorge video
Heinrich drove us back to Hokitika where we checked into our room for the next 3 nights at the Shining Star Beachfront Accommodation. We ended up getting the exact same room that we had when we stayed in 2023. It was a studio with a small kitchenette. We arrived just in time to seeing the evening train pass through.
Kiwi Rail train
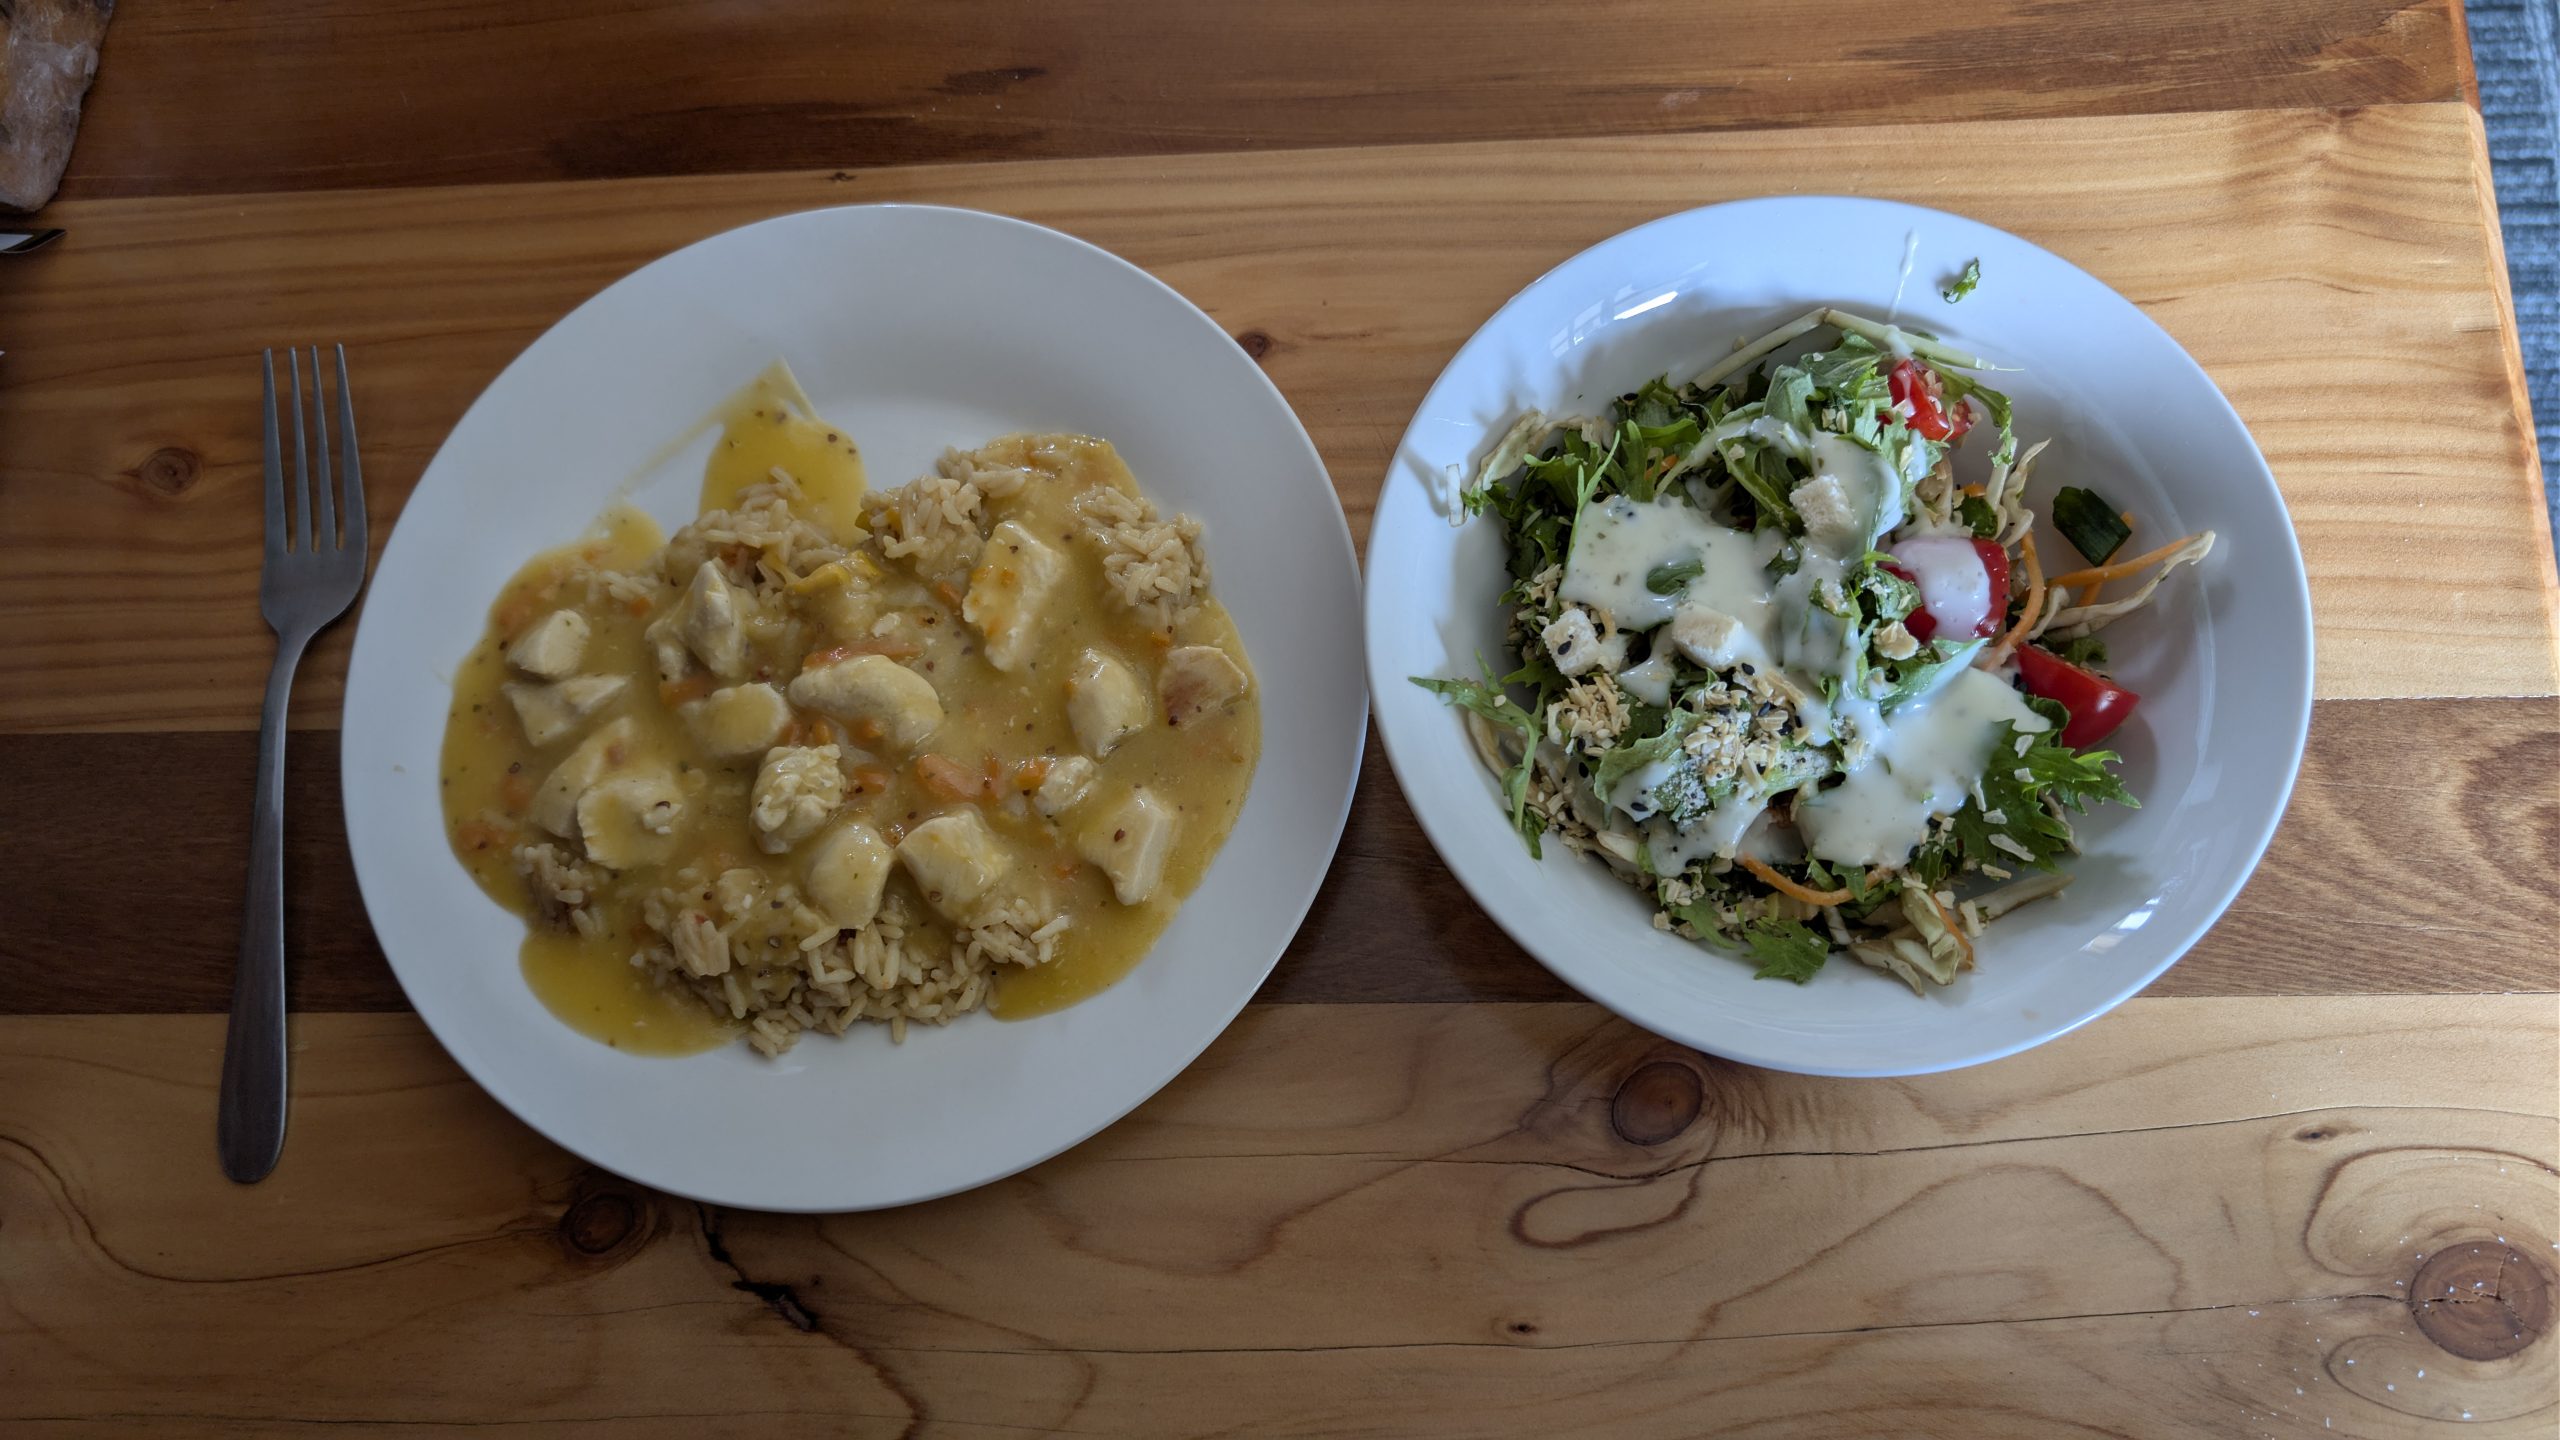
For dinner we had chicken with honey and mustard sauce, rice, and a salad.
Chicken and salad for dinner
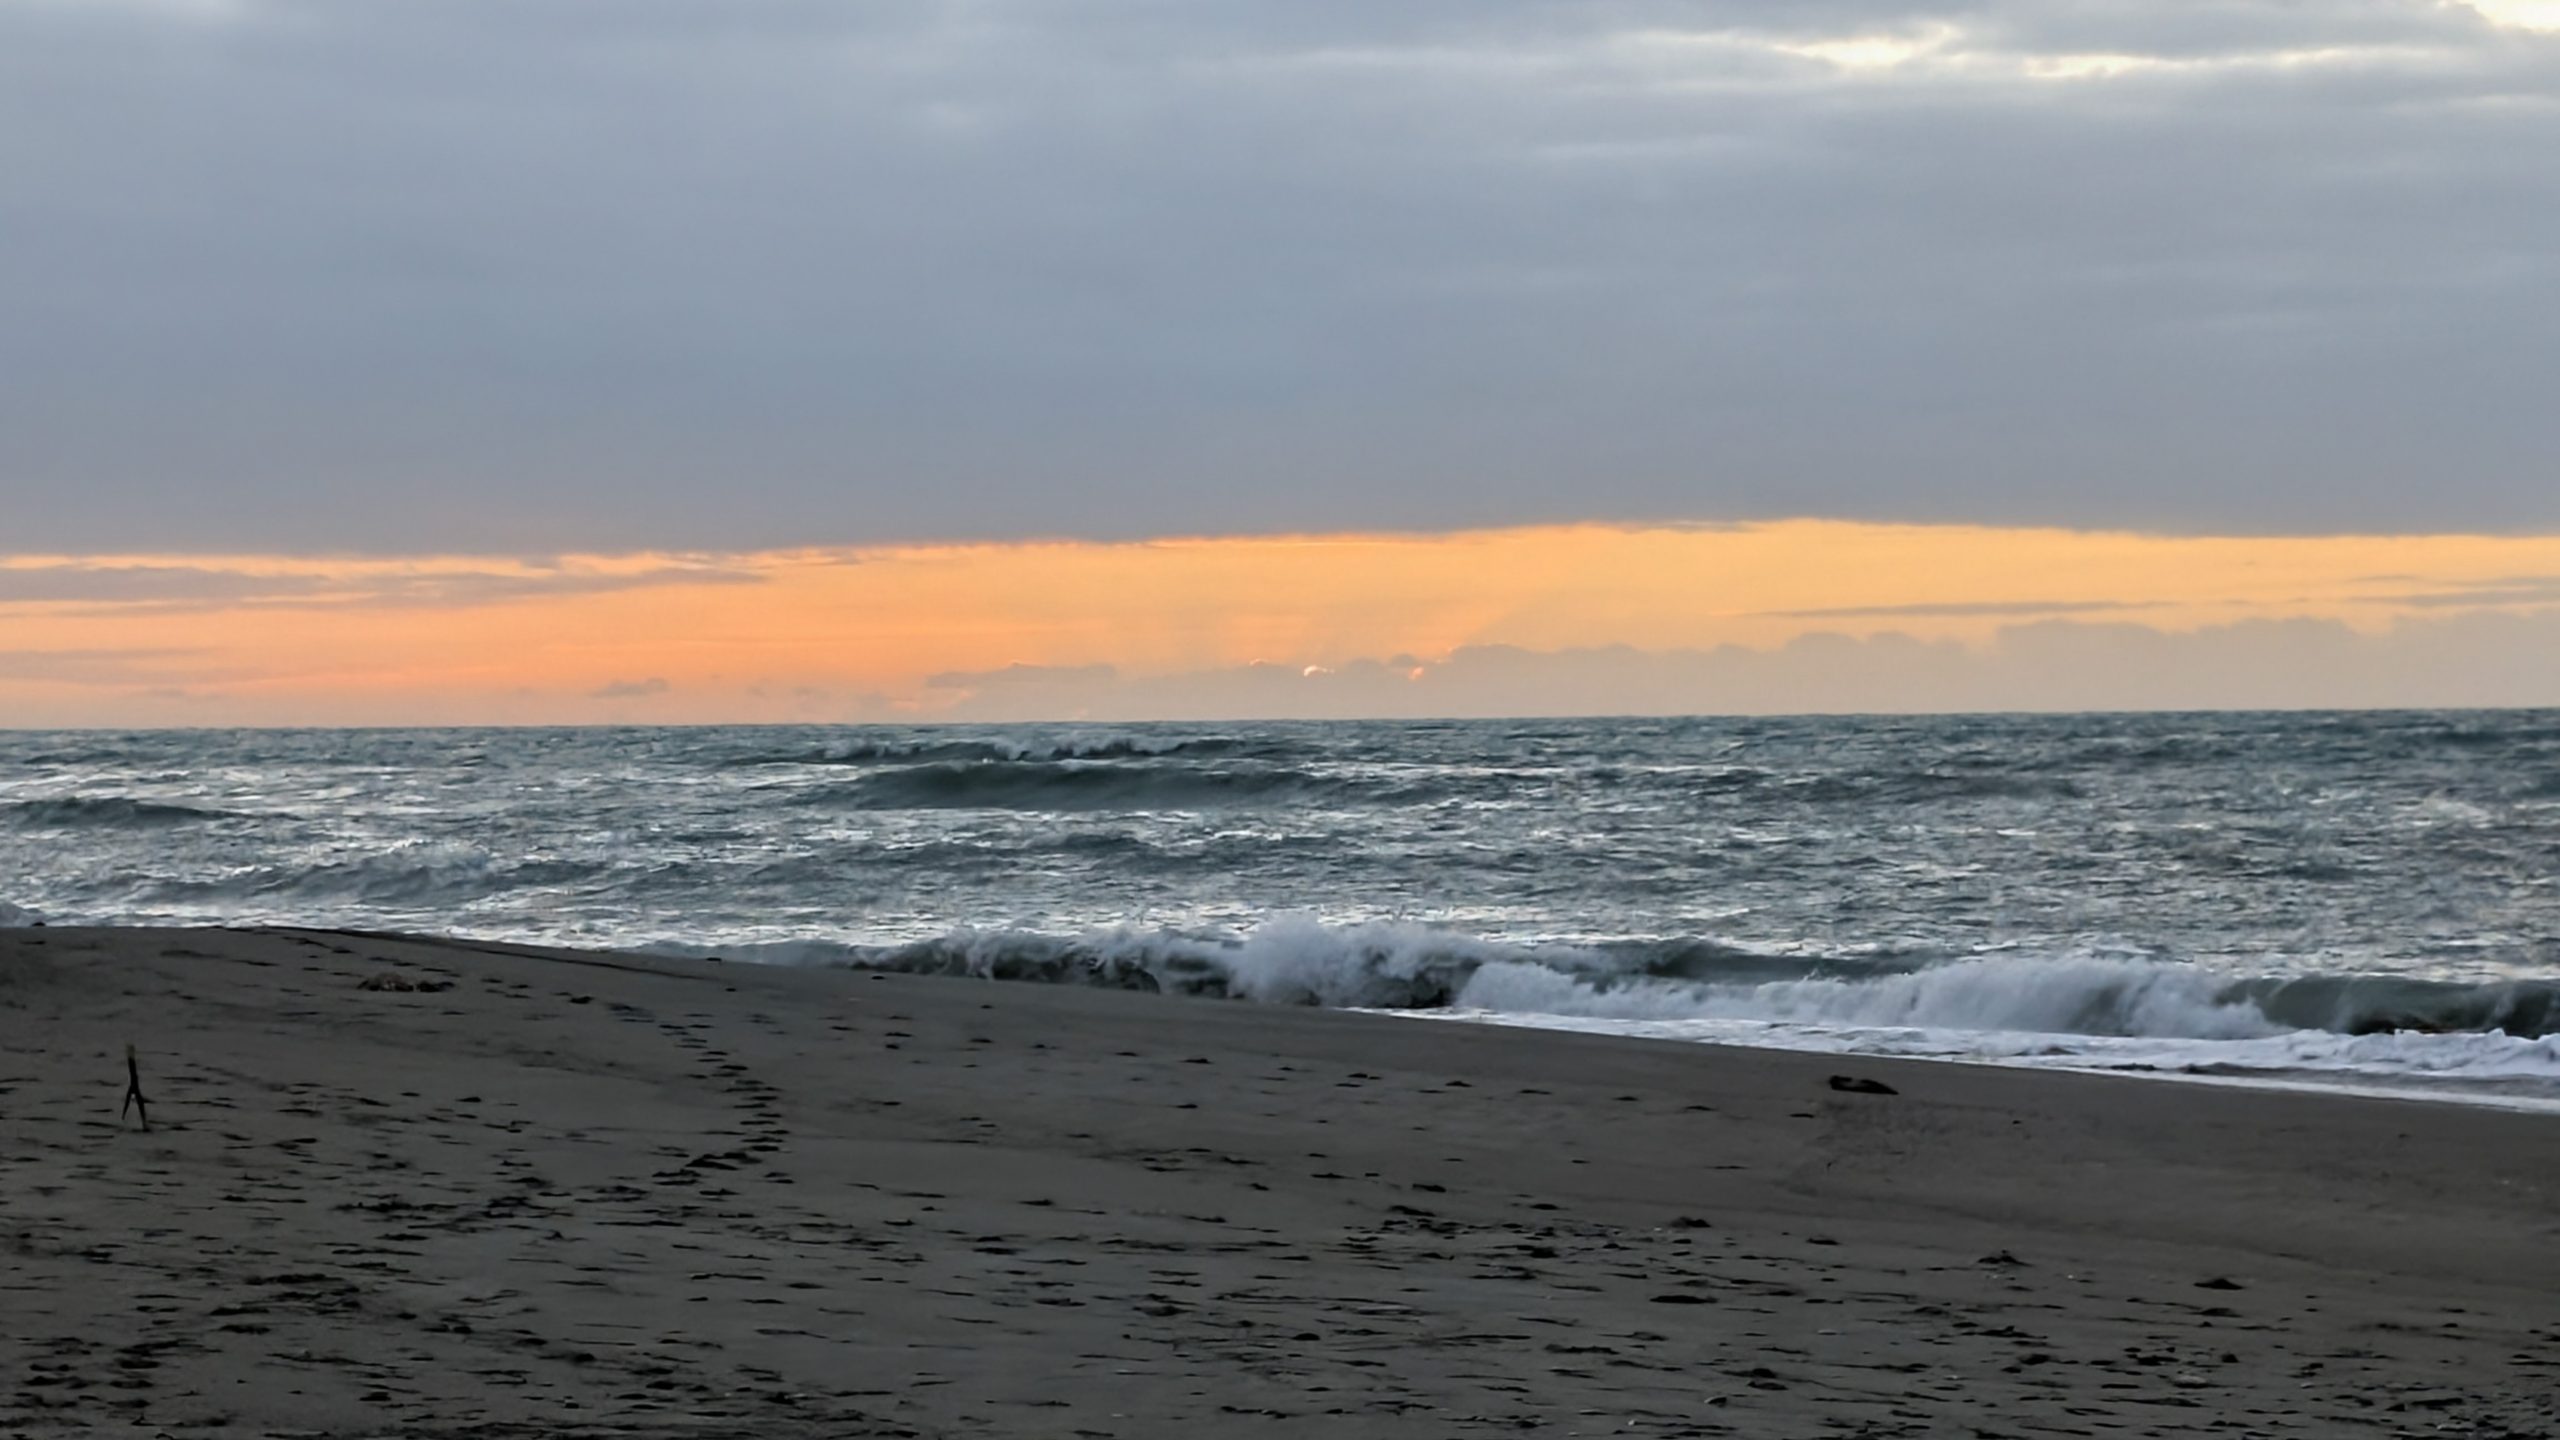
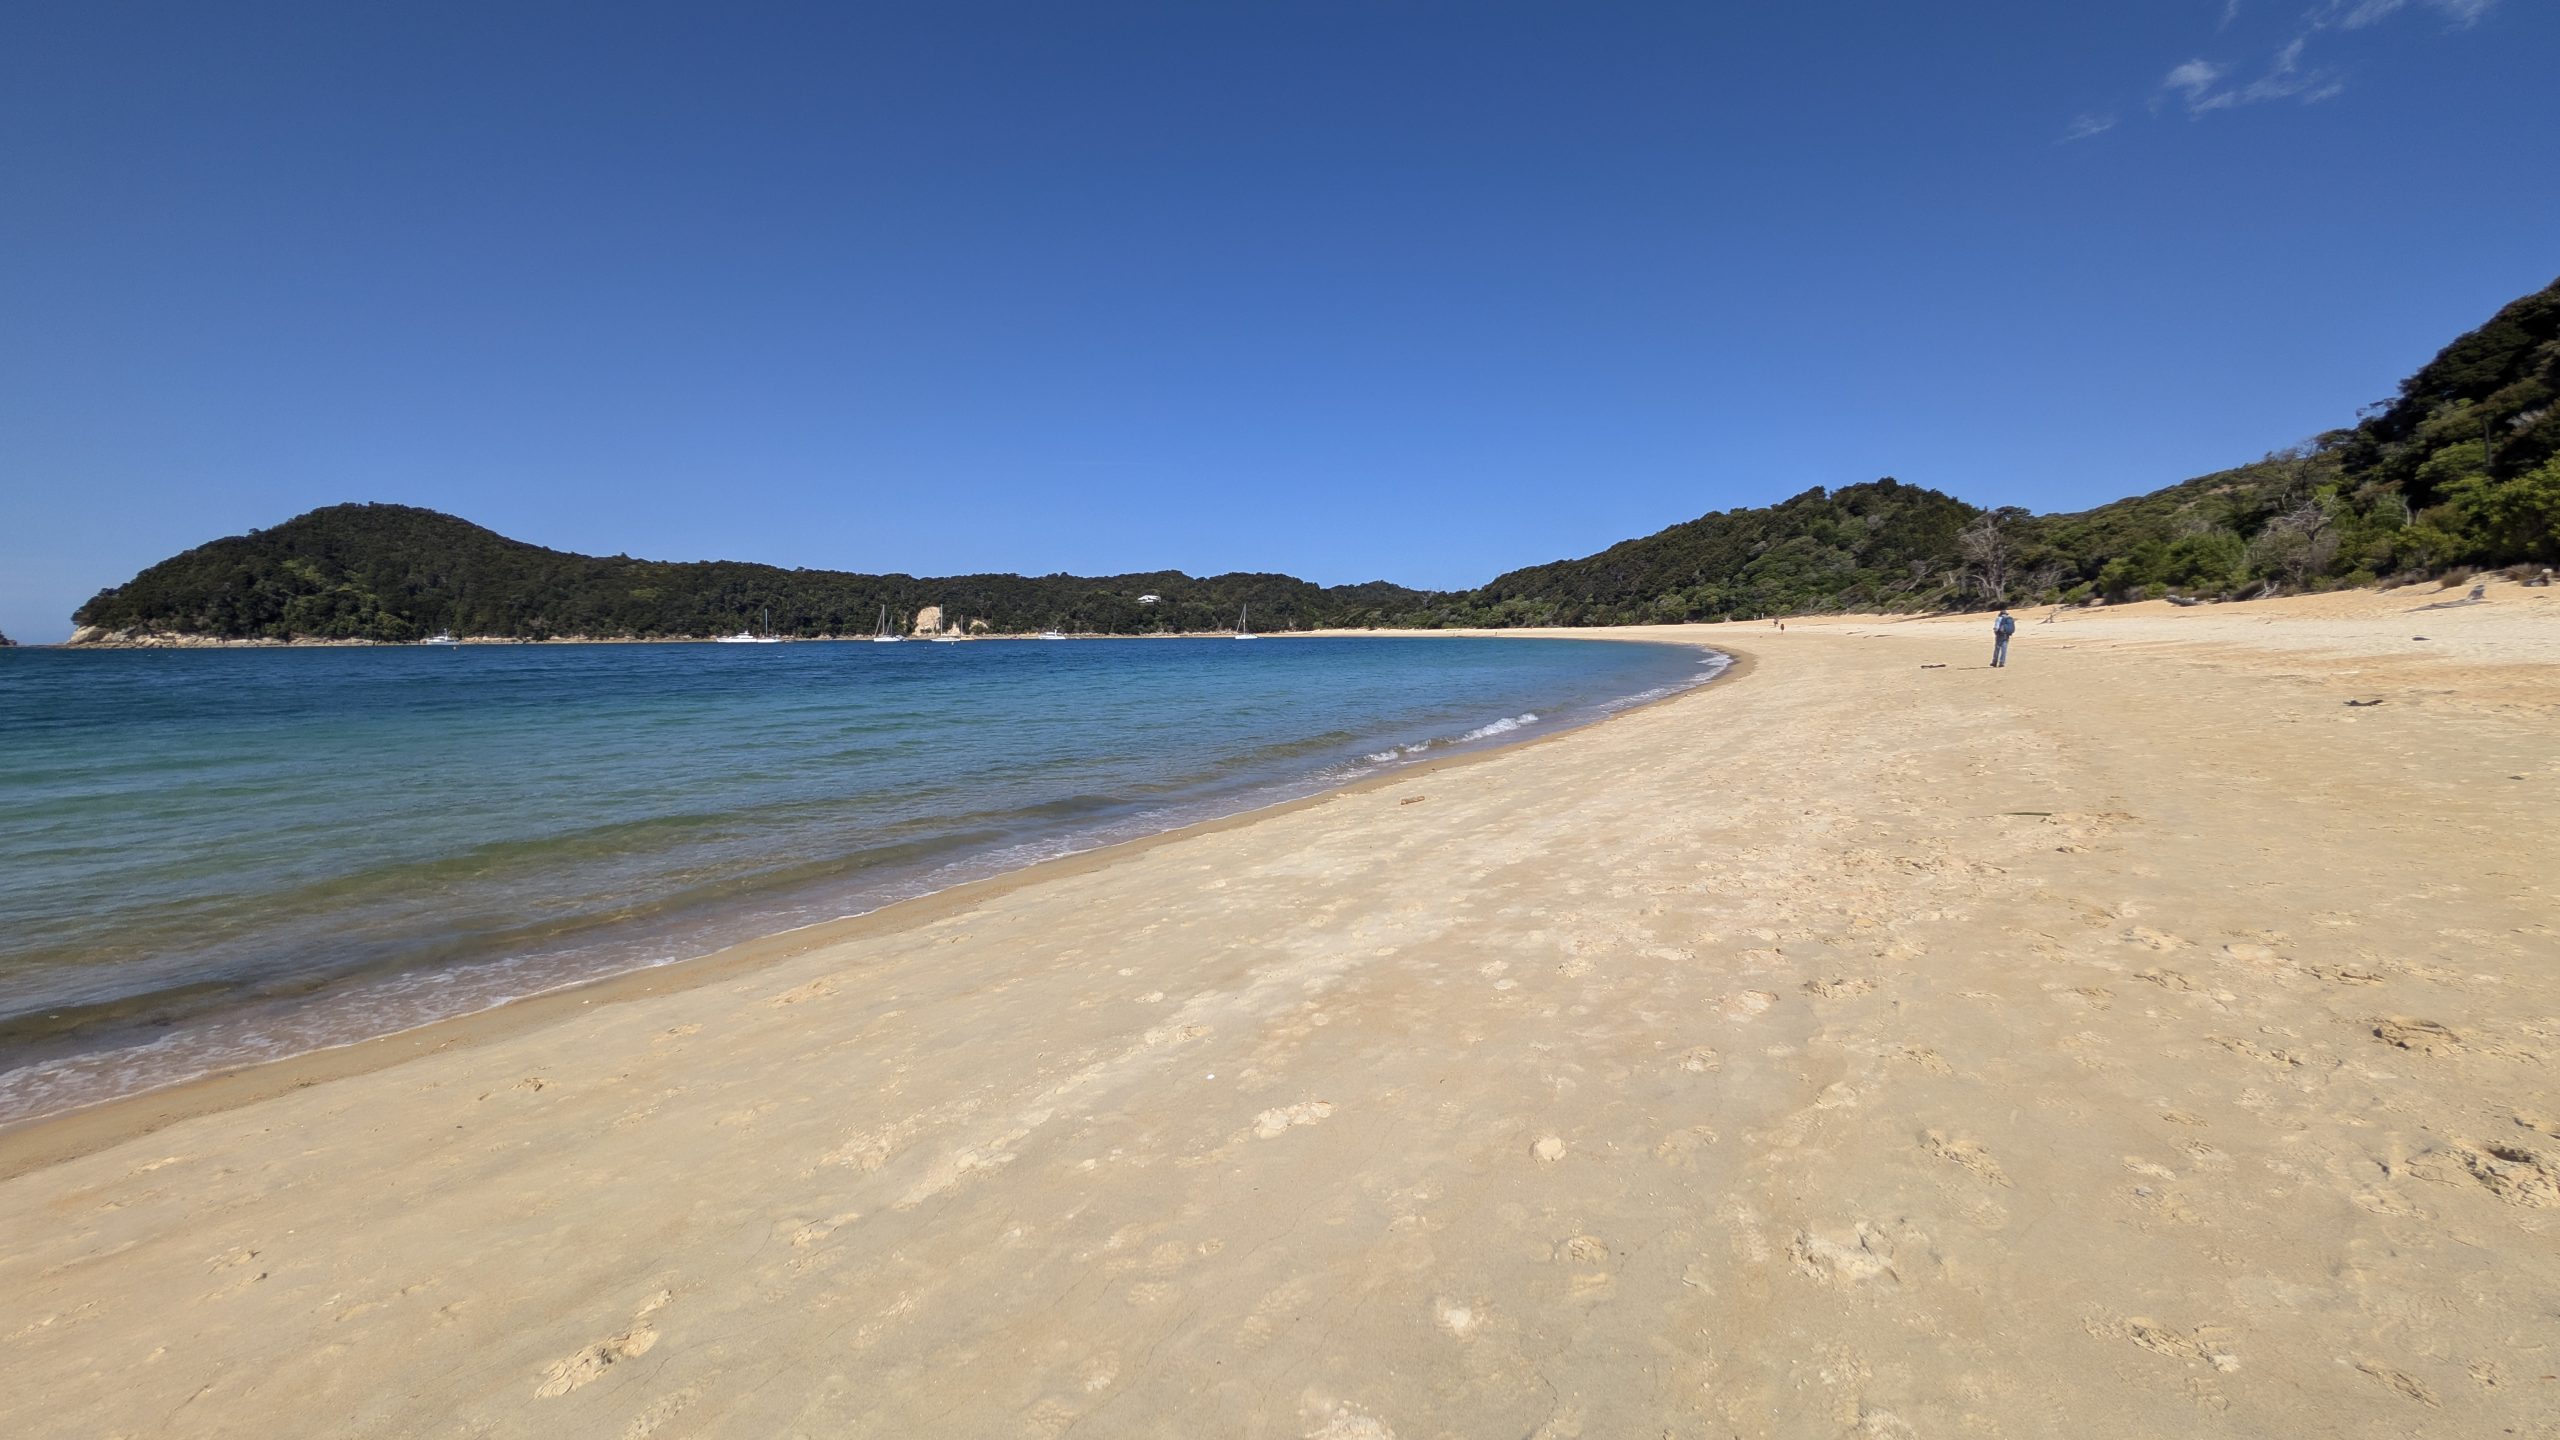
After dinner I walked out to the beach to watch the sunset, but I arrived a bit too late. The horizon was cloudy. I did manage to catch a little bit of color.
Sunset at Hokitika Beach
After dark we walked over to the Hokitika Glow Worm Dell which was just across the street. This had been a favorite activity in 2023, and it was just as much fun now seeing the clusters of glow worms.
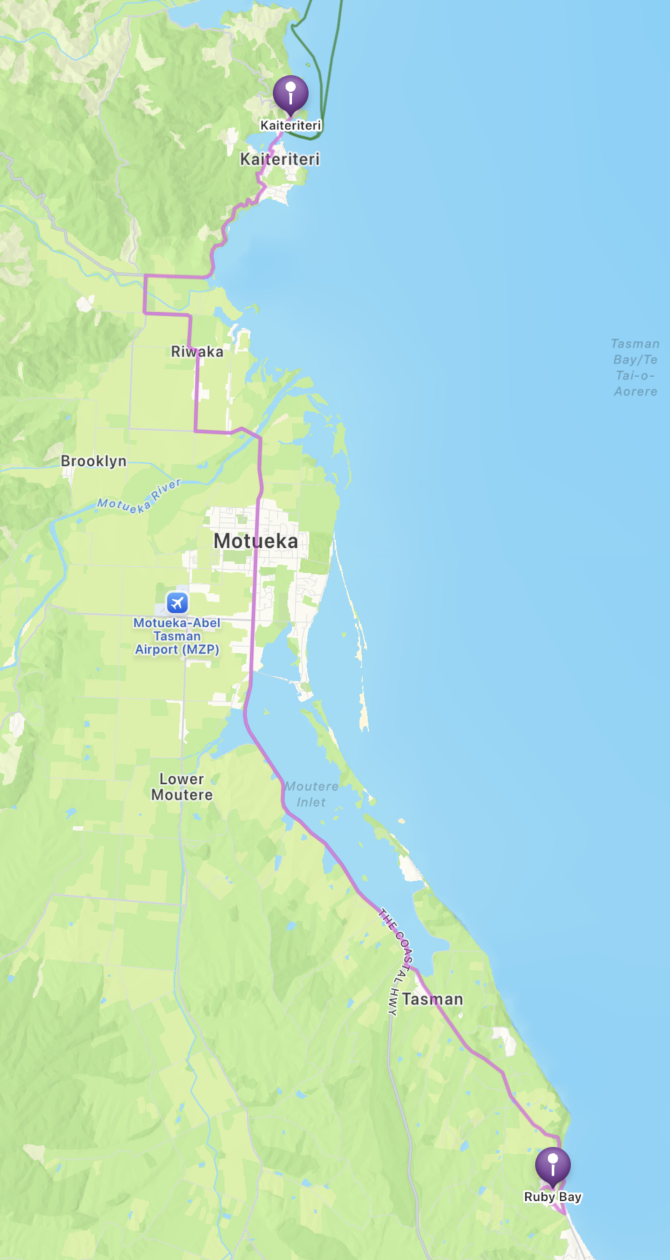
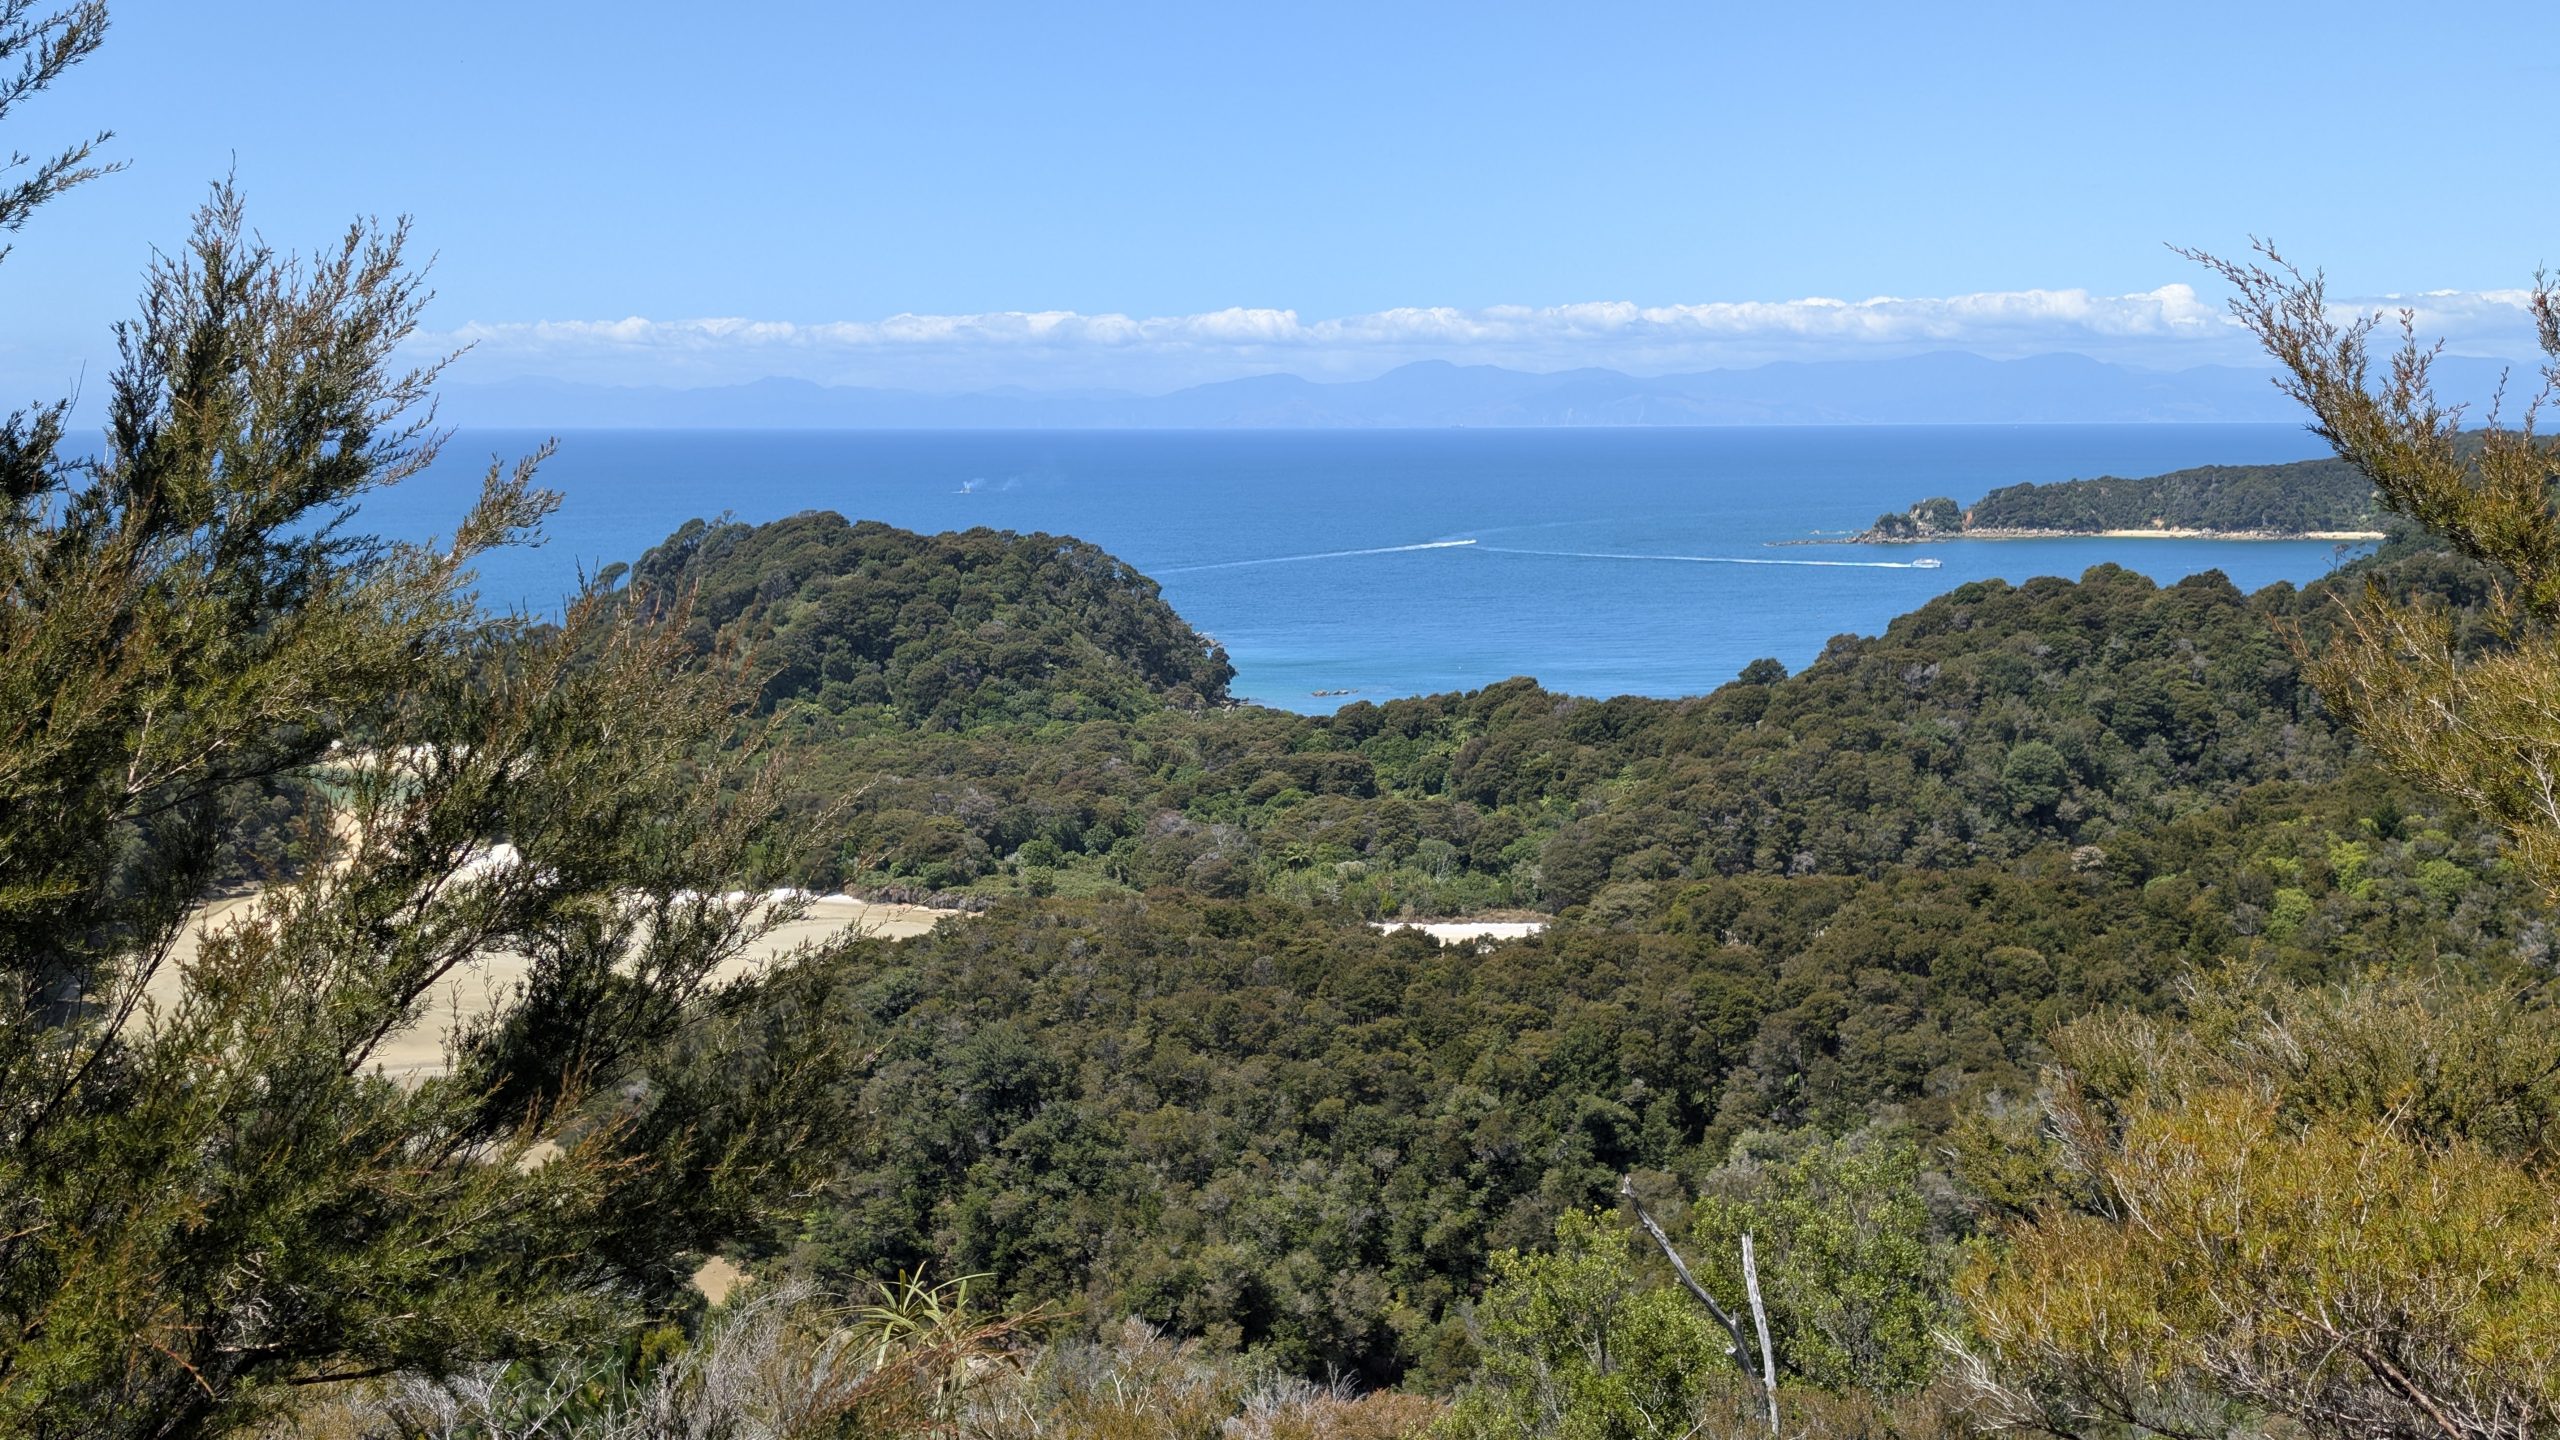
We chose this day as the better weather day to go to Abel Tasman National Park, and it was indeed the best weather so far on this trip: mostly sunny with a few clouds.
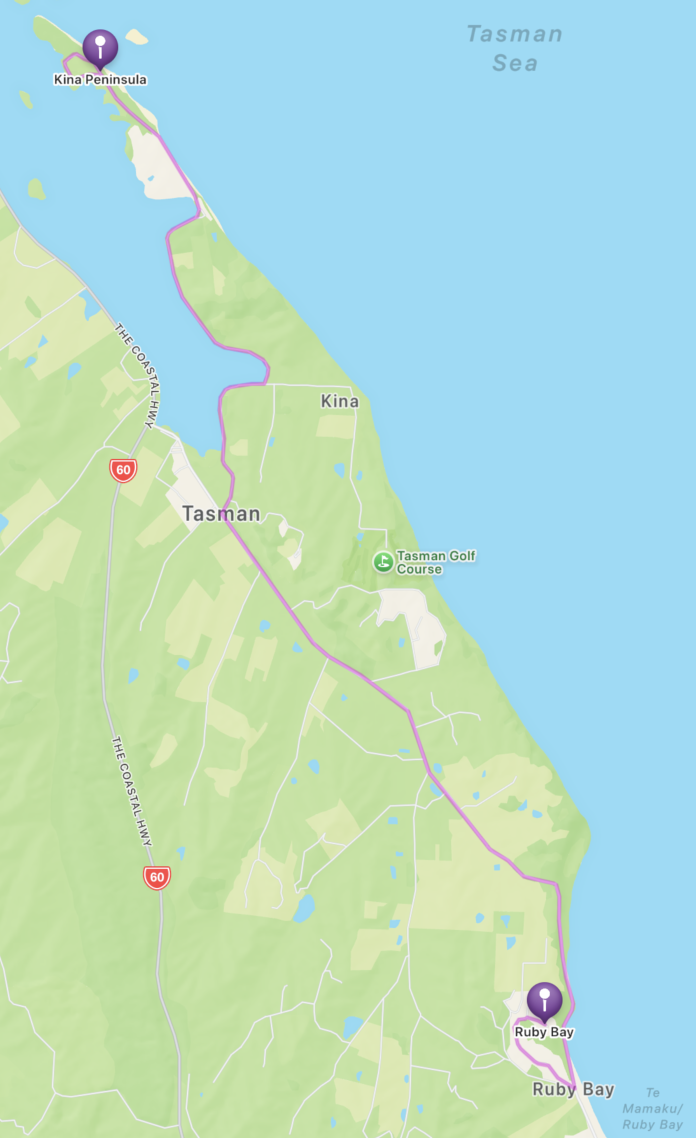
Map: Day 8 (water taxi and hike)
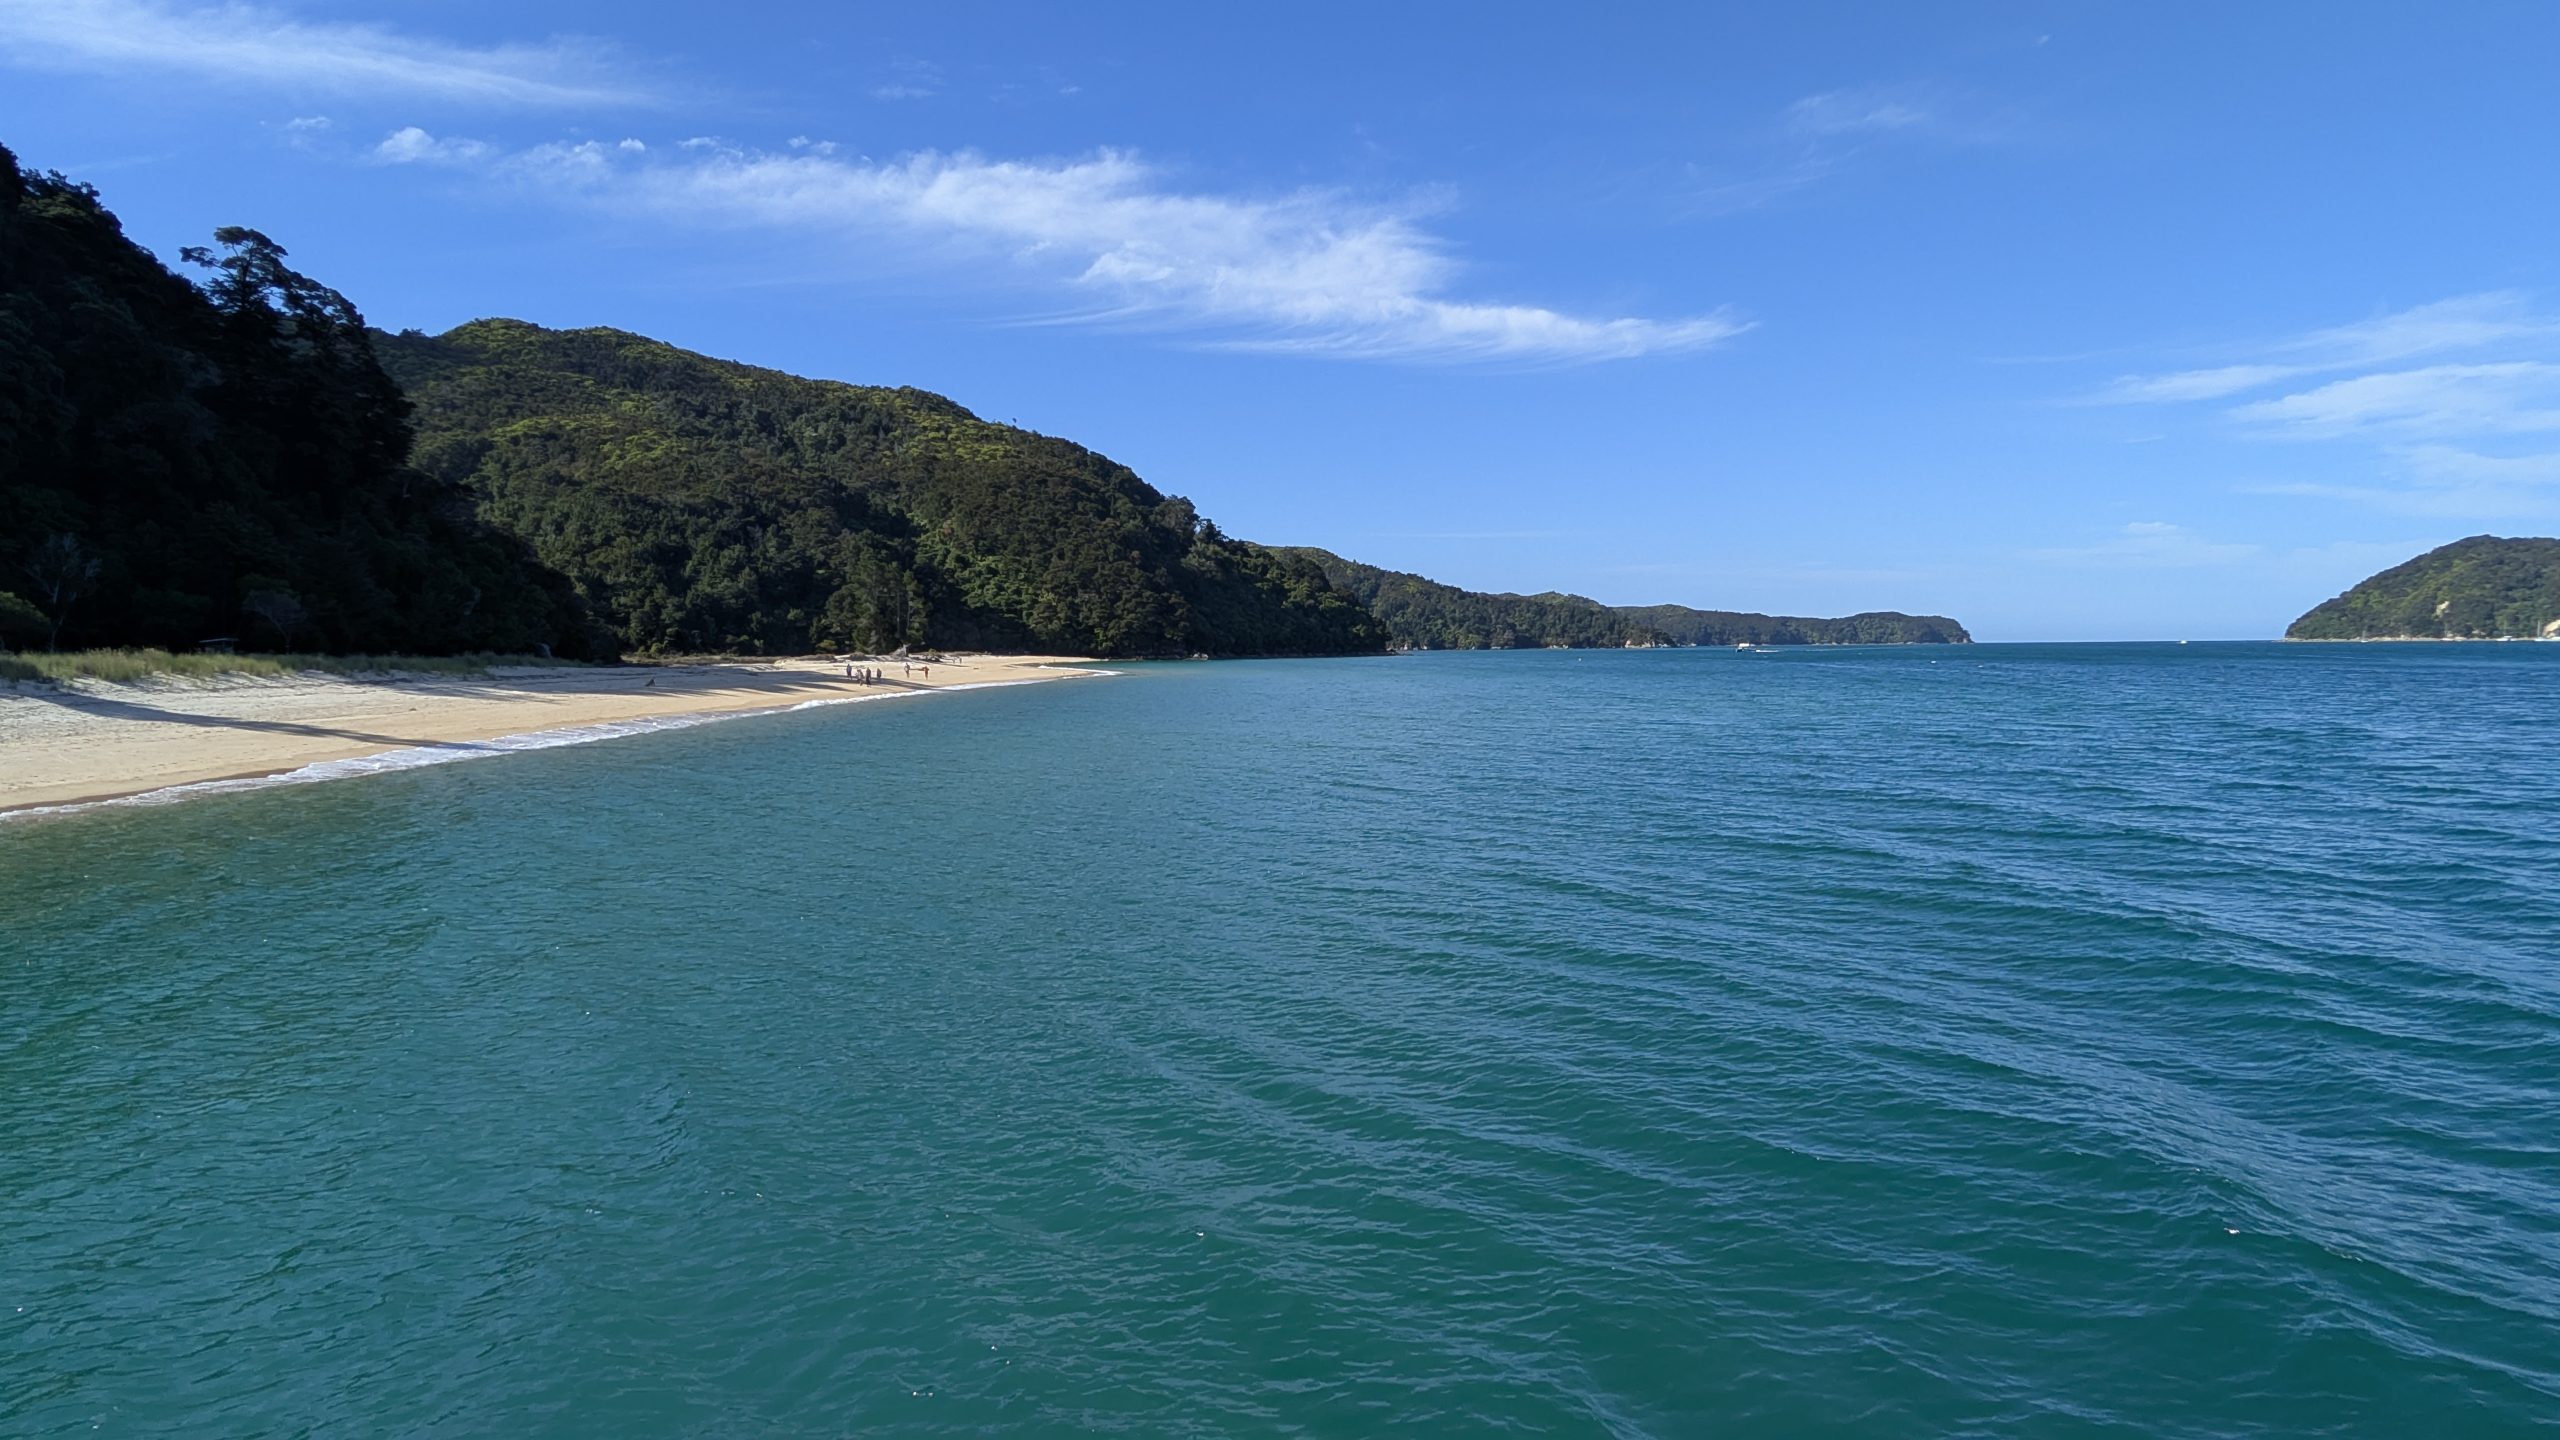
After watching a lovely sunrise from the deck of our Airbnb, we took the half hour drive to Kaiteriteri, where we had booked the Wilsons Swing Bridge Bush and Beach tour. The tour involved a 1-hour boat ride to Medlands Beach, followed by a hike and some side trips to Anchorage Beach, where we would be picked up by the shuttle boat later in the afternoon. We hiked a total of 9.5 miles including all of the side trips.
Sunrise at the AirBnb
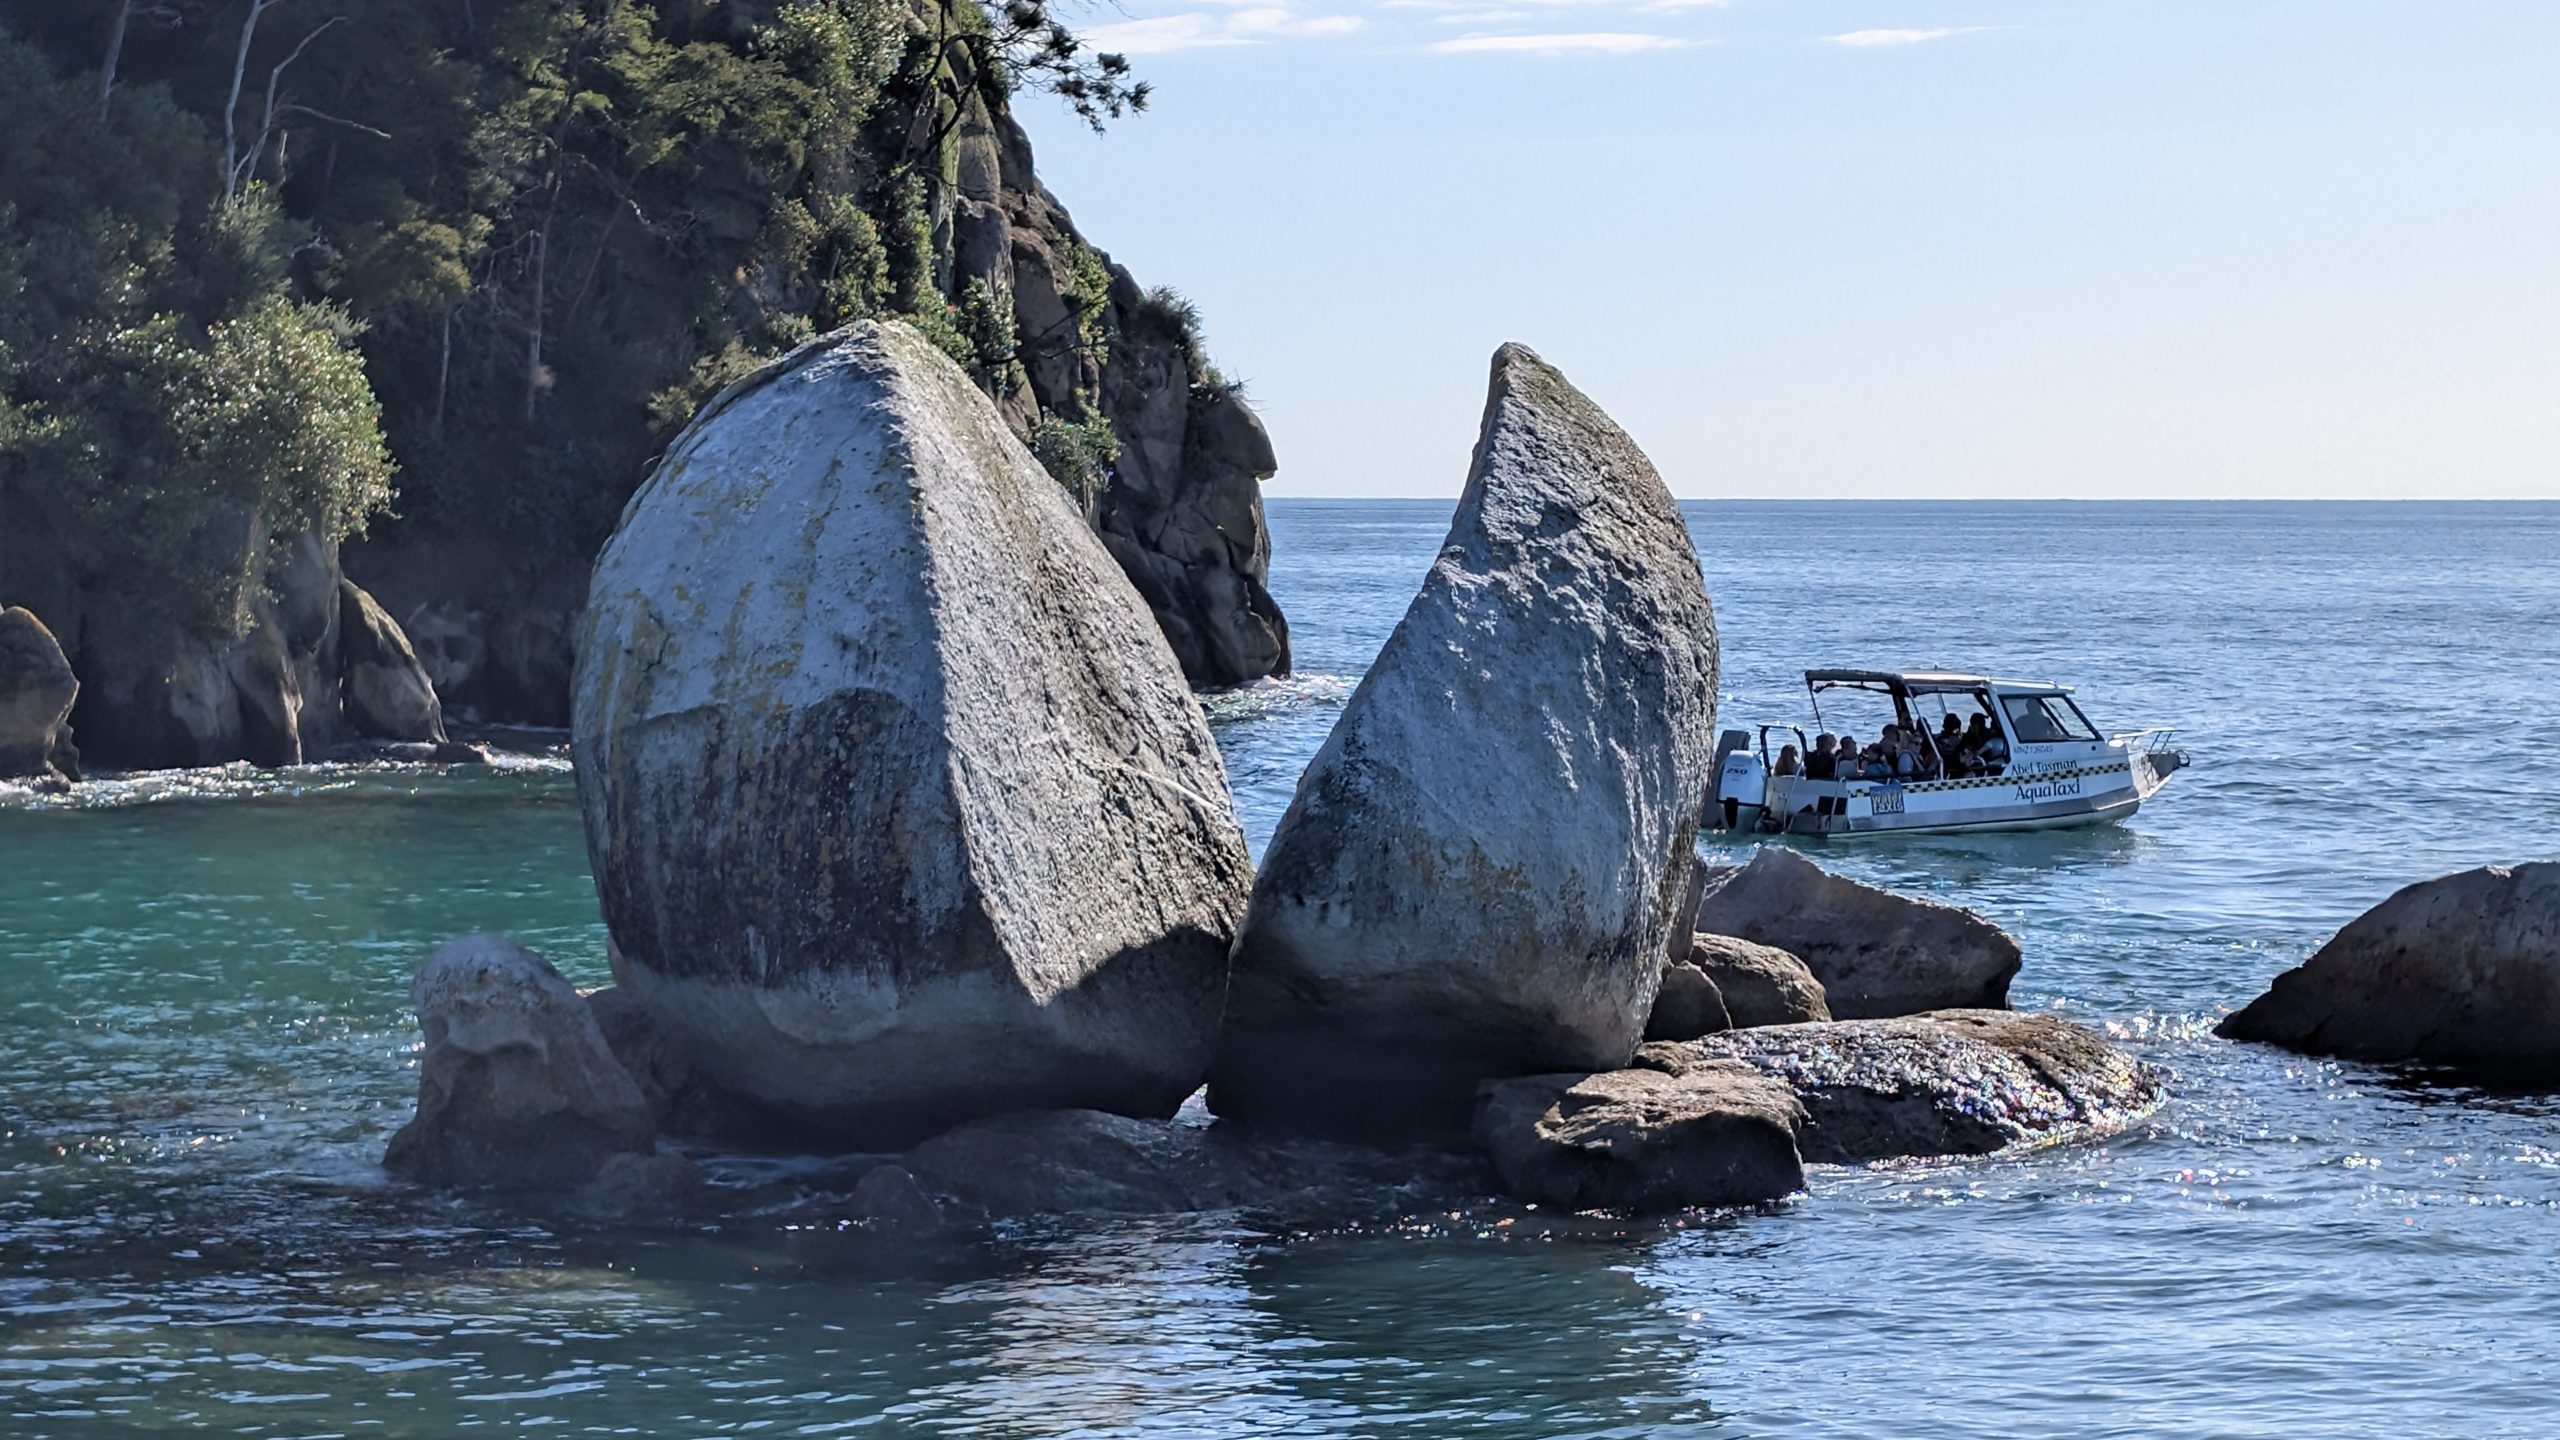
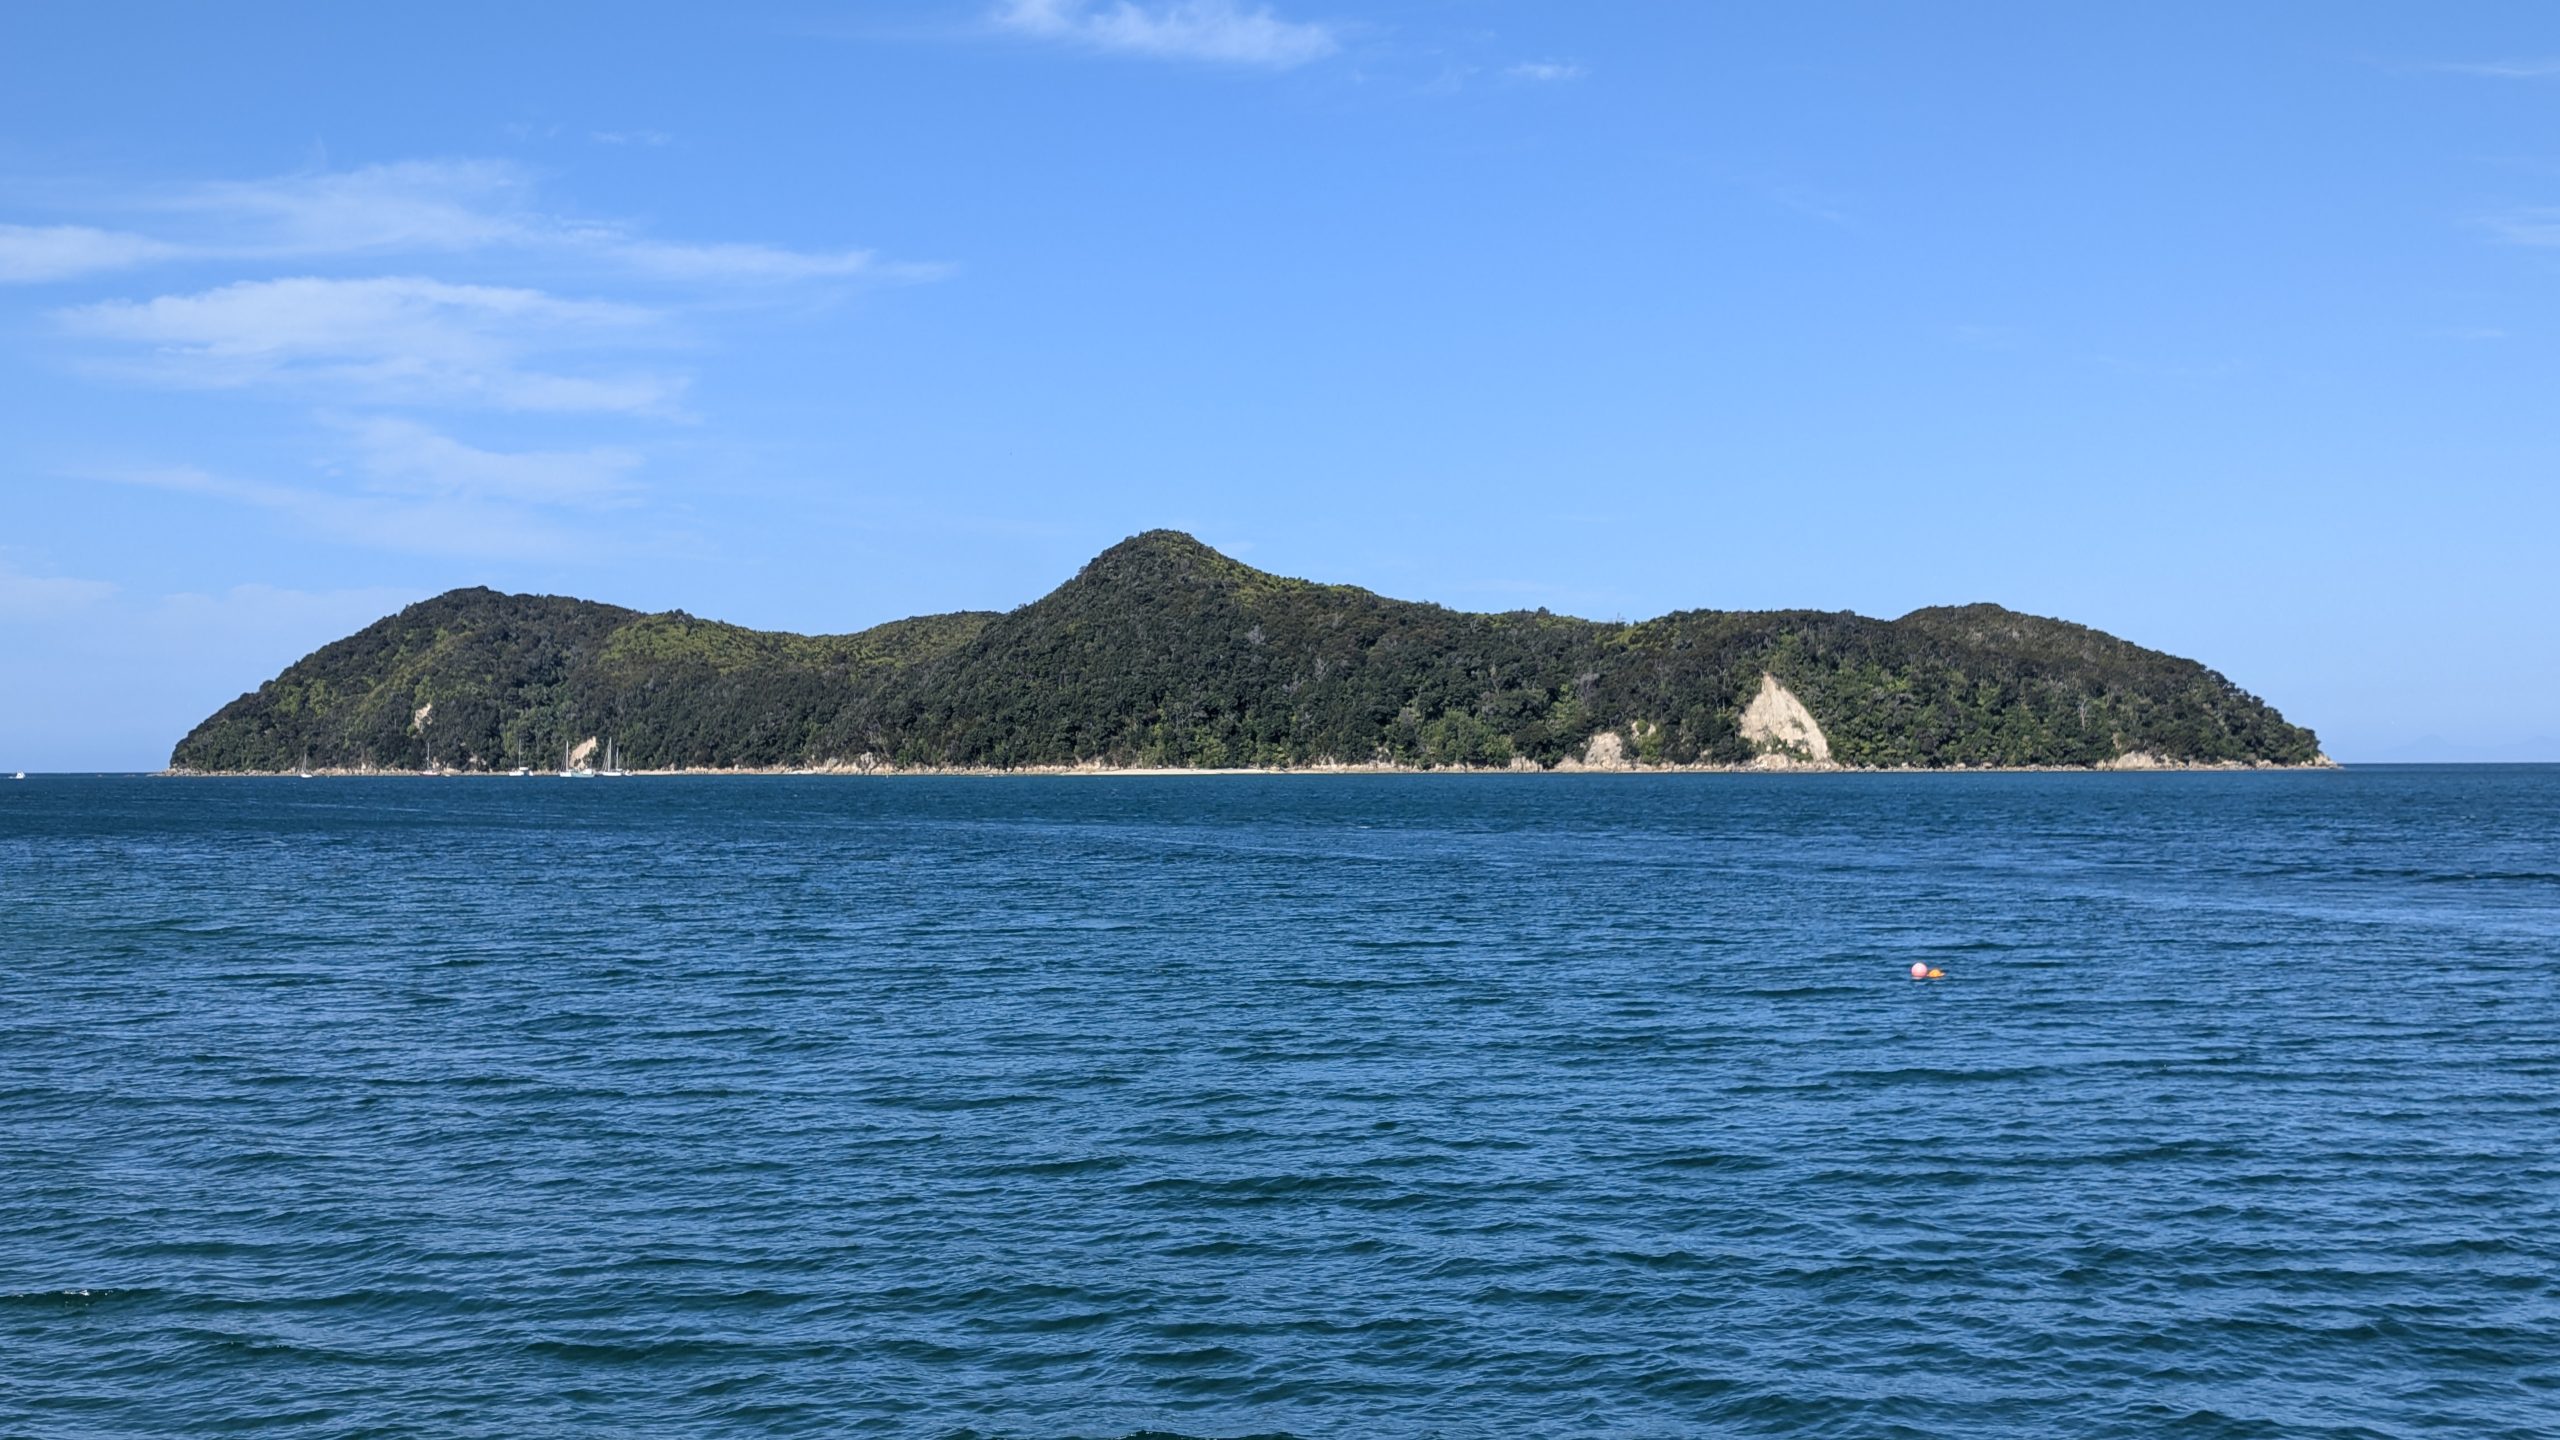
On the morning boat ride we passed the Split Apple Rock formation. The shuttle made stops at Apple Tree Bay, Anchorage Beach, and Torrent Bay before dropping us off at Medlands Beach.
Split Apple RockTorrent Bay
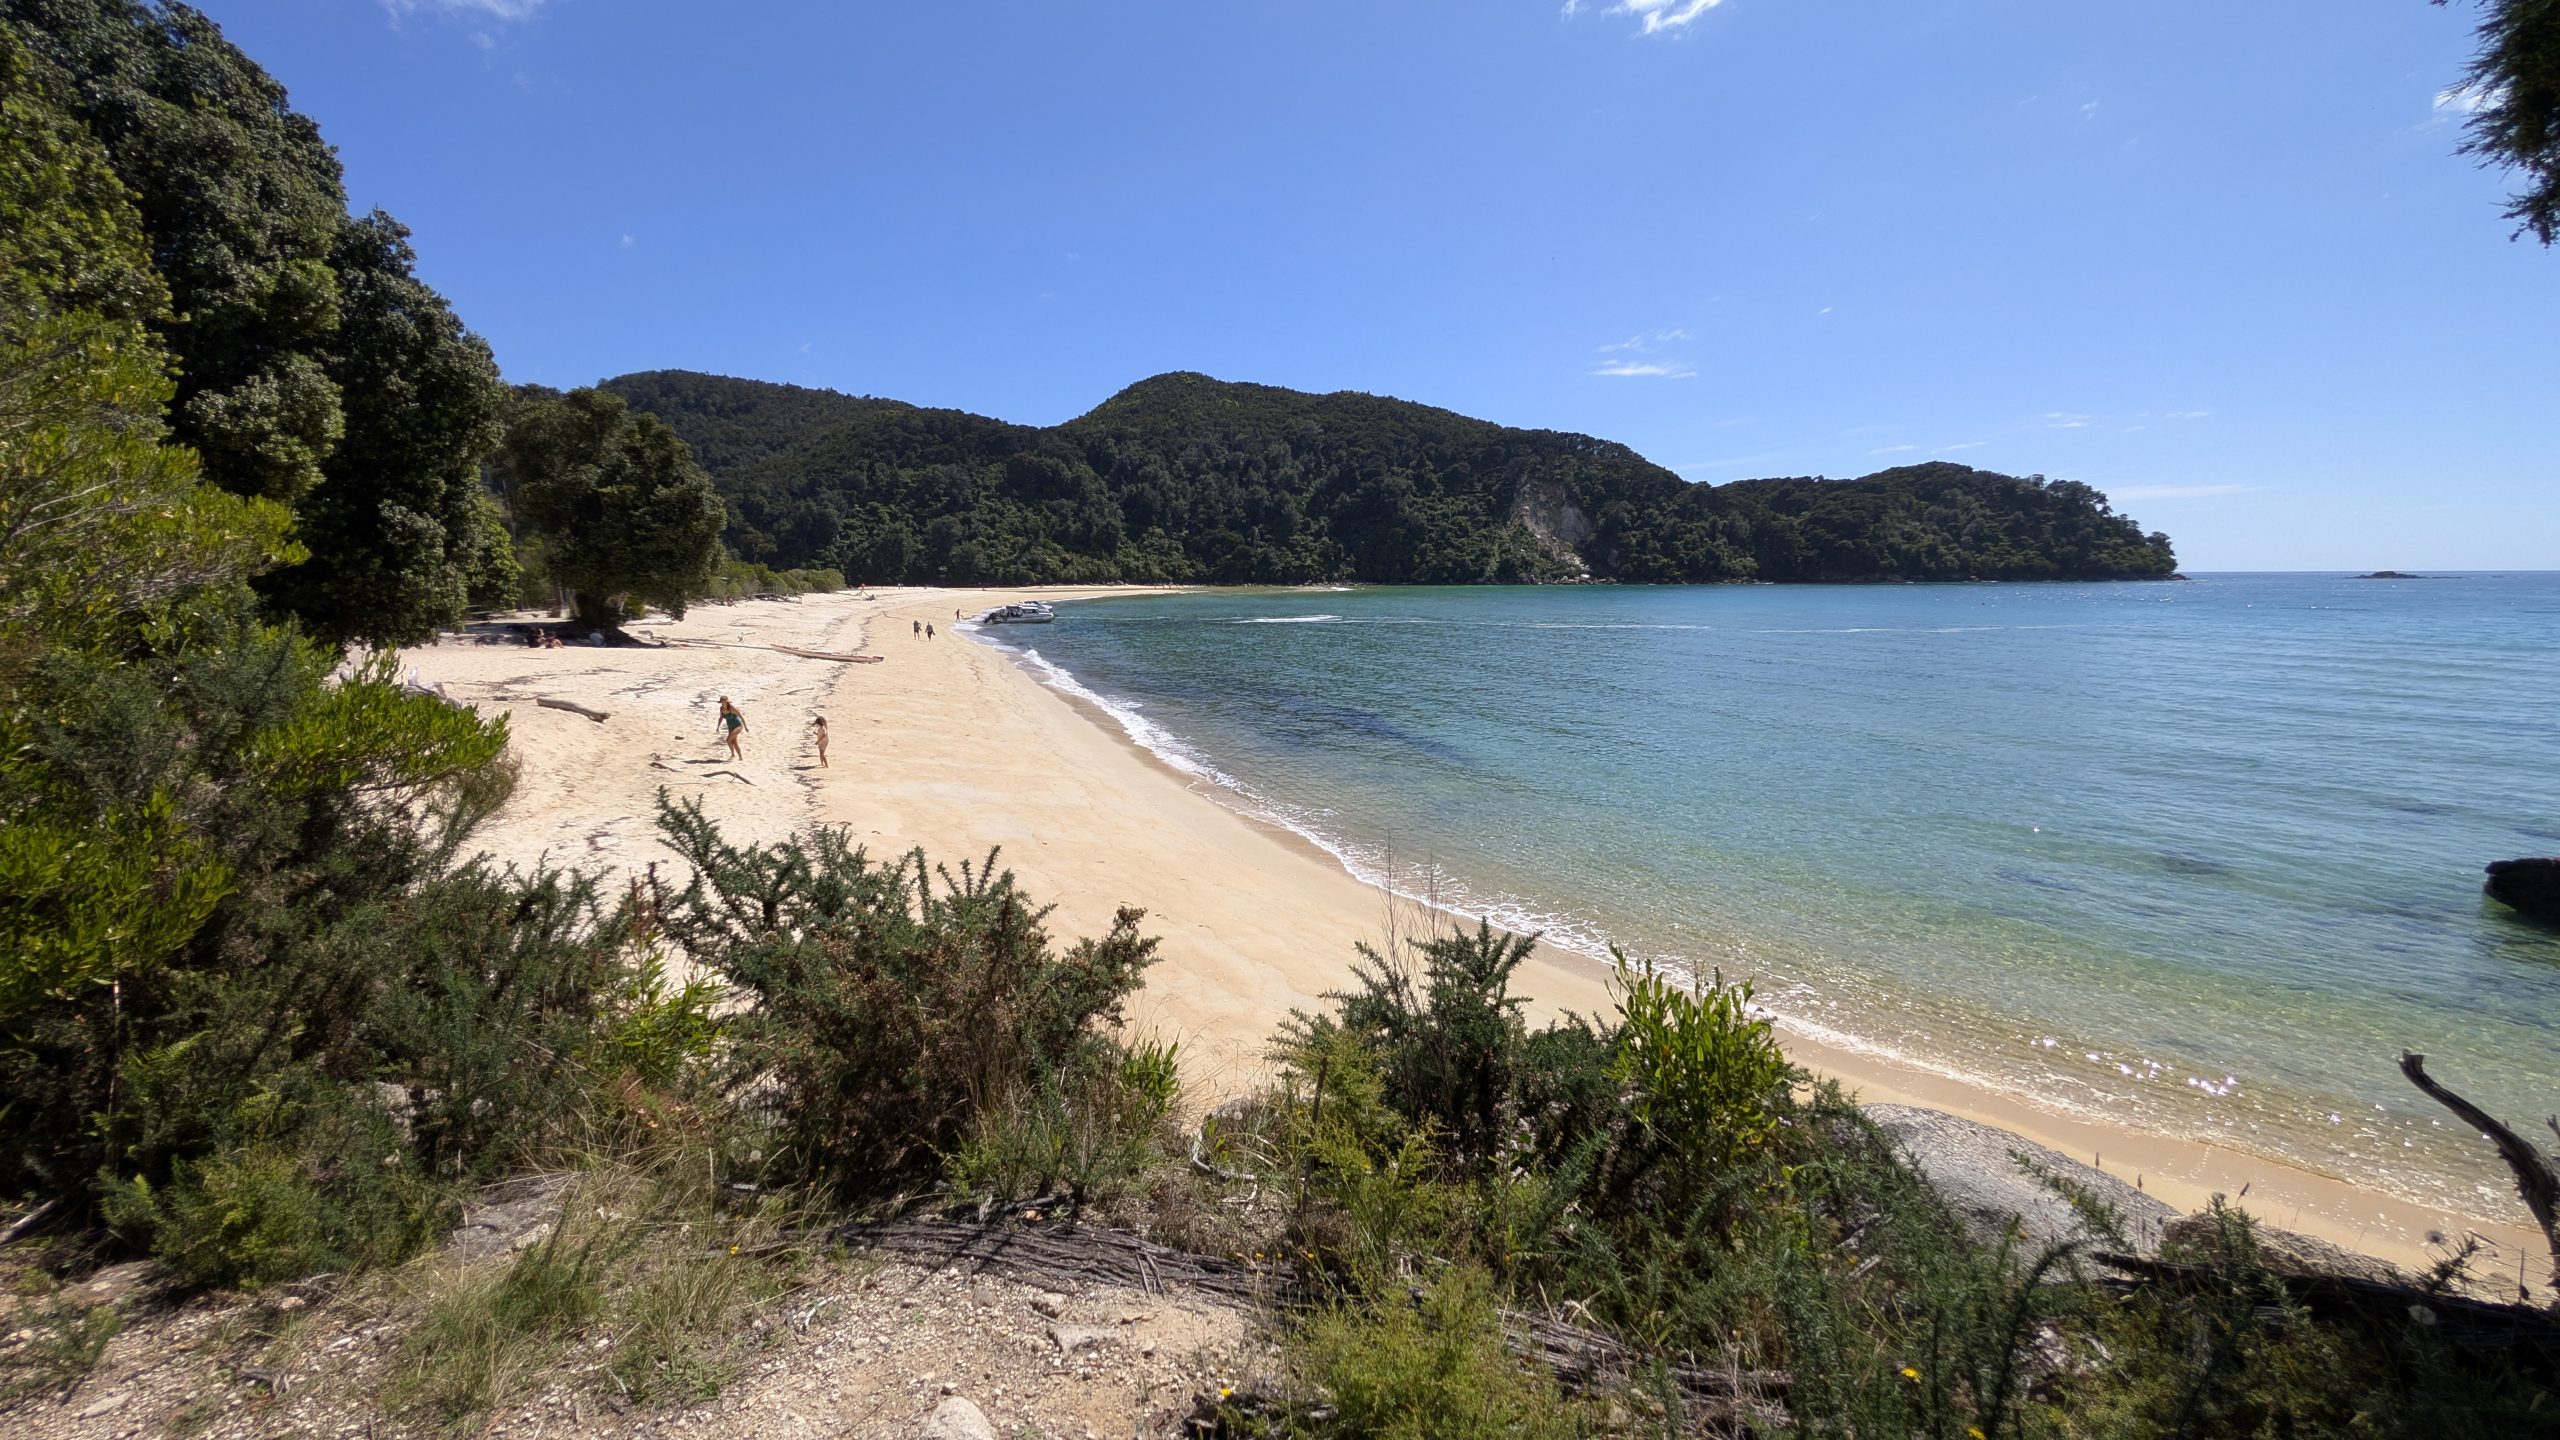
We arrived at Medlands at 10:15 am, and we were scheduled to be picked up at Anchorage at 5:20 pm. A direct hike to Anchorage was about 4 hours, so we expected to have plenty of time to do all of the side trips. As it turned out, we made enough stops on the hike that we ended up at Anchorage with about a half hour to spare before the boat pickup time.
Our boat at Medlands Beach
Our first side trip was to hike north from Medlands to Bark Bay, where we crossed a swinging bridge and viewed Bark Bay Falls.
Swinging bridge to Bark Bay
Bark Bay Falls
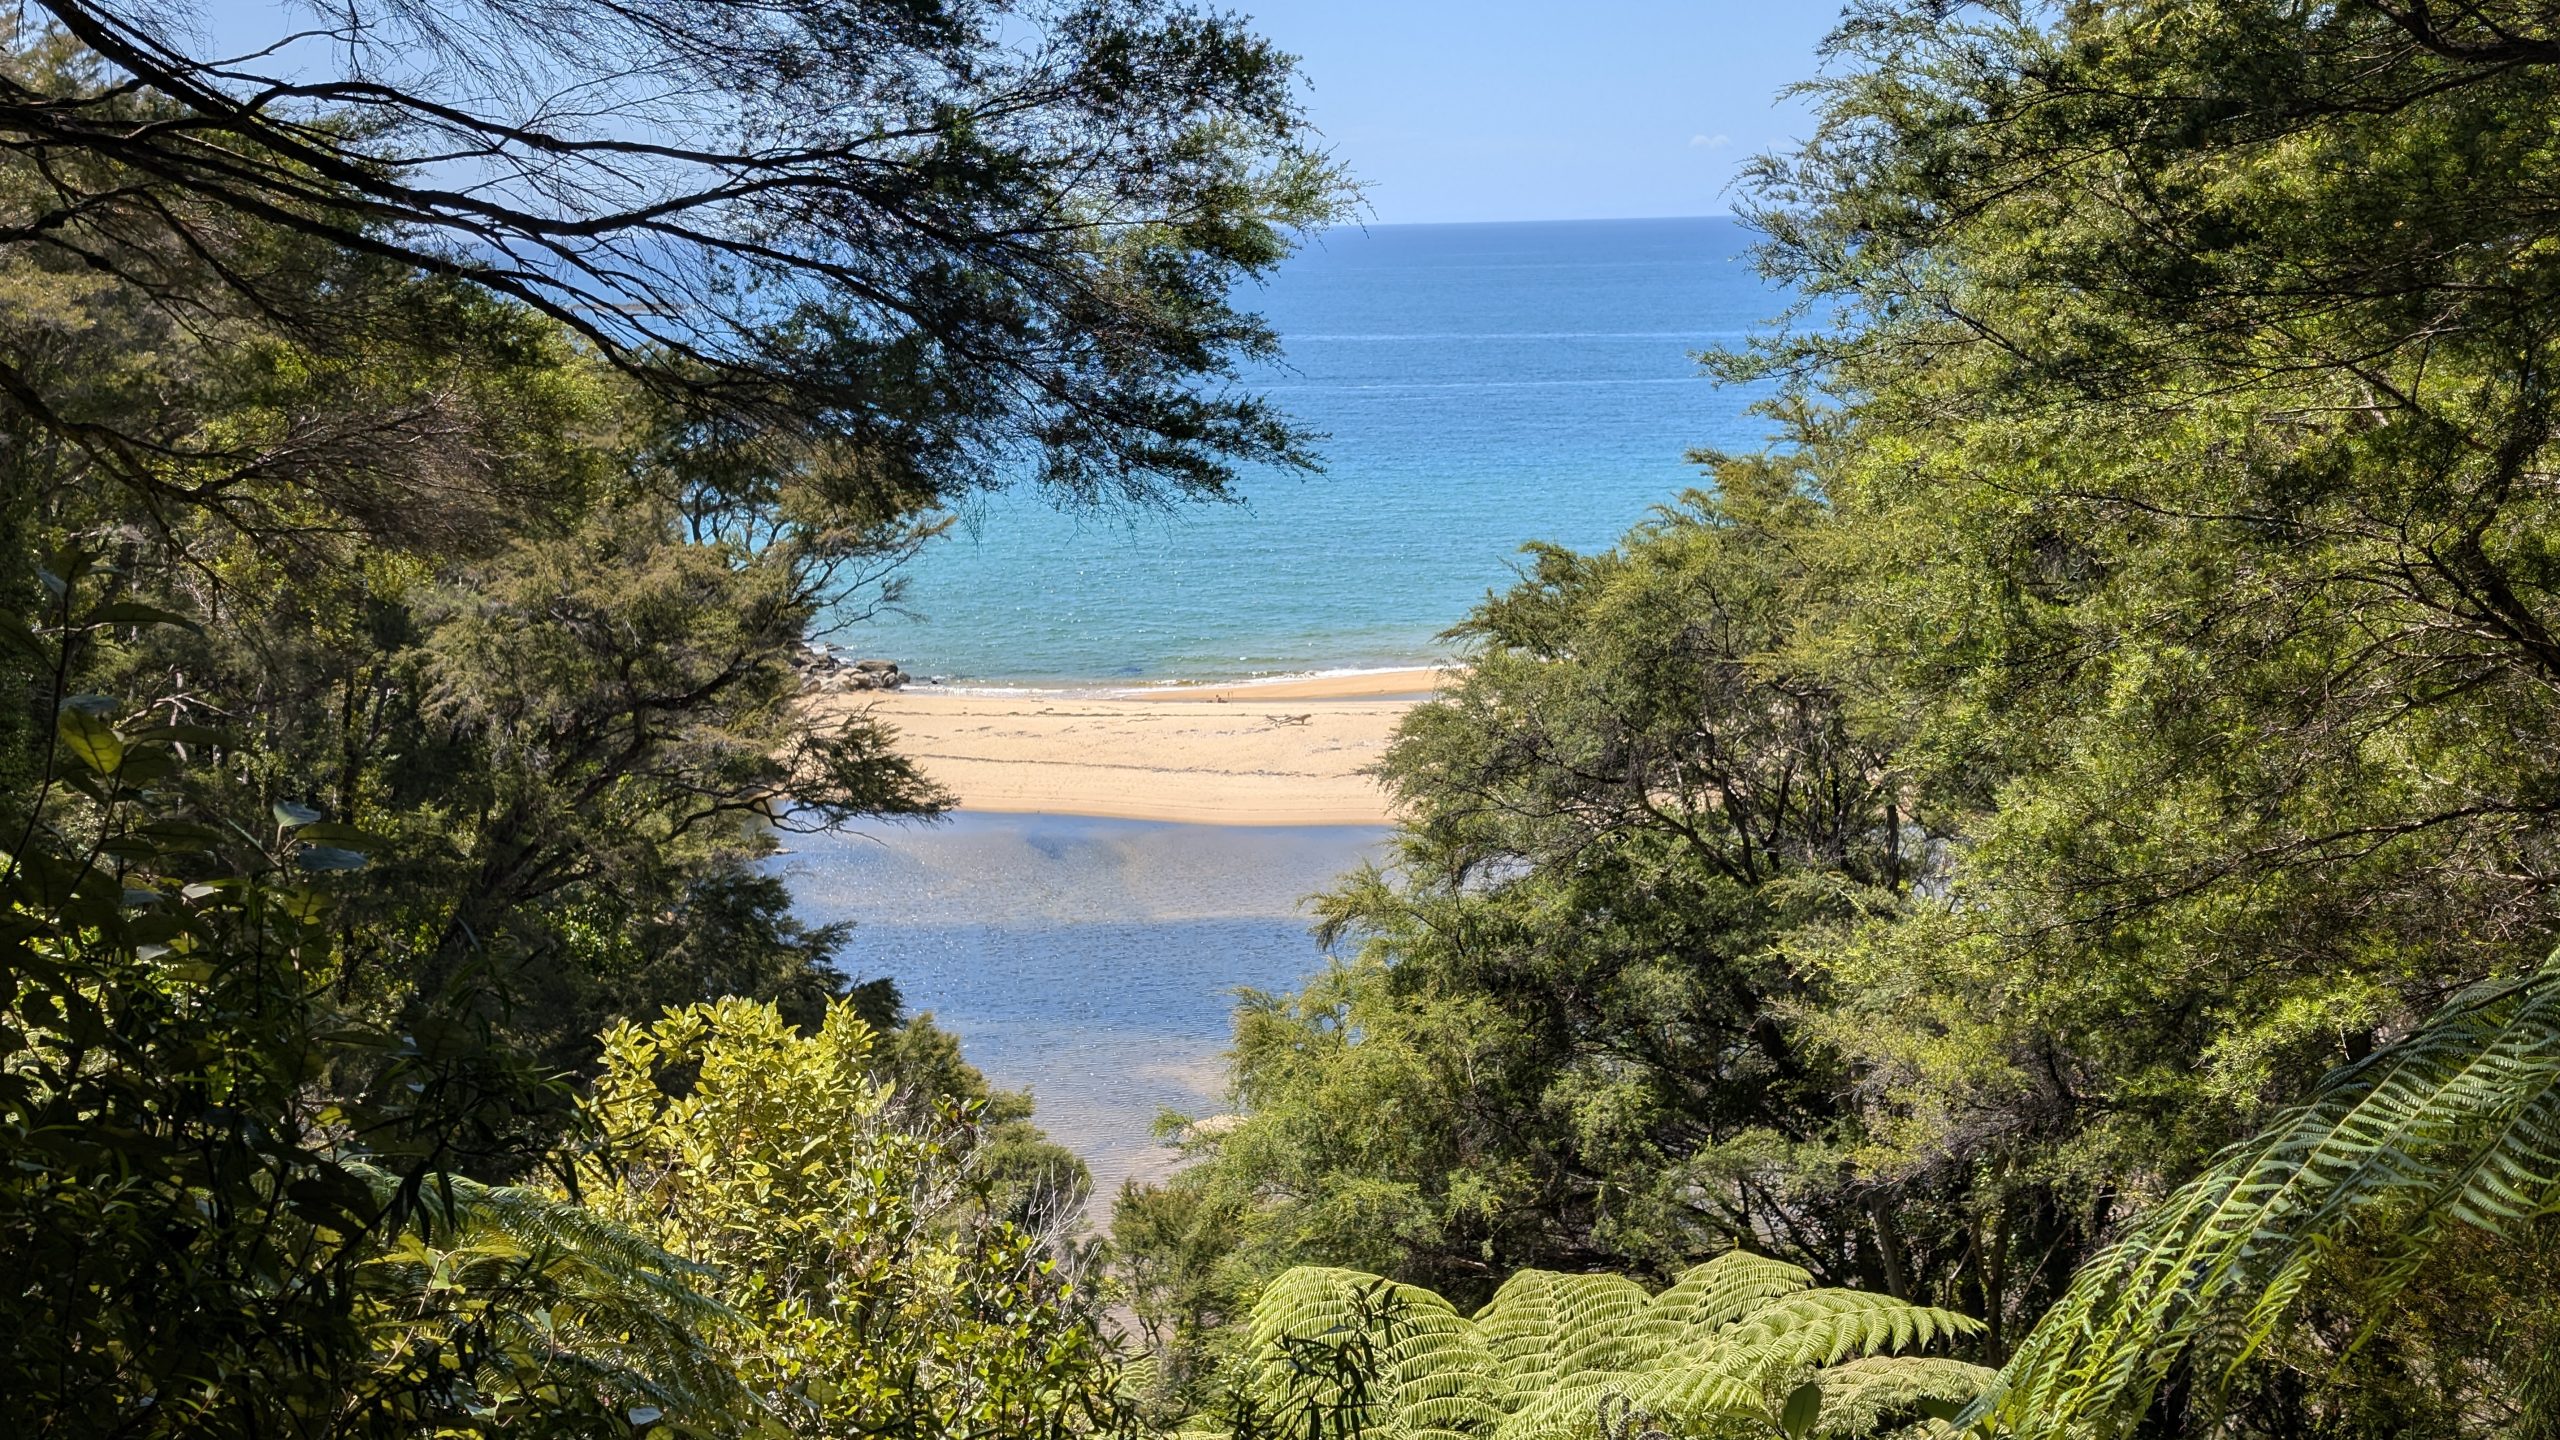
We retraced our steps back to Medlands Beach and continued south along the main trail. We took another side trip to South Head, where there was a small view of the beach below.
Medlands BeachWeka bird along the trailView from the trailView from South Head
We went back to the main trail and crossed a second swinging bridge at Falls River.
Swinging bridge at Falls River
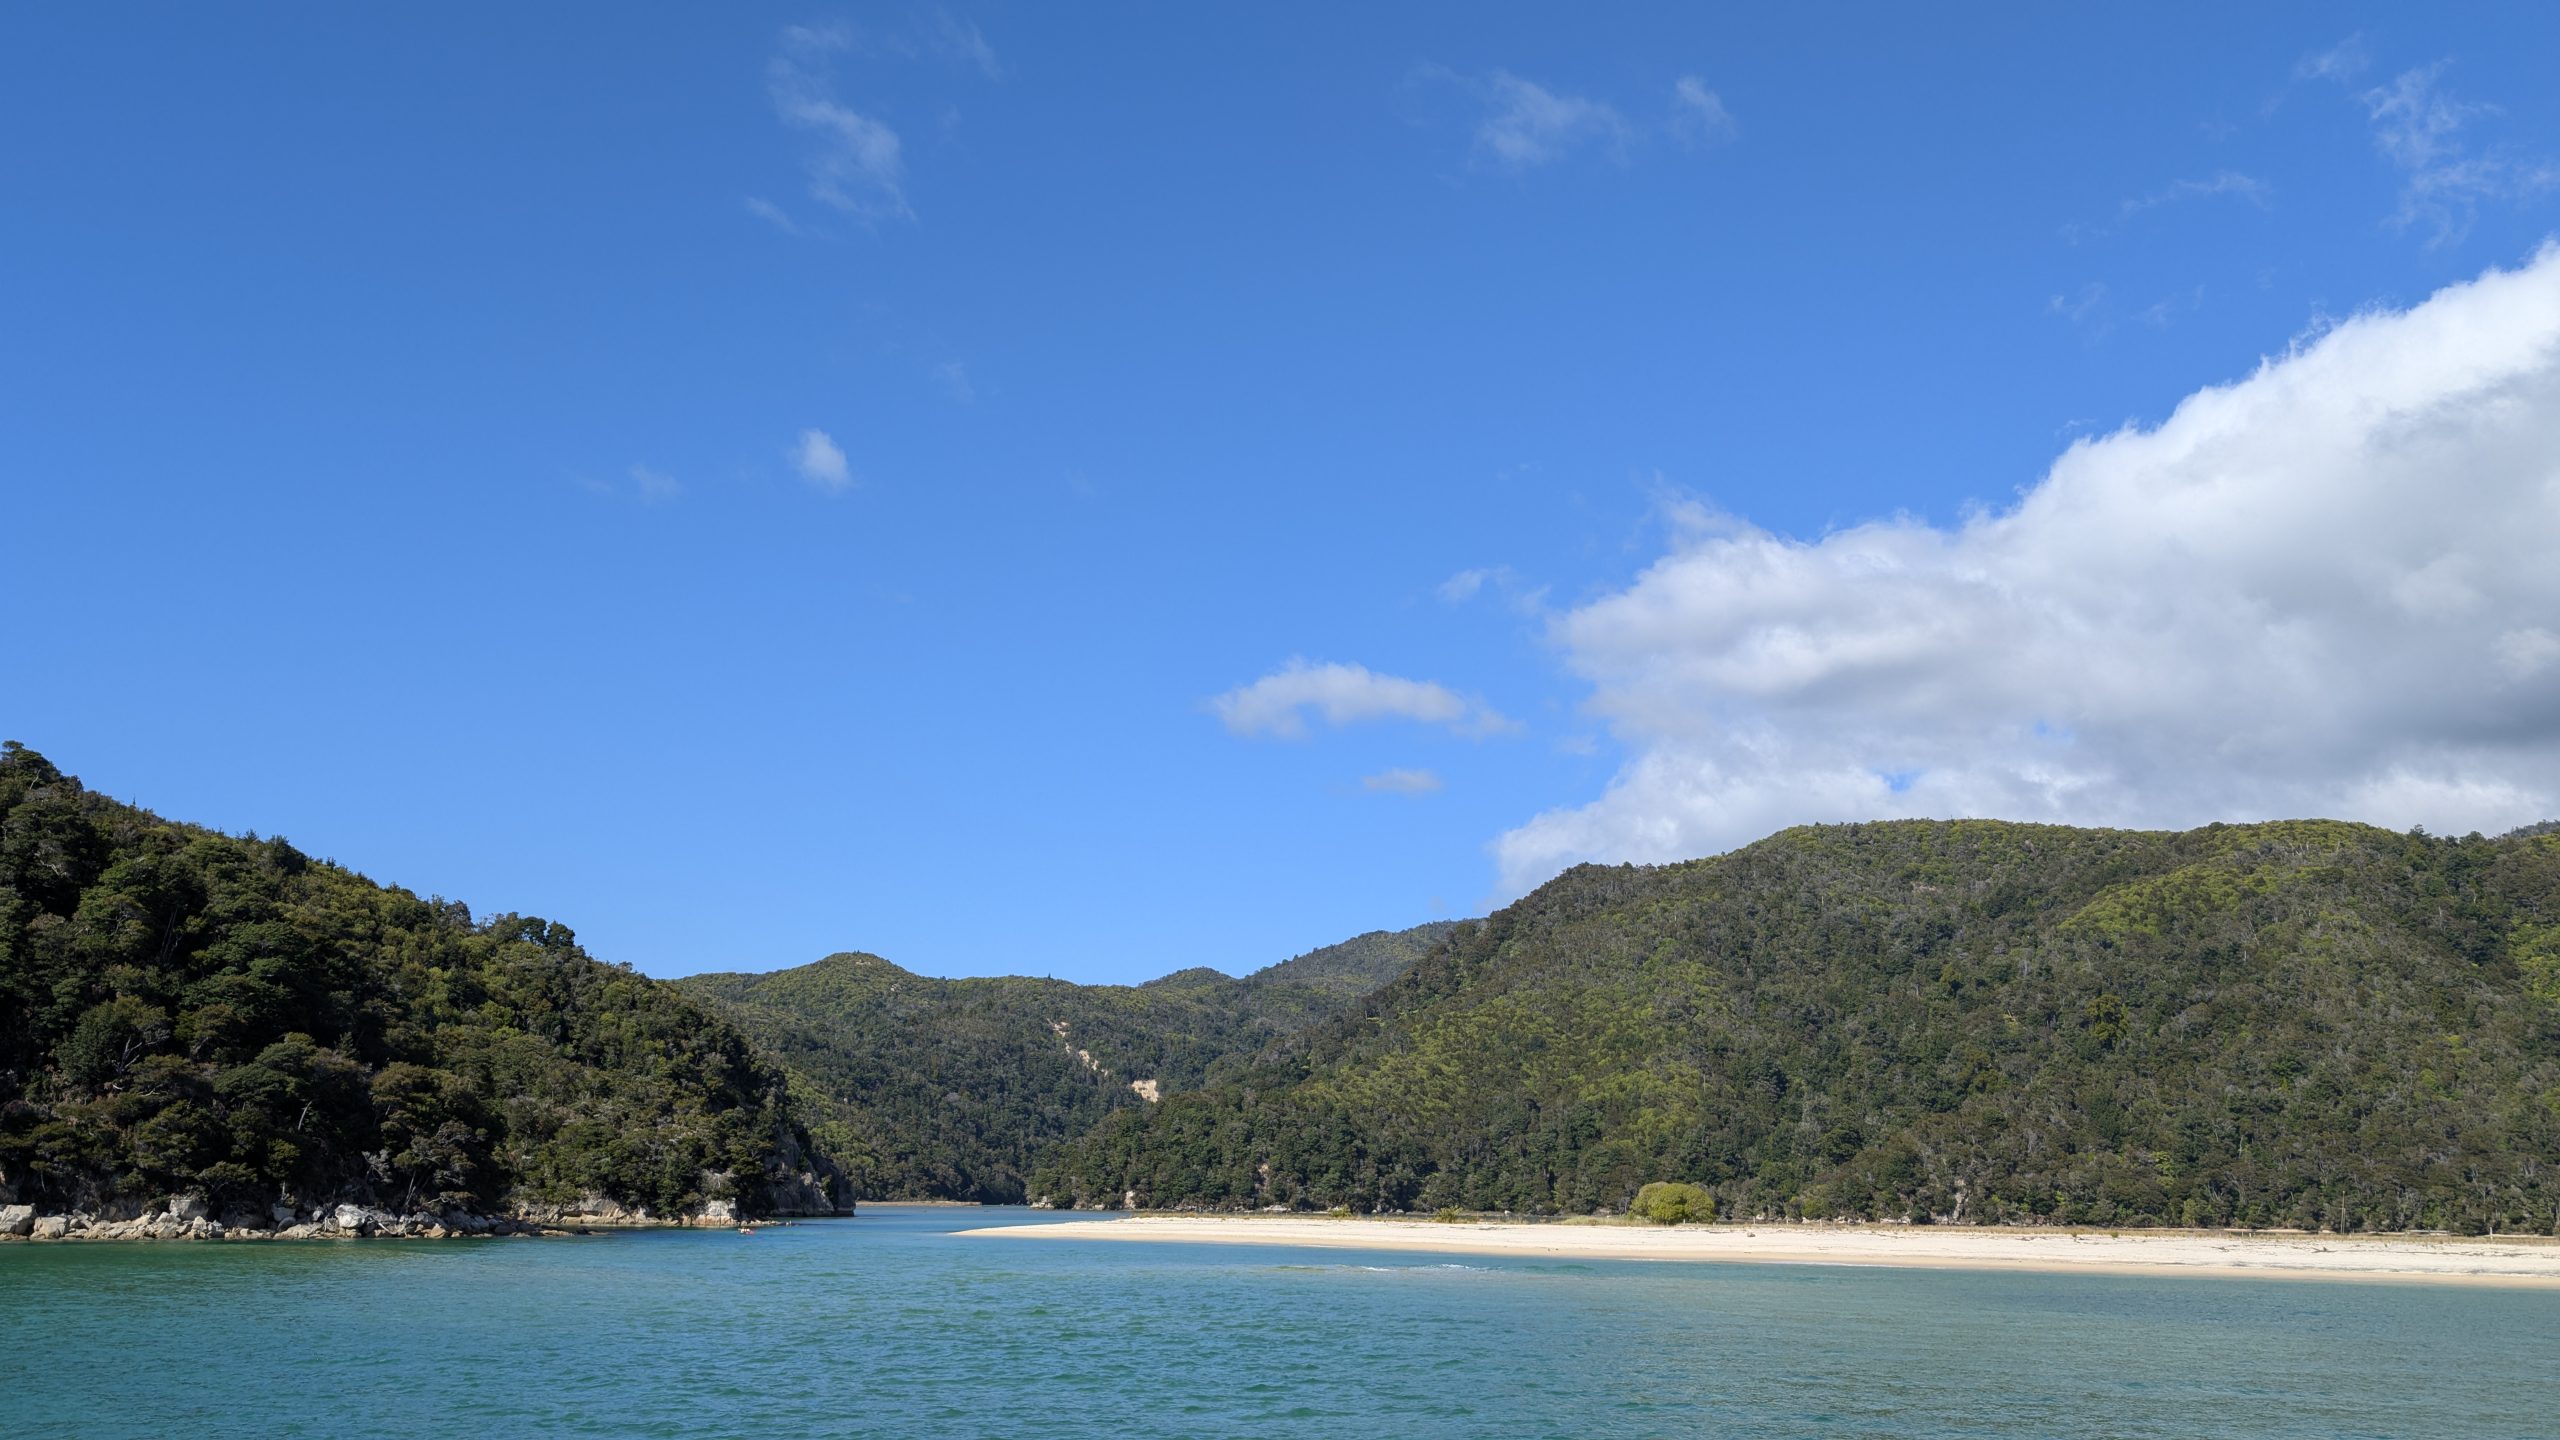
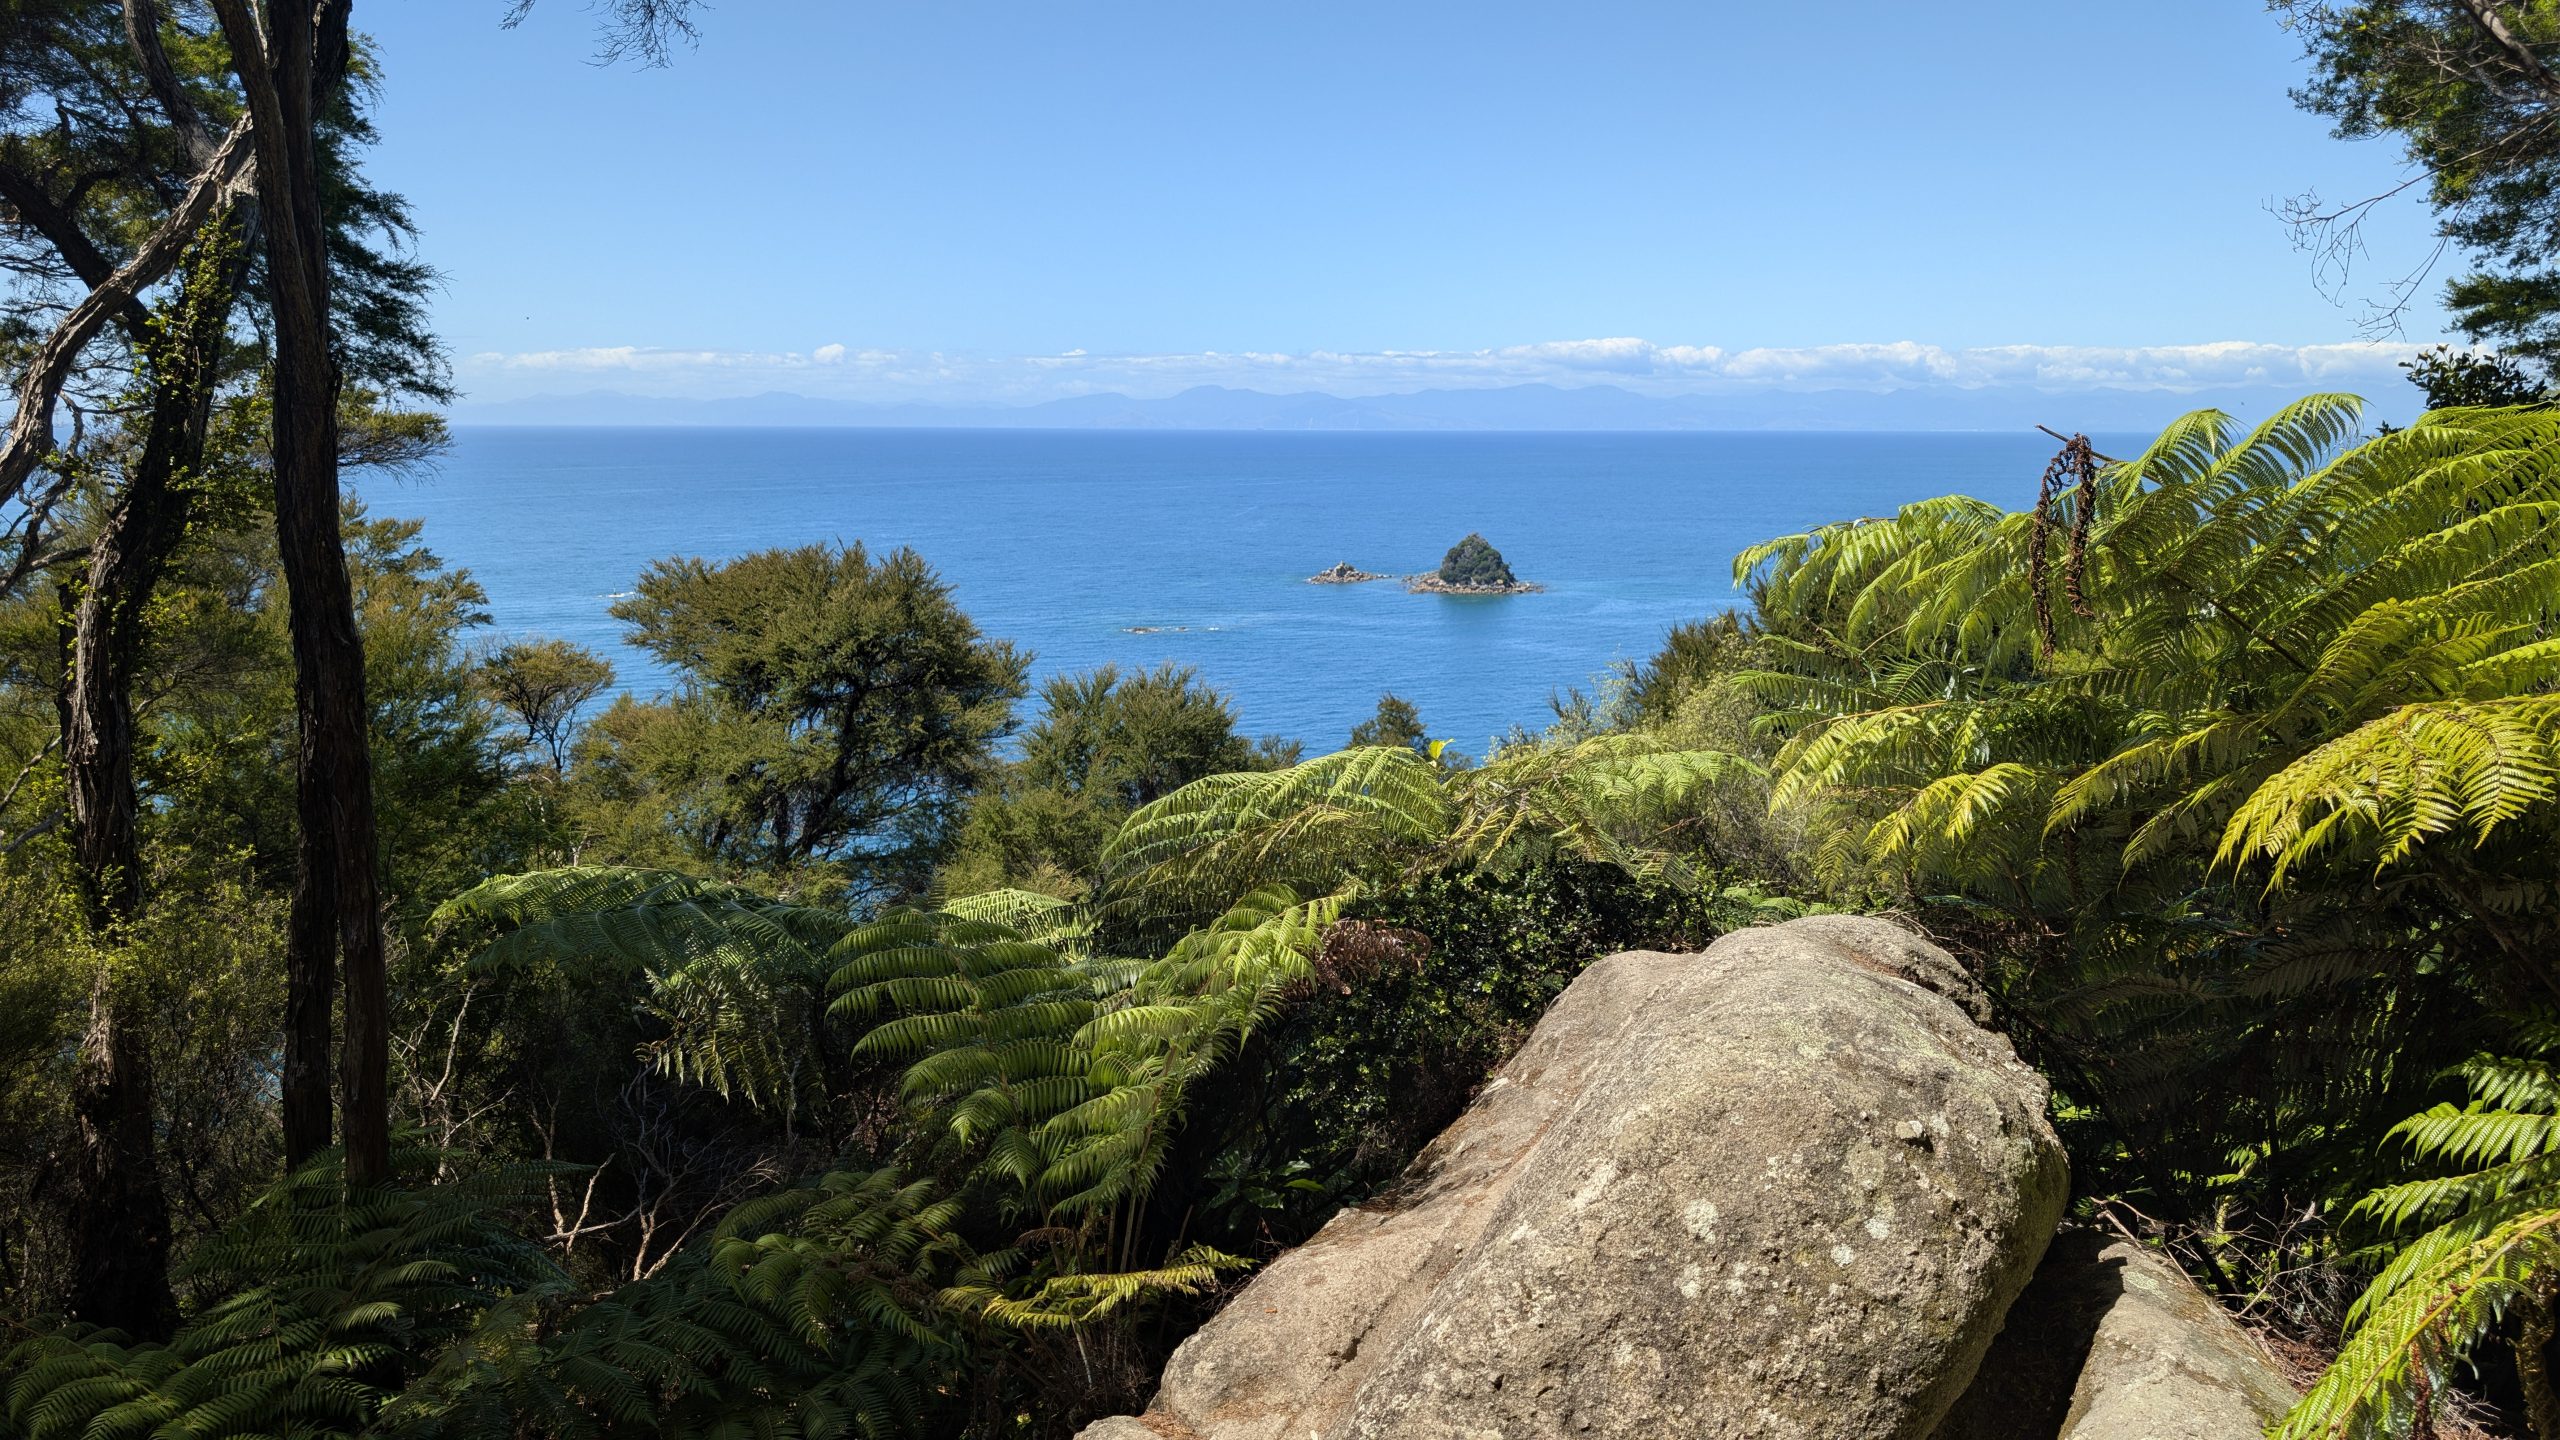
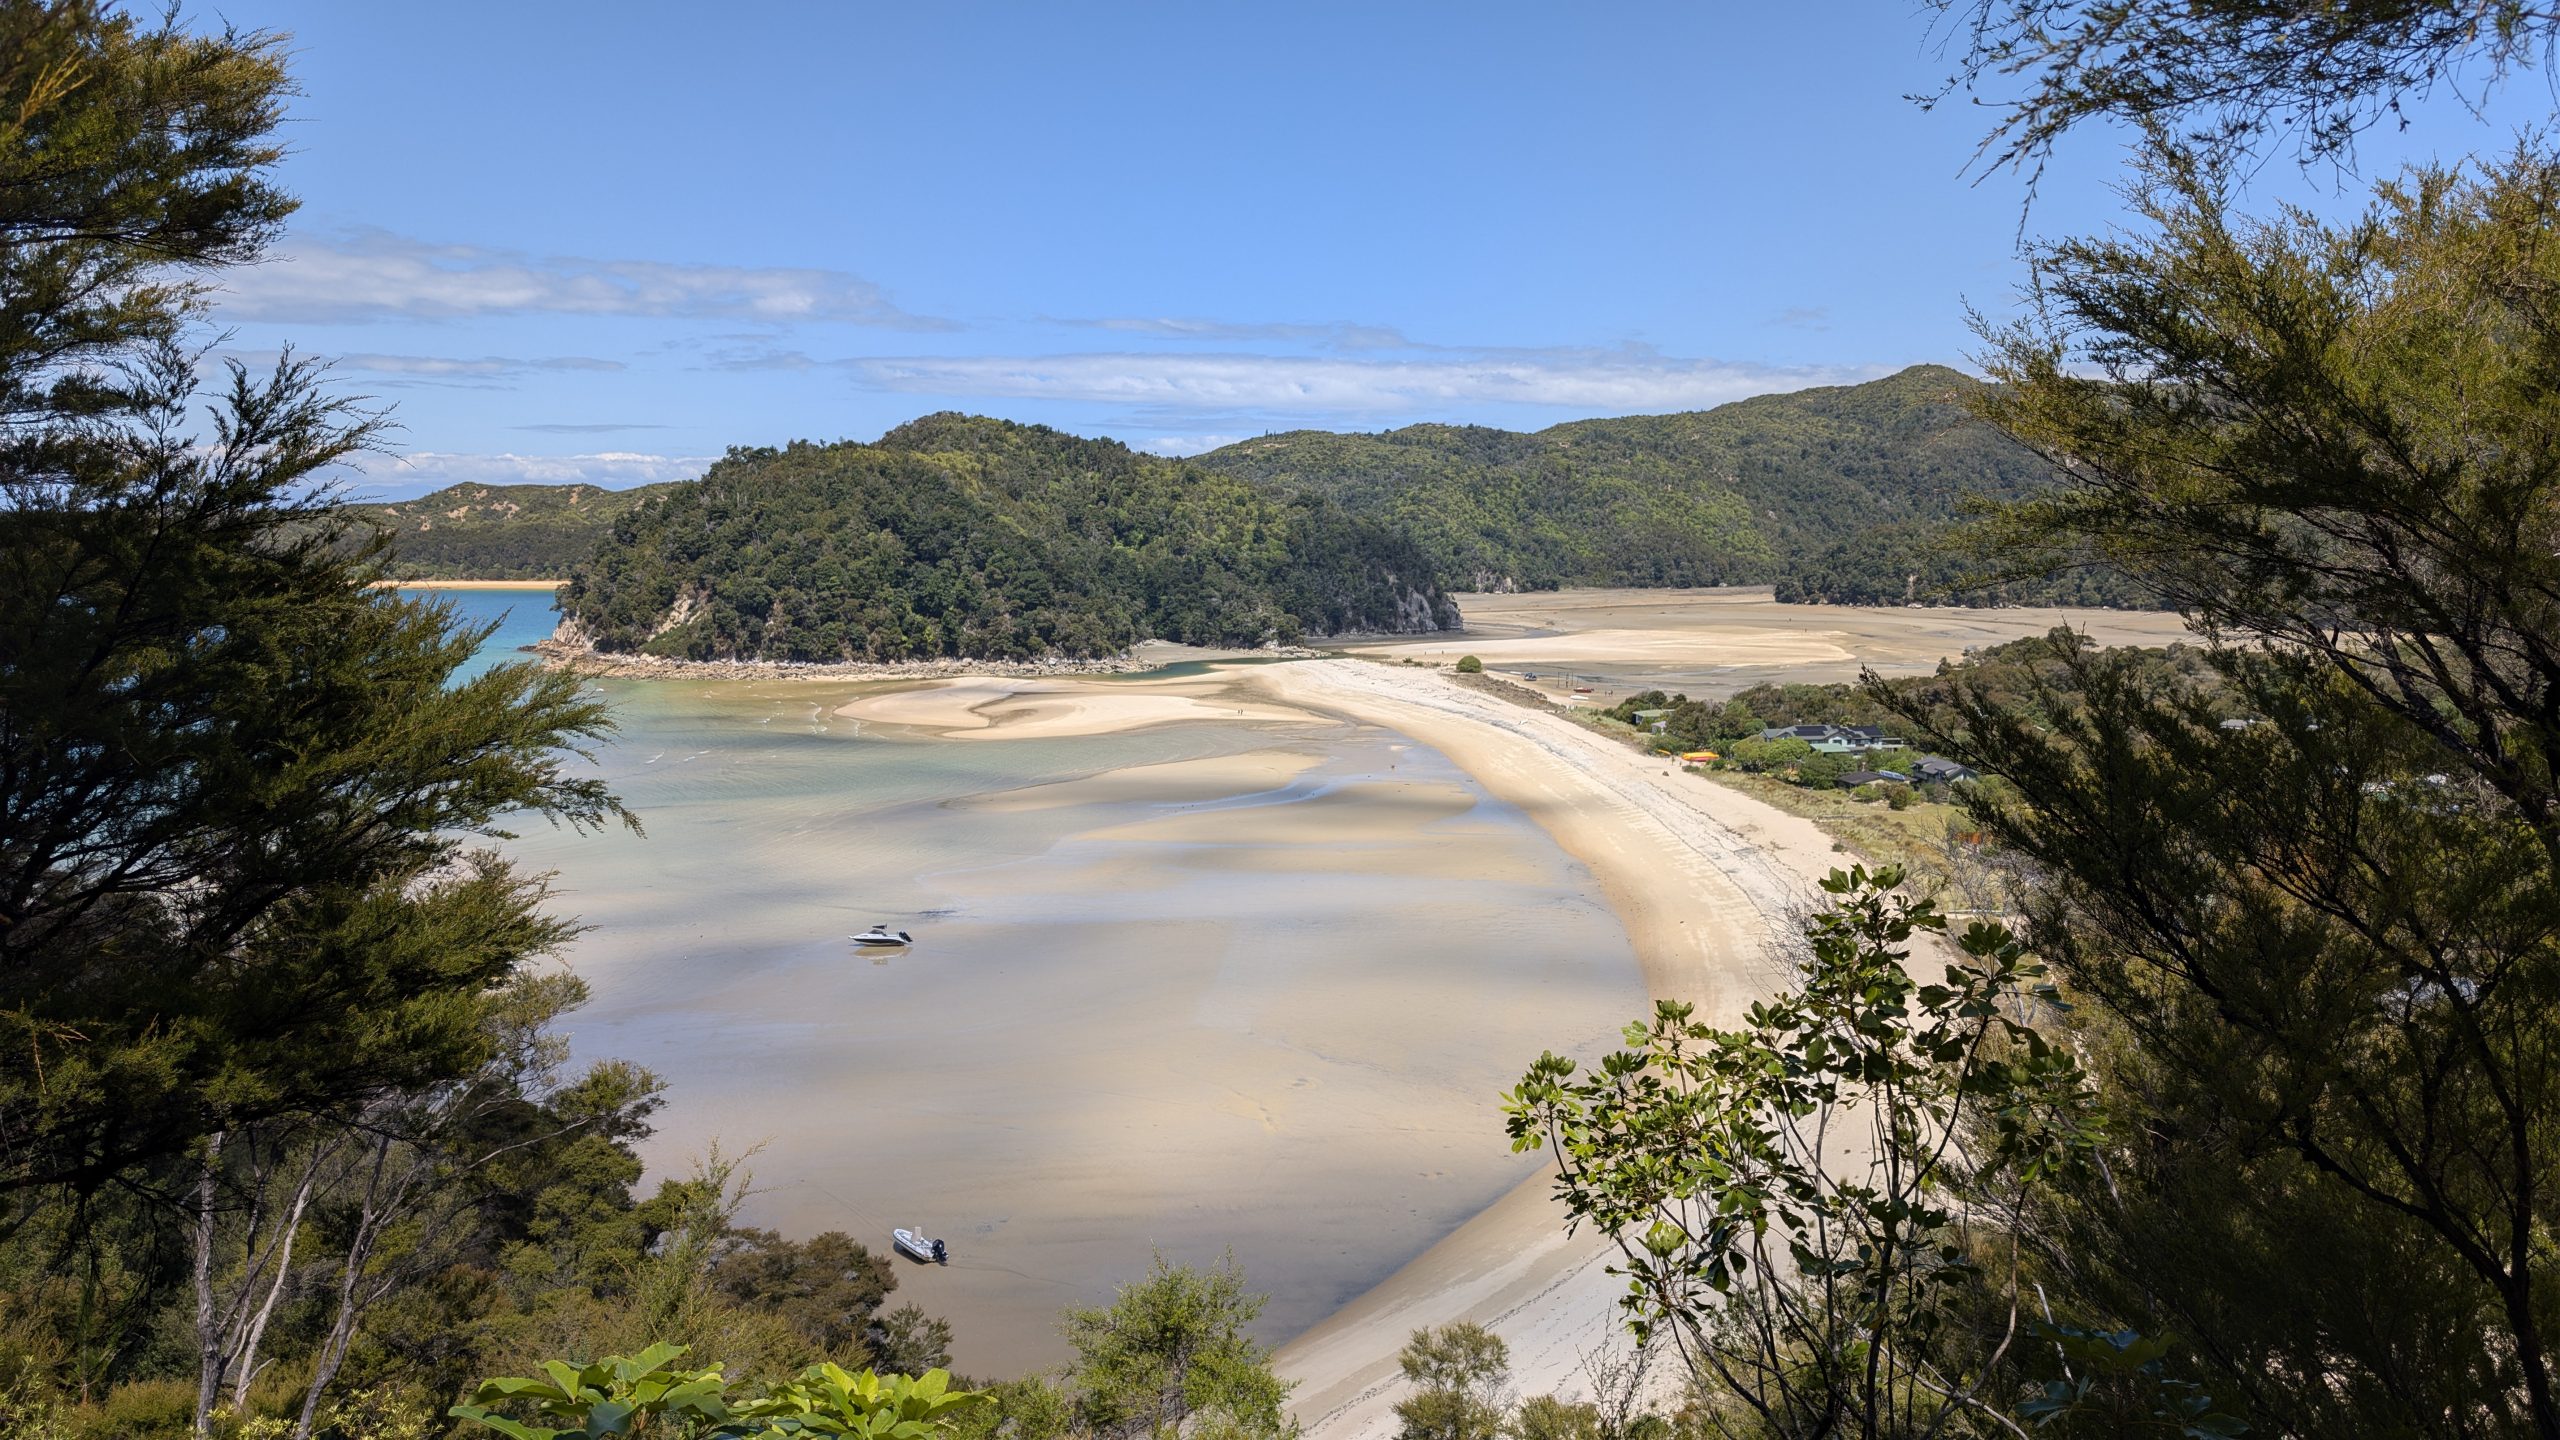
The trail continued along a ridge with occasional views of the beaches below, and then it dropped down to Torrent Bay which was the halfway point of the hike. Just past Torrent Bay we found a picnic table where we stopped and ate our sandwiches for lunch.
Our destination, Anchorage Beach, viewed from the trailTorrent Bay view
It was low tide at Torrent Bay, and we had the option to take a shortcut across the mud flats to Anchorage which would have saved over an hour of hiking. We chose not to take that option since we wanted to go to Cleopatras Pool which was along the high tide trail.
Torrent Bay at low tide
We still had at least 2 hours of hiking to do, and it was 3 hours until our boat pickup time, so I was getting a bit nervous about the time. It turned out we didn't have to worry since the trail to Cleopatras Pool was relatively flat and fast. We didn't stay long at Cleopatras Pool. Frankly I found it underwhelming, although I suppose it would have been more exciting if we had decided to swim. Only one other person was at Cleopatras Pool while we were there. Most of the others we had seen along the trail had taken the low tide shortcut.
Cleopatras Pool
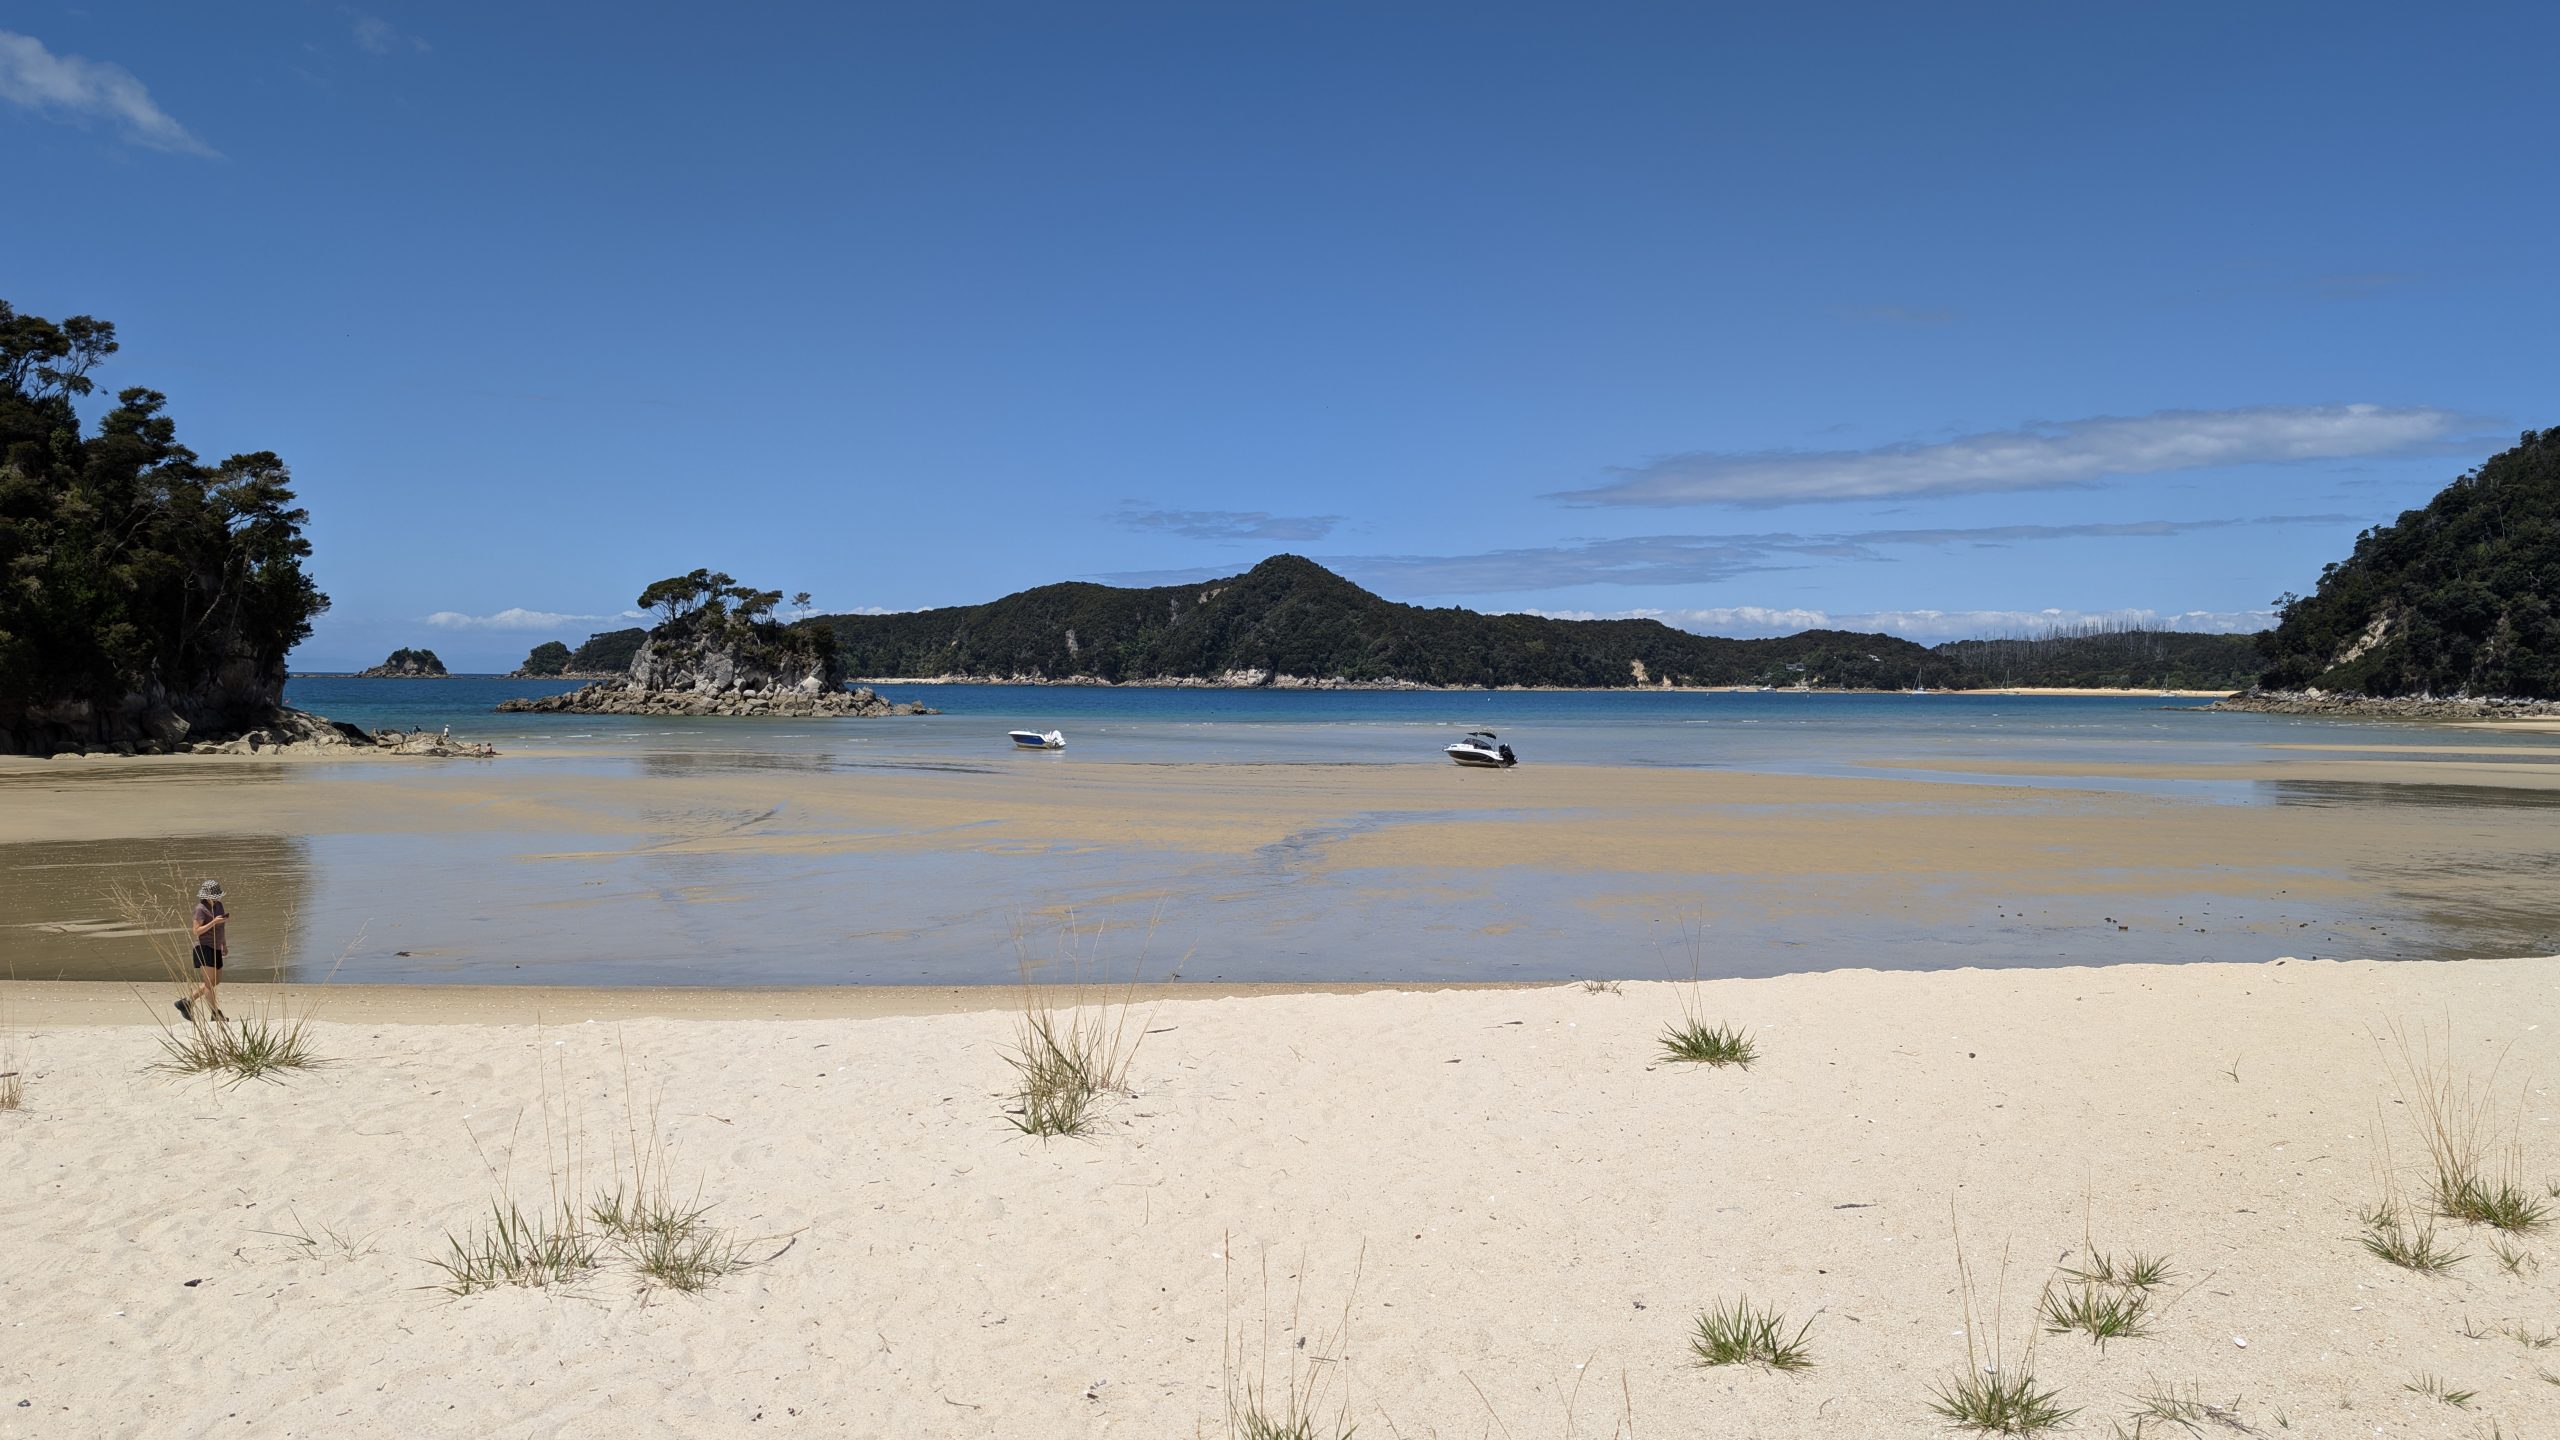
We crossed one more swinging bridge on the main trail back from Cleopatras Pool, and then we had one more uphill slog before finally descending to Anchorage Beach. It was 4:35 PM, and we were supposed to be there at 5:05 before our boat pickup time at 5:20. So we had a little bit of time to relax on the beach before our ride back to Kaiteriteri.
Swinging bridge near the side trail to Cleopatras PoolAnchorage Beach
The boat ride back made only one stop at Apple Tree Bay, and it did a close pass by of Adele Island where there were a couple of seals on the rocks (unfortunately I didn't get any good photos of the seals).
Leaving Anchorage BeachApple Tree BayAdele Island
We drove back to our AirBnb, relaxed for the evening, and played with Rascal the cat. We had sandwiches for dinner because we were both too tired to cook.
We woke up to clear skies. I had planned to drive an hour over to Nelson and Cable Bay to do a view hike, but neither of us felt like driving through the largest town in the area, and the views were just great where we were. We decided to have a bit of a rest day and just do some exploring around the local area.
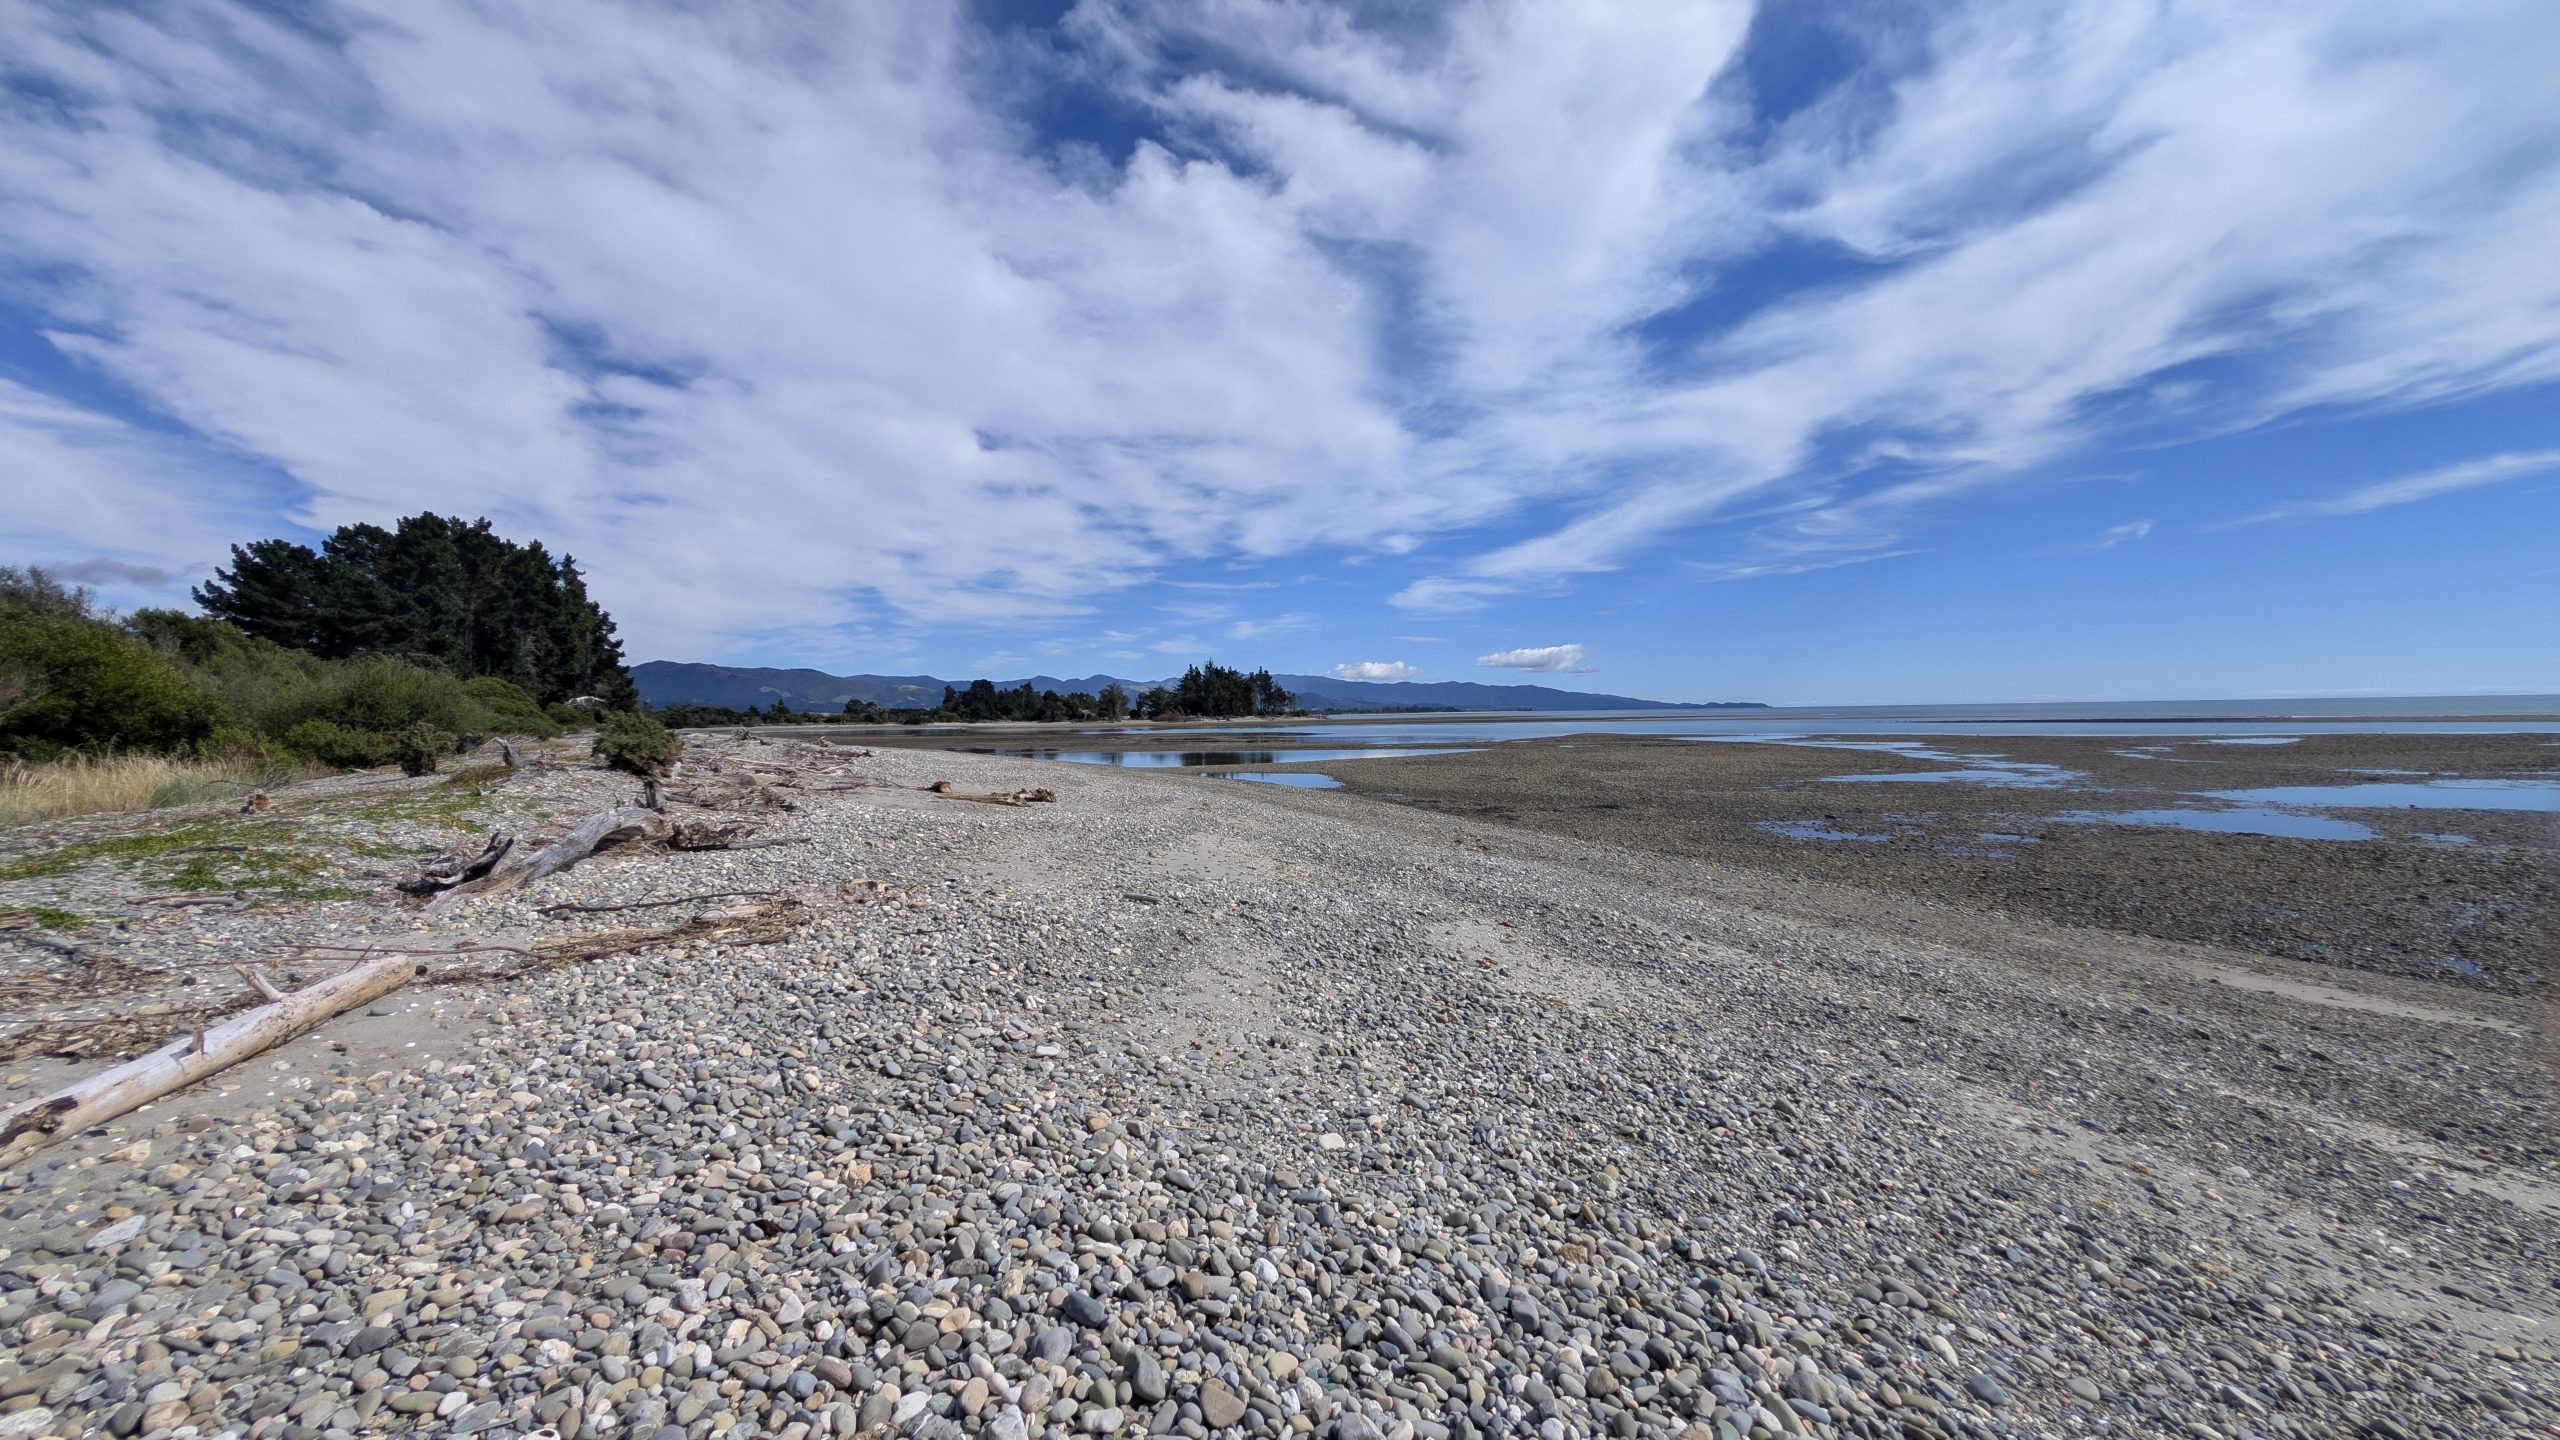
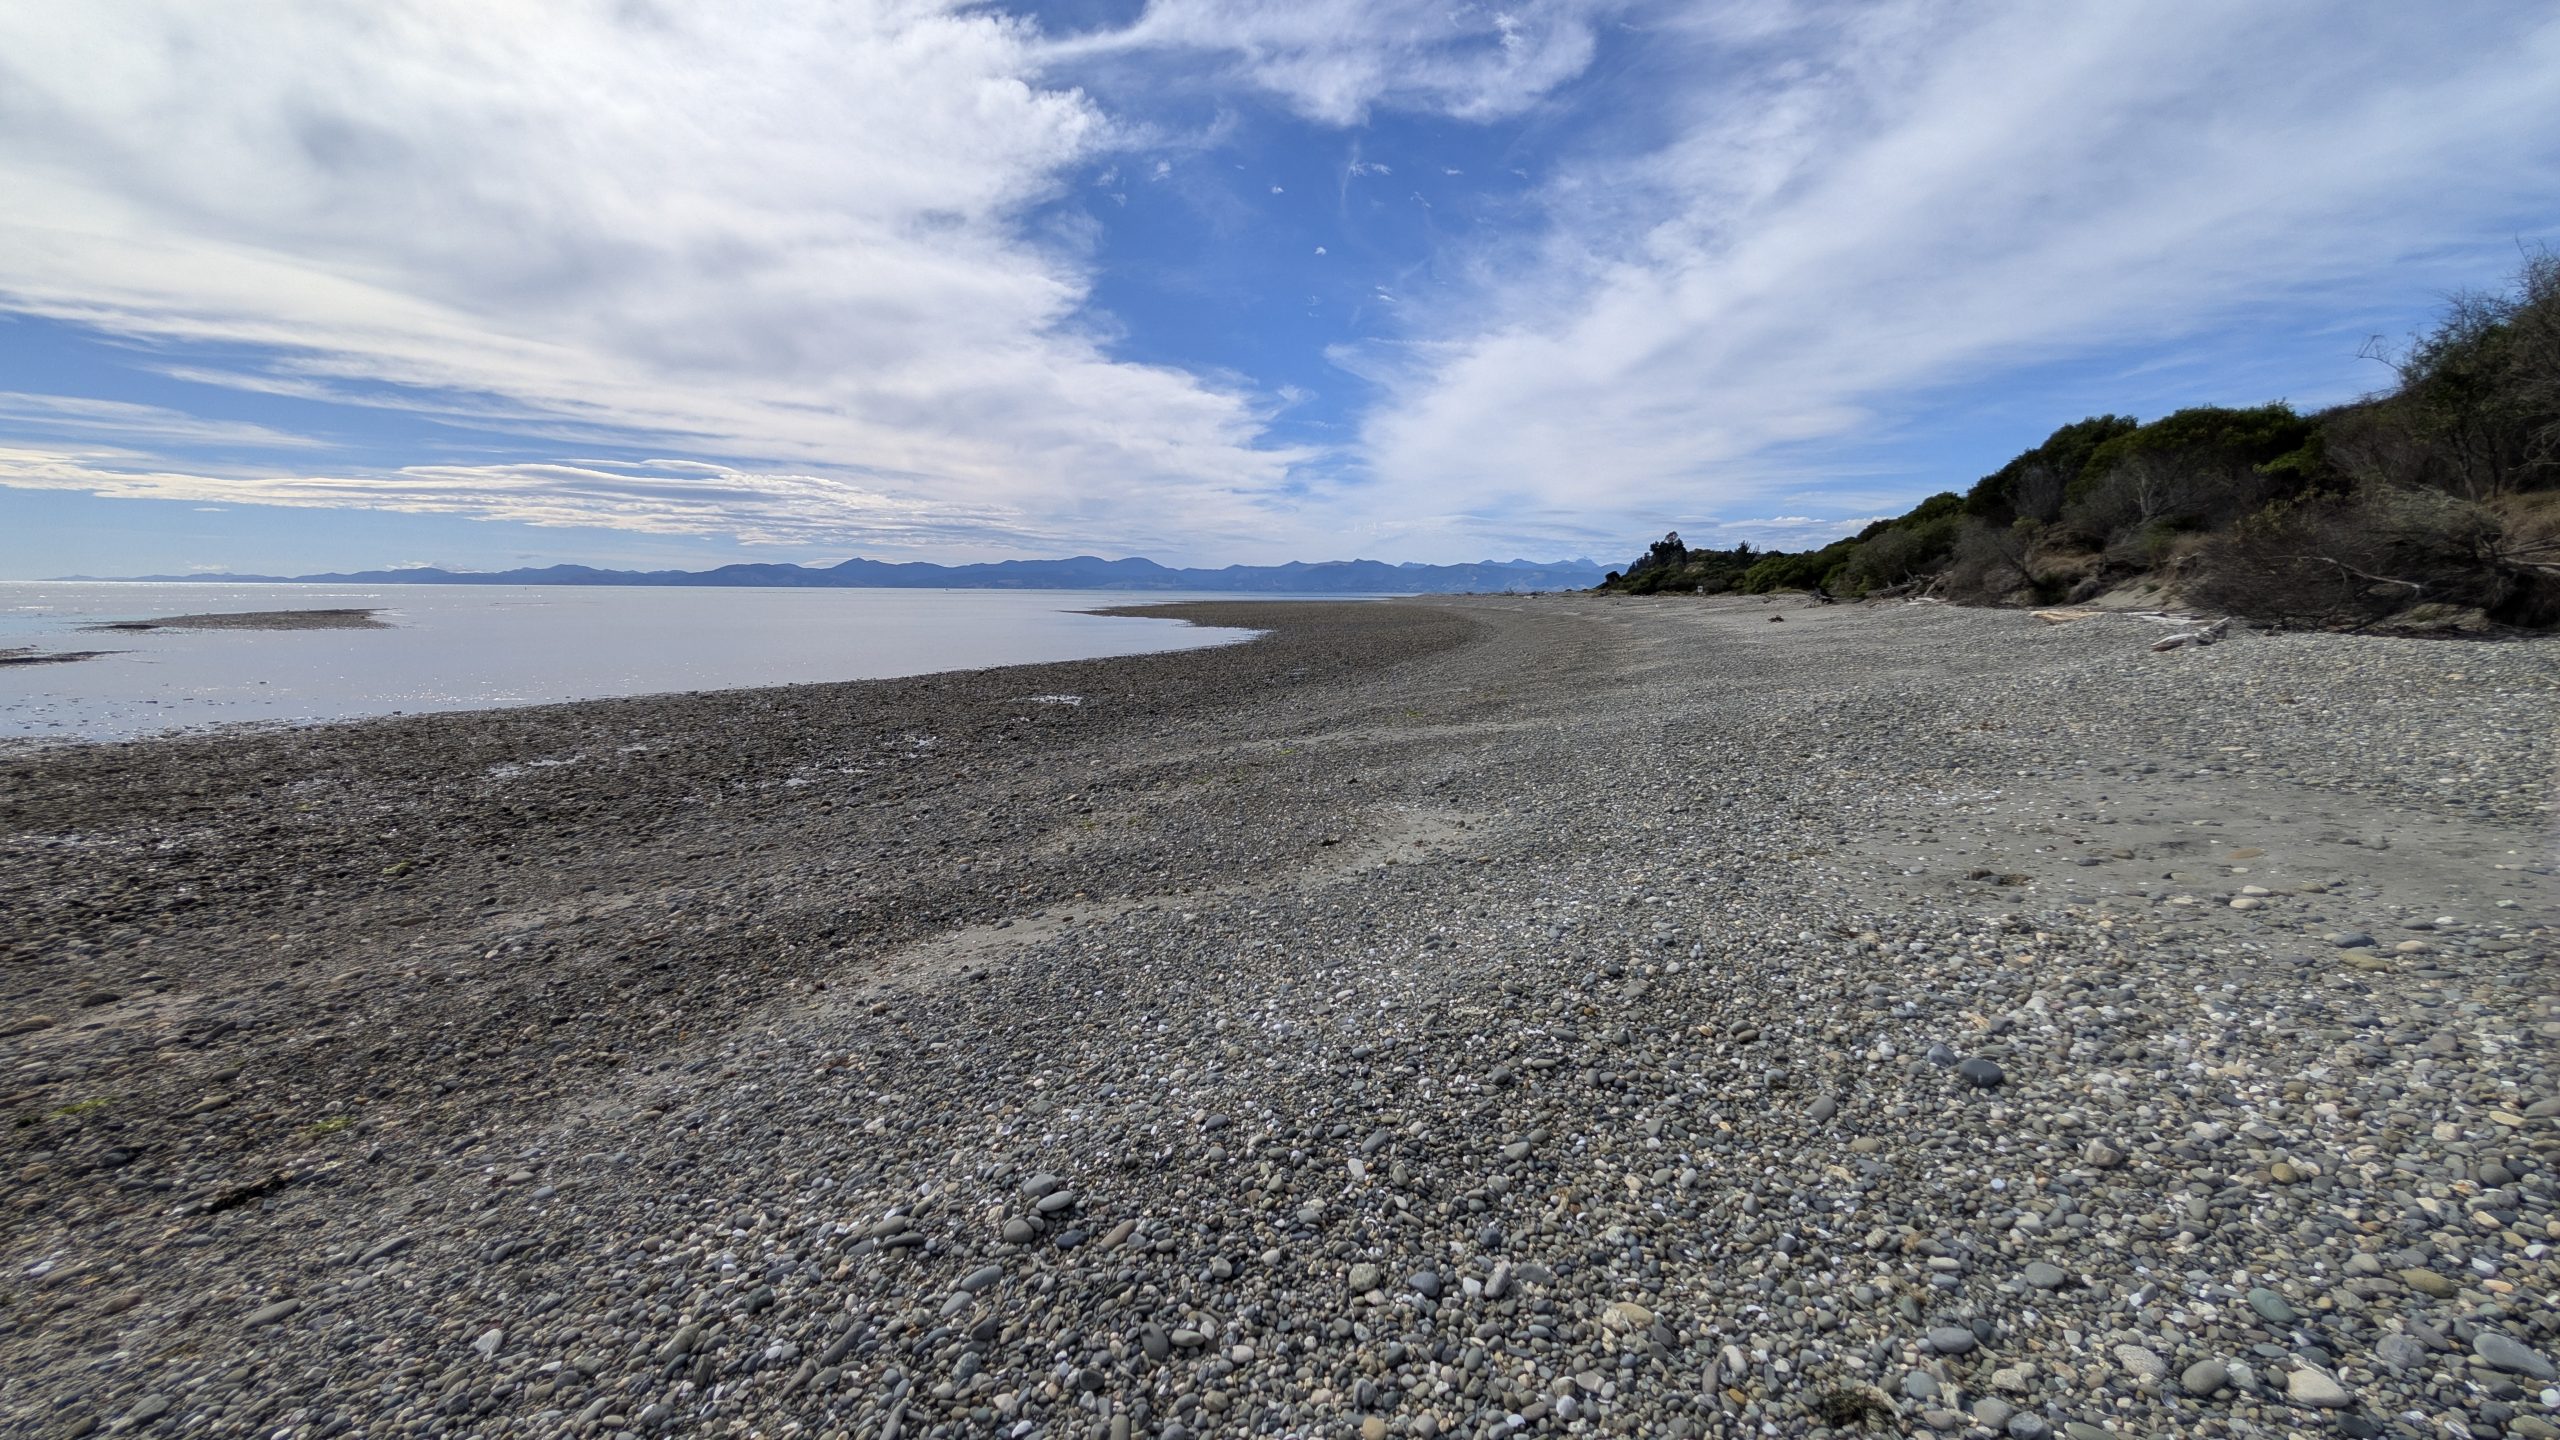
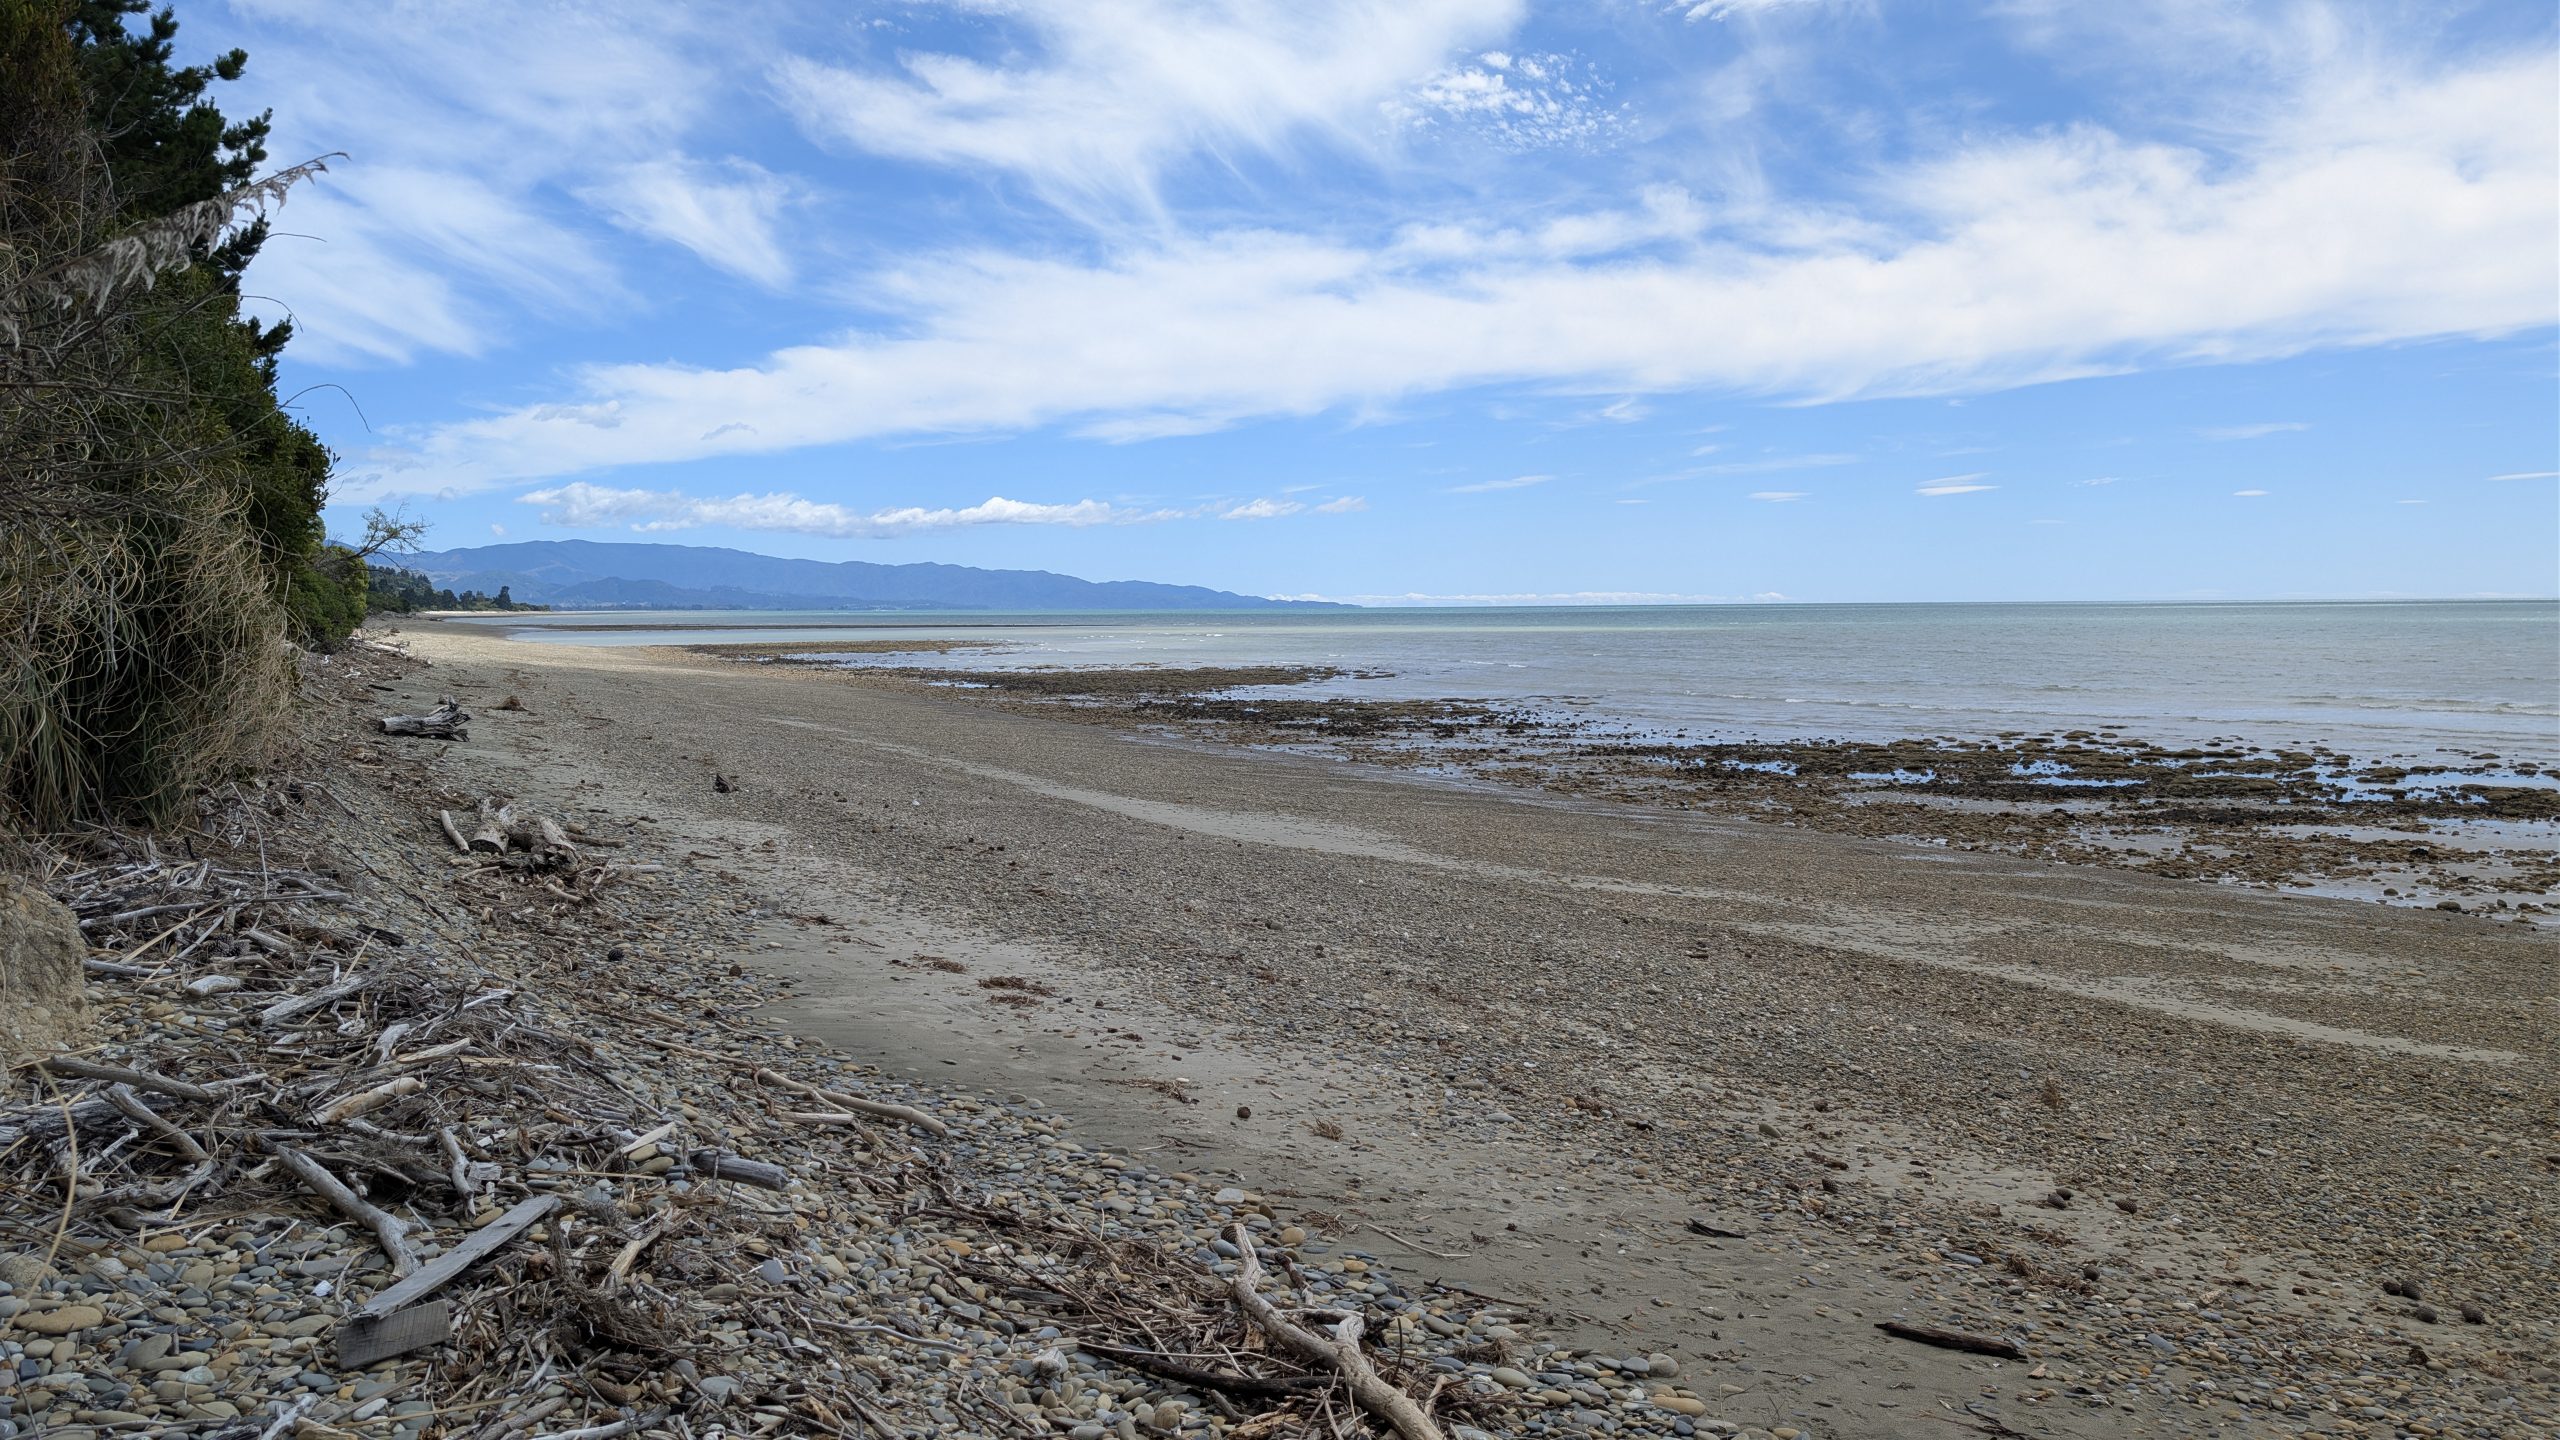
I had full use of the kitchen facilities in the AirBnb house, so I made a nice breakfast of eggs and potatoes. Afterwards we hopped in the car and drove about 15 minutes down the Kina Peninsula Road to the LEH Baigent Memorial Reserve. Kina Peninsula Beach was several miles long. To call it a beach was a bit of a stretch because it was mostly gray rocks and no sand. It was also low tide while we were there, so the Moutere Inlet was a big muddy flat.
Kina Peninsula Beach, looking northKina Peninsula Beach, looking south toward NelsonNear the tip of Kina Peninsula
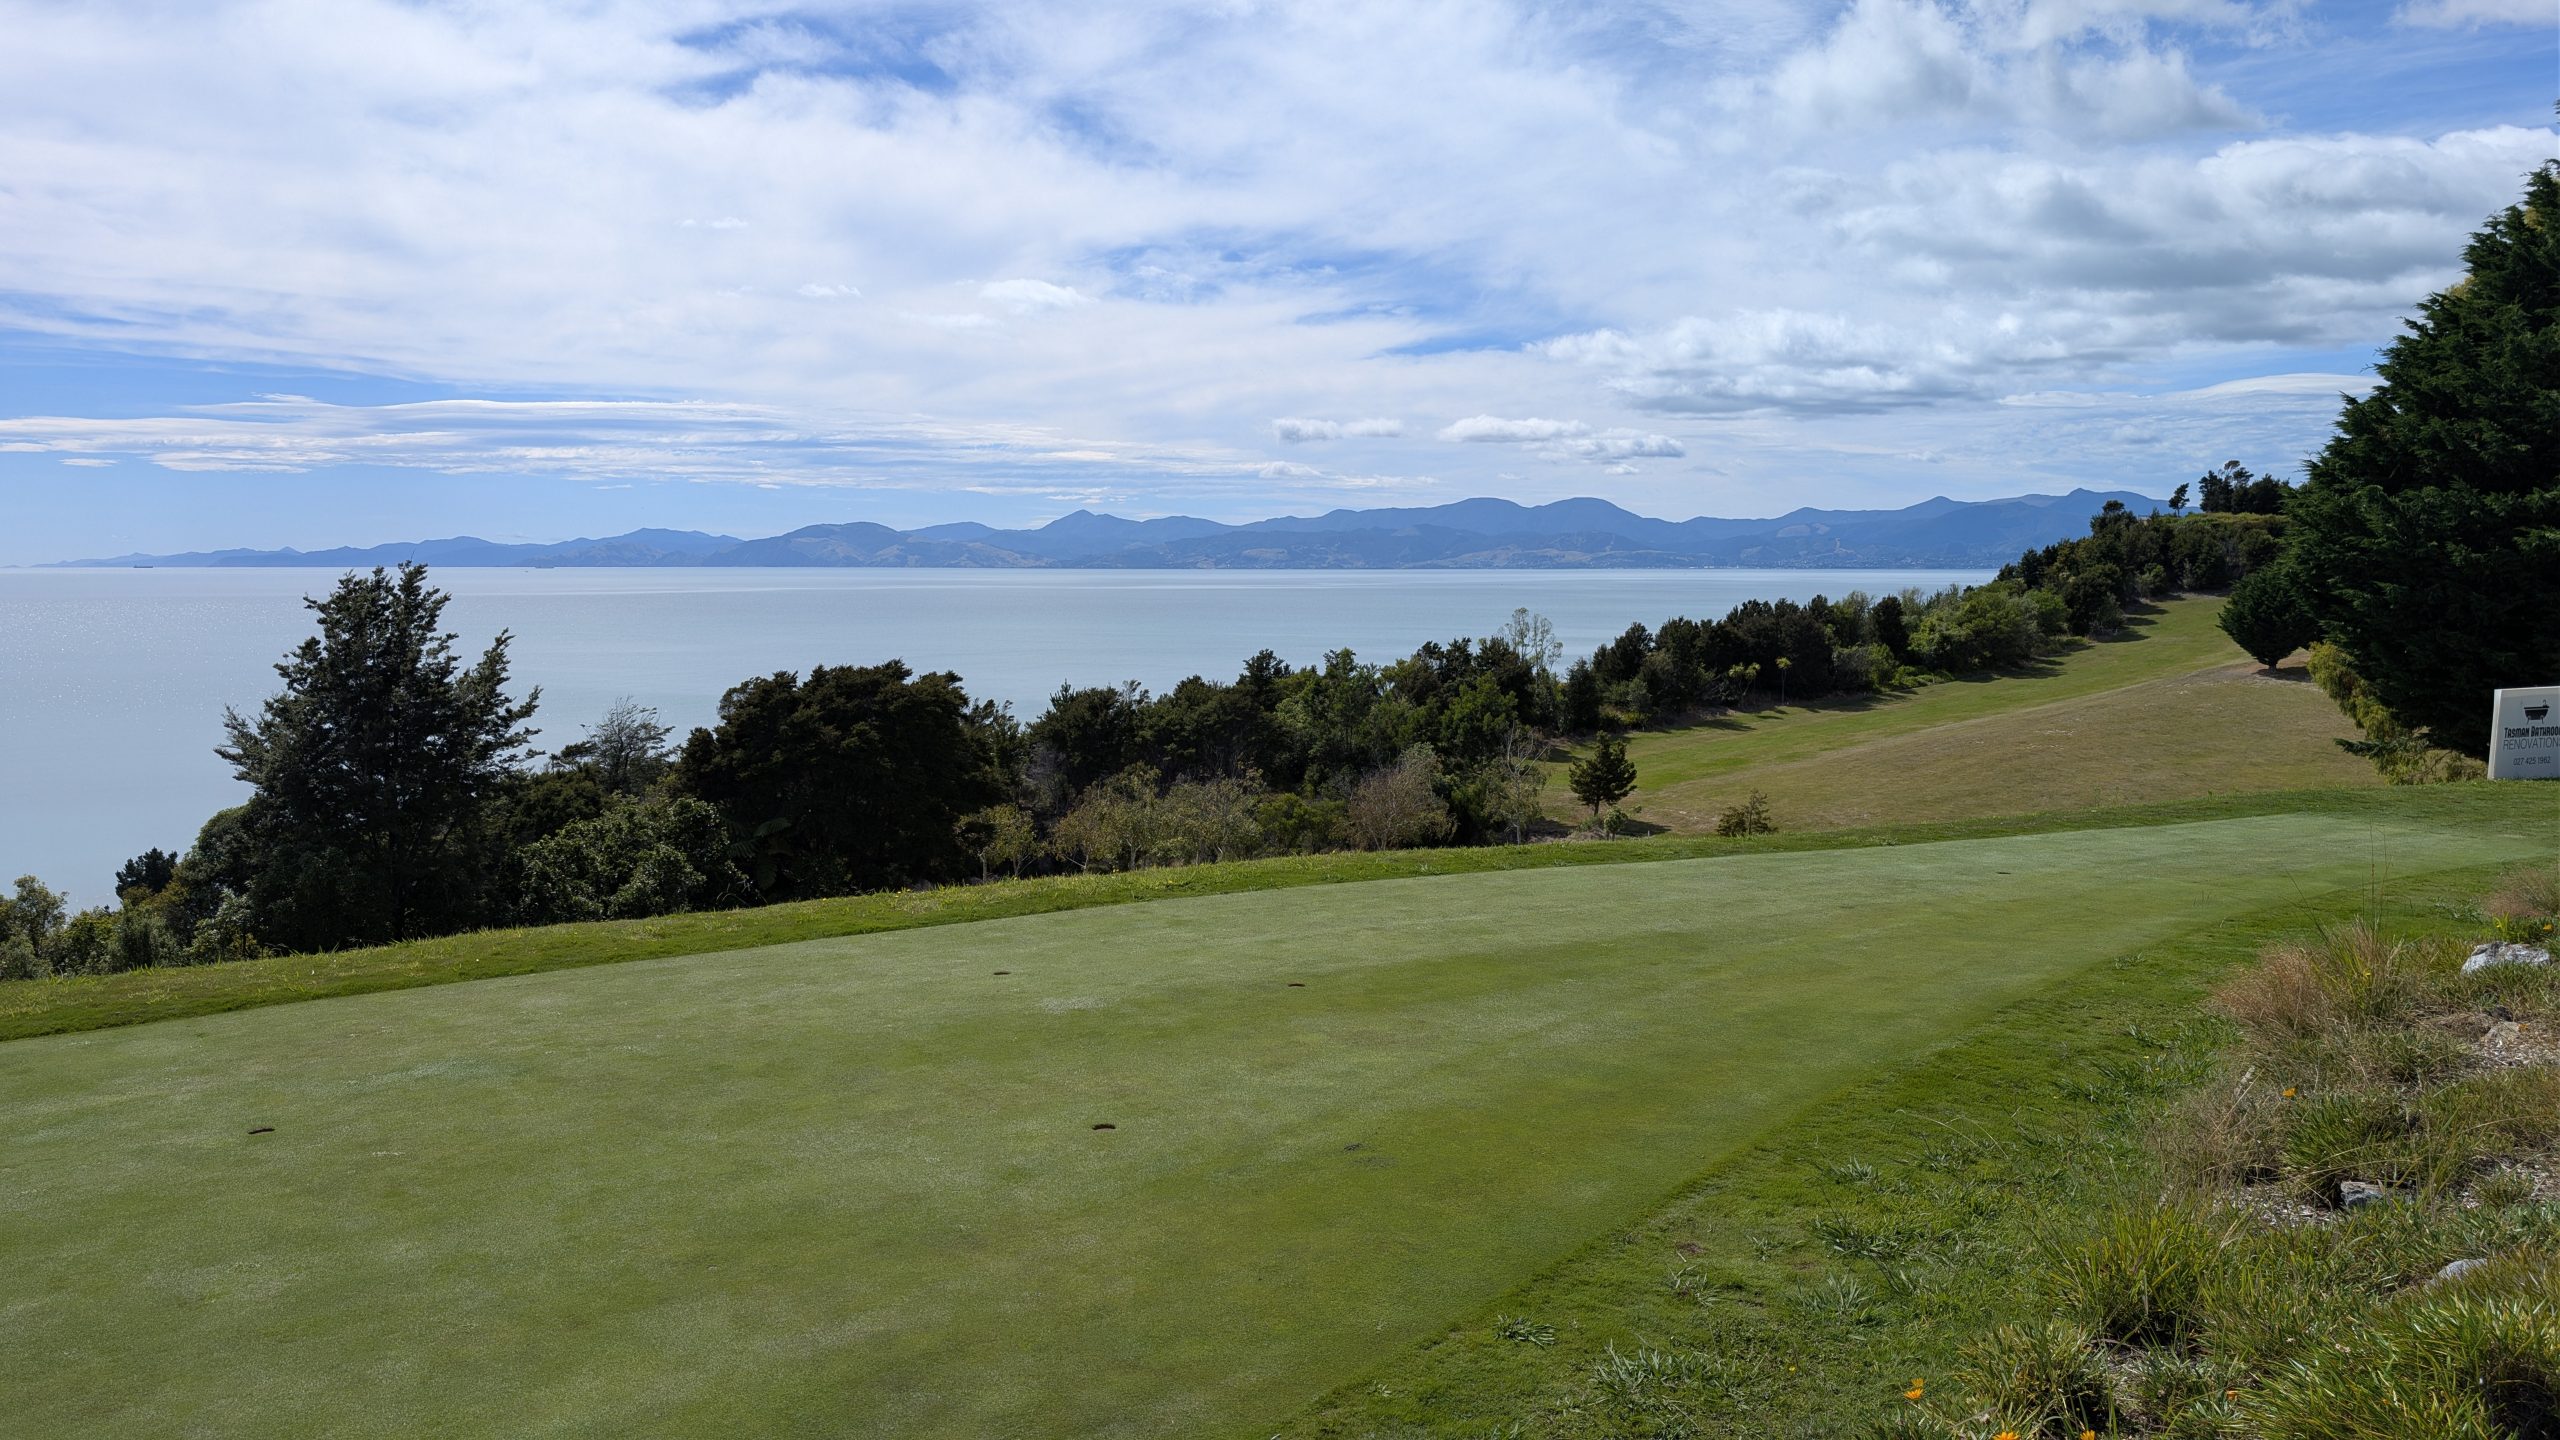
On the way back we stopped at the Tasman Golf Club which had some wonderful views, and on the edge of the golf course some walking paths were open to the public. We walked around for a few minutes and admired the views.
Golf course view, looking south toward NelsonGolf course view, looking north from the entrance
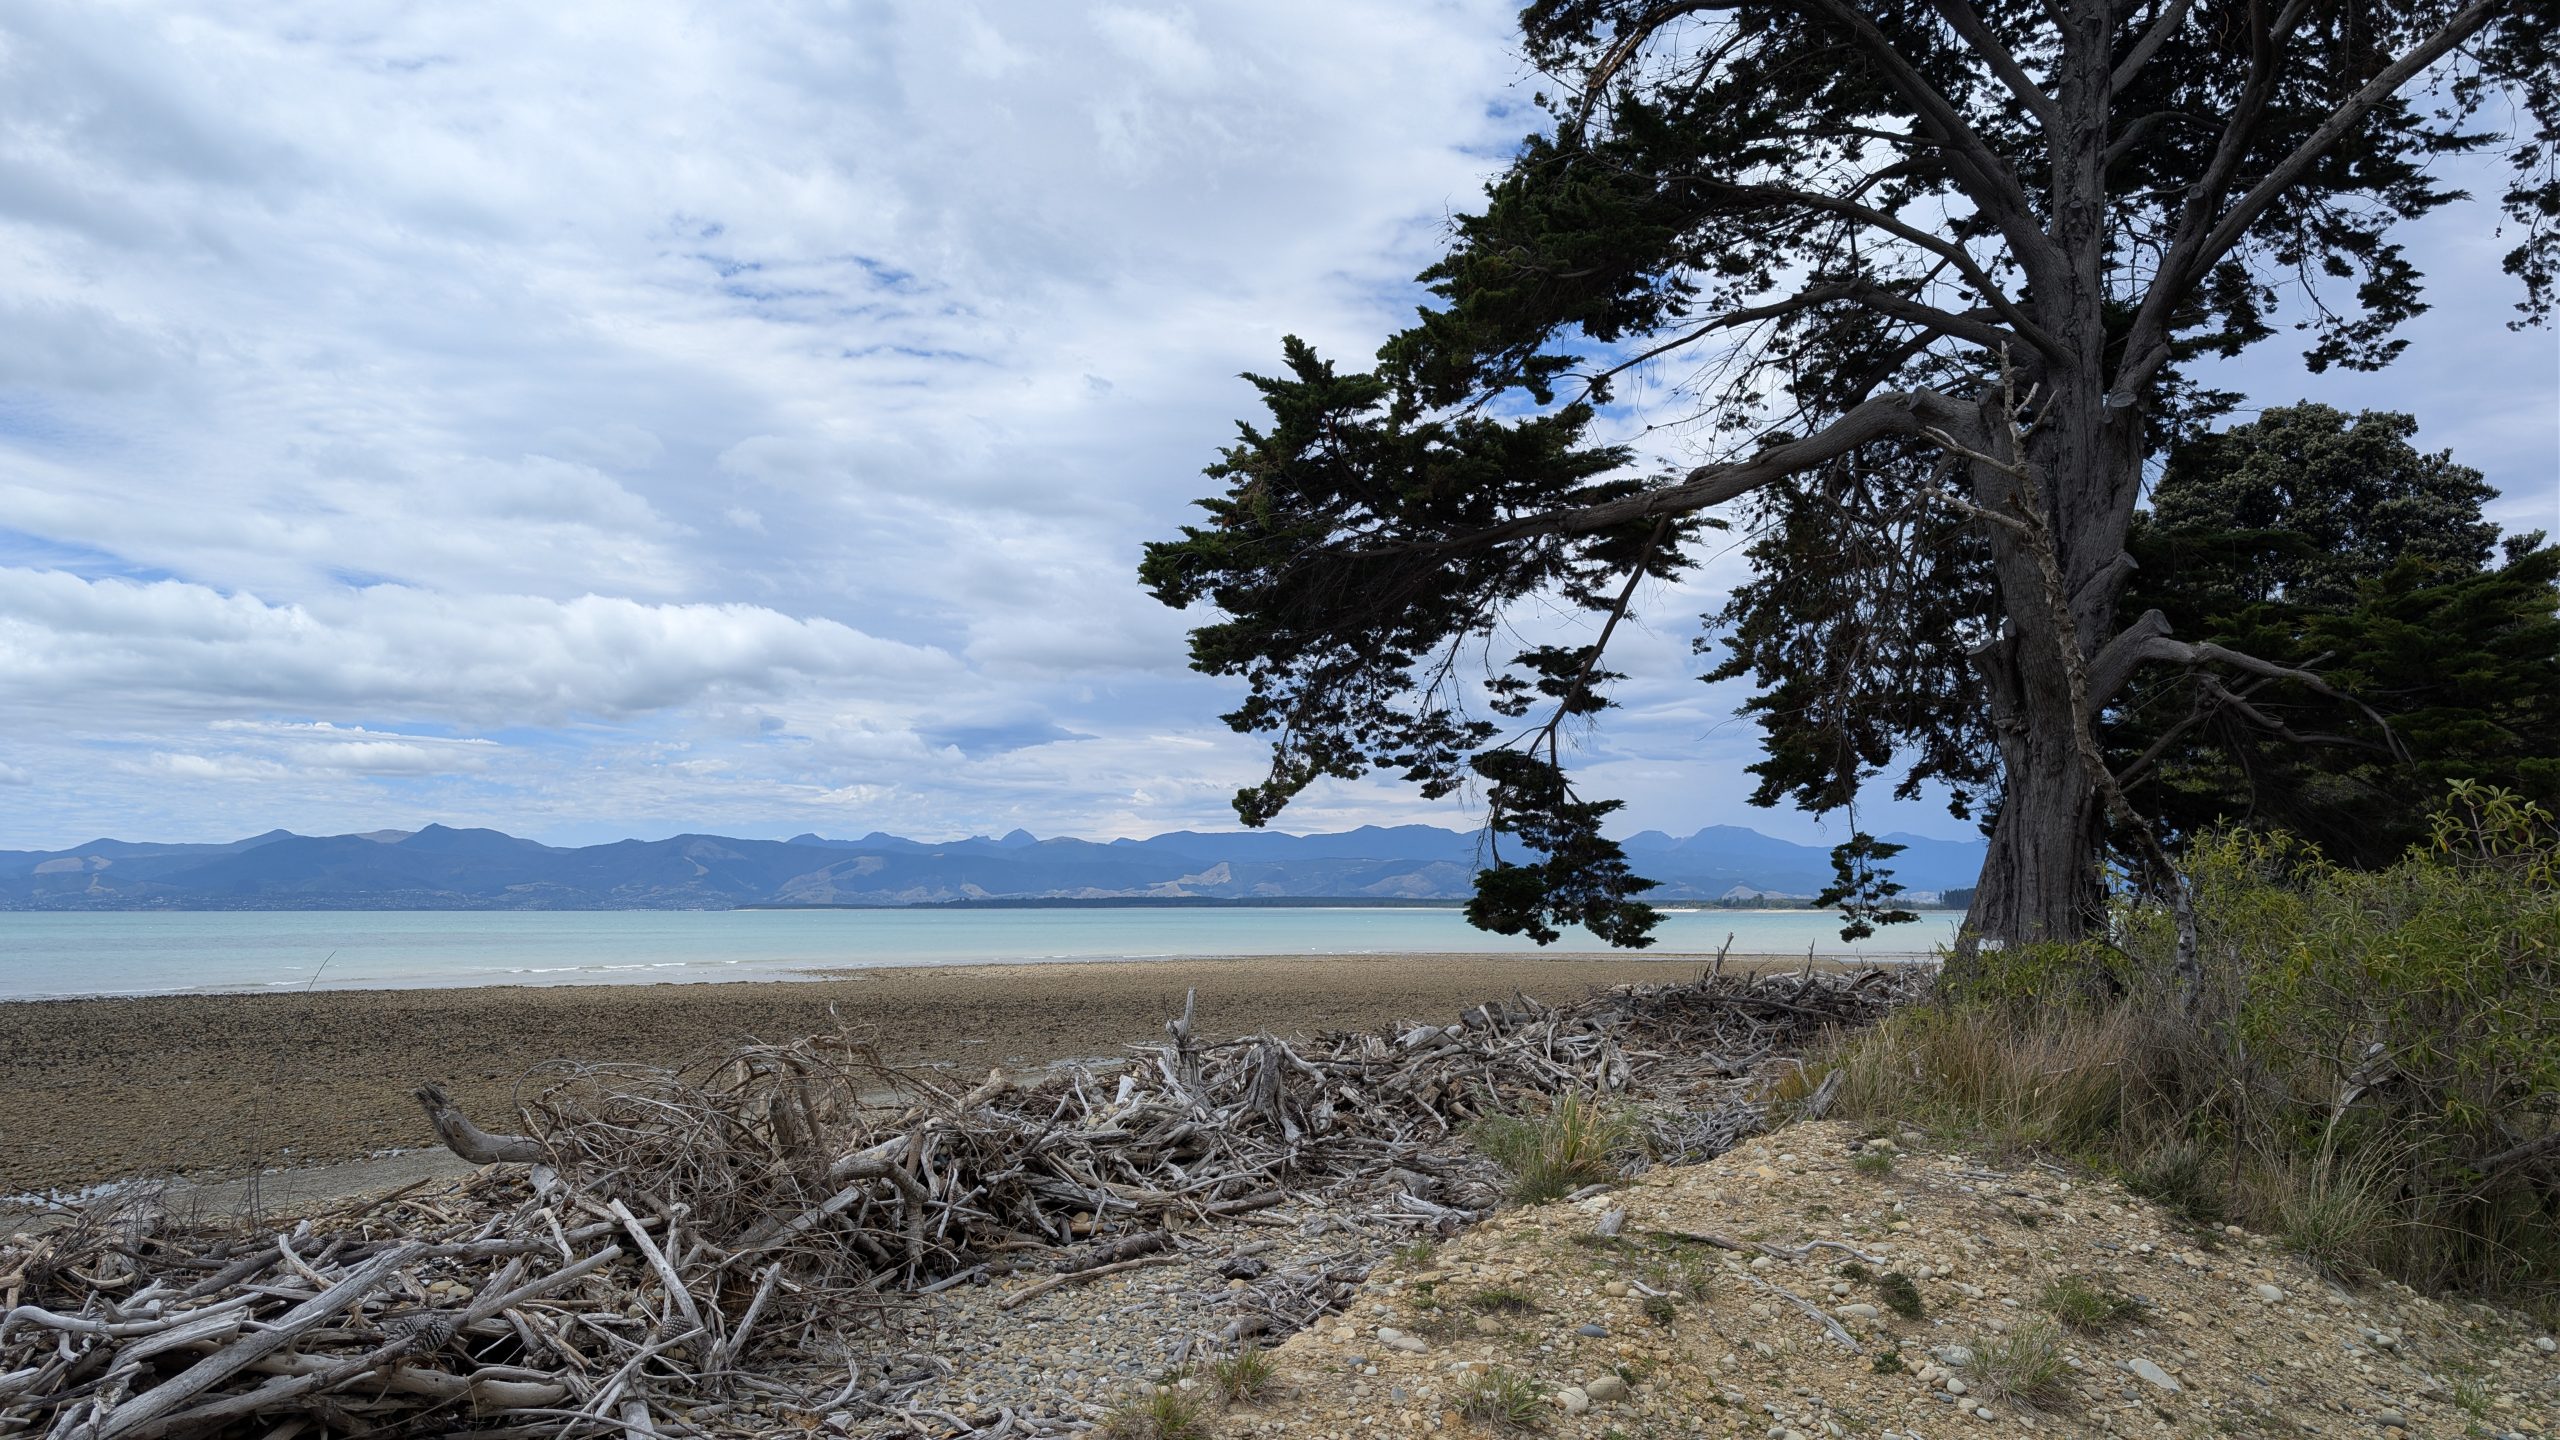
Next we drove up a road that led to a new multi-million dollar housing development being built at the southern end of Kina Beach. We followed a short trail along a cliff top with views of the Tasman Bay. The trail ended with a steep descent down to the beach. Conditions were the same as earlier with lots of rocks and no sand.
View from the bottom of the cliffView looking south
Next we stopped at the McKee Memorial Reserve which contained a campground and a picnic area. By this time the weather had deteriorated and it was mostly cloudy, so we decided to head back to the house.
The owner stopped by to feed the cats, and we chatted for a bit. She led us to a path that went from her back yard to a trail that had… glow worms! This was actually the main reason I had decided stay in Ruby Bay: on the Internet it was listed as a place to spot glow worms. I had no idea we would be staying practically right on top of them! We made a note of the trail and terrain so we could return later.
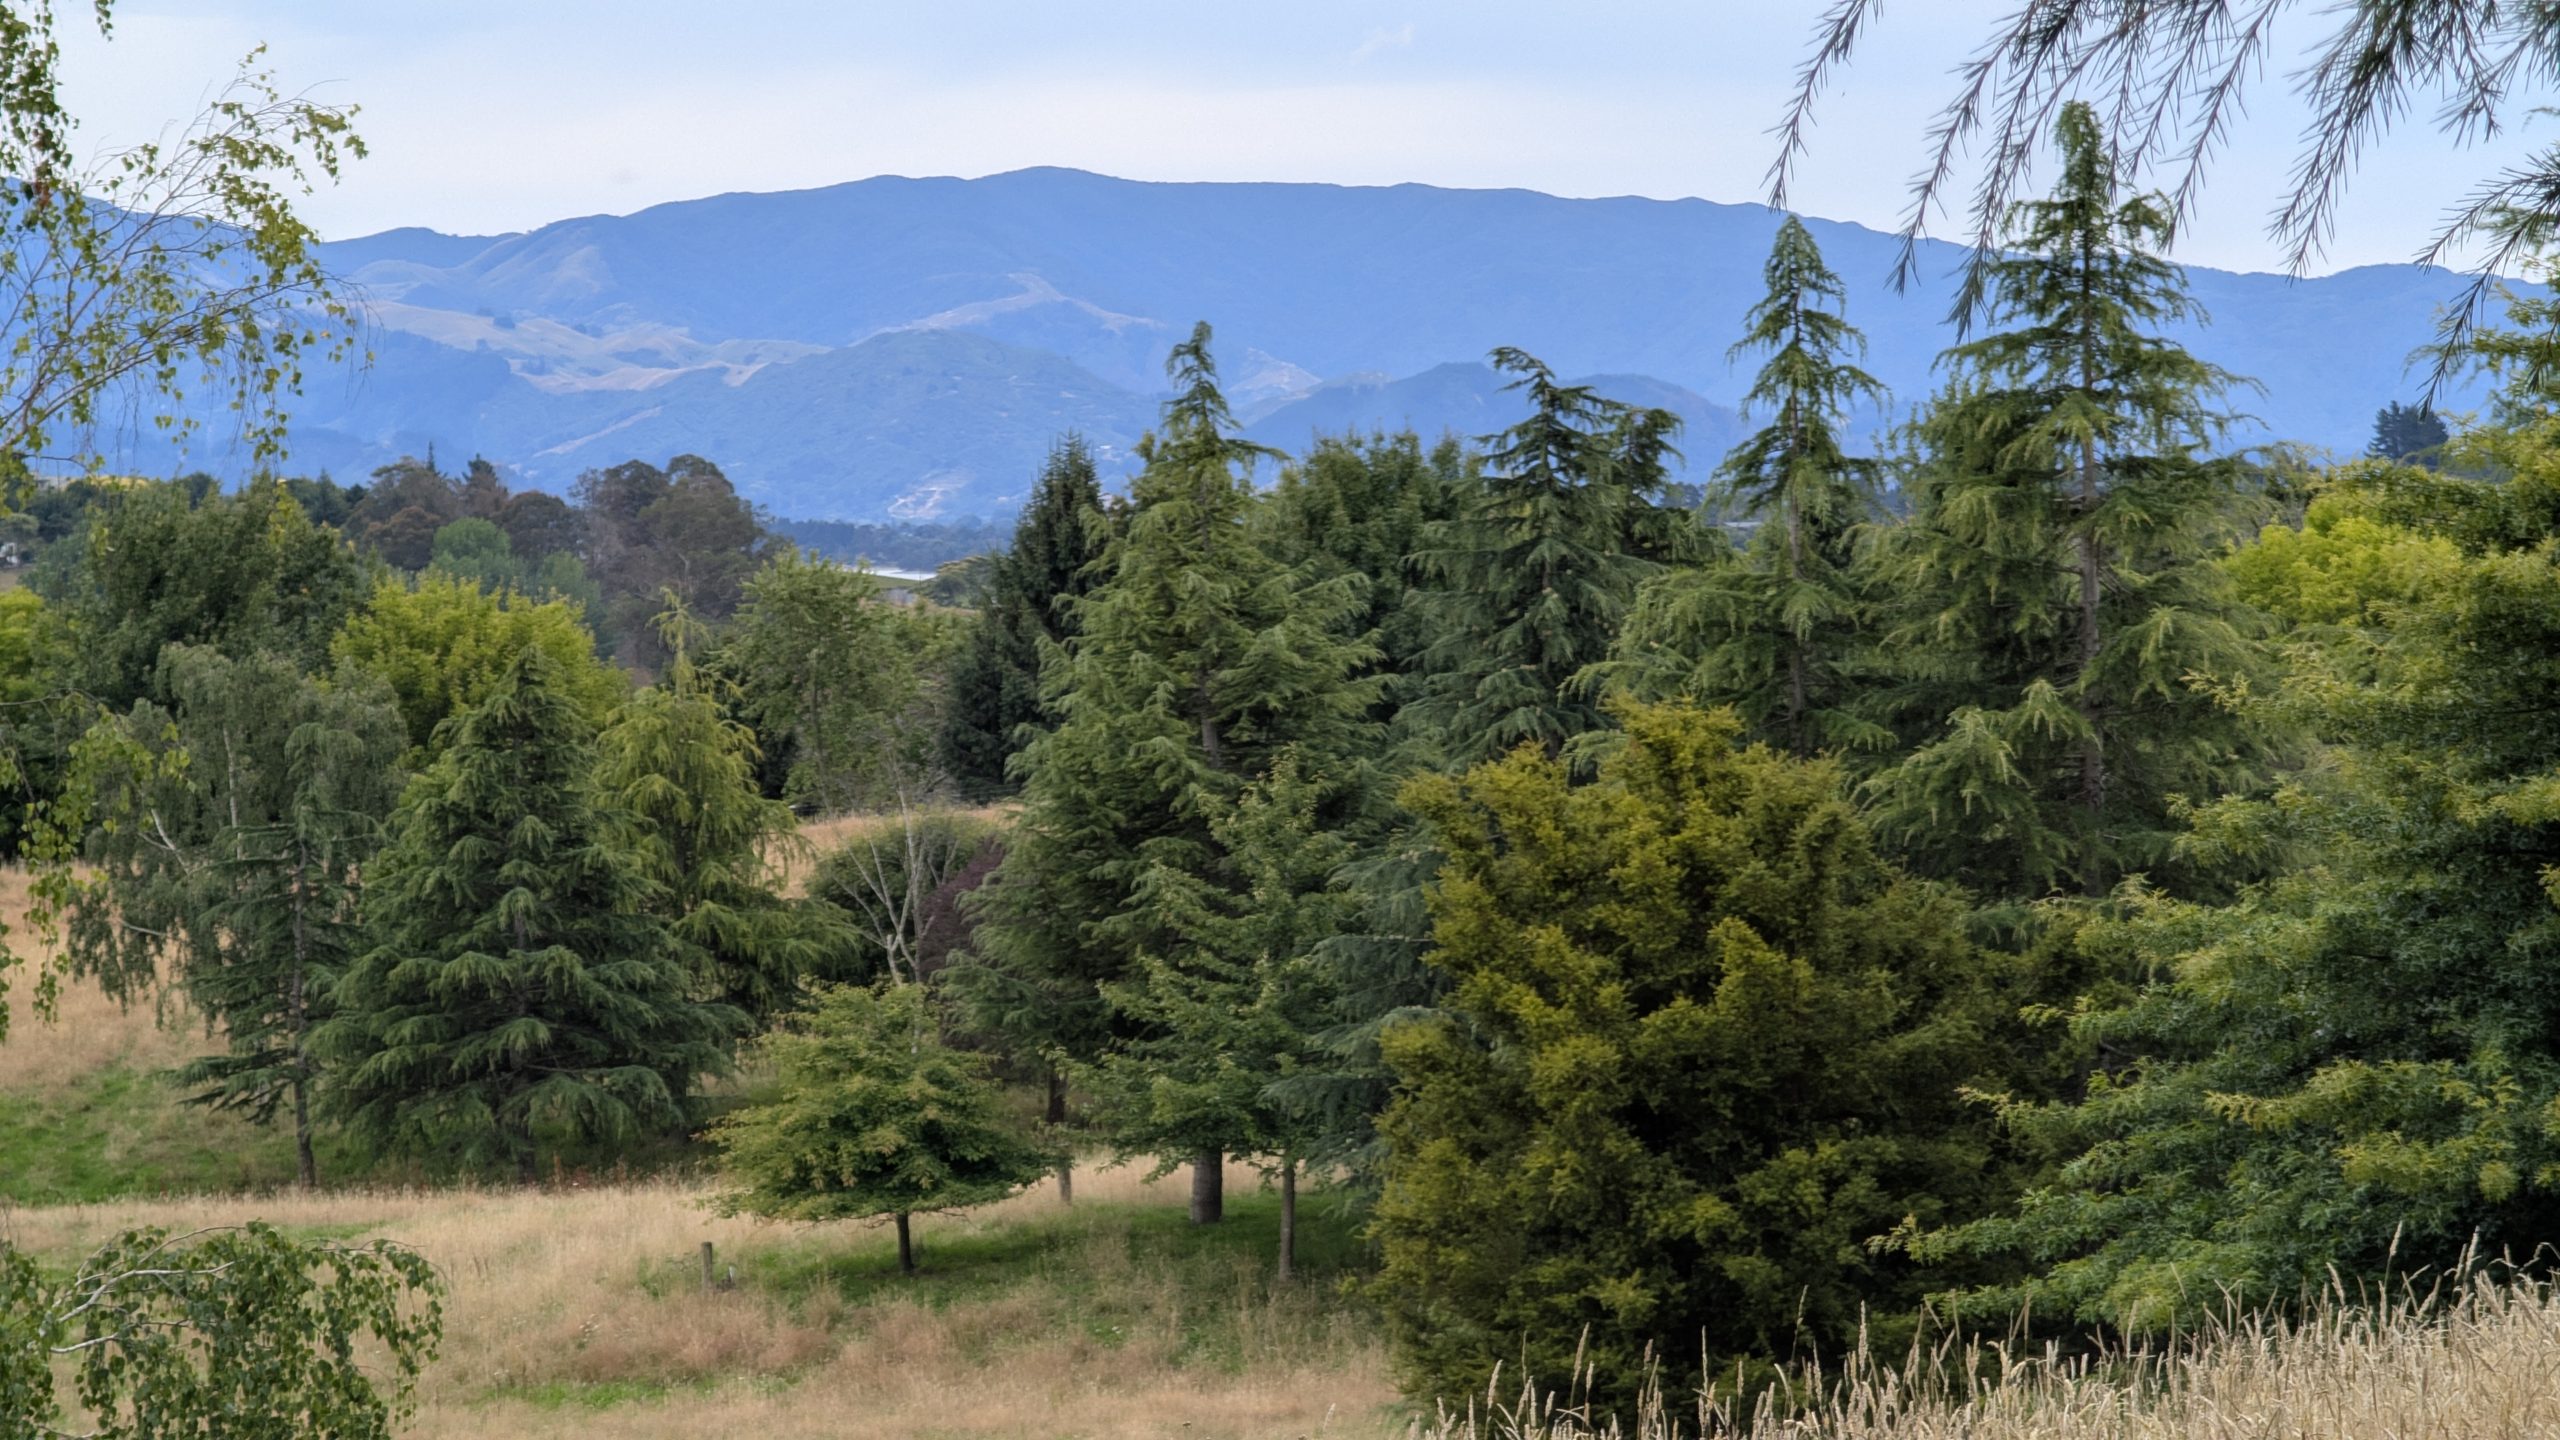
Before sunset I took a walk around the neighborhood on the Pinehill West Walkway which had some nice views of the surrounding countryside.
Pinehill West Walkway viewPinehill West Walkway view at the summit
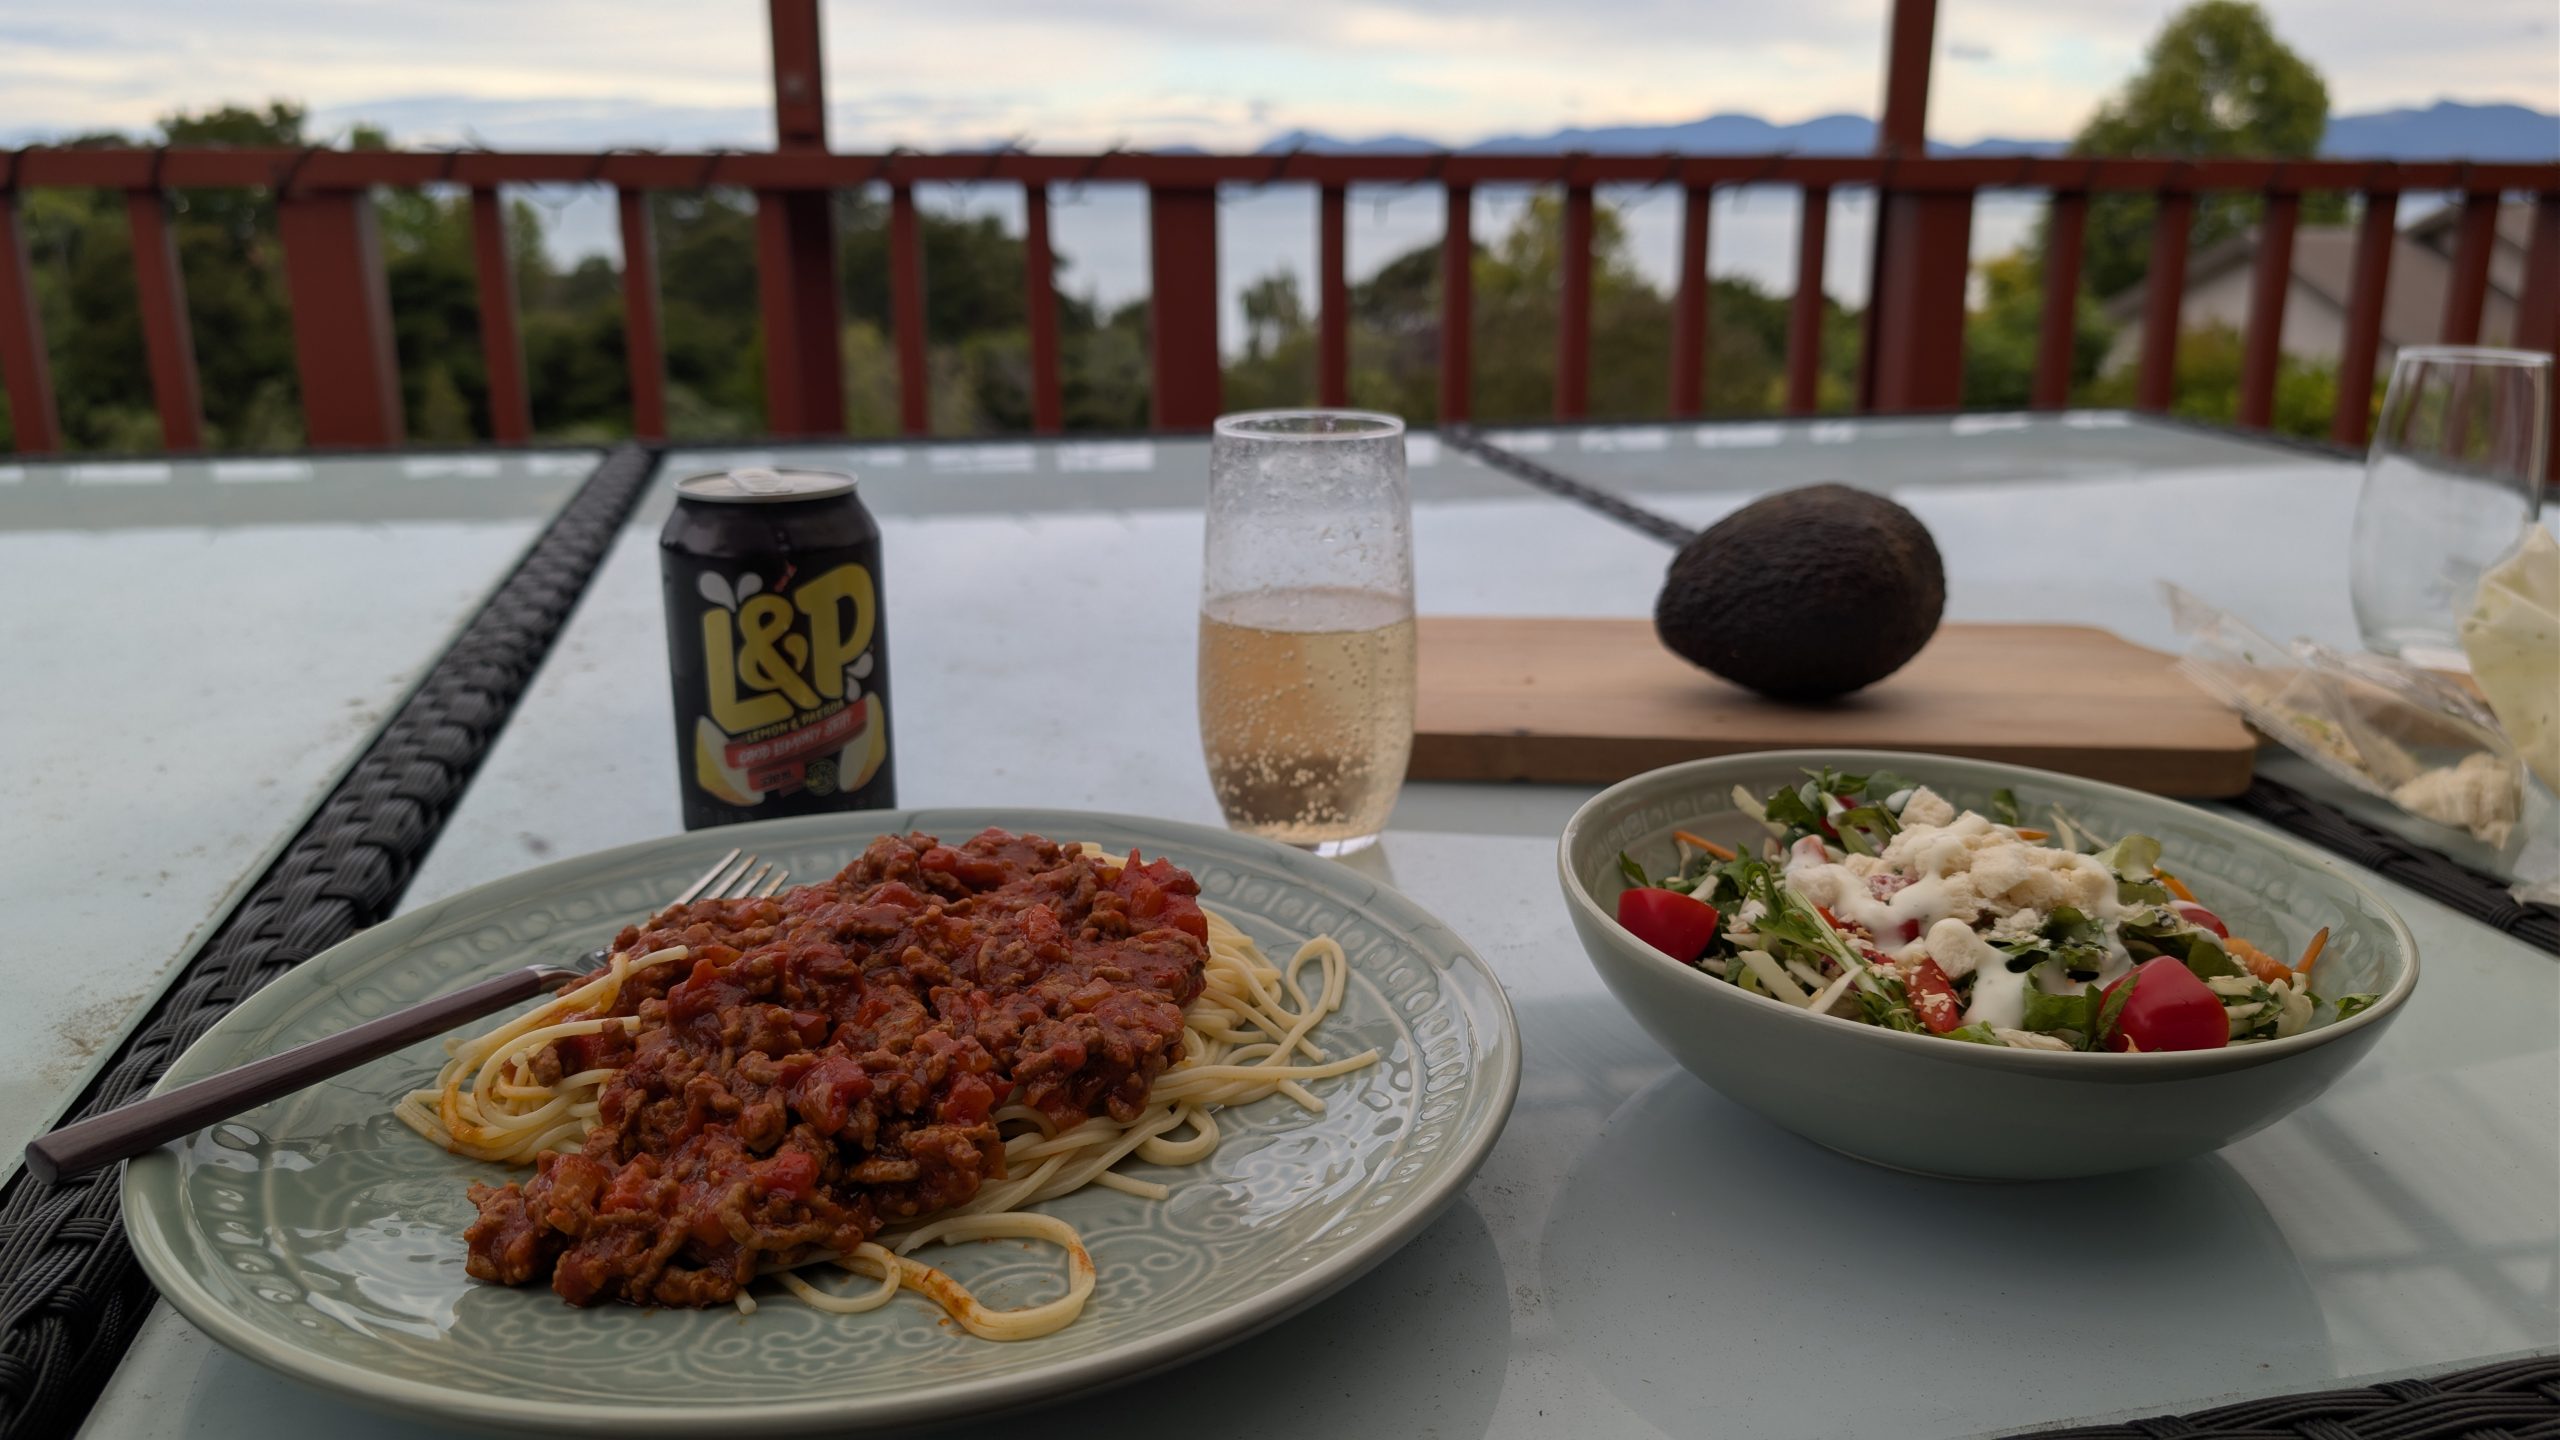
Back at the house we had spaghetti and salad for dinner.
Dinner on the deck
Later that evening we ventured out to the glow worm trail with our flashlights, and sure enough, only about a hundred feet down the trail we could see their lights. In terms of all of the other places in New Zealand that we had seen glow worms so far, this ranked at the bottom since there were only a few, but still it was really fun to see them again.
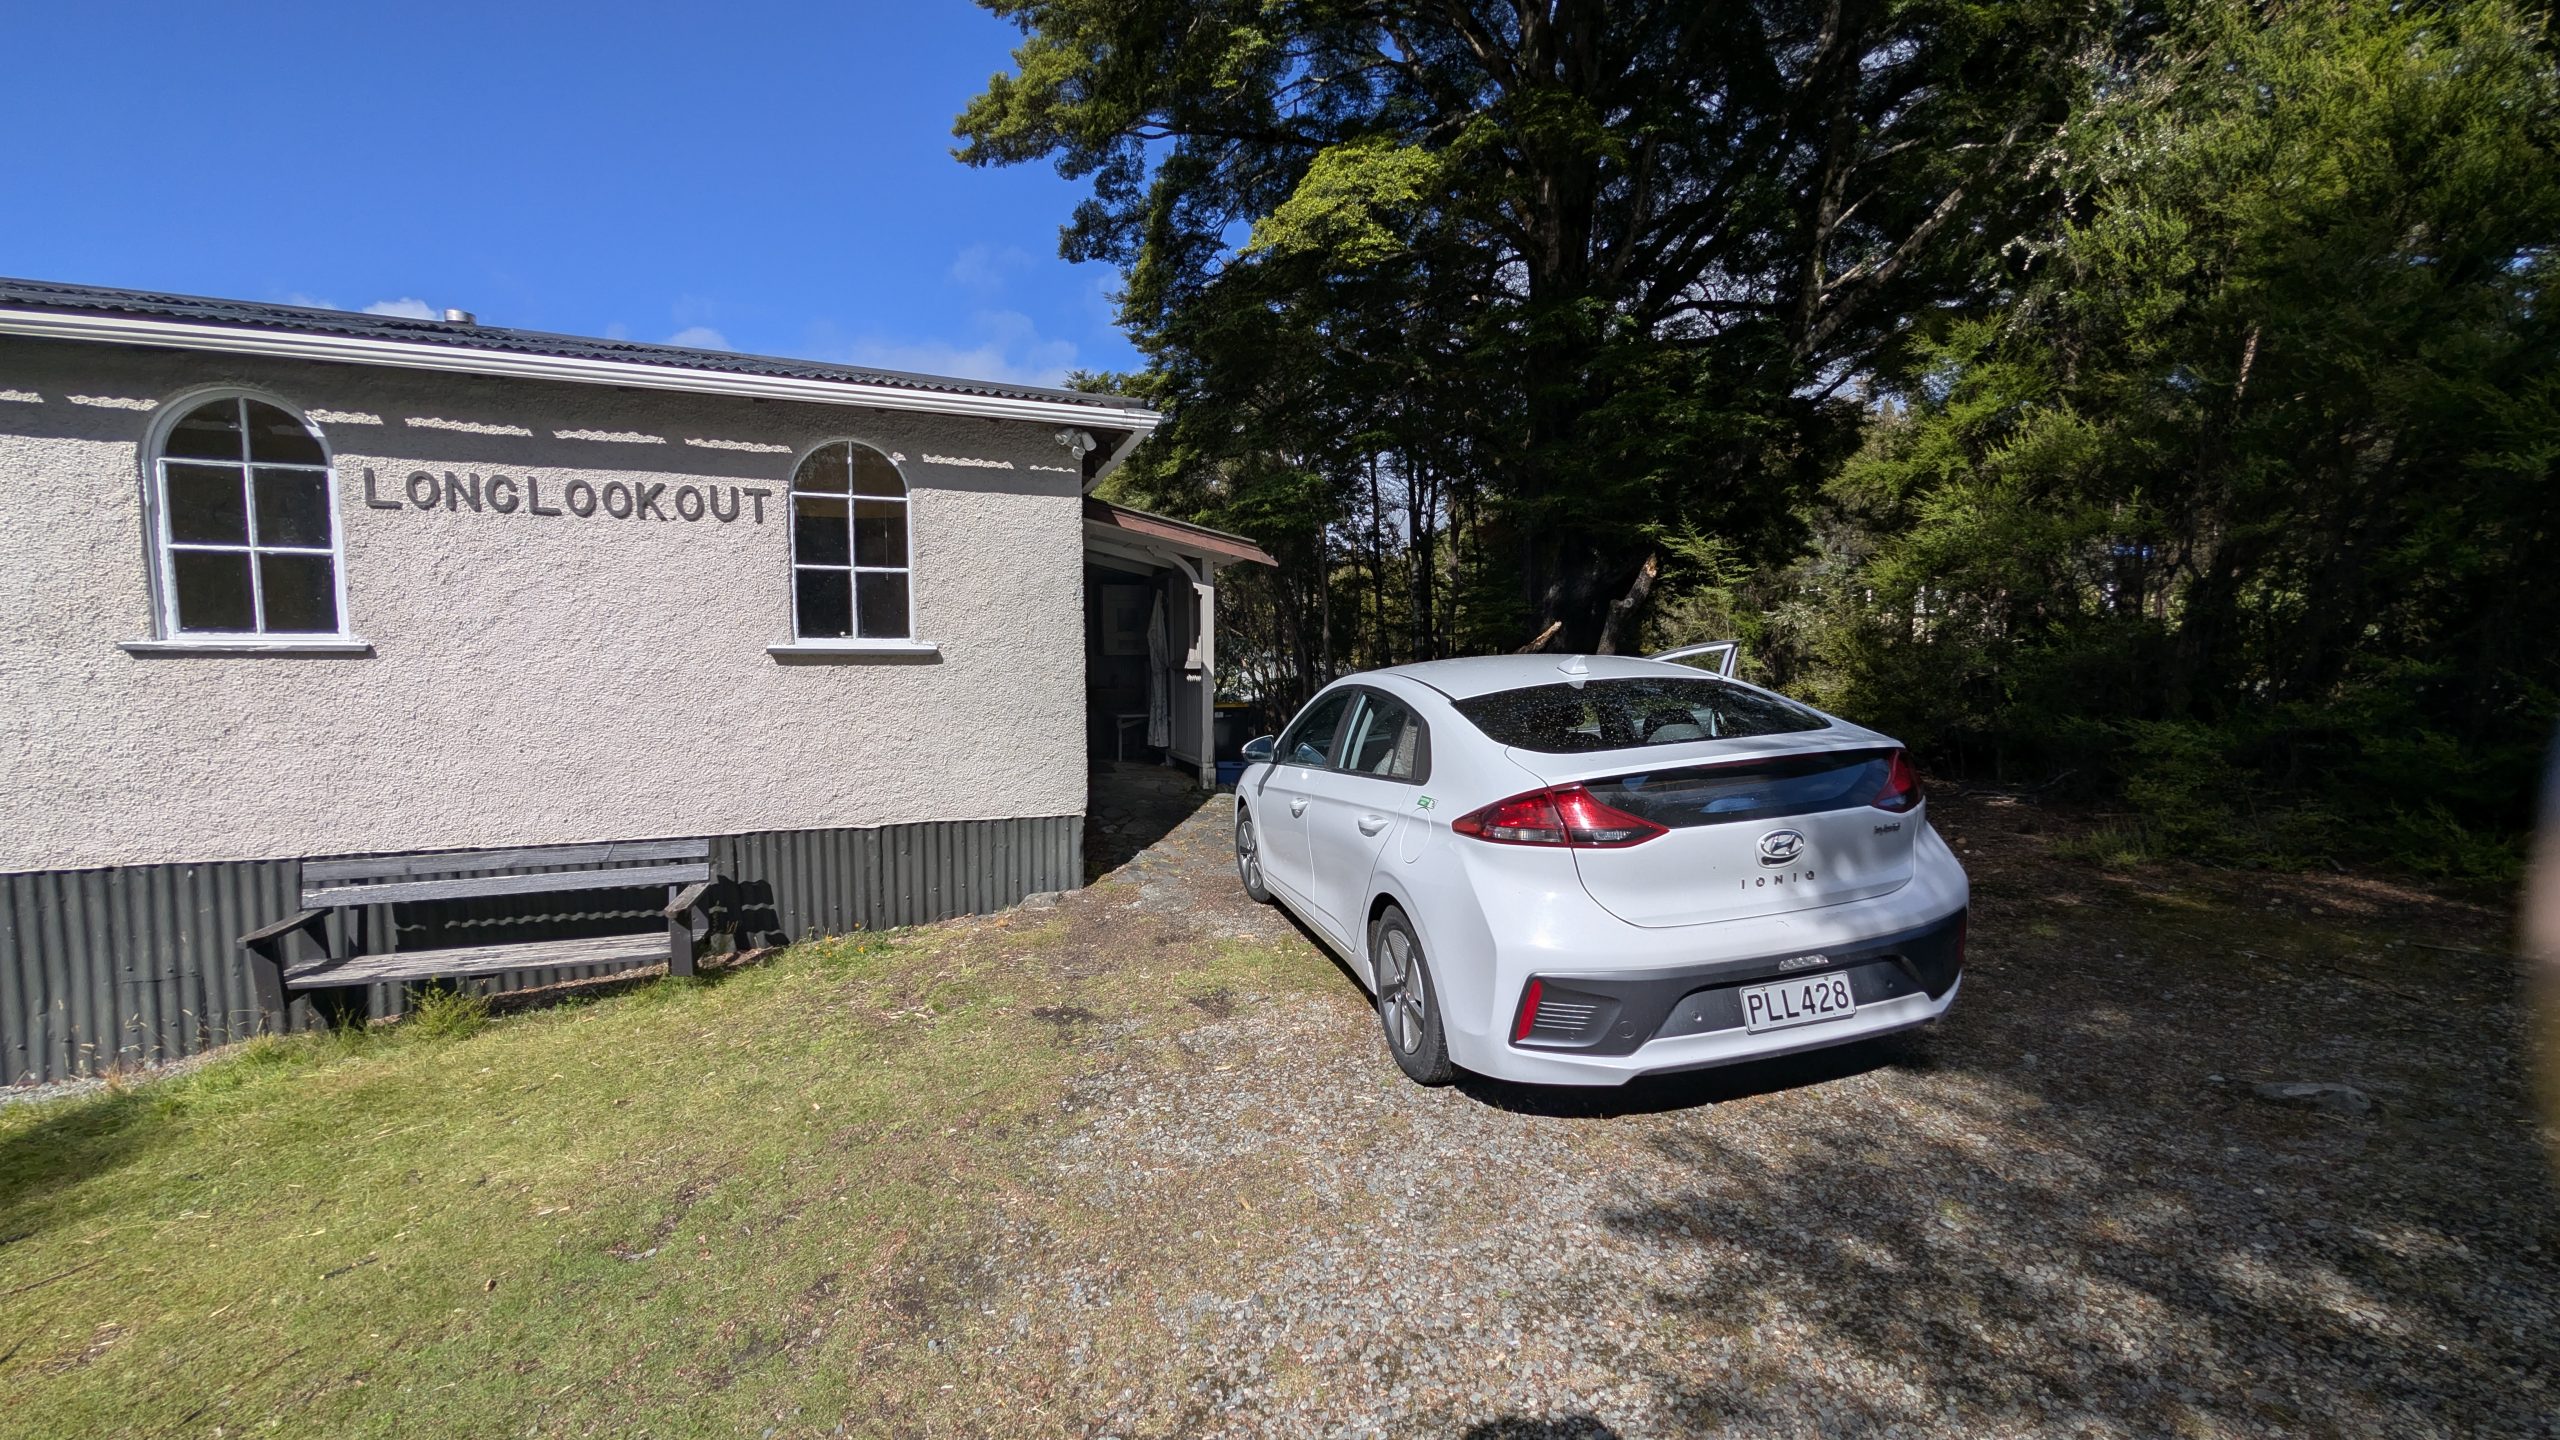
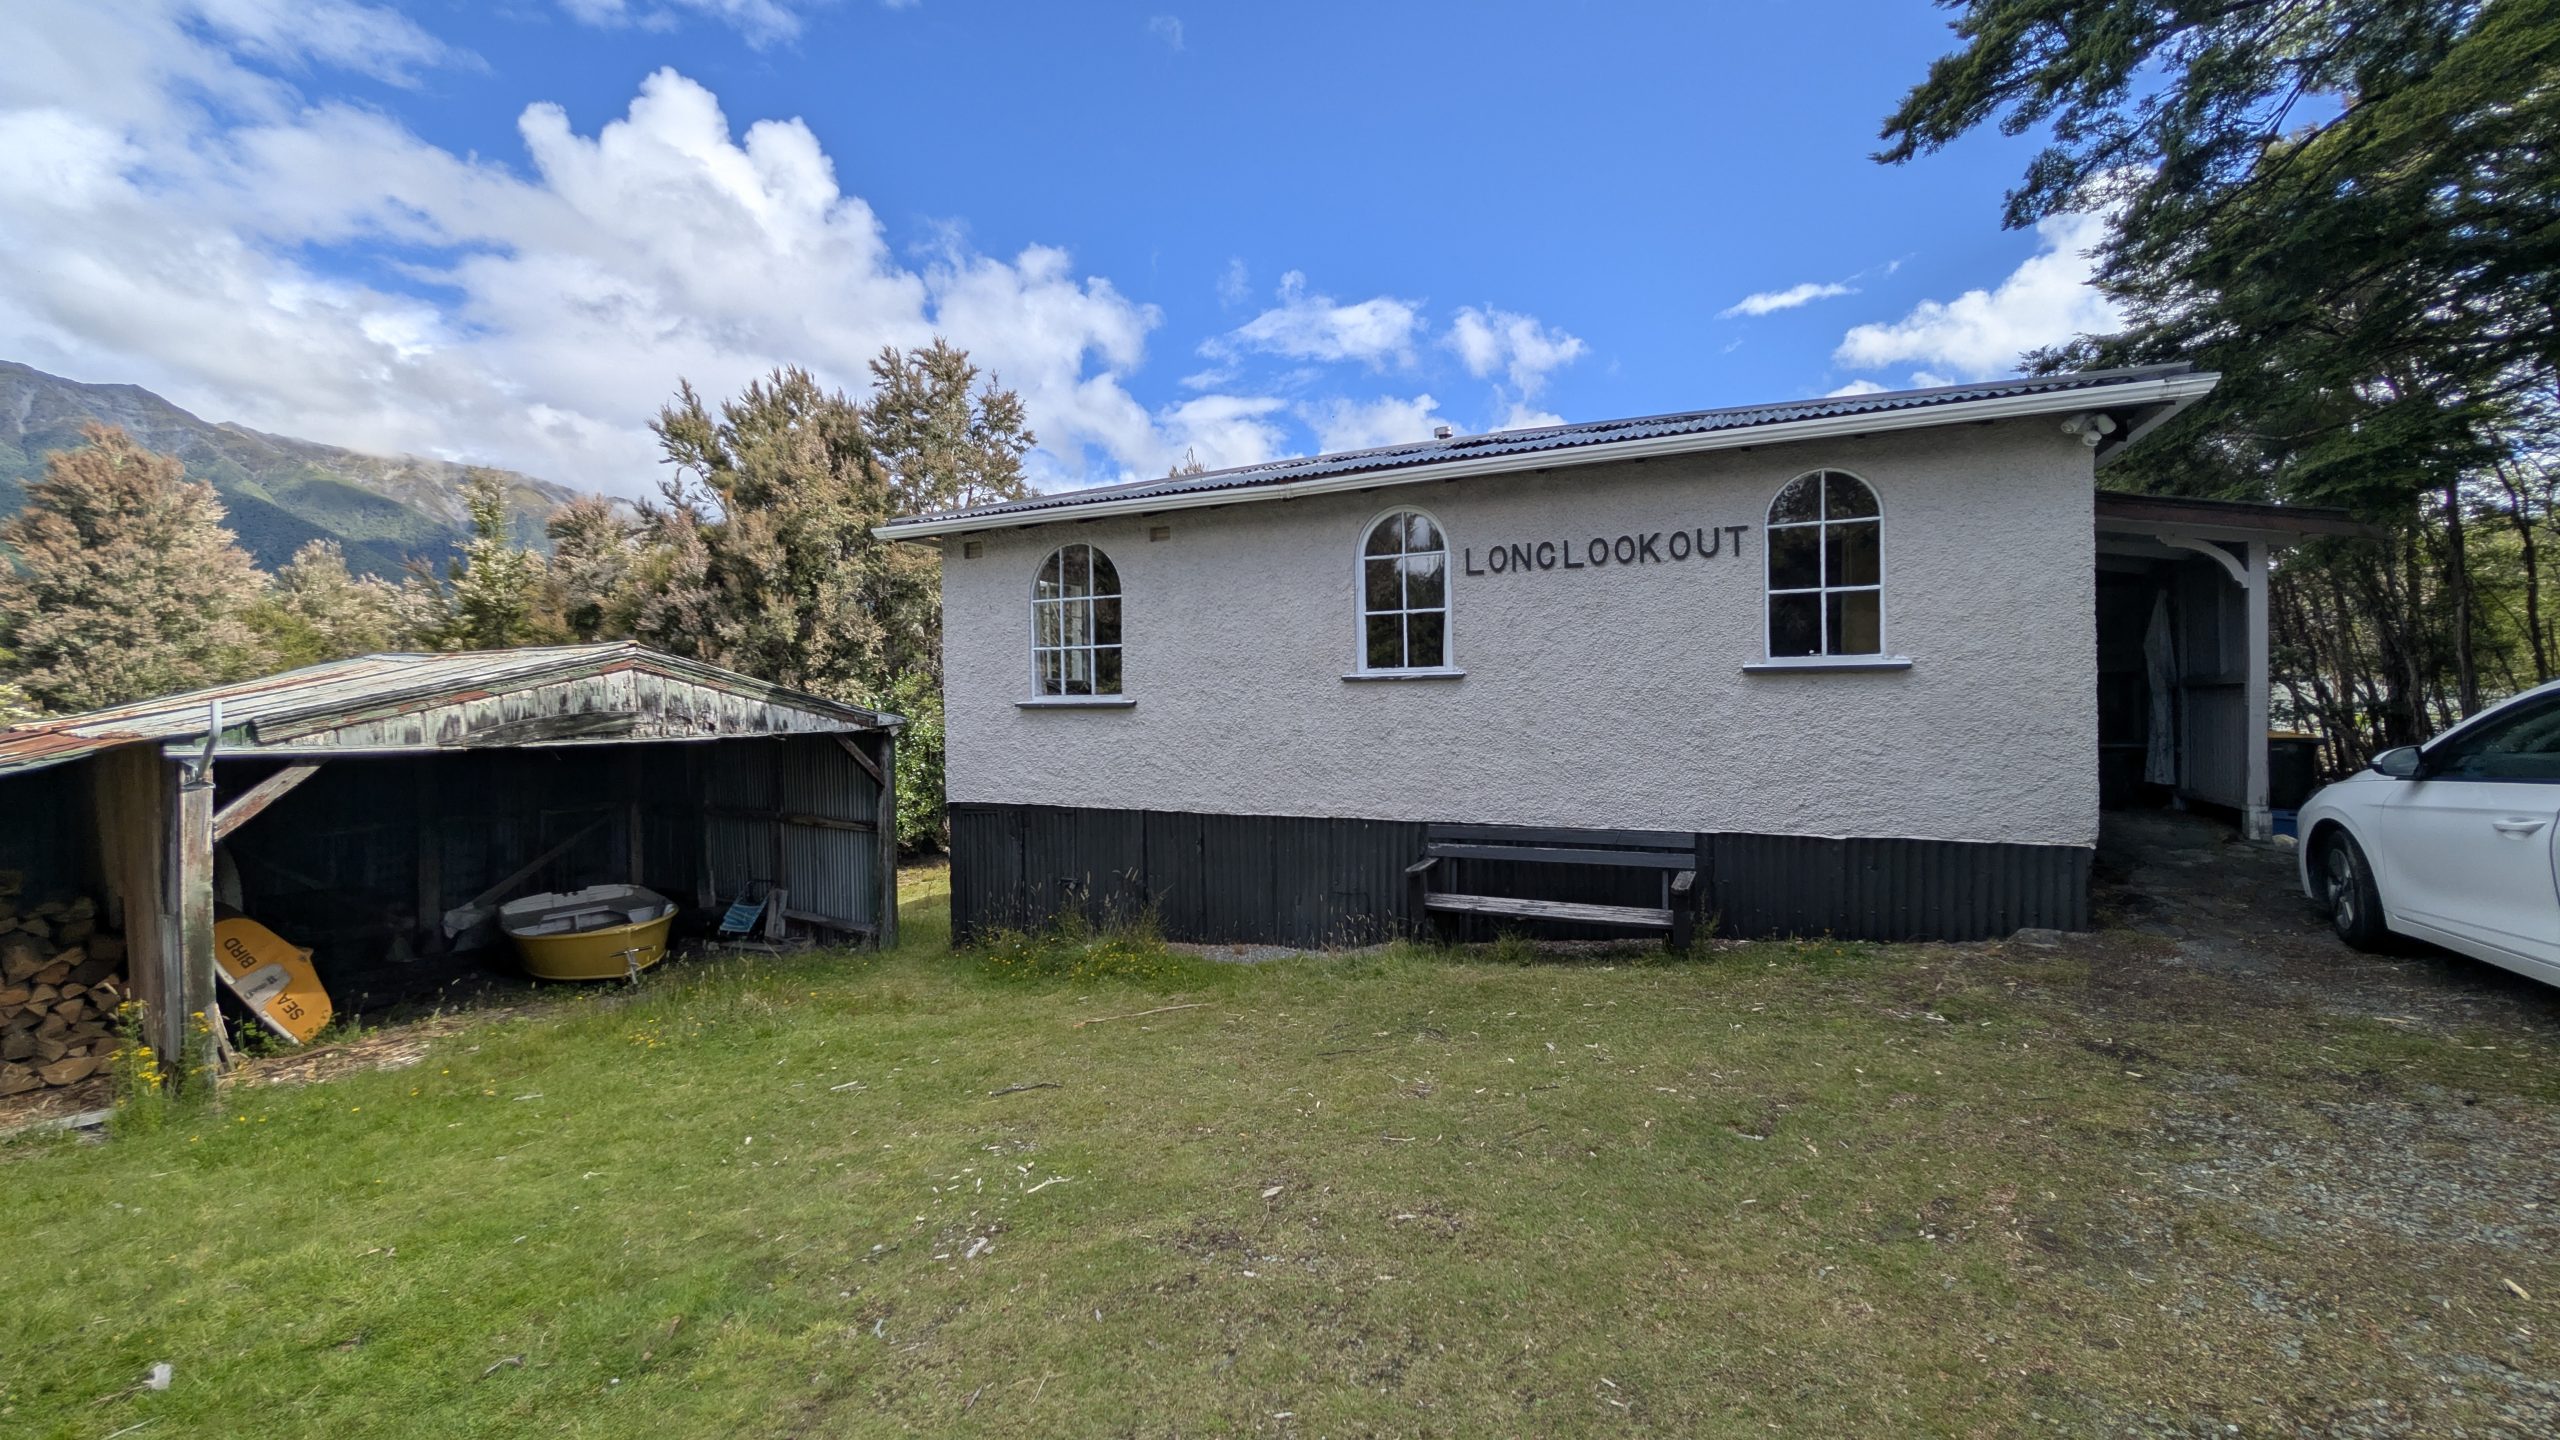
We woke up to fog with the promise of a nice day ahead. Since we were staying in a bach, the New Zealand expectation was that we had to clean the cabin thoroughly before we left. This took about an hour. The fog burned off, and it was sunny by the time we left the cabin.
Long Lookout with blue sky and our rental car
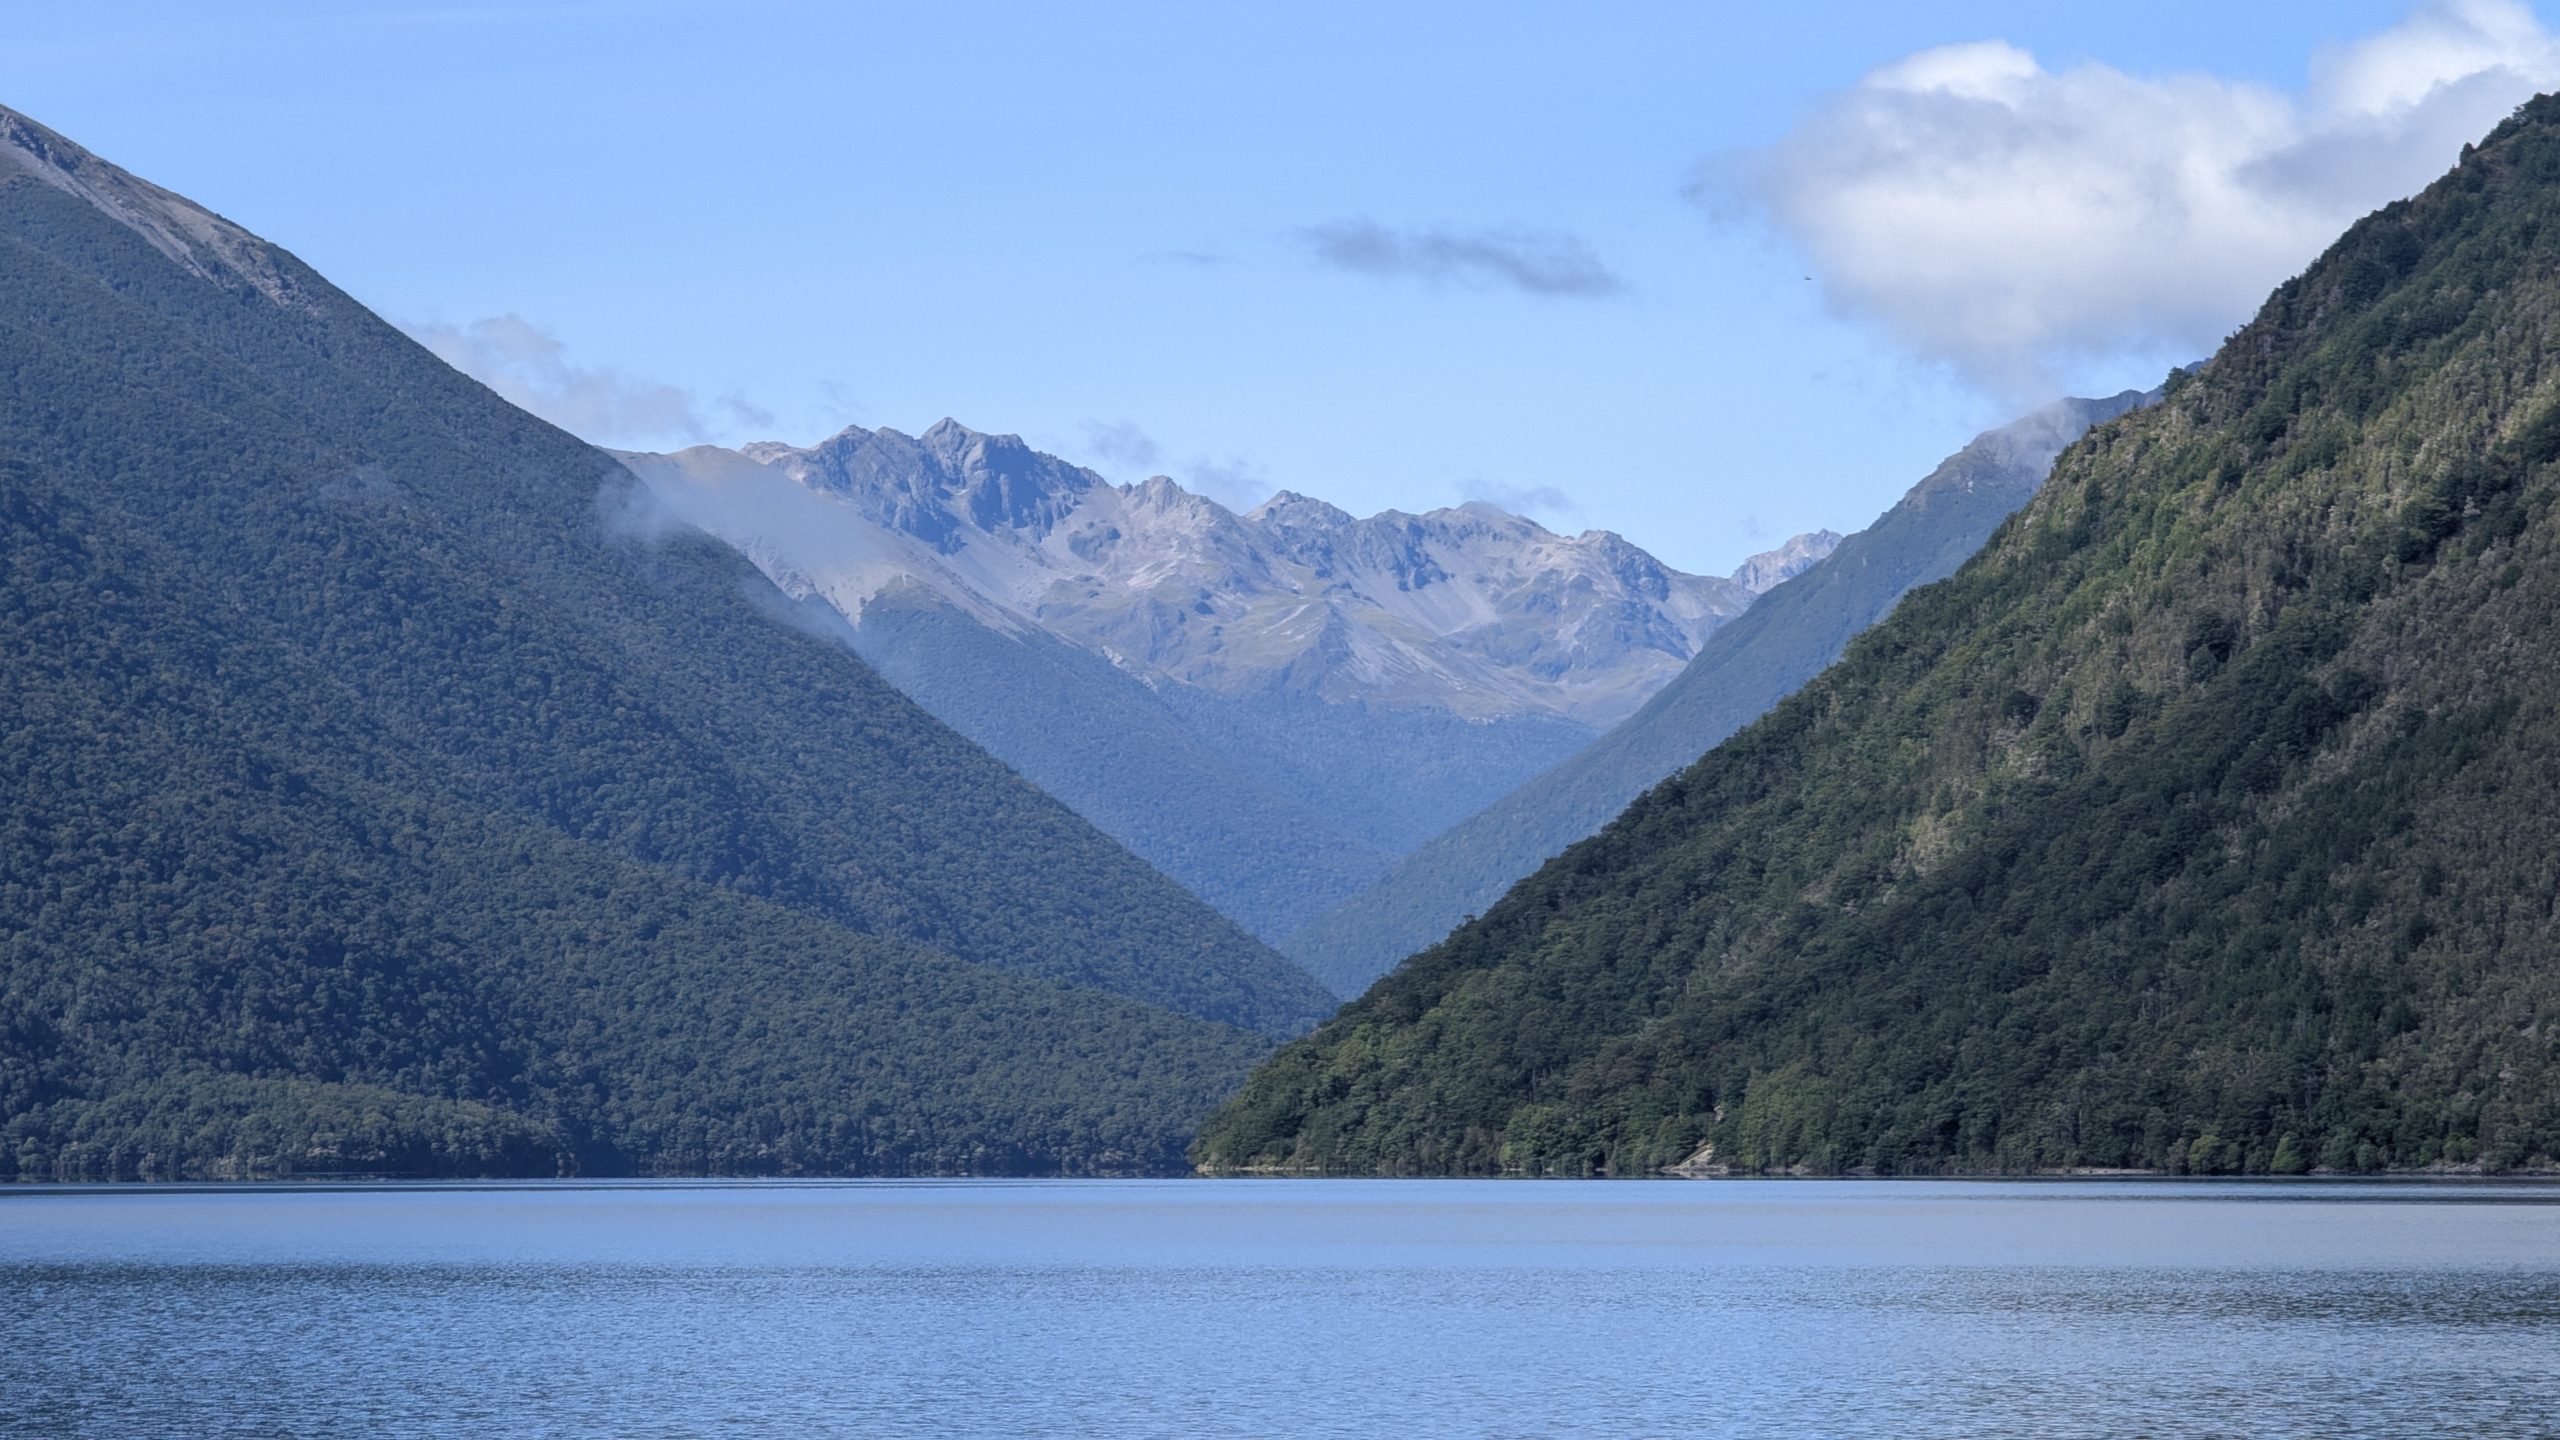
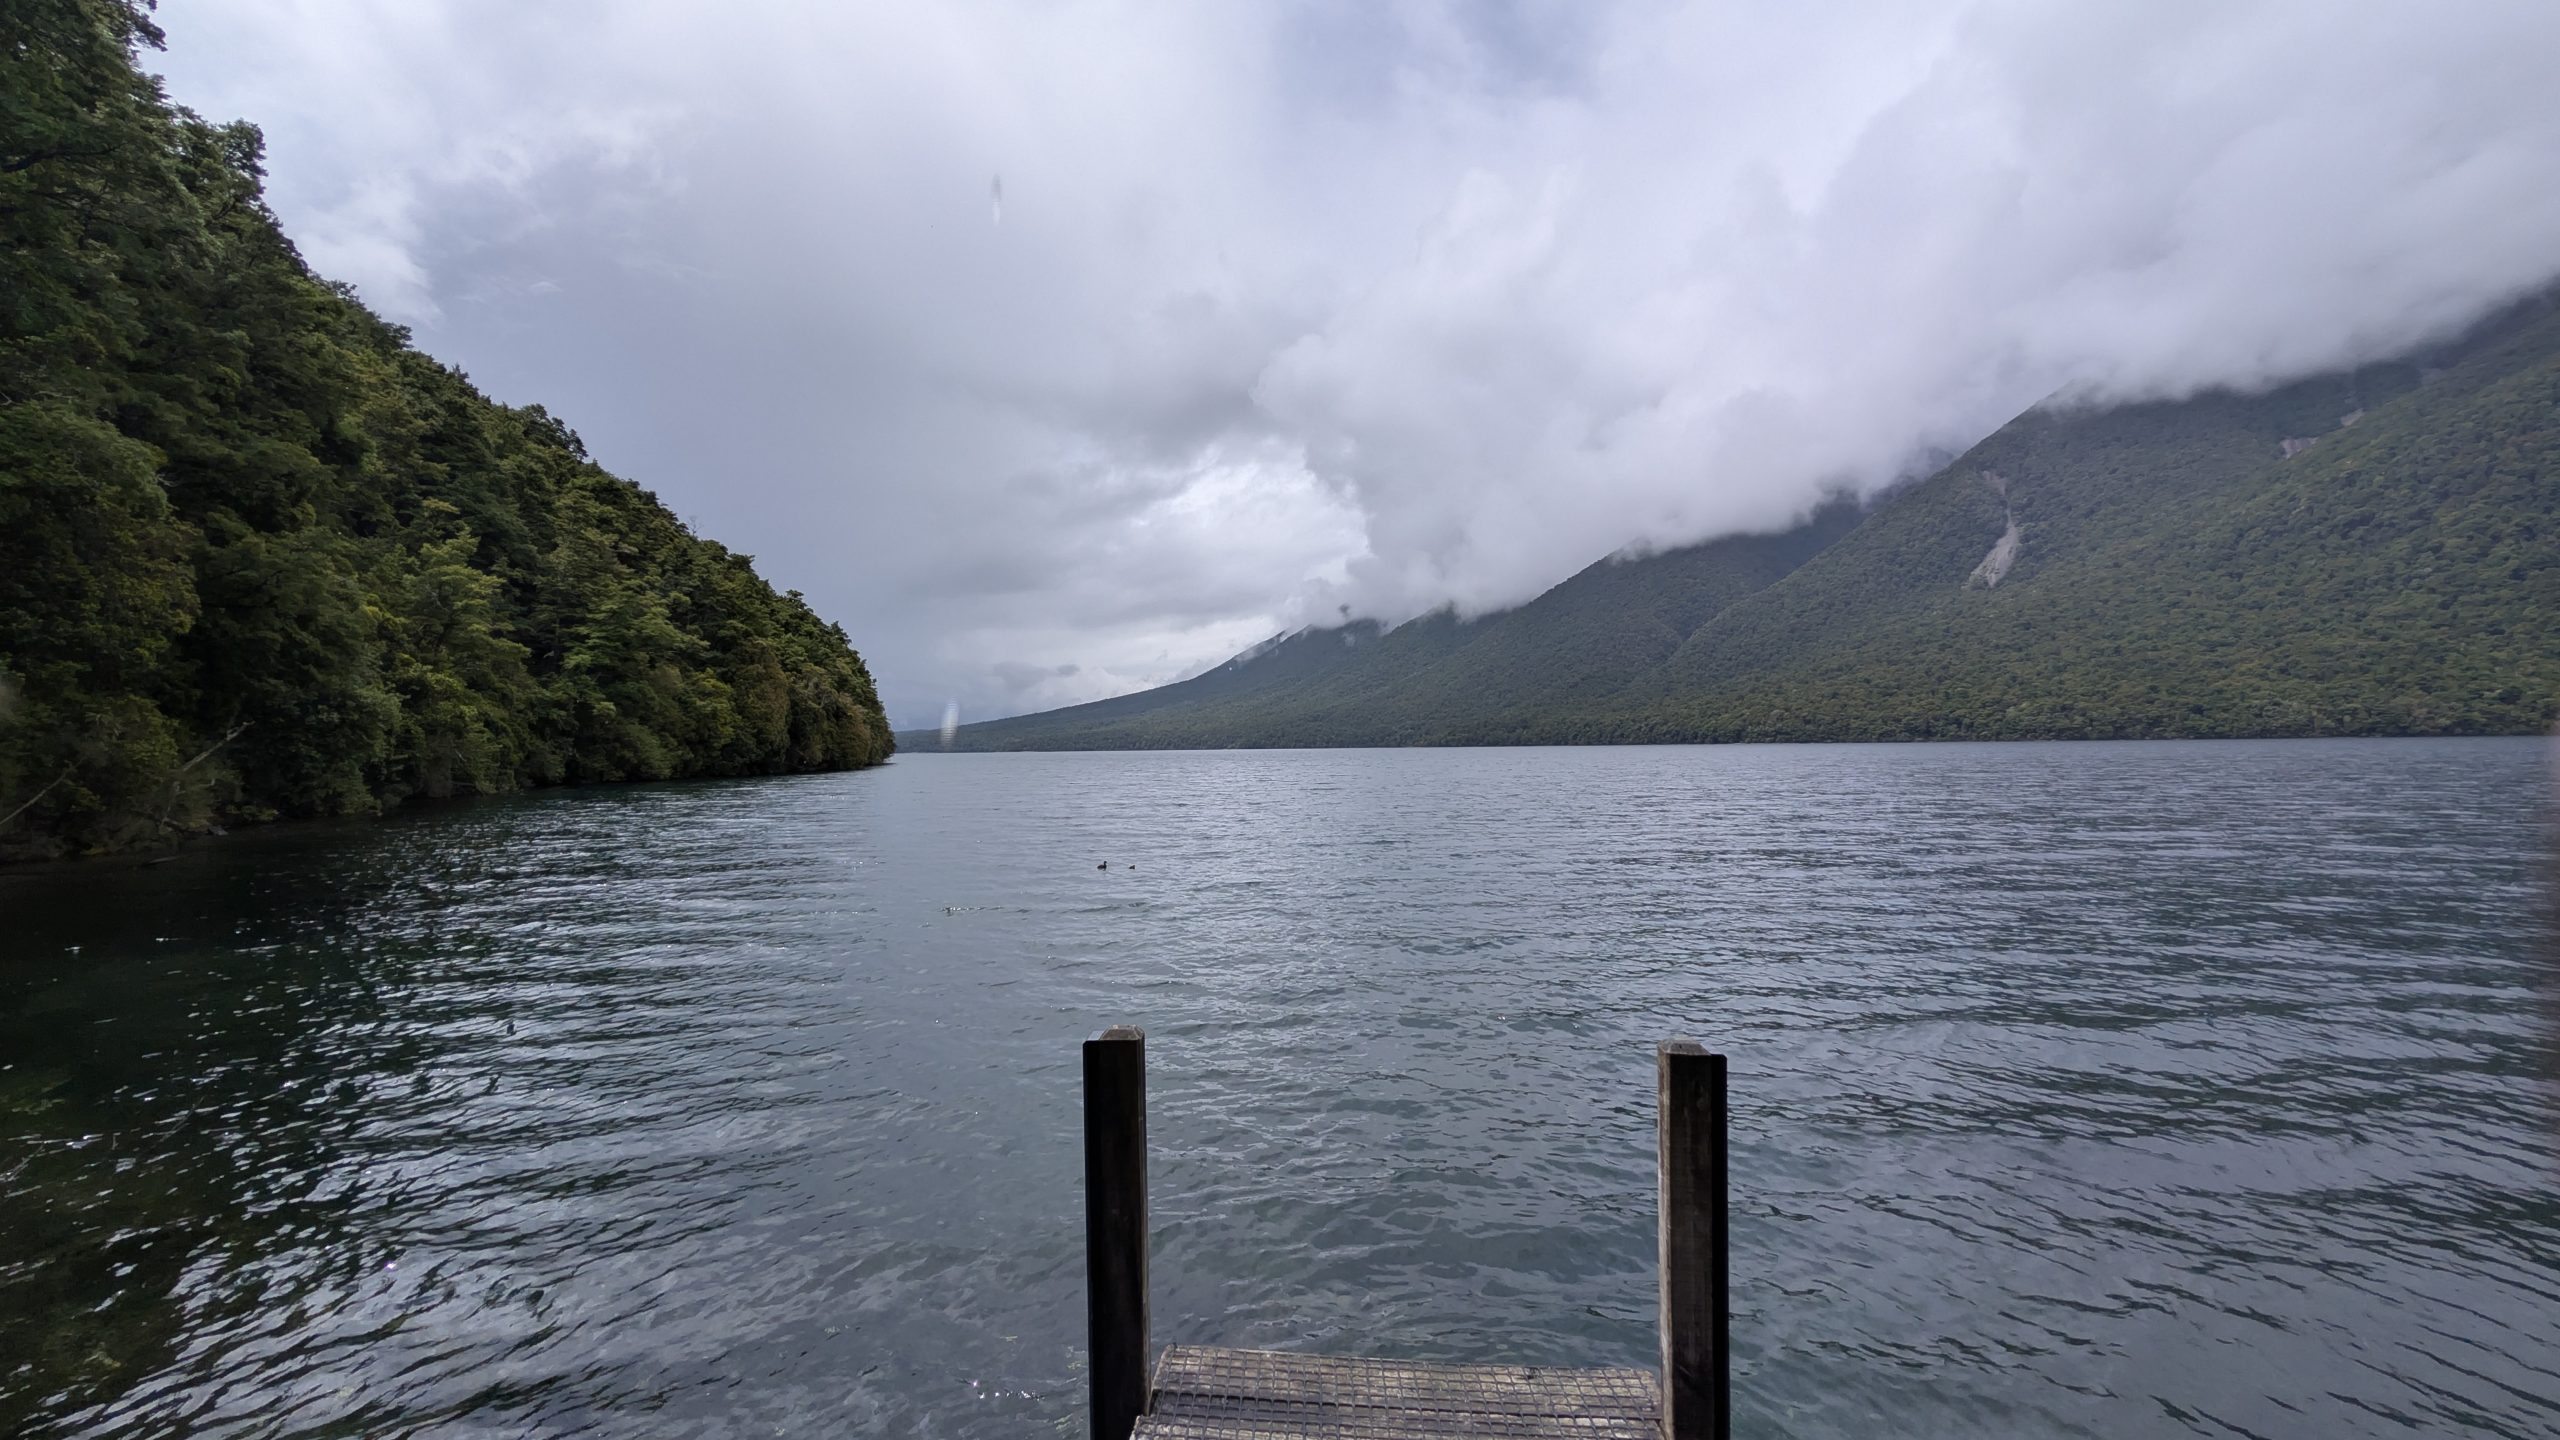
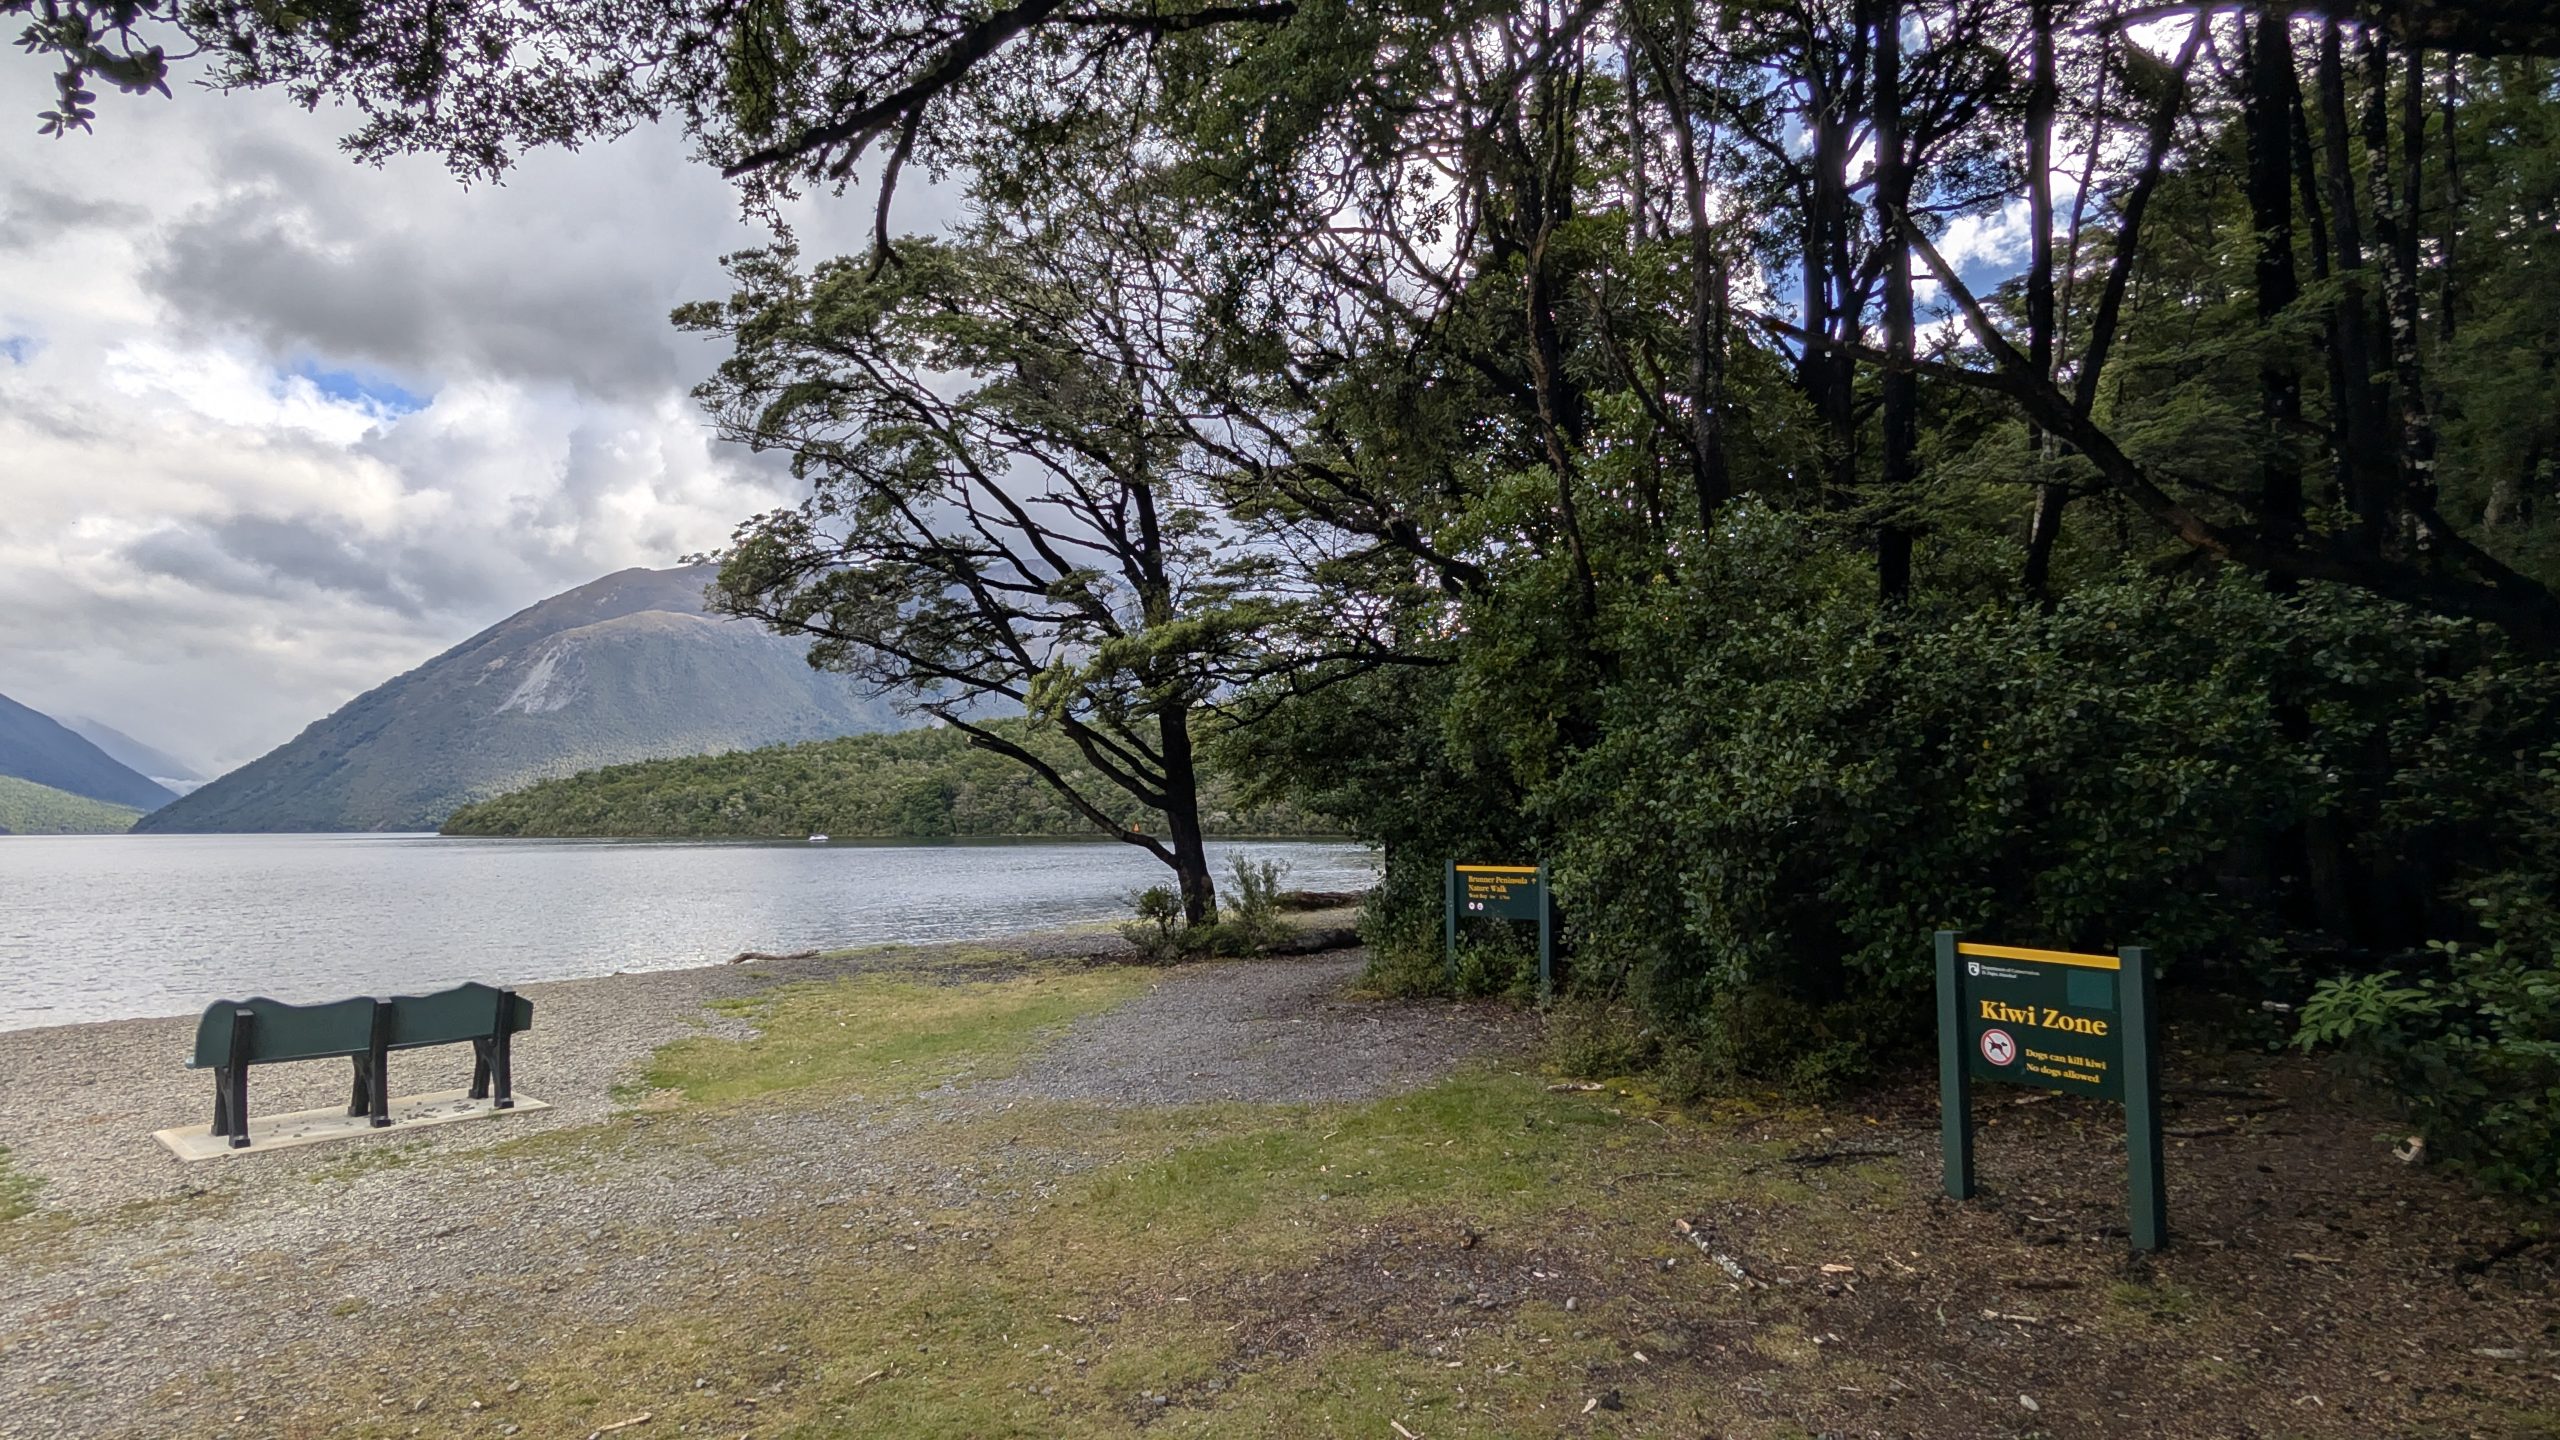
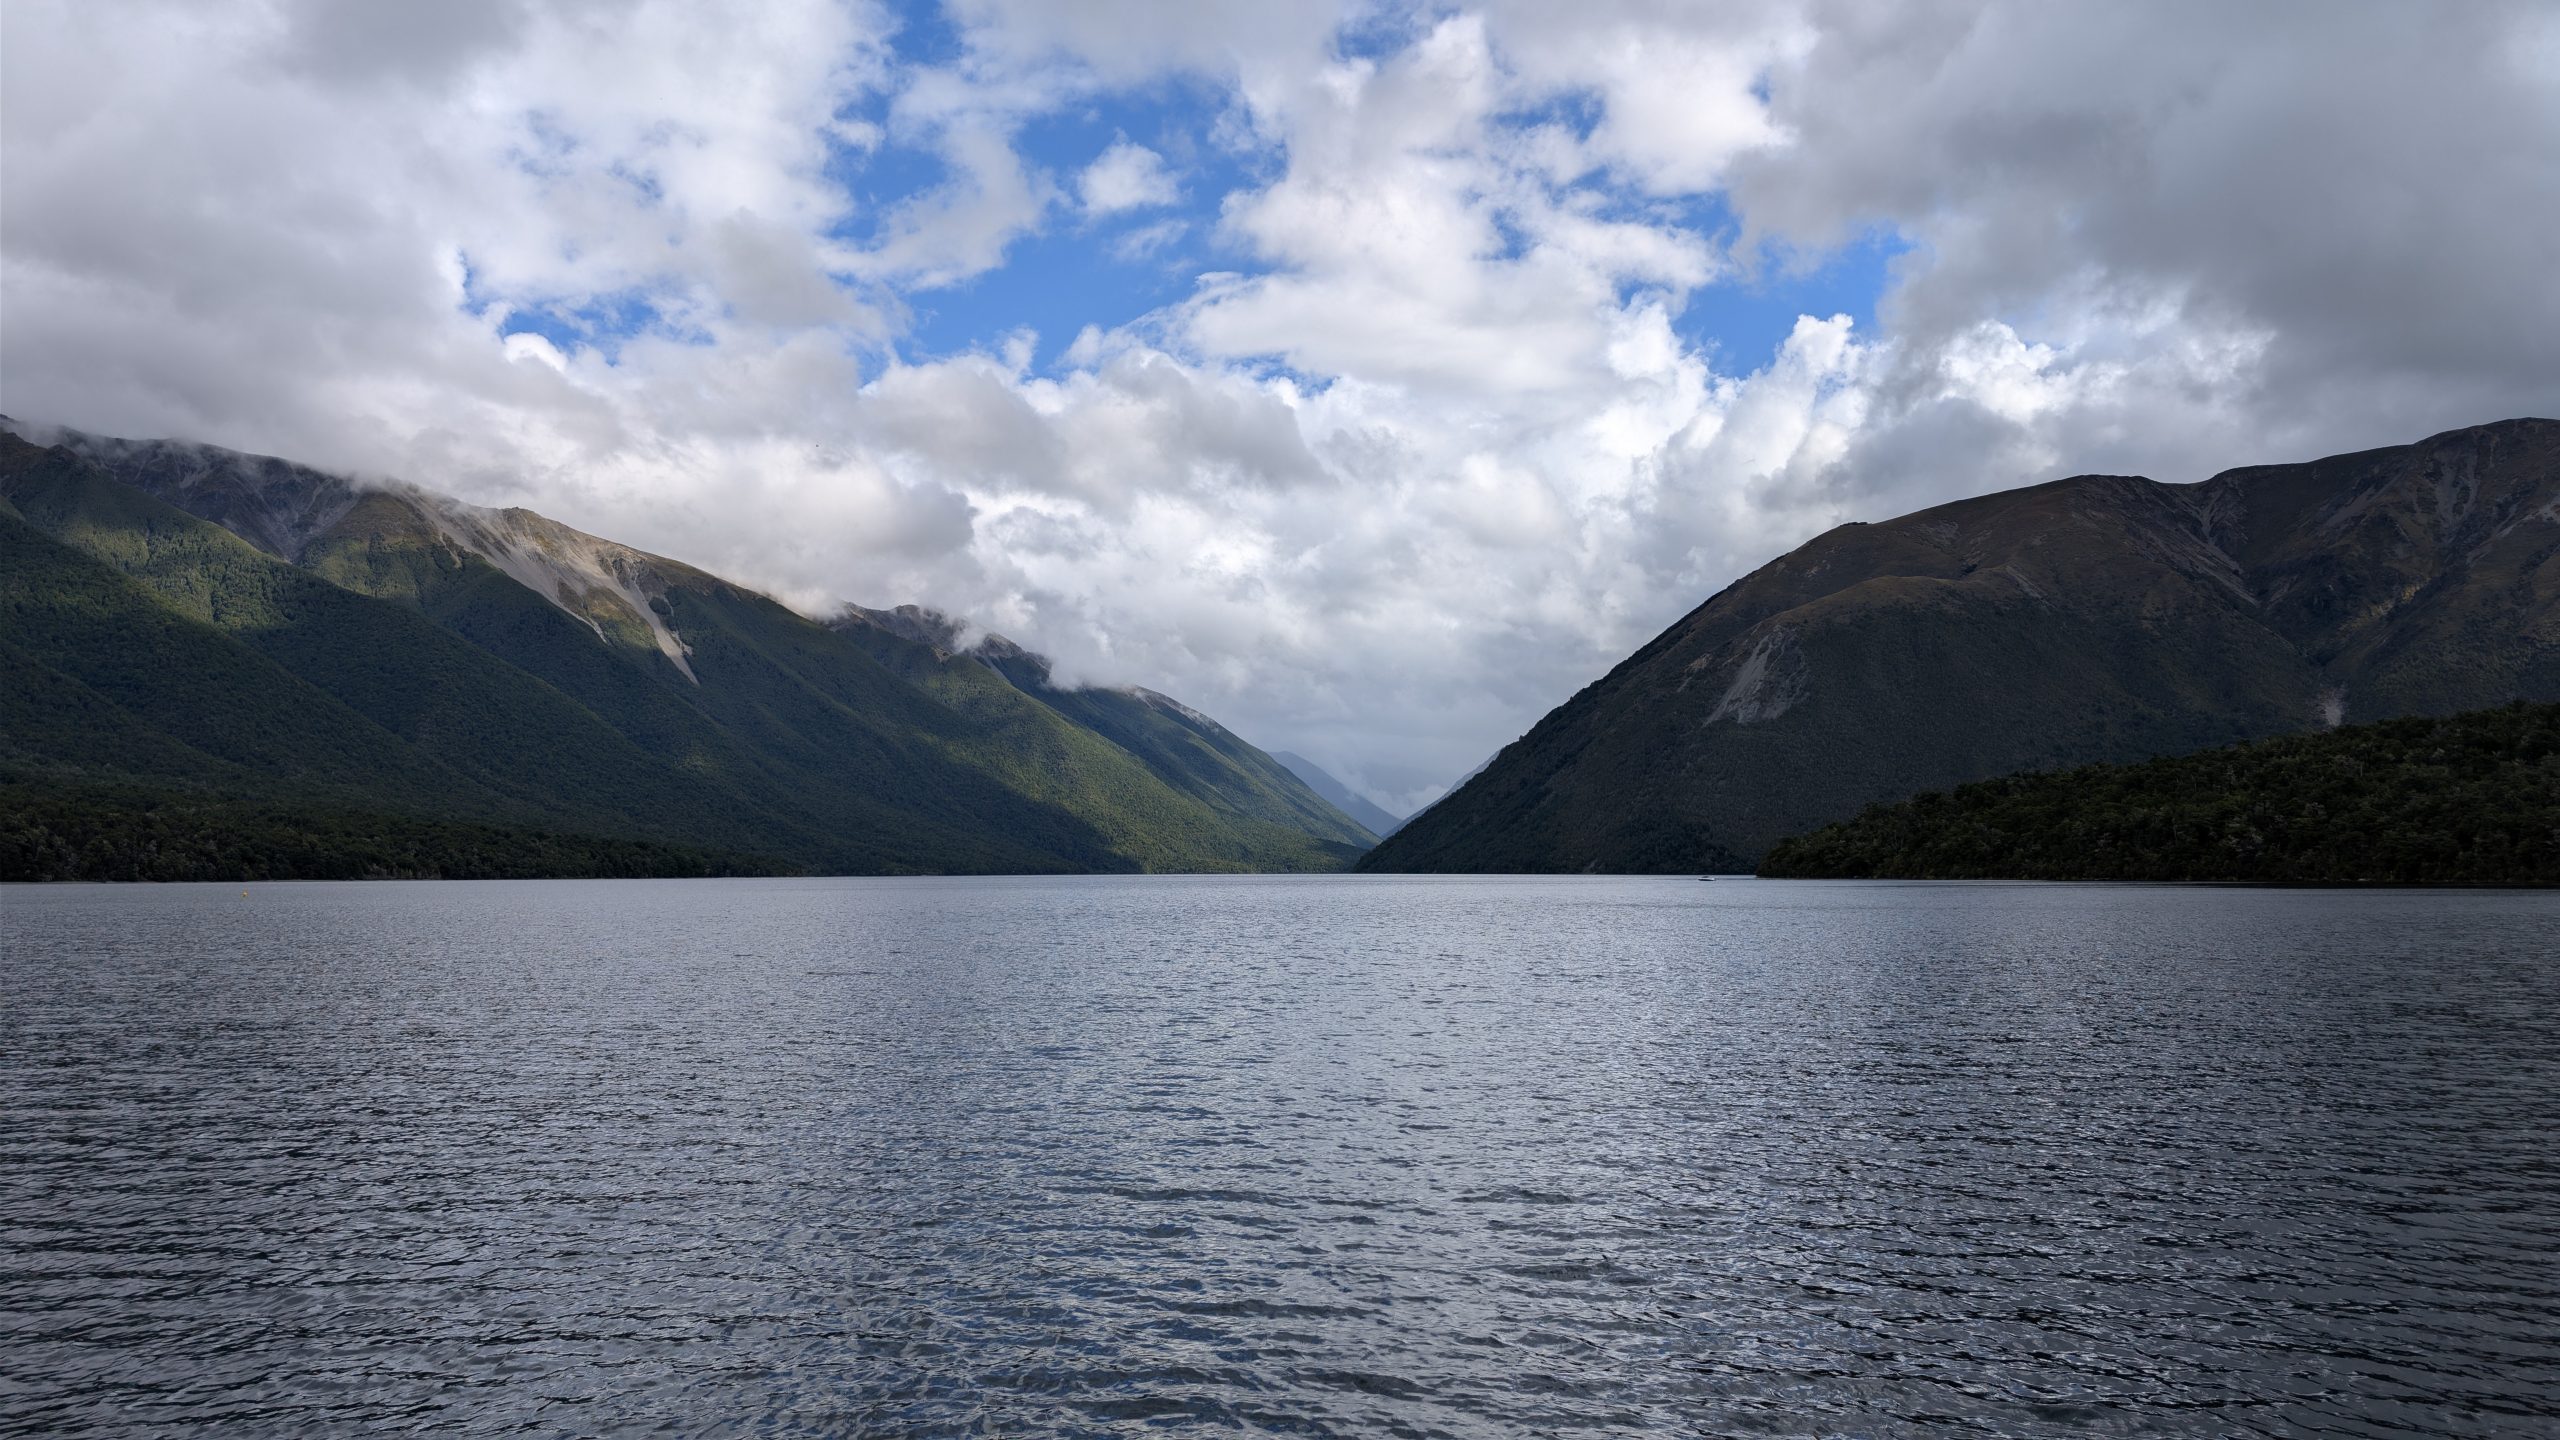
We drove down to the lakeshore to finally see the area with blue sky. We walked out to the jetty and saw eels hanging around the dock. I was surprised at how big they were.
The mountains around Lake Rotoiti
Eels swimming around the jetty
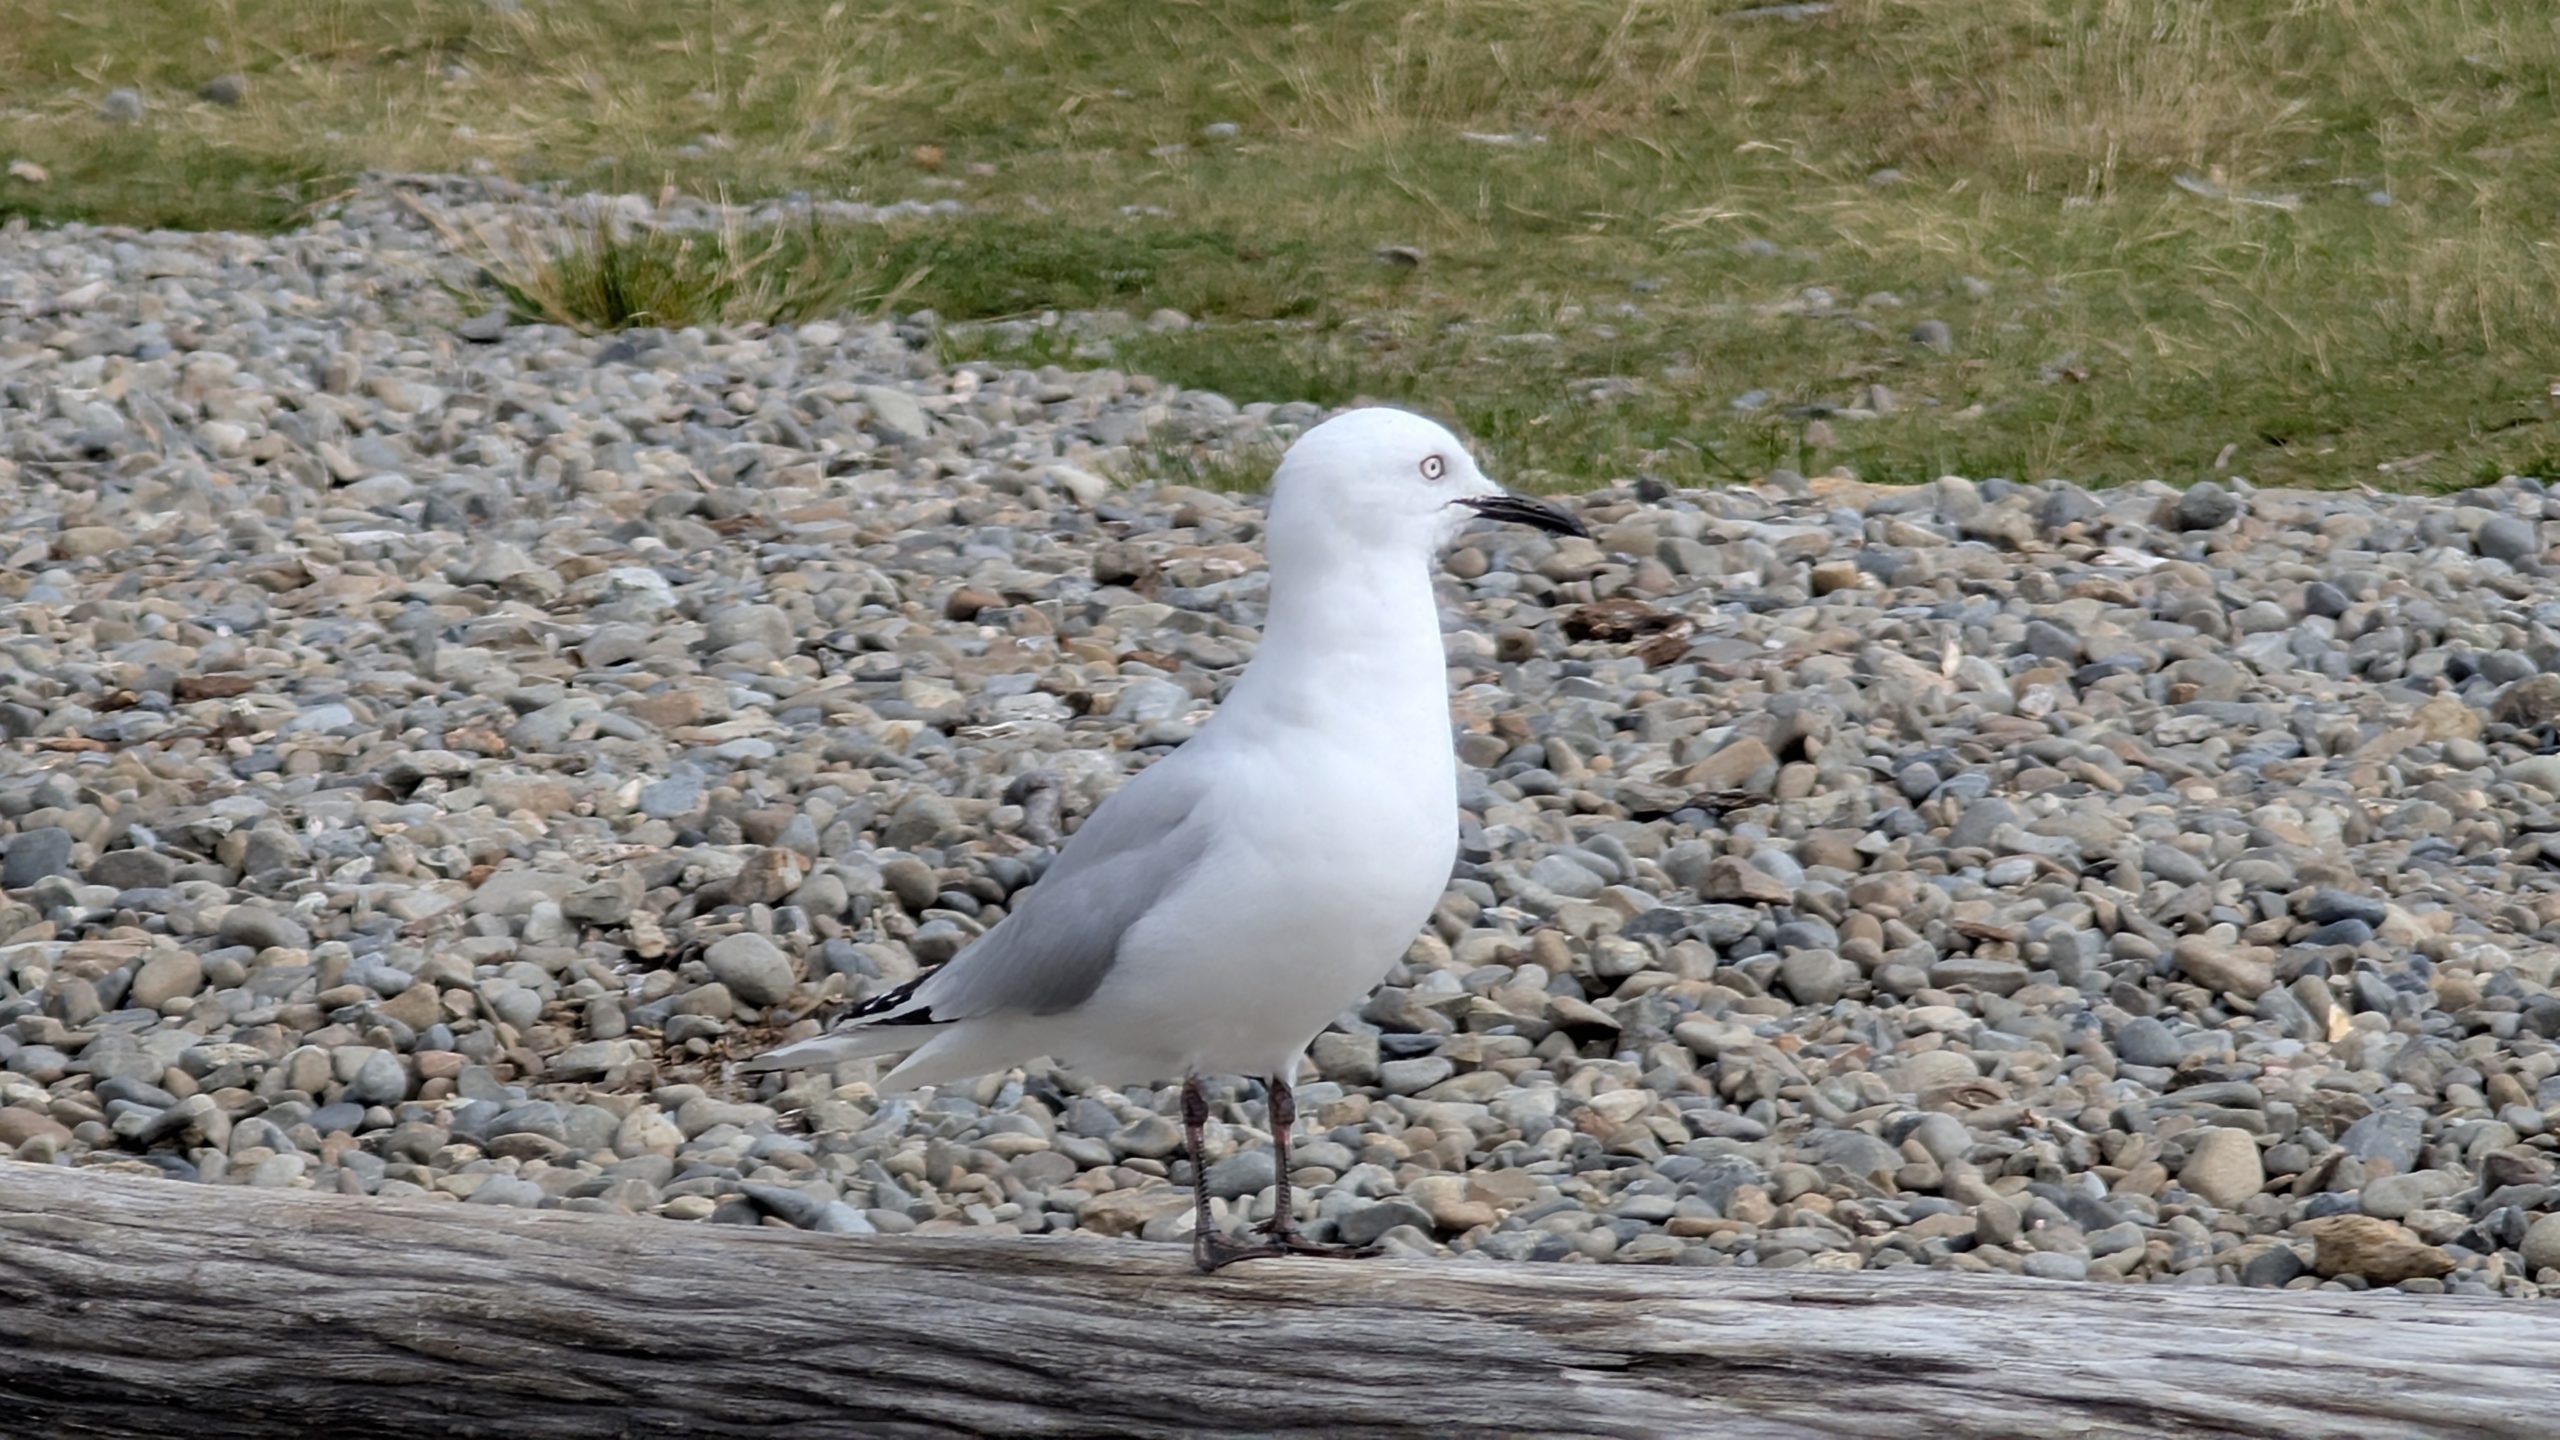
Also near the jetty were a pair of black-billed gulls. A posted sign explained that these were the most threatened gulls in the world, with numbers rapidly declining. A flock had decided to make Lake Rotoiti their home.
Black-billed gull
We drove over to Kerr Bay which had several easy walking trails in the area. We took the Bellbird Walk followed by the Honeydew Walk. The highlight was seeing the pretty little Honeydew Falls.
Start of the Bellbird Walk
Honeydew Falls
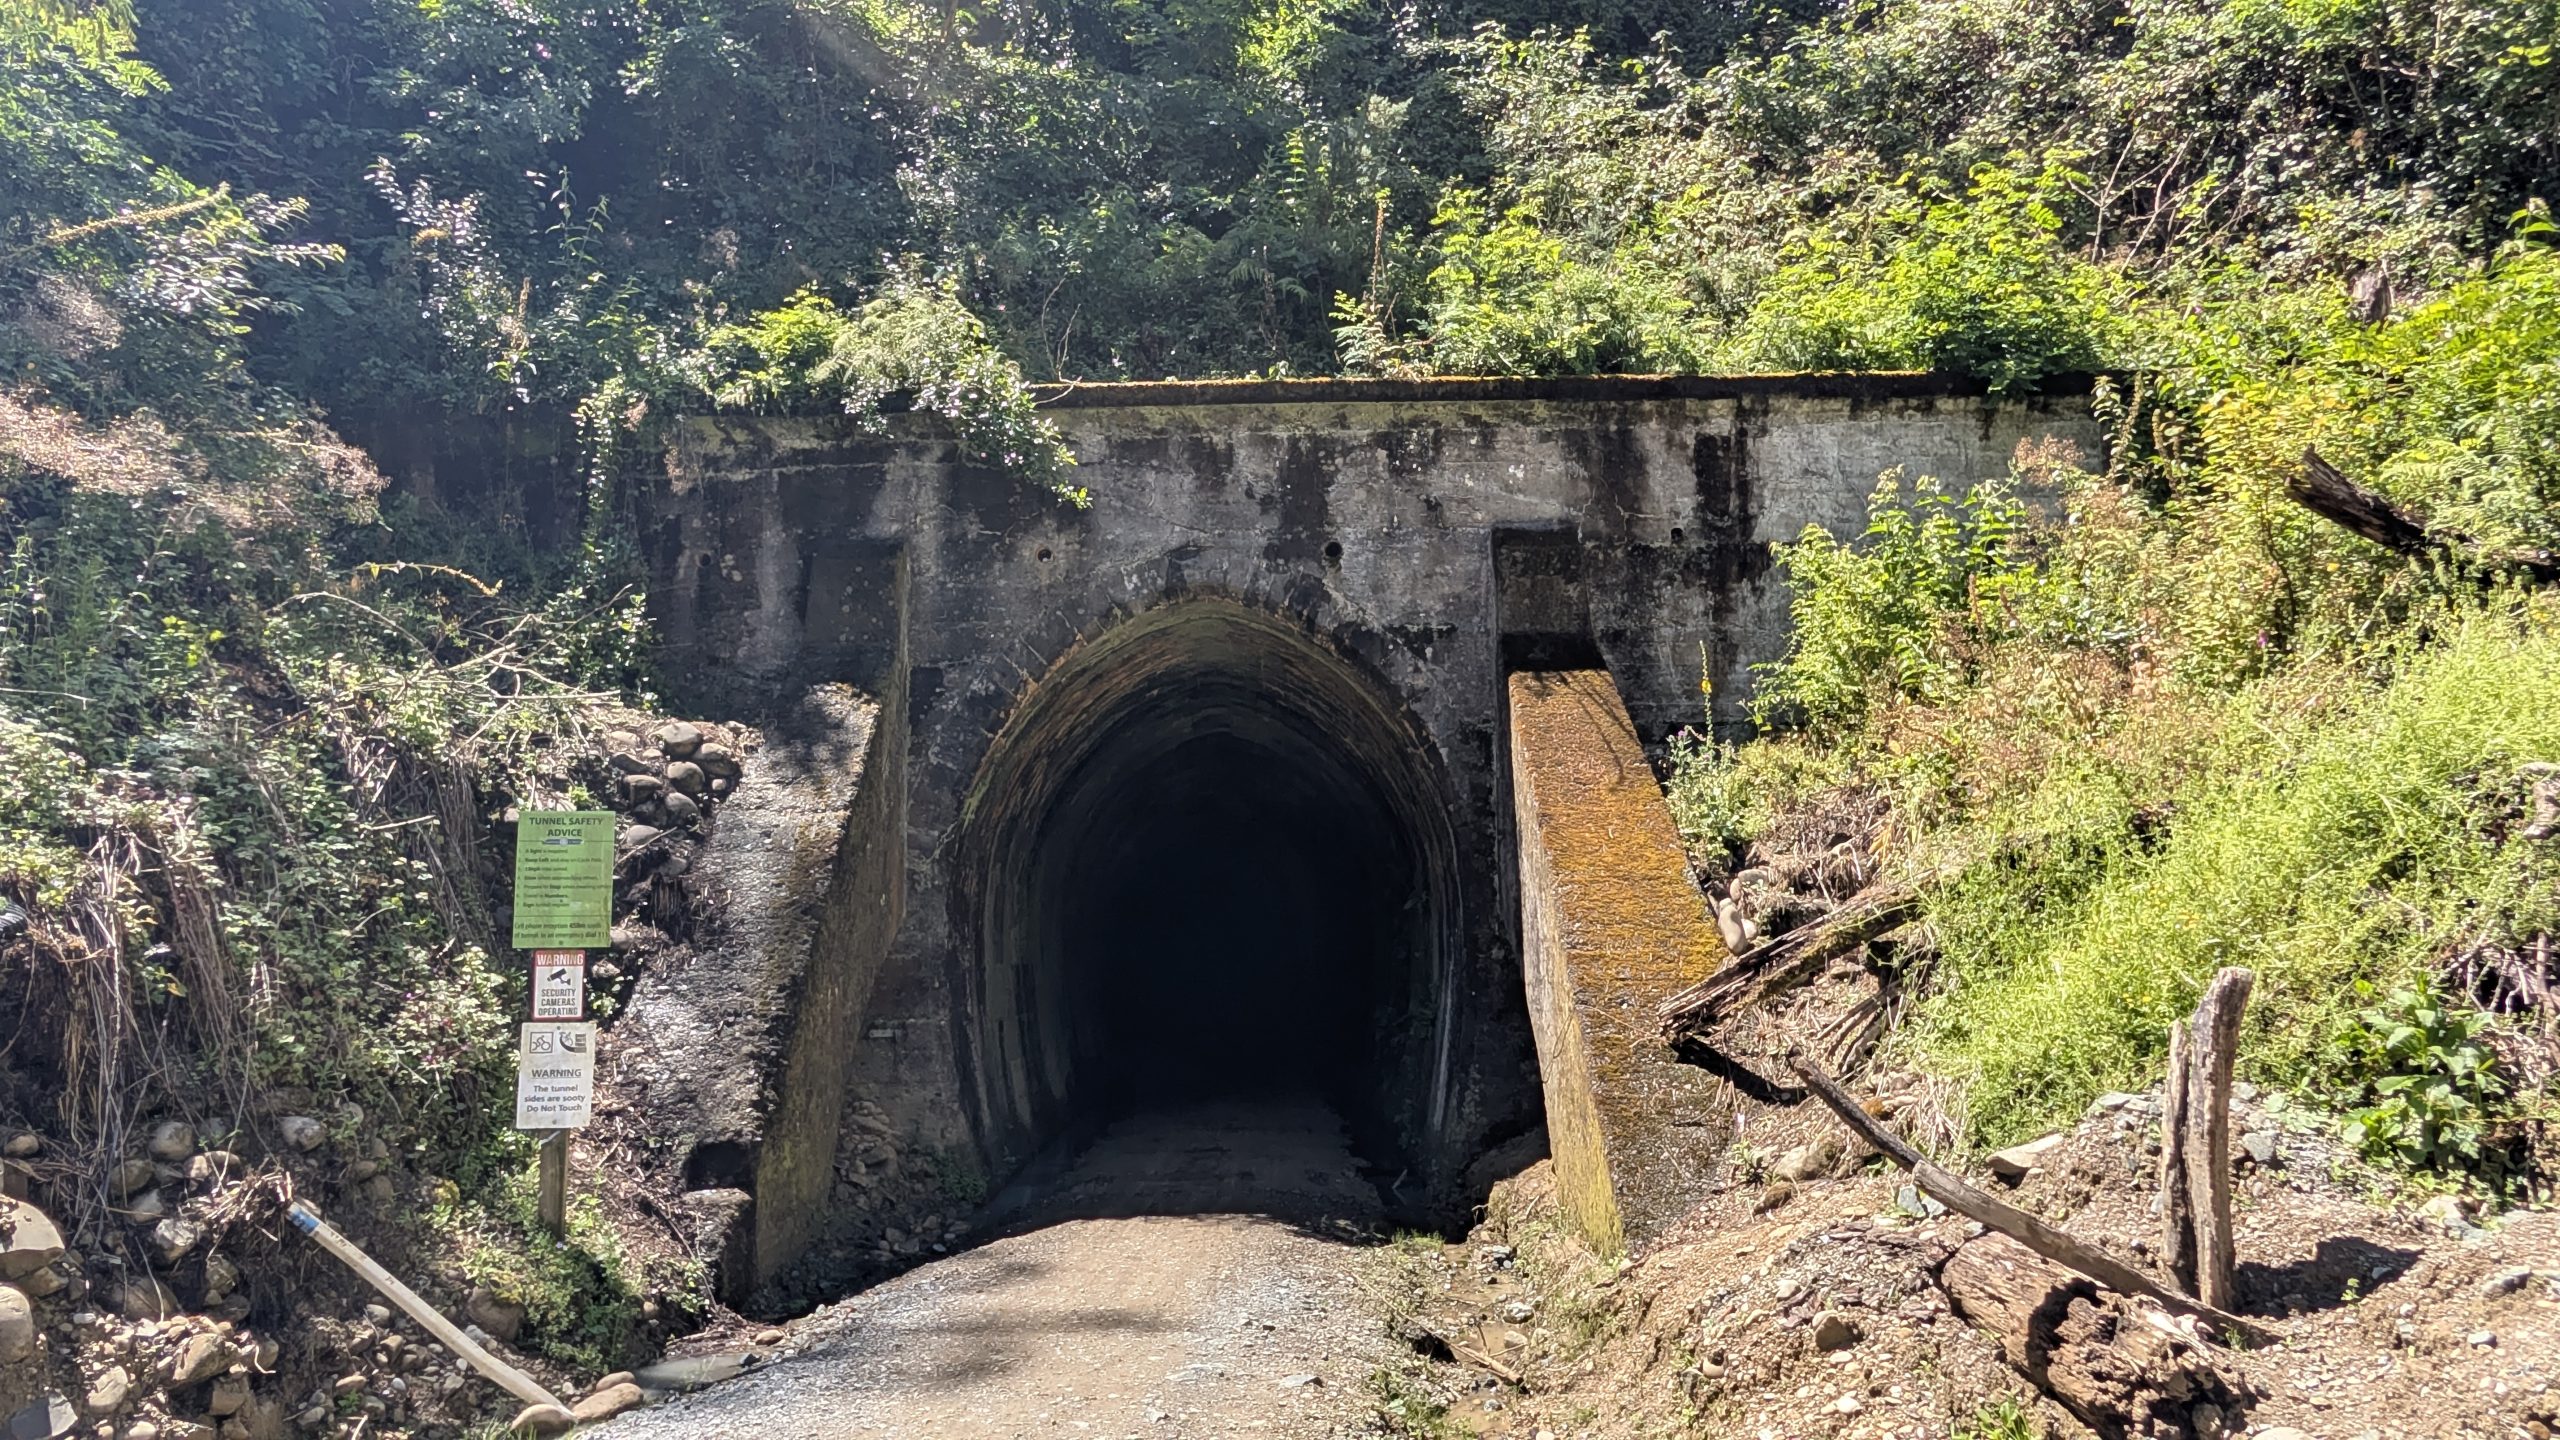
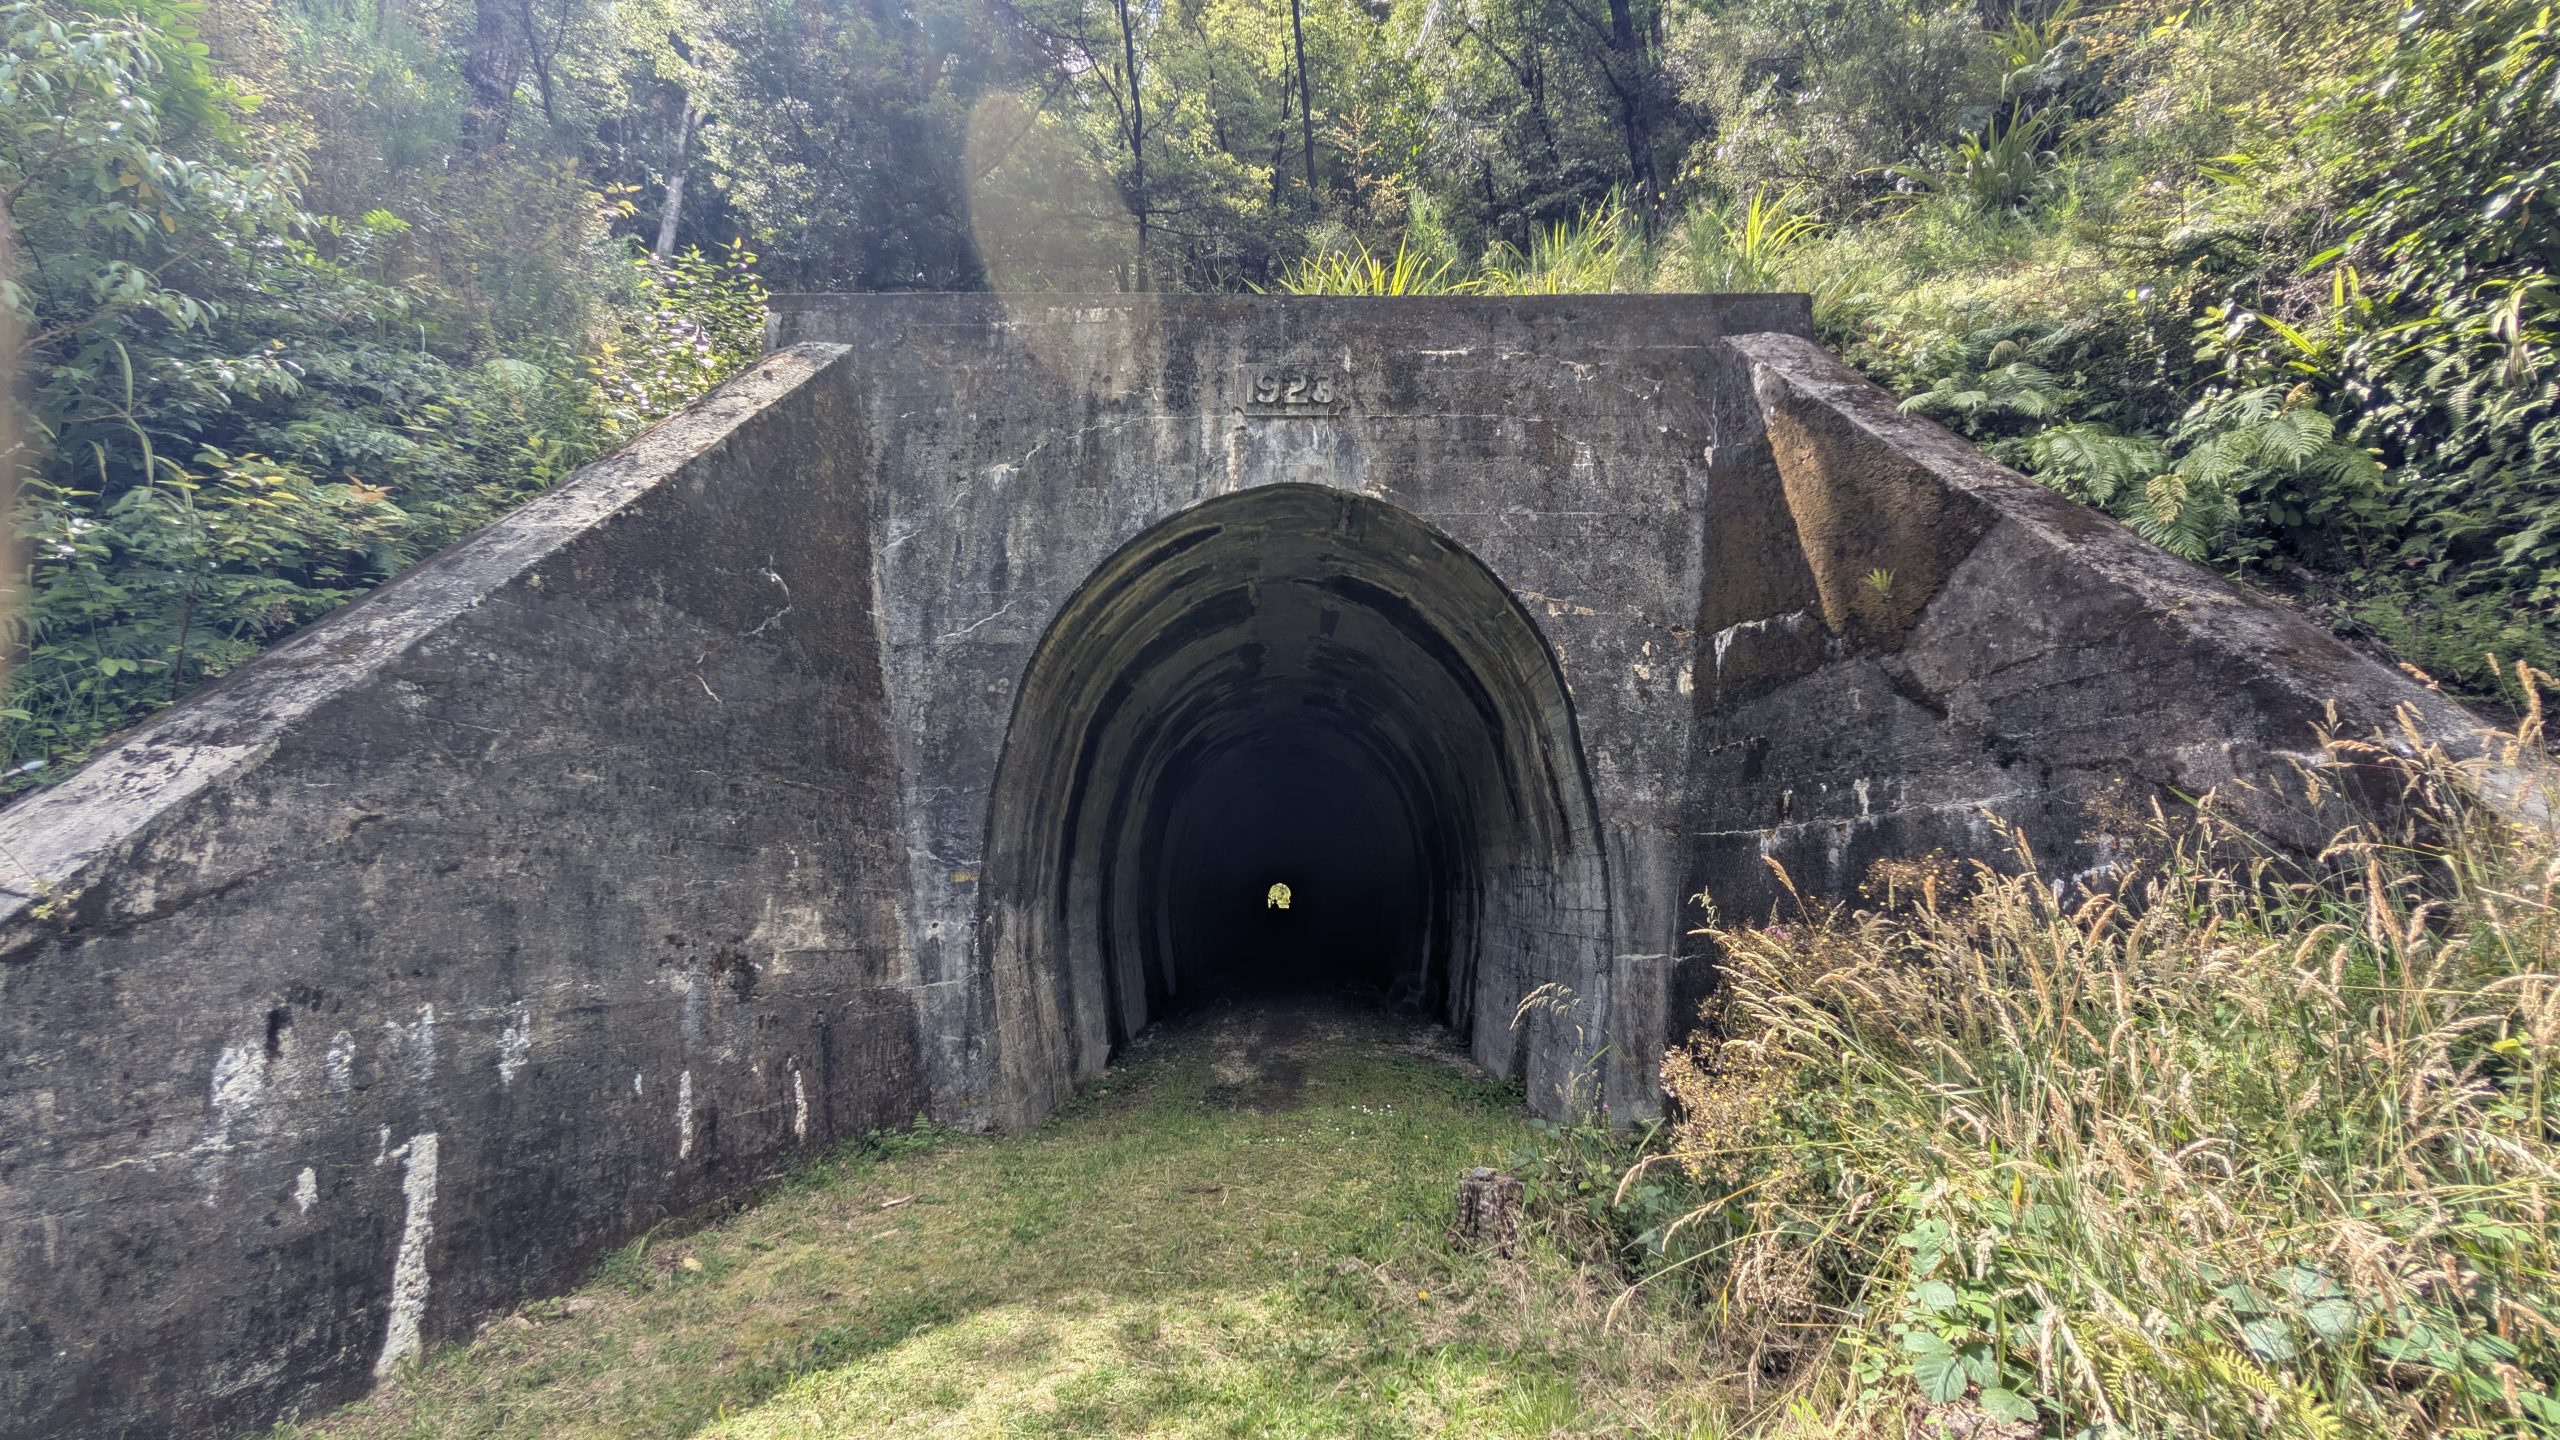
We left Saint Arnaud shortly before noon. The drive to Ruby Bay was only 70 minutes. We stopped for a short walk to the entrance to Spooners Tunnel. This was the longest decommissioned rail tunnel in the Southern Hemisphere and was 1.4 km long. It became part of a long bike trail, and several bicyclists passed us on the walk there. An added bonus was a small waterfall to the right of the tunnel entrance.
Spooners Tunnel
Waterfall near Spooners Tunnel
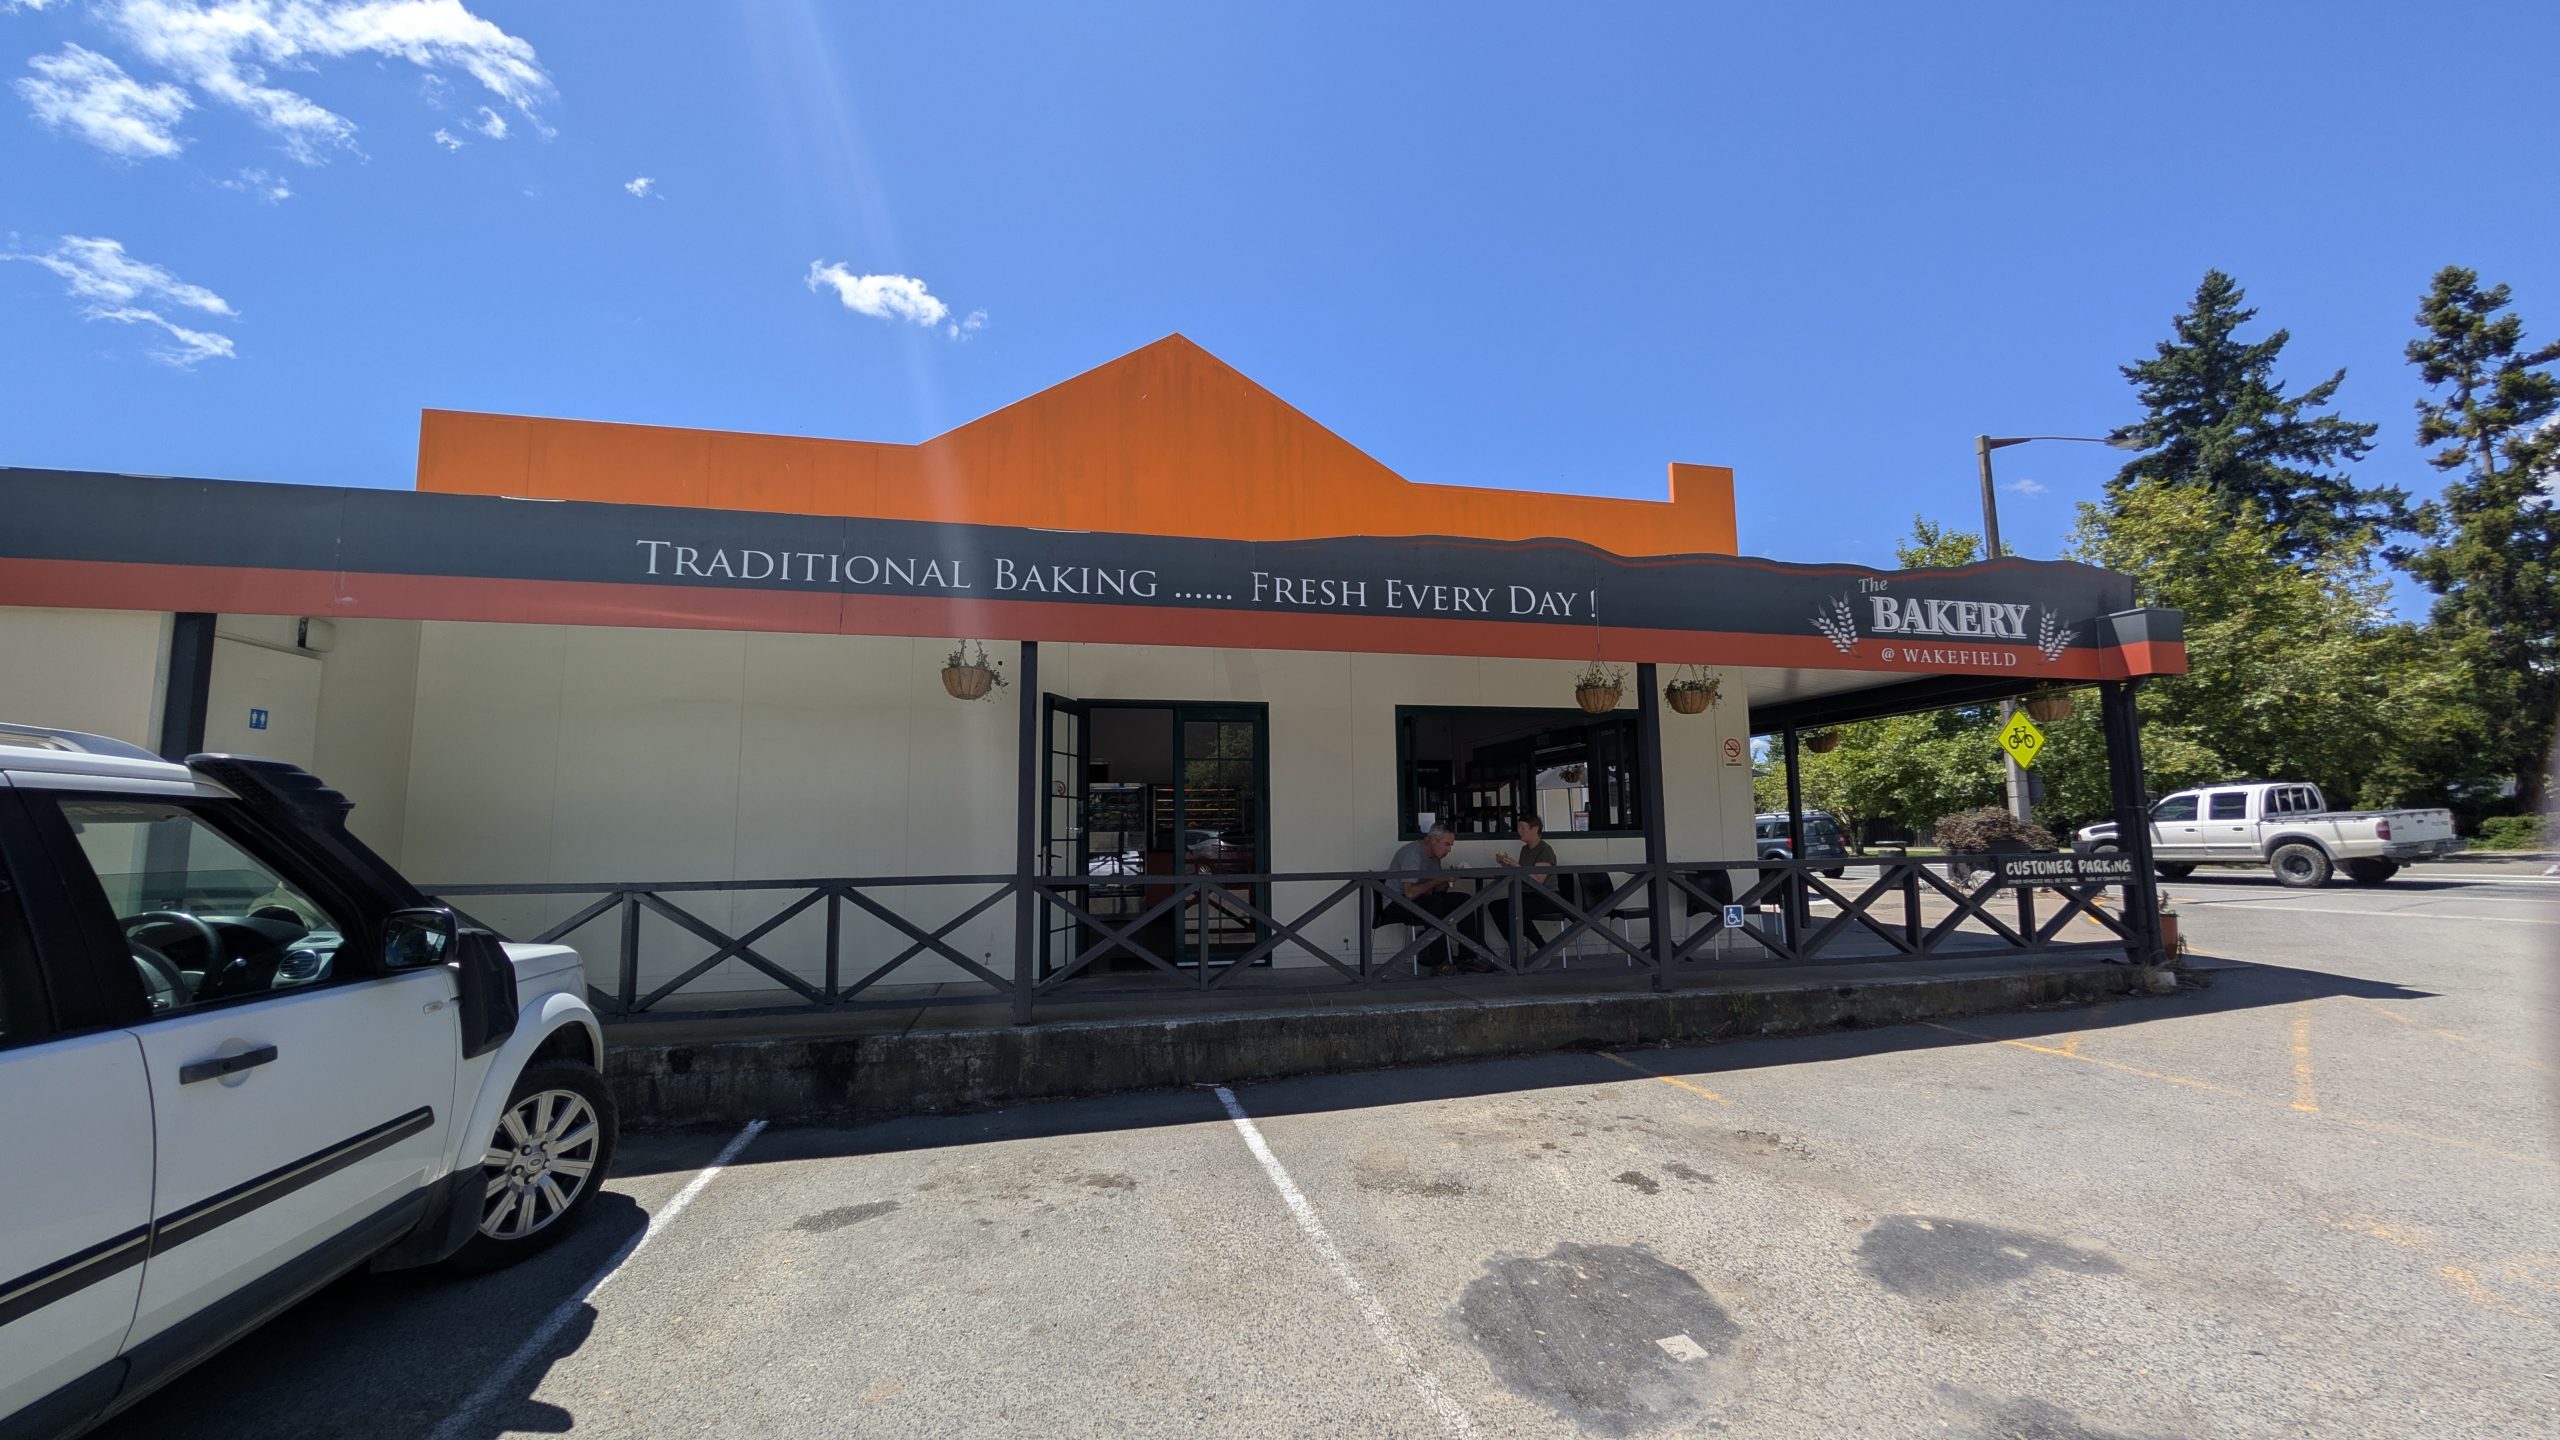
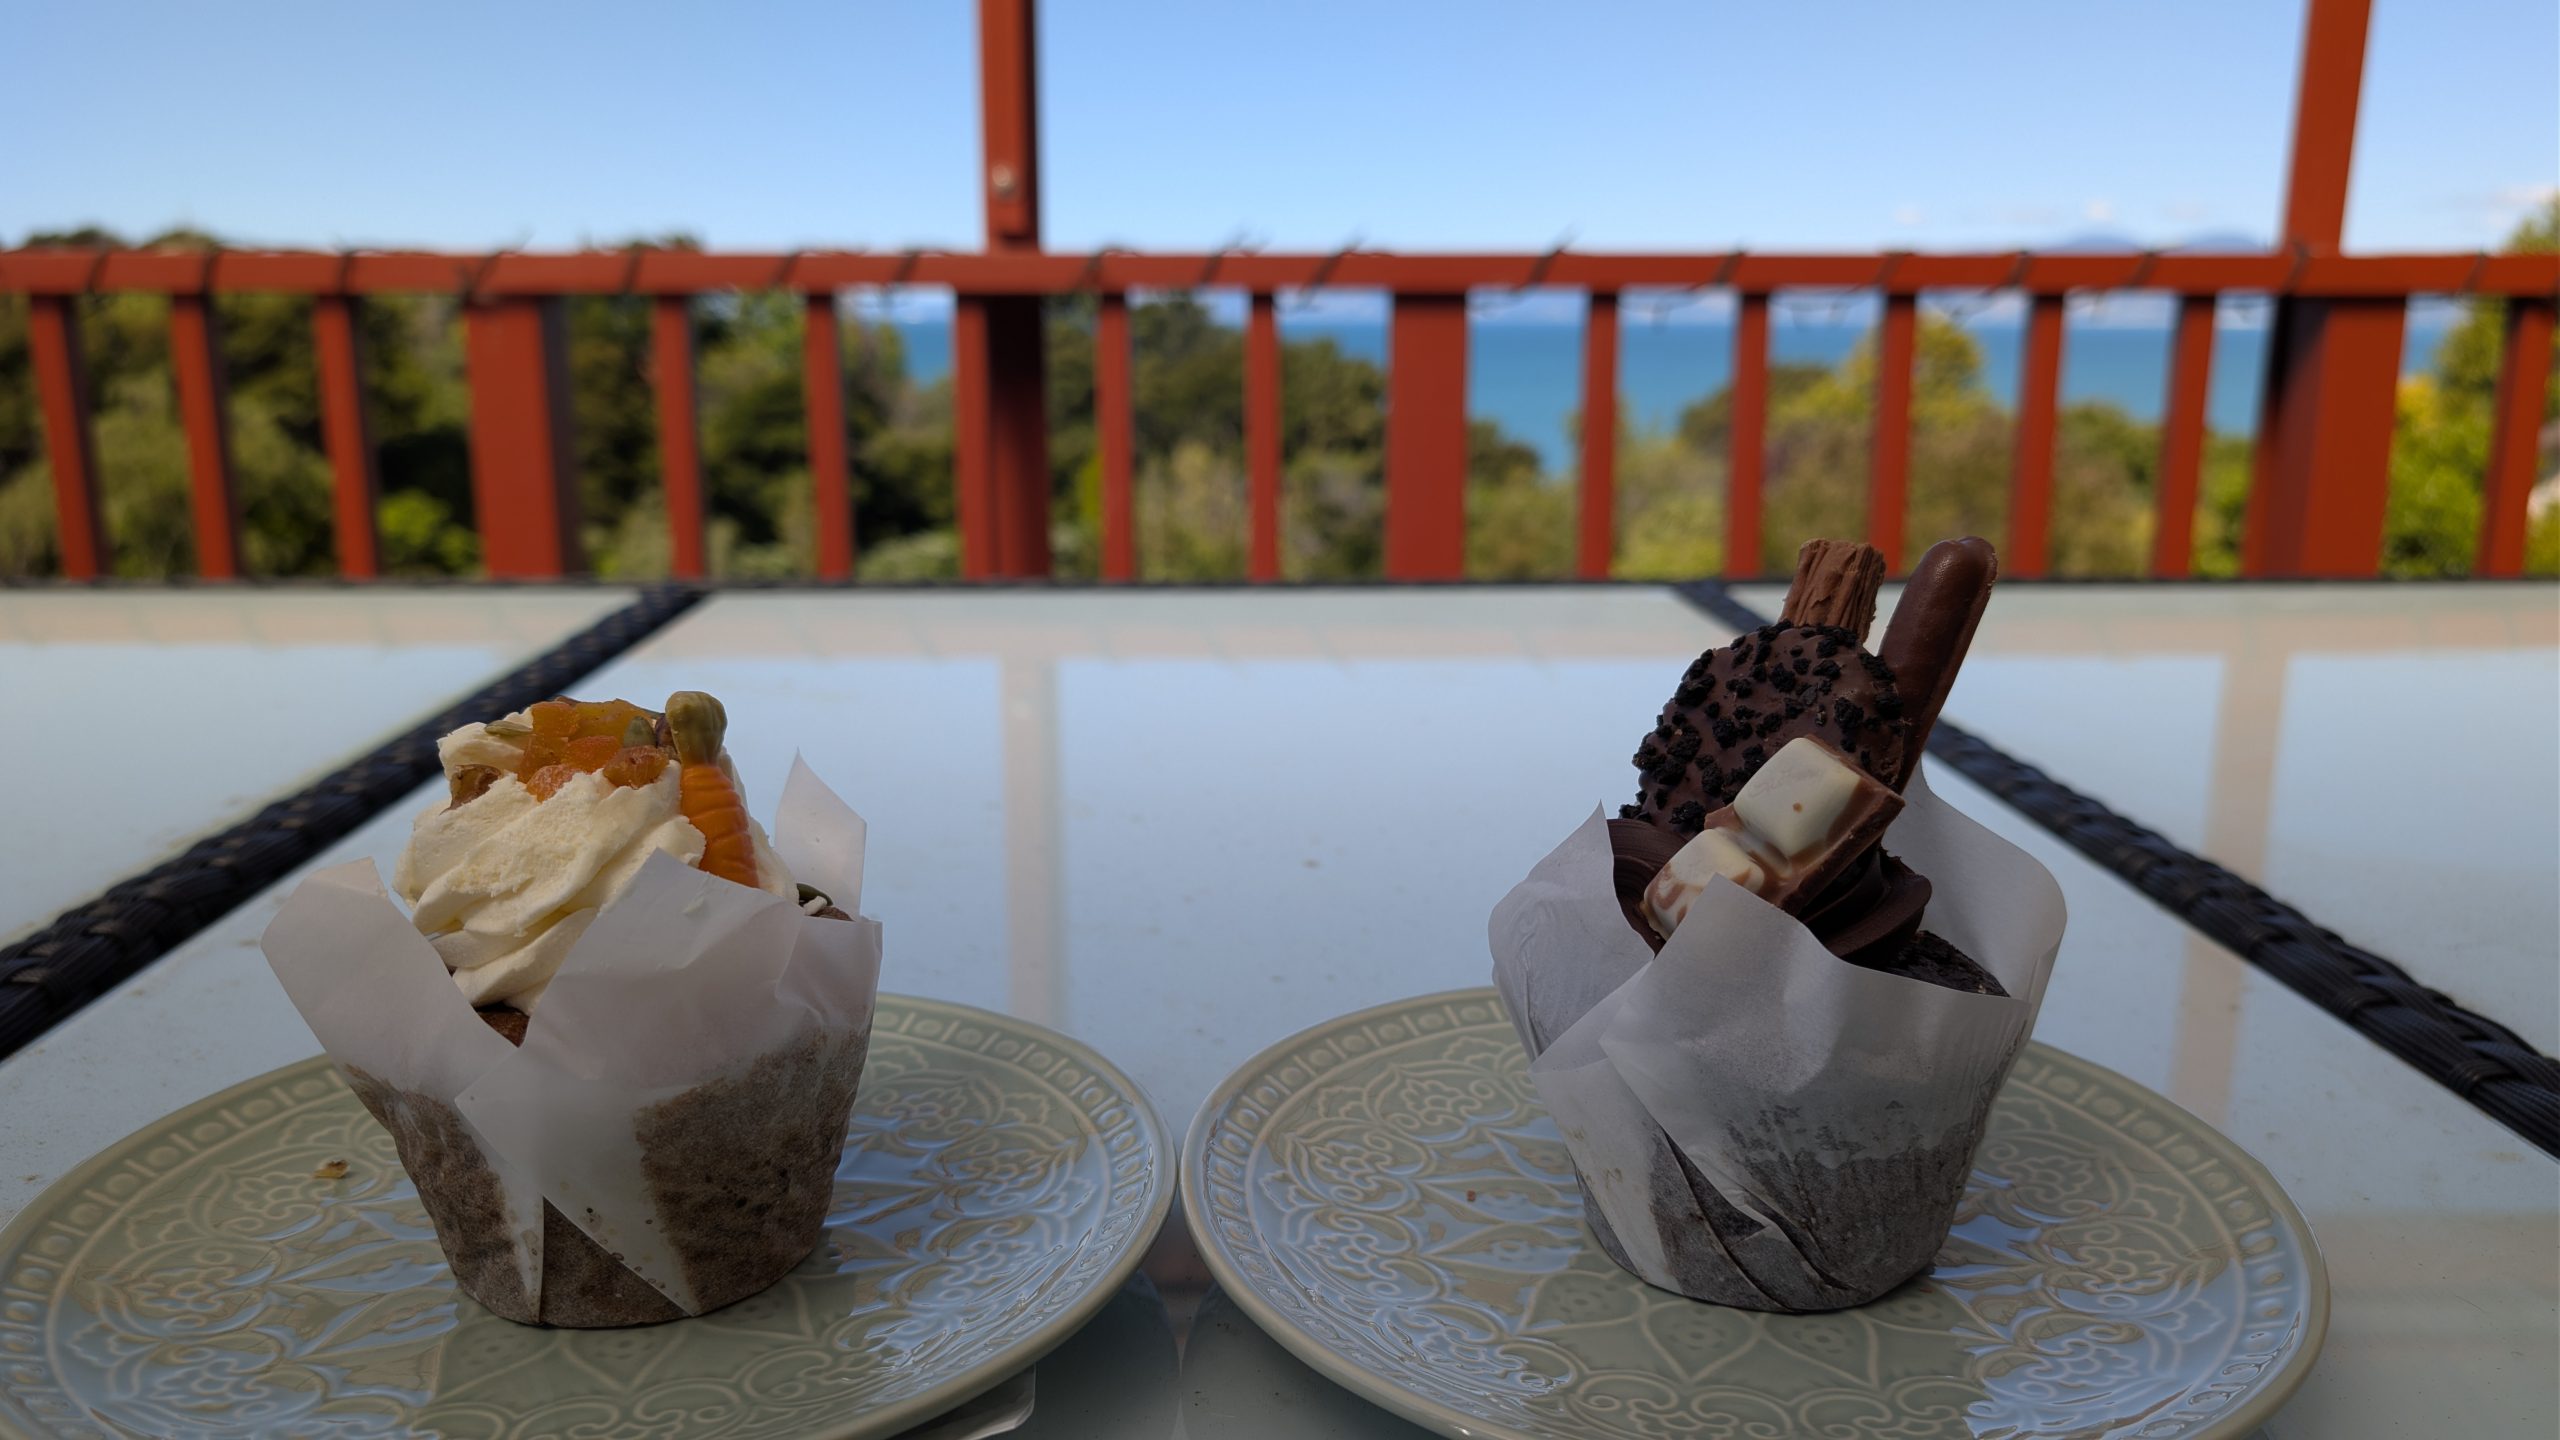
Next we stopped at The Bakery in the town of Wakefield, and we purchased steak and cheese pies for lunch. They were very good. We also bought some dessert treats to enjoy later.
The Bakery in Wakefield
Heinrich wanted to stop to see a statue of Richard Nixon (one of only two in the world) that was only a few blocks away from The Bakery. But when we arrived we found the statue had been removed. Such disappointment!
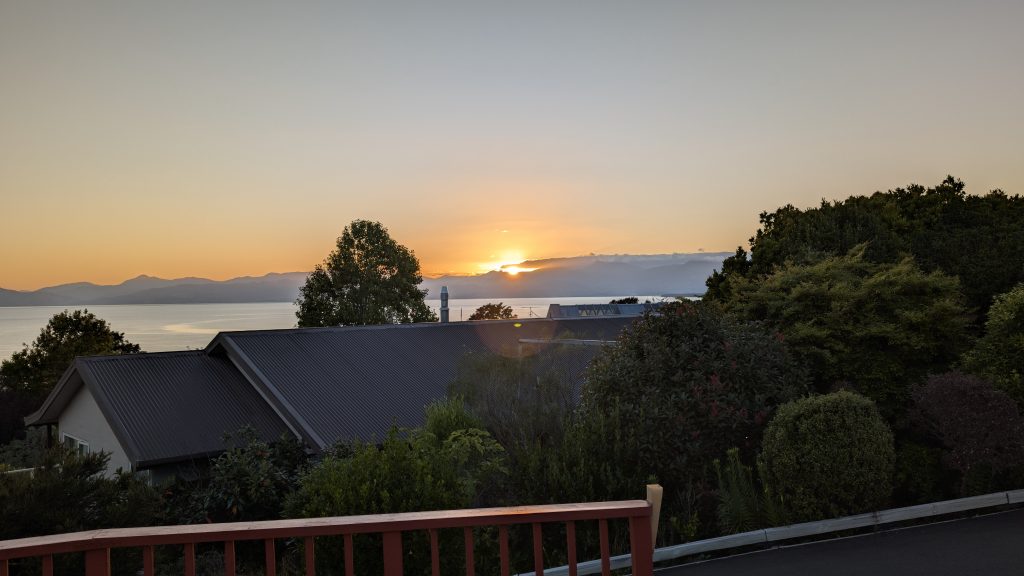
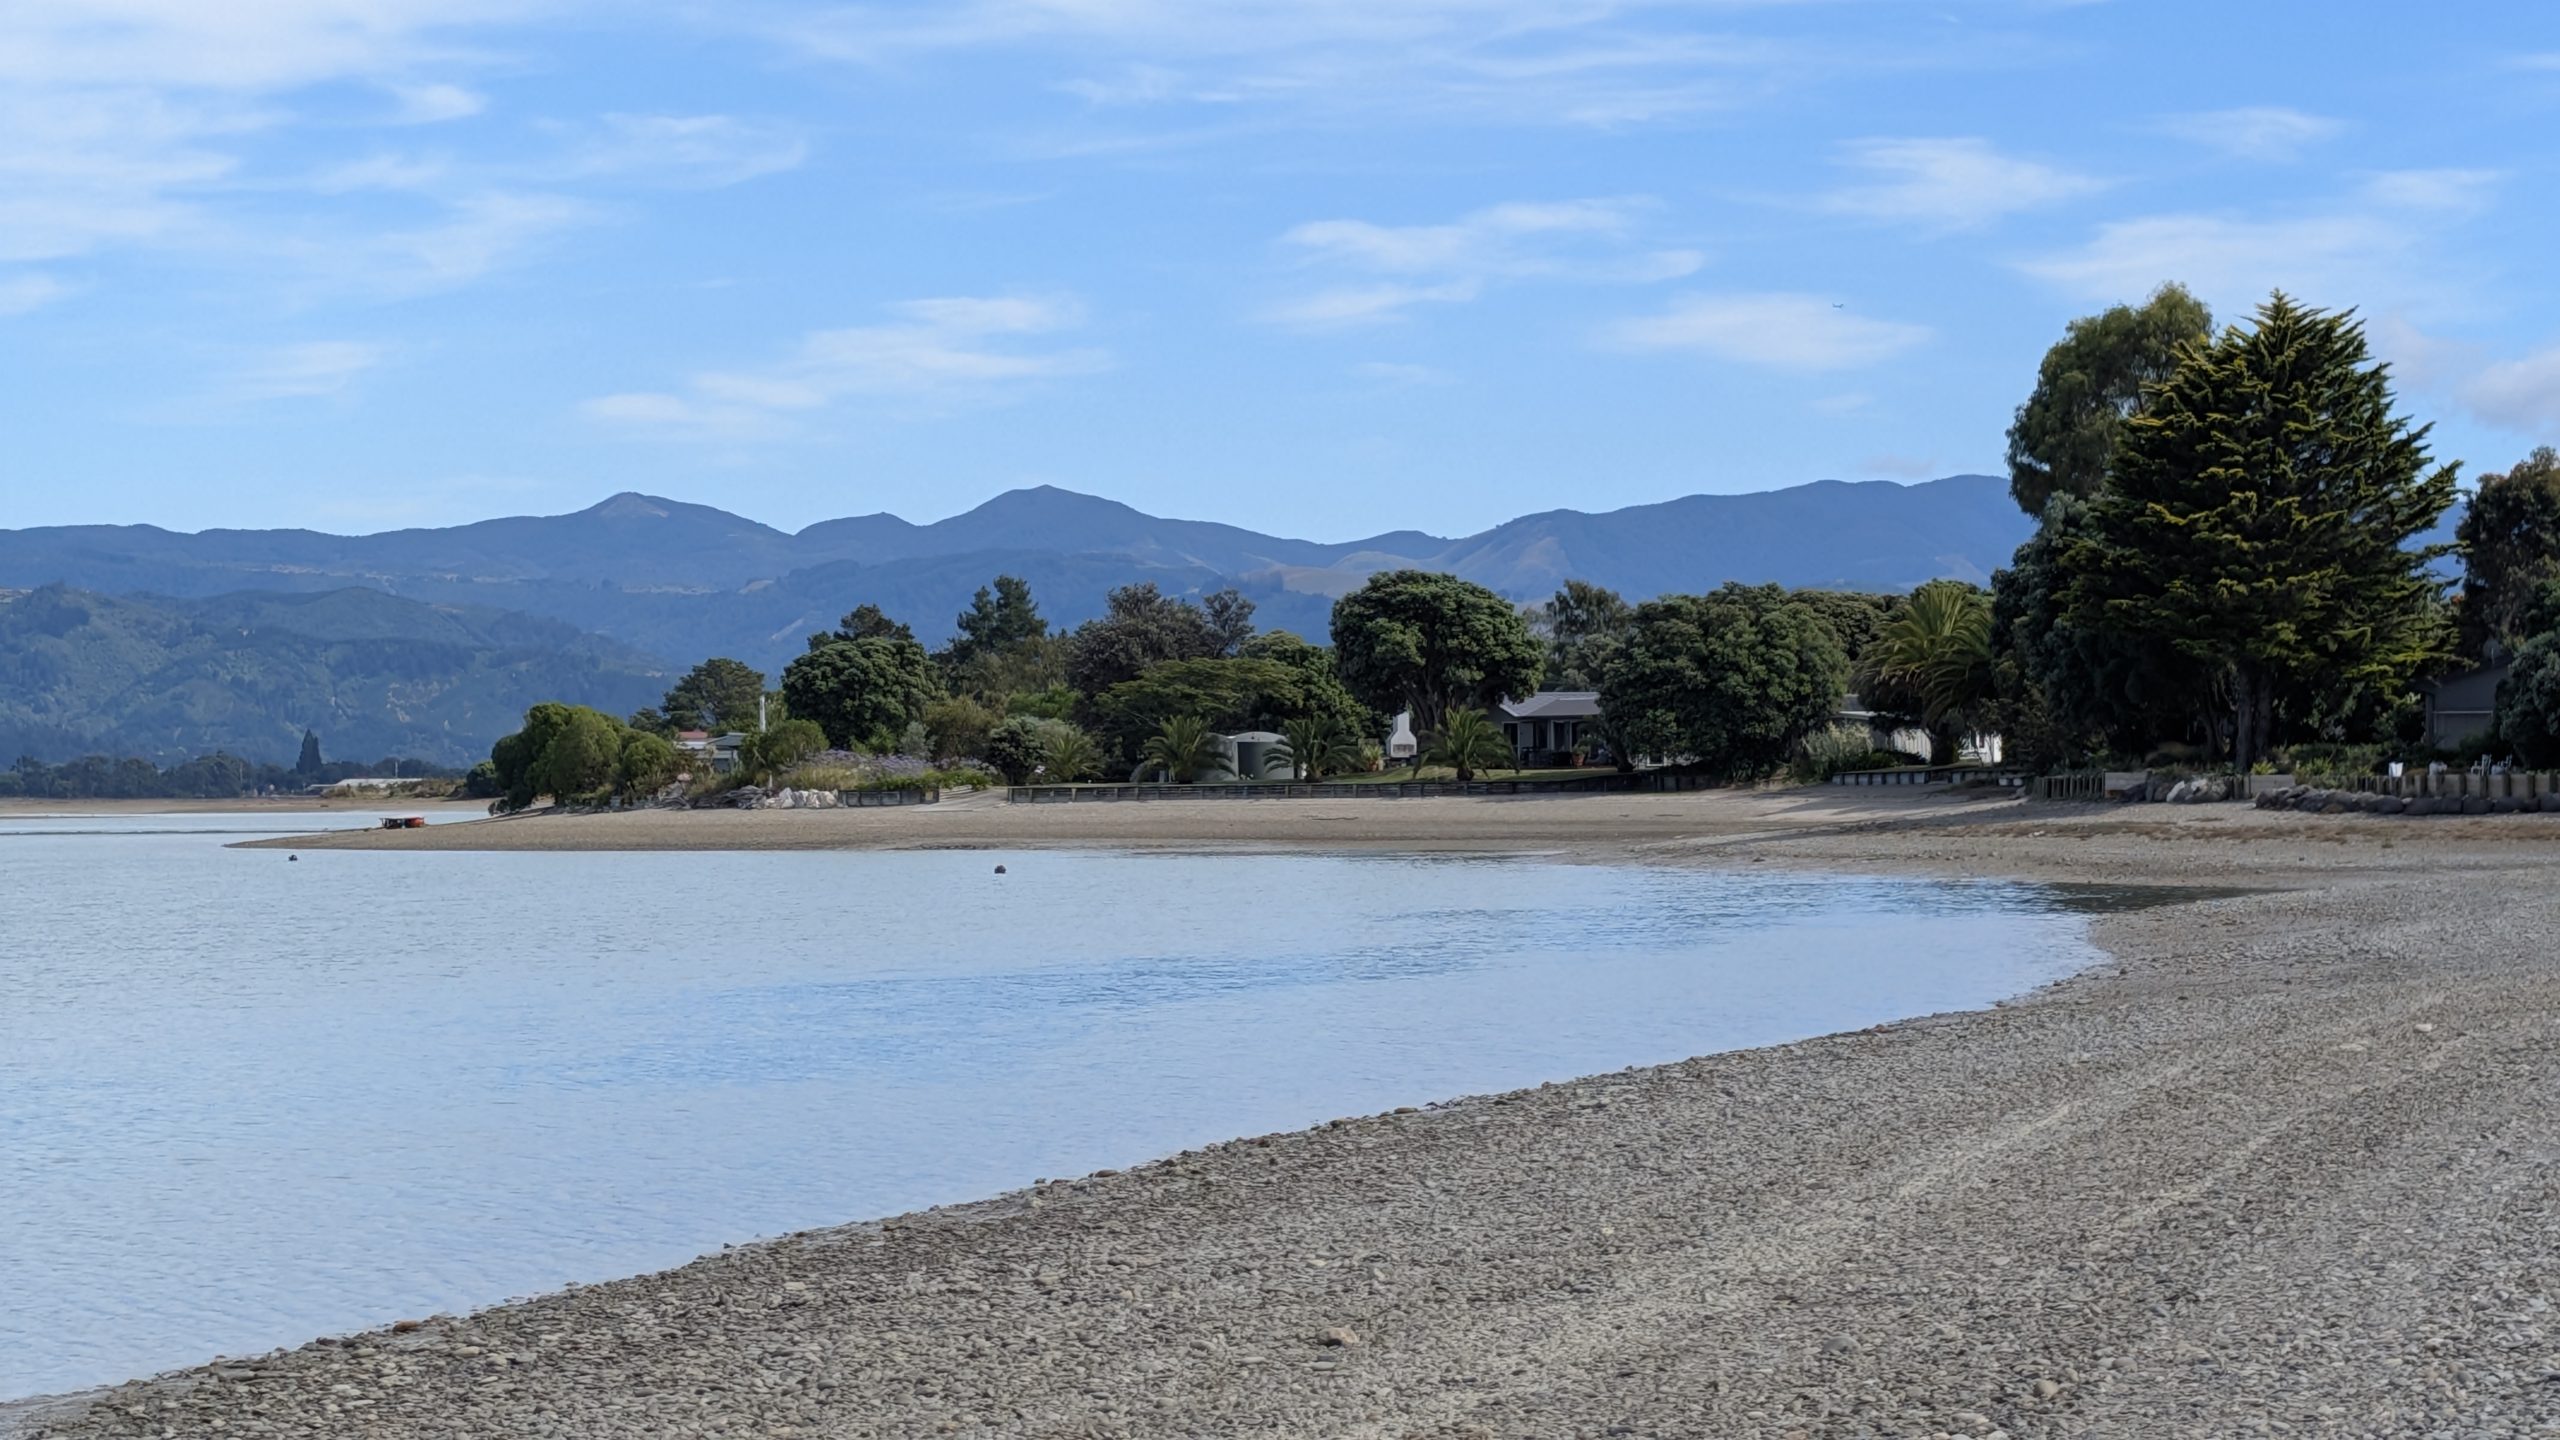
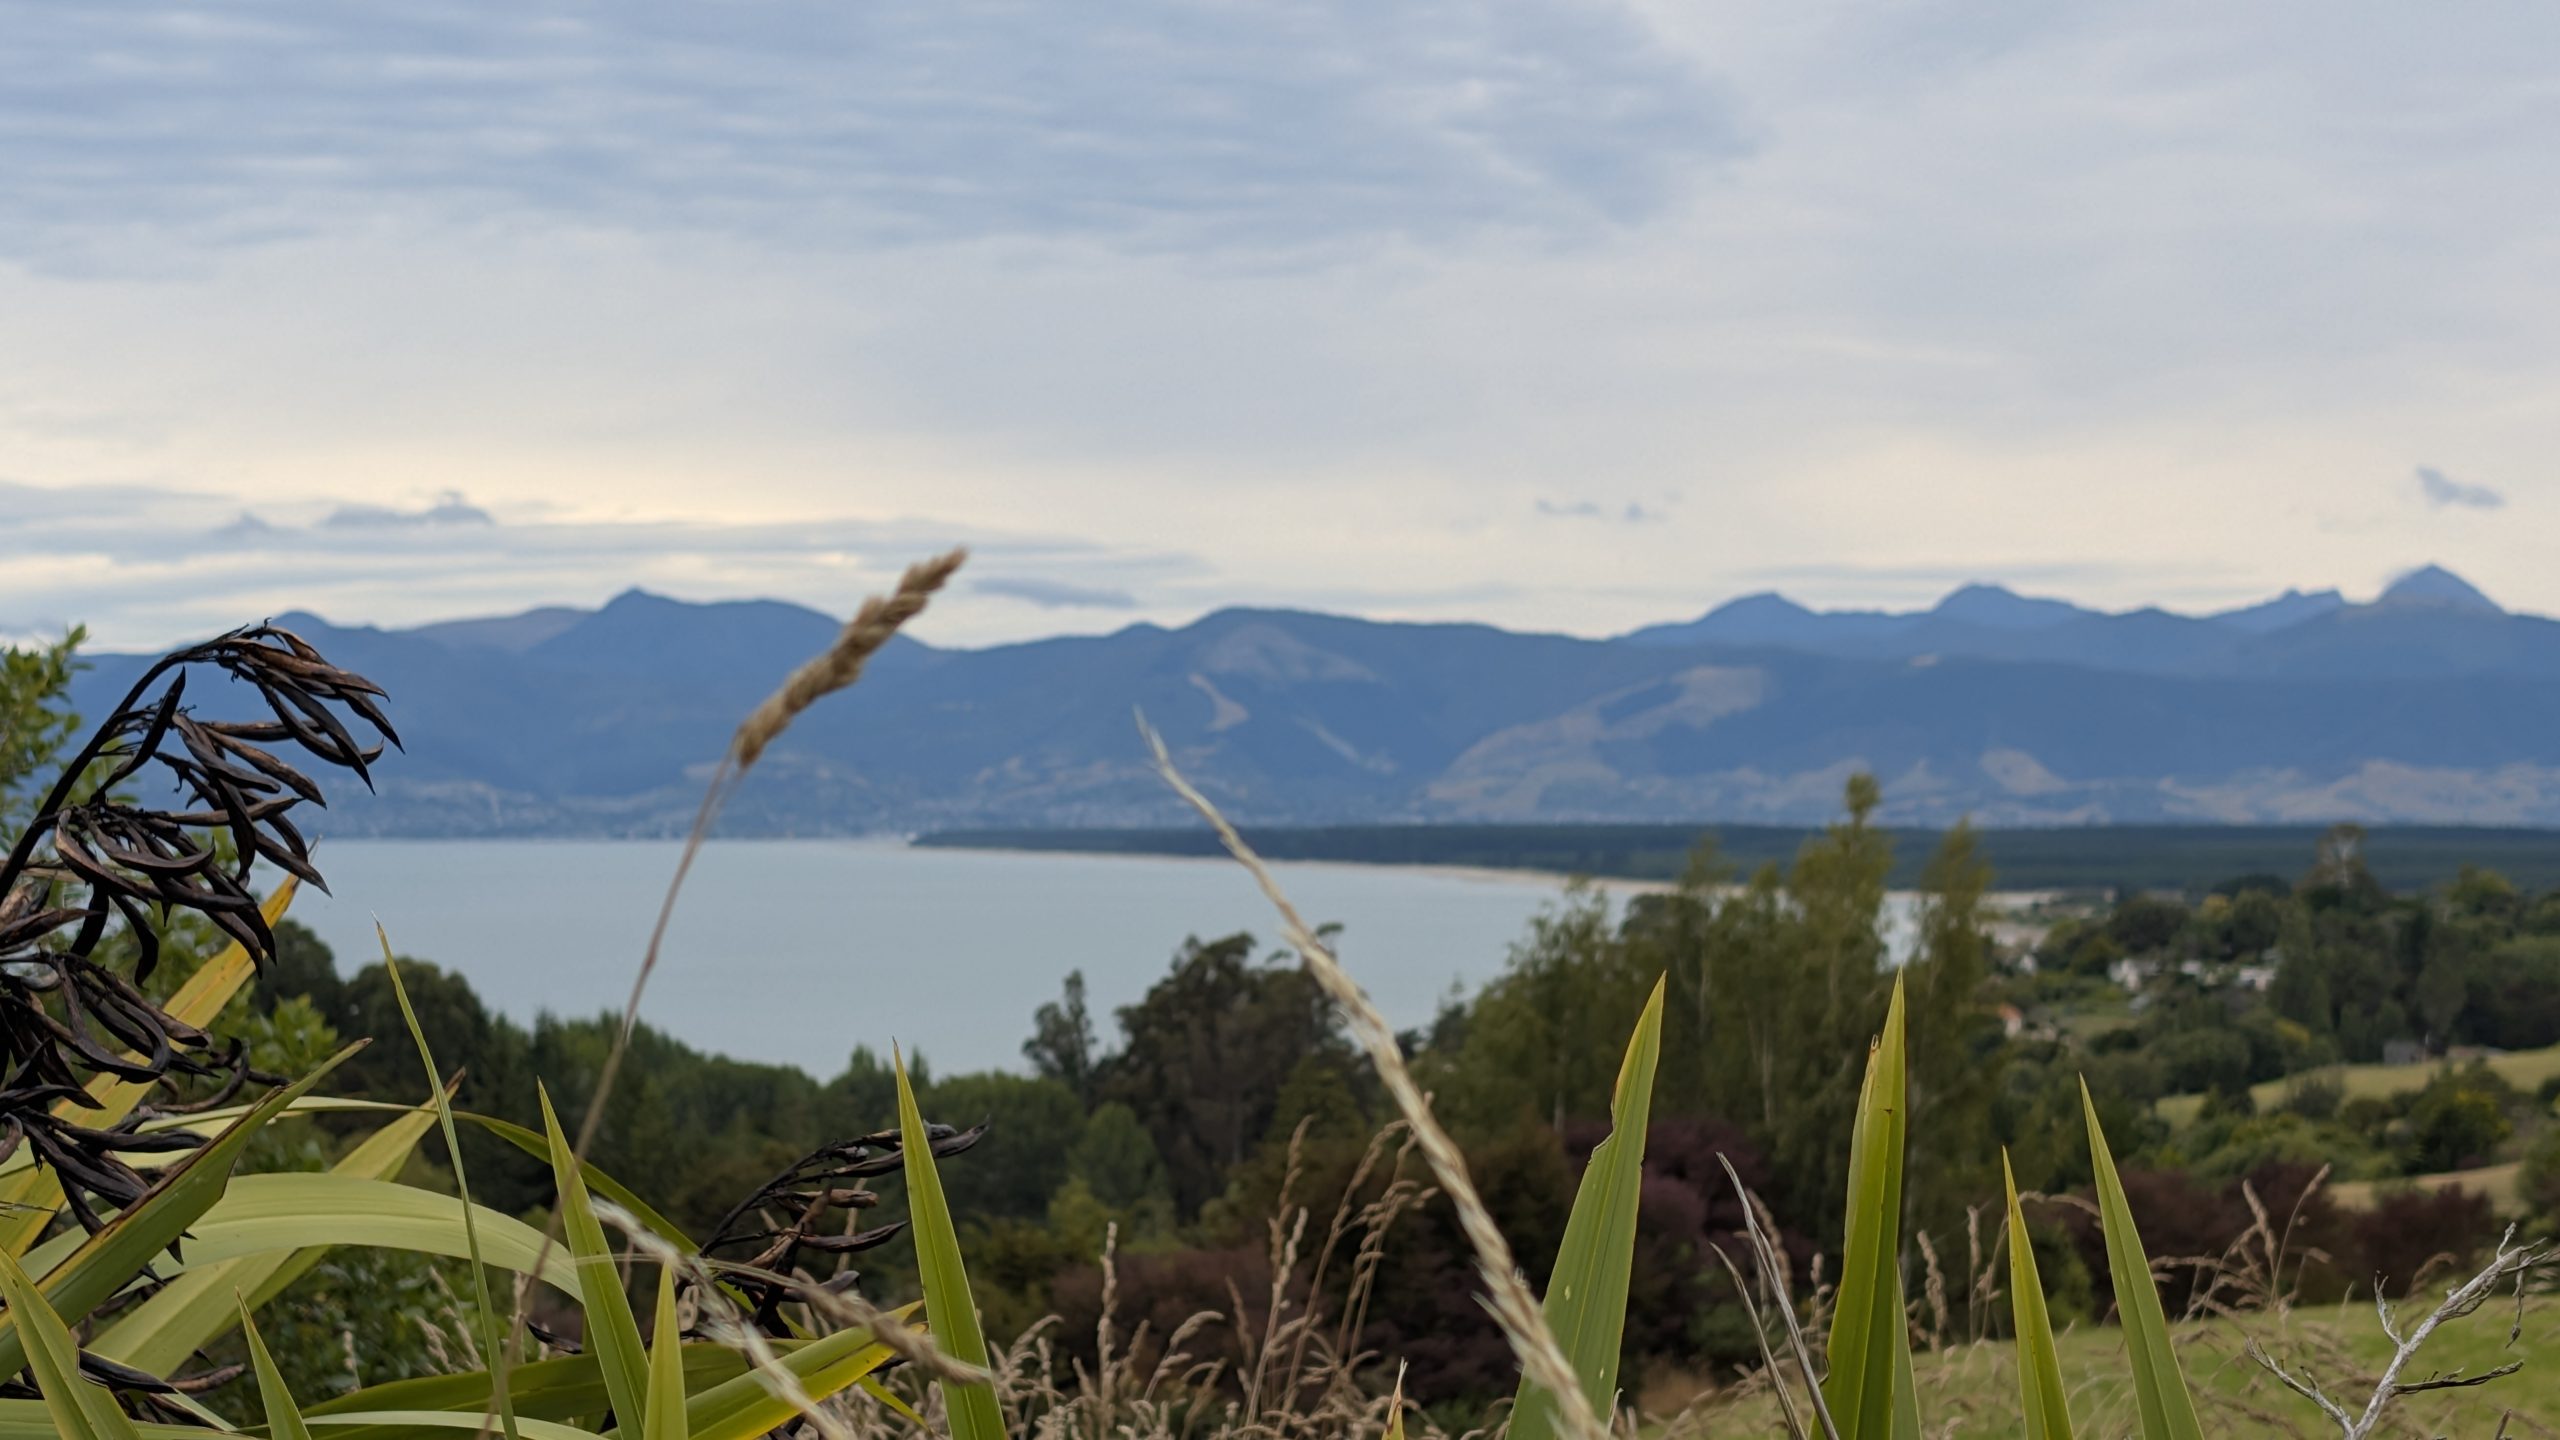
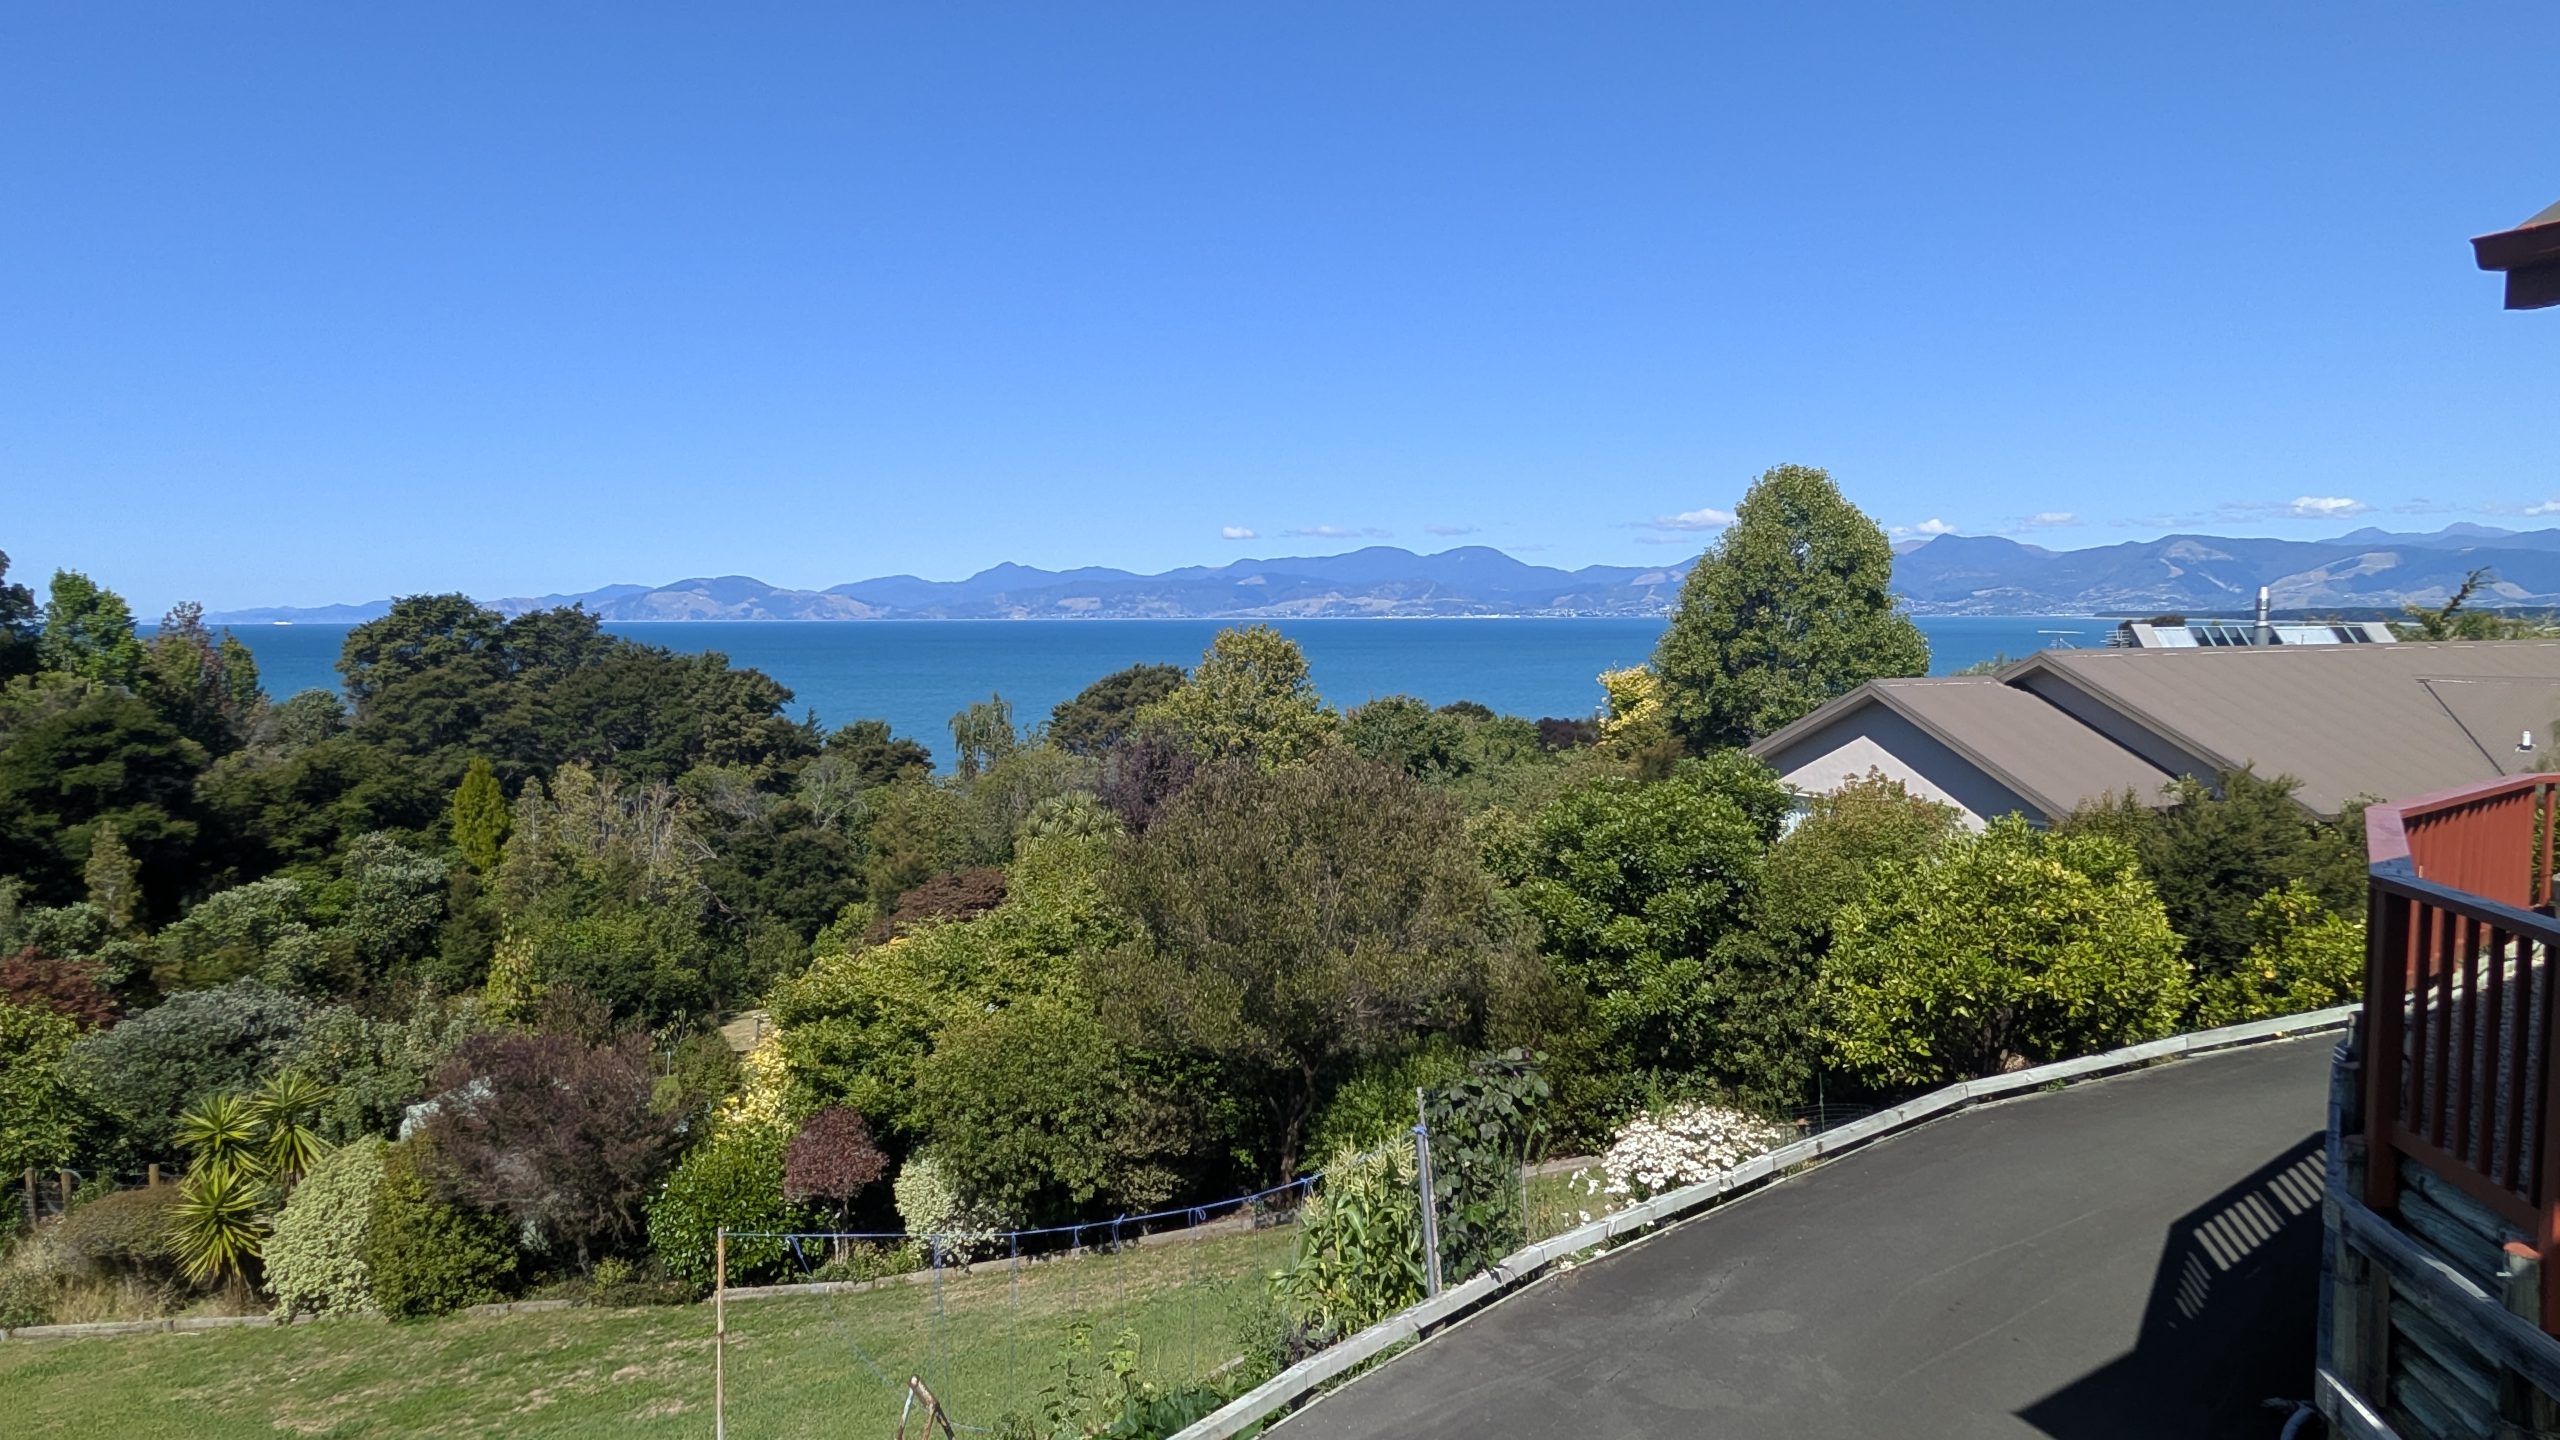
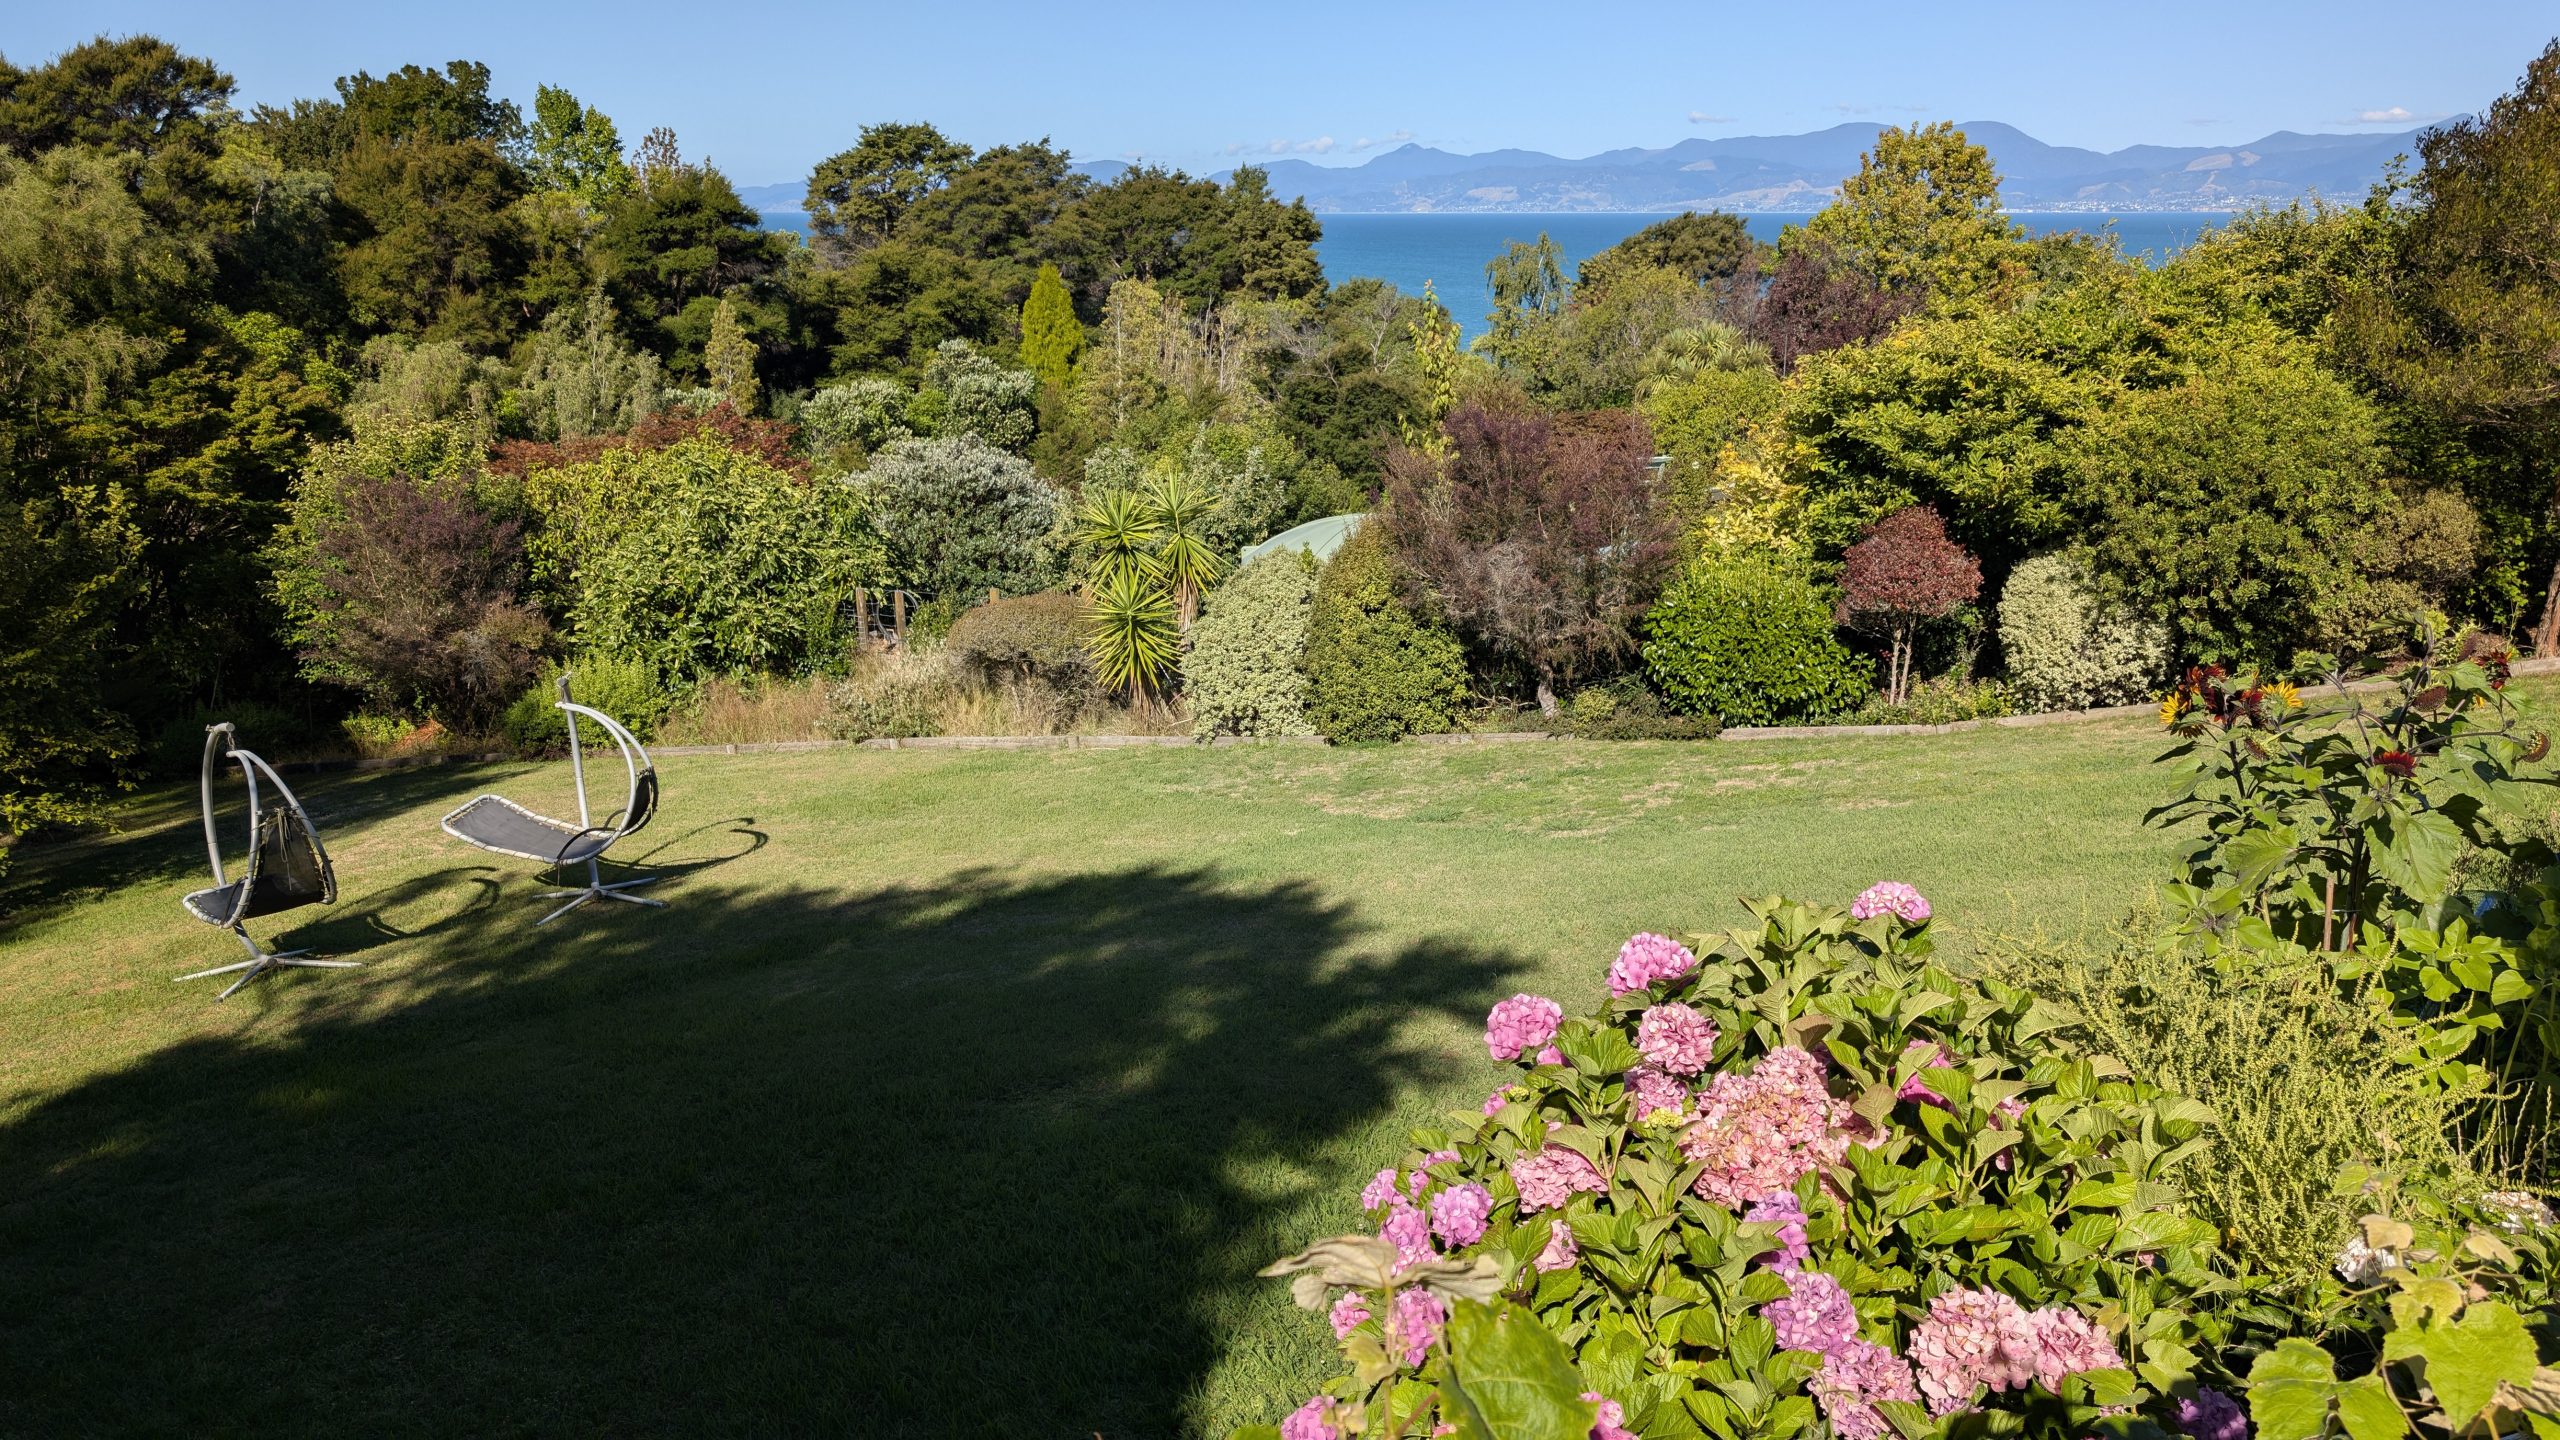
We drove to the town of Richmond to buy groceries for the next few days at the Pak'nSave store, and then we drove to our Airbnb rental in Ruby Bay. The house was perched high up on a hill above Tasman Bay, and wow, what a view it was from there! The owners were away so we had the entire house to ourselves, and we spent a lot of time on the deck eating our bakery dessert and enjoying the amazing view. We heard no car or people noise, just the sound of the many birds in the area.
Tasman Bay view from the AirBnbView from the back yardCarrot Cake Cup and Death by Chocolate desserts from The Bakery, and a killer view
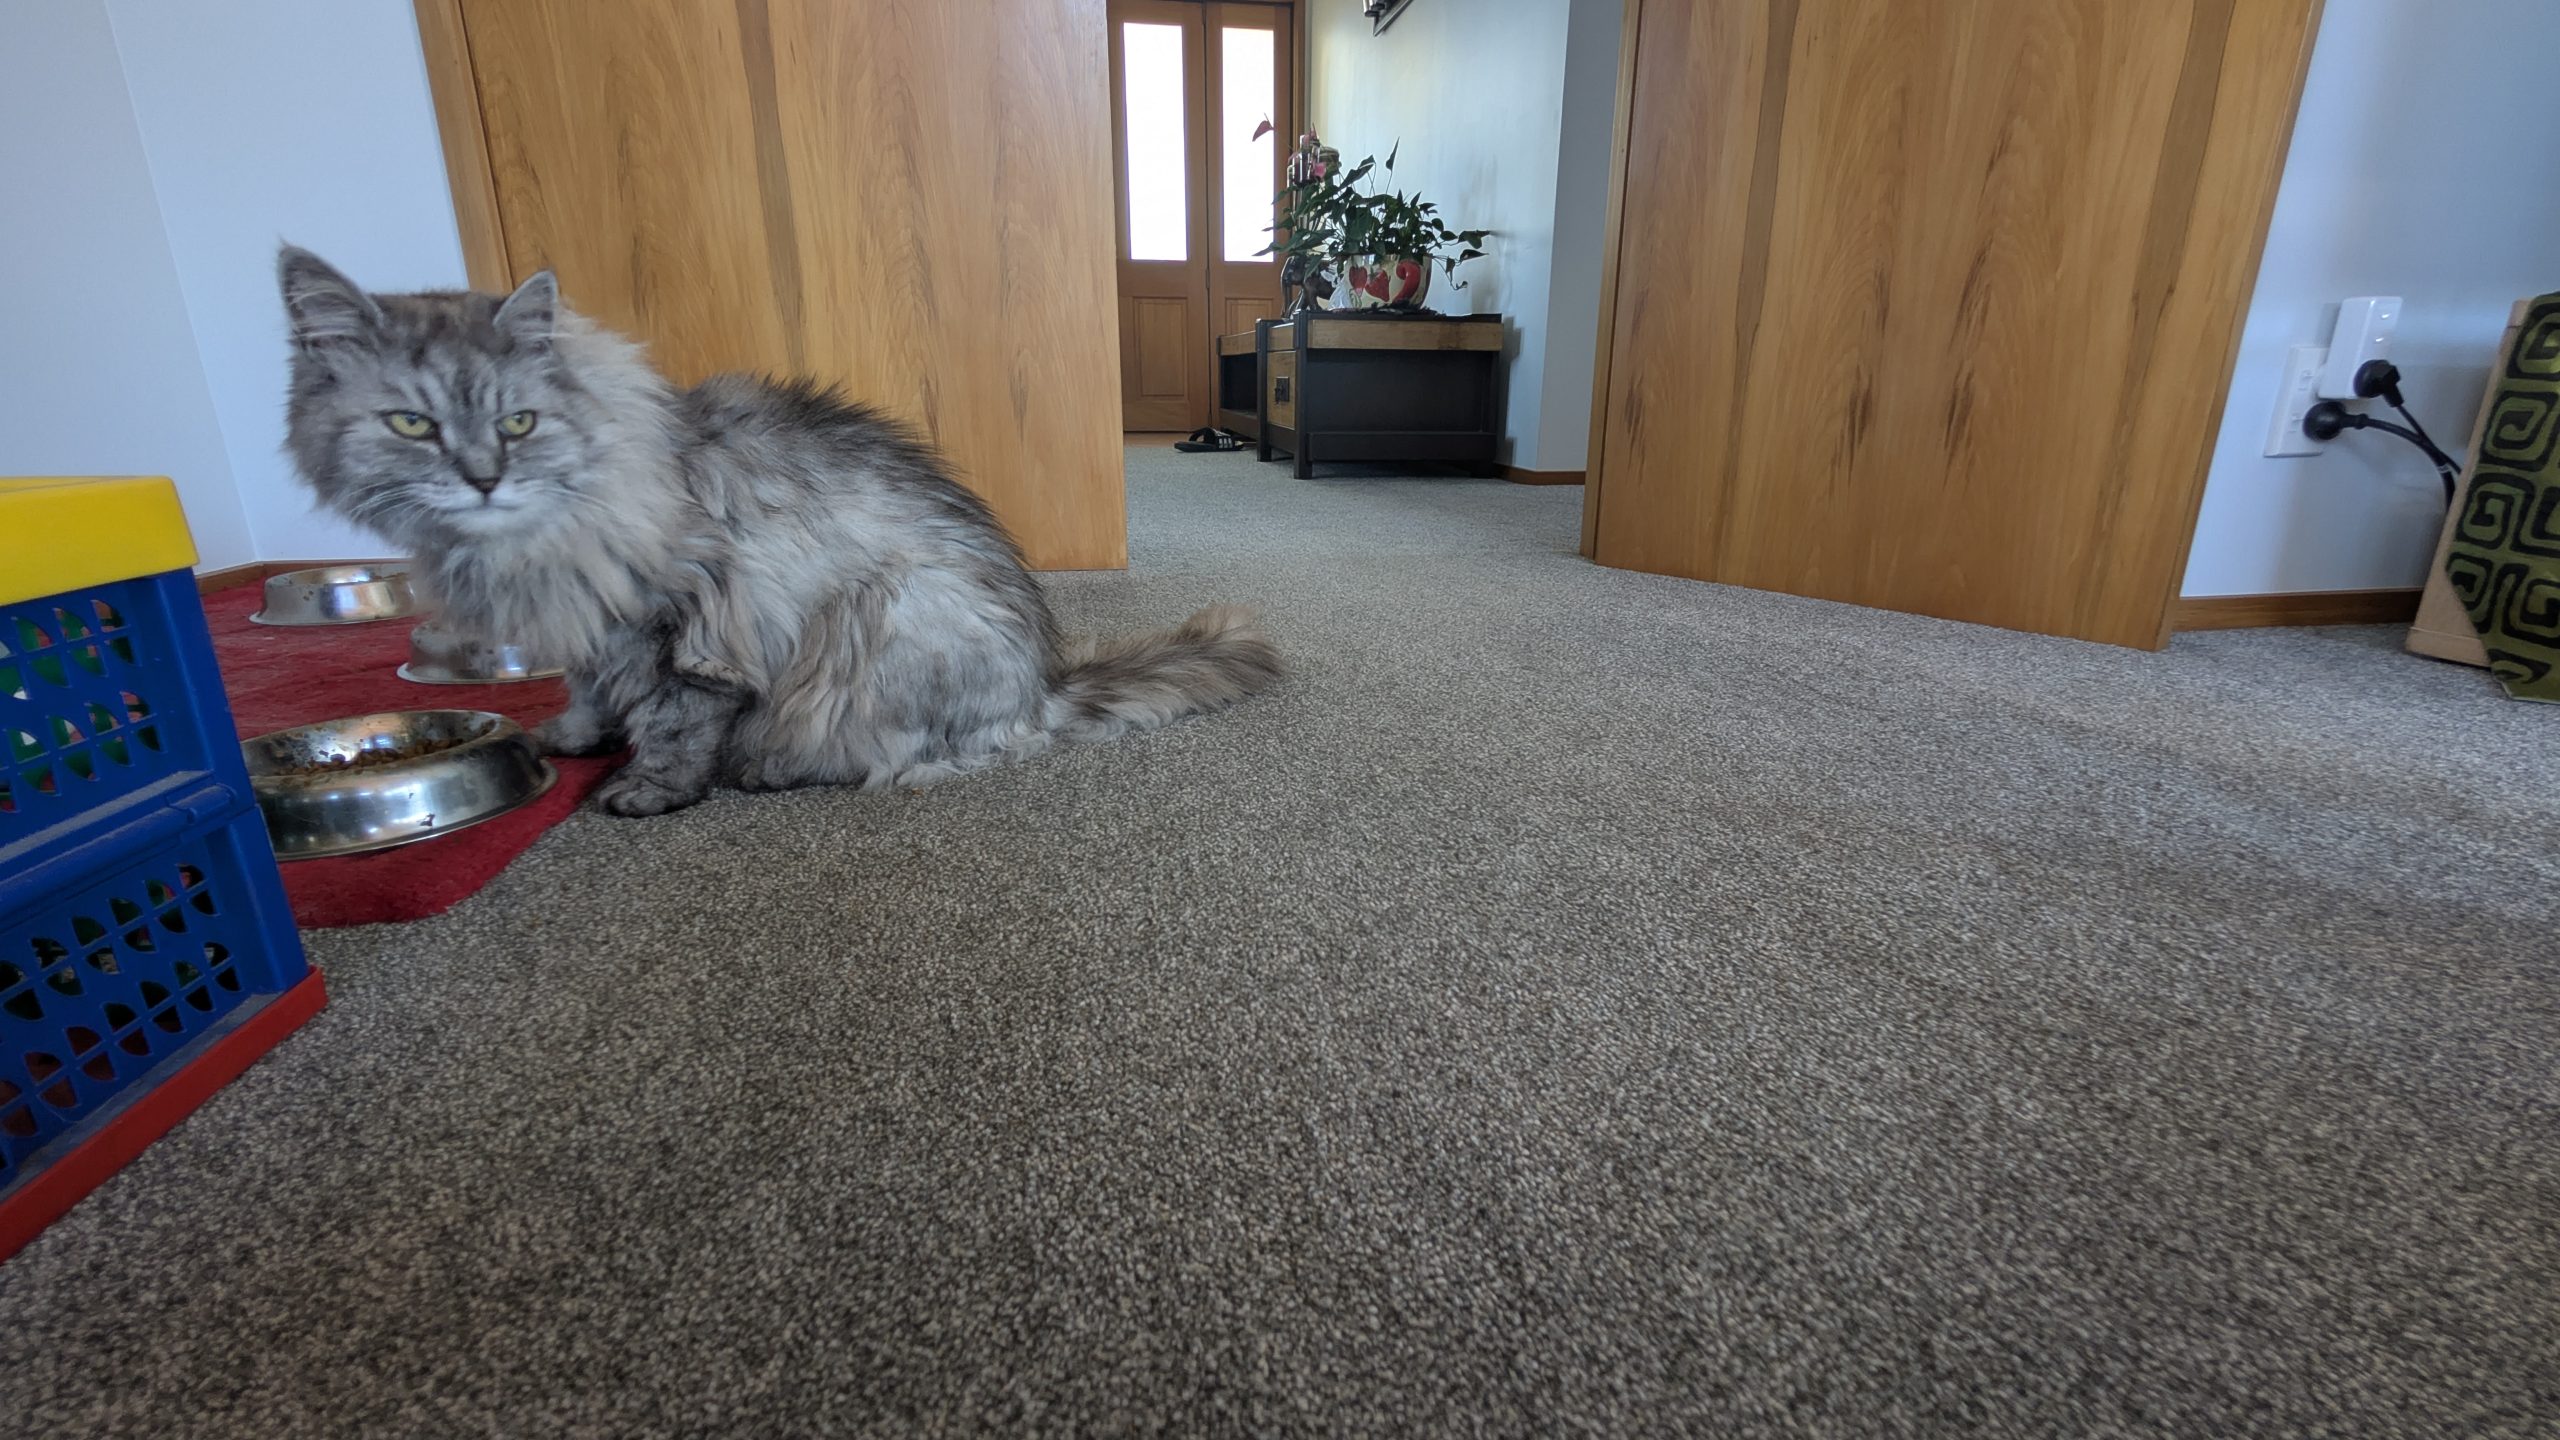
Joining us were the three resident cats: Rascal, Tilly, and Gizmo. Gizmo was very shy, Tilly was somewhat tolerant of our presence, and Rascal was super friendly and wanted lots of attention. Rascal was a big fluffy long haired cat that liked to sleep on its back in the hallway. We could hear him snoring softly just outside our door!
Rascal the friendly resident cat
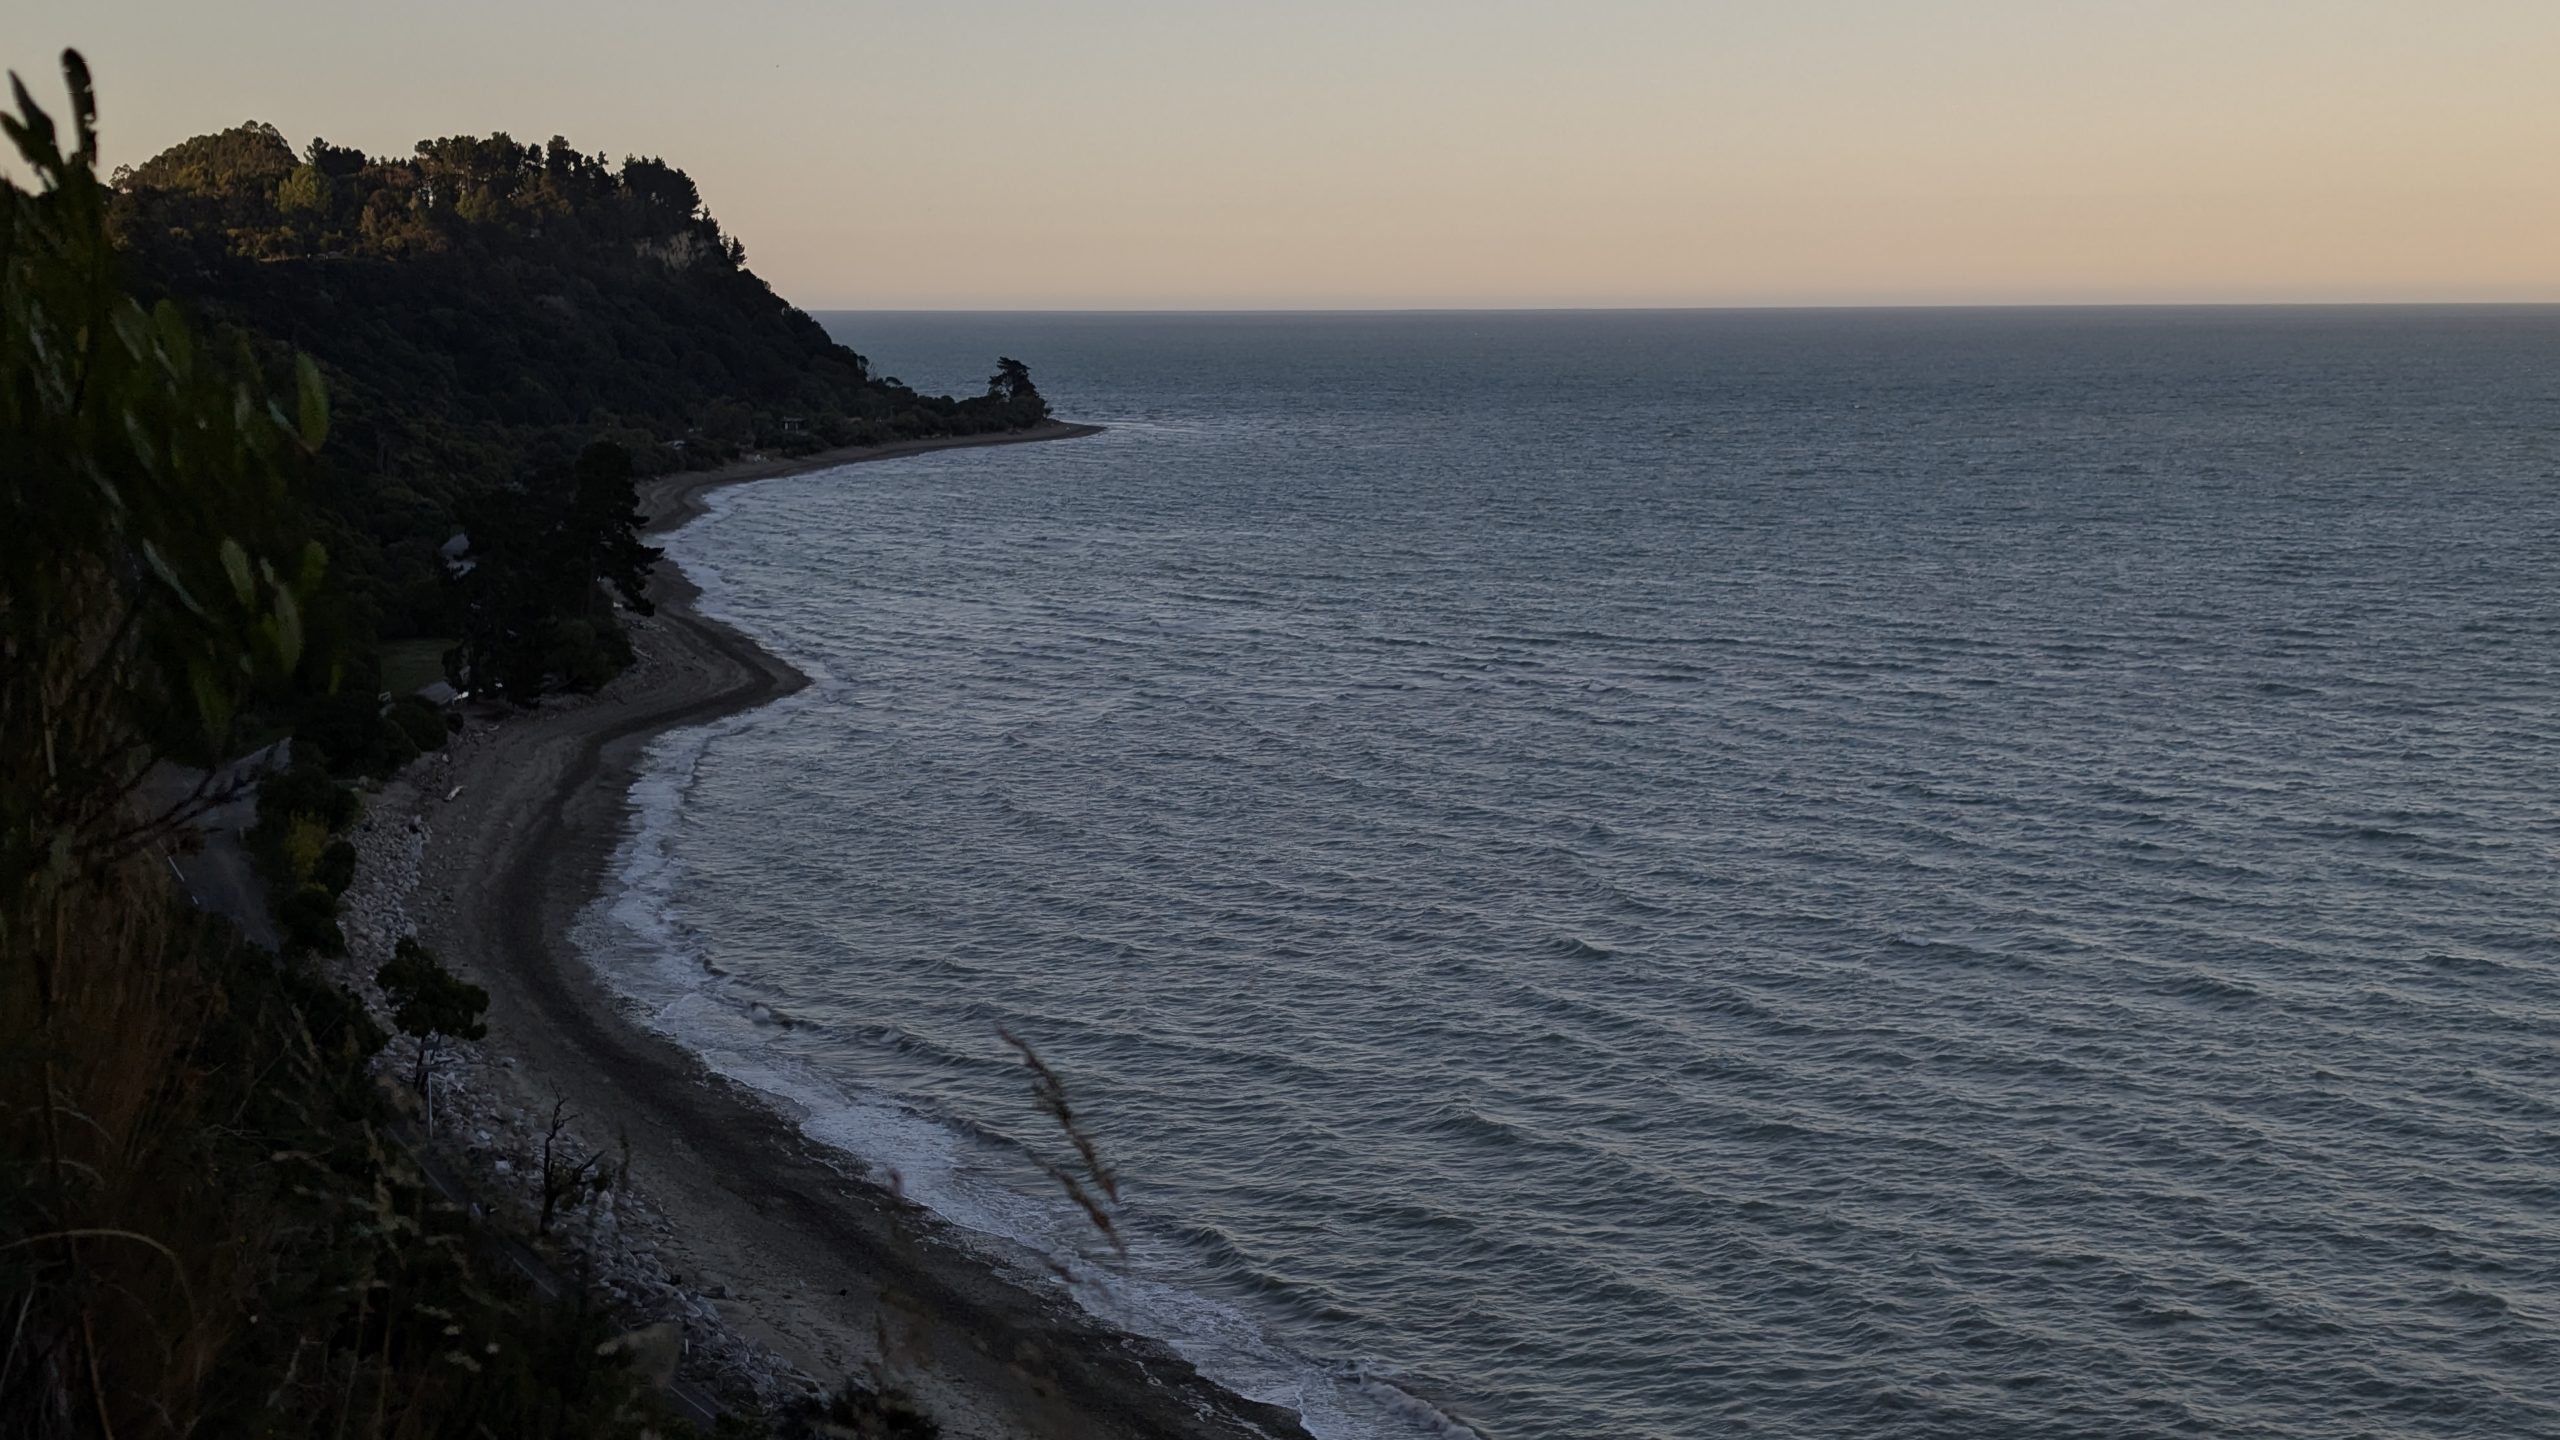
In the evening I took a walk down the street that led to a nice viewpoint of the coast below.
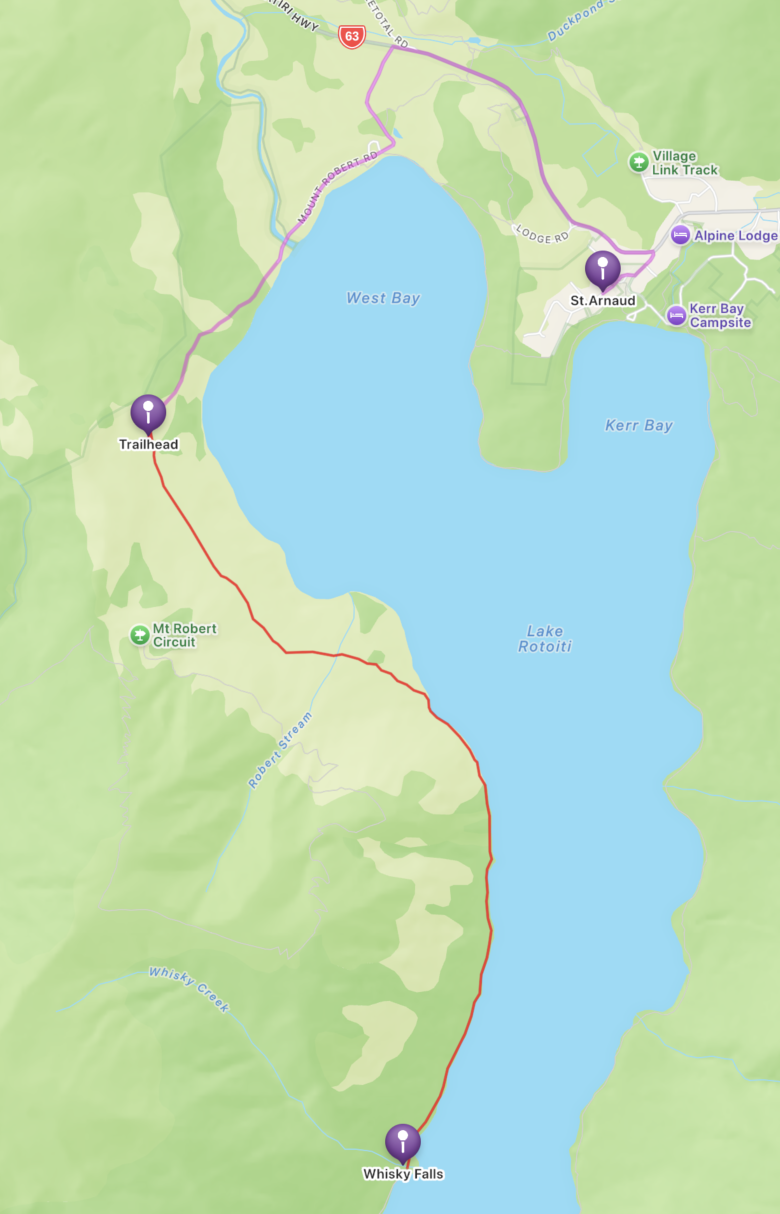
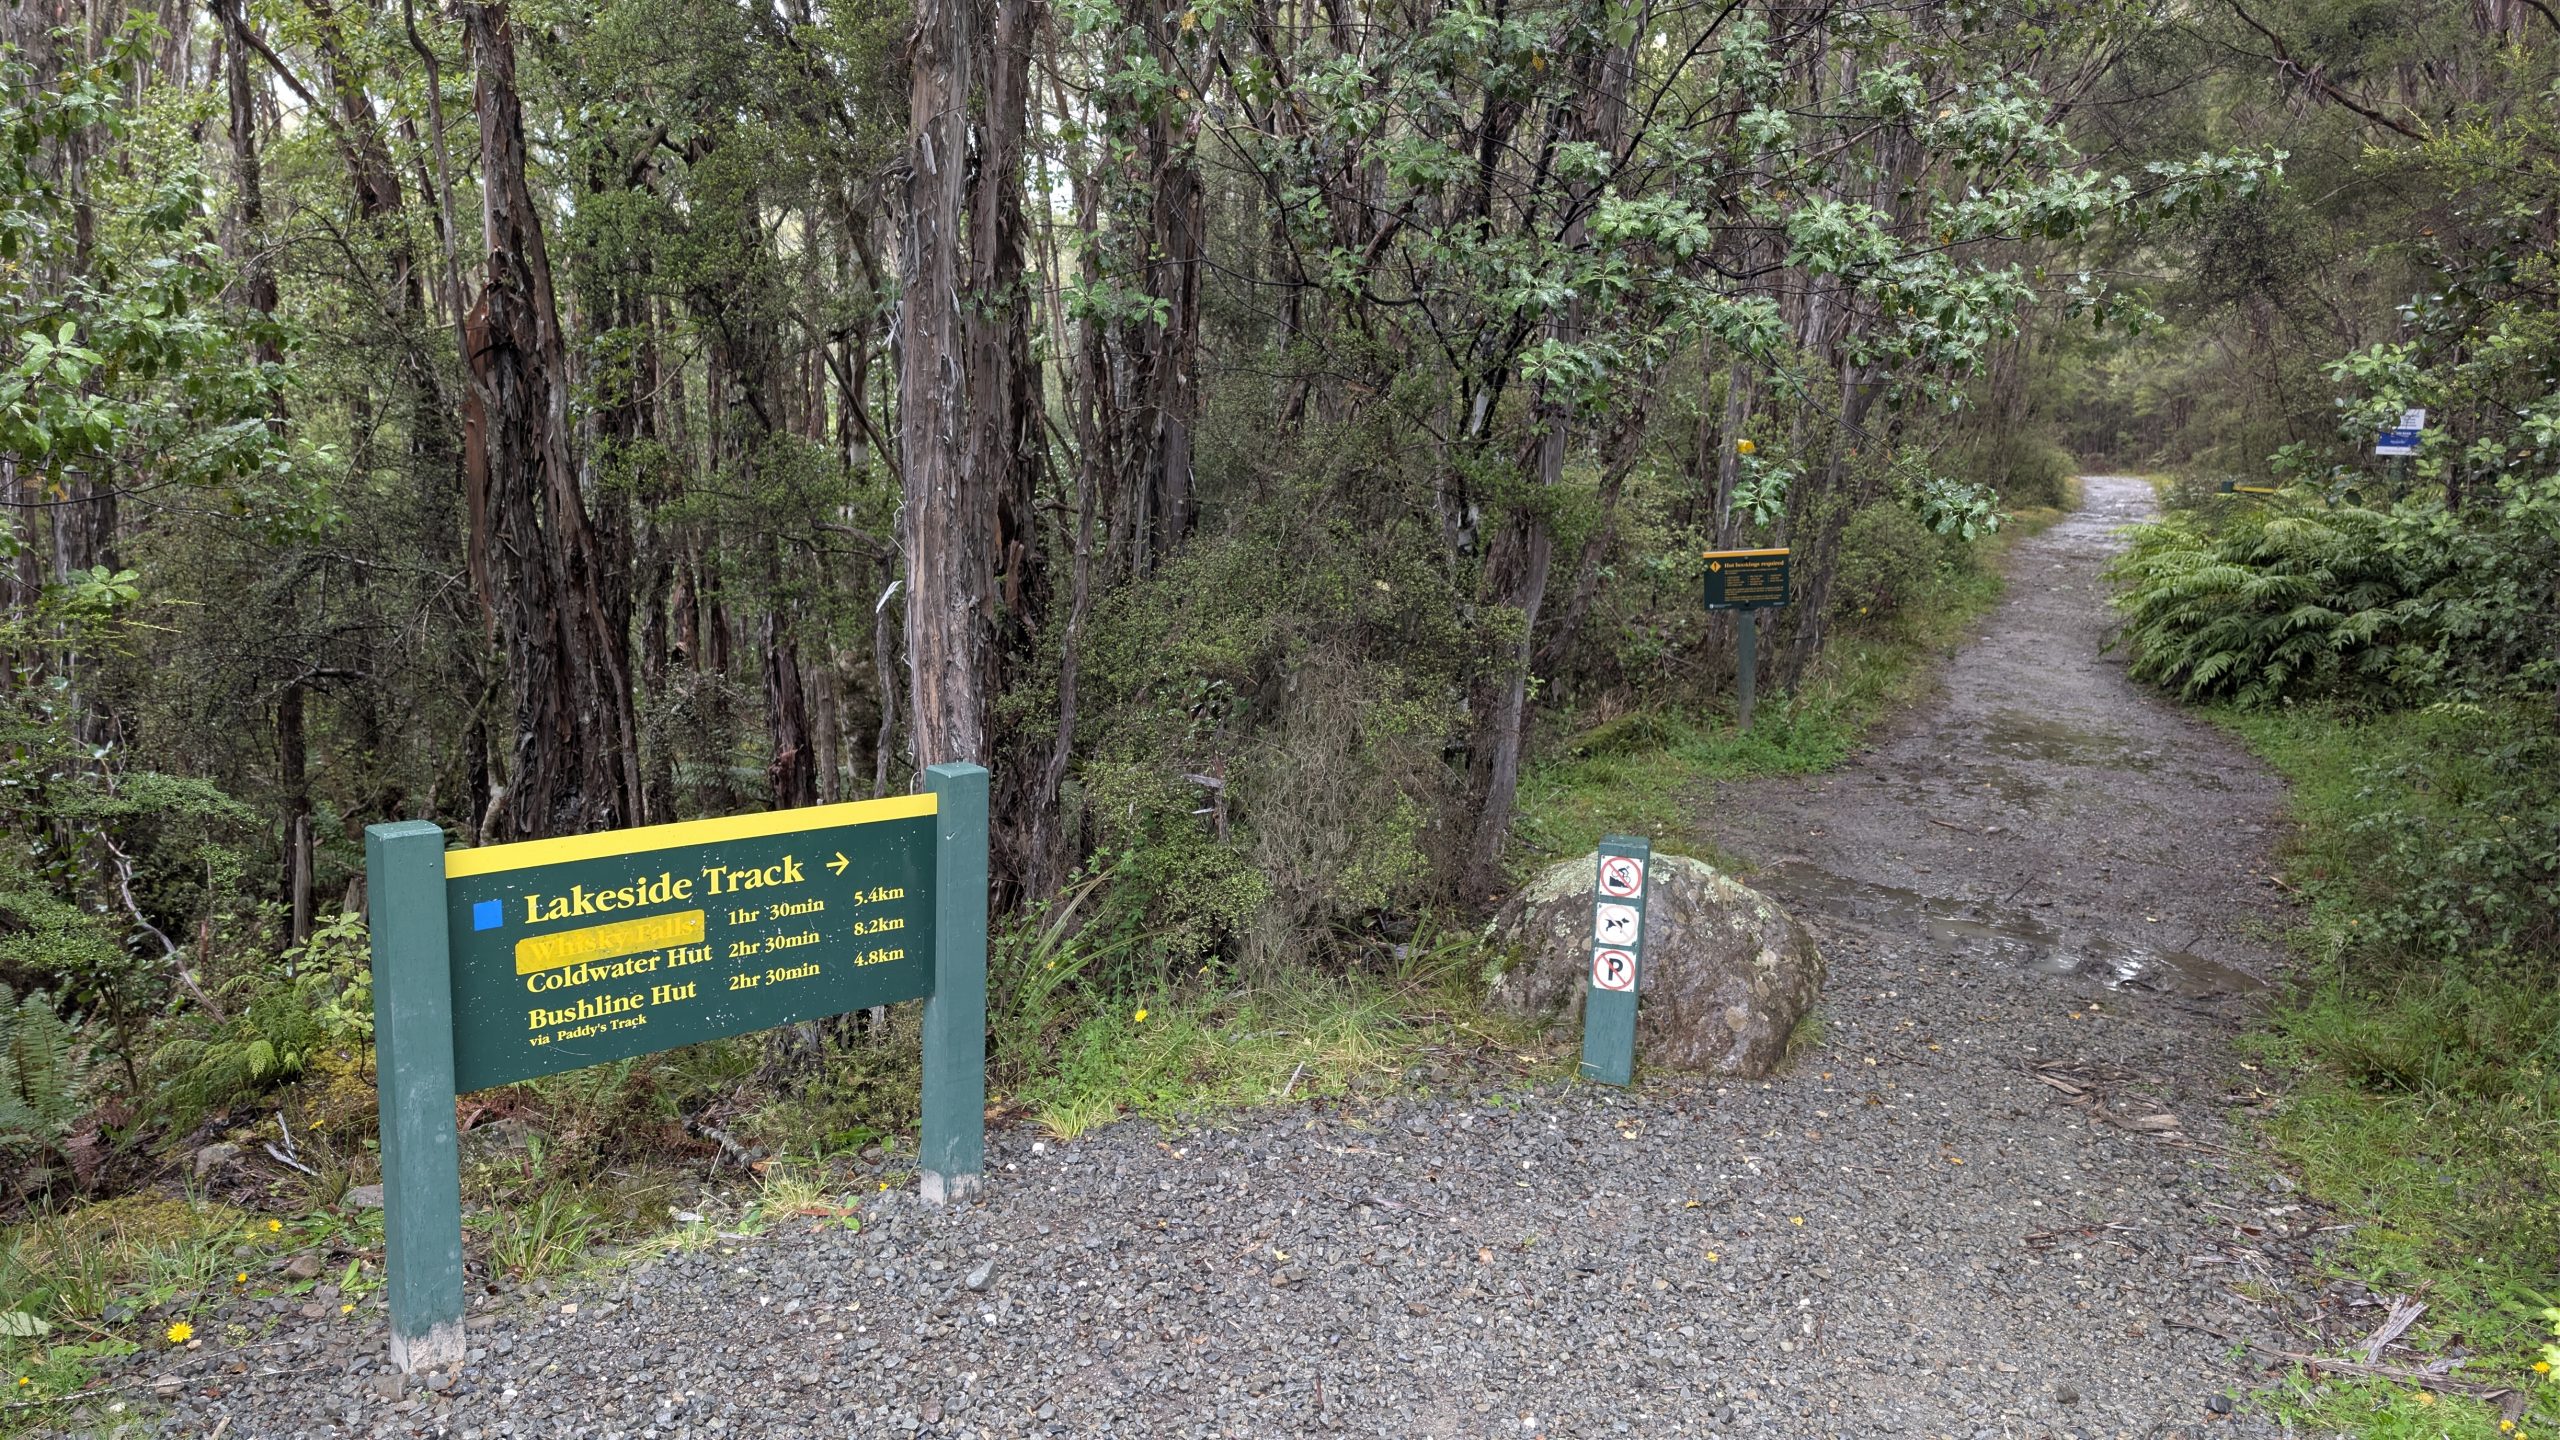
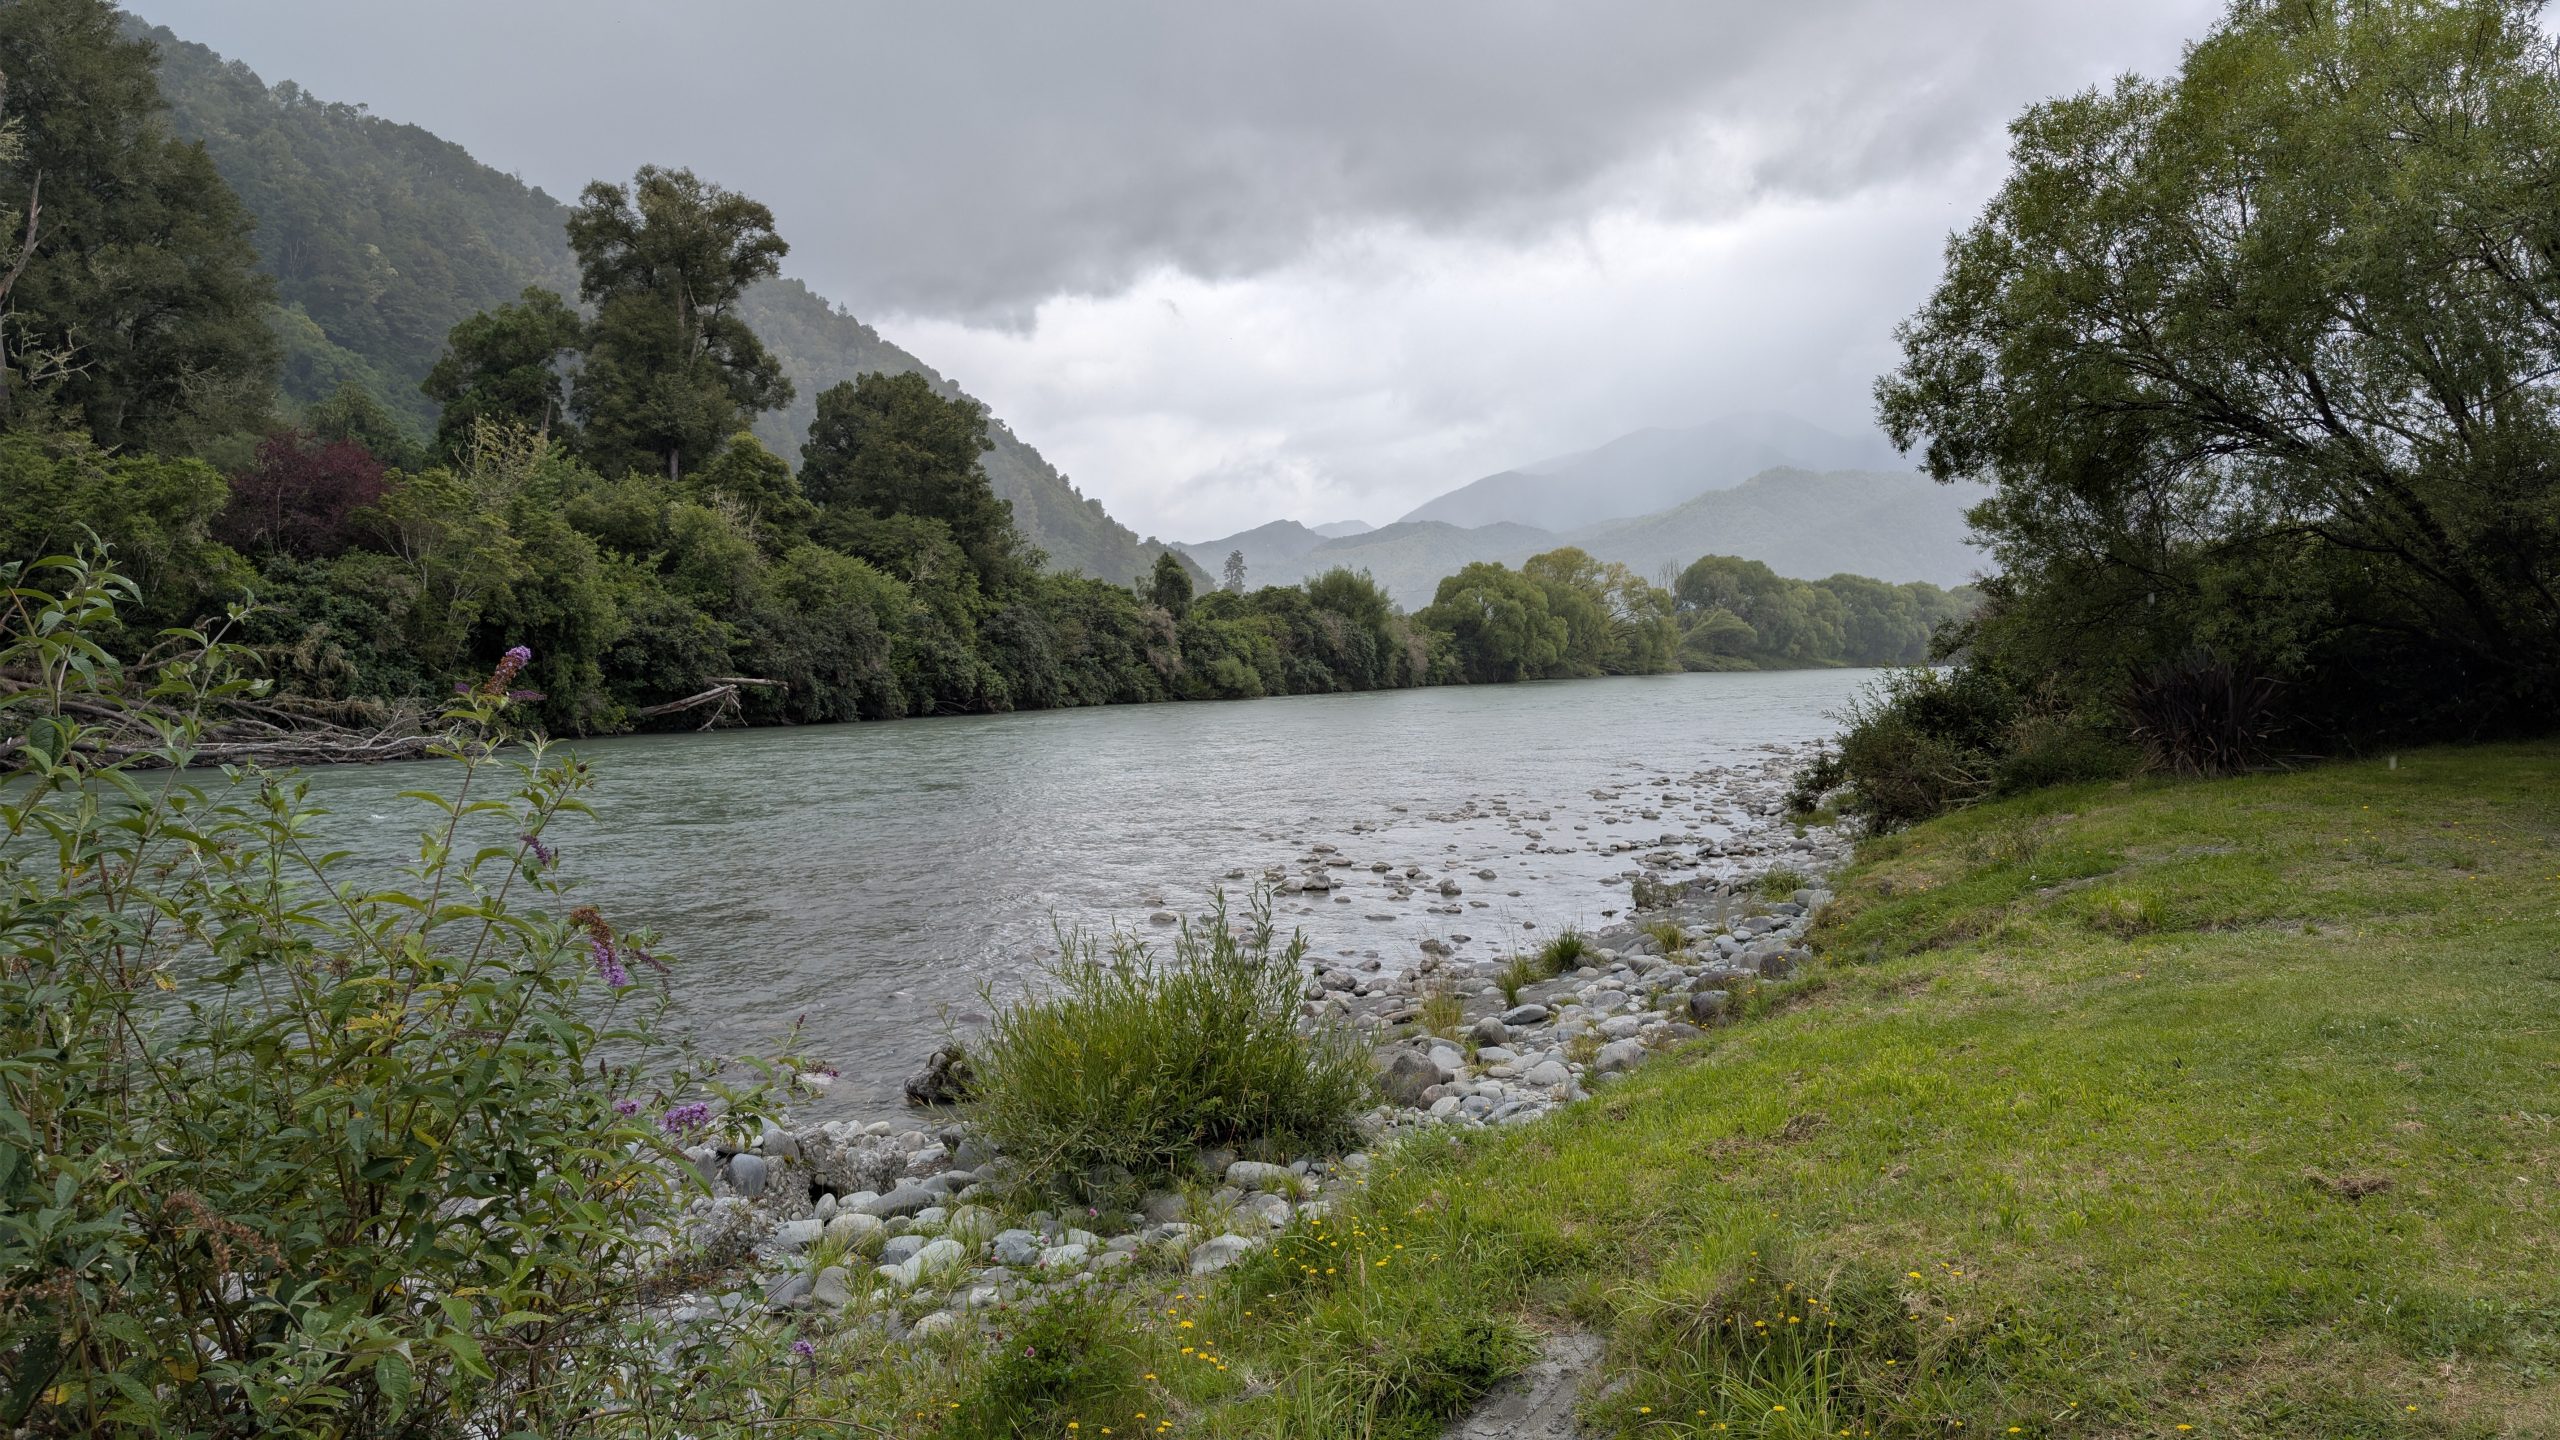
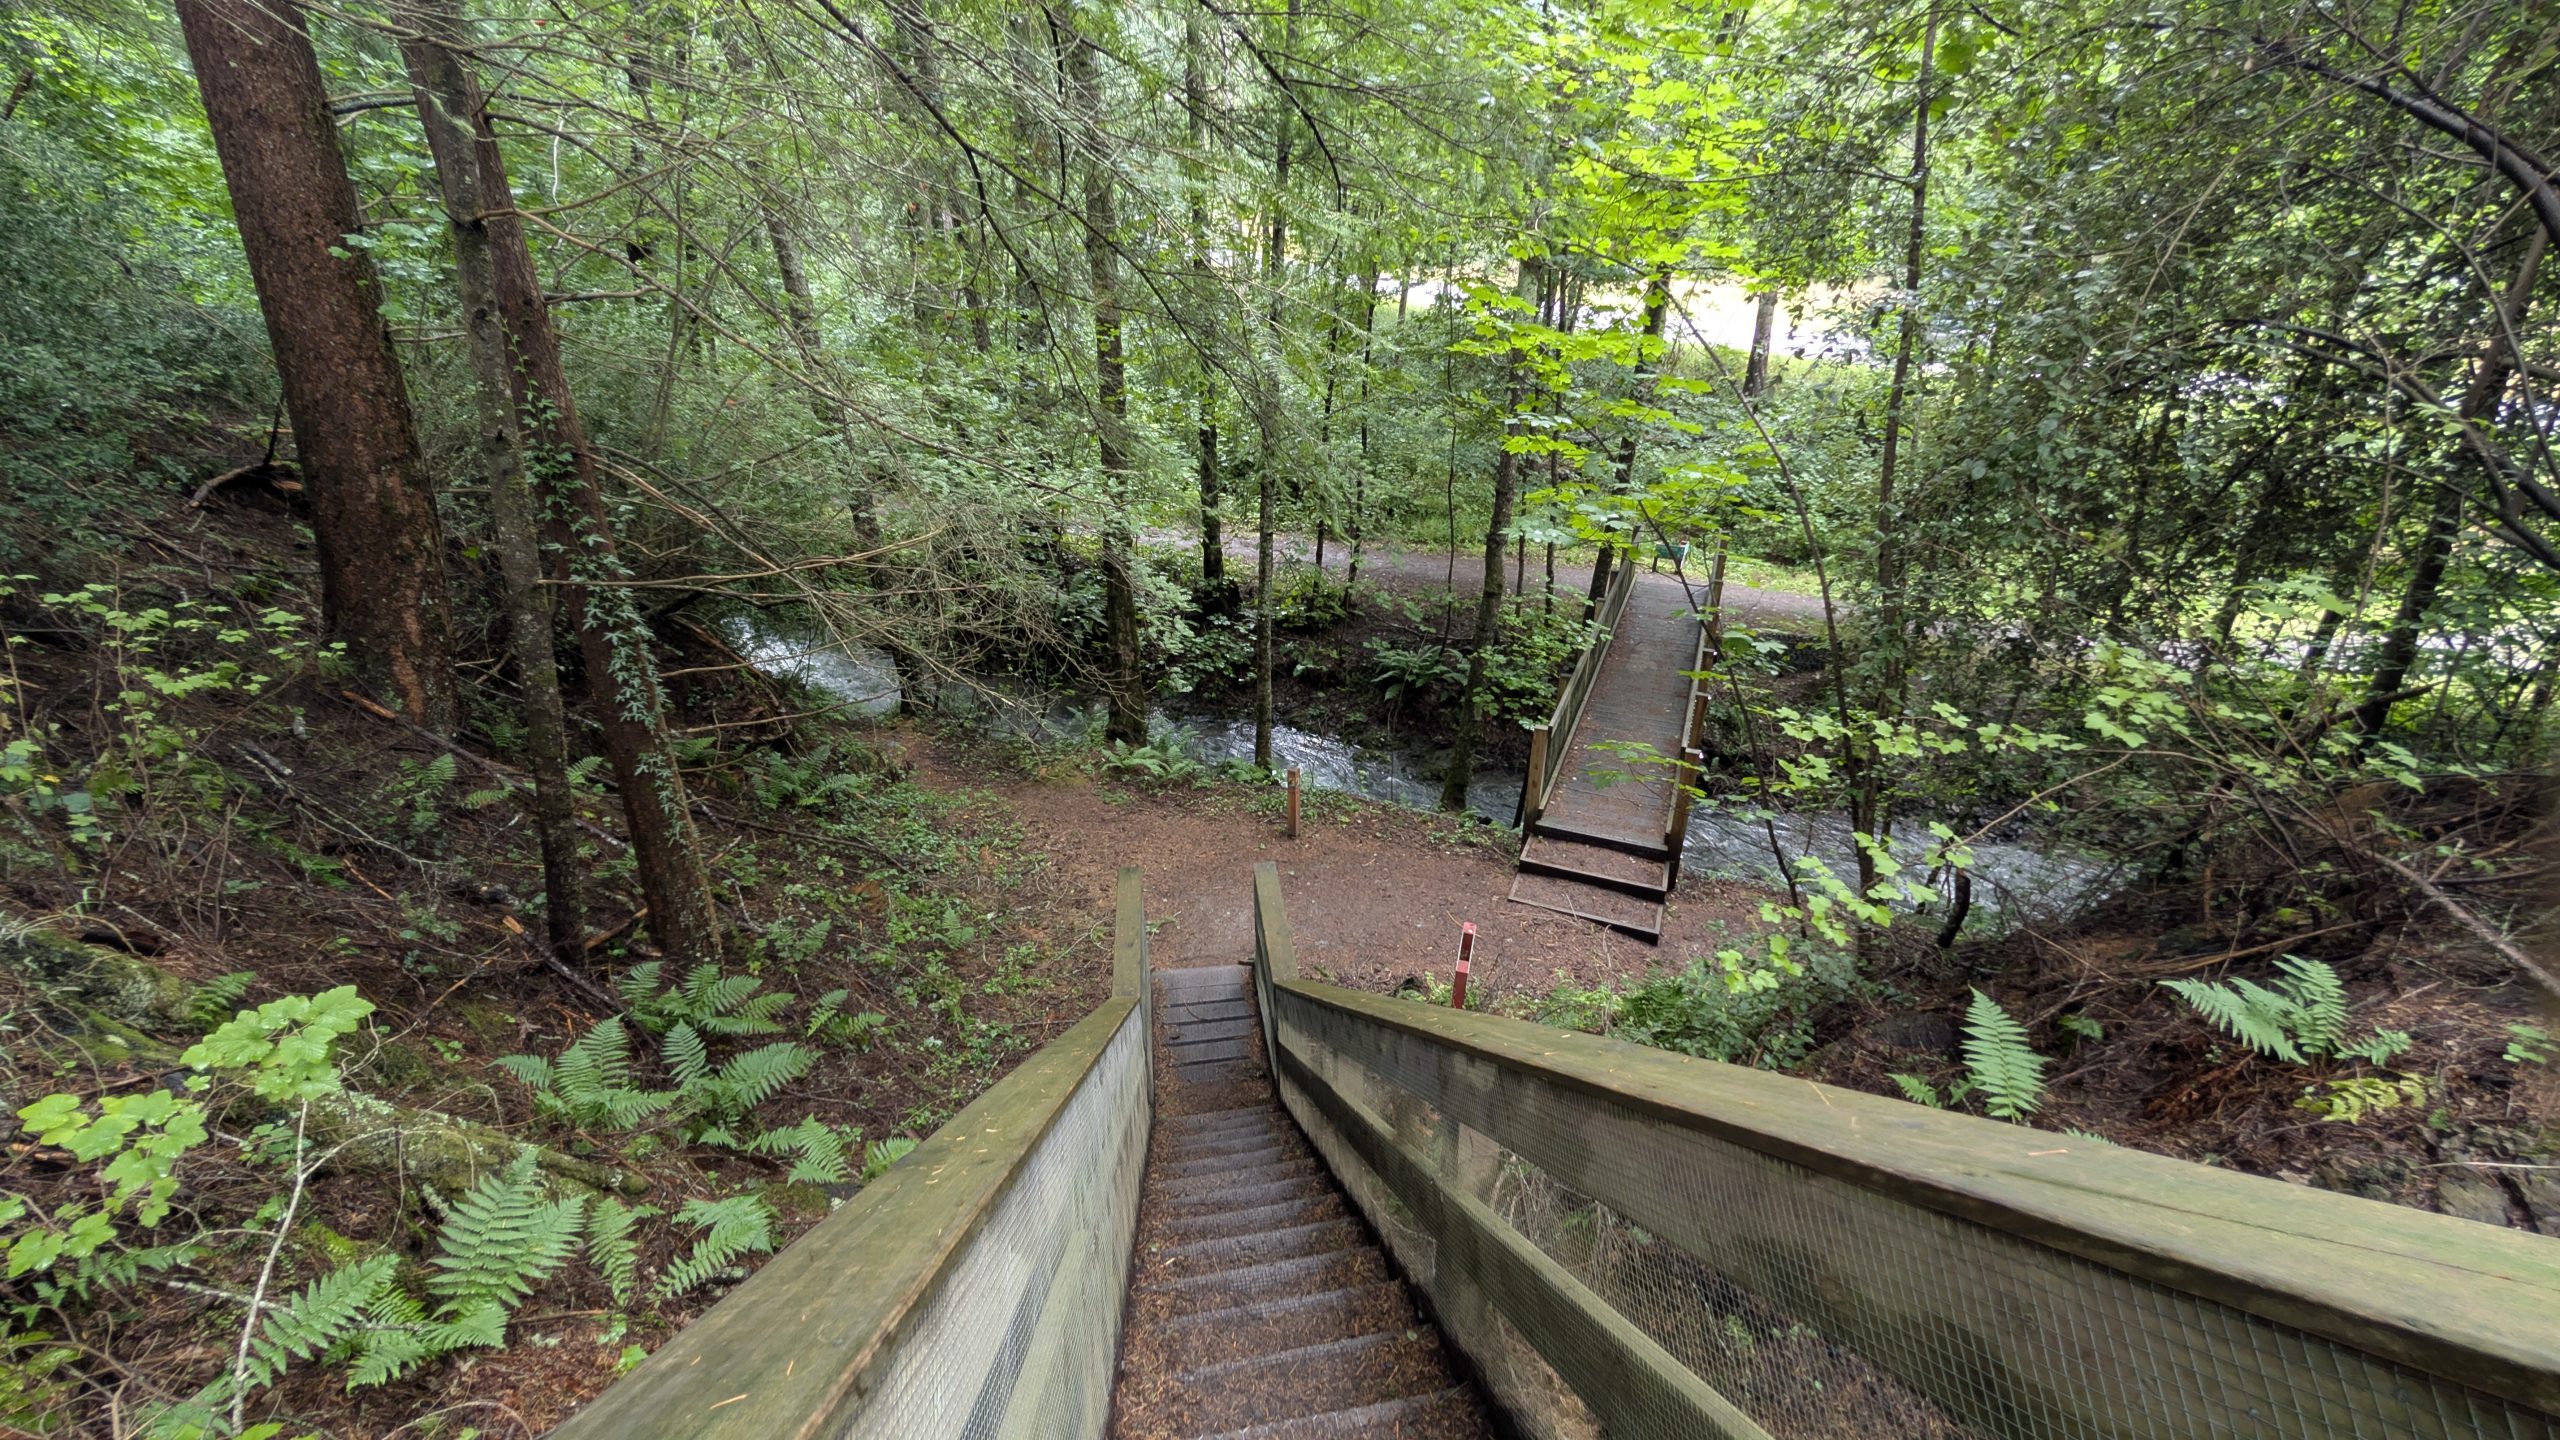
We woke up to a steady rain with clouds obscuring the mountain peaks. I had planned to do a view hike up to Mount Robert, but the forecast of all day rain caused a change in plans. We decided to hike along the lakeshore to a waterfall.
Start of the trail
The Lakeside Track was about a 10-minute drive from our cabin. The trail was mostly level, but it was very wet and muddy in spots. We started later in the morning to allow the weather to clear a little bit. We did see a few patches of blue sky off and on, but it never lasted. Drizzling rain fell periodically throughout the hike.
View of the lake and low lying clouds covering the mountains
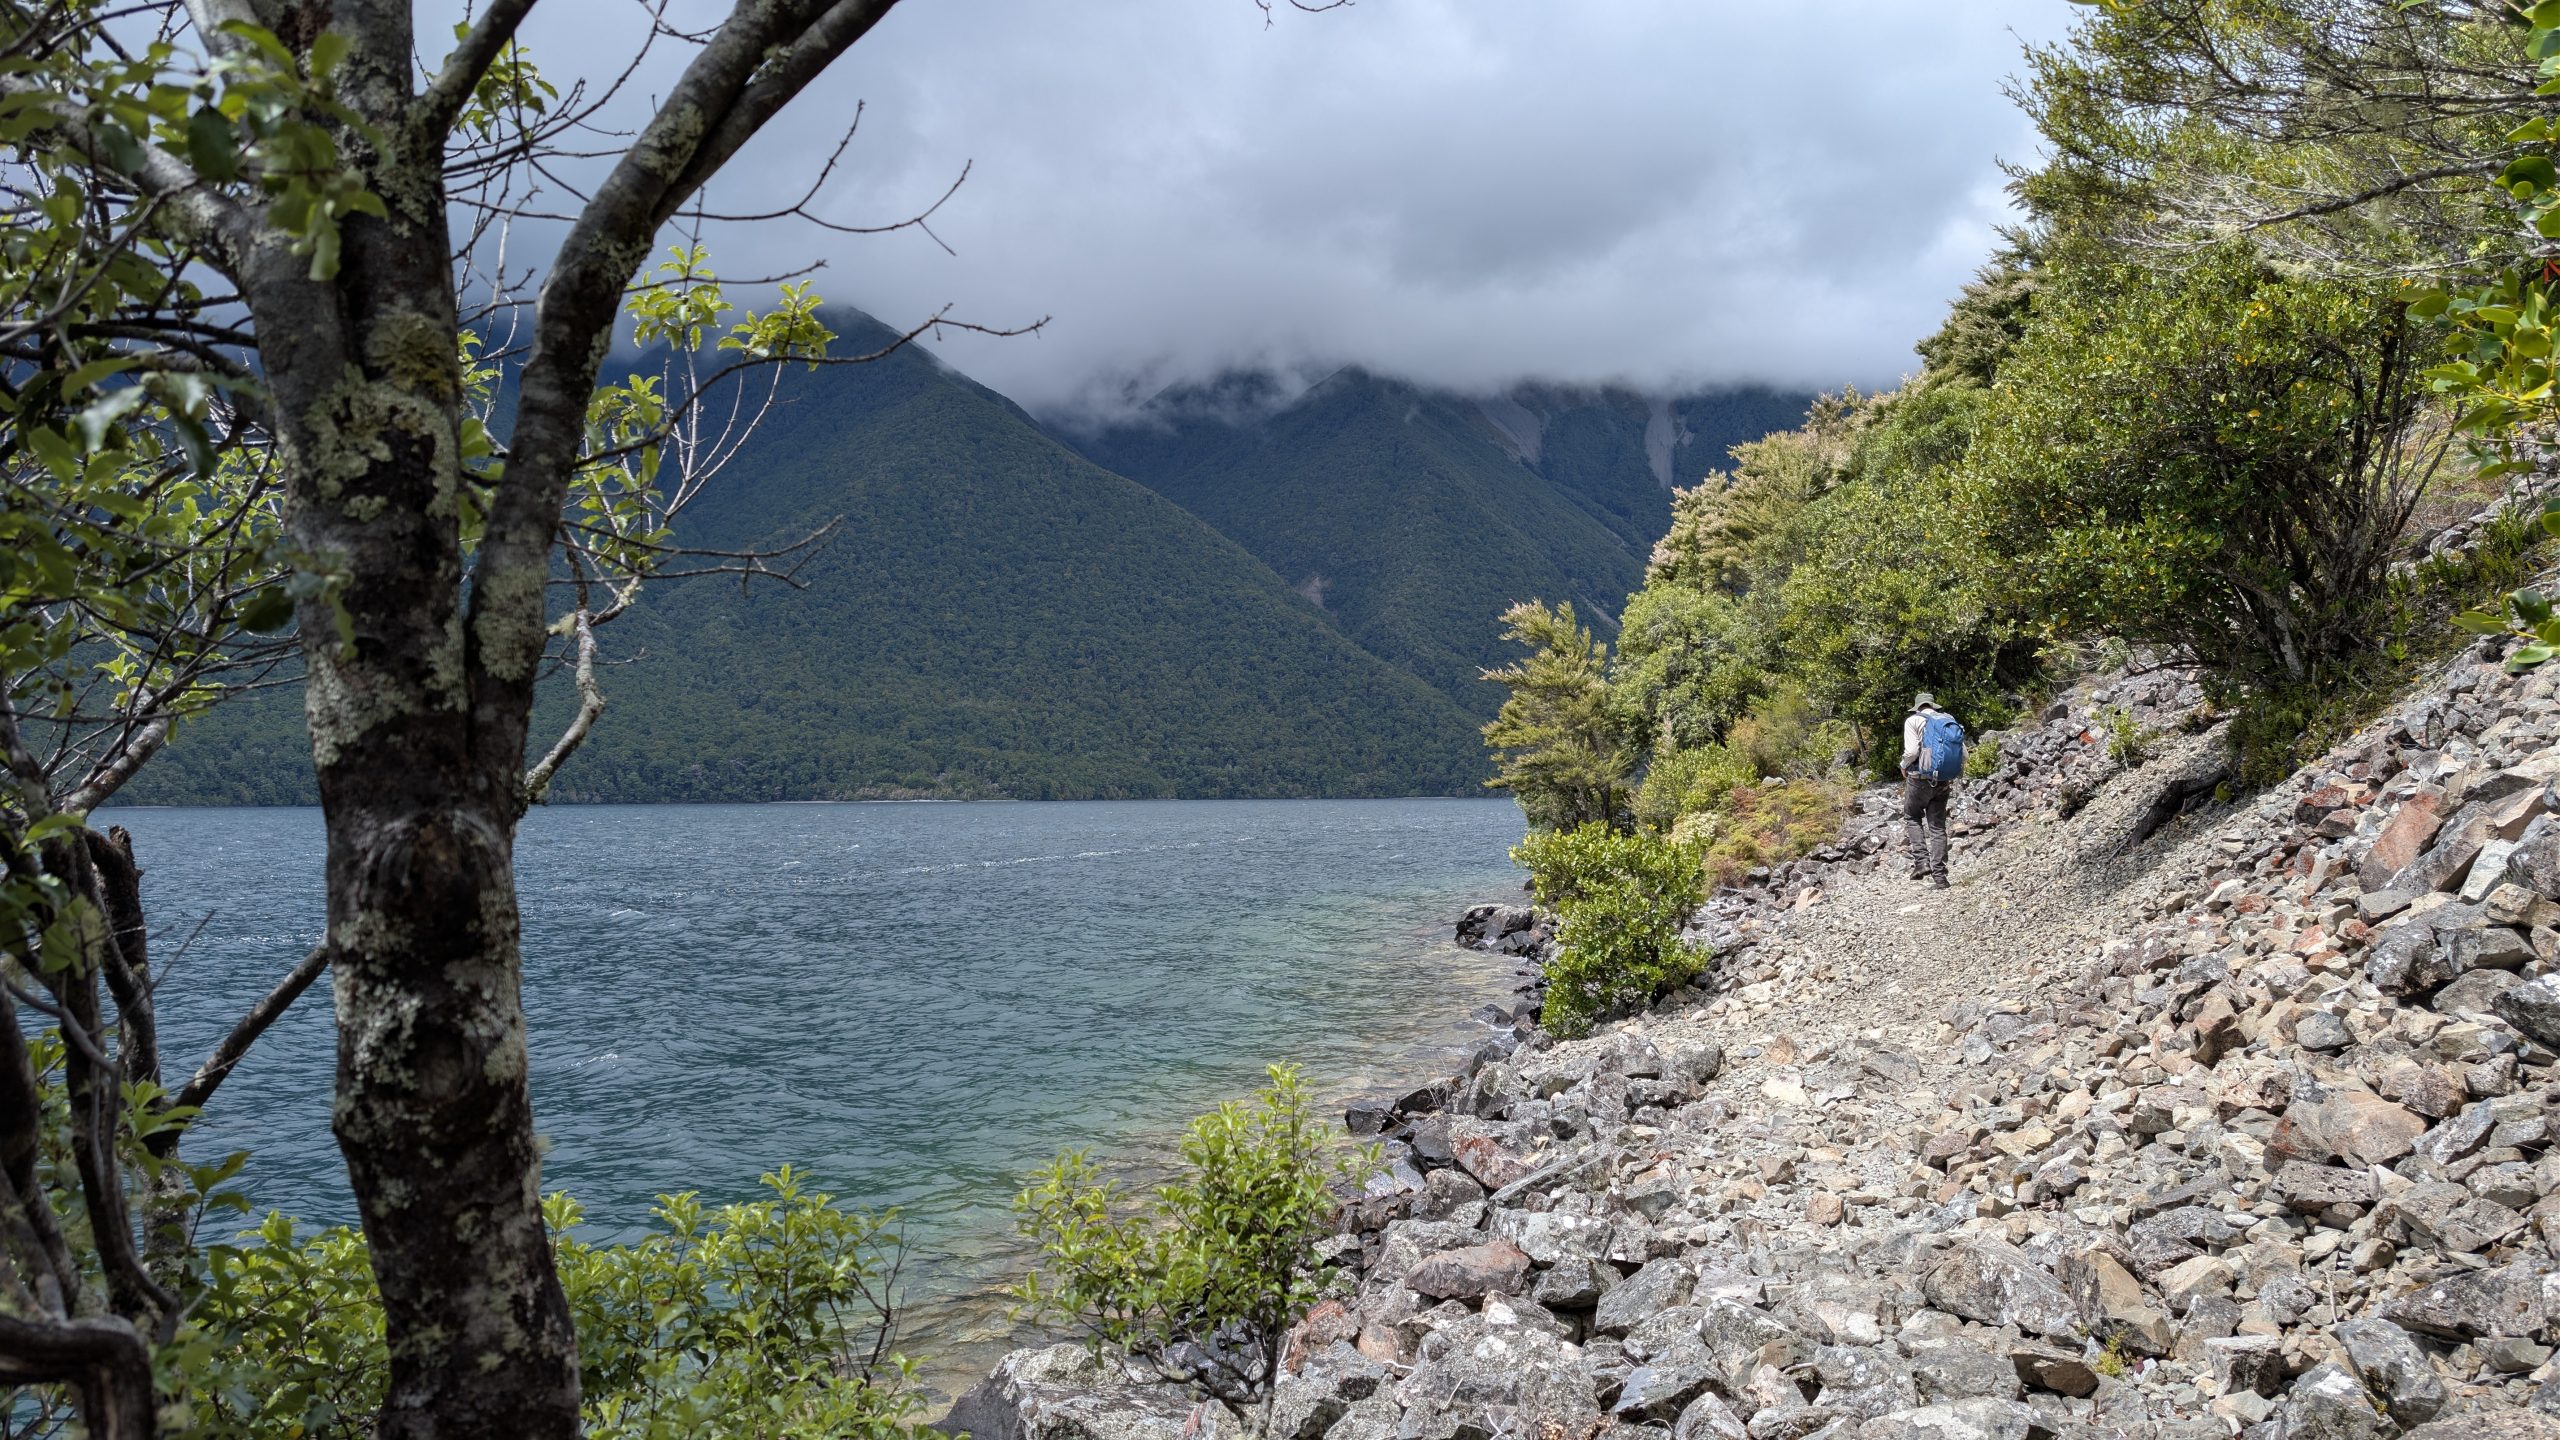
Our destination was Whisky Falls, about 6.7 miles round trip. Very close to the end of the hike, we encountered a creek that was almost impassible due to all of the recent heavy rainfall. There was no bridge, and the stepping stones were mostly covered with rushing water. Heinrich found a walking stick that someone had left on the bank, and I was able to use it to pick my way across, but Heinrich didn't feel comfortable doing it. I did get a shoe full of water part way there. I made my way to the waterfall which was about another 5 minute walk ahead, took some videos and snapped a few photos, and rejoined Heinrich.
The waterfall was very nice with probably heavier than normal flow due to the rain, but it was unfortunate that we were not able to enjoy it together.
Whisky Falls
Whisky Falls videoWhisky Falls boat dock for the lake water taxi
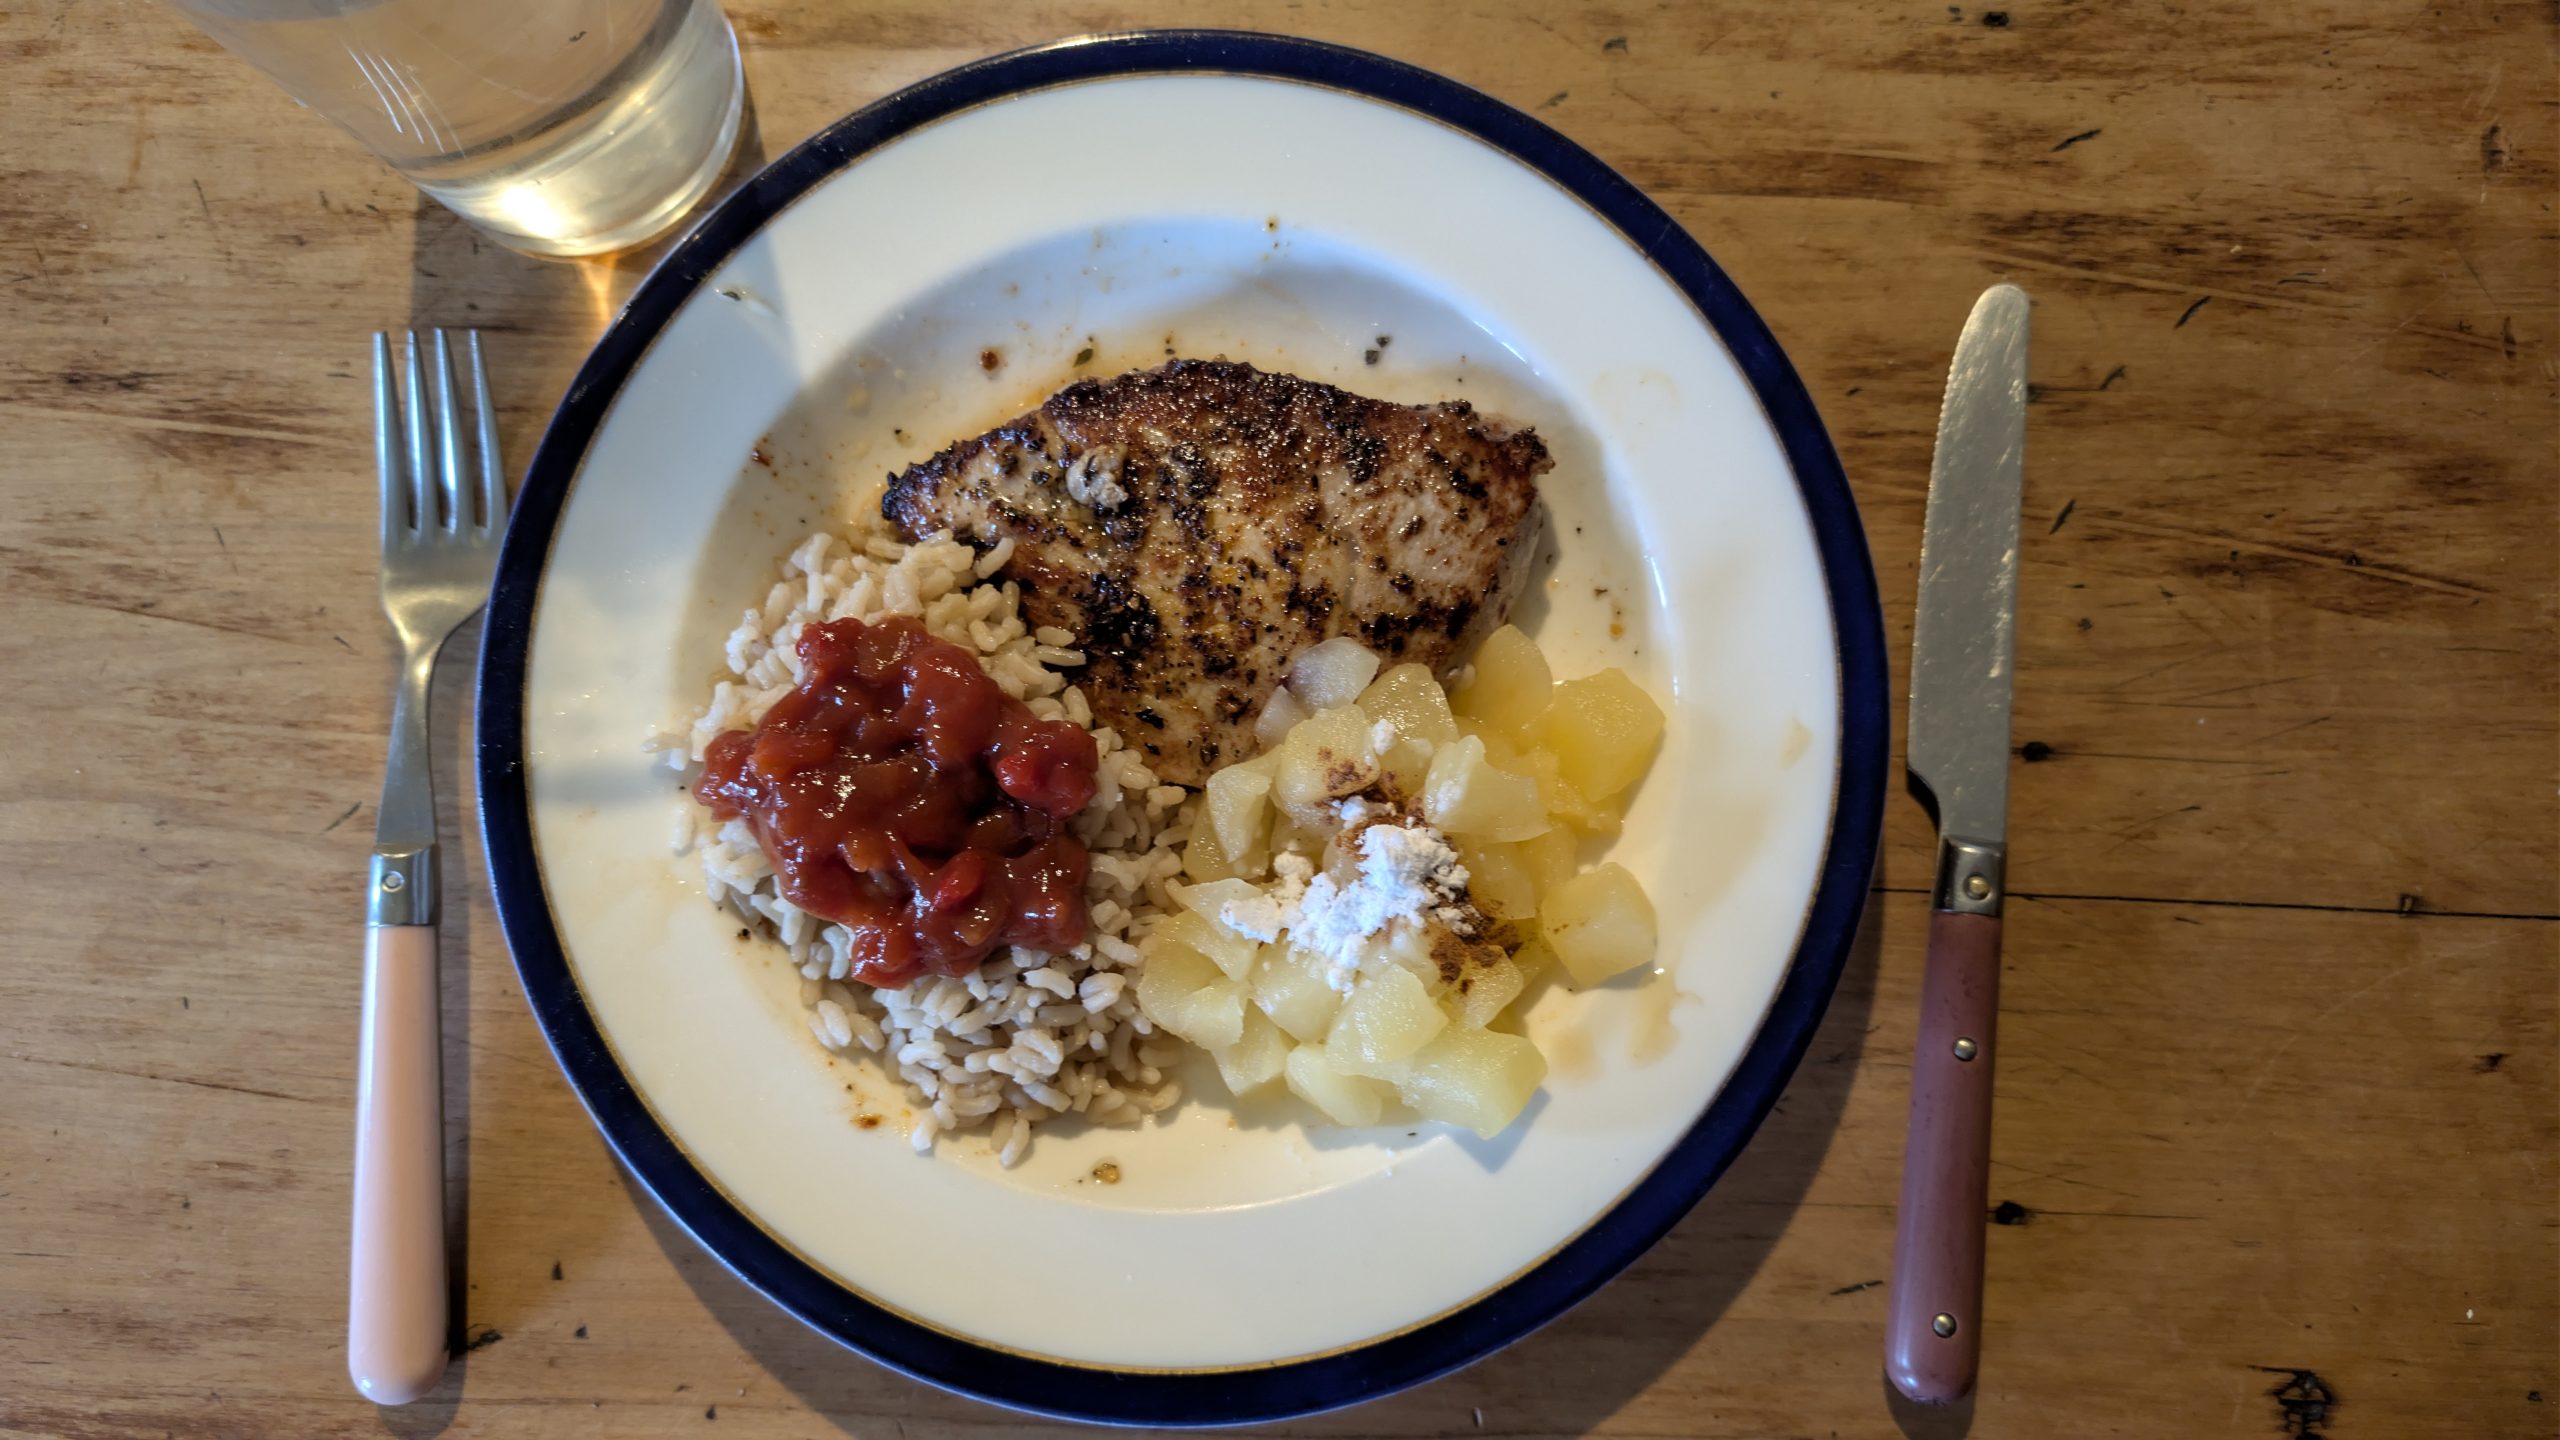
The return trip back to the cabin was even wetter and muddier than the way out. At the cabin we had dinner: pork chops, rice with salsa, and apple chinks.
Dinner at the cabin
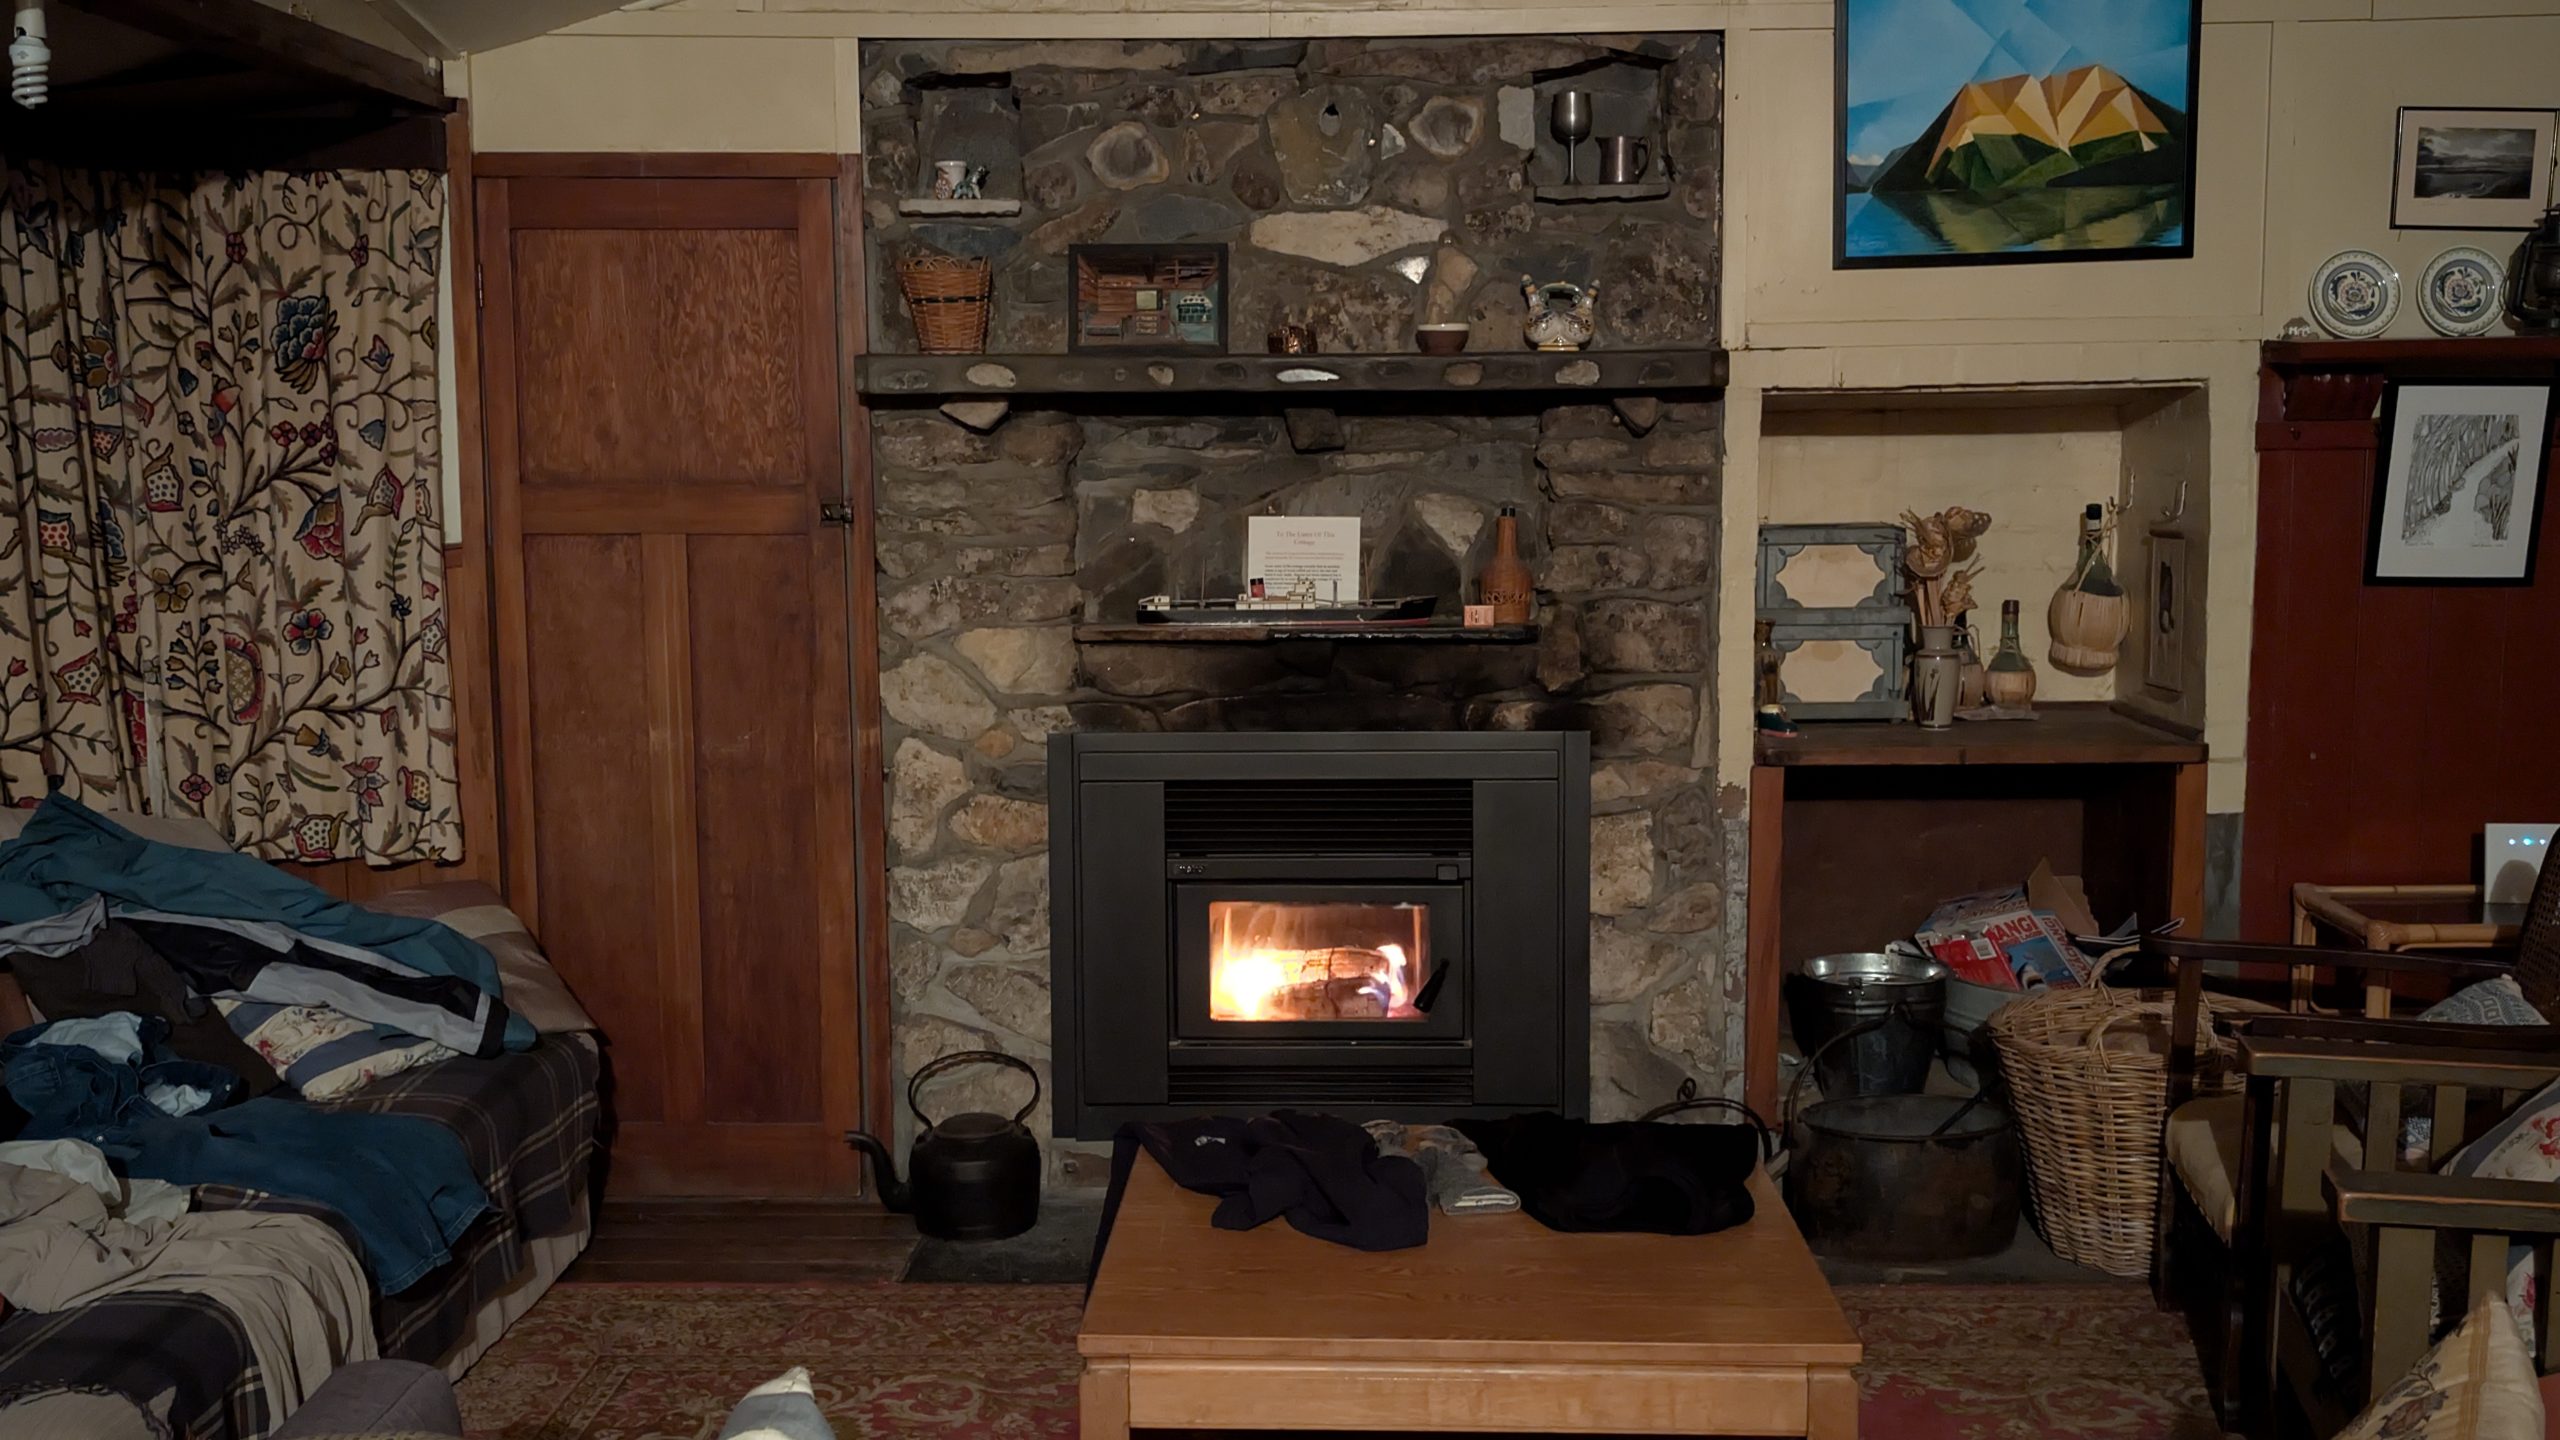
It was rather cold and damp in the cabin, so we built a fire and enjoyed its warmth that evening.
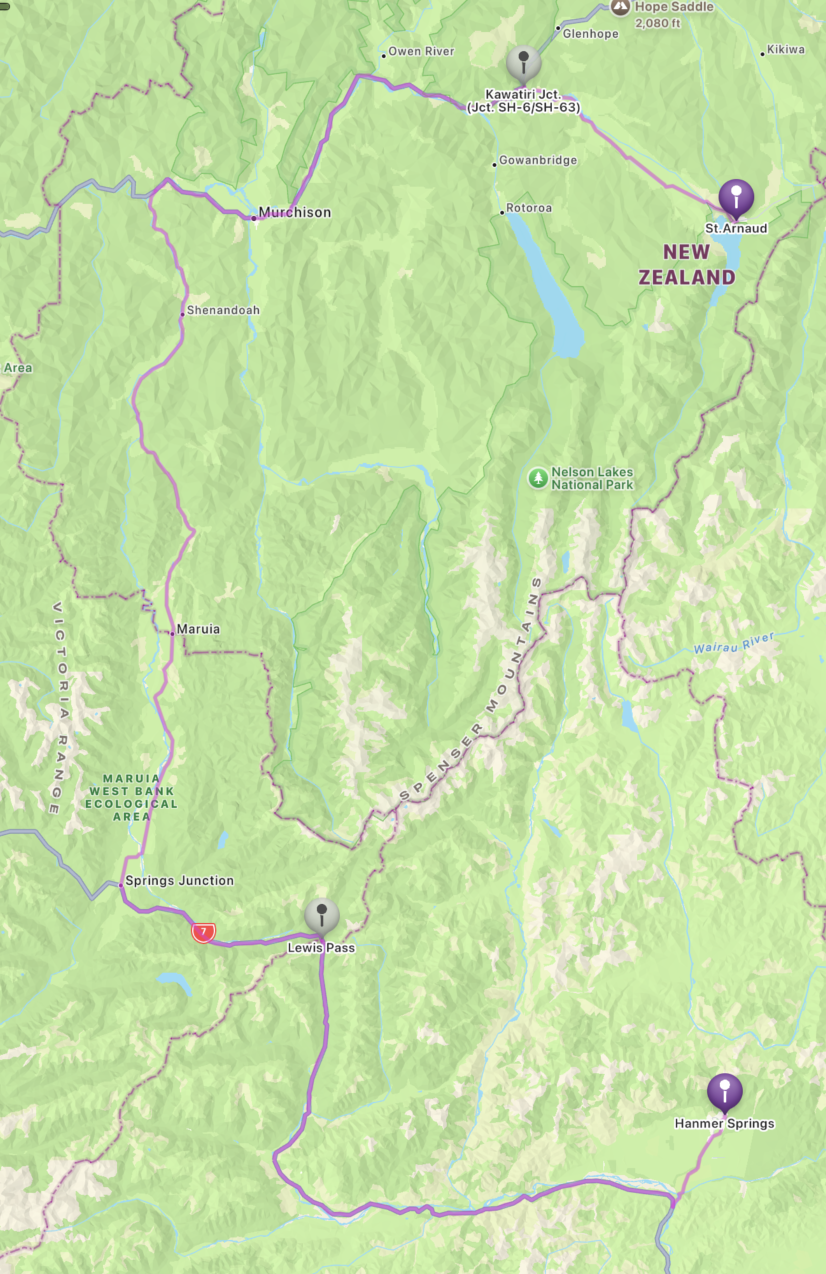
It was about a 3 hour drive from Hanmer Springs to our next destination in Saint Arnaud. The morning was very overcast and it was raining periodically. I took over driving. Our first stop was Lewis Pass, but since it was still raining and we had visited there before in 2019, we only stayed long enough for a quick bathroom break and rest stop.
Map: Day 4
Another 10 minutes of driving took us to Maruia Falls. This nice small waterfall was just a short walk from the parking lot.
Maruia Falls
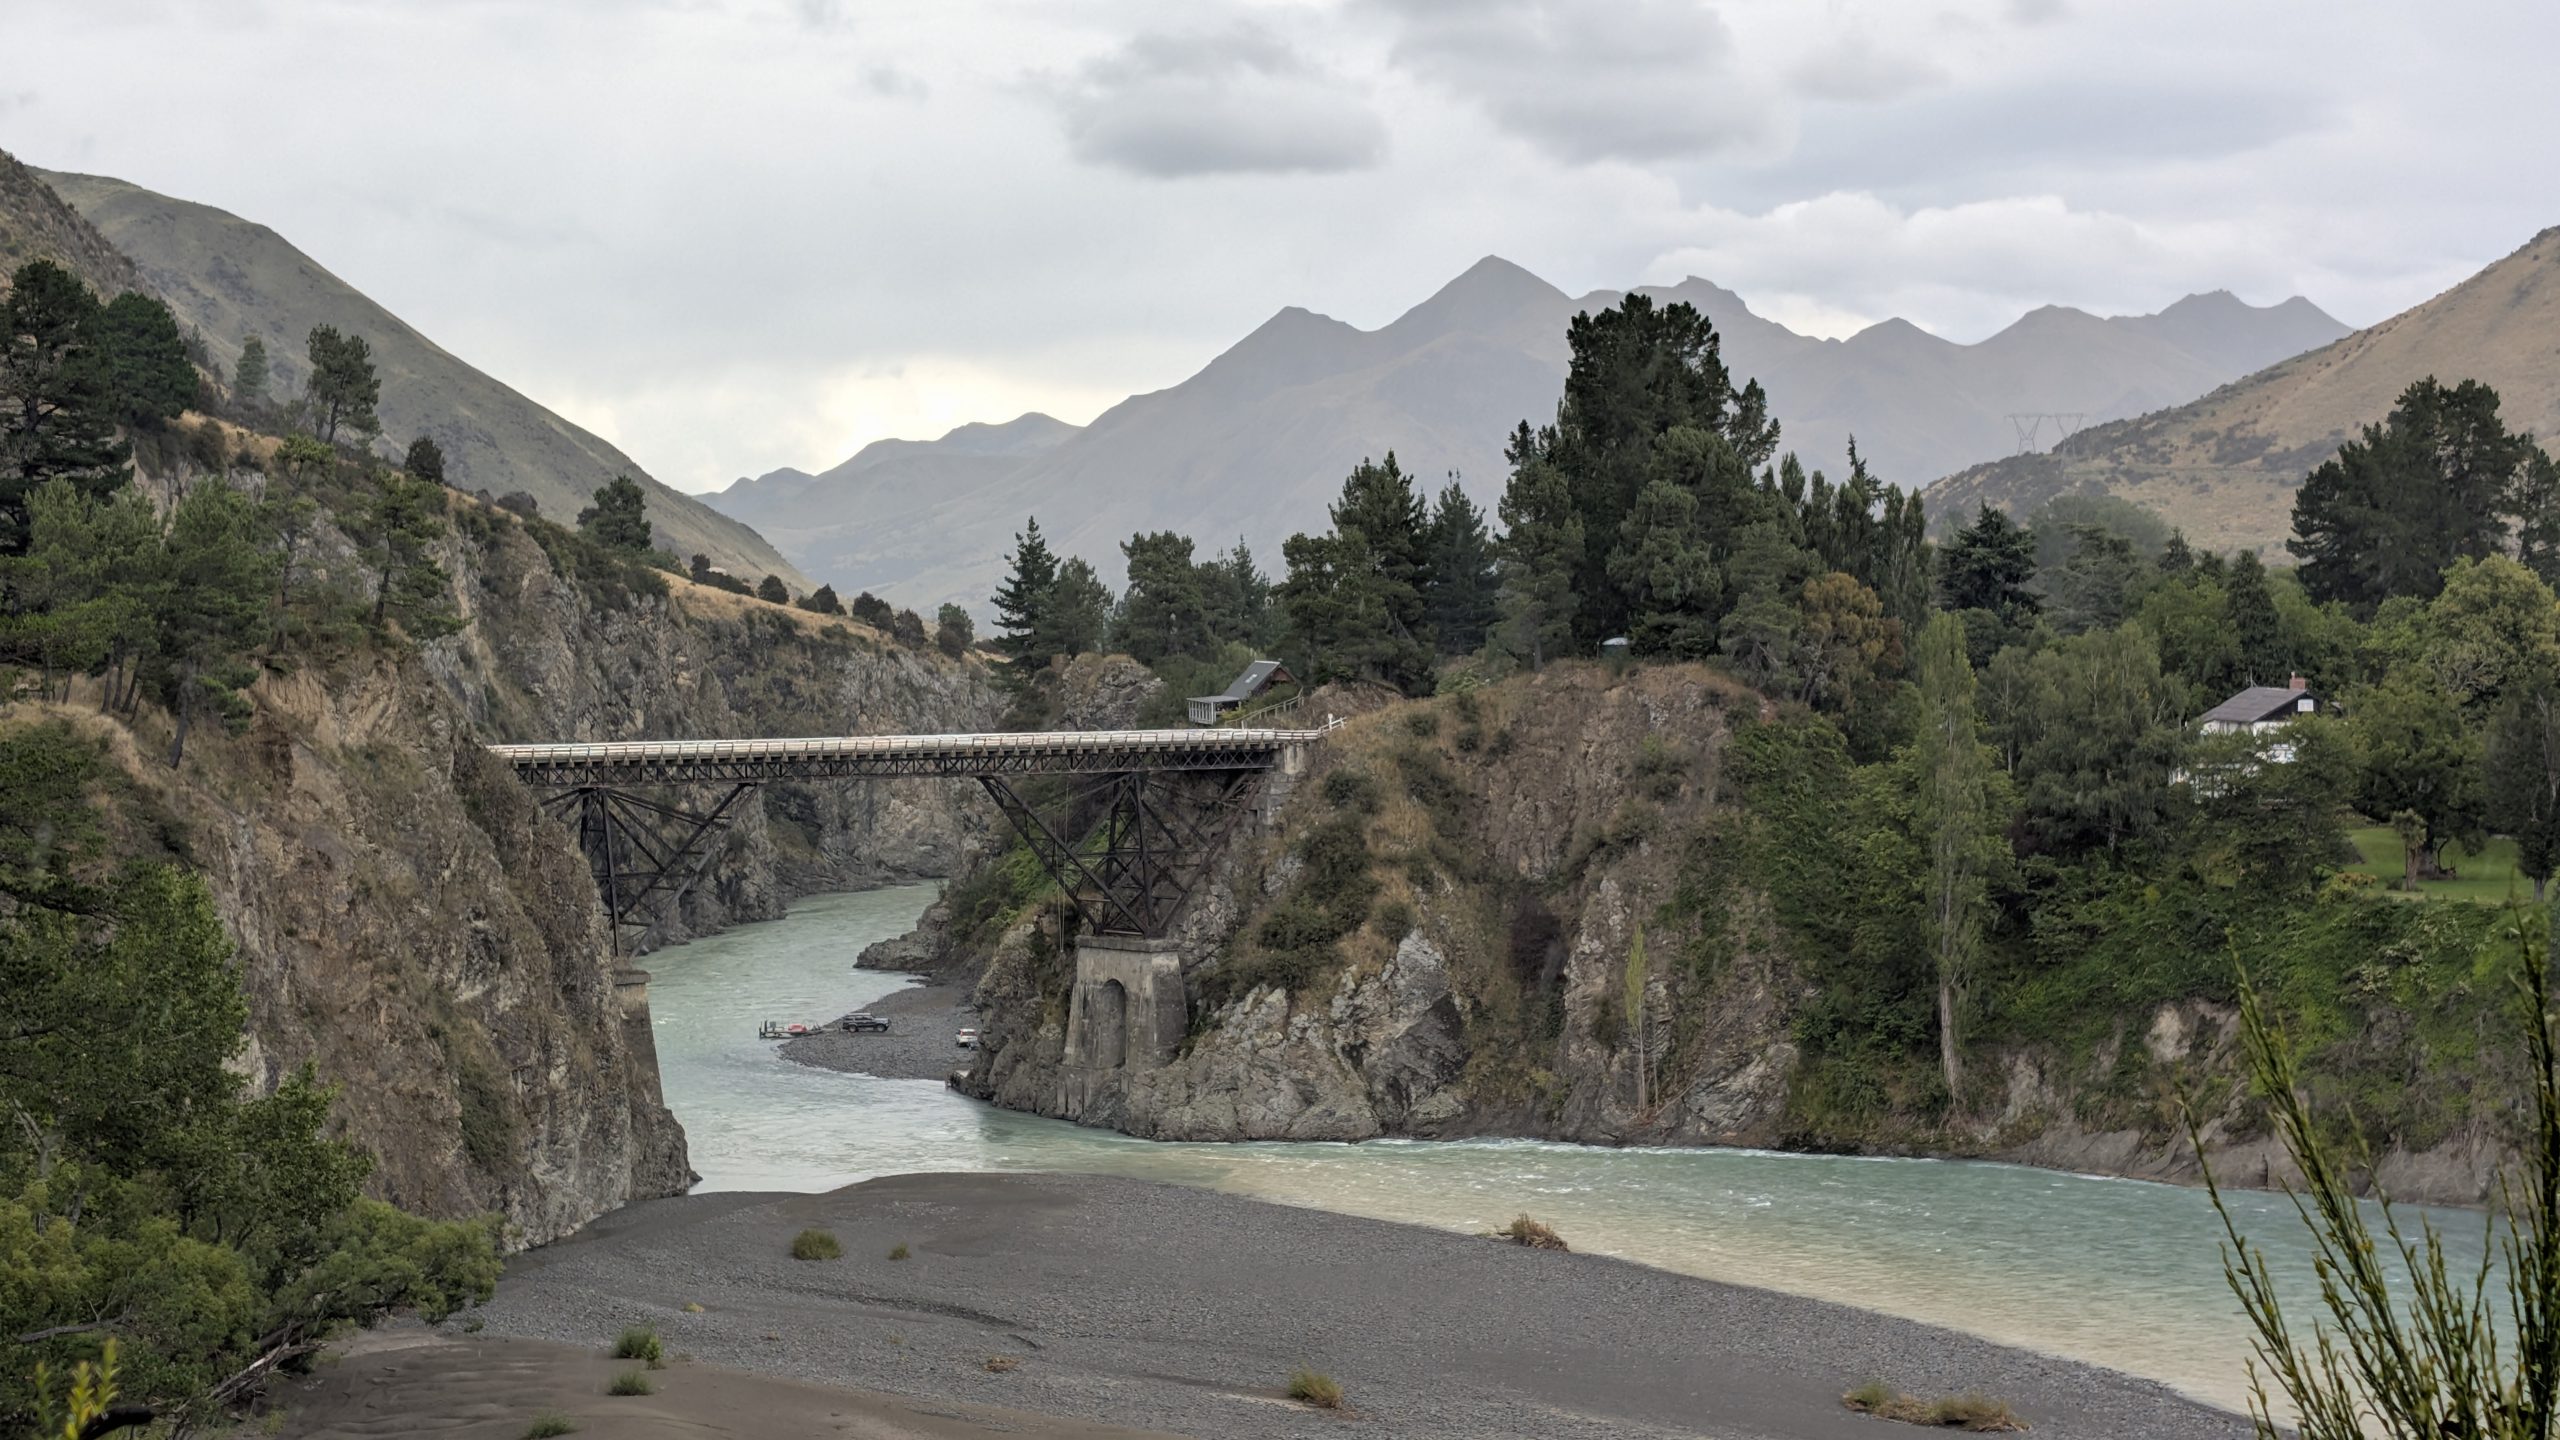
Our next stop was at a bridge that crossed the Buller River. We walked onto the bridge and had very nice views of the river in both directions.
Buller River view looking northeastBuller River view looking southwest
We drove to the town of Murchison where we wanted to visit the Tutaki Bakery. We heard this was a good place to buy pies. The bakery was inside a food truck. The sign outside said "Open", but the truck was closed with nobody around.
Just down the street from the bakery we stopped at a small park. The Mataki Willow Grove Walk was a pleasant 20-minute loop hike near the Matakitaki River.
Matakitaki RiverFlowering tree along the trail
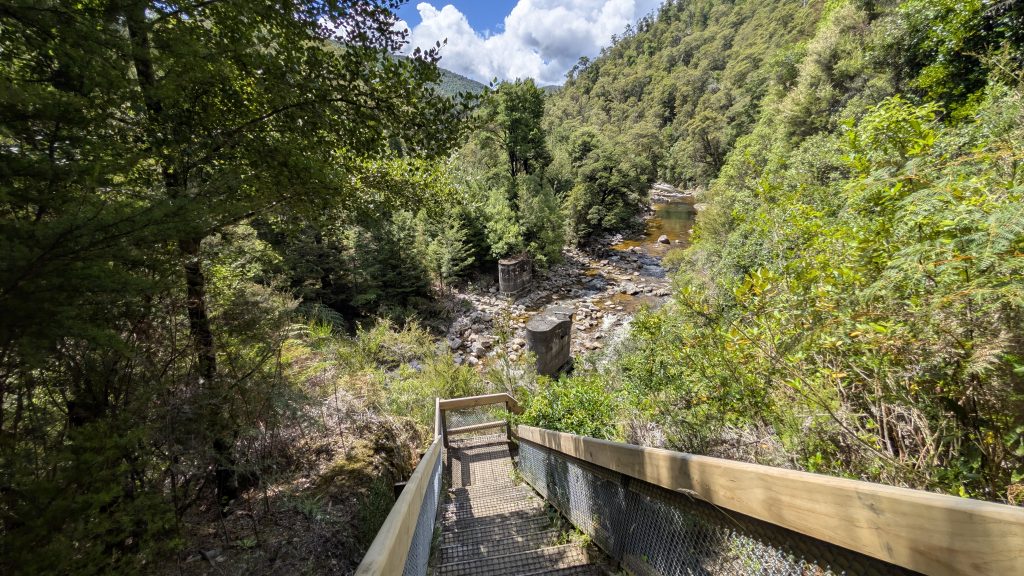
We drove another hour and stopped to take the Kawatiri Historic Railway Walk. We had done this walk before in 2019, so this was a repeat for us. It was a nice loop walk through a railroad tunnel and then returned with views of the nearby Hope River. Here we had our first encounter with the dreaded sandflies. Many flew inside the car as we were getting ready to leave.
Kawatiri railway tunnelOld bridge piers crossing the Hope River
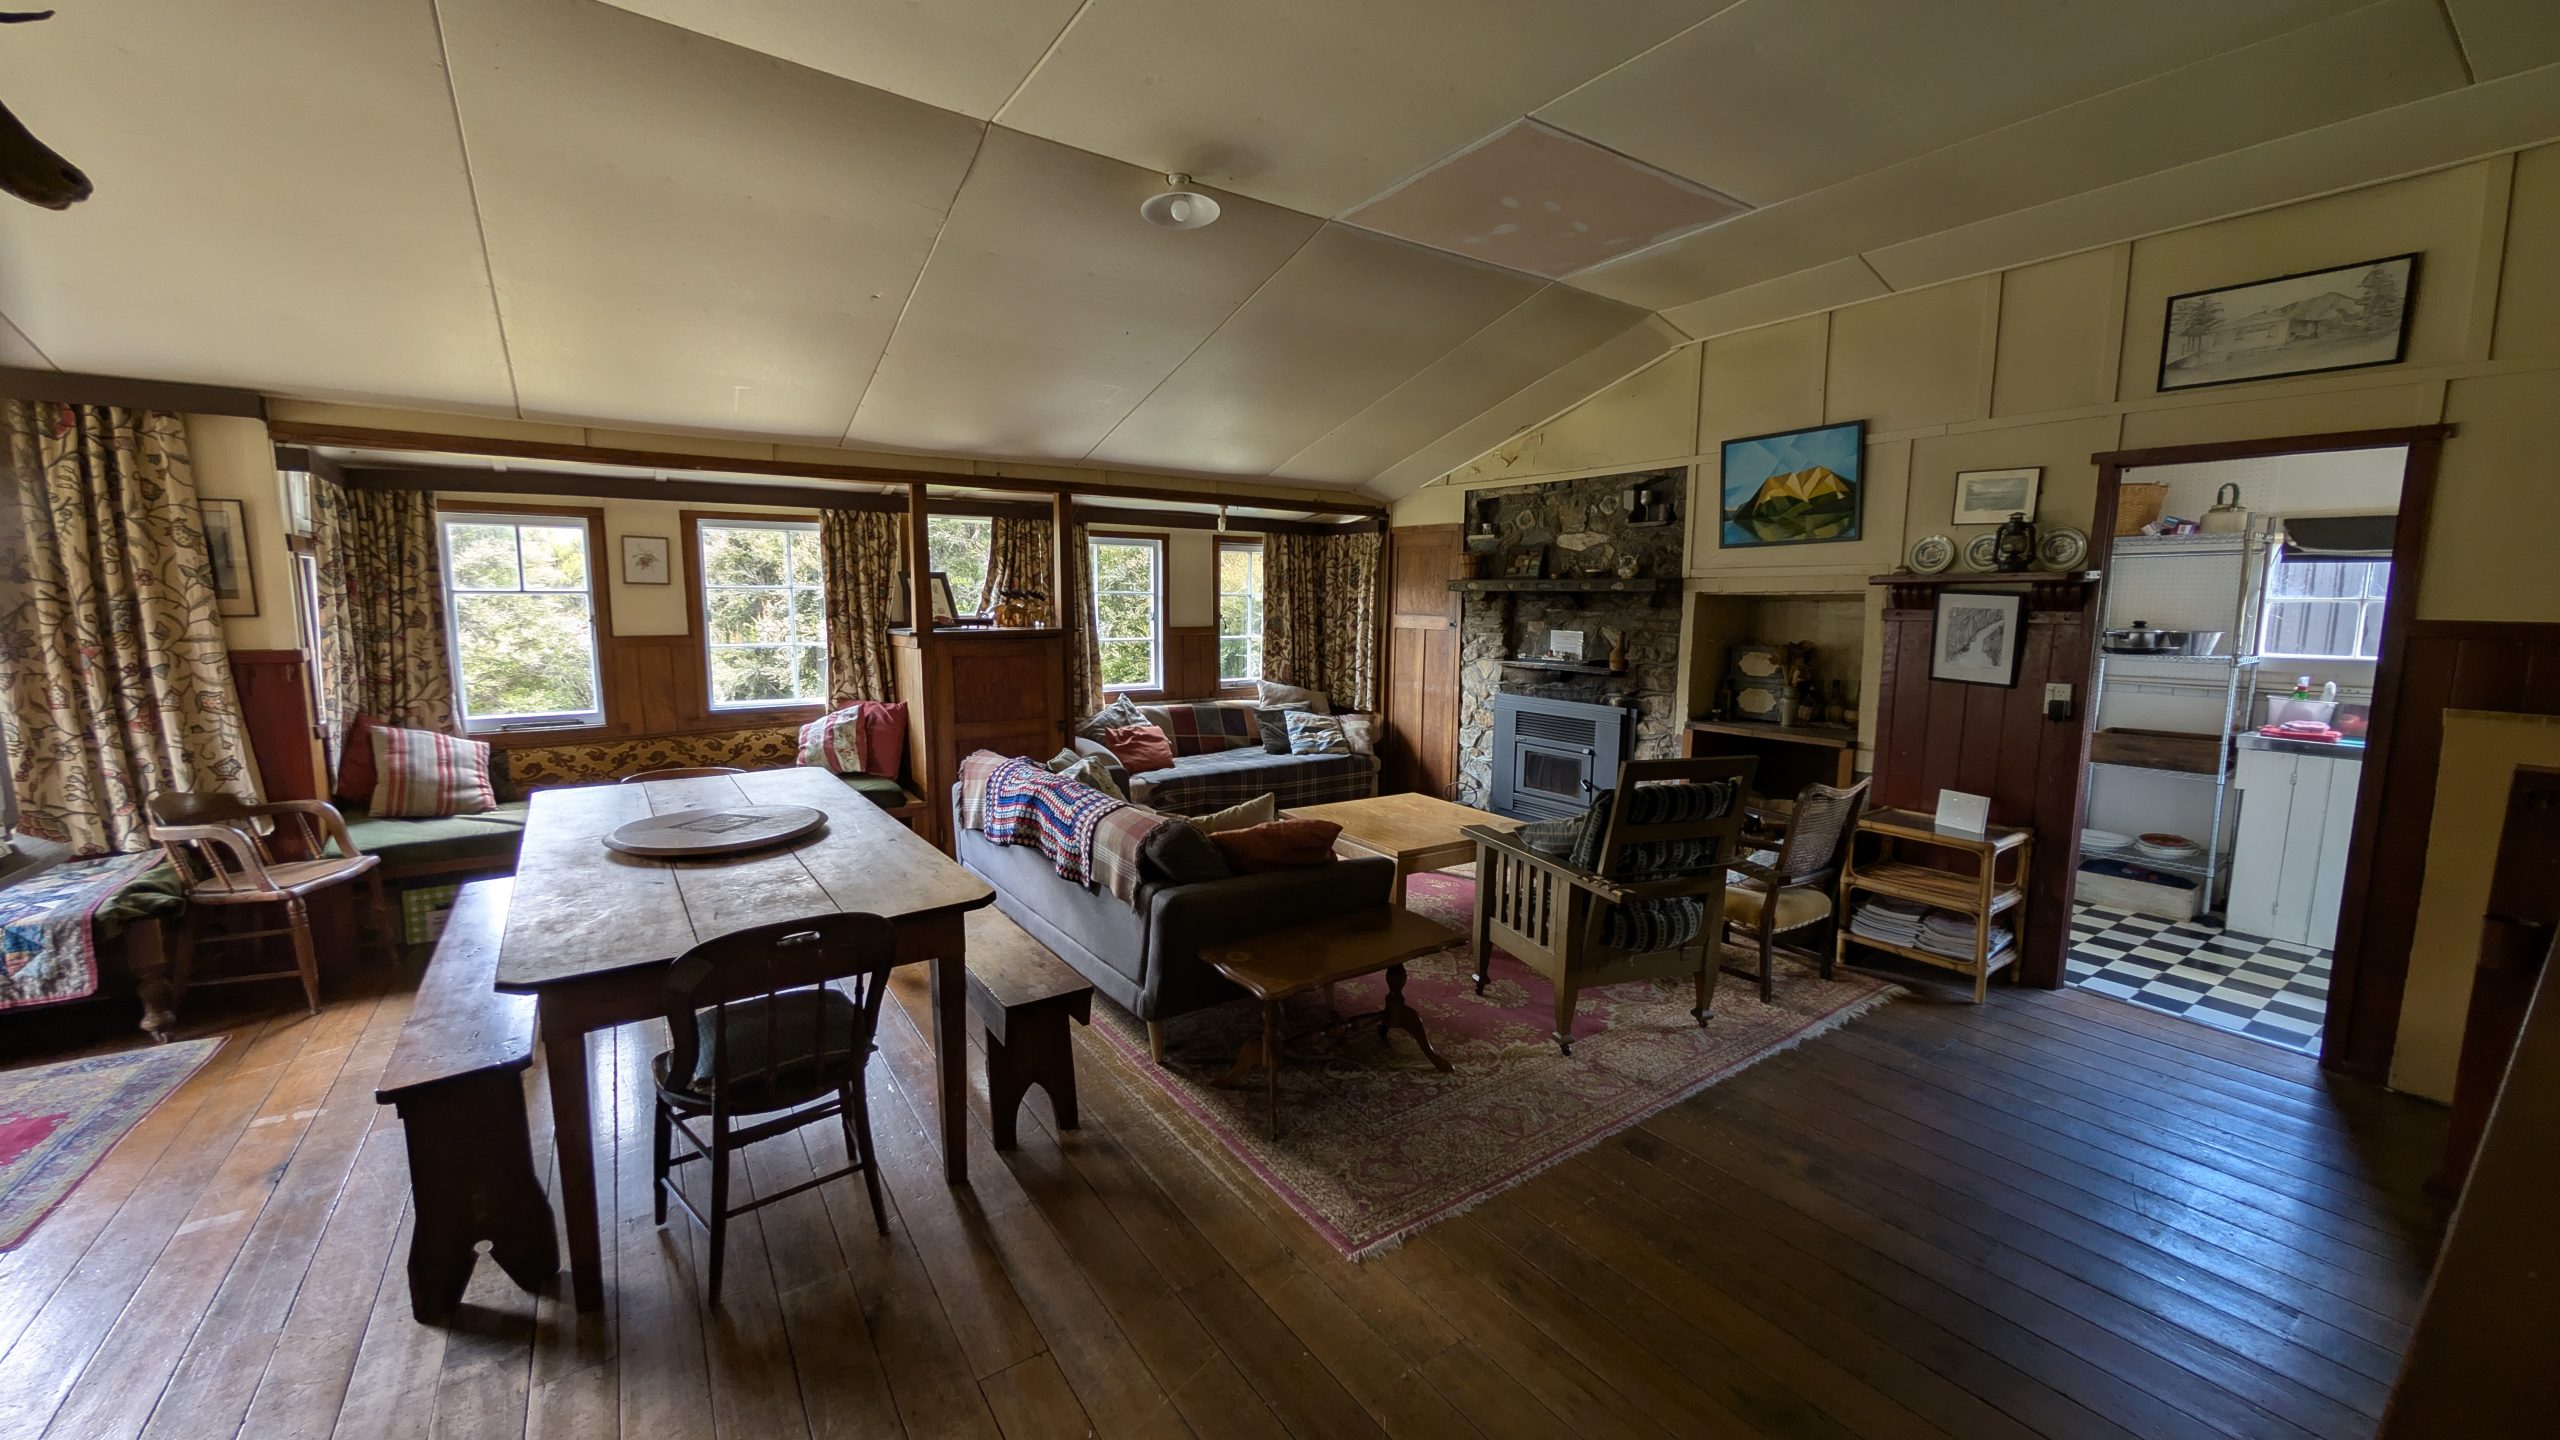
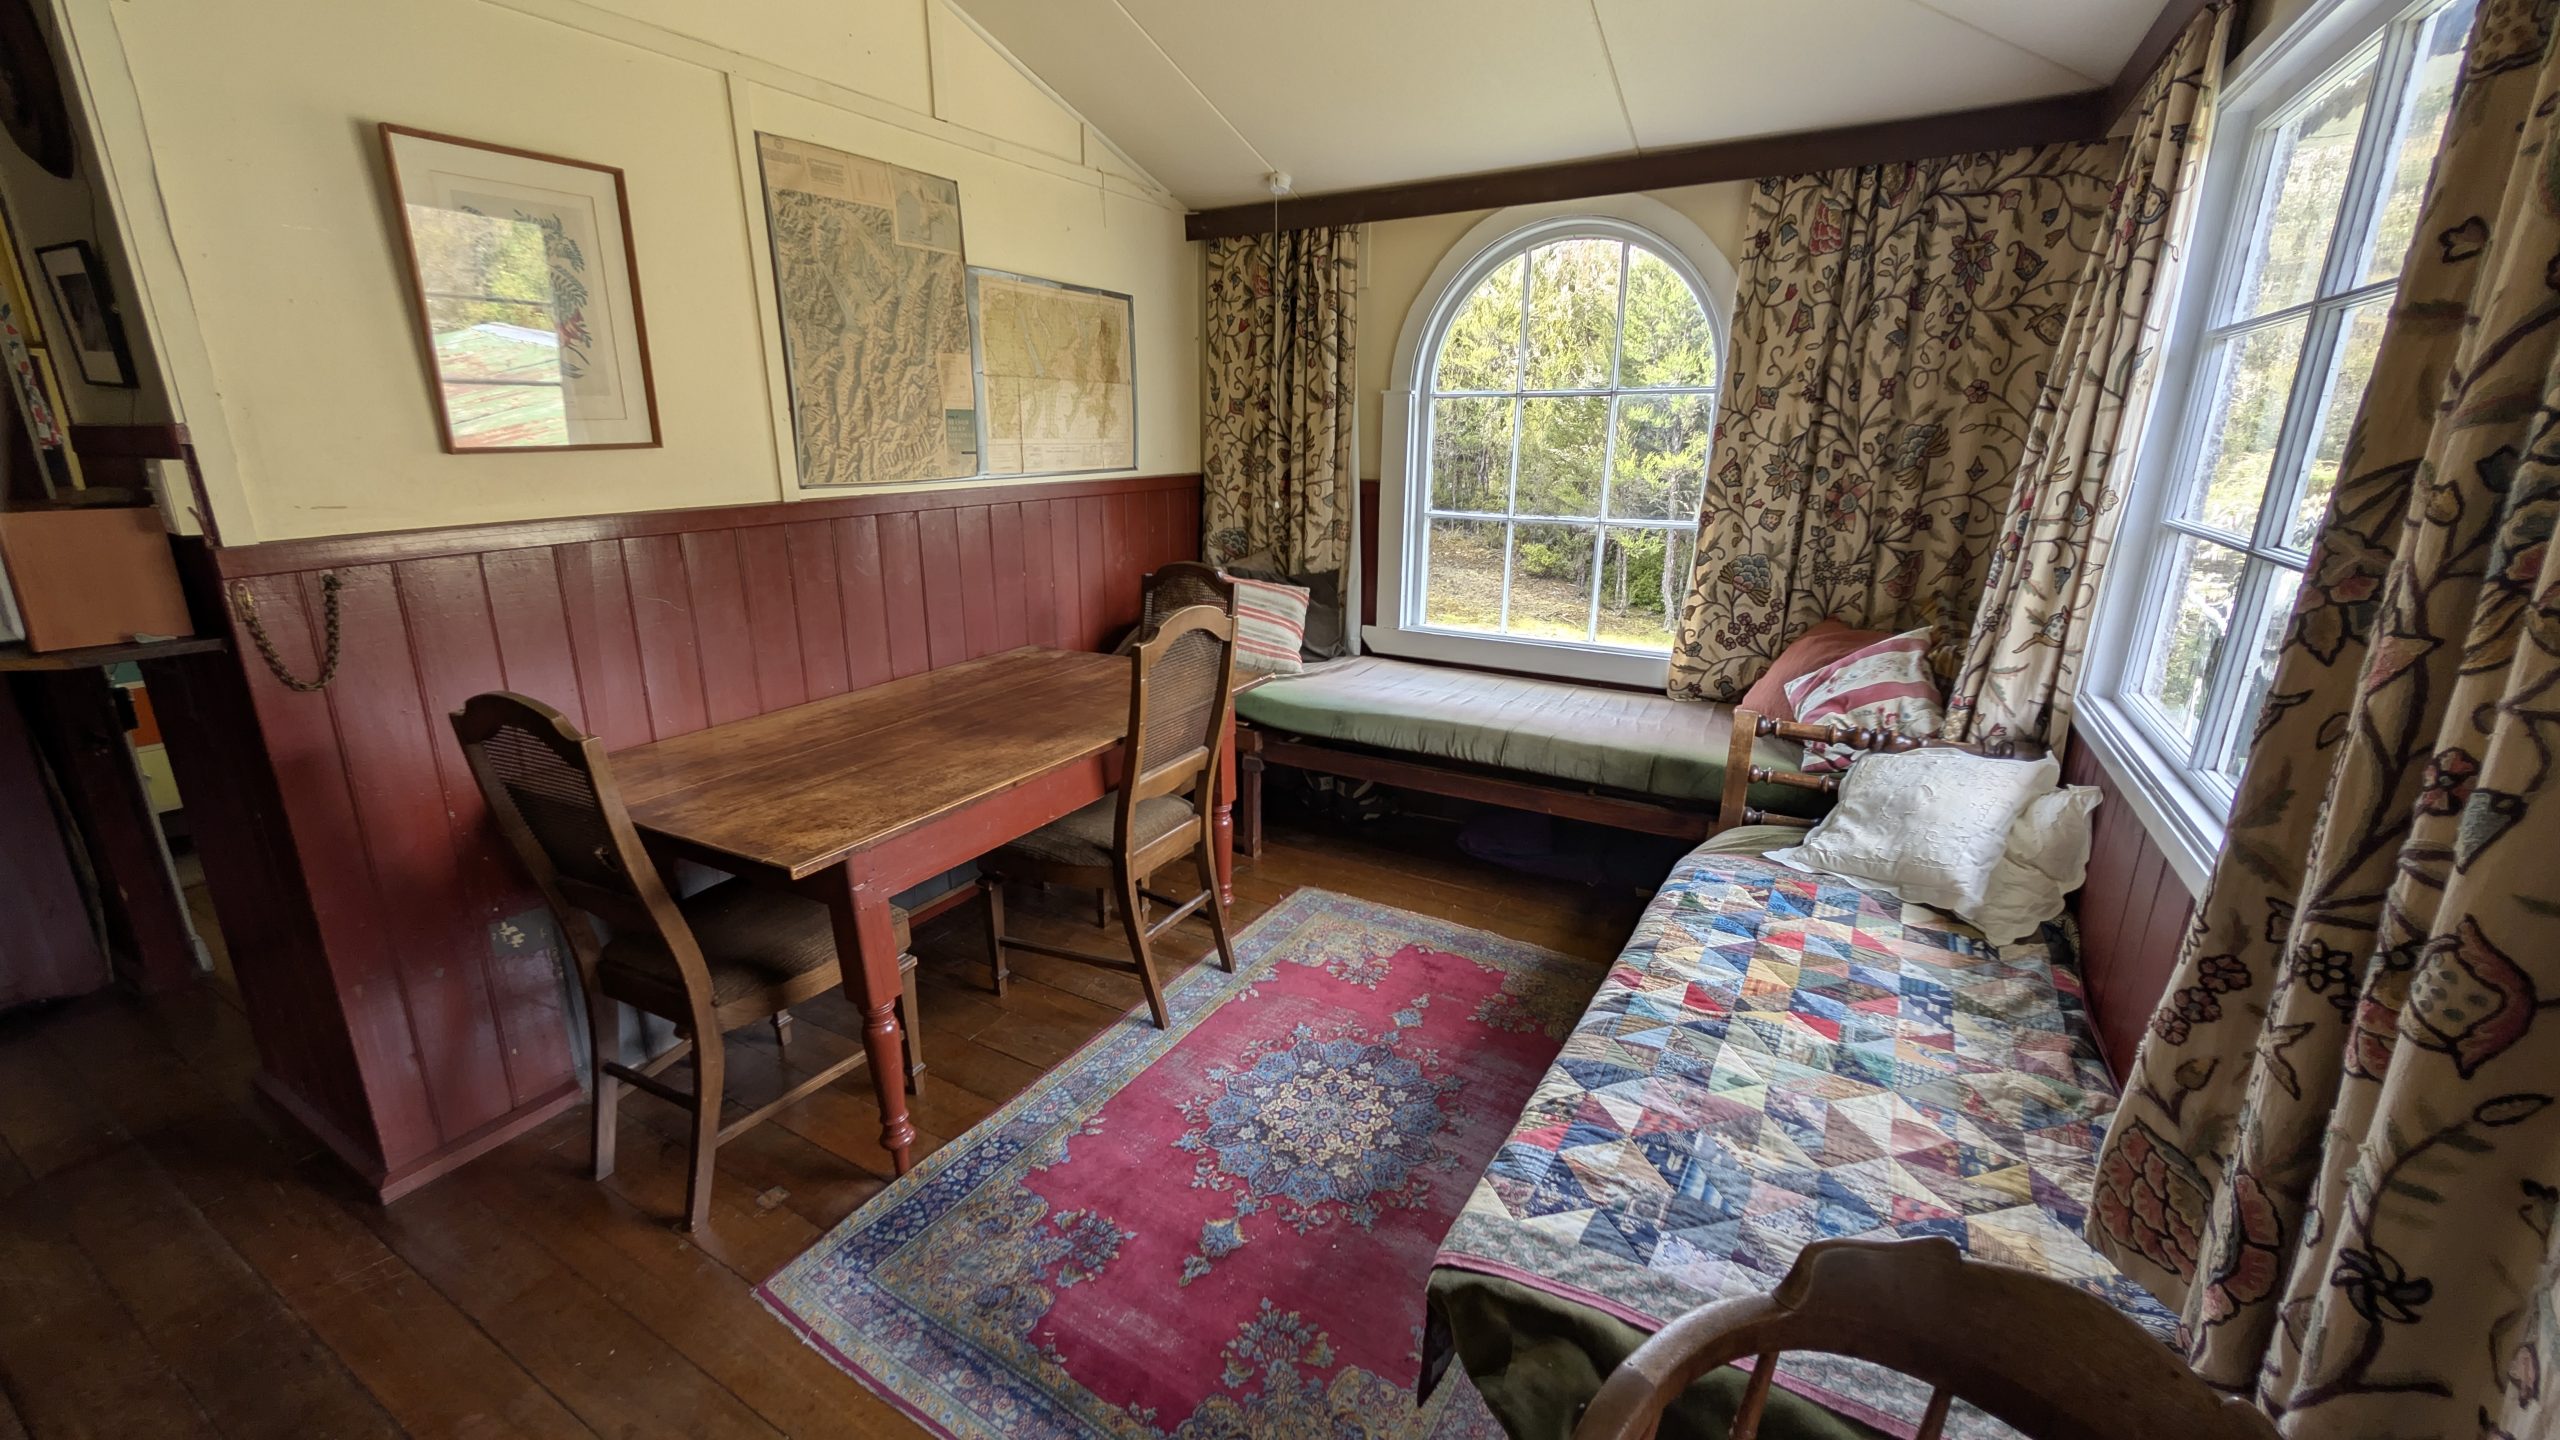
We reached Saint Arnaud after another 25 minutes of driving. Our accommodation was a kiwi bach: a huge old house named Long Lookout. It was very private and had its own dedicated path down to the shore of Lake Rotoiti.
Long Lookout living roomWindow seats at the Long LookoutLong Lookout
After settling in, I took the path down to the lake. The weather had cleared a bit, and I had a nice walk near the lakeshore.
Walkway at Lake RotoitiLake Rotoiti
Back at the house we had lamb burgers and salad for dinner.
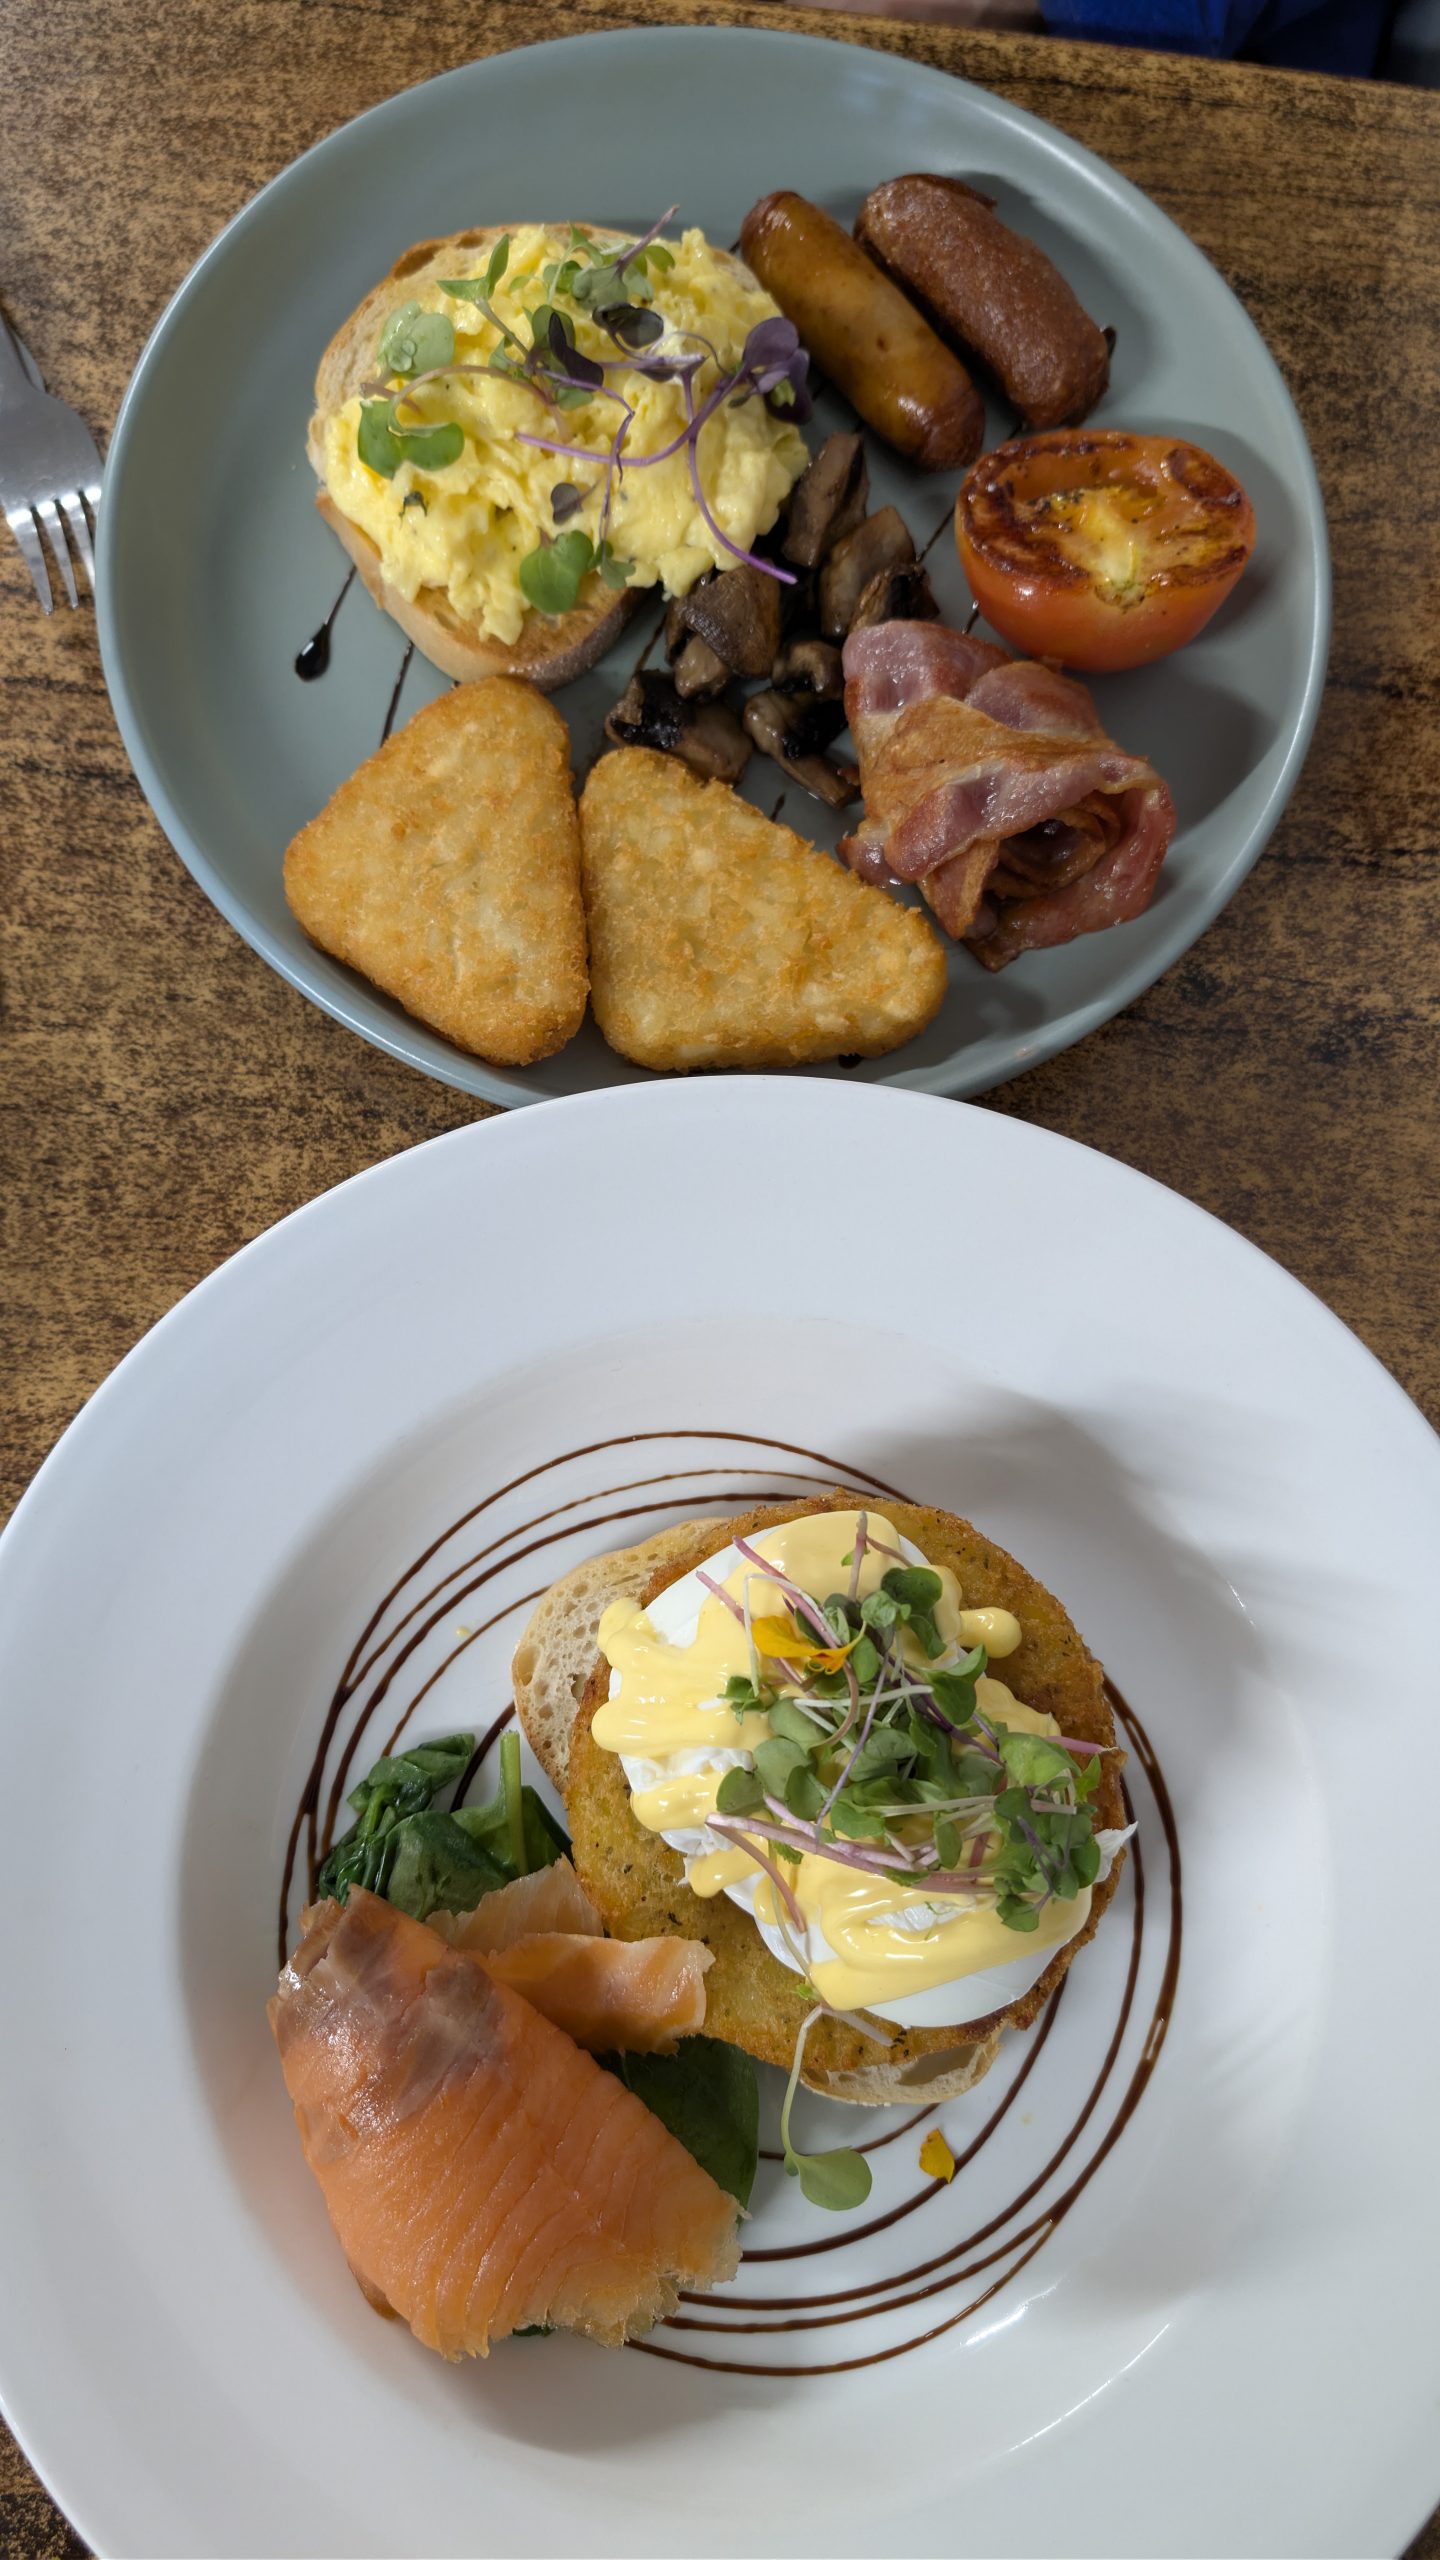
The day started out cloudy and drizzly, so we decided to drive into town and eat out for breakfast at the Mumble's Cafe. I had the salmon benny with potatoes and fresh spinach. This was the very first time in my life that I had tried eggs Benedict, and it was delicious. Heinrich had the Big Breakfast with scrambled eggs on toast.
Our breakfasts at the Mumble's Cafe
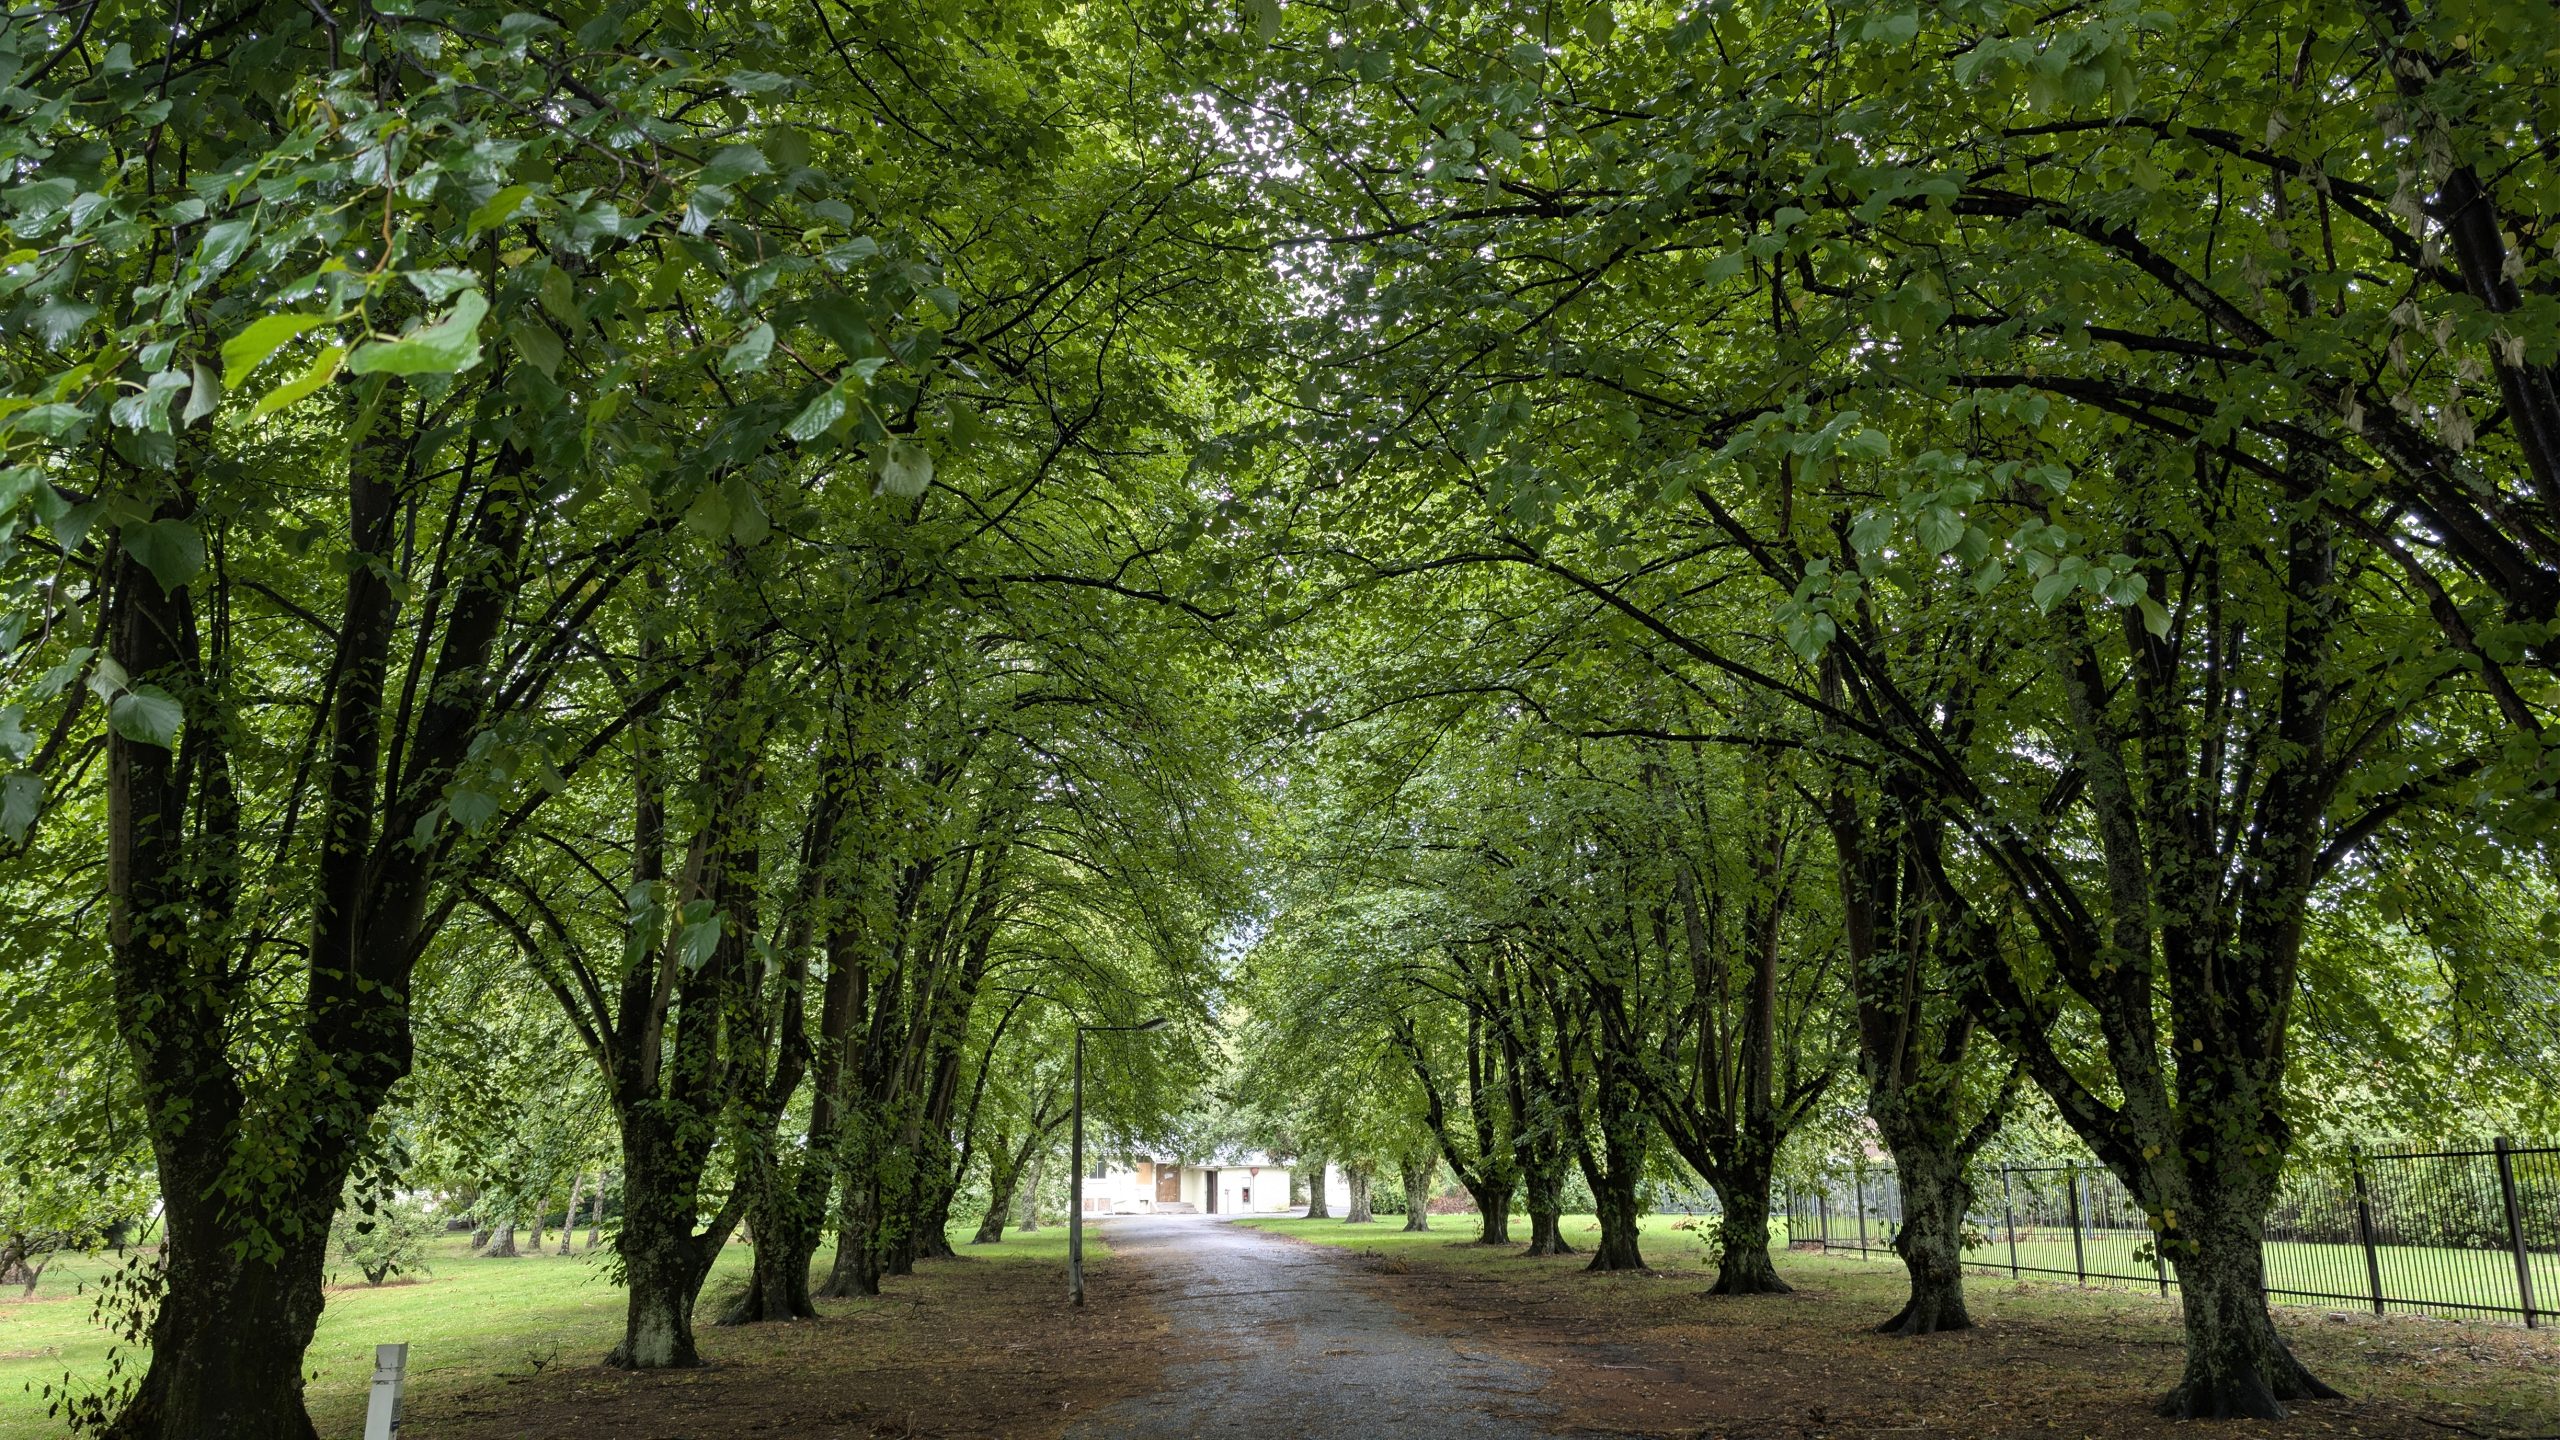
After breakfast we took a walk around the outskirts of town. The Queen Mary Hospital Reserve had park-like grounds with trails running throughout the property, and we admired the trees. We walked north past the golf course and then returned to town.
Tunnel of trees on the grounds at the Queen Mary Hospital Reserve
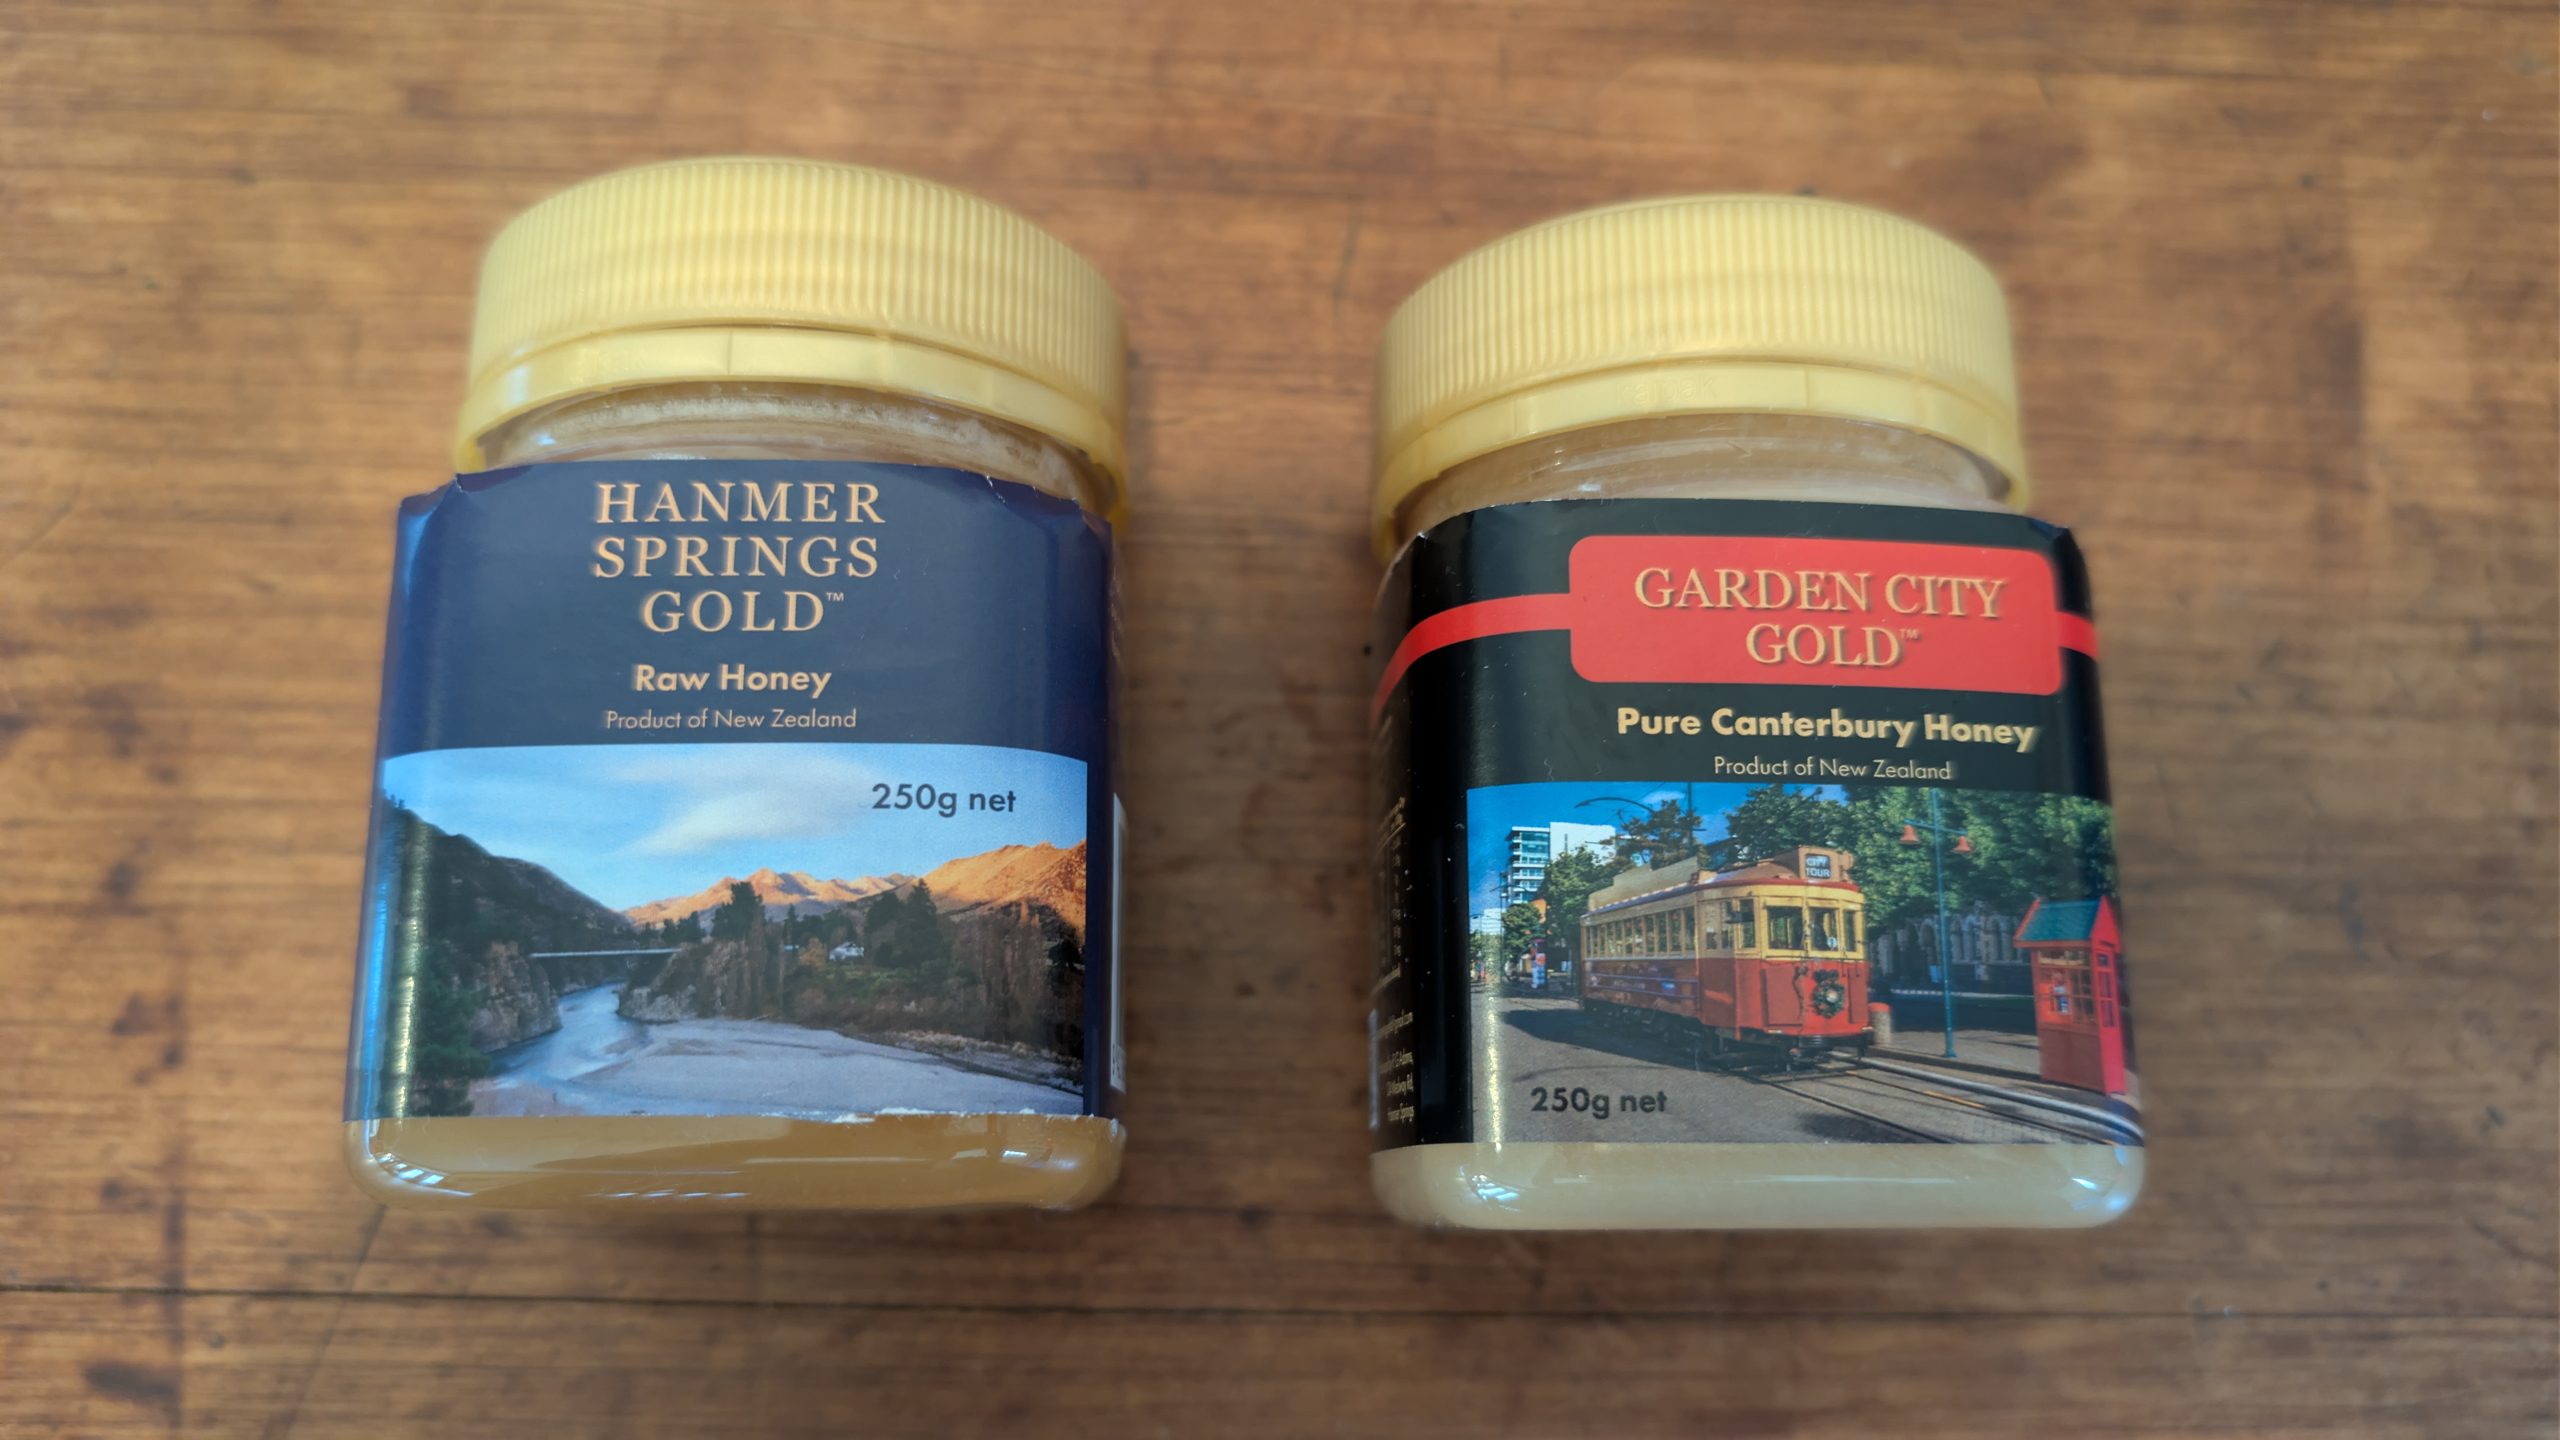
In town there was a farmer's market going on. I finally got some New Zealand cash from a nearby ATM, and we bought some fresh vegetables. One booth was selling varieties of New Zealand honey and giving samples. I tried the manuka honey and discovered I did not care for the taste. But I did buy two jars of the local brand.
Treats from the farmer's marketDowntown Hanmer Springs. Heinrich is investigating the menu of pies.
The weather had not improved and light rain was coming down. I got a message from my friend in Hawaii that episode 41 of the Kilauea volcano had started and was attaining record-breaking heights (1,575 feet!). So we stopped at the bakery, bought a chocolate eclair and a chocolate cluster scroll, and drove back to our room to eat our treats and watch the volcano erupt via the webcam view on the big screen TV.
The weather cleared a bit, so I ventured out to the Woodland Walk one more time to take some photos of the nearby stream which now had rushing water from all of the rainfall. I followed a different path back for a new adventure.
Small cascade next to the Woodland WalkWoodland WalkFreshly cut logs on the Woodland Walk. Wonderful Christmas tree fragrance.
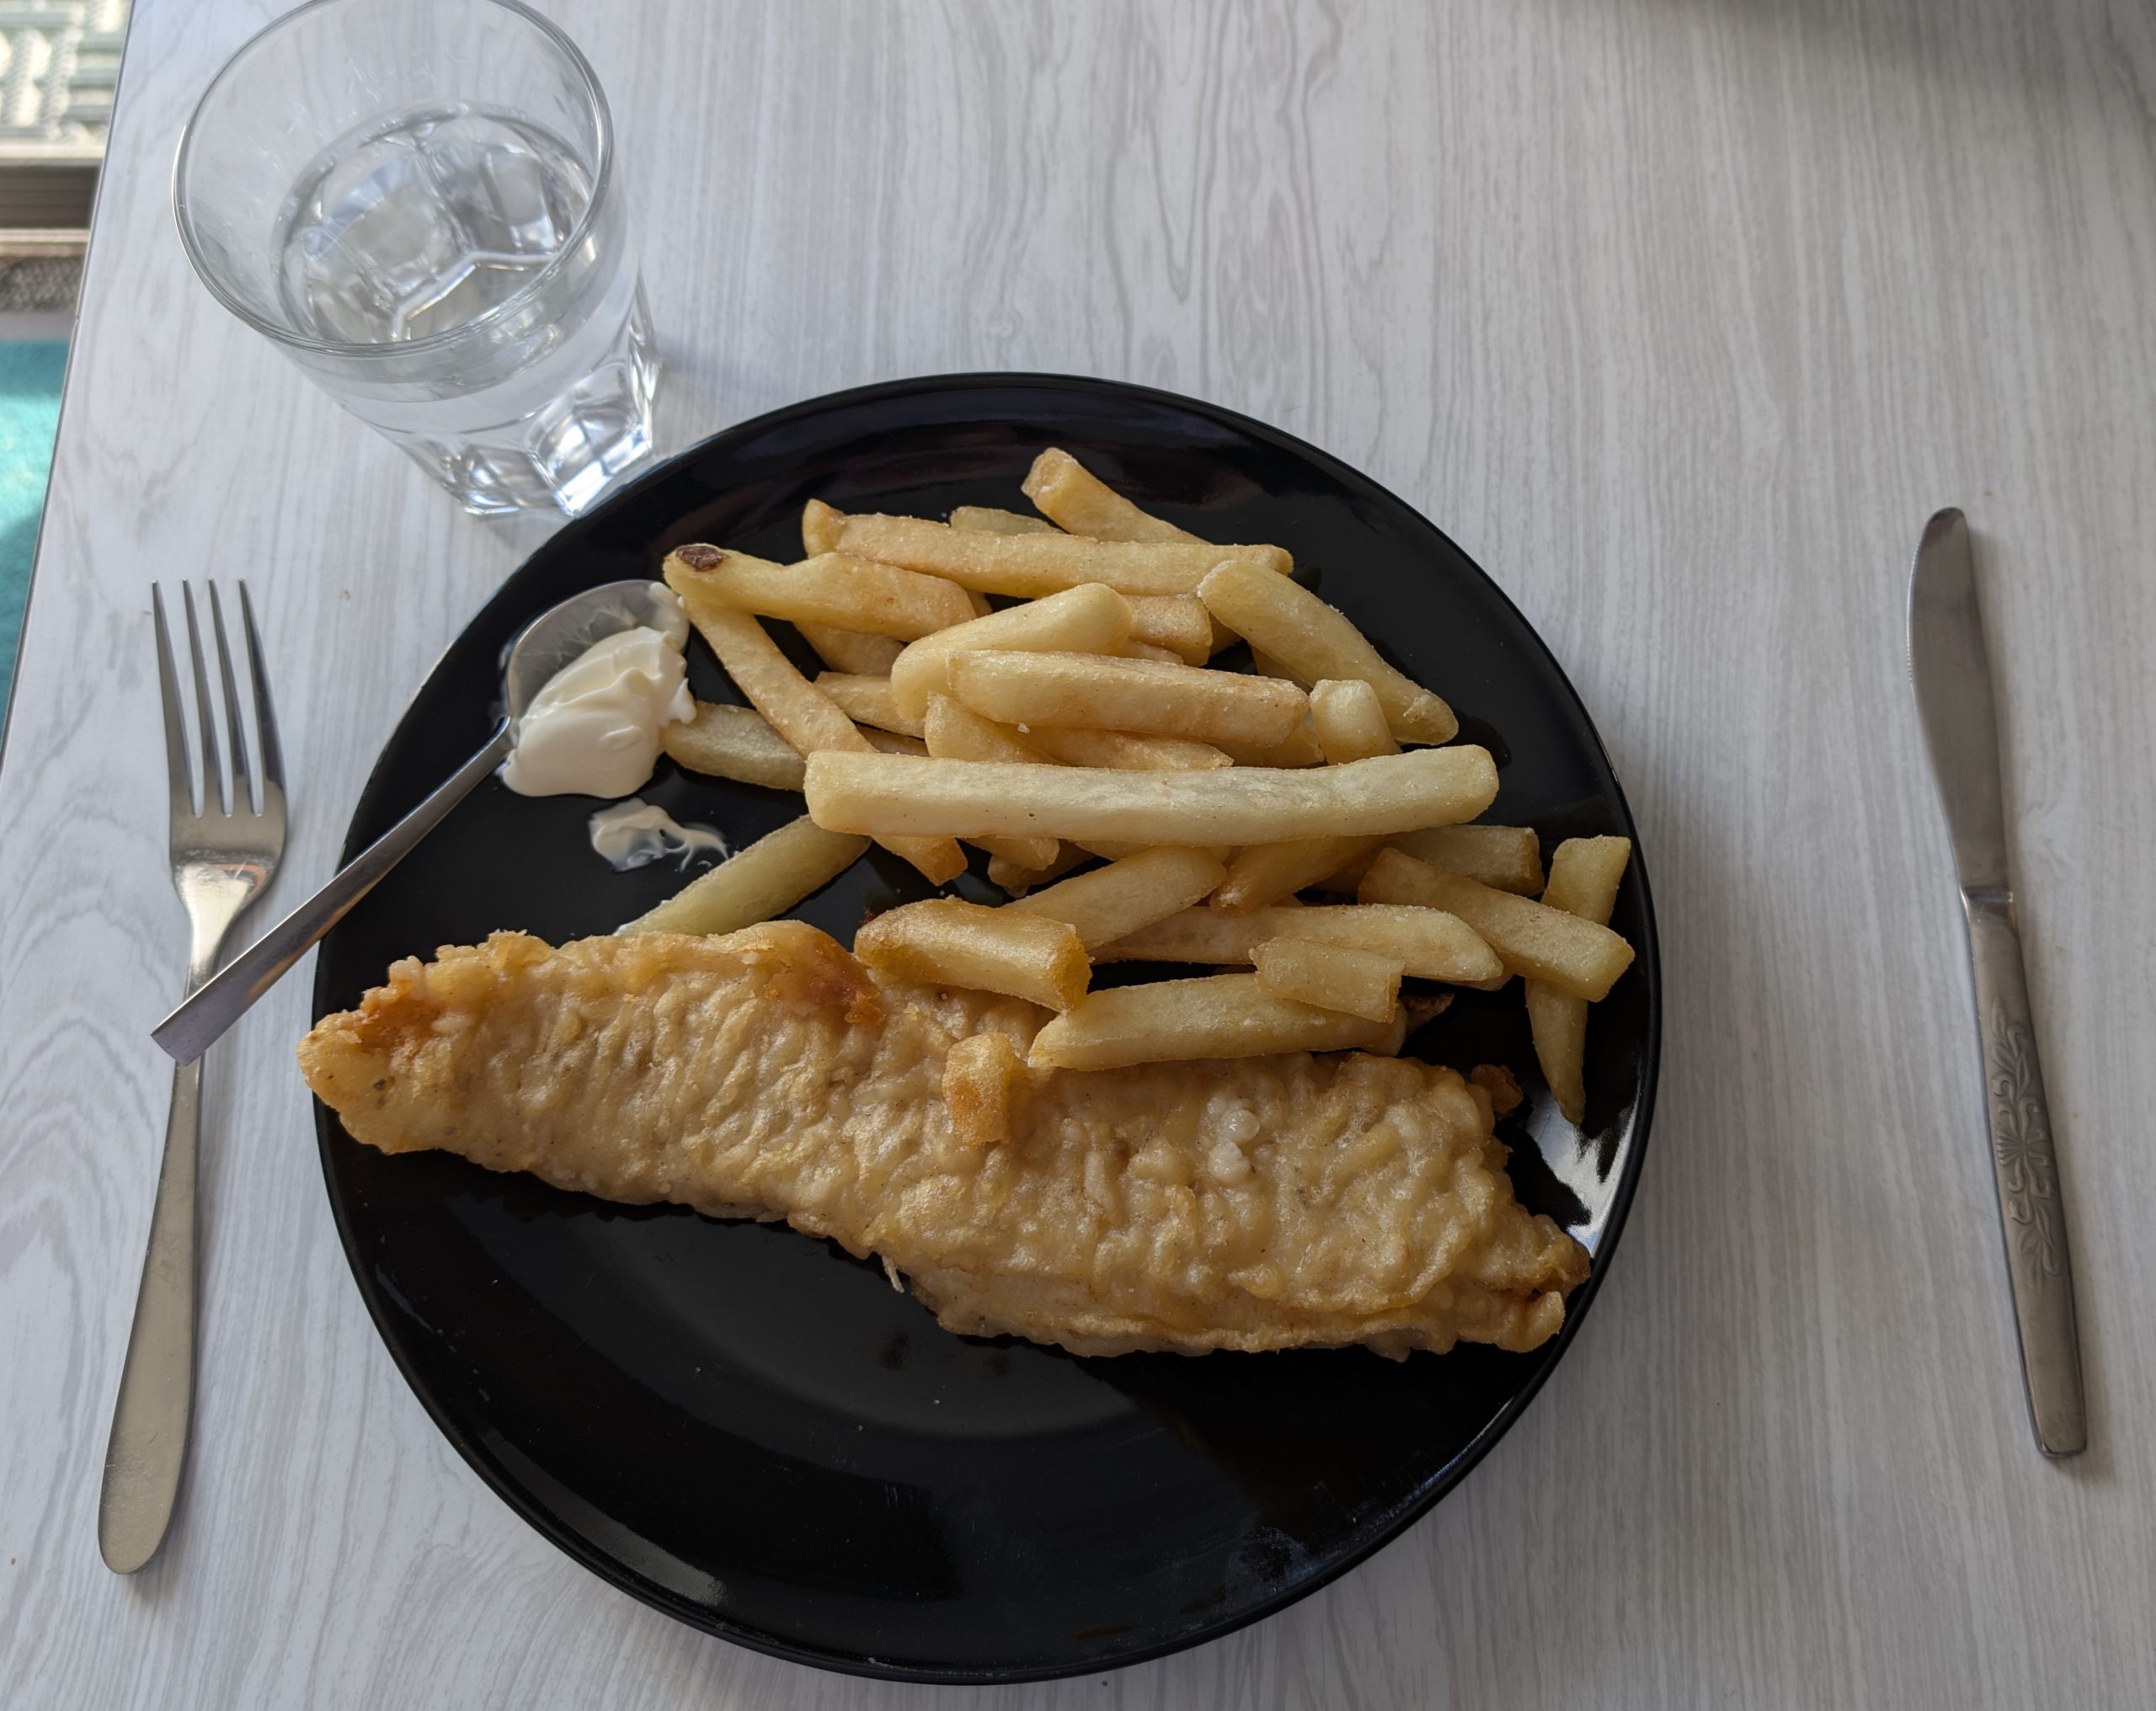
In the evening we drove back into town and bought fish and chips for a take-away meal. We also bought some food at the grocery store to get us through the next couple of days: we were going to be driving into a remote area with few food options.
It rained hard overnight, and we woke up to overcast skies with puddles everywhere. We decided to explore the Hanmer Springs downtown area. Hanmer Springs is overflowing in cuteness with lots of shops and eateries along beautiful tree-lined streets. Early in the morning before 10 am there were no issues finding a parking spot, and only a few other people were walking about. We did some souvenir shopping and purchased some decorated cotton storage bags, jute bags for groceries, and a kiwi refrigerator magnet. We stopped at the bakery to buy a few chocolate treats.
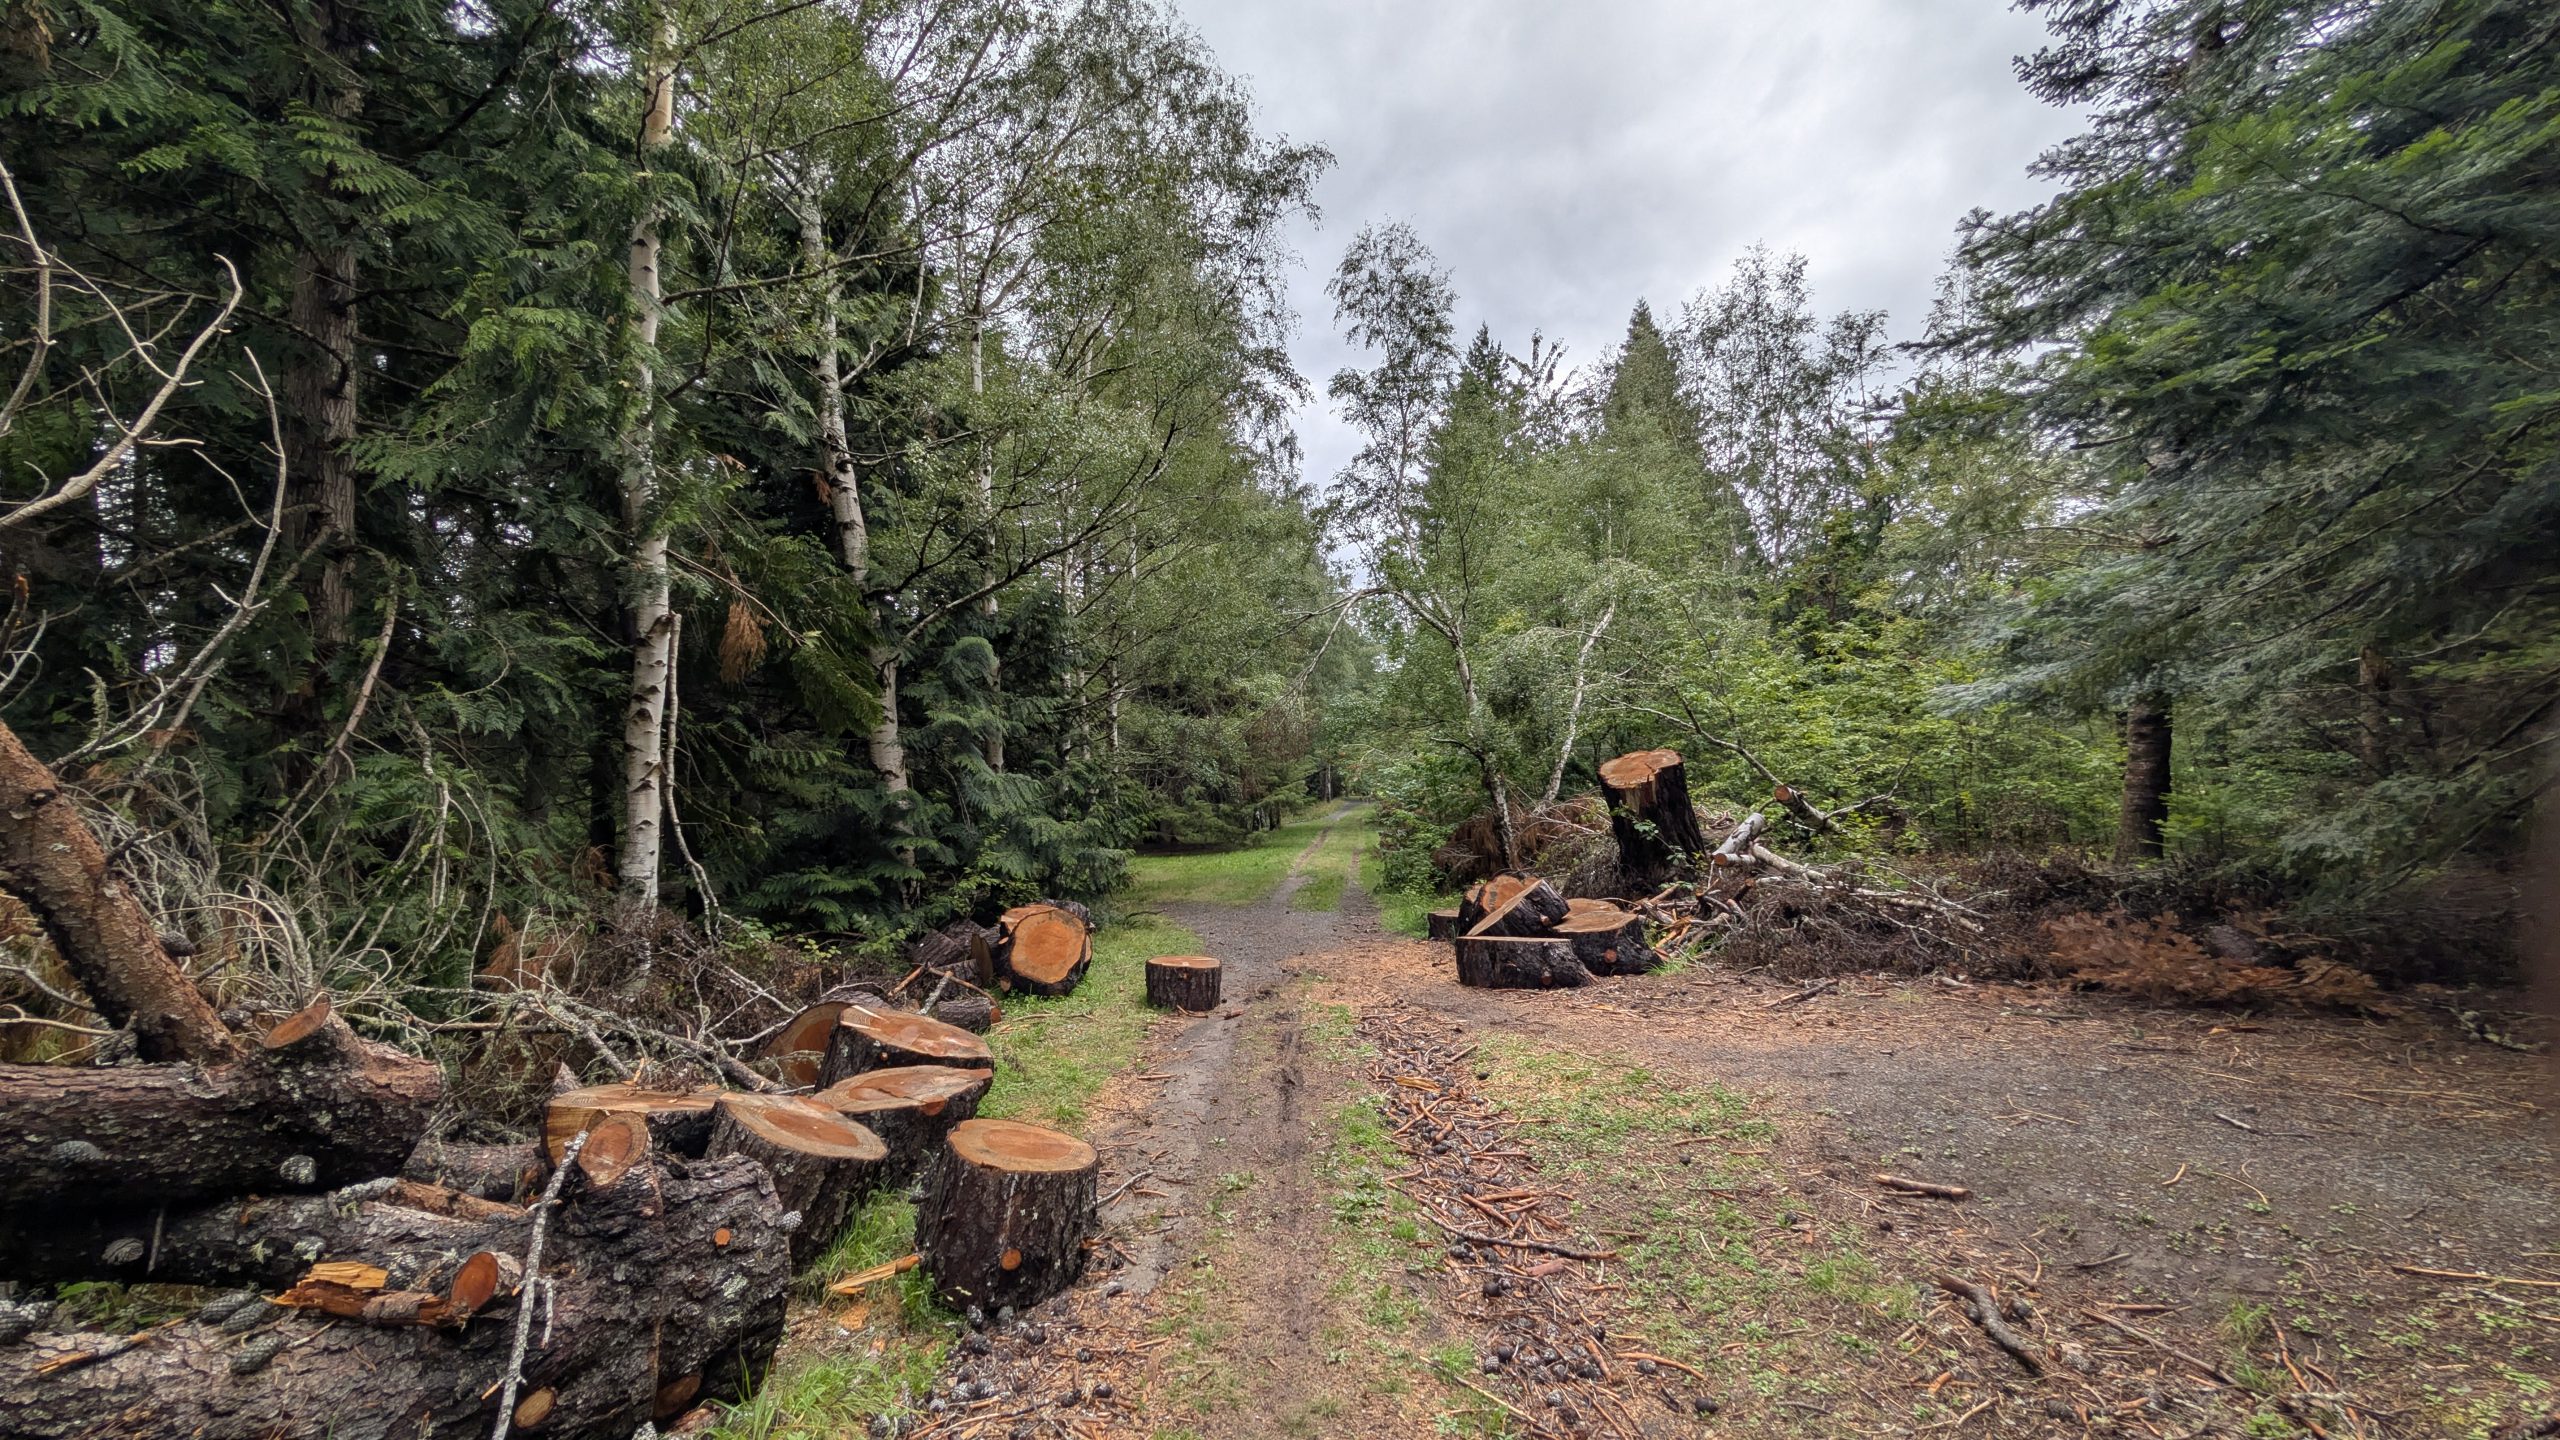
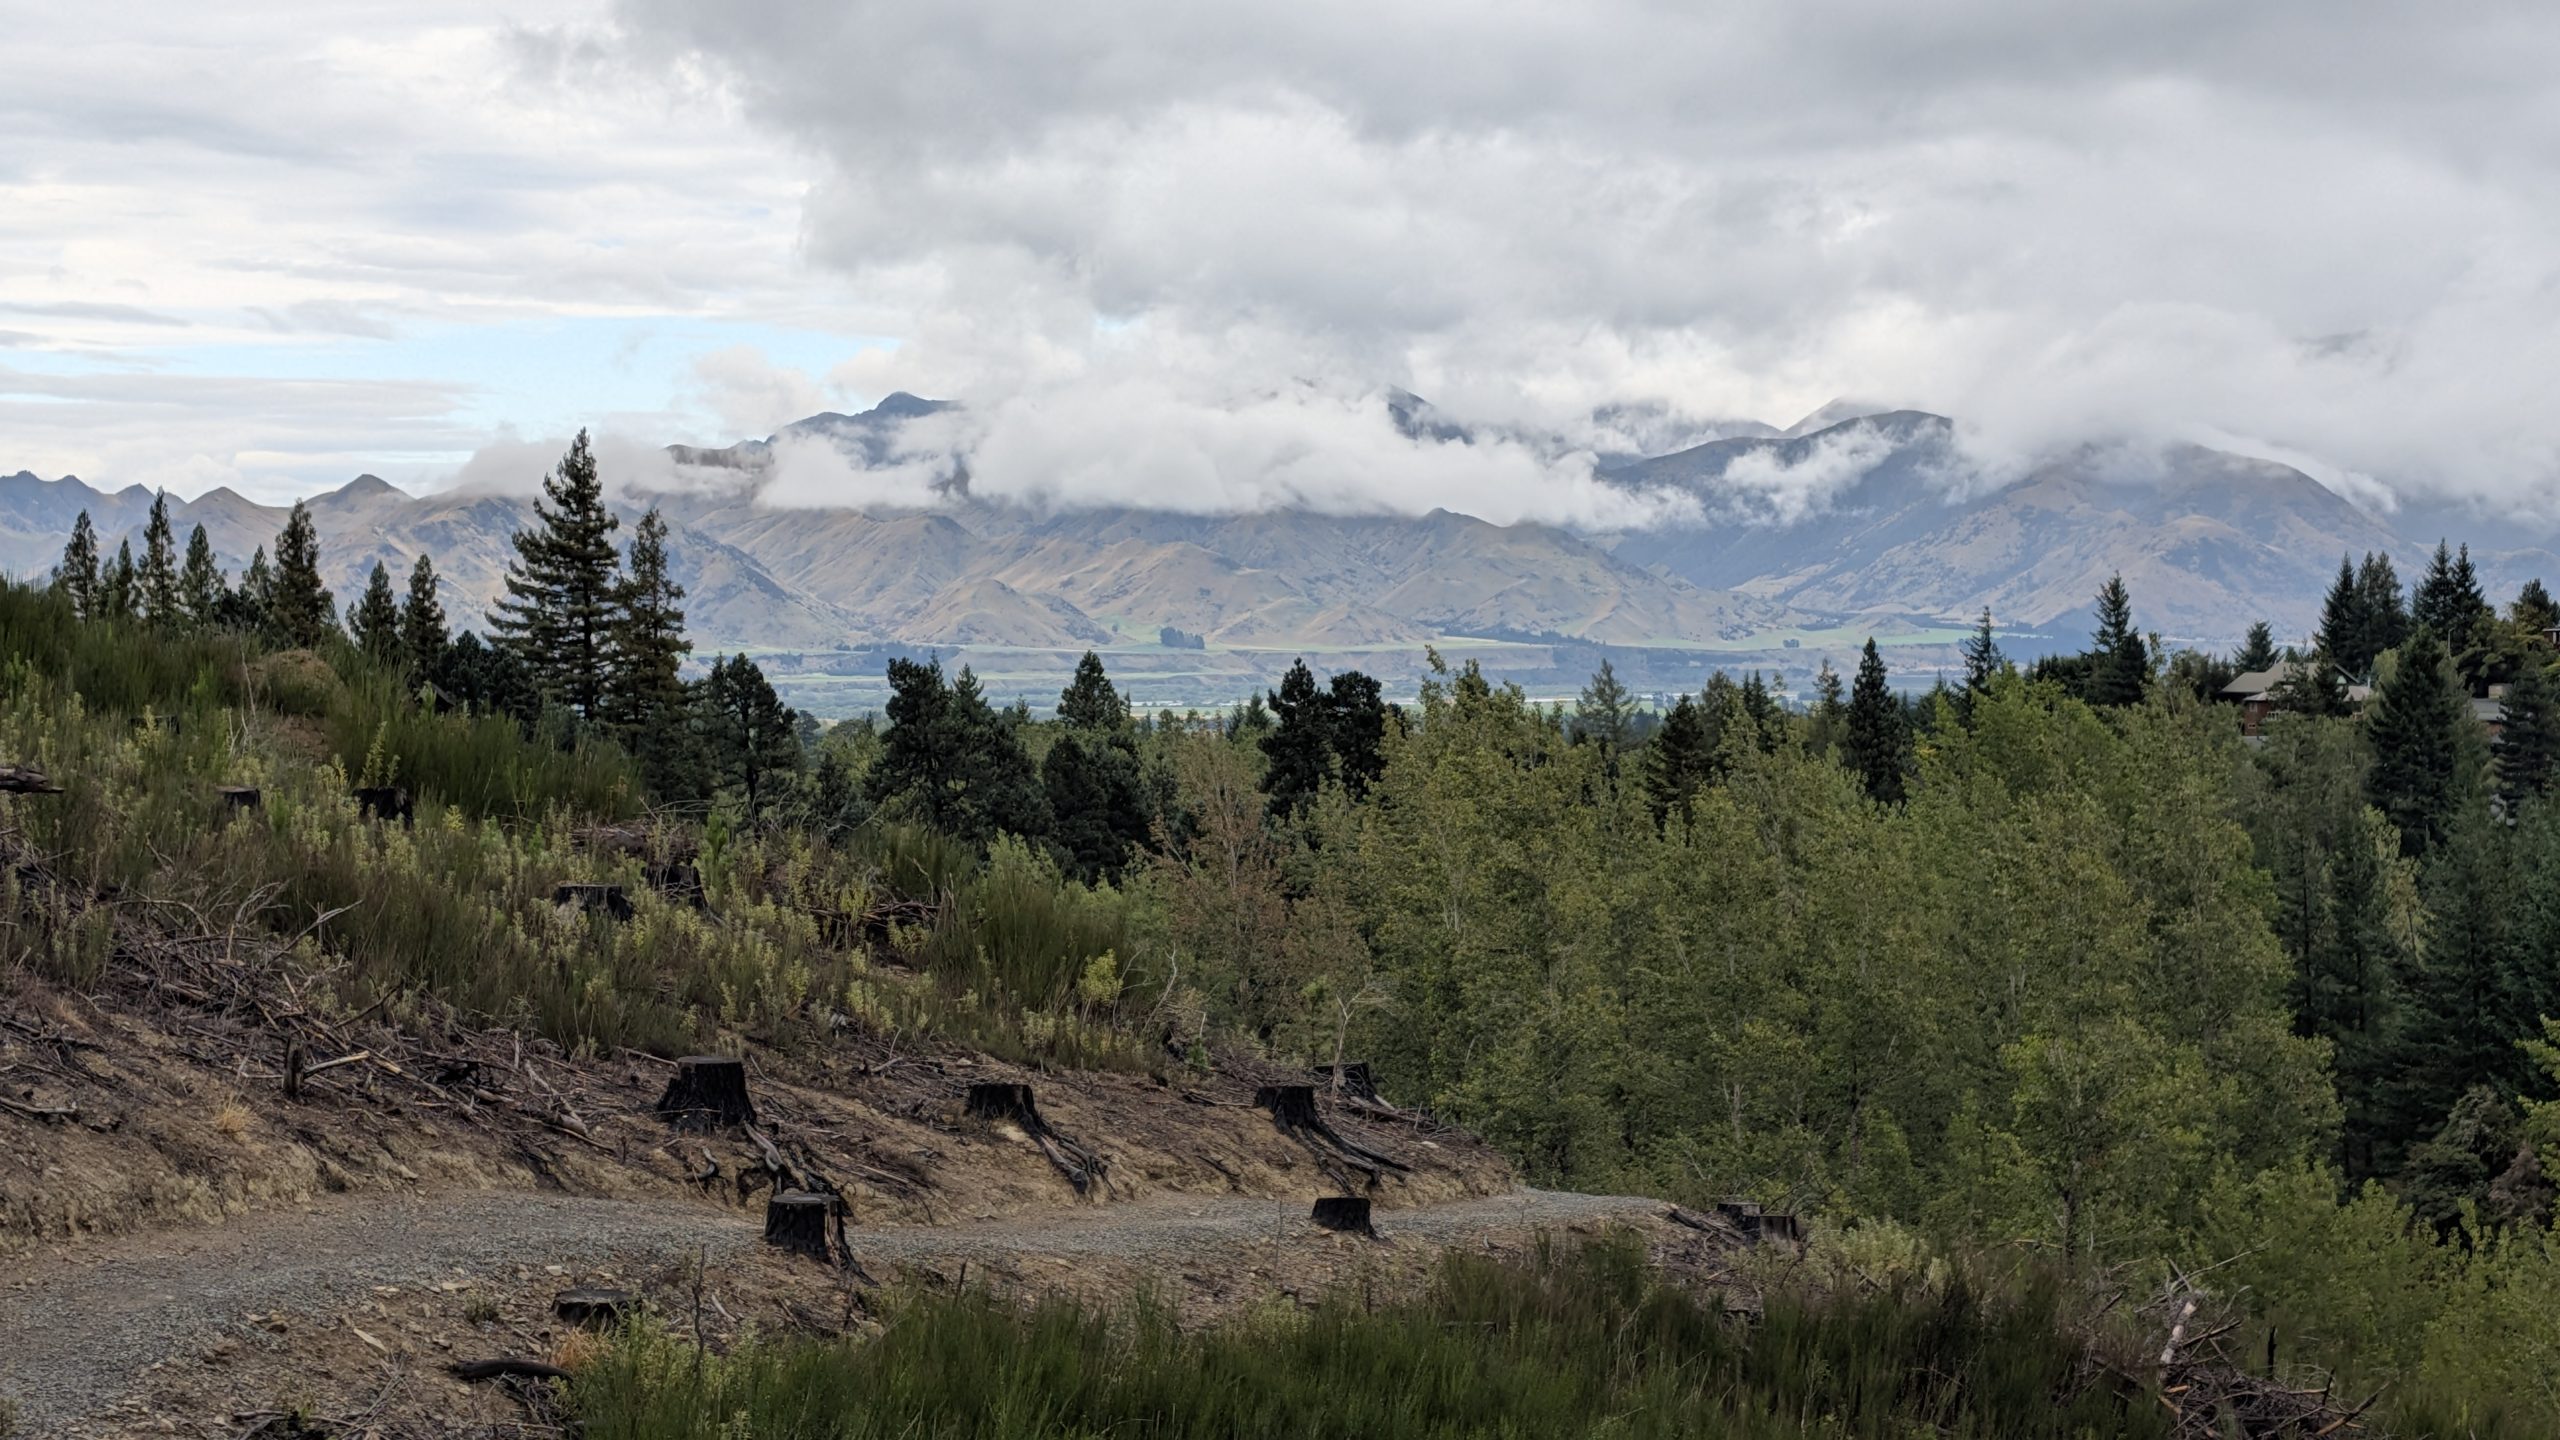
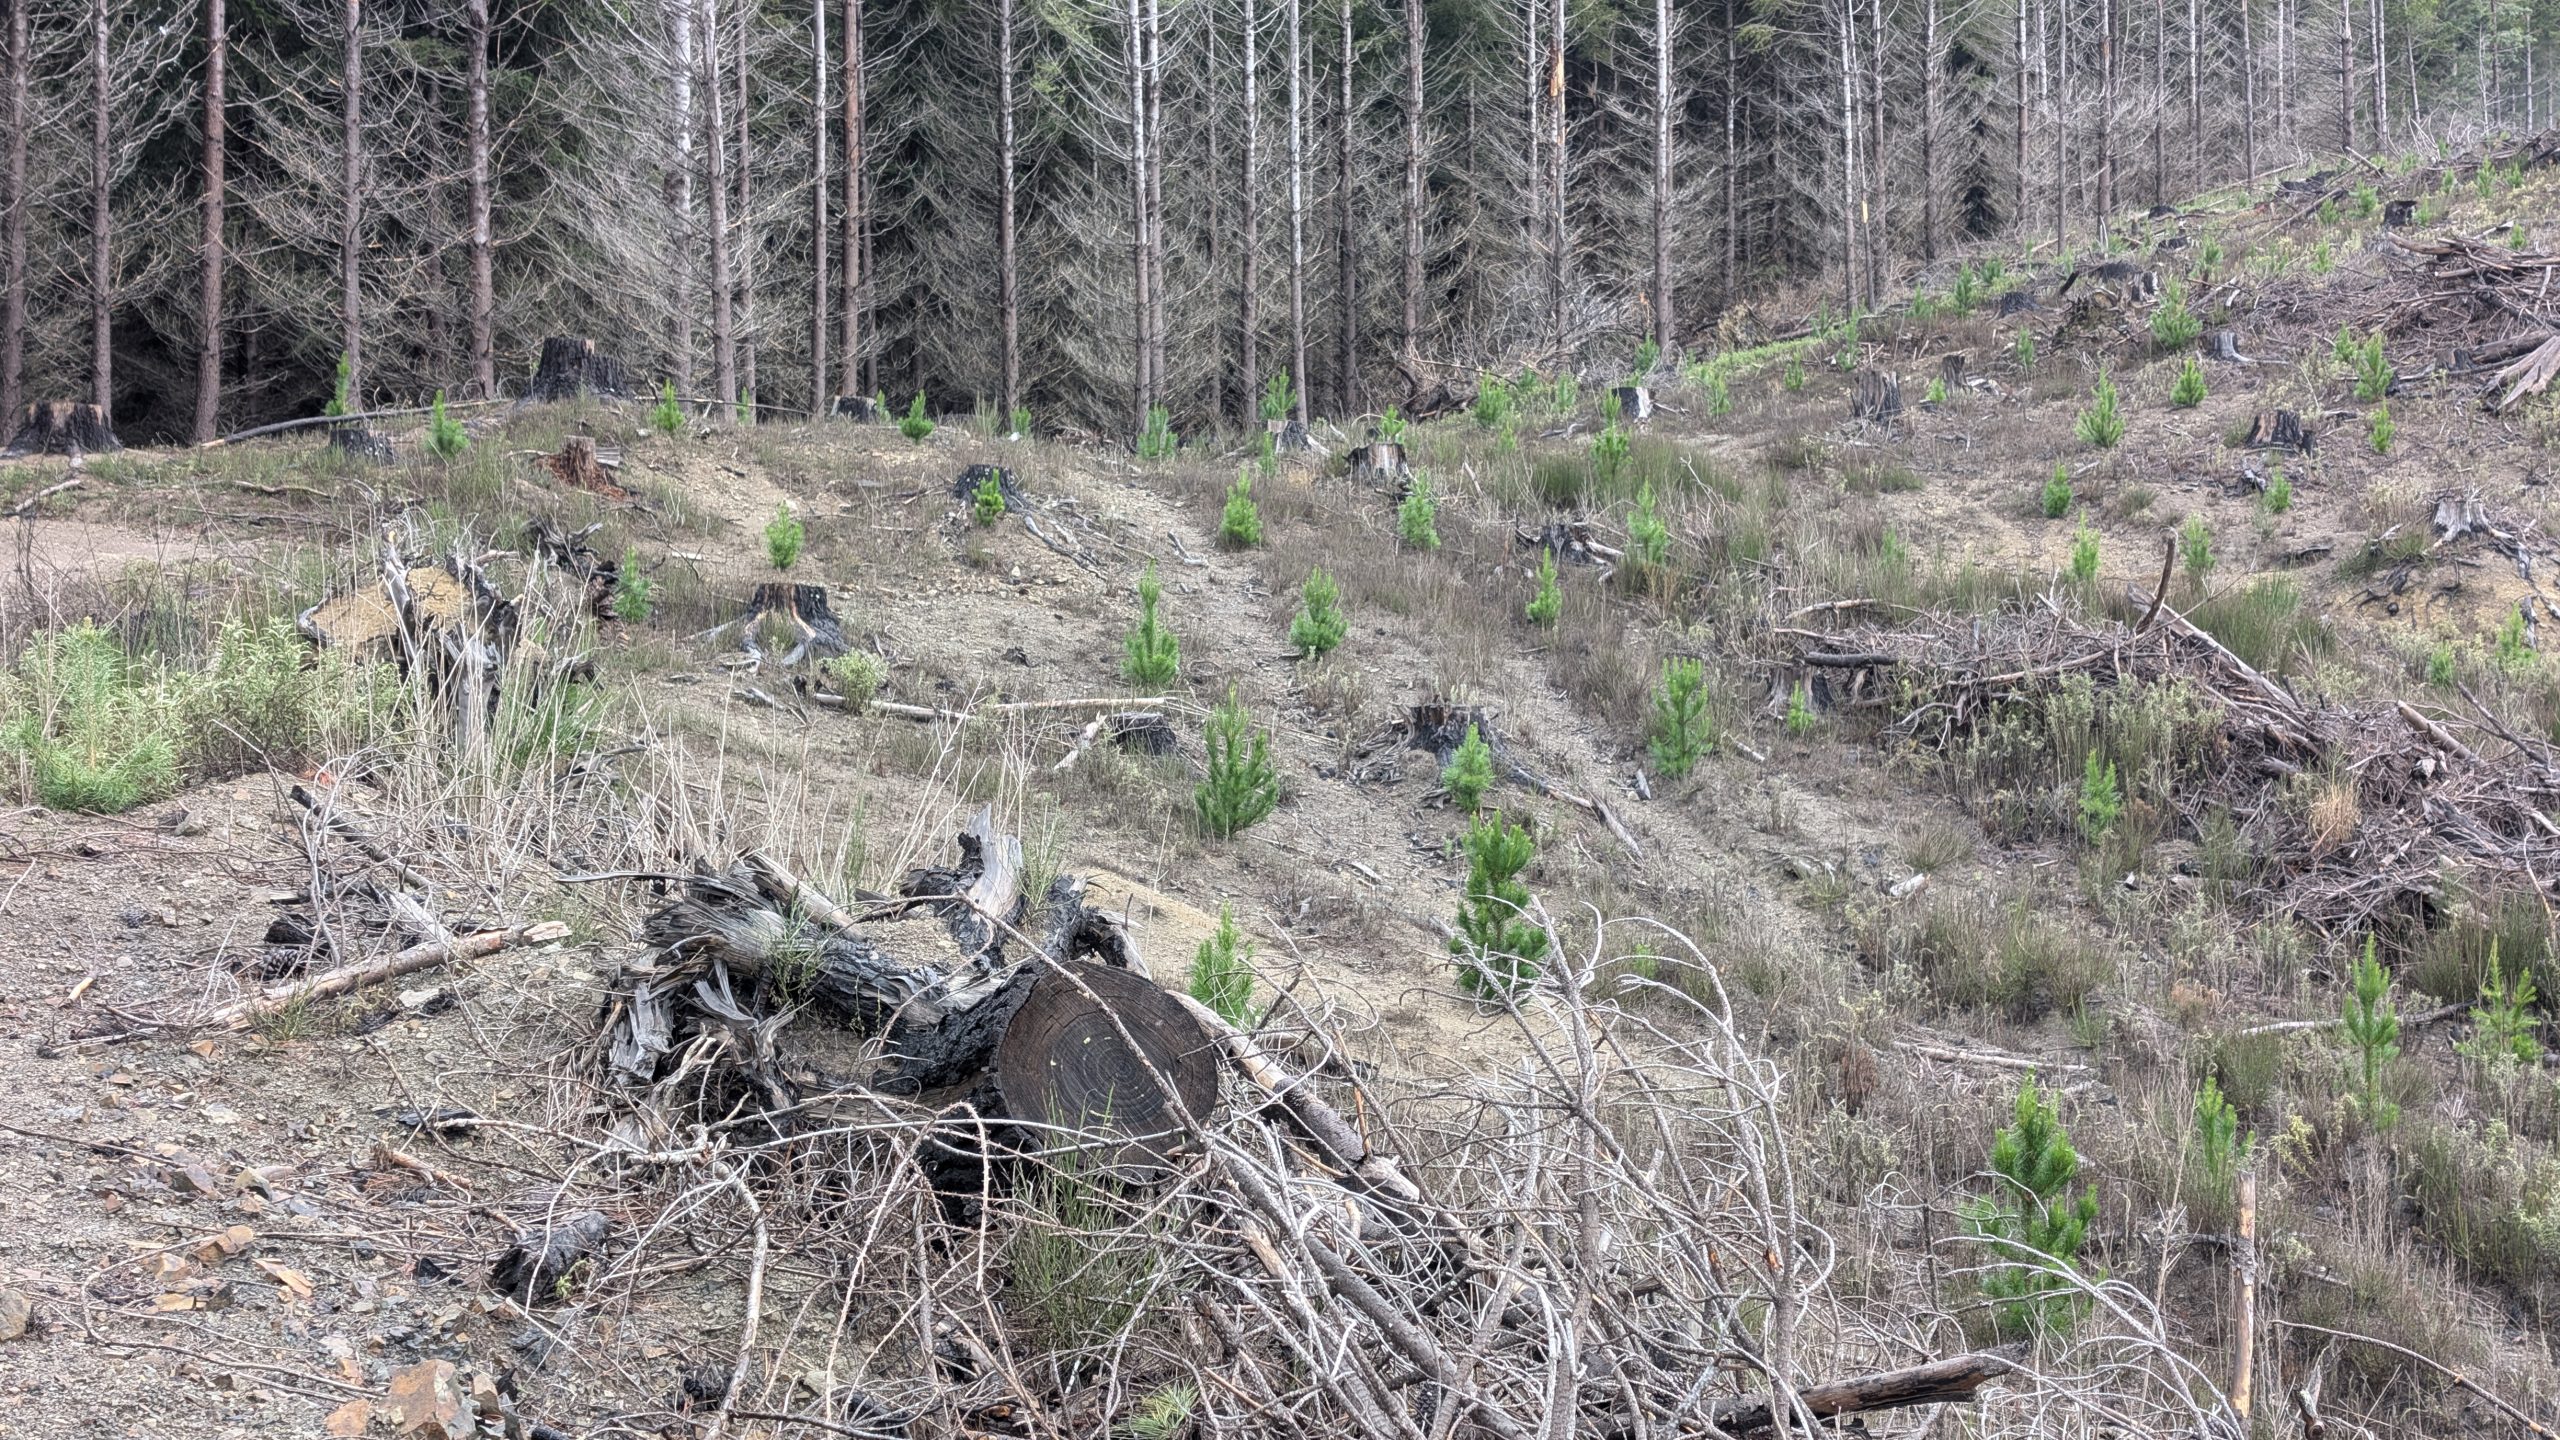
By late morning the rain had stopped and the forecast indicated we should have a few hours of dry weather. So we returned to the Woodland Walk to complete the circuit hike. The area had several trails branching out to various places. One spot that I had wanted to visit was the Dog Stream Waterfall, but the road to the car park was closed, so it was a much longer hike. The map indicated we should be able to hike a connecting trail from the end of the Woodland Walk. So we took the Timberline Trail up through an area where the forest had been heavily clear cut, and it climbed a few hundred feet up a hillside, offering nice views of the village below. But when we reached the top, we found that the trail to the waterfall was roped off. So we hiked down a side road to rejoin the Woodland Walk and returned to the motel.
View from the Timberline TrailNewly planted trees in the clear cut areaNewly planted trees along the Woodland WalkClusters of red berries in the trees
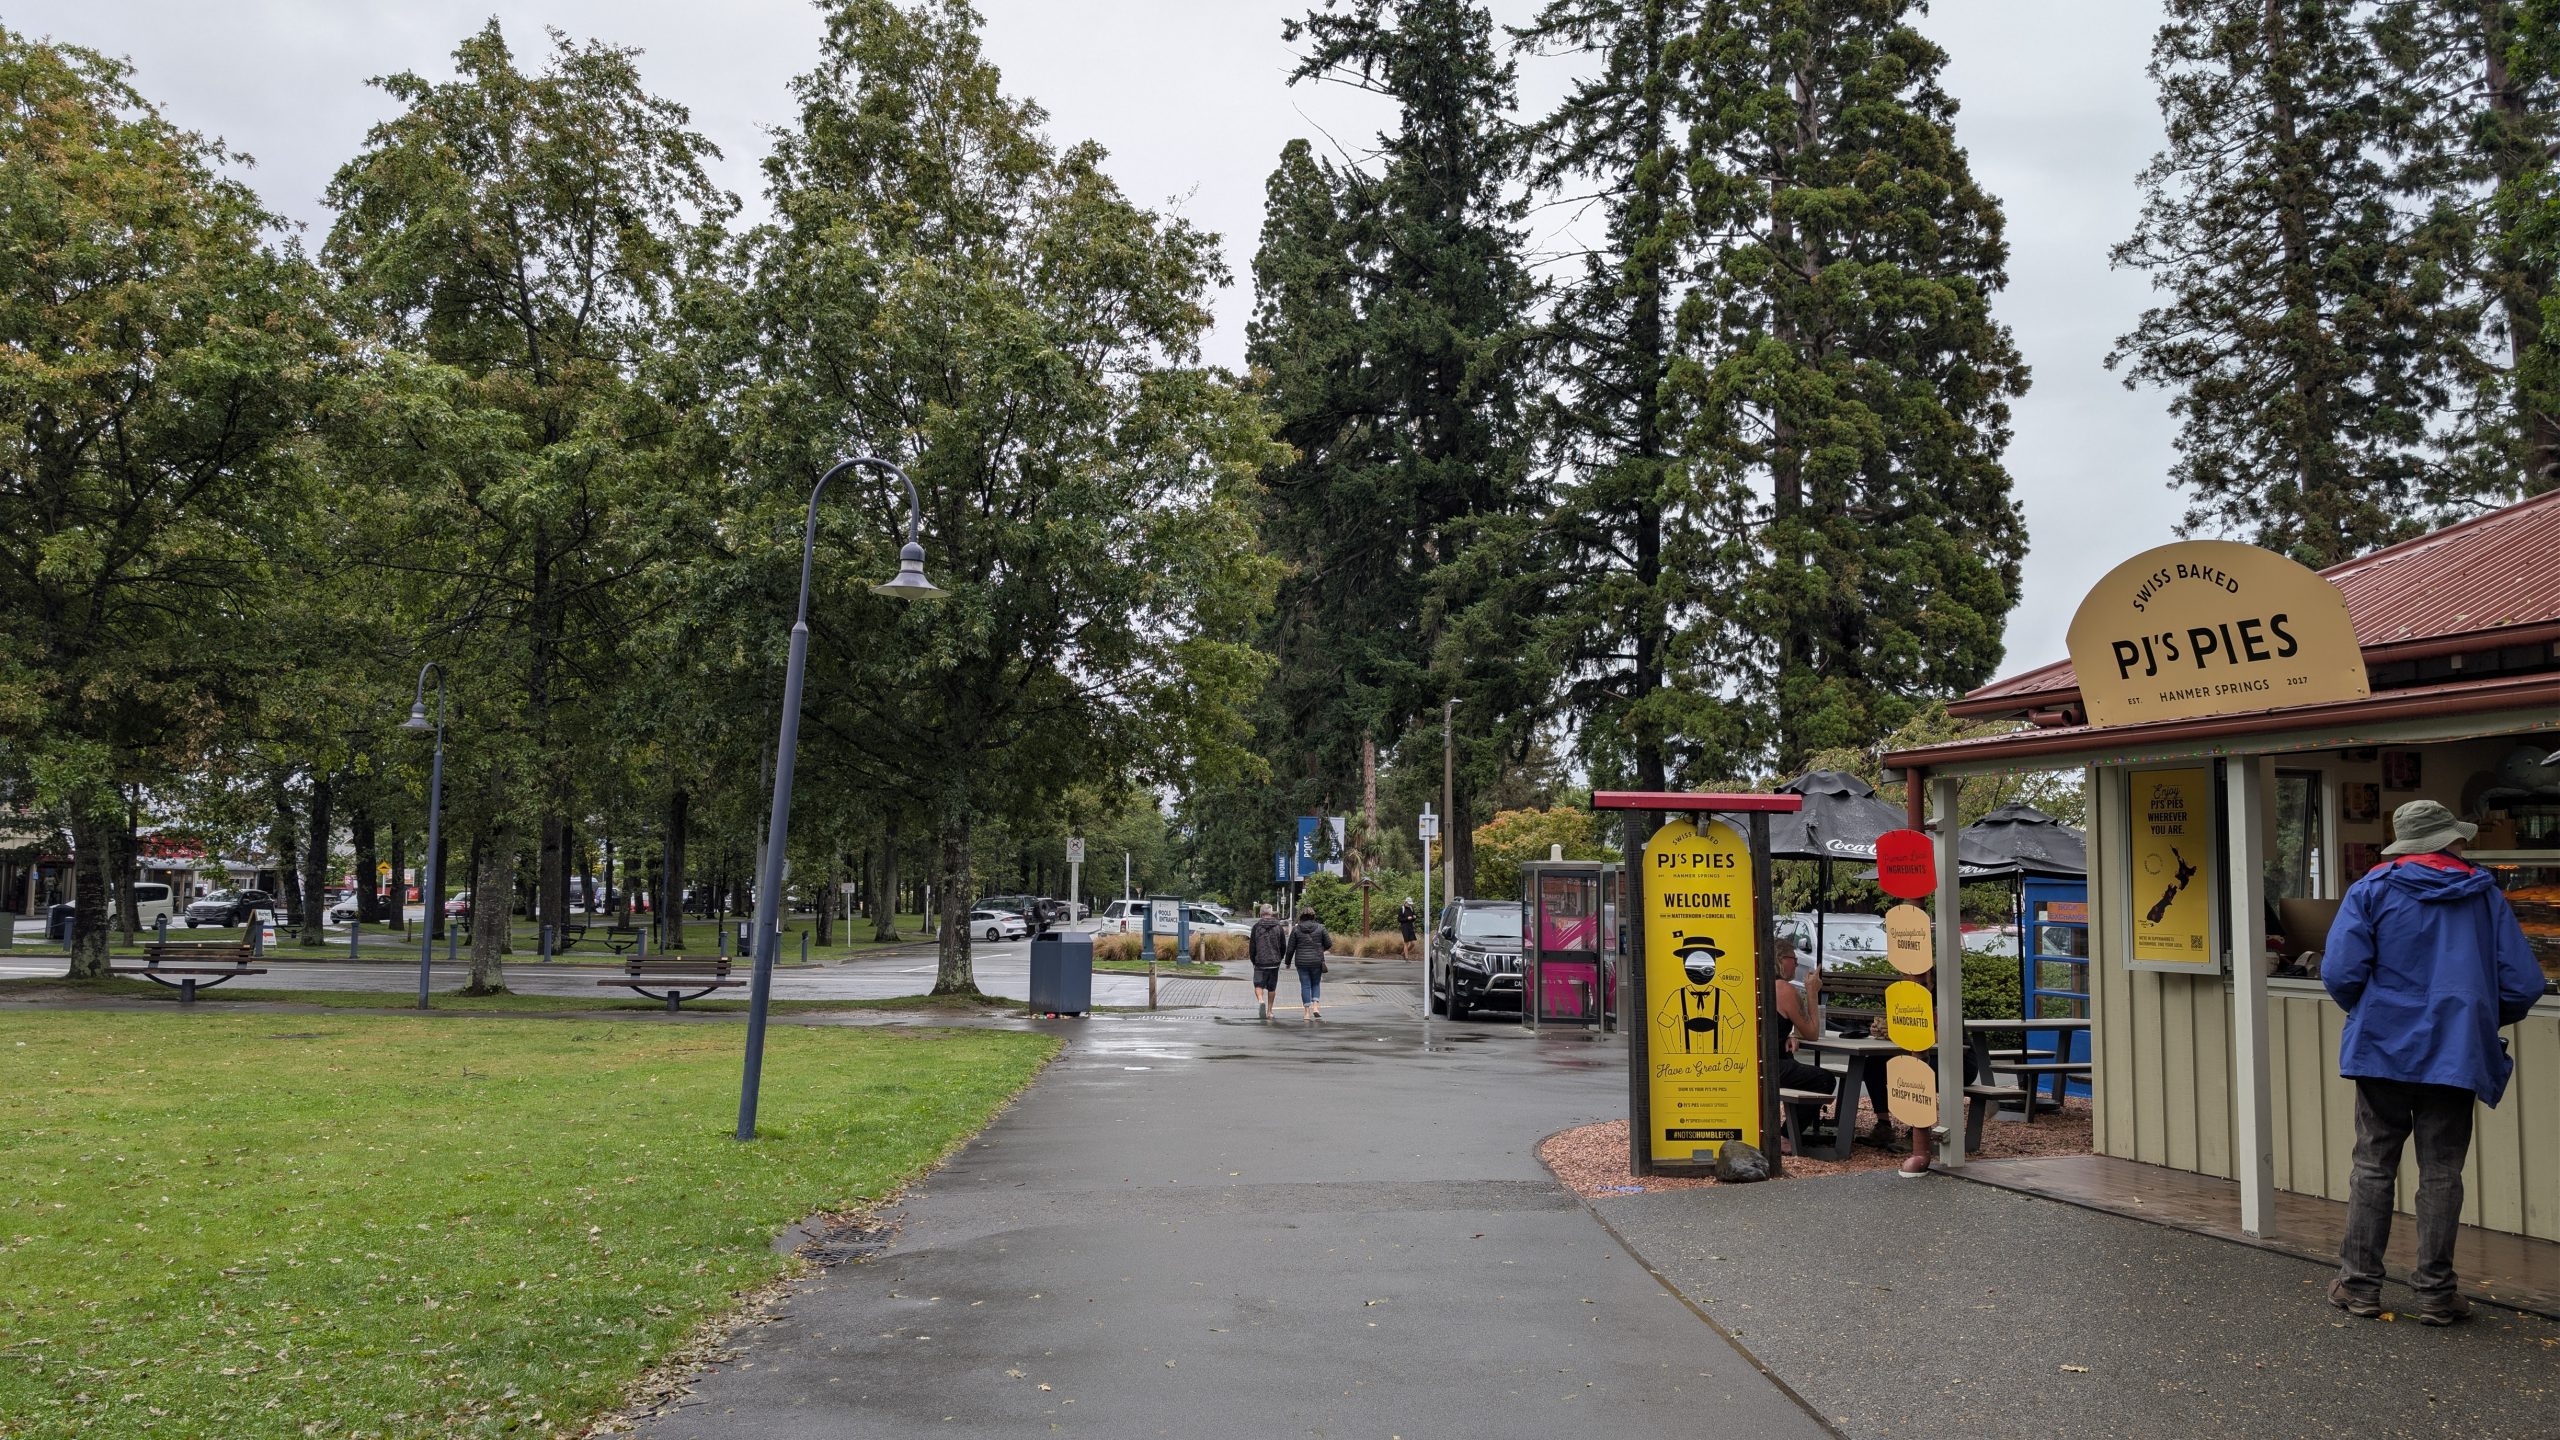
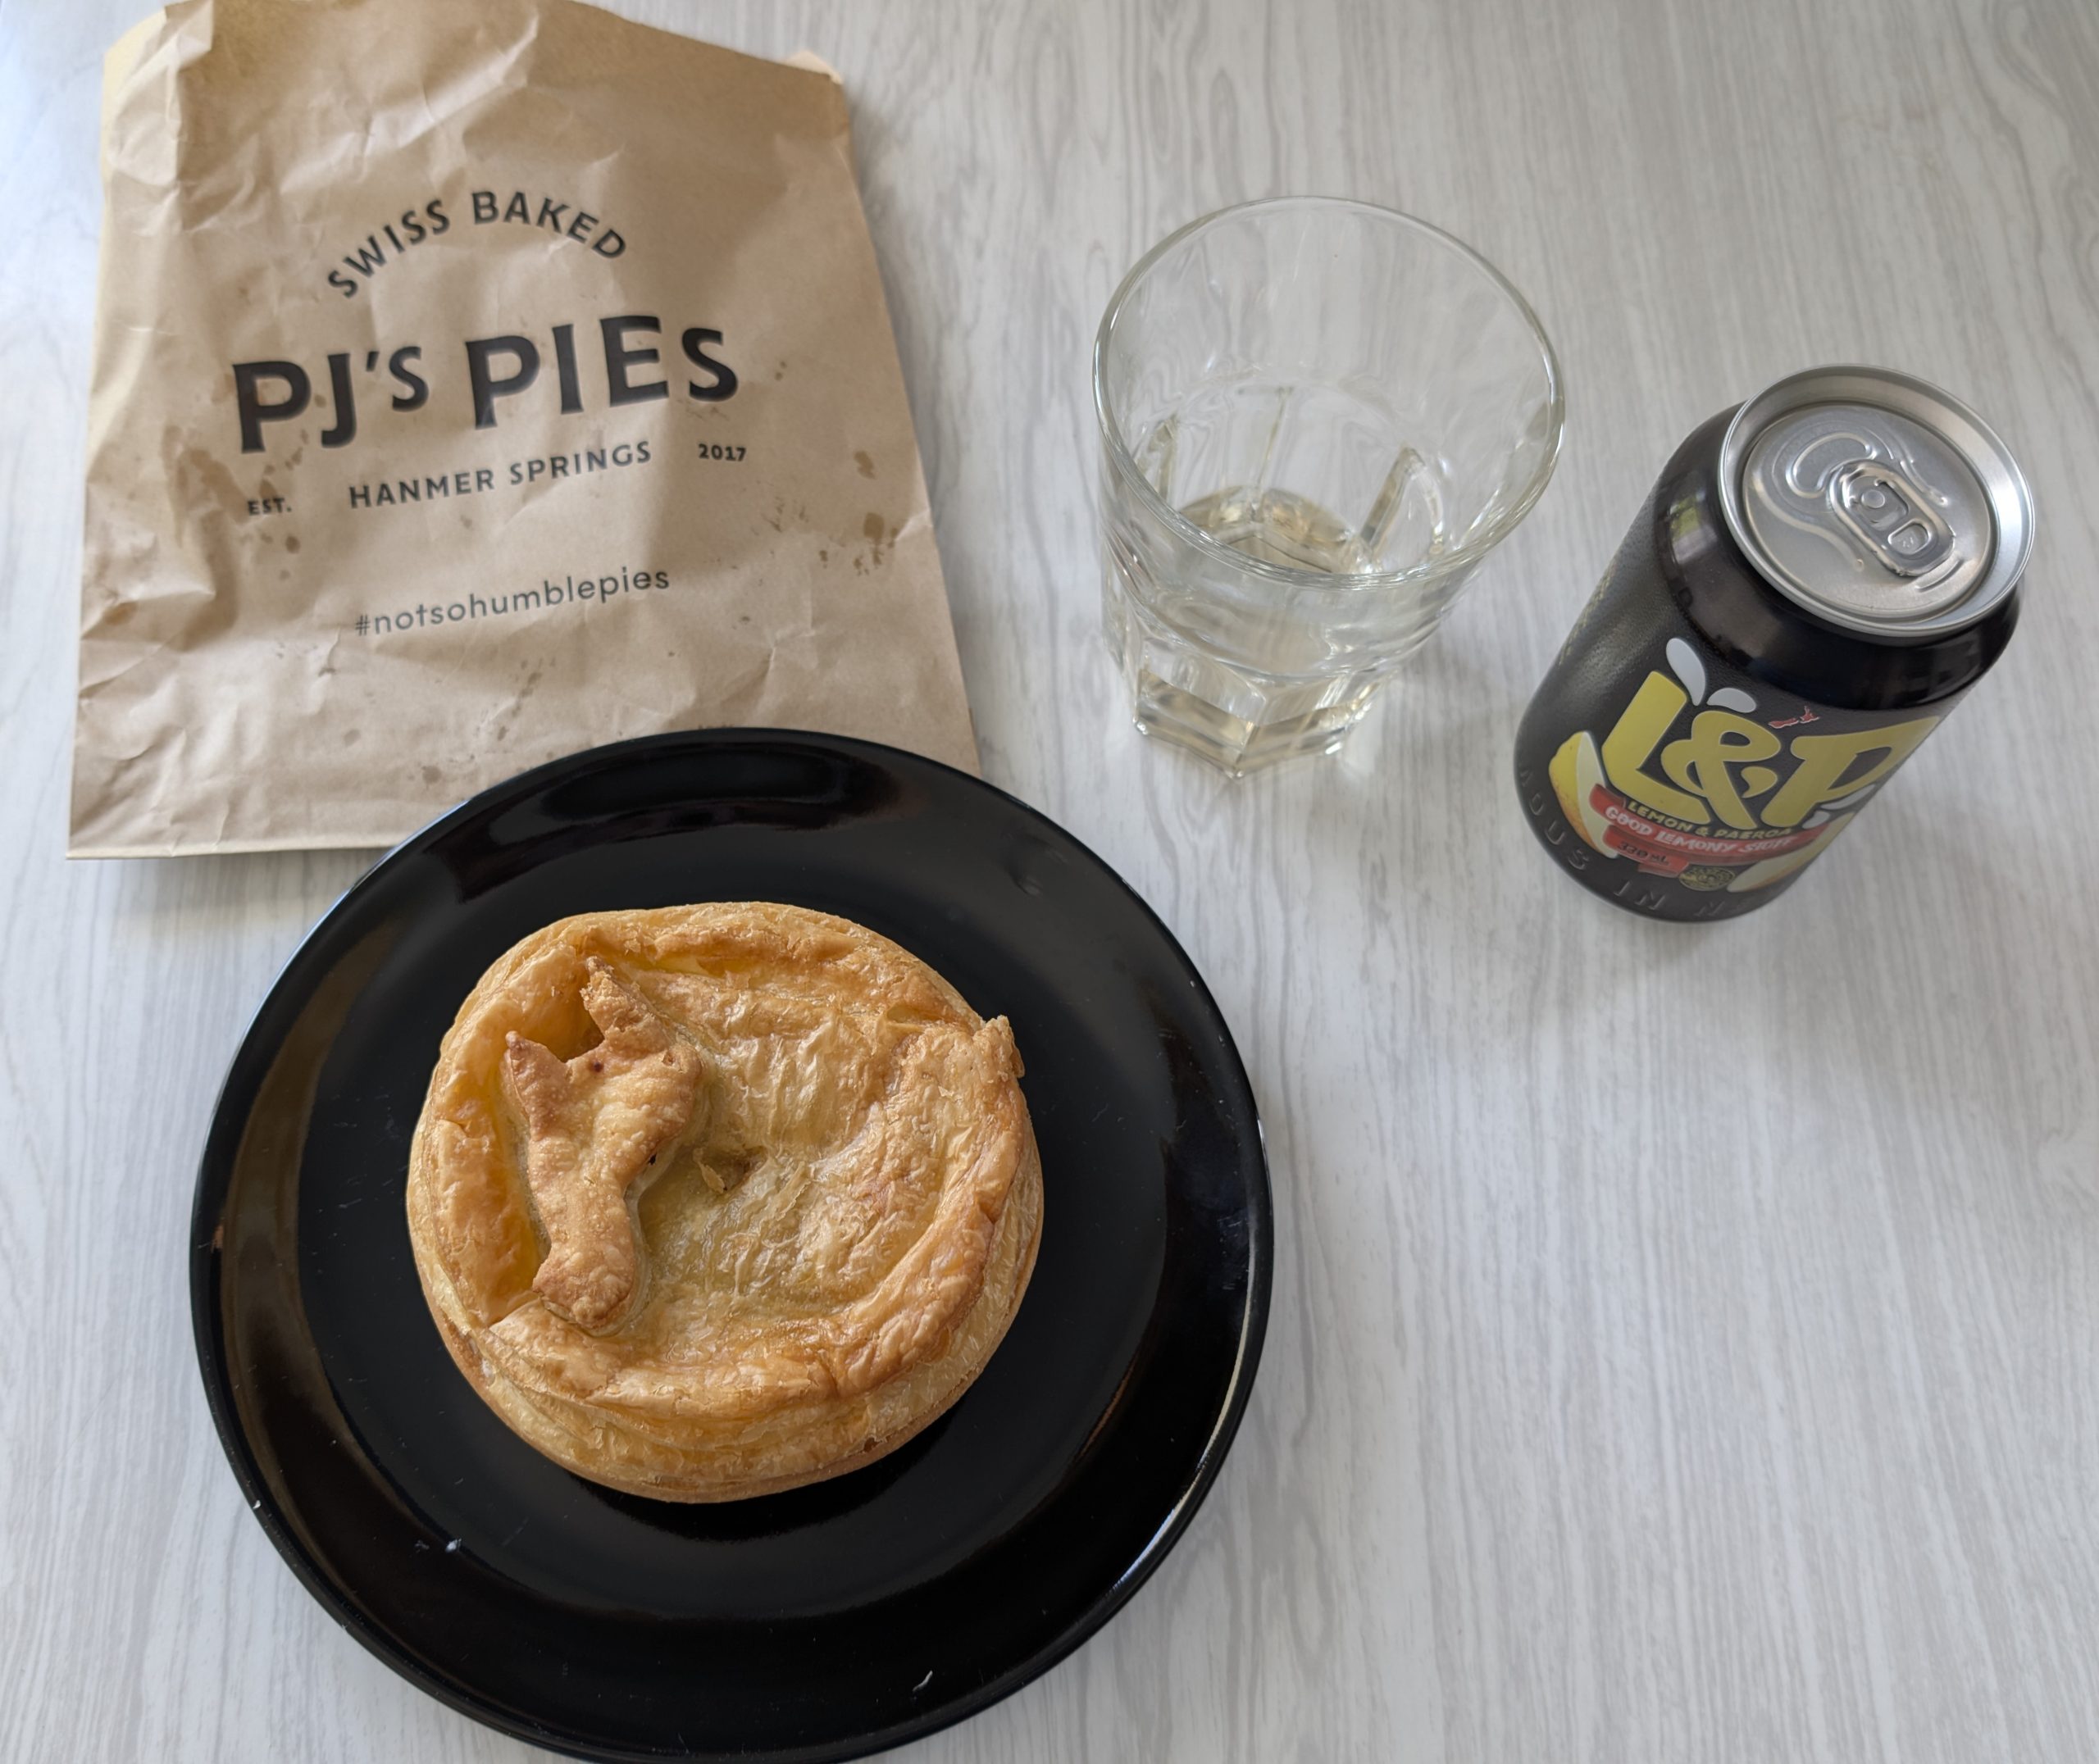
For lunch we drove back into town and purchased a couple of meat pies at PJ's Pies. I tried the South Island lamb pie that was the special for the day, and Heinrich had the Angus beef and cheese. I was a little bit disappointed in my selection since I thought it was too spicy. But Heinrich enjoyed his.
South Island lamb pie and L&P soda
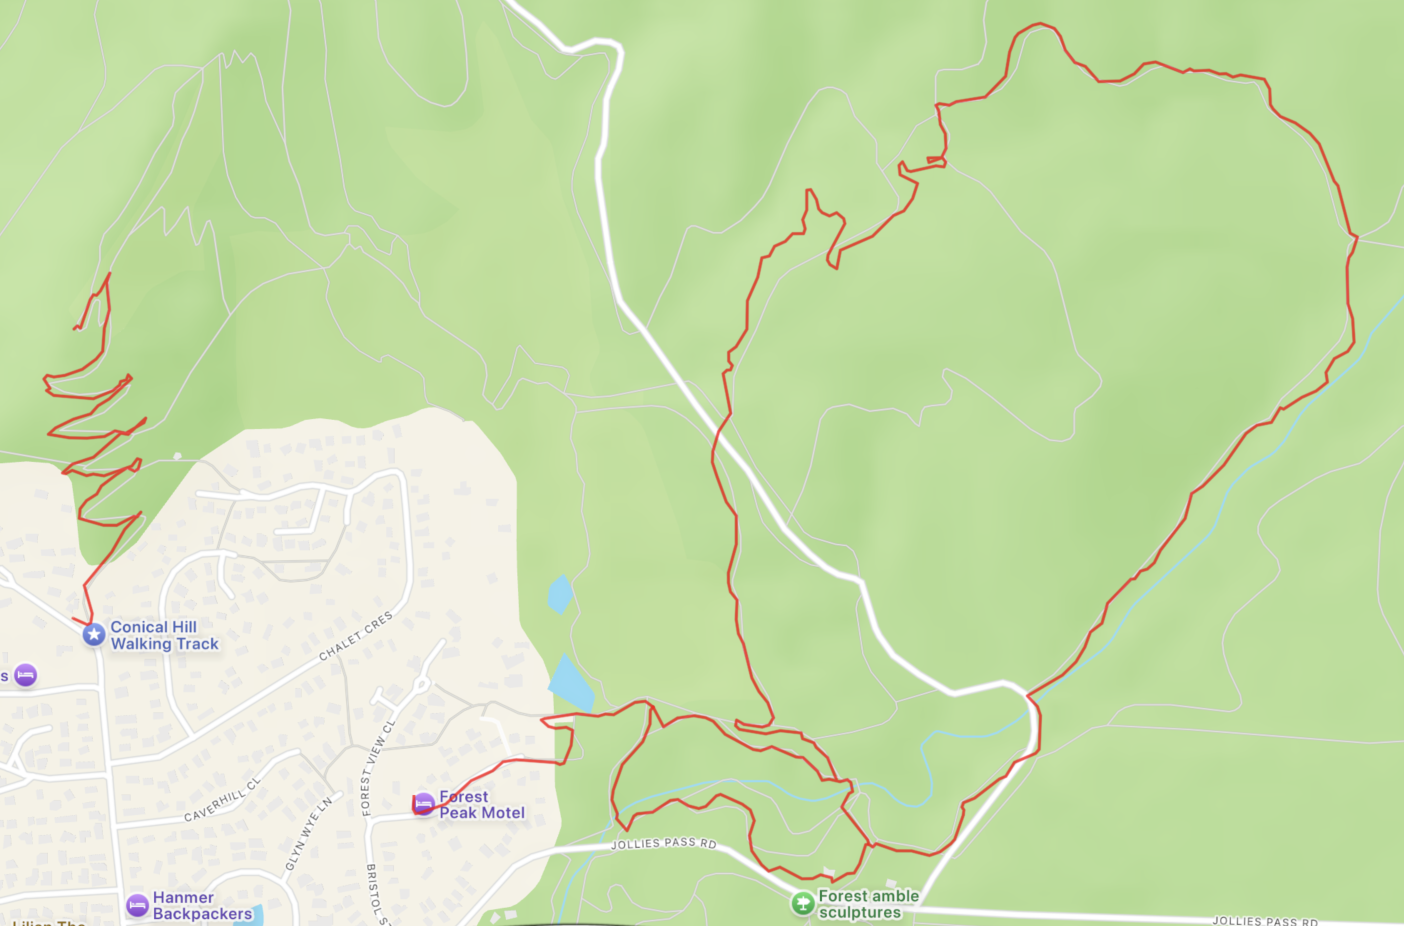
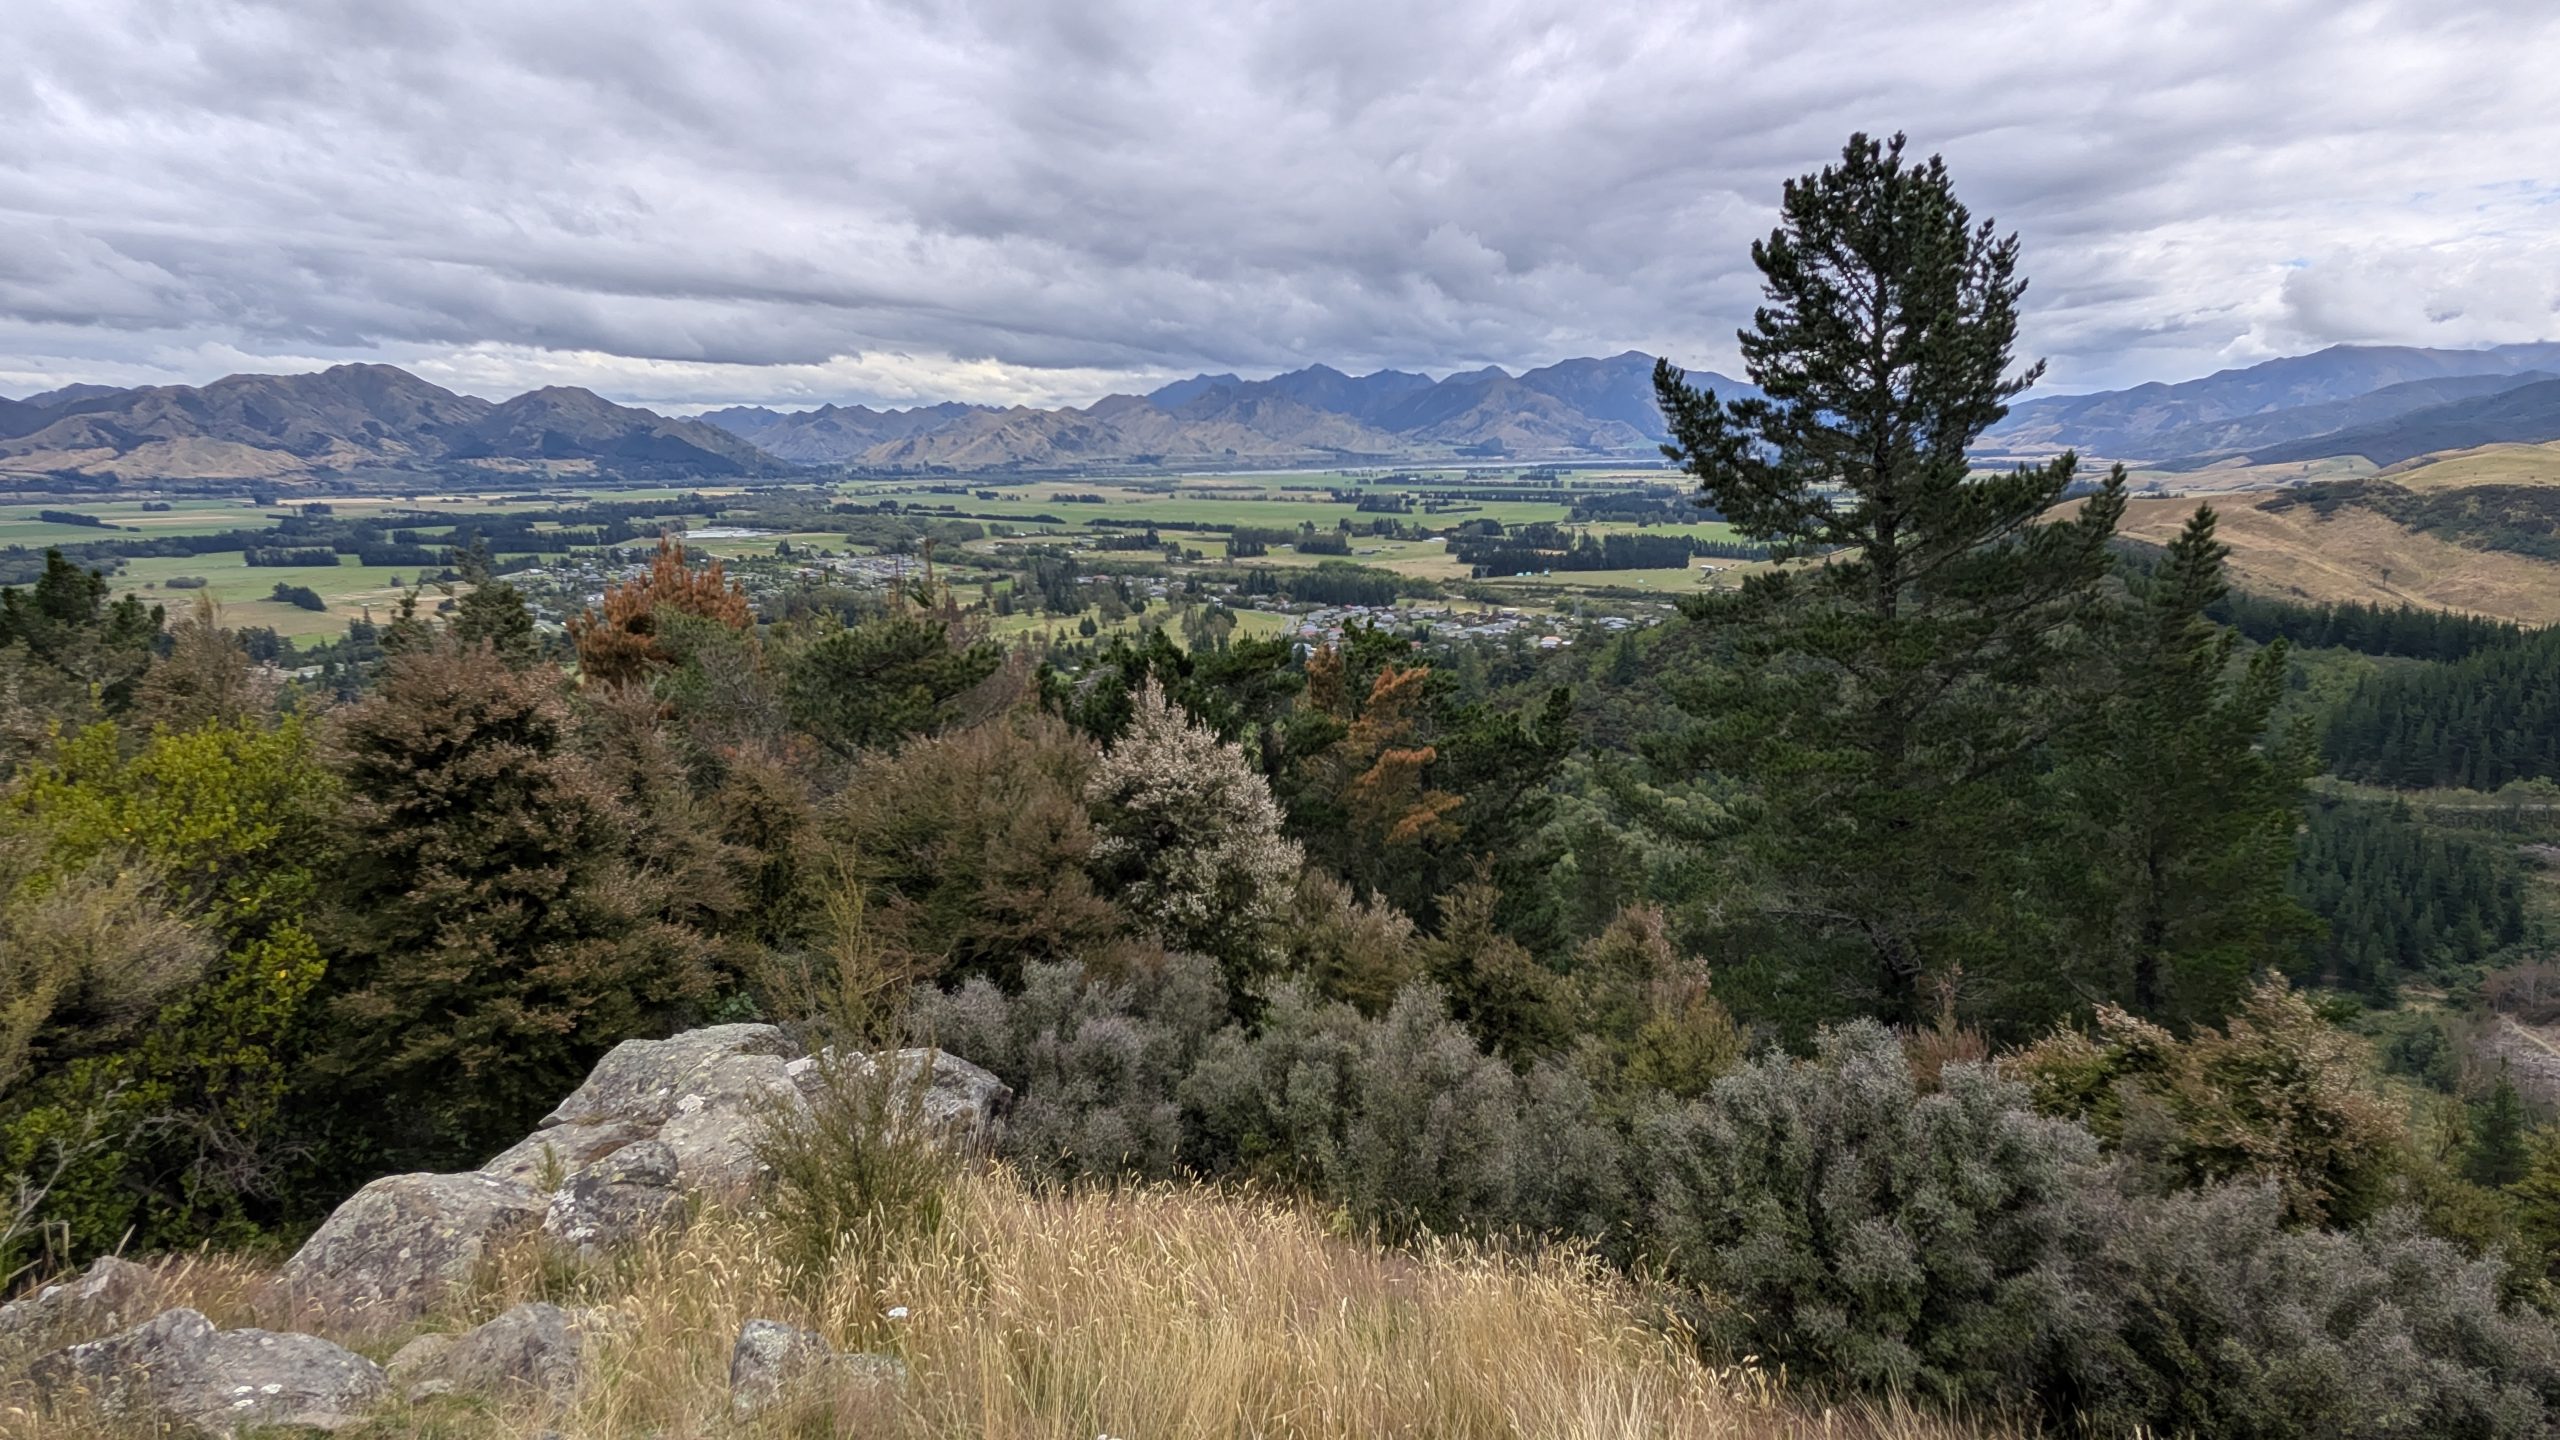
The weather was still dry after lunch, so we drove up the road to hike the Conical Hill Walkway. This was a very popular hike with switchbacks climbing about 500 feet to a lookout with panoramic views of the Hanmer Basin. The hike through the forest was quite nice, although the trail was a bit squishy and muddy from all of the rain. We sat at a picnic table at the top to admire the views.
View from Conical Hill LookoutThe summit at Conical Hill Lookout
By late afternoon the rain had restarted, so we spent the remainder of the day relaxing in the room and getting caught up on more sleep. I had another distraction late in the evening when it appeared that the Kilauea volcano in Hawaii might be getting ready to erupt. Some of my friends were visiting there, so I was keeping tabs on its activity. I had the volcano webcam up on YouTube on the big screen TV in the room; however no eruption occurred that night.
Our plane landed in Christchurch about 5 minutes early at 10:30 AM. We crossed the international date line, so it was now January 23 and we had skipped the entire day of January 22 while in the air.
We walked off the plane and into the duty free area, where we immediately saw the place to buy our SIM cards to get New Zealand phone numbers and 10 GB data plans good for the duration of our trip. We picked the company that had nobody waiting in line (this was the same company that we had used before), and the phone setup was fast and easy.
Going through customs was astonishingly fast. New Zealand now has an app that we were able to use to fill out all of the required customs forms while we were still at home, within 24 hours of the start of our international flight. That alone saved a lot of time. I had hiking boots and hiking poles to declare, and Heinrich had the same plus spices, so we entered the "Something to Declare" line. What surprised us was this line was before we had collected our baggage which contained the items to declare. An agent asked us to clarify what we were declaring, and I told her I had cleaned both the boots and poles before we left. She gave us a green card with a line number on it. We then collected our luggage and followed the path to our line, another agent collected our green cards, and we passed the sniffing dogs without incident. Then we were out the double doors and into the airport lobby. And we were done!
The shuttle to drive us to the rental car area was waiting for us when we walked outside. And there was no long line to wait to get our rental car. By the time we got our luggage into the car, we were already an hour an a half ahead of my predicted exit time!
Our rental car was a Hyundai Ioniq Hybrid 4-door sedan, rented with Apex Car Rentals. This was the same agency that we used for the New Zealand trip in 2023. They rented slightly older cars that were still in excellent condition, and they had no fee for an extra driver which was really important for us.
Our destination for the day was Hanmer Springs, about a 90-minute drive north of Christchurch. I got the honors of starting the drive and getting to remember what it was like to drive on the left side of the road. And immediately there were about 6 roundabouts (some double lane) to navigate, so that was loads of fun! But actually I remembered quickly what was involved and did not even once turn on the windshield wipers when trying to use the turn signals!
We stopped at the New World Ravenswood grocery store to stock up on a couple of days worth of food, and of course we had to get our must haves: Whittaker's chocolate, steamed puddings, baked oaty slices, and L&P sodas! It was about that time when I realized we had forgotten to stop at an ATM at the airport to get New Zealand cash, and we also had neglected to fill our water bottles so we had nothing to drink. Back to the store we went a second time to buy a couple of cold peach teas (also useful later on as freezer bottles to store ice for our chilly bin).
Heinrich took over driving. I had planned a couple of intermediate stops along the way. The first place was the Kowai River Walk. We parked and saw that the area was soaking wet and uninviting for a hike, so we drove on. Next was a detour off the main highway due to bridge construction. It rejoined Highway 1, and then almost immediately we turned onto the side road to Hanmer Springs. A second planned stop was Frog Rock, but we missed the turnoff due to construction right in the parking area. The third planned stop was the Weka Pass walkway to Maori rock drawings, but Google Maps routed us onto some private road which was obviously not correct. The gate was closed and there was a large flock of sheep behind it. Since we saw no sign for the correct turnoff, we ended up skipping this. I made a note to get better directions or have a more detailed map in hand for some of these places to avoid these hiccups in the future.
Just after the turnoff to Hanmer Springs we stopped at the Waiau River Lookout. This was a nice view that we stopped at briefly in 2019 on our way to Kaikoura in the opposite direction. The view was lovely again today, even with the cloudy and rainy weather conditions. It actually started to rain again lightly when I stepped out of the car to take a photo.
Highway 7a bridge across the Waiau River
Hanmer Springs was only a 10-minute drive further up the road. We stopped at the I-site visitor center where I obtained information on the hiking trails in the area and bought a local map. The lady at the front desk told me that almost half of my planned hikes were unfortunately closed due to the recent heavy rains. So immediately I knew we were going to have a more relaxing stay here than originally planned!
We checked into our accommodations at the Forest Peak Motel: a nice quiet one-bedroom apartment with a kitchen. We reconfigured all of our luggage for the extended stay on the South Island, and then we had our dinner: chicken alfredo, a salad, and "steamy puds" (that was another name for our steamed chocolate pudding desserts).
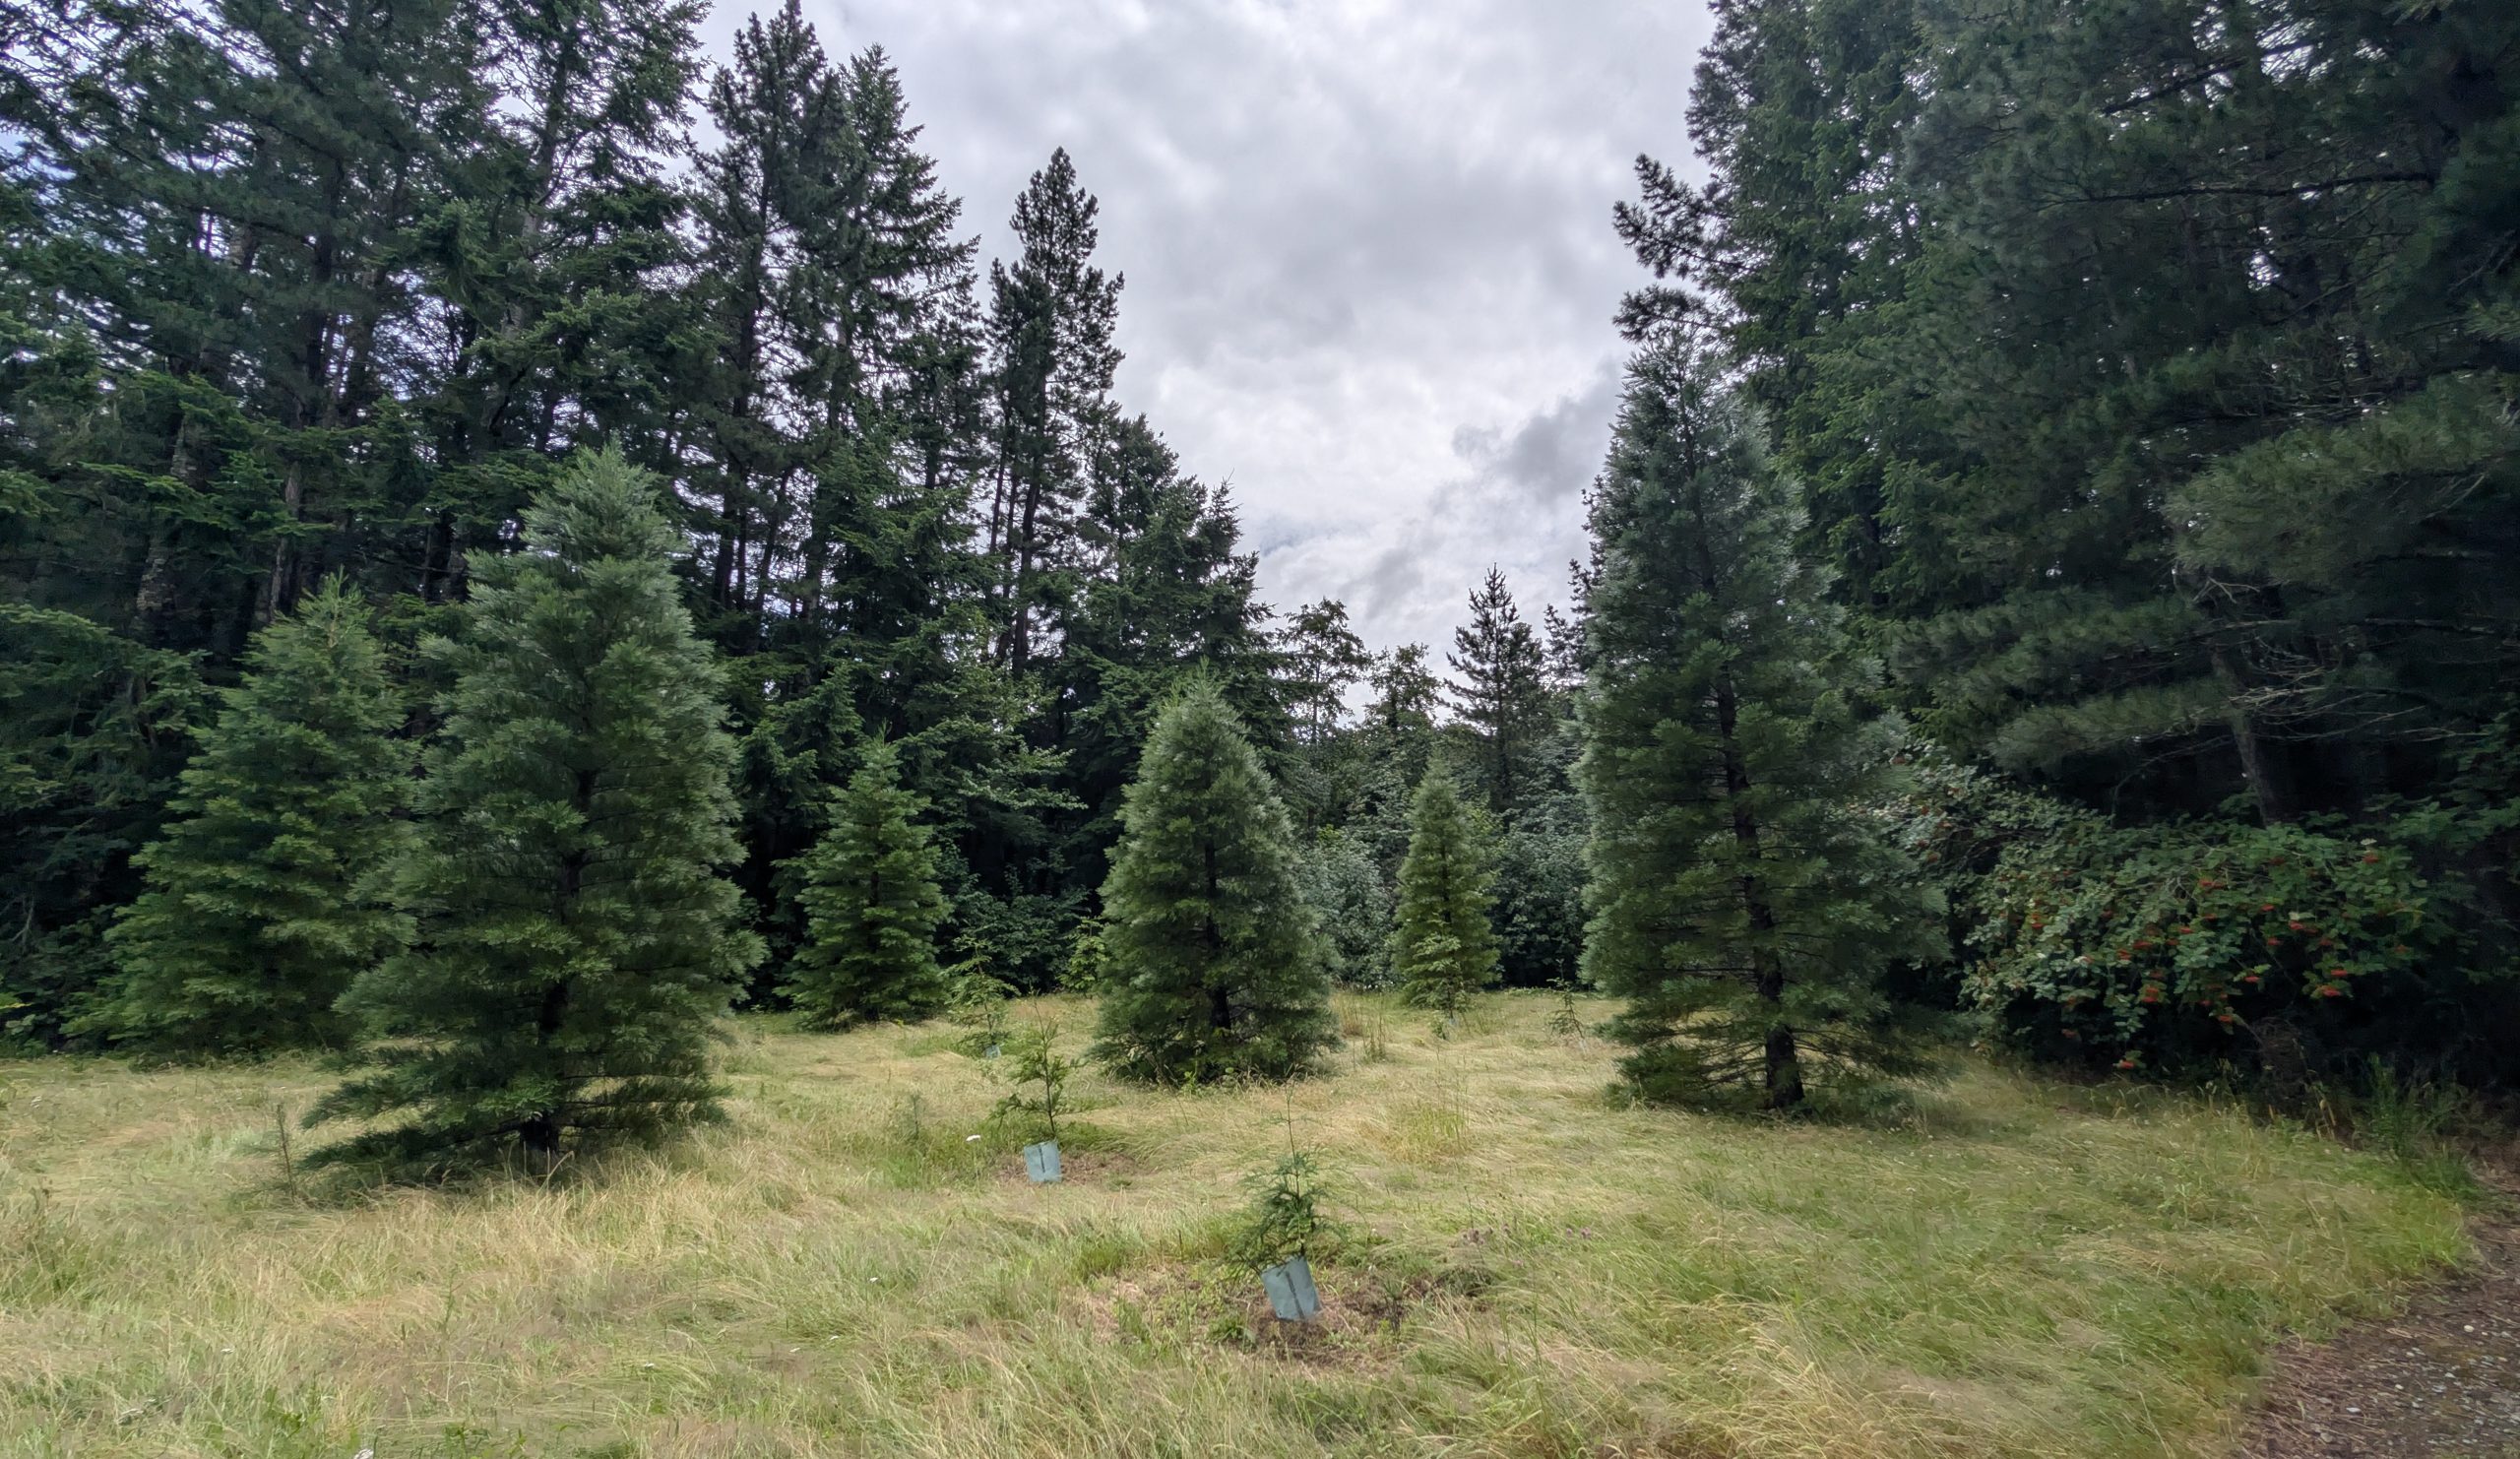
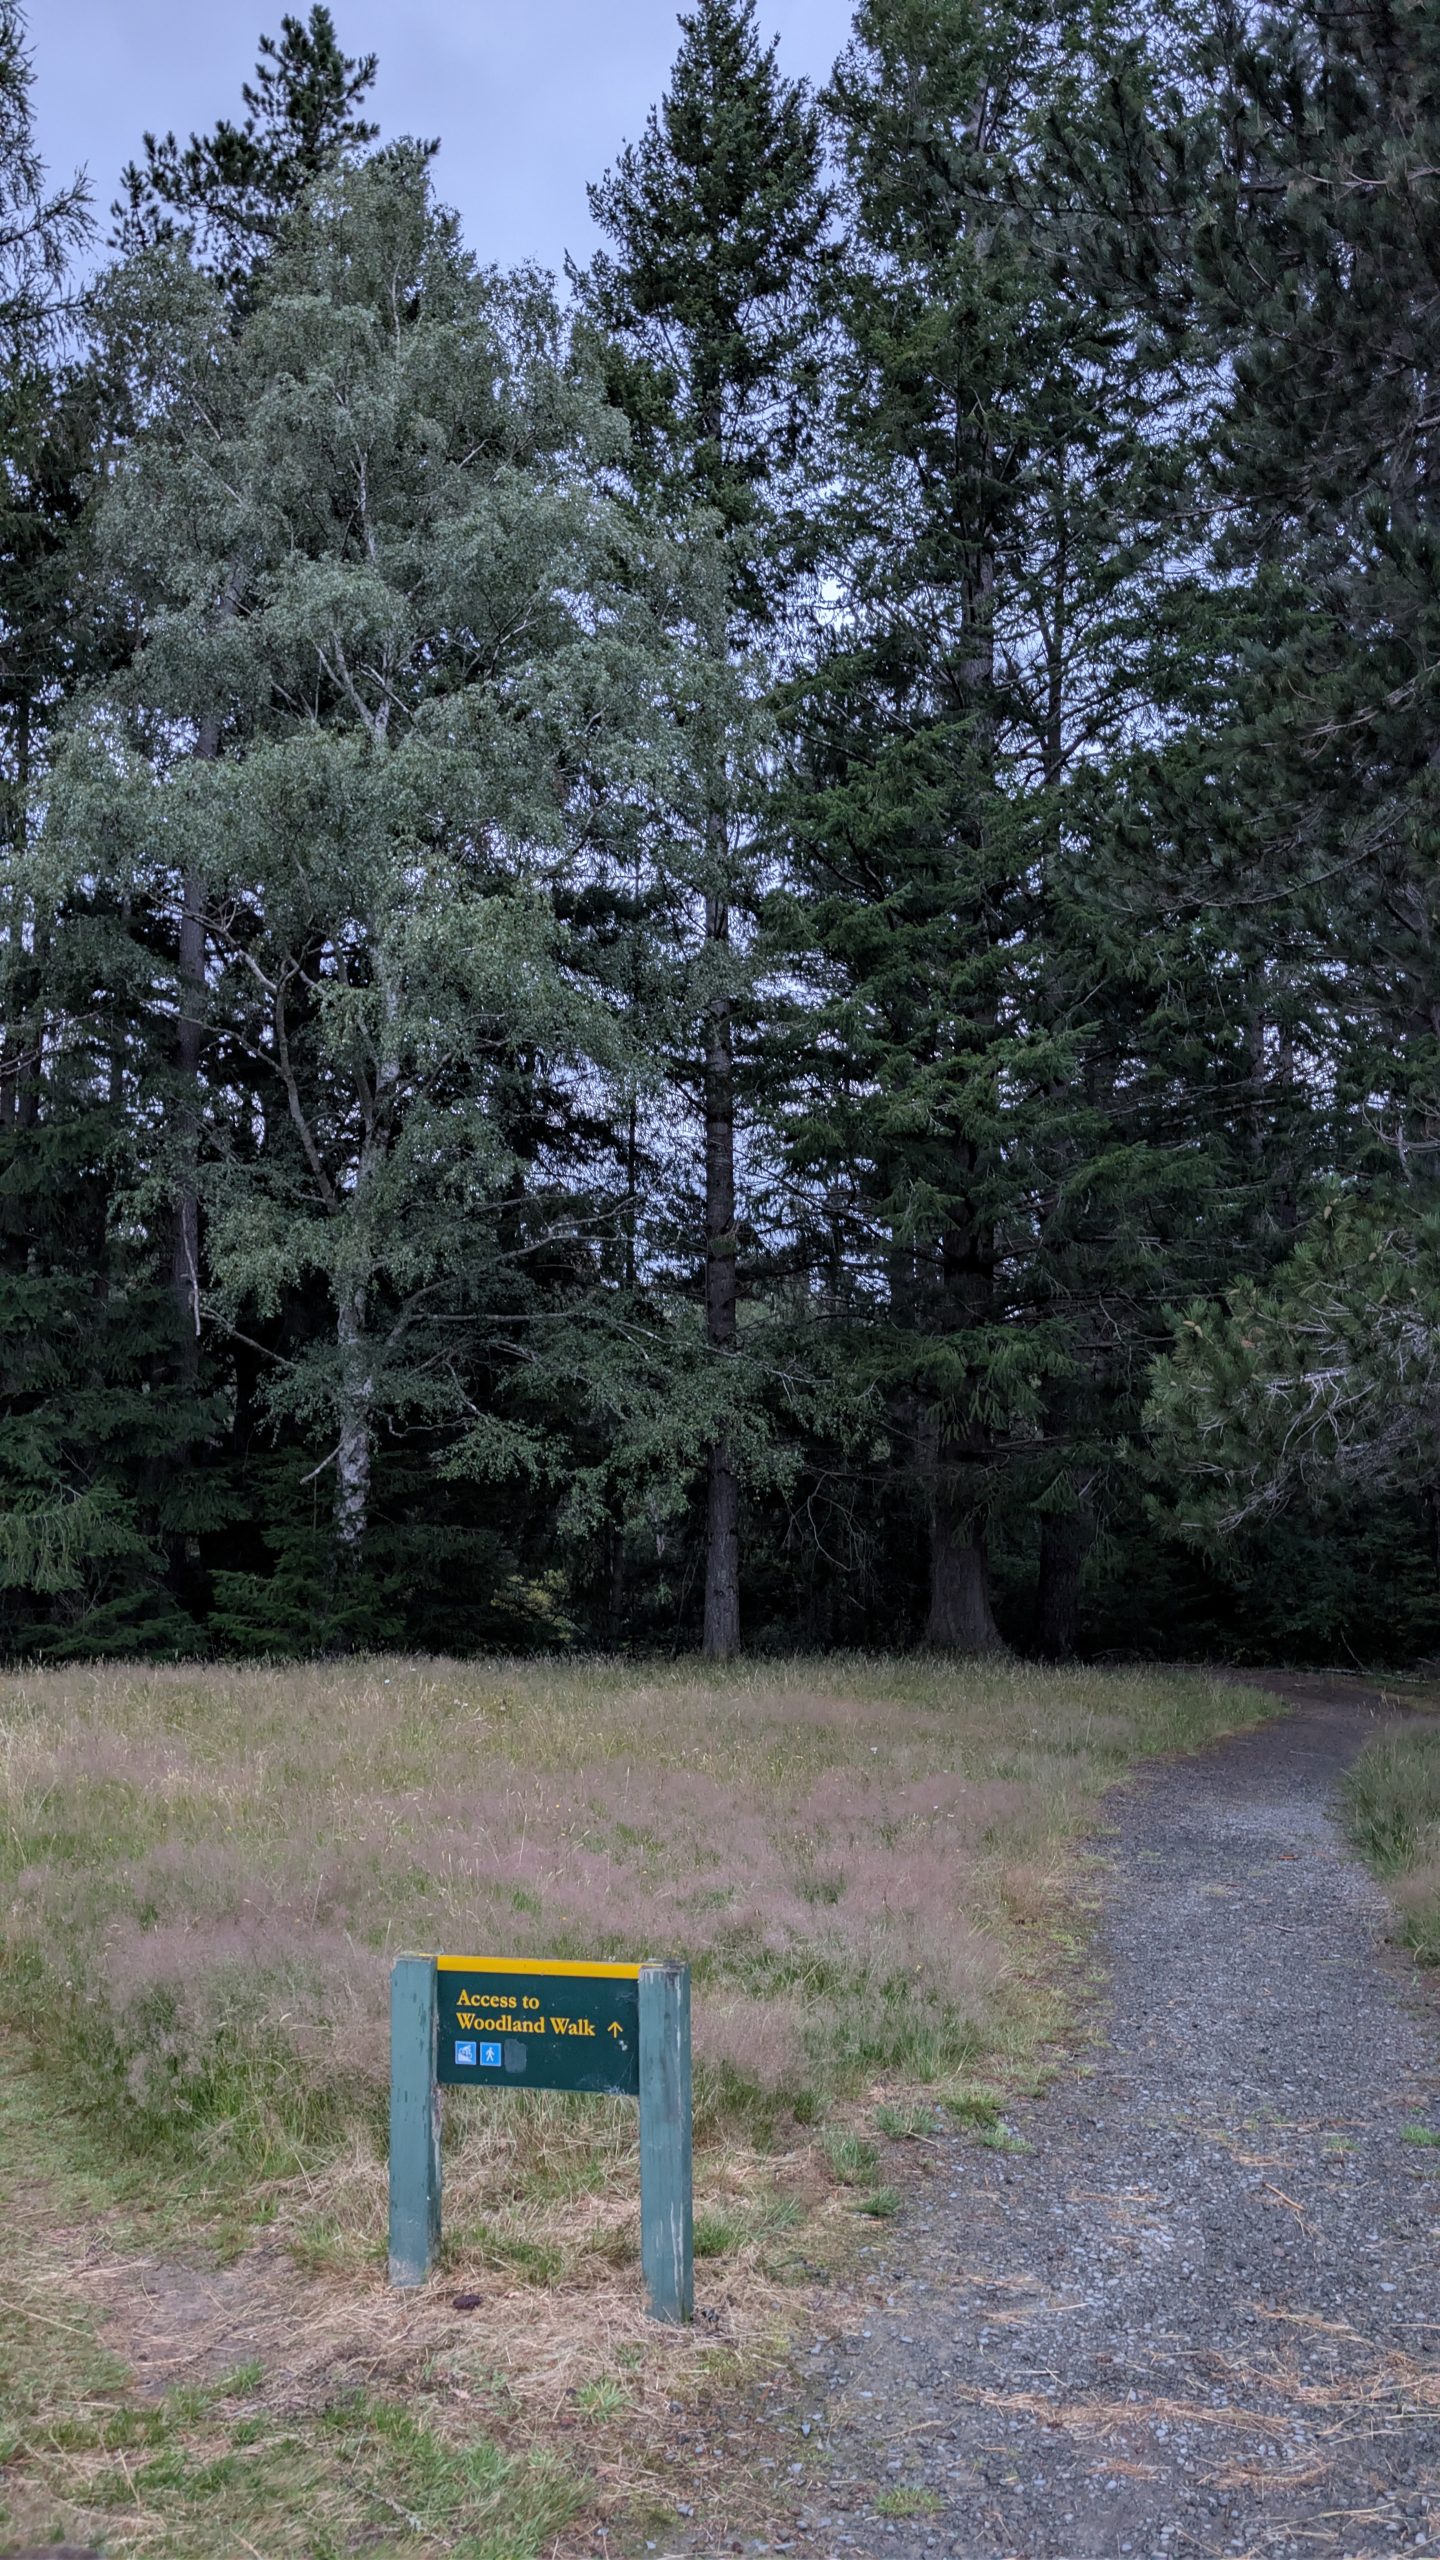
It was still early evening and the weather had cleared with partly cloudy skies, so I decided to go on an evening hike on my own. It really helped being the middle of summer and far south where the sun did not set until after 9 pm. So I still had a few hours of daylight to explore. Our motel was within a short walking distance of one of the main trail areas that had not been closed. I went on the Woodland Walk and ended up hiking a couple of miles before turning around. The forest was really beautiful. Parts of the trail passed through areas that had freshly cut trees, so it smelled like Christmas with all of the tall pines around.
Entrance to the Woodland Walk
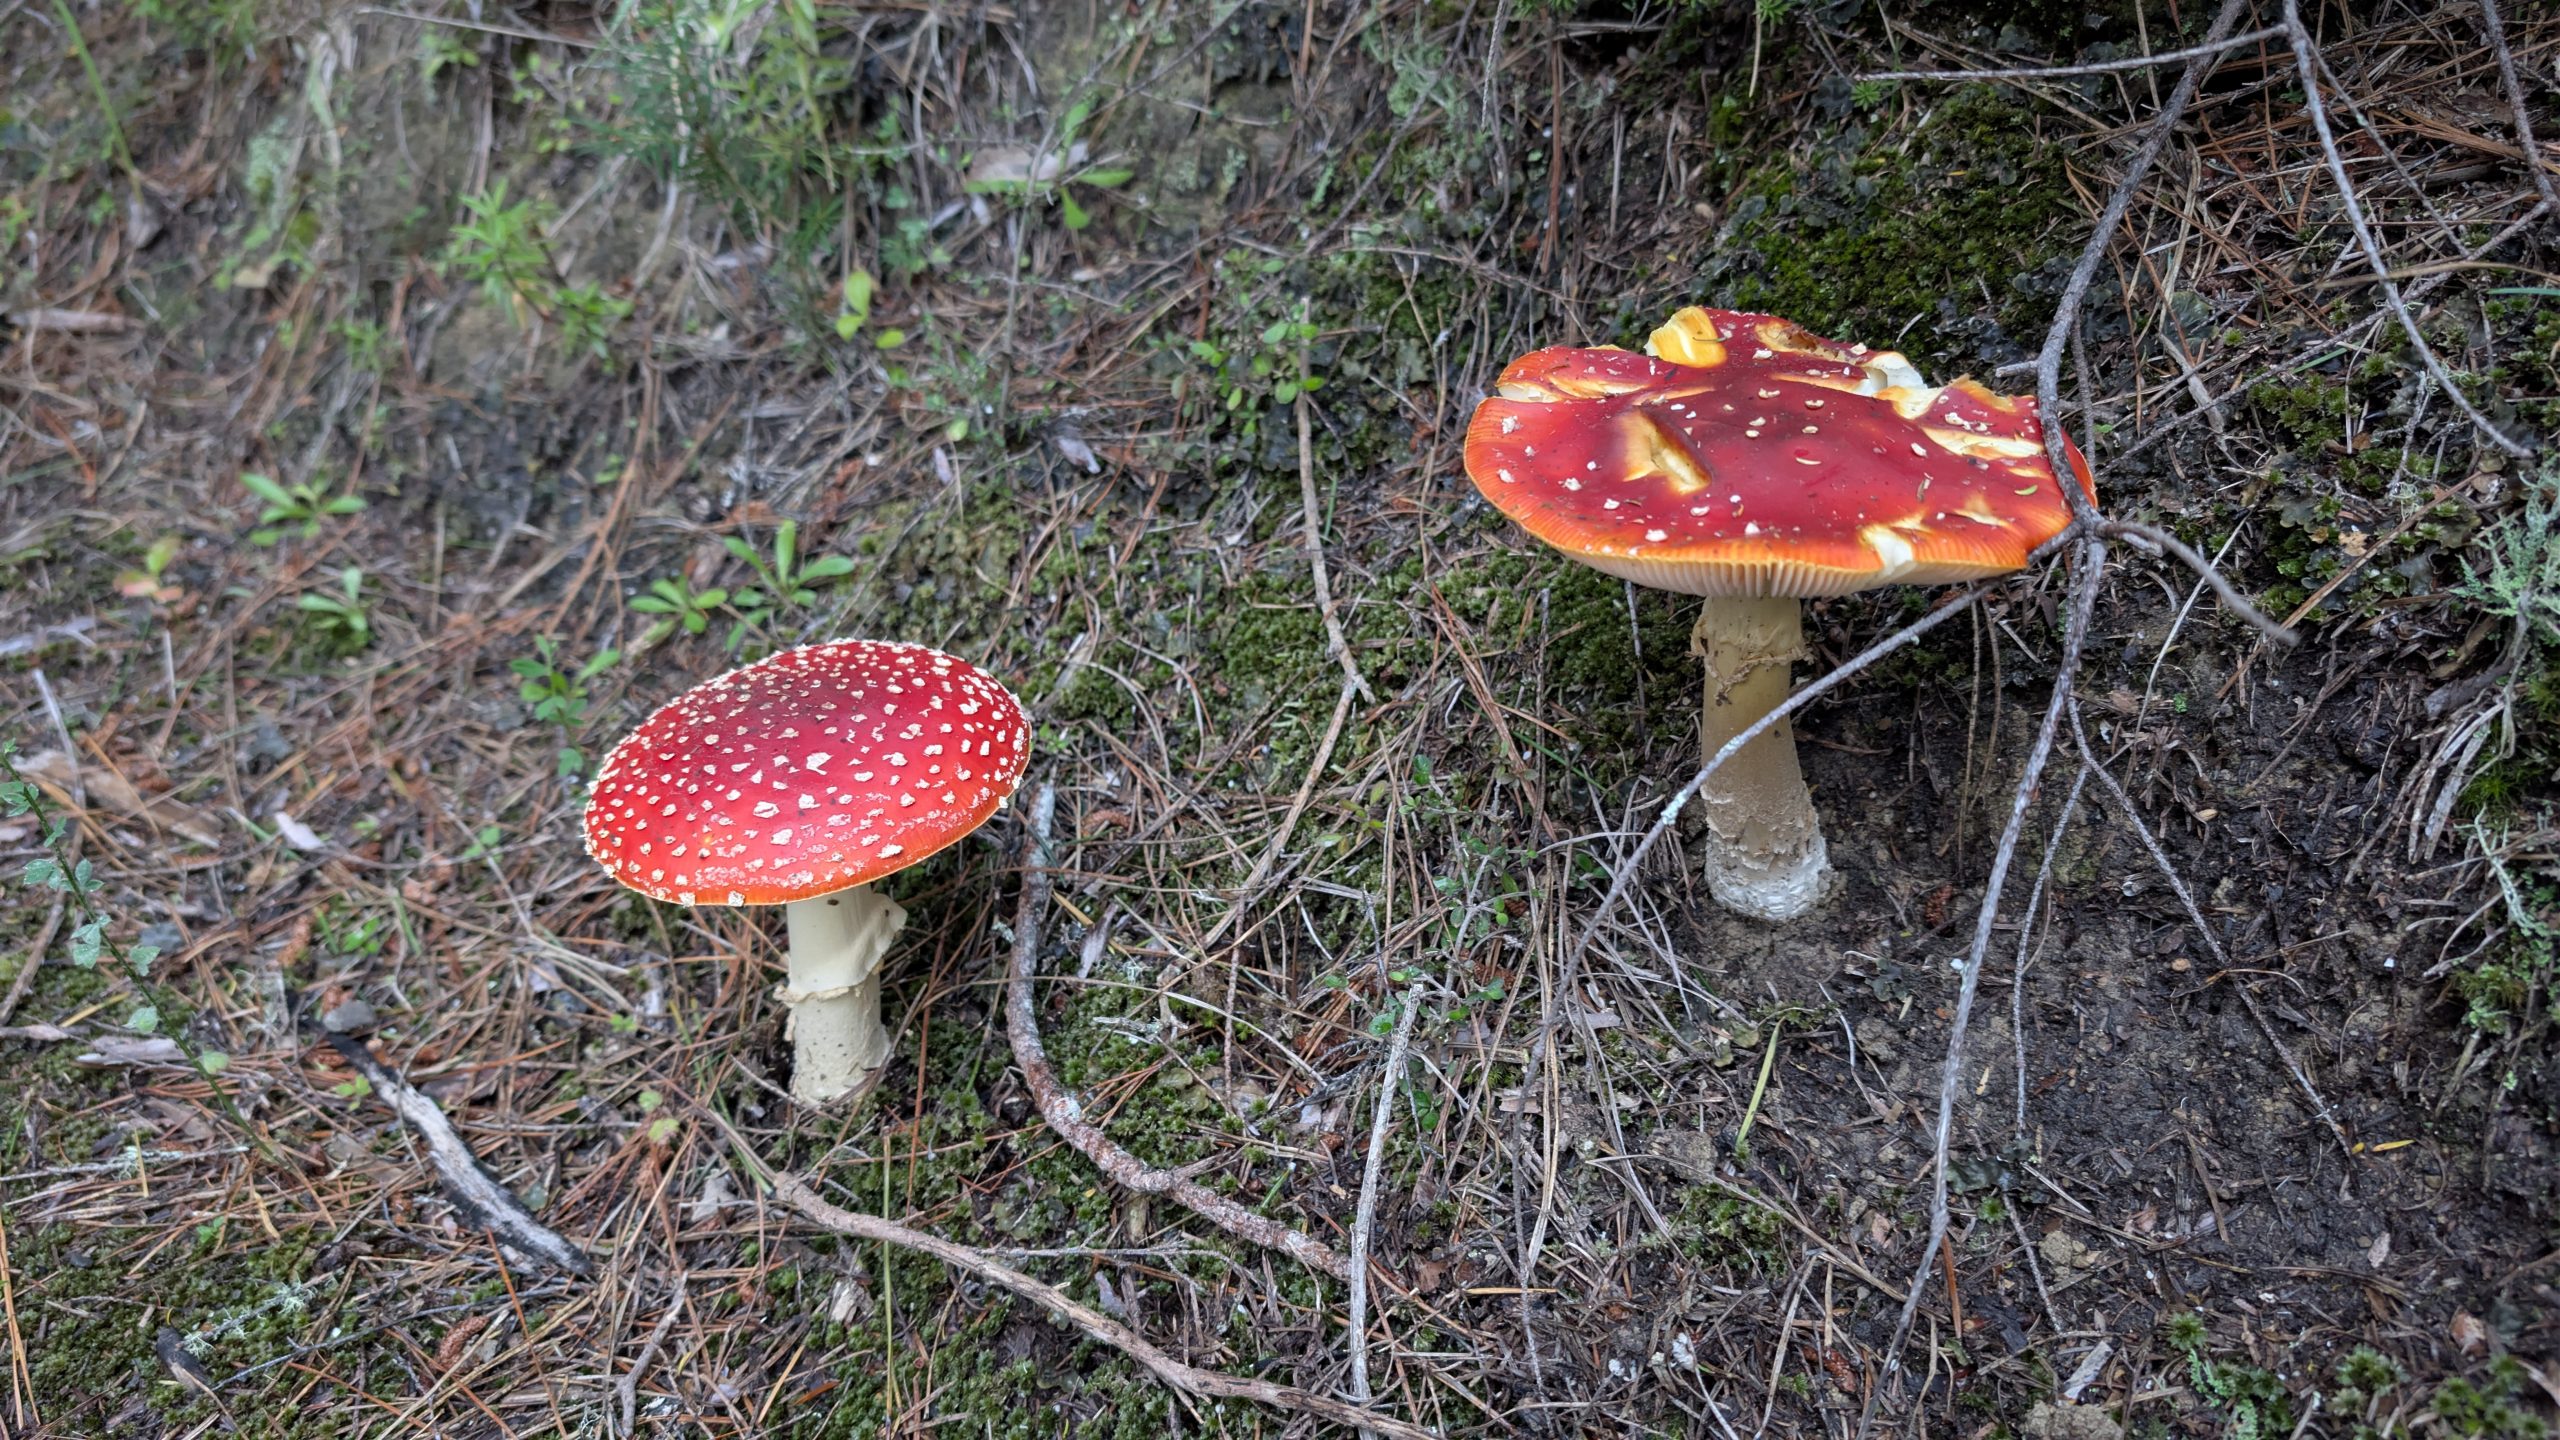
Interesting mushrooms along the trail
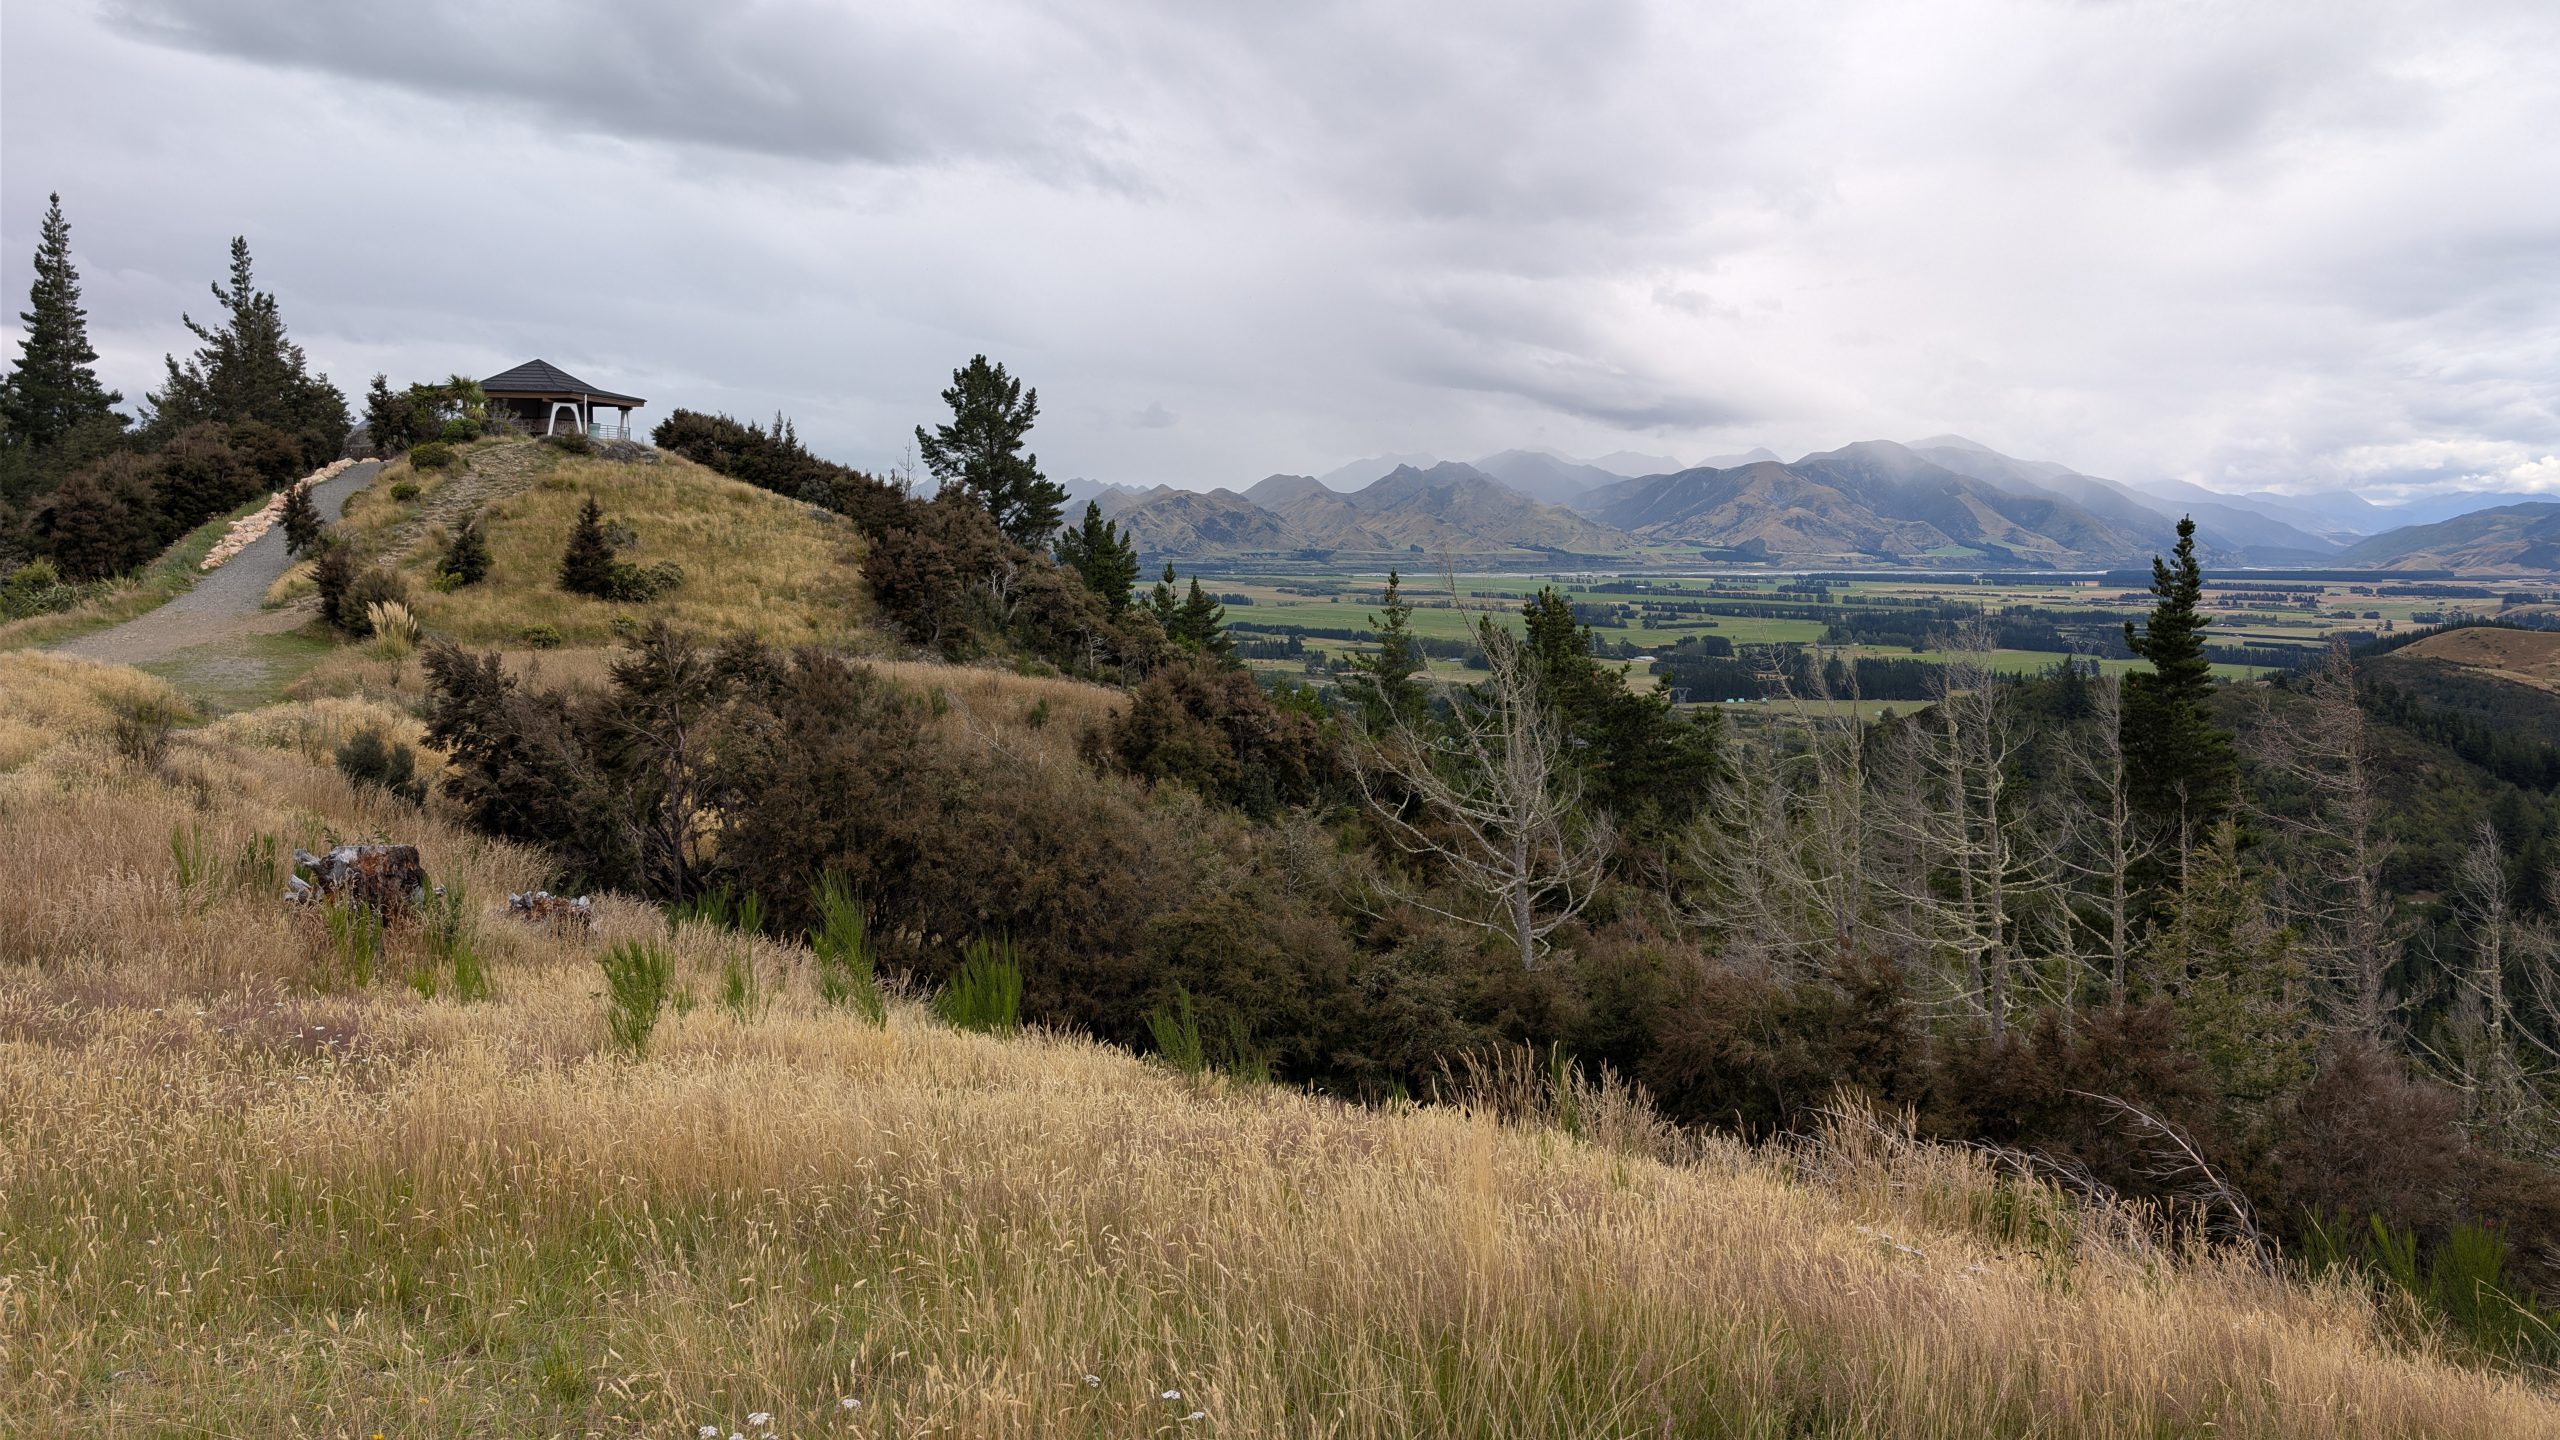
There was a nice meadow area with several picnic tables and a view of the mountains in the distance.
After months of anticipation, preparation and planning, the big trip to New Zealand was finally underway! It came down to the wire with packing and closing up the house, but Heinrich and I were ready when the Lyft driver showed up at our house to take us to the airport at 2:45 PM.
Check in at the airport was fast and uneventful. Our first flight from Denver to San Francisco was on time. Then we had almost 4 hours to kill before the flight to Christchurch. Due to construction in the terminal, the walk to our gate in the international terminal involved a long detour. It was almost a mile of walking, so we got our exercise for the day.
Heinrich had Priority Pass privileges on his credit card which gave us a discounted price at the Mustards Grill located near our gate. We killed at least an hour at the restaurant. I ordered the lamb burger to get in the New Zealand mood. It was quite tasty and filling.
After eating we still had an hour to kill, so we found a relatively quiet spot on an upper level above our gate area, and we both worked on our computers and cell phones.
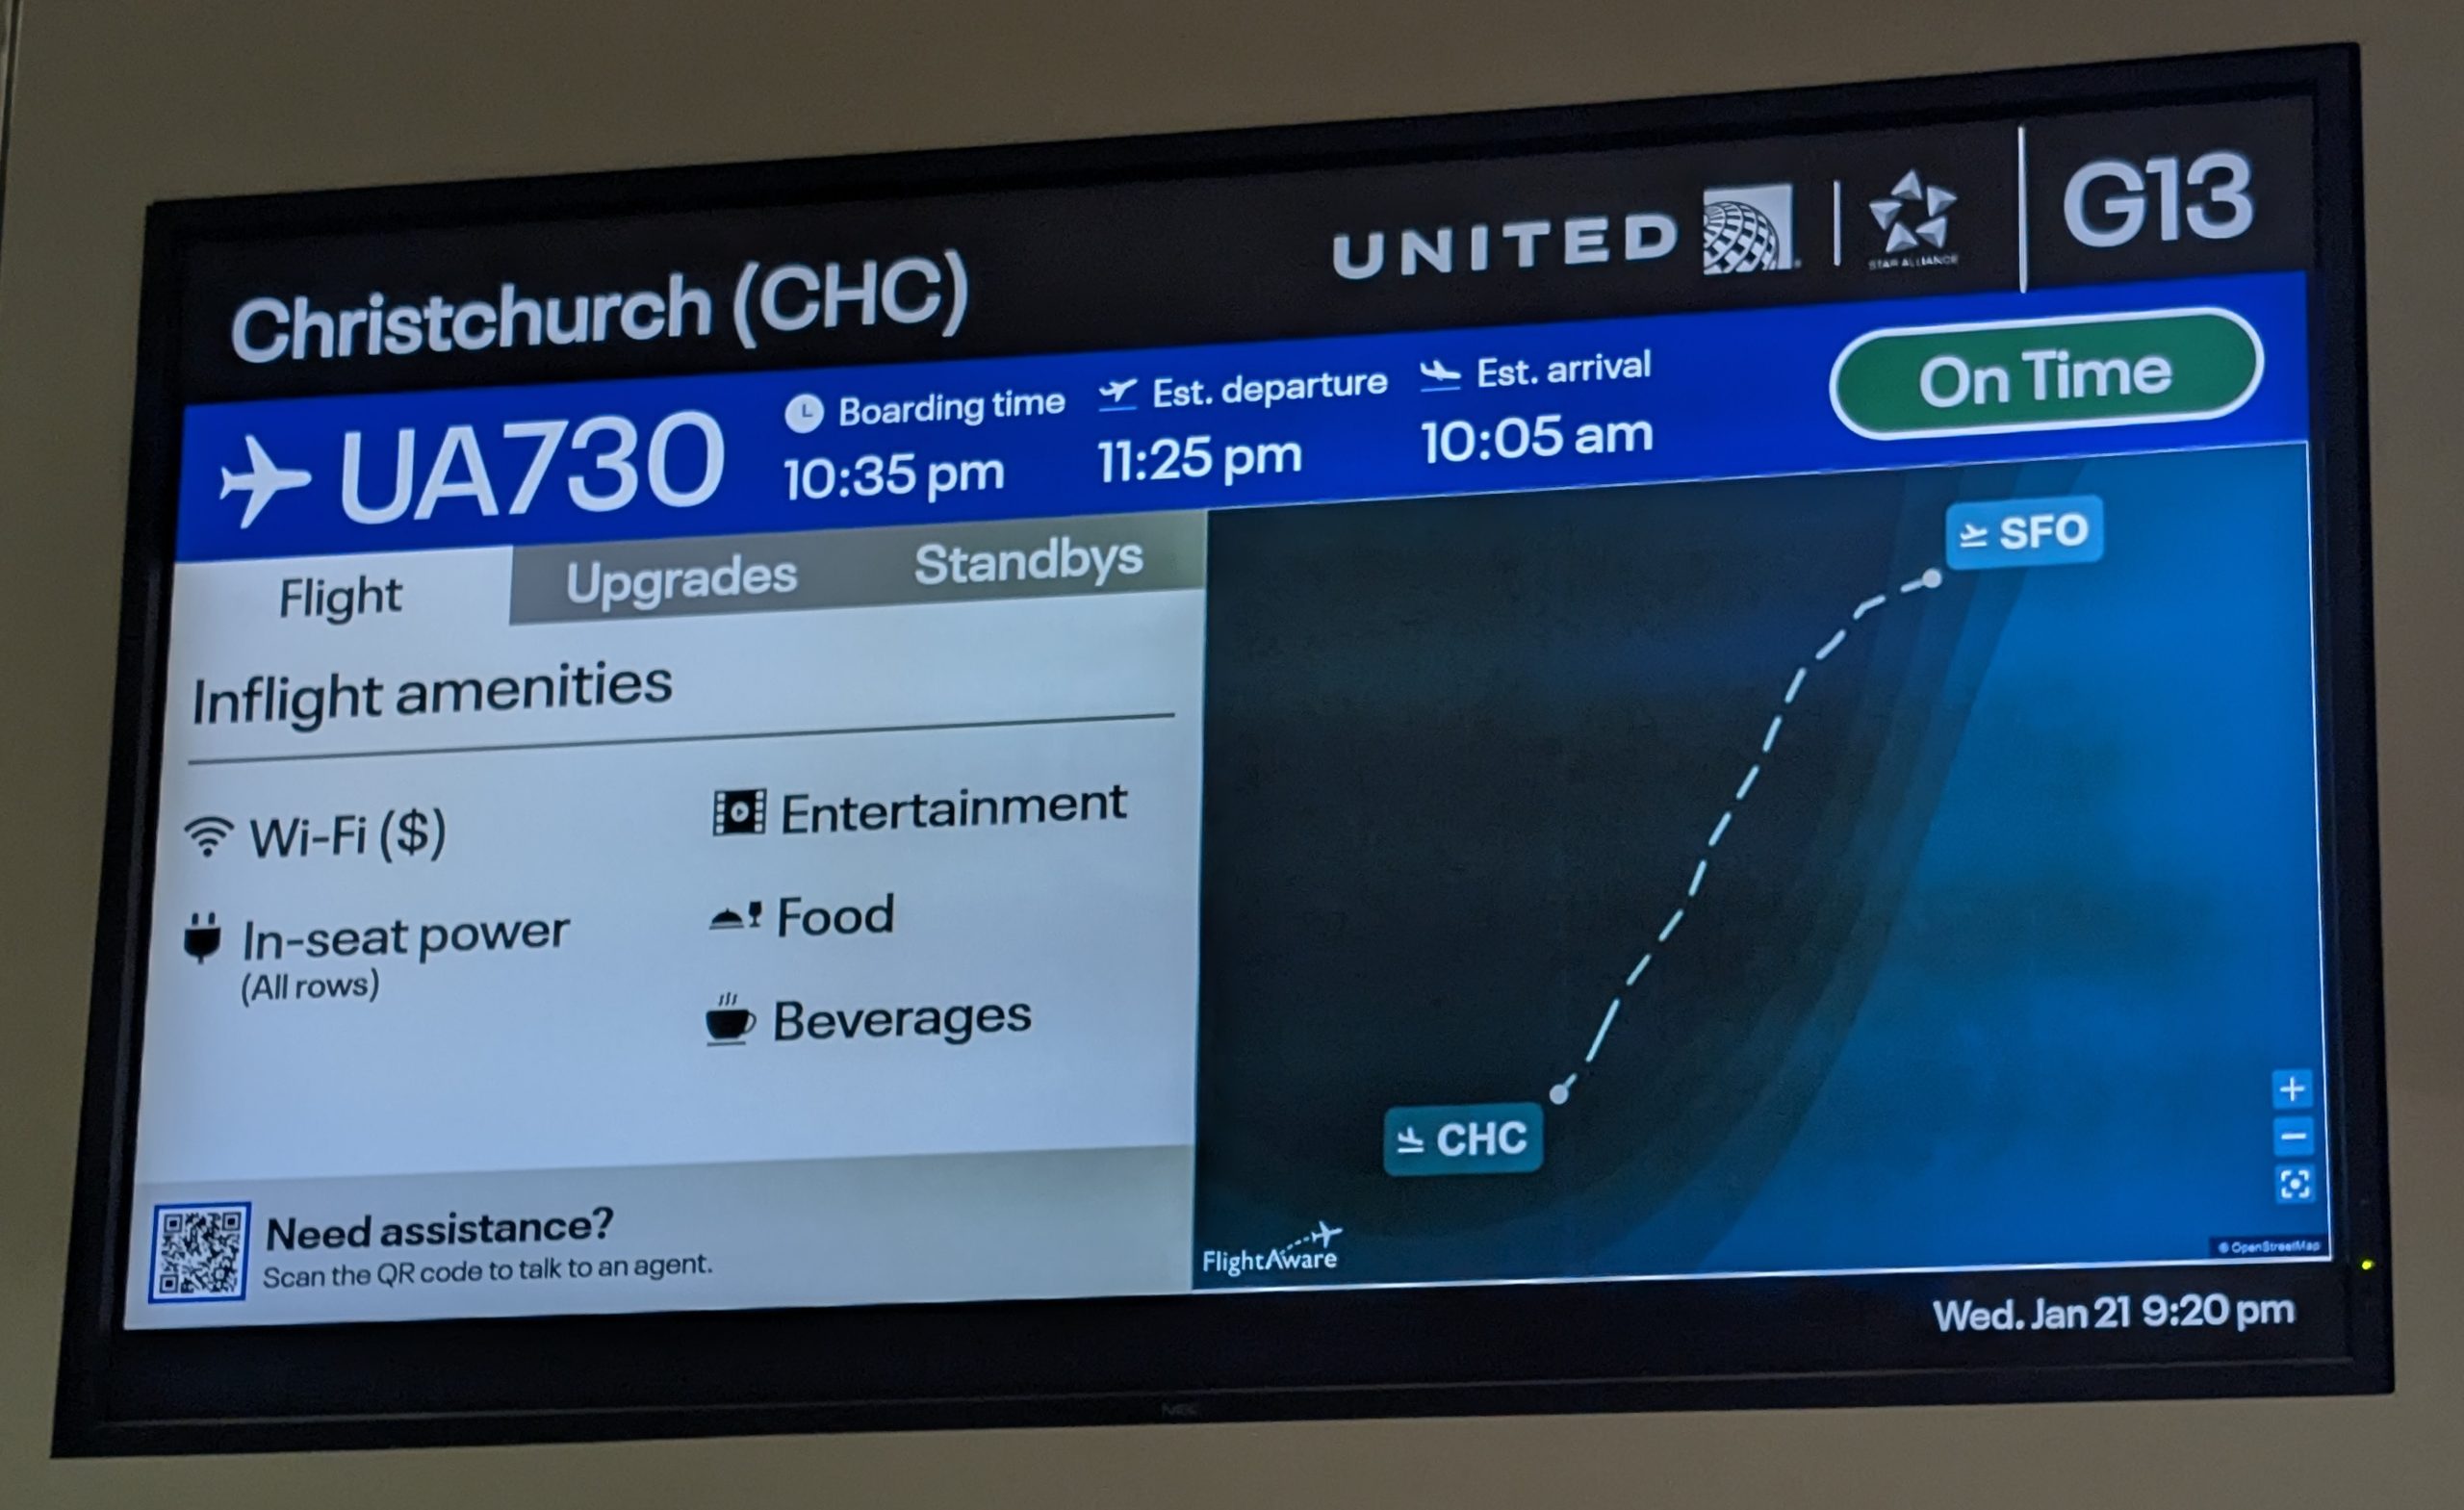
Our flight departure board at the gate
United Airlines gave us priority boarding for both flights, which was a bit of a surprise. I guess the United Gateway credit card came in handy.
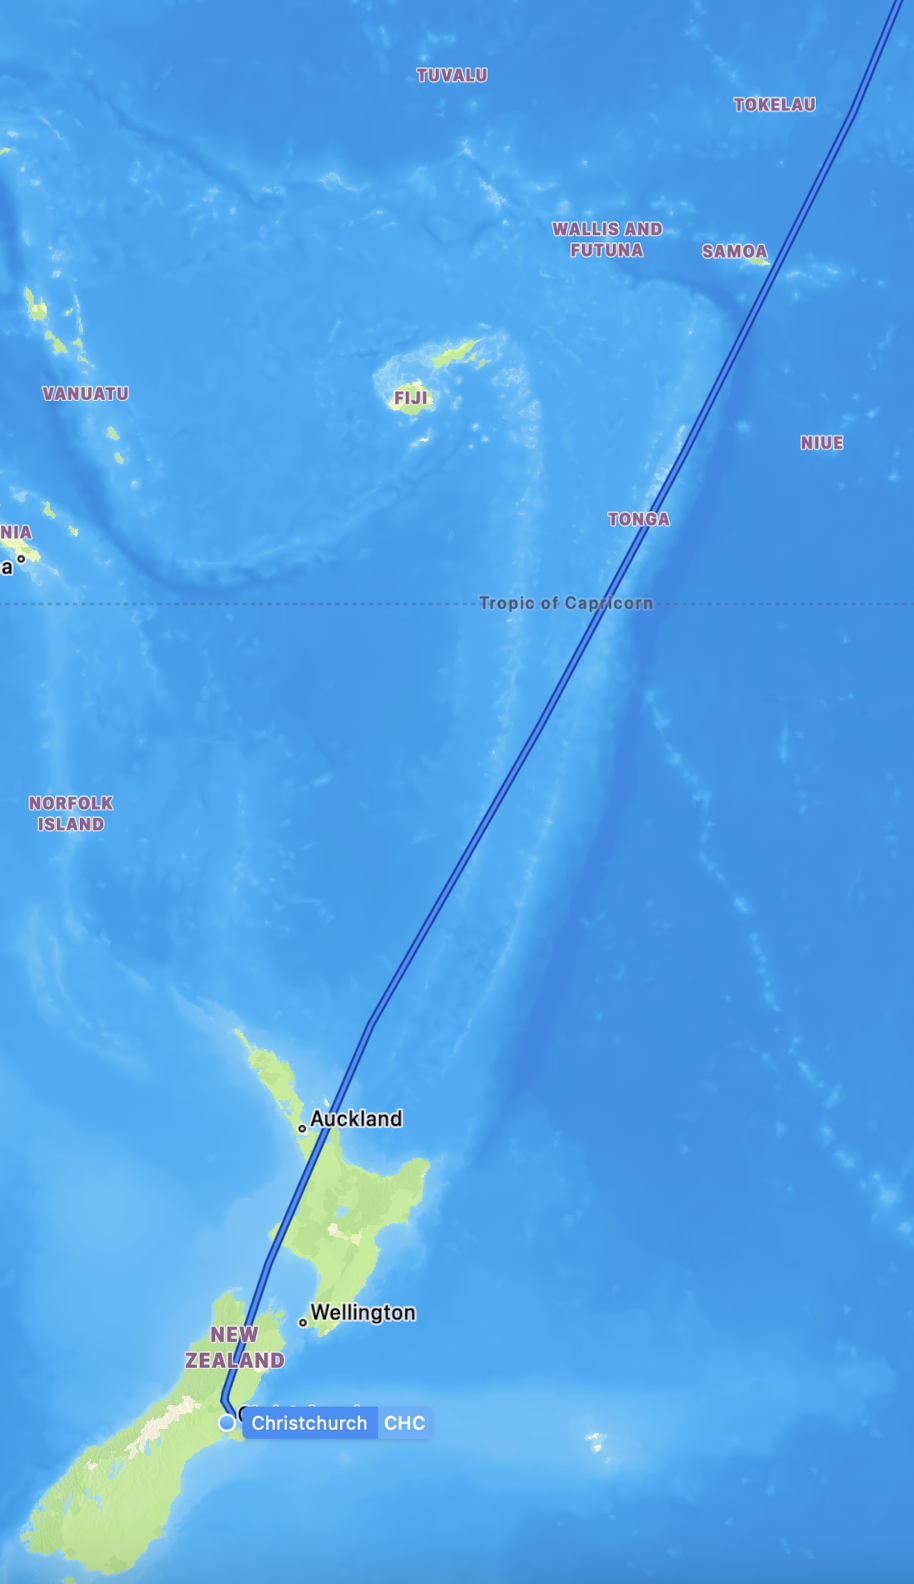
We had standard seating for the flight, which was 14 hours and 7 minutes from departure to arrival. The flight path went directly over American Samoa and Tonga. We hoped to fly along the east coast of both the North and South Islands of New Zealand, but unfortunately the flight plan flew us along the western coast, so we didn't see much of the country since we were seated on the right side of the plane. The flight itself experienced quite a few short periods of turbulence where we were asked to buckle in our seats. Otherwise I was able to sleep quite a bit, so I wasn't horribly jet lagged or tired upon arrival.
We were served two meals and a snack on the plane. I thought the food was okay: nothing to write home about, but it was filling. I do wish they had served us more liquid. I ended up drinking all of the water I had brought with me. I should have filled a second canteen with water.